Requirements
Complete the Initial Website Integration before starting to use Insider One's Onsite Experiment product.
To create an Onsite Experiment campaign and apply A/B testing to your website,
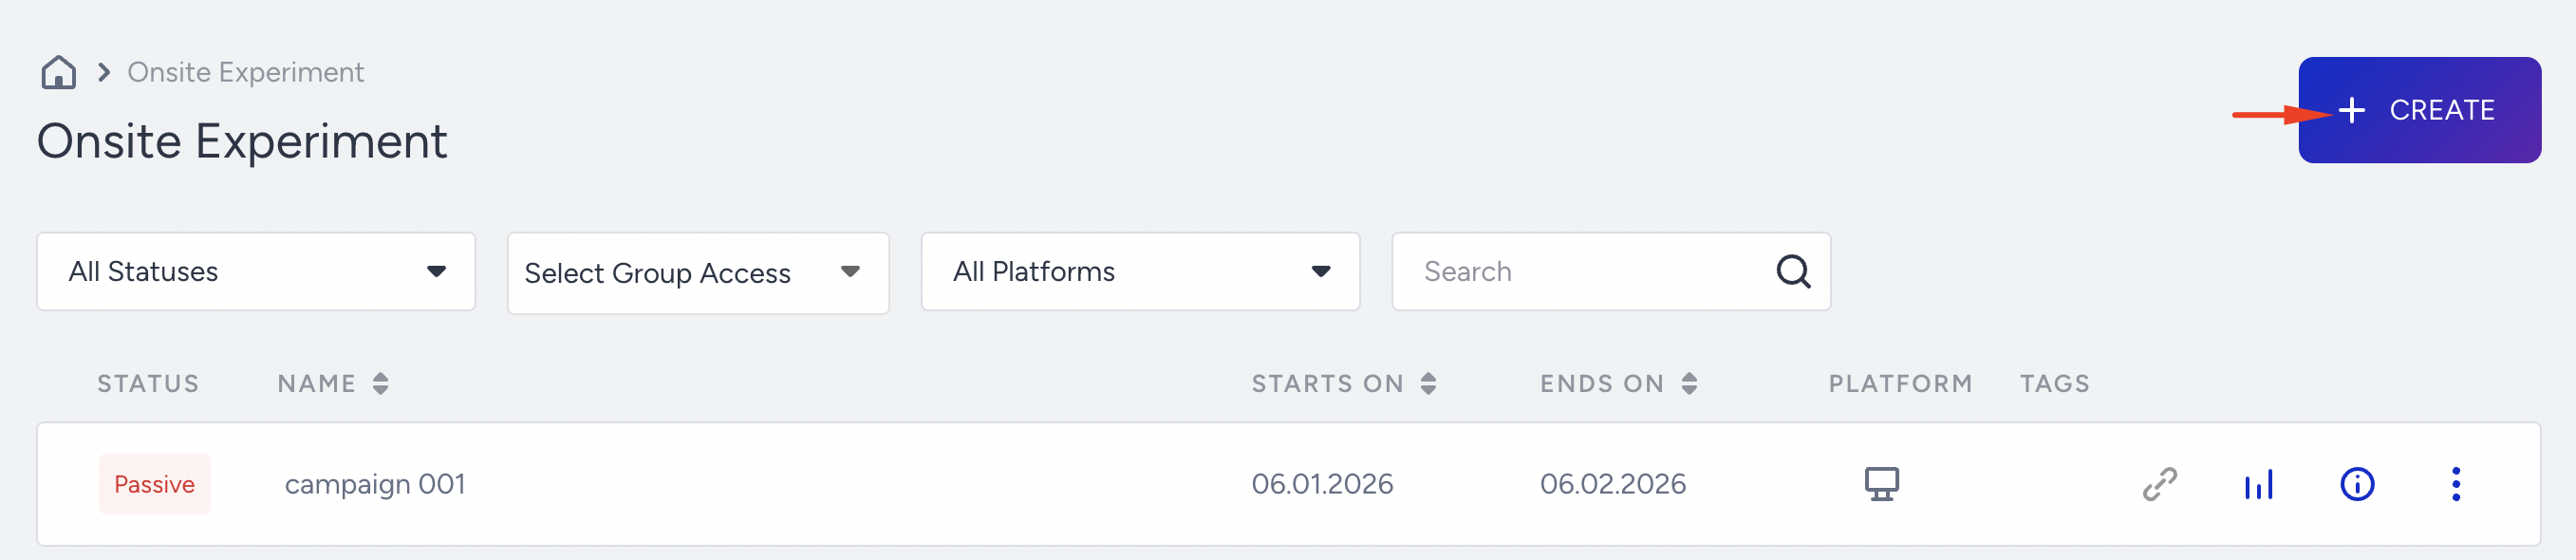
Navigate to Campaigns > Experimentation > Onsite Experiment.
Click the Create button in the top right corner.
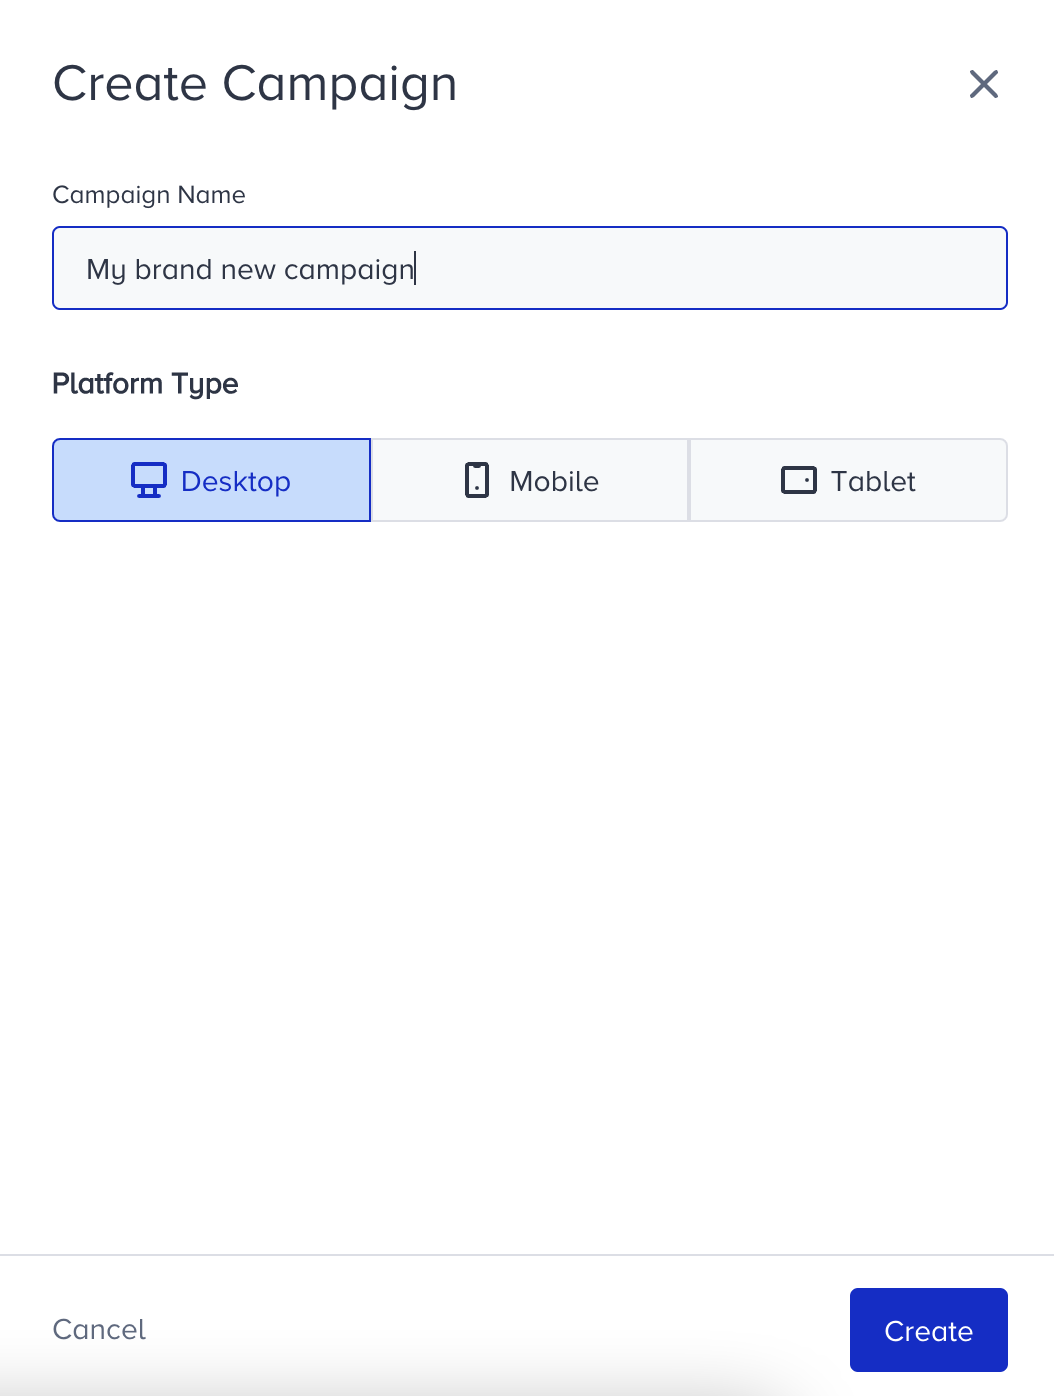
Enter the name of your campaign and choose the platform for it.
Choose the segment to narrow down your target audience.

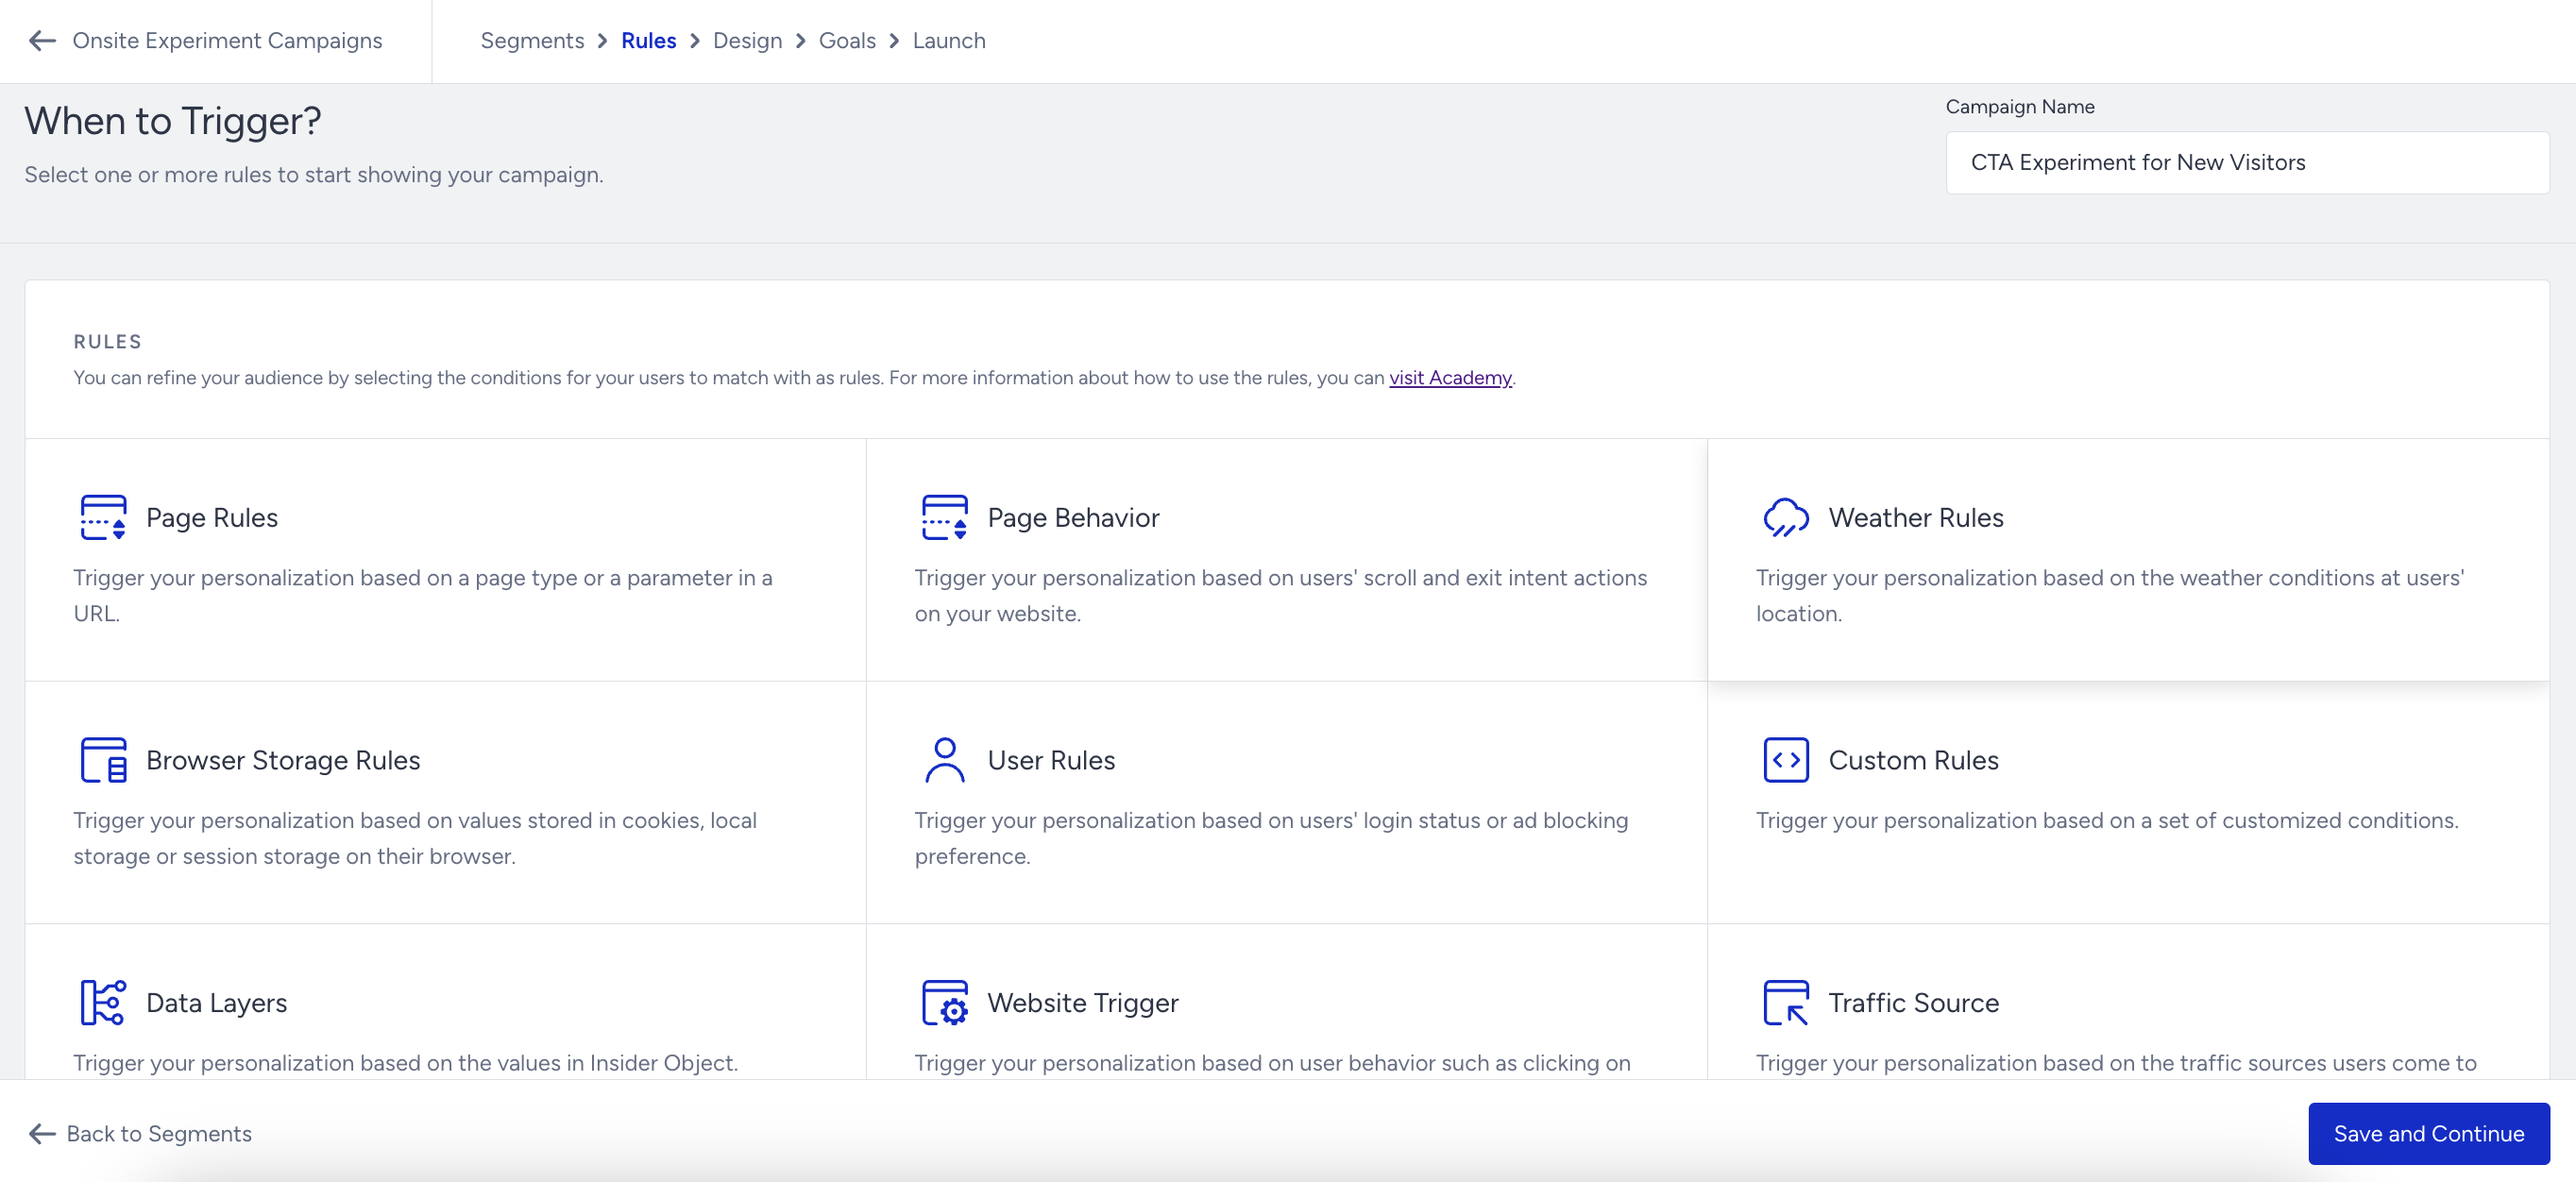
Choose the rules to start showing your campaign to your users.
If you want your campaign triggered by other campaigns, enable the Campaign Trigger. When enabled, this campaign's segments, rules, and launch settings will be overridden as it will follow those of the campaign that triggers it.
You can also set when and for how long the users will see your campaign with the Display Time.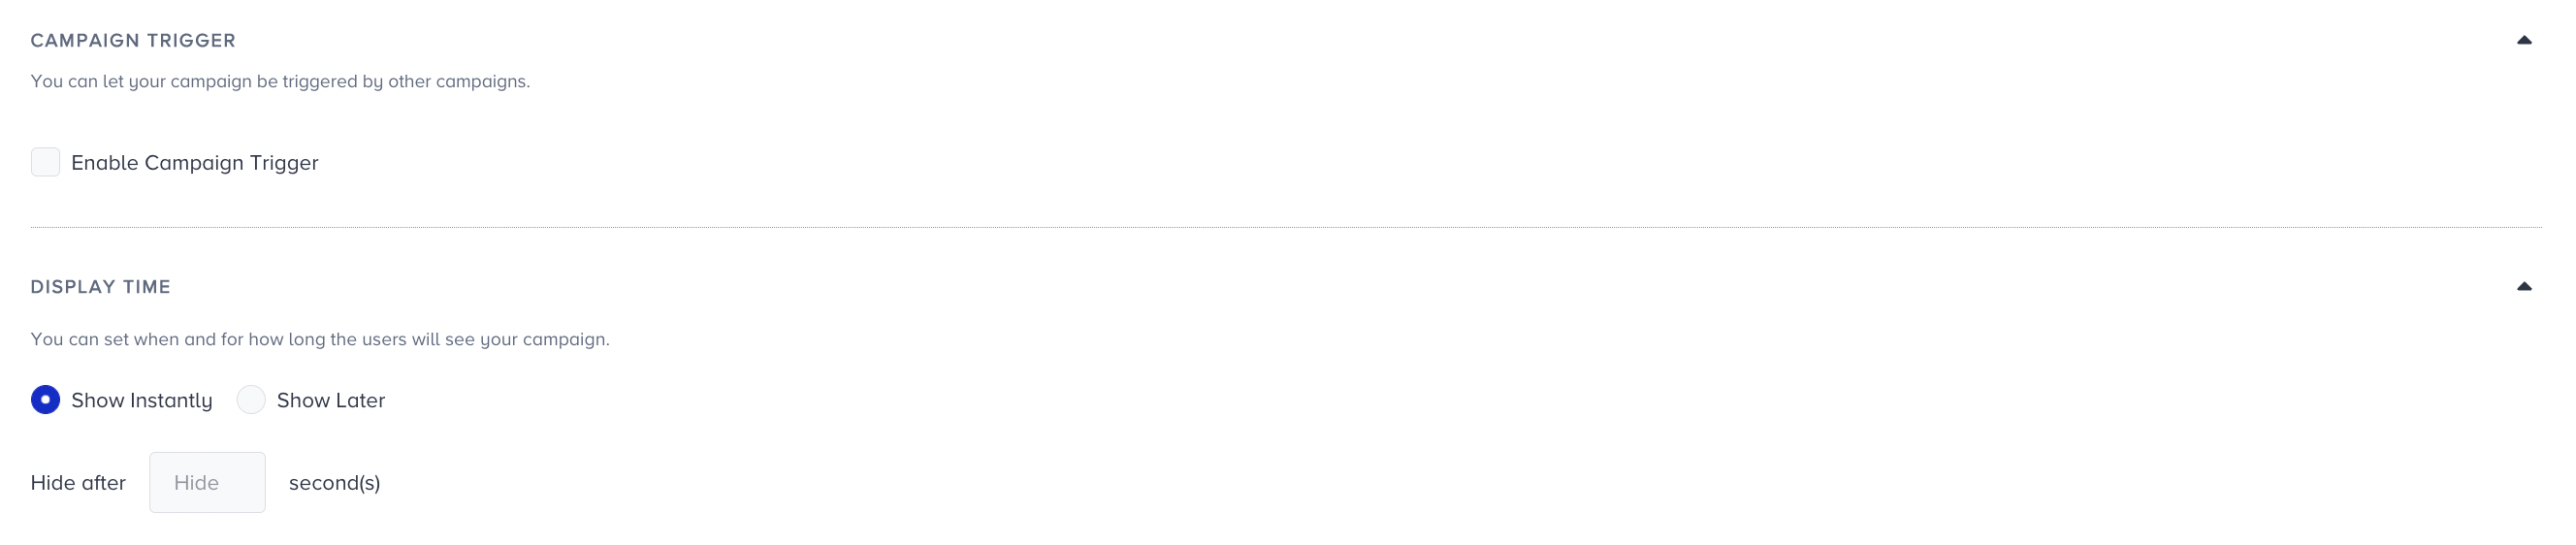
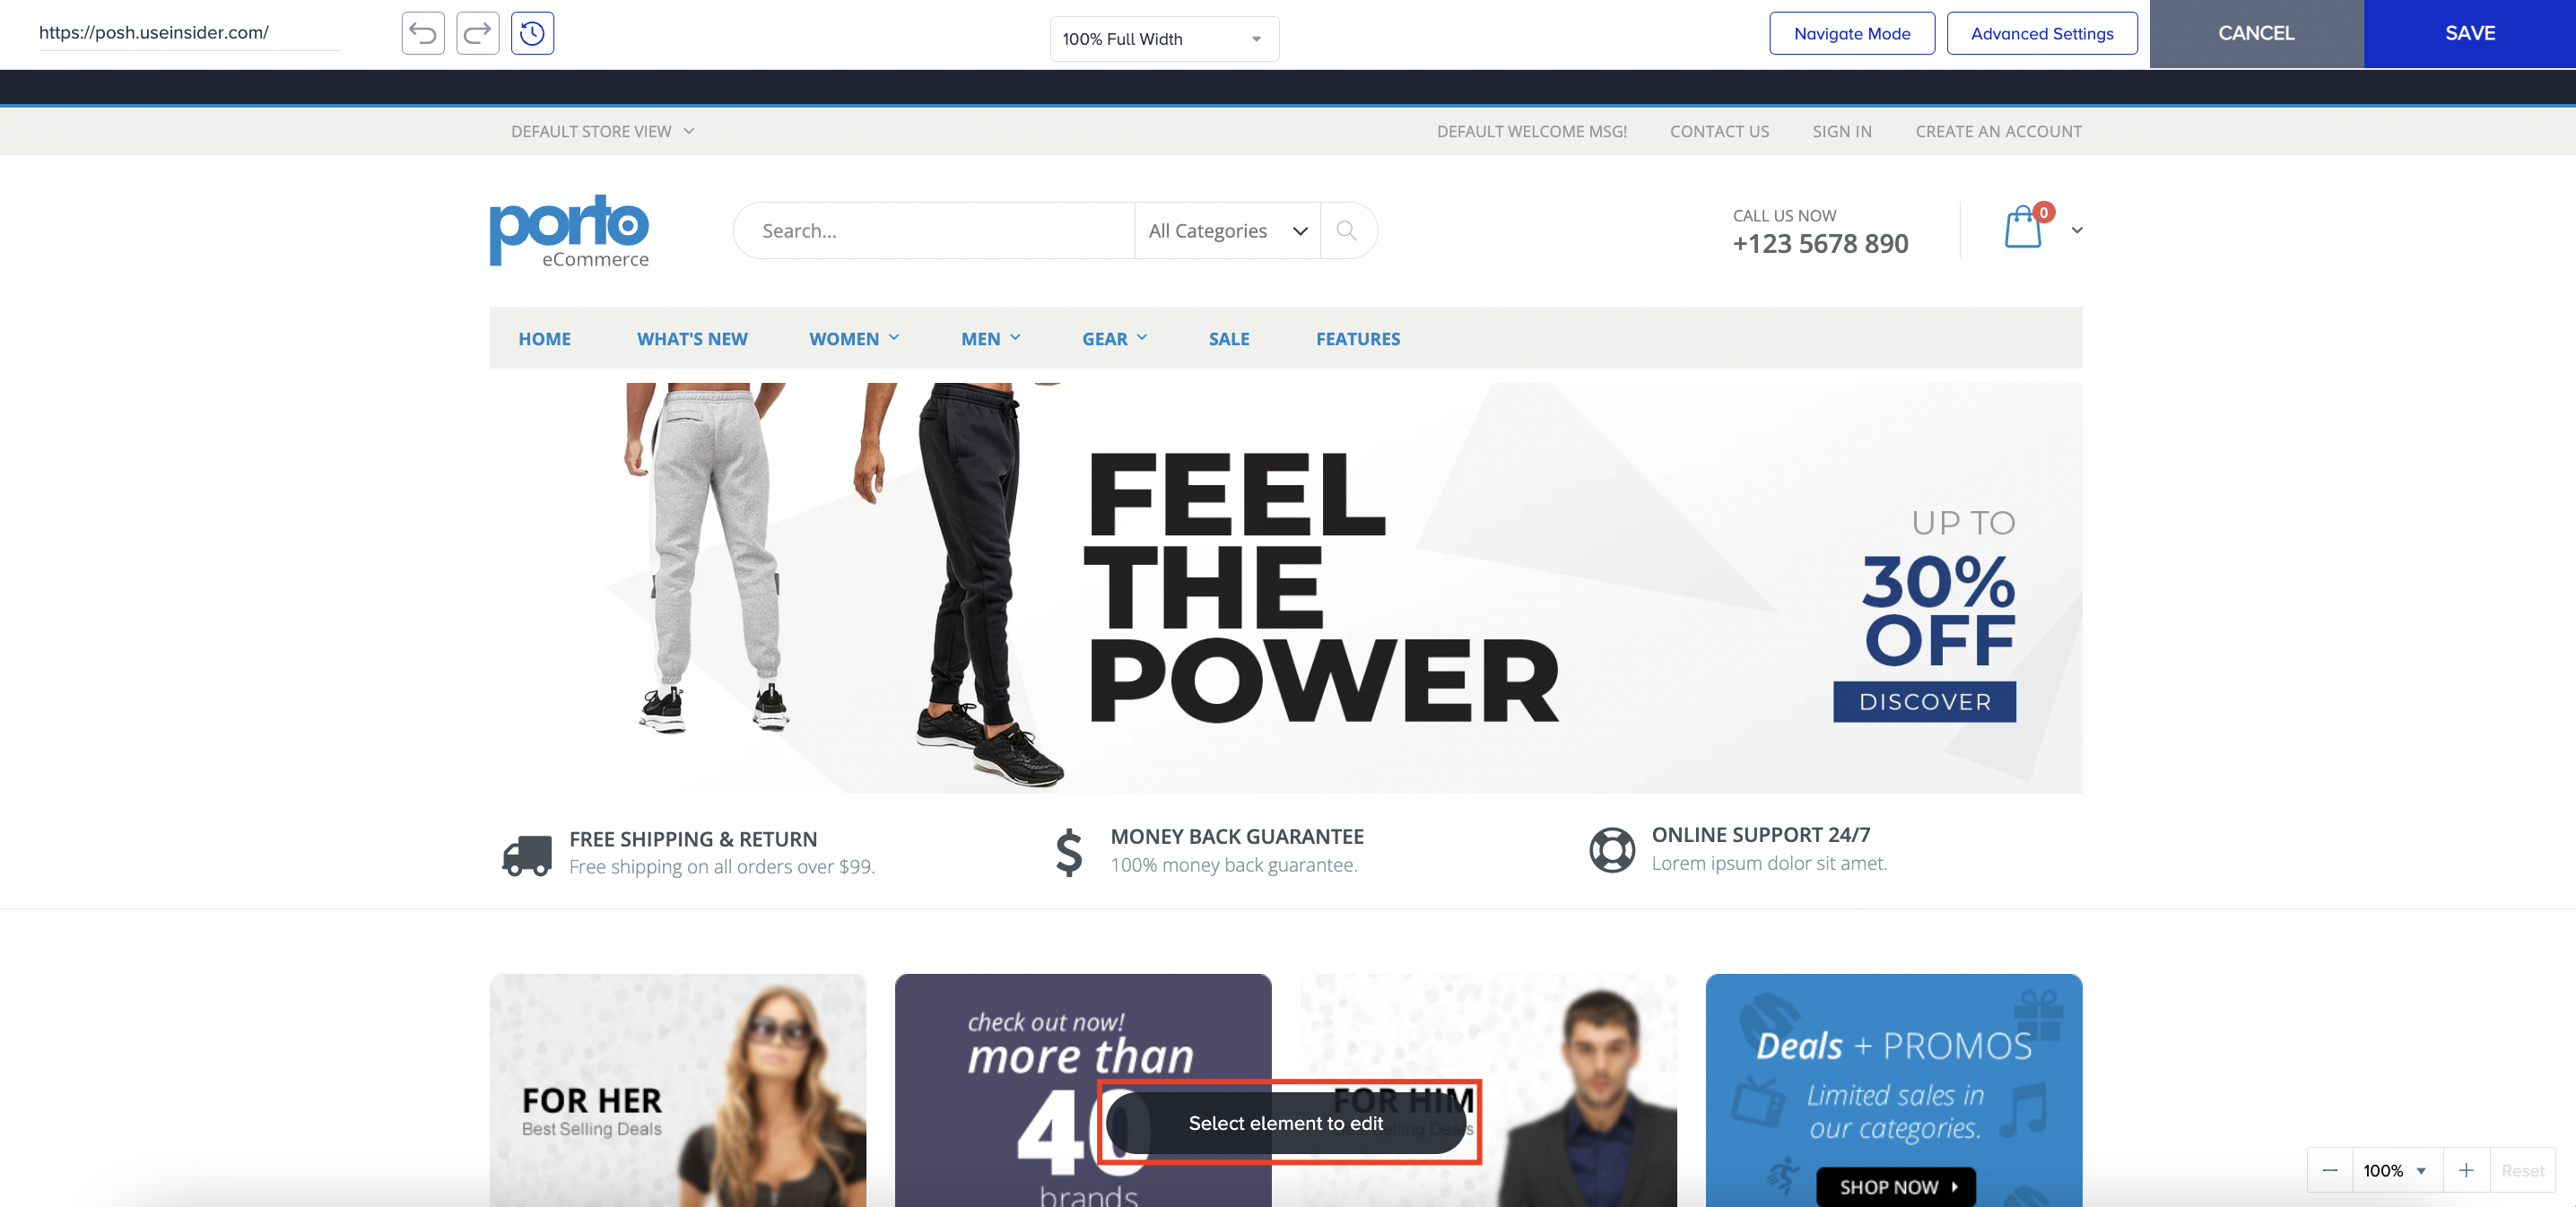
In the Design step, click Add a new variant to proceed with Action Builder and select an element to edit.
You can edit your Onsite Experiment campaign using the following features:
When you finalize your design, Save it and apply traffic allocation for your variants.
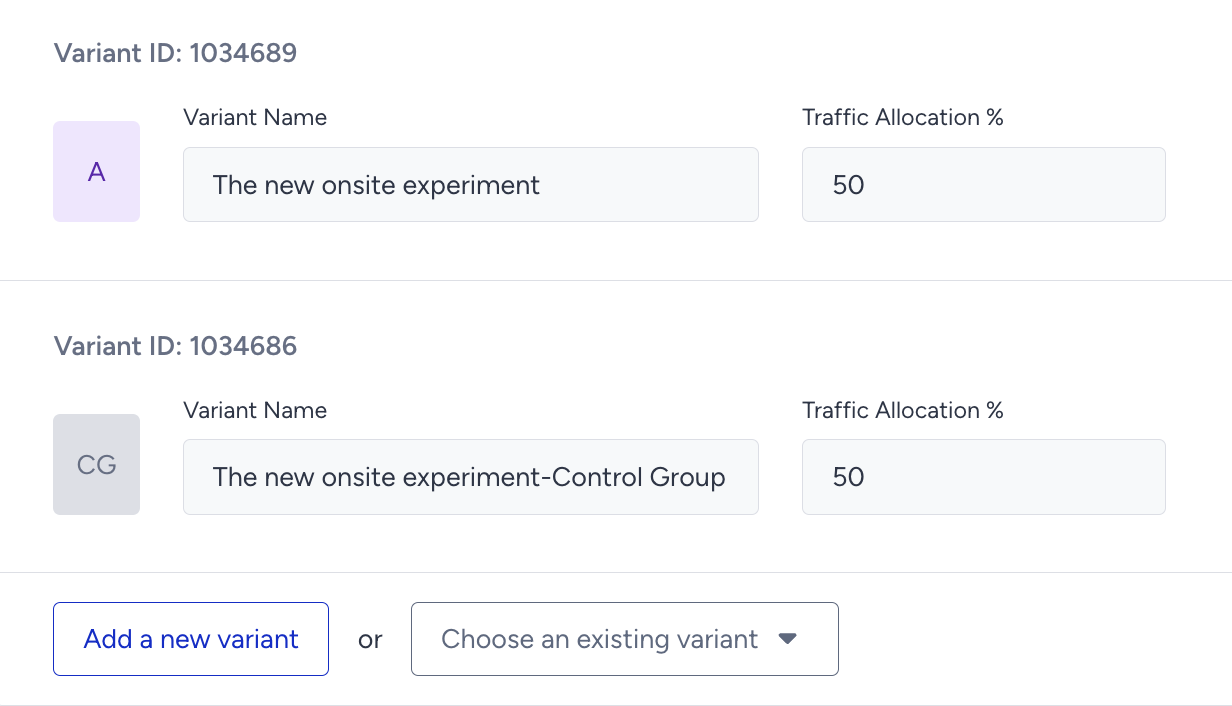
With Variant Group, you can allocate a percentage of your audience and set it as the Variant Group. Once set, variant group users will see your website with the changes applied.
With Control Group, you can allocate a percentage of your audience and set it as the Control Group. Once set, control group users will see your website as it is.
Although you can technically set up numerous changes for each variation, increasing the number of changes heightens the risk of HTML conflicts and unexpected errors. Therefore, we recommend using these features only for minor adjustments, rather than altering the entire layout of a page, especially if you lack sufficient HTML knowledge.
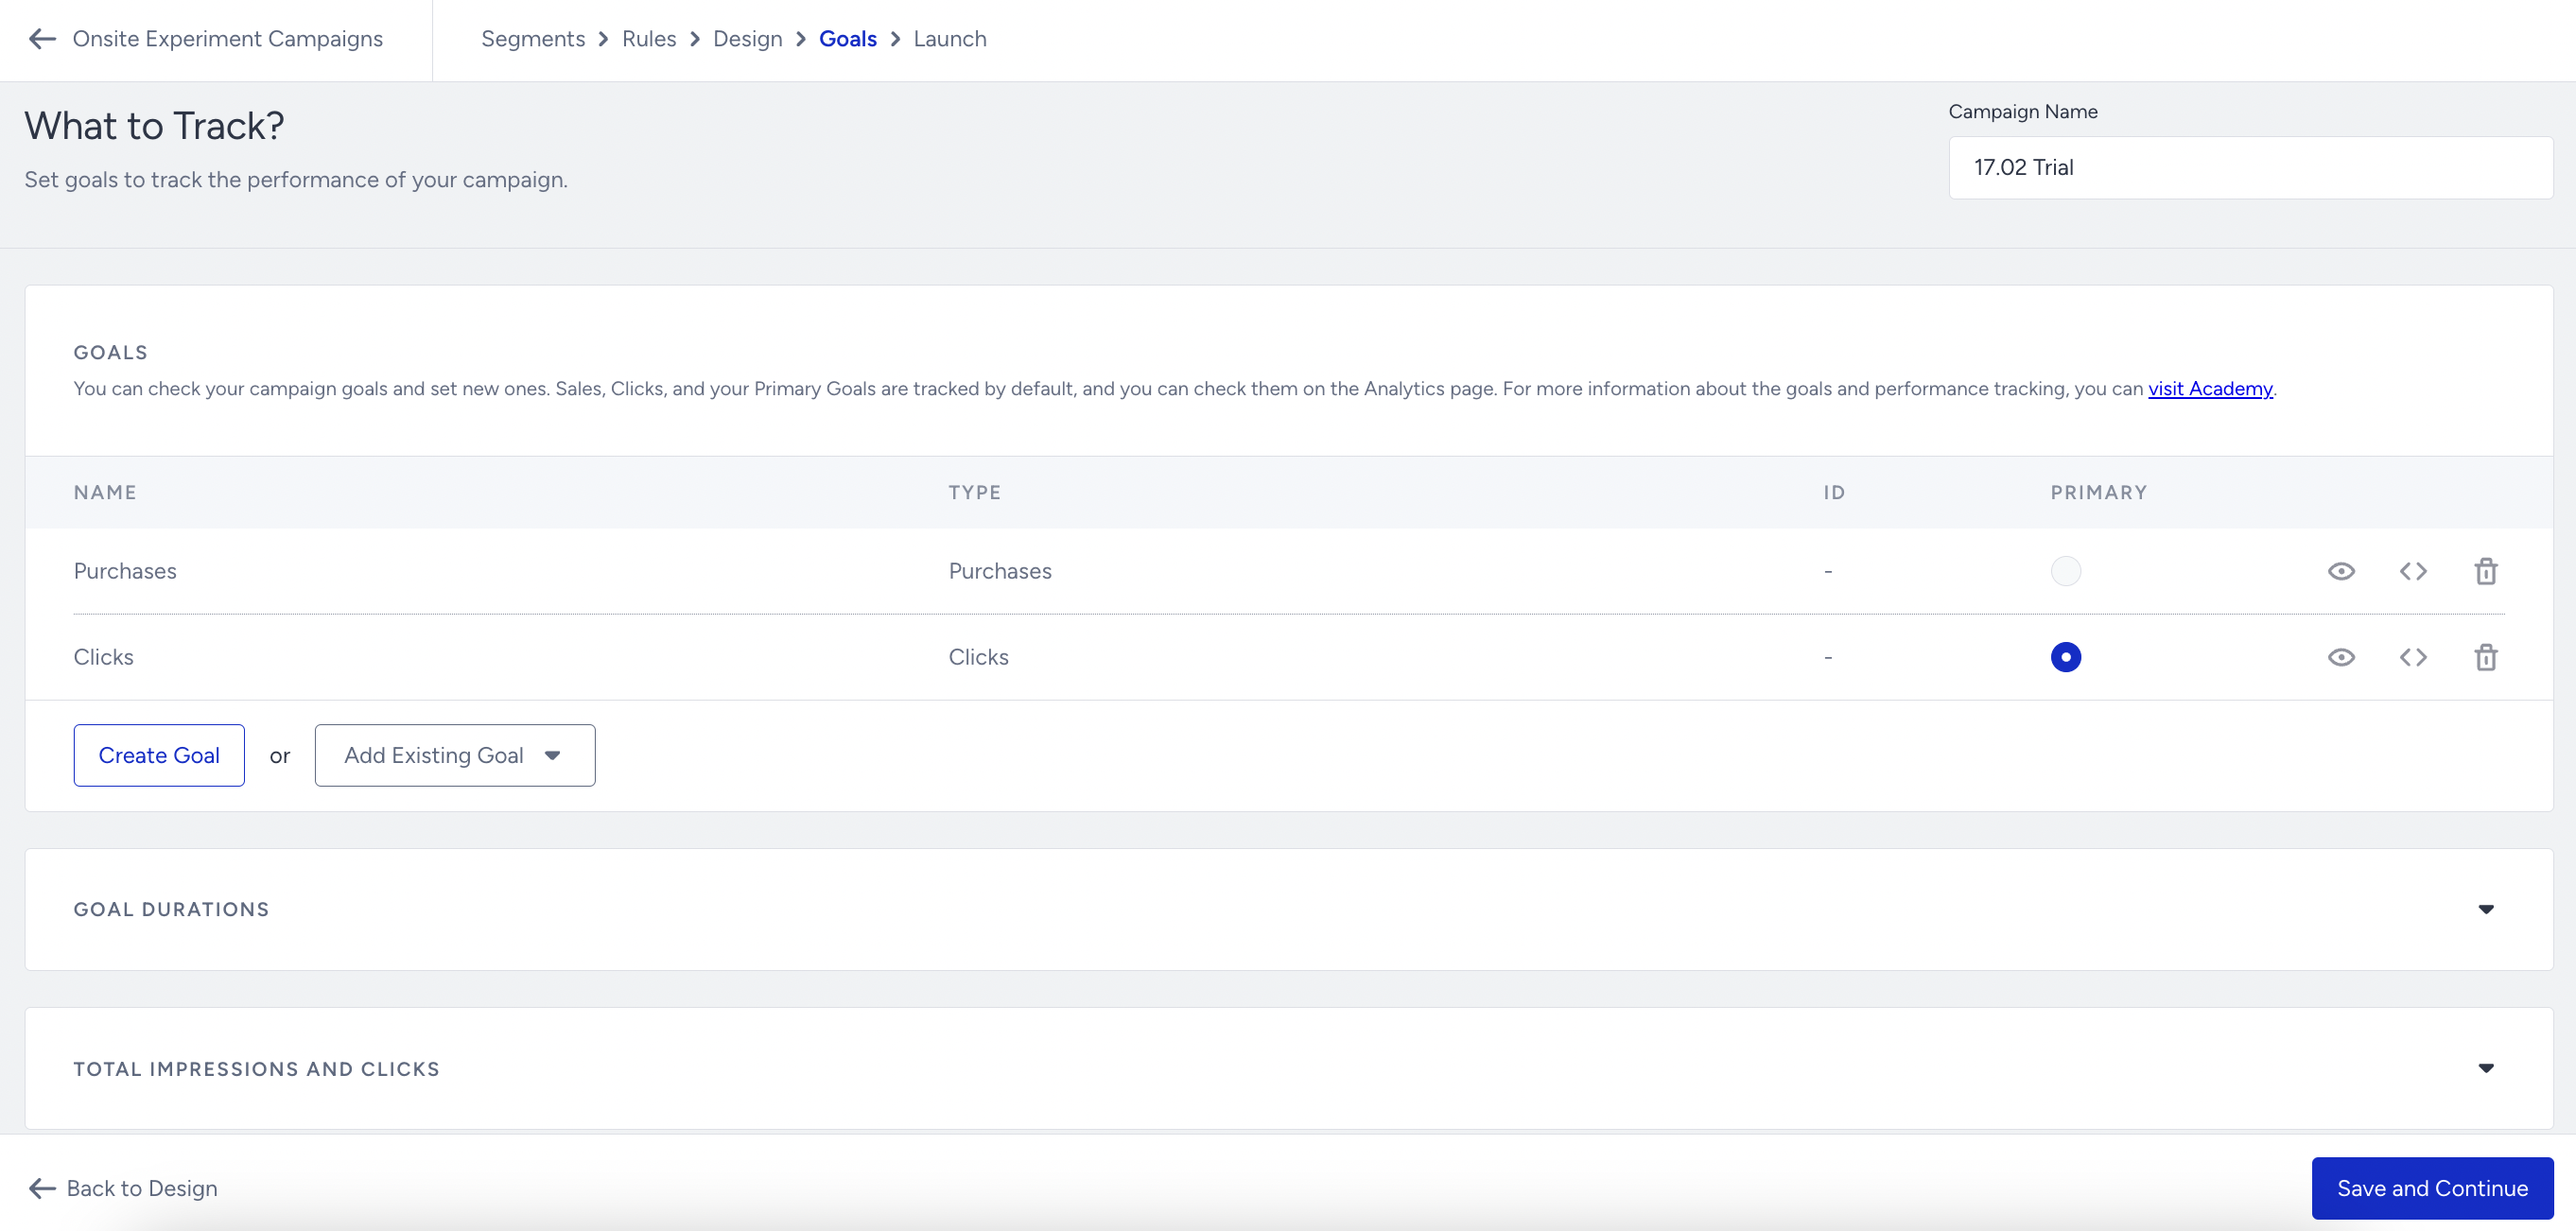
Select your campaign's goal to track its performance. You can also set Goal Durations and enable Total Impressions and Clicks to display the number of Total Impressions per view, instead of Session-Based Impressions, once per session in the campaign analytics. Please note that this change will also impact other related campaign metrics.
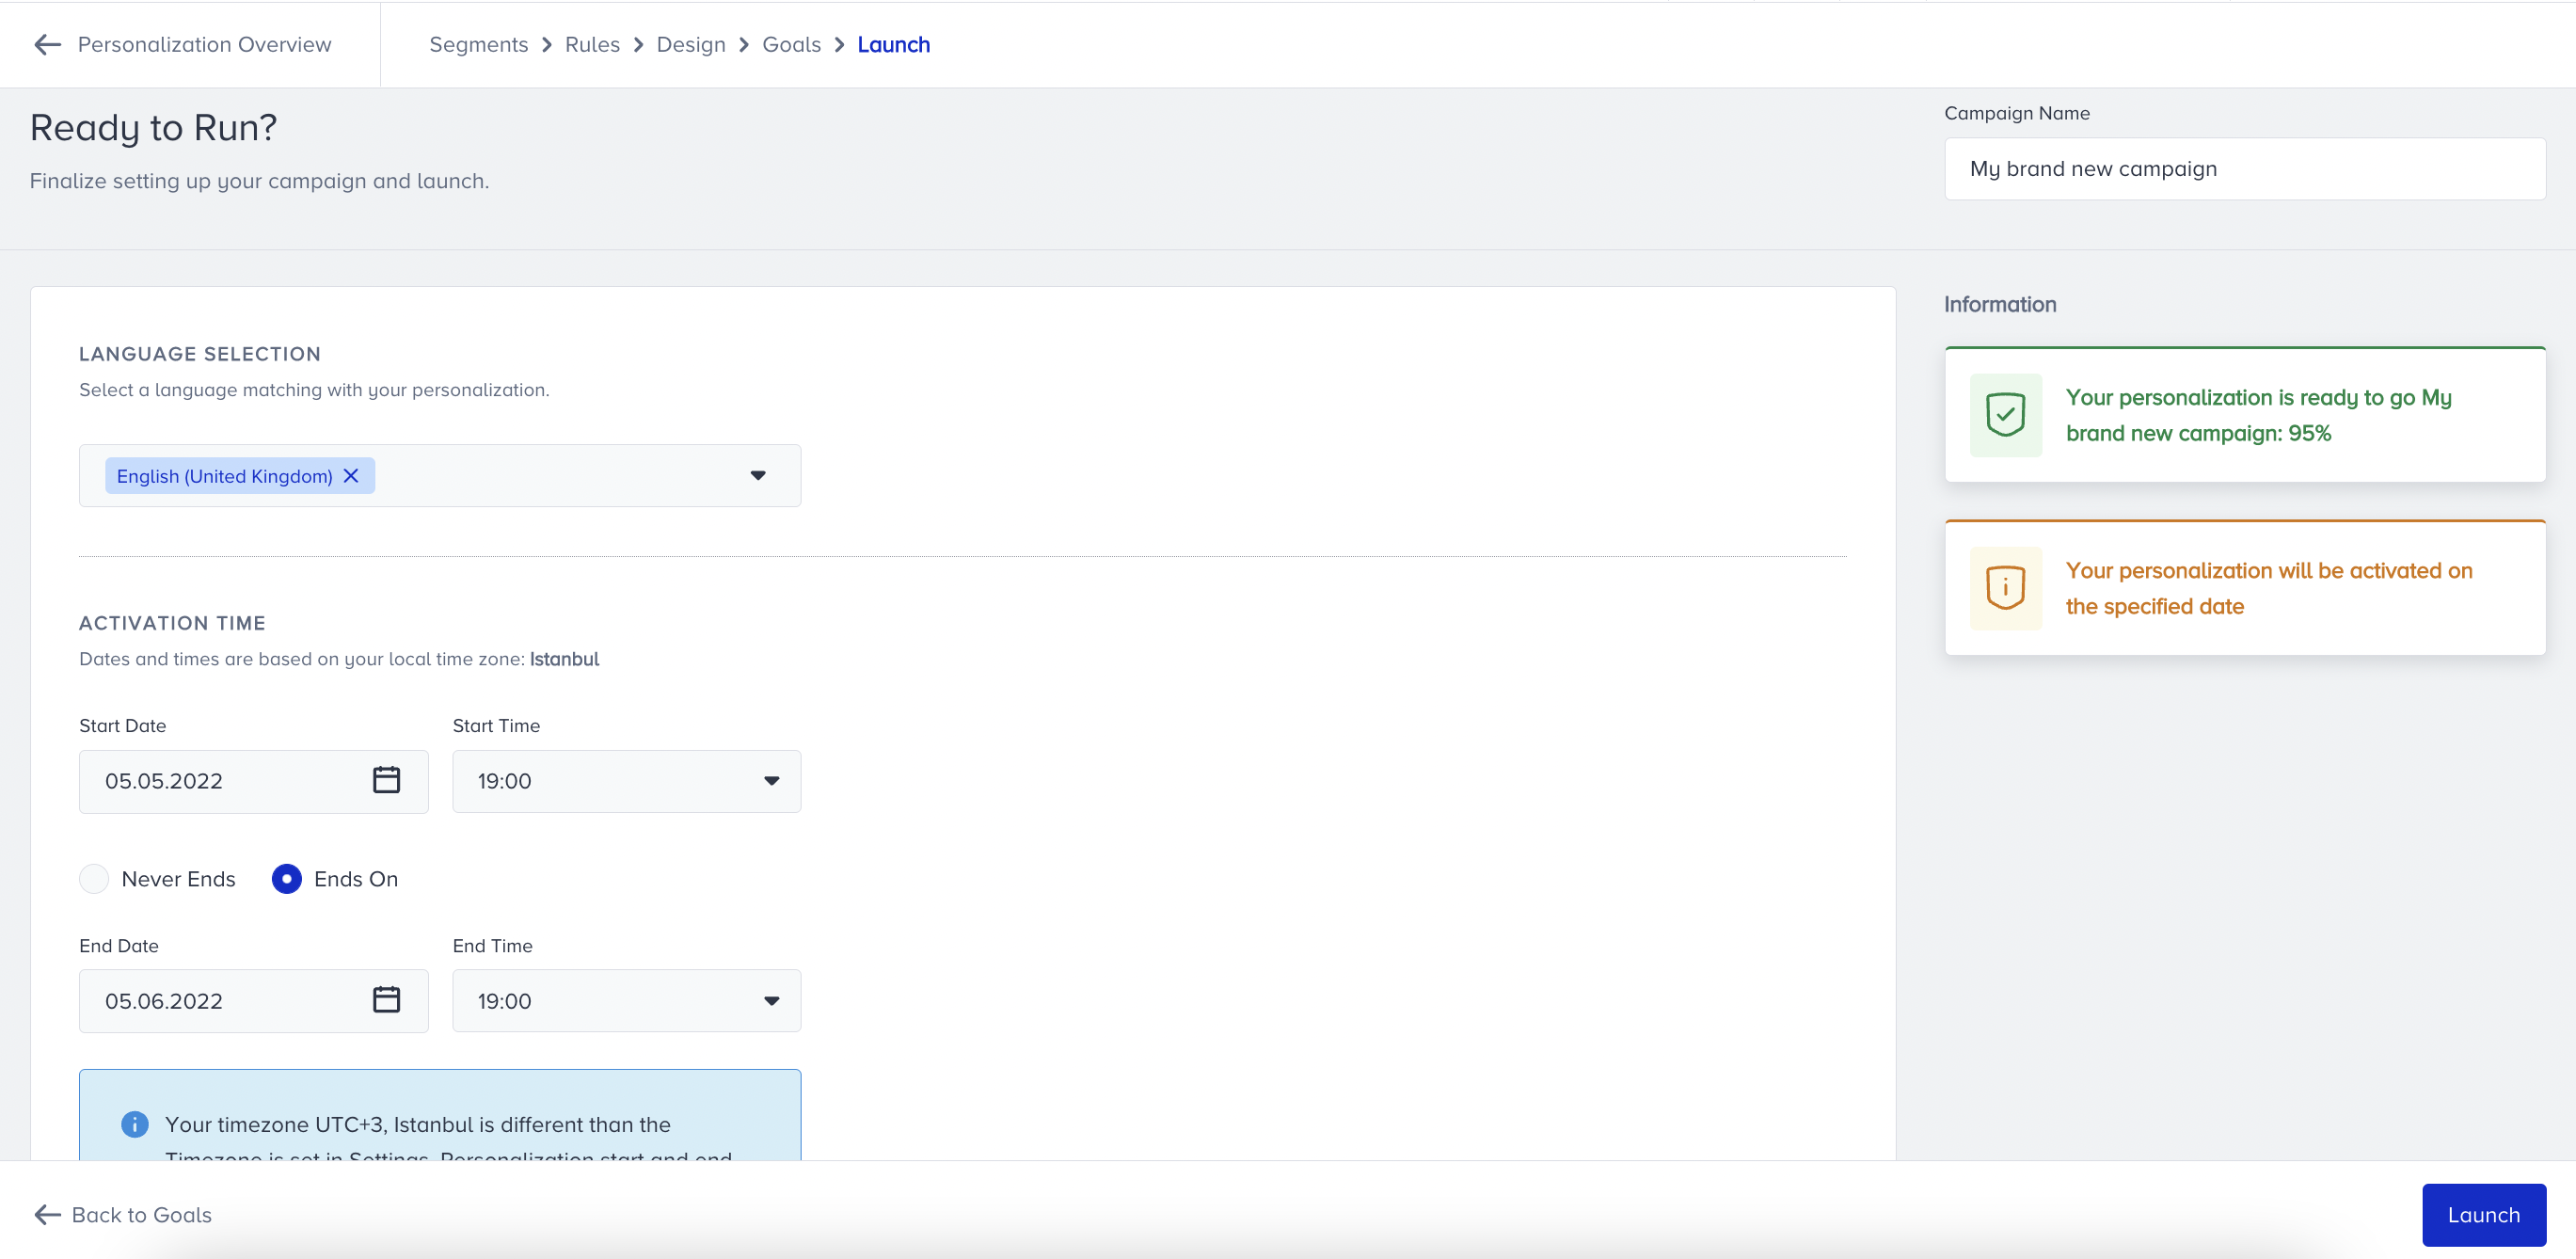
In the Launch step, select the language, set the activation time, display settings, and advanced settings, and write notes if you have any to remind yourself or your team members later.
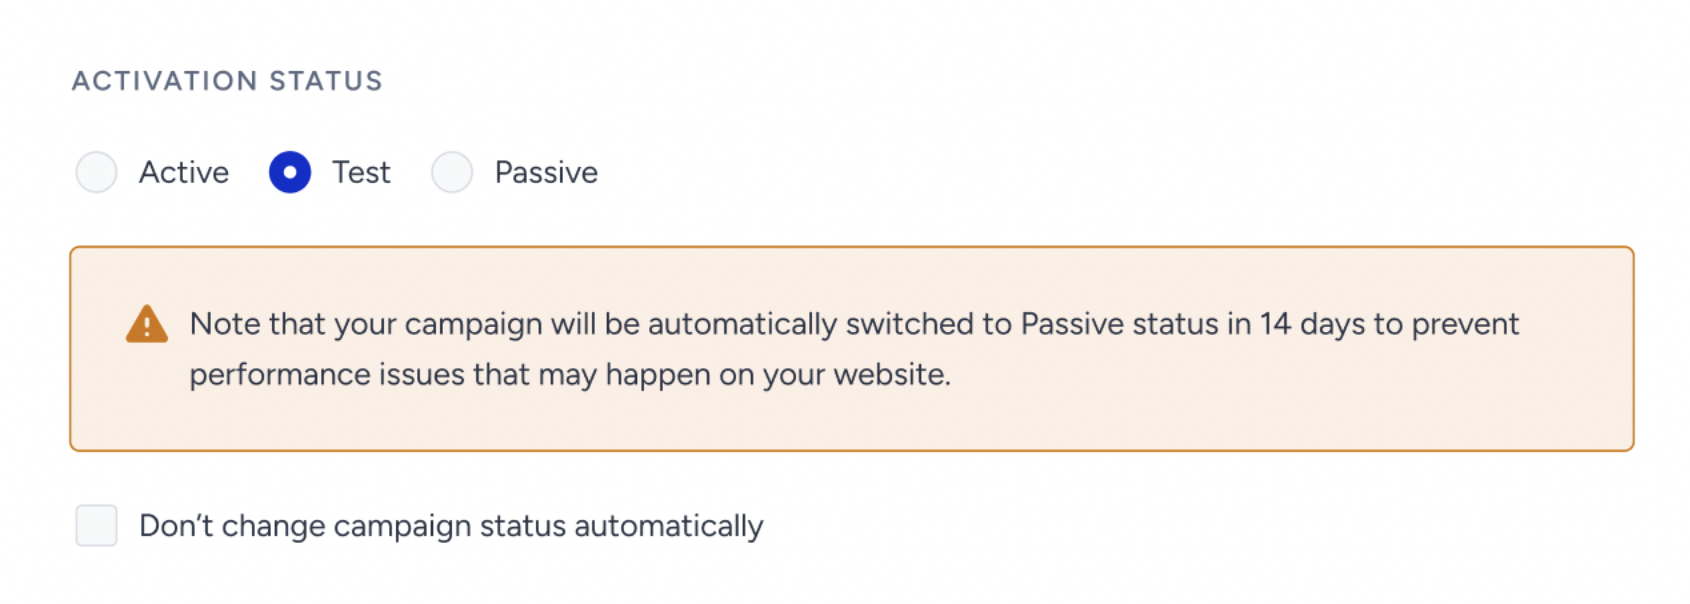
While deciding the activation status of your Onsite Experiment campaign:
Active means that your campaign is active on your website and can be displayed to eligible users. It must be set to Active if you schedule your campaign for a future day or time.
Test means that your campaign is in test mode and cannot be displayed to any user unless they have a test link. We recommend keeping your campaigns in test mode until you are sure their functions are correctly set and ready to go live.
Passive means that your campaign is deactivated and is not displayed to any user. You cannot get any test link for your campaign when it is passive.
As of February 19th, 2025, Test campaigns will be automatically deactivated after 14 days if their status is not updated. To prevent this, you can select the appropriate option in the Launch step.
This change applies only to newly created campaigns. Existing campaigns will not be affected.
When selecting the Test status in the Launch step, a warning message will indicate that the campaign will be deactivated in 14 days.
To disable automatic deactivation, simply check the box below the warning.
For campaigns that remain in Test status beyond 14 days, an informational message will appear in the Details Modal on the listing page.
Under Information, you will also see notes about your campaign and whether all is ready to start. When you are ready, click Launch to run your campaign.