Onsite Experiment helps you add images that are not already on your website.
You can add your image(s) by uploading an image from your computer or selecting one from the Image Library. While adding your image, you can see its preview and select its placement.
To choose the image's placement, go to the dropdown menu under Location.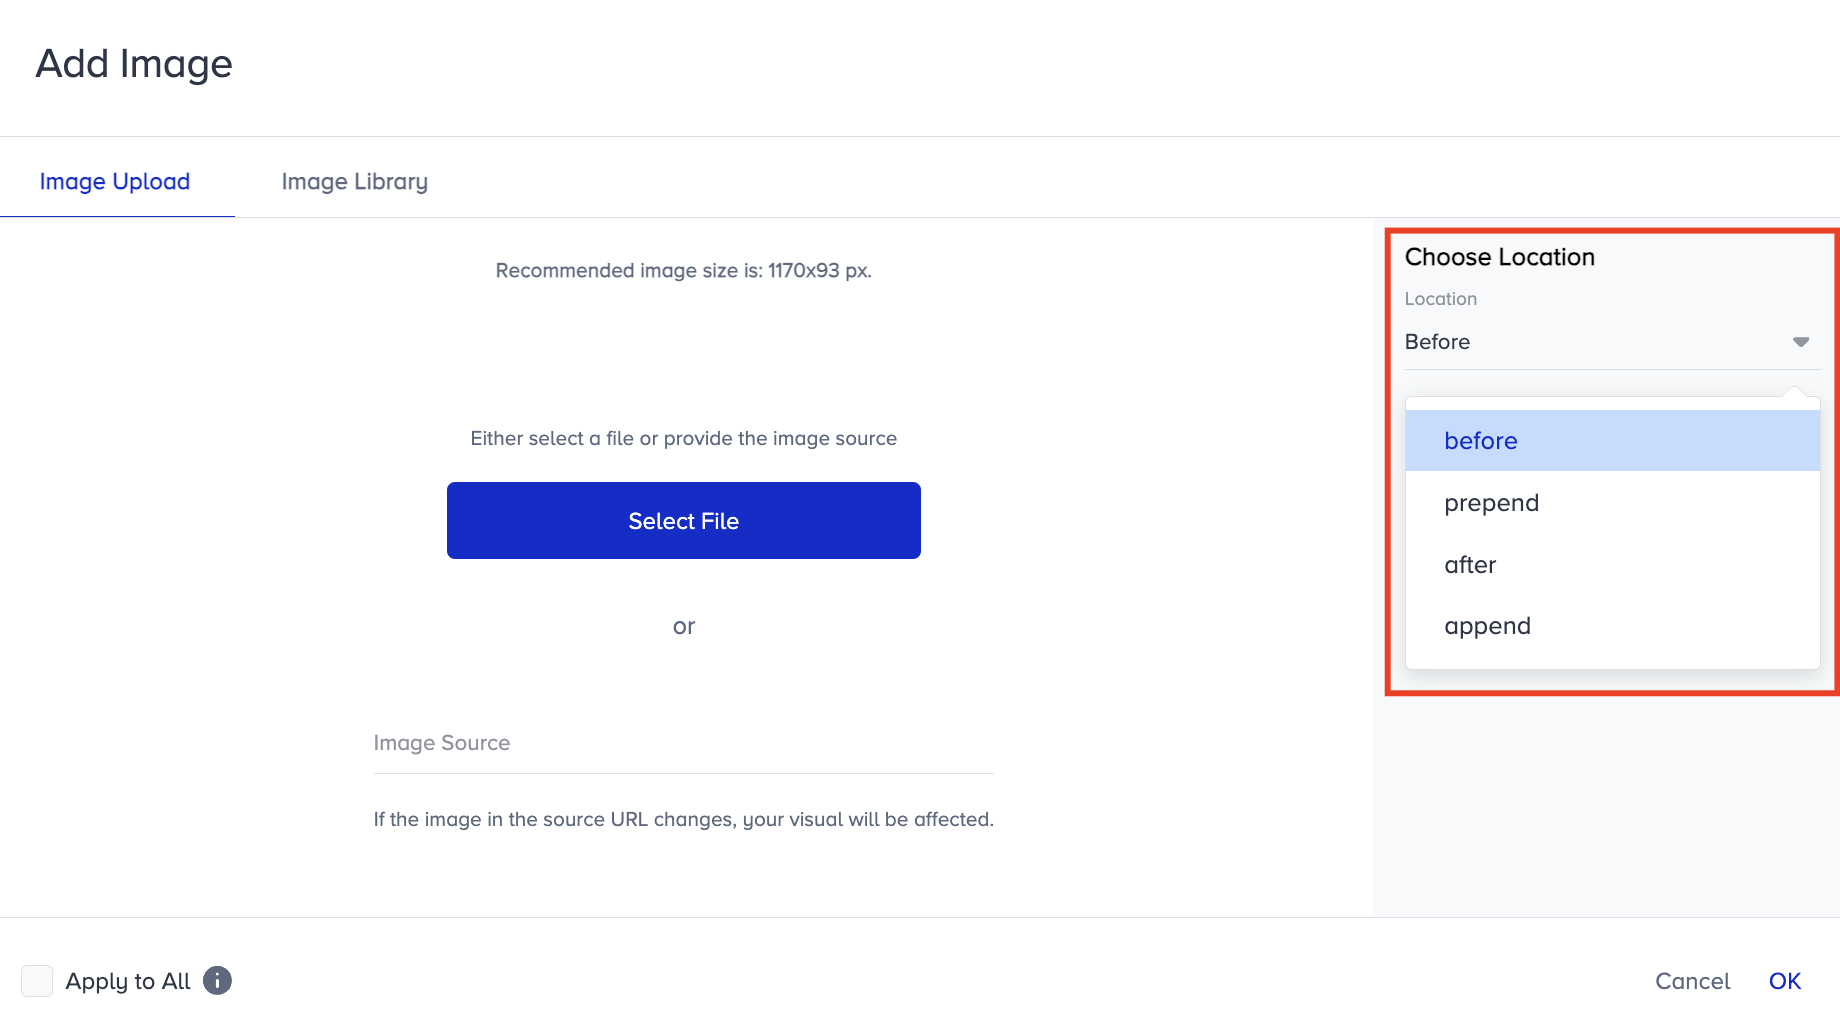
Before: This option refers to placing an element or content before the selected element in the HTML document's structure. It inserts the content immediately before the selected element in the Document Object Model (DOM). So, it appears as a sibling element placed just before the selected element.
Prepend: This option refers to adding content inside the selected element, but at the beginning of its existing content. It inserts content inside the selected element, but at the beginning of its existing content. Thus, it becomes the first child element within the selected element.
After: This option refers to placing an element or content after the selected element in the HTML document's structure. It inserts content immediately after the selected element in the Document Object Model (DOM). So, it appears as a sibling element placed just after the selected element.
Append: This refers to adding content inside the selected element, but at the end of its existing content. It inserts content inside the selected element, but at the end of its existing content. So, it becomes the last child element within the selected element.
The main difference between "before/after" and "prepend/append" is where the content is inserted relative to the selected element.