Suggested Reading:
A/B testing is a method that helps you compare different versions to determine which one drives more conversions. The logic of A/B testing is to compare the control group (A), which reflects the original website, with variants (B or n) that include customized elements to determine which types of changes drive users to higher conversion/engagement or a given goal. For this reason, A/B tests are vital, as they reduce the impact of subjectivity on decisions and enhance data-driven decision-making. The most optimal solution is the winning variant that gets the most desired results. Optimizing the website based on the results of this A/B test and implementing the changes from the winning variant can help you build a more qualified website.
If you think that applying A/B testing is crucial for more successful websites, then the Onsite Experiment will definitely help you.
In this article, you can find answers to the following questions:
The benefits of using Onsite Experiment
Onsite Experiment is an A/B testing product that enables personalization, optimization, and testing processes with a wide range of features.
With Onsite Experiment, you can test multiple variations of an element of your website to find the best possible version. For this reason, it improves user experience and motivates them to spend more time on your website.
Since Onsite Experiment provides data-driven outputs, you can quickly determine a “winner” and a “loser” based on statistically significant improvements in metrics.
Make changes via Onsite Experiment
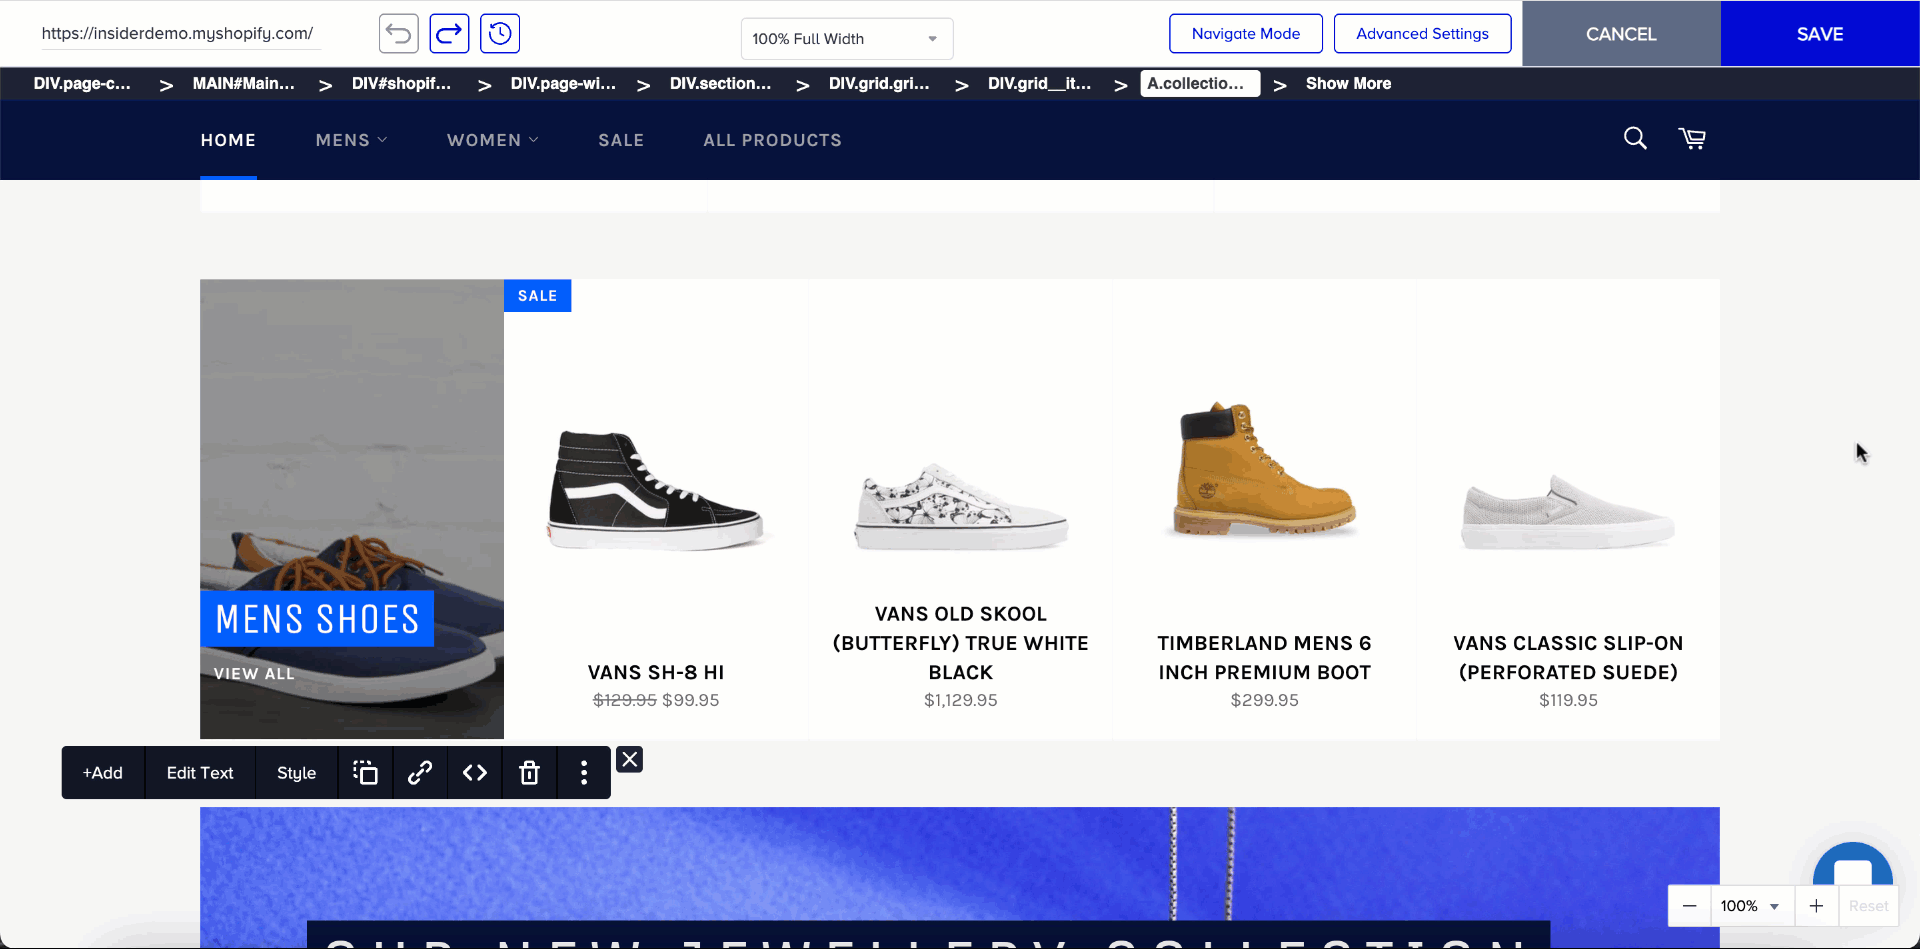
Onsite Experiment has features to make UI changes, such as adding a new image, removing a native element, changing the placement of elements, duplicating an element, adding links, or editing texts. These examples will help you dive into more details.
You think your campaign announcement can attract more users if you include an image. You can create an A/B test by adding the image via the Onsite Experiment.
Then, you realize that the announcement page already has images, but you want to show fewer. You can easily remove the existing image with just one click.
.gif)
Since the new image represents a new concept, you can also change the explanation. You can delete all the text and rewrite it, or update some parts with new information.
.gif)
Changing the layout and adding new text breaks the page's responsiveness due to the image size. We highly recommend using a smaller image for a better experience. You don't need to find another image; you can easily resize it in the panel.
.gif)
Find elements easily in Onsite Experiment
Assume you select an element to customize, but you are unsure which class to target in HTML. In this case, you can choose the parent or the child element in the element tree. You can consider each HTML document as a tree of elements. It includes parent or child elements in this tree:
A parent is an element directly above and contains another element in the document tree.
A child is an element directly below and connected to an element in the document tree.
Move your changes from one element to another element in Onsite Experiment
You make changes and ensure you target the correct element. You can assign all the changes you have applied to an element to other elements via the CSS selector..gif)
Now, save your design and allocate traffic to your variants so they are seen by your users. Then, you can examine the results and decide to make permanent changes to your website design.