Onsite Experiment is an A/B testing product that helps you make UI changes on your website. It can also help you update your website's banners.
Please remember that each website has its own structure and HTML tree, and different configurations might be required to make a change. That’s why the steps explained in this article might not suit you if your website has different settings.
To update the banner area, you can refer to the different options below:
Replace the image with the Style Settings
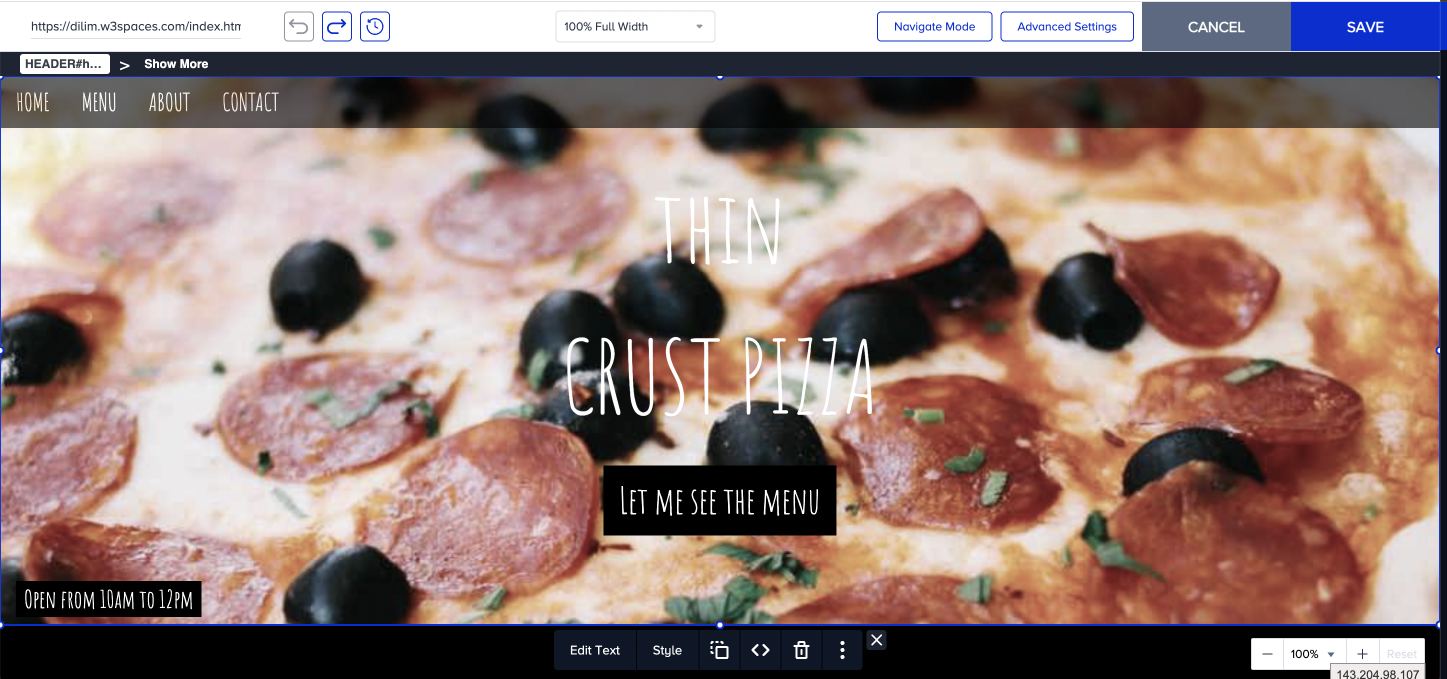
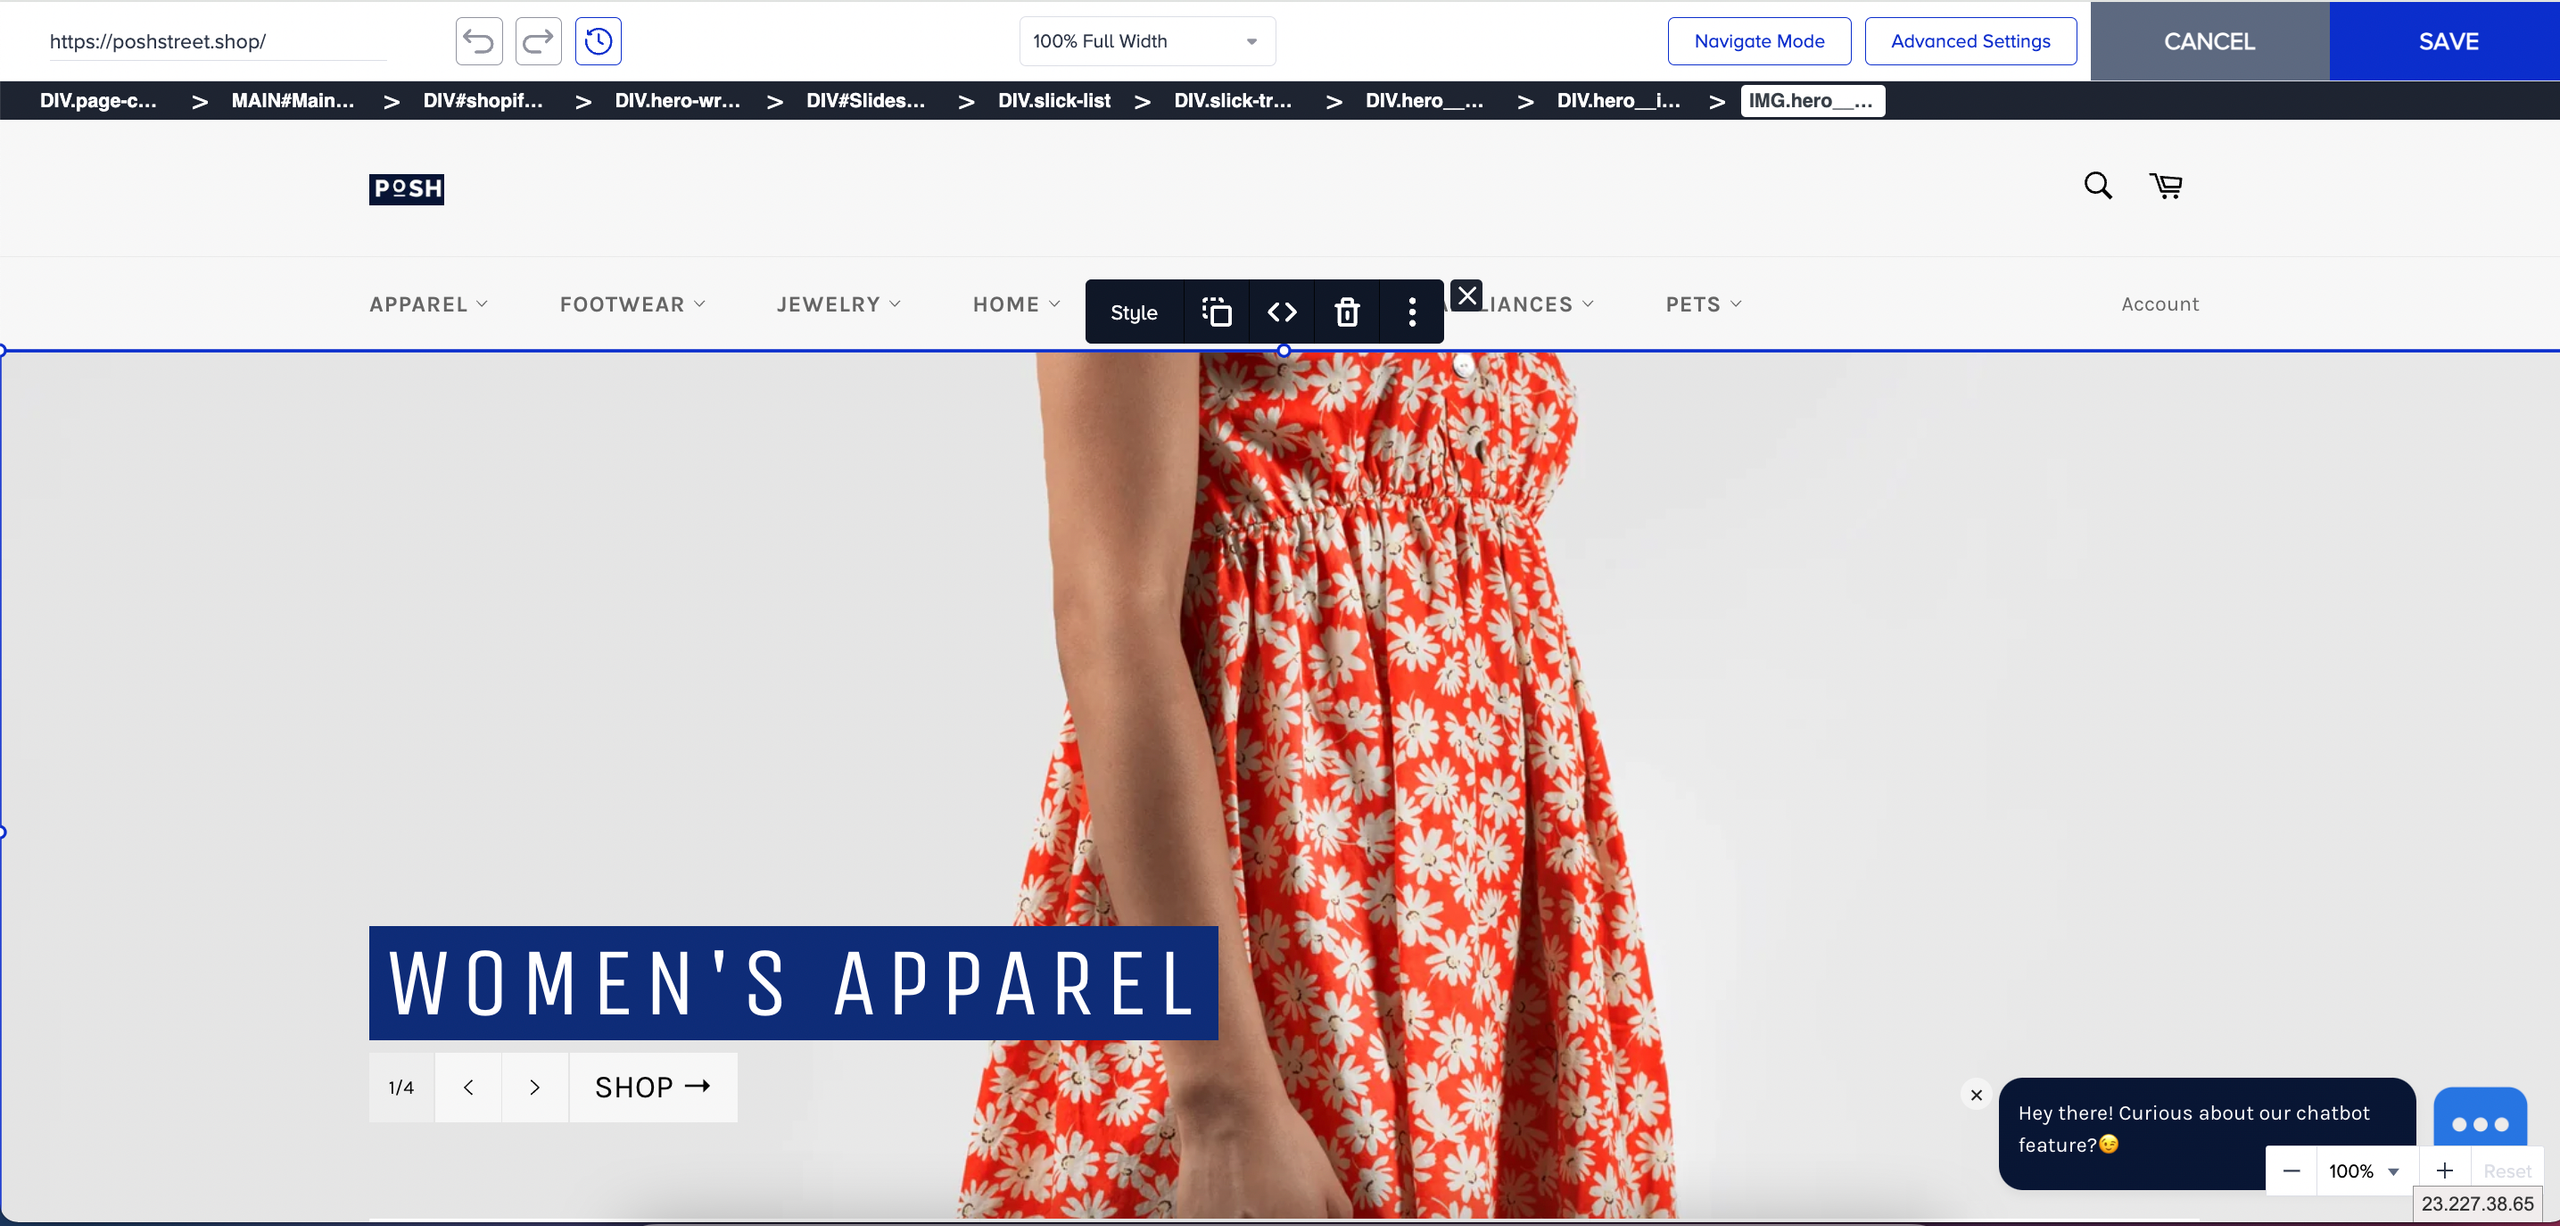
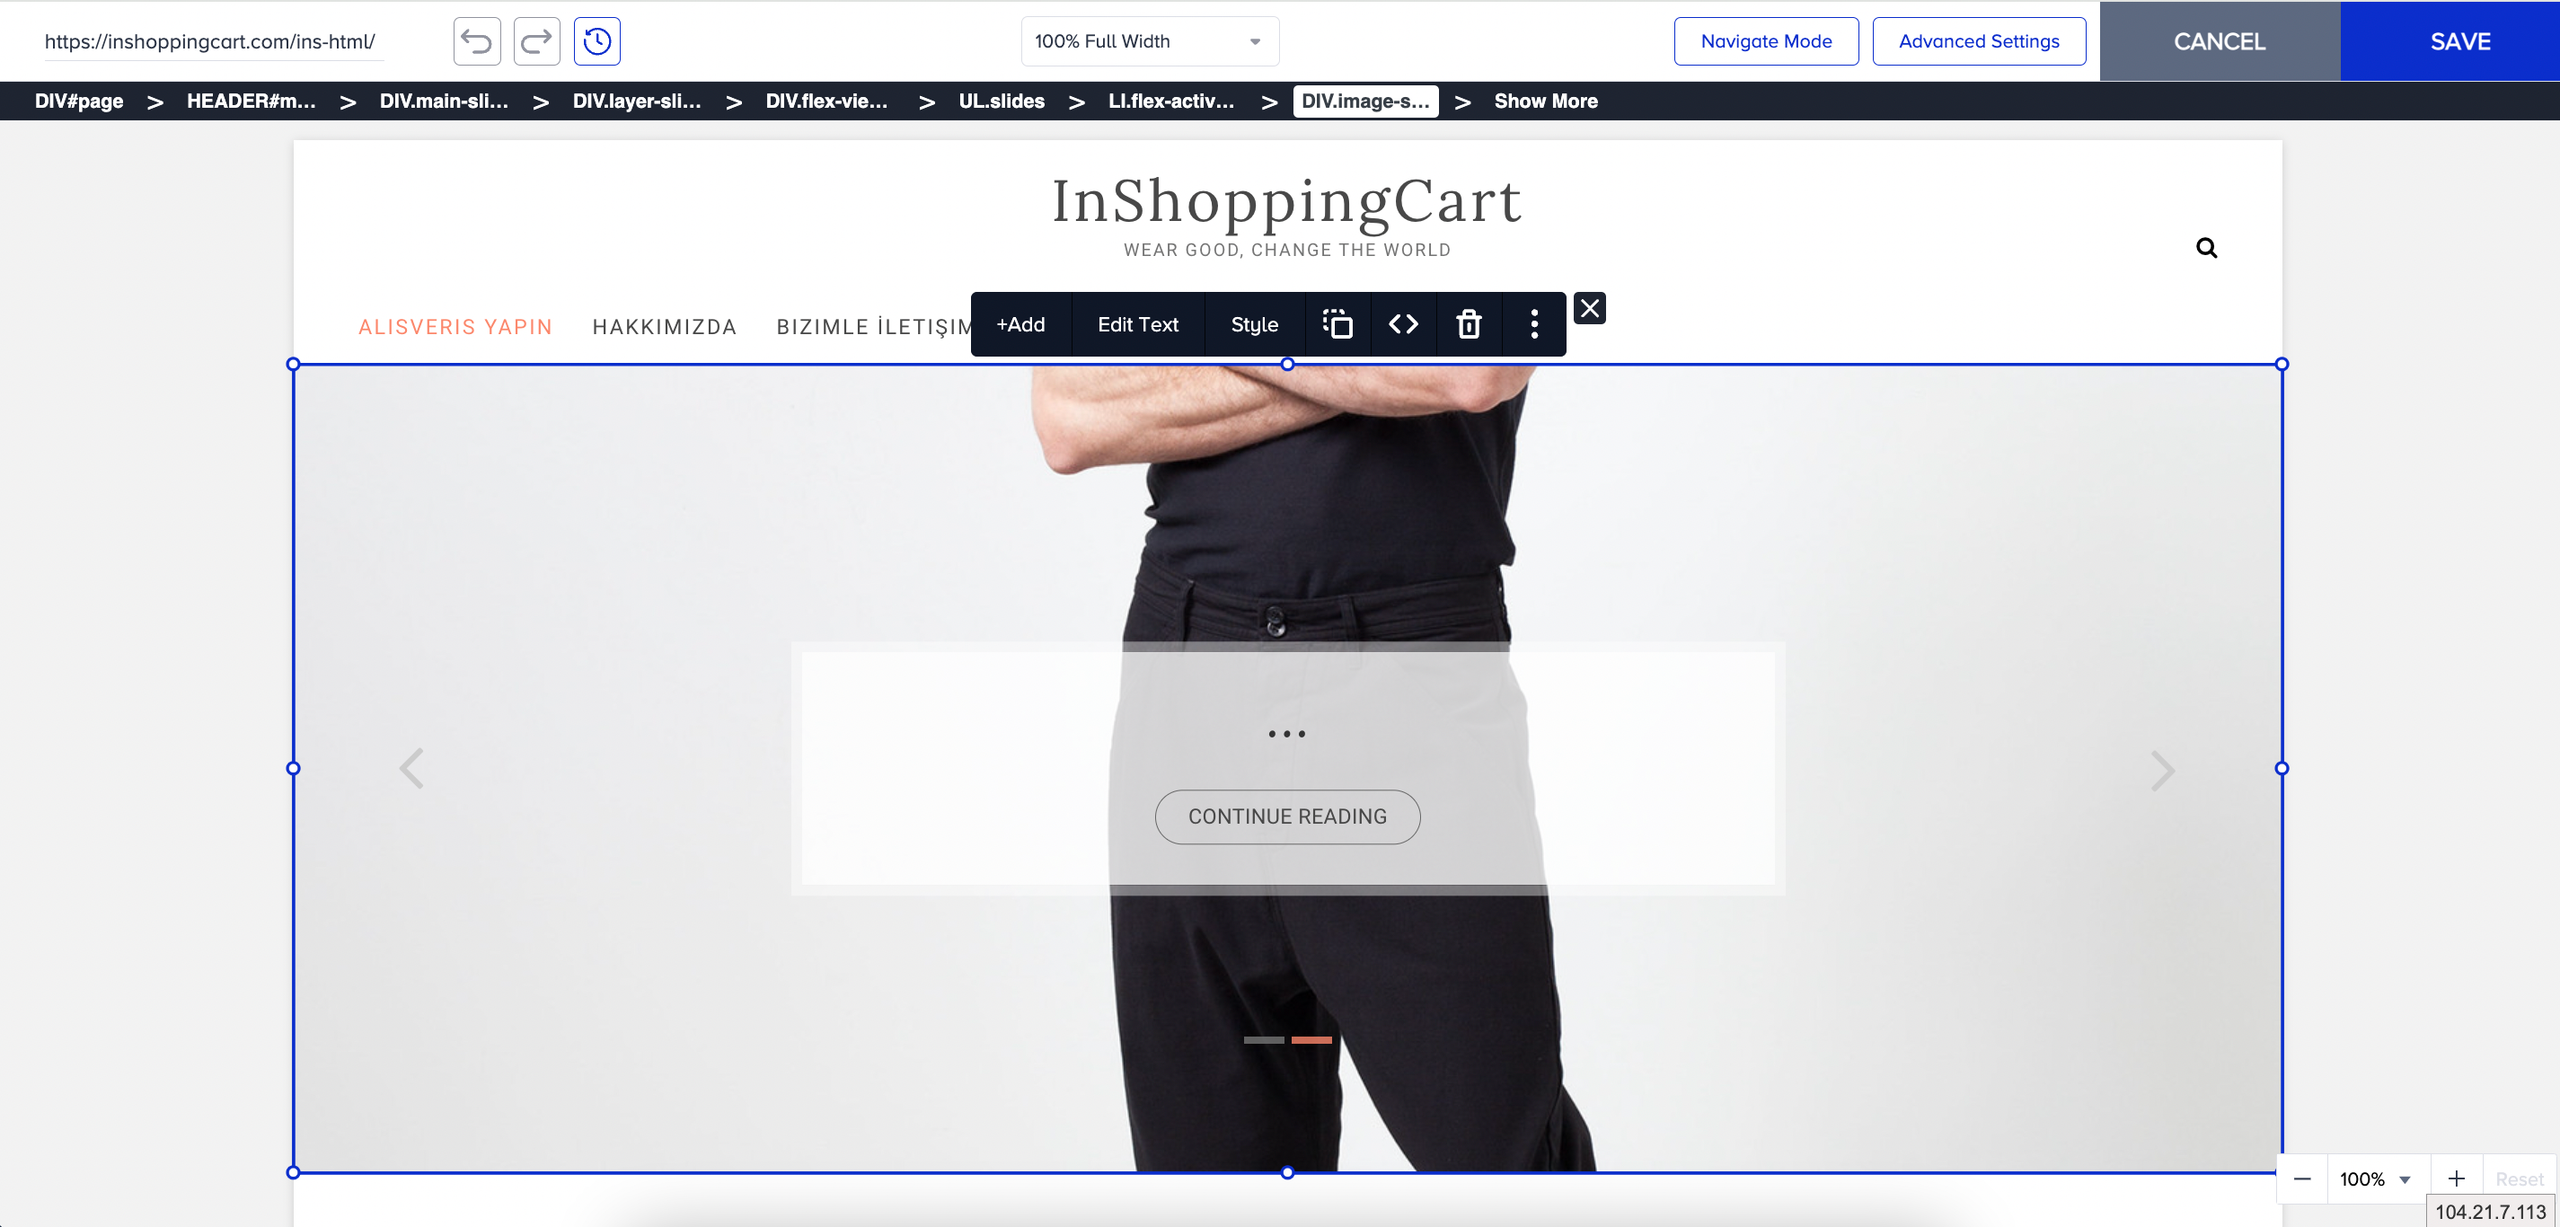
Select the banner image.
Click on the Style menu.
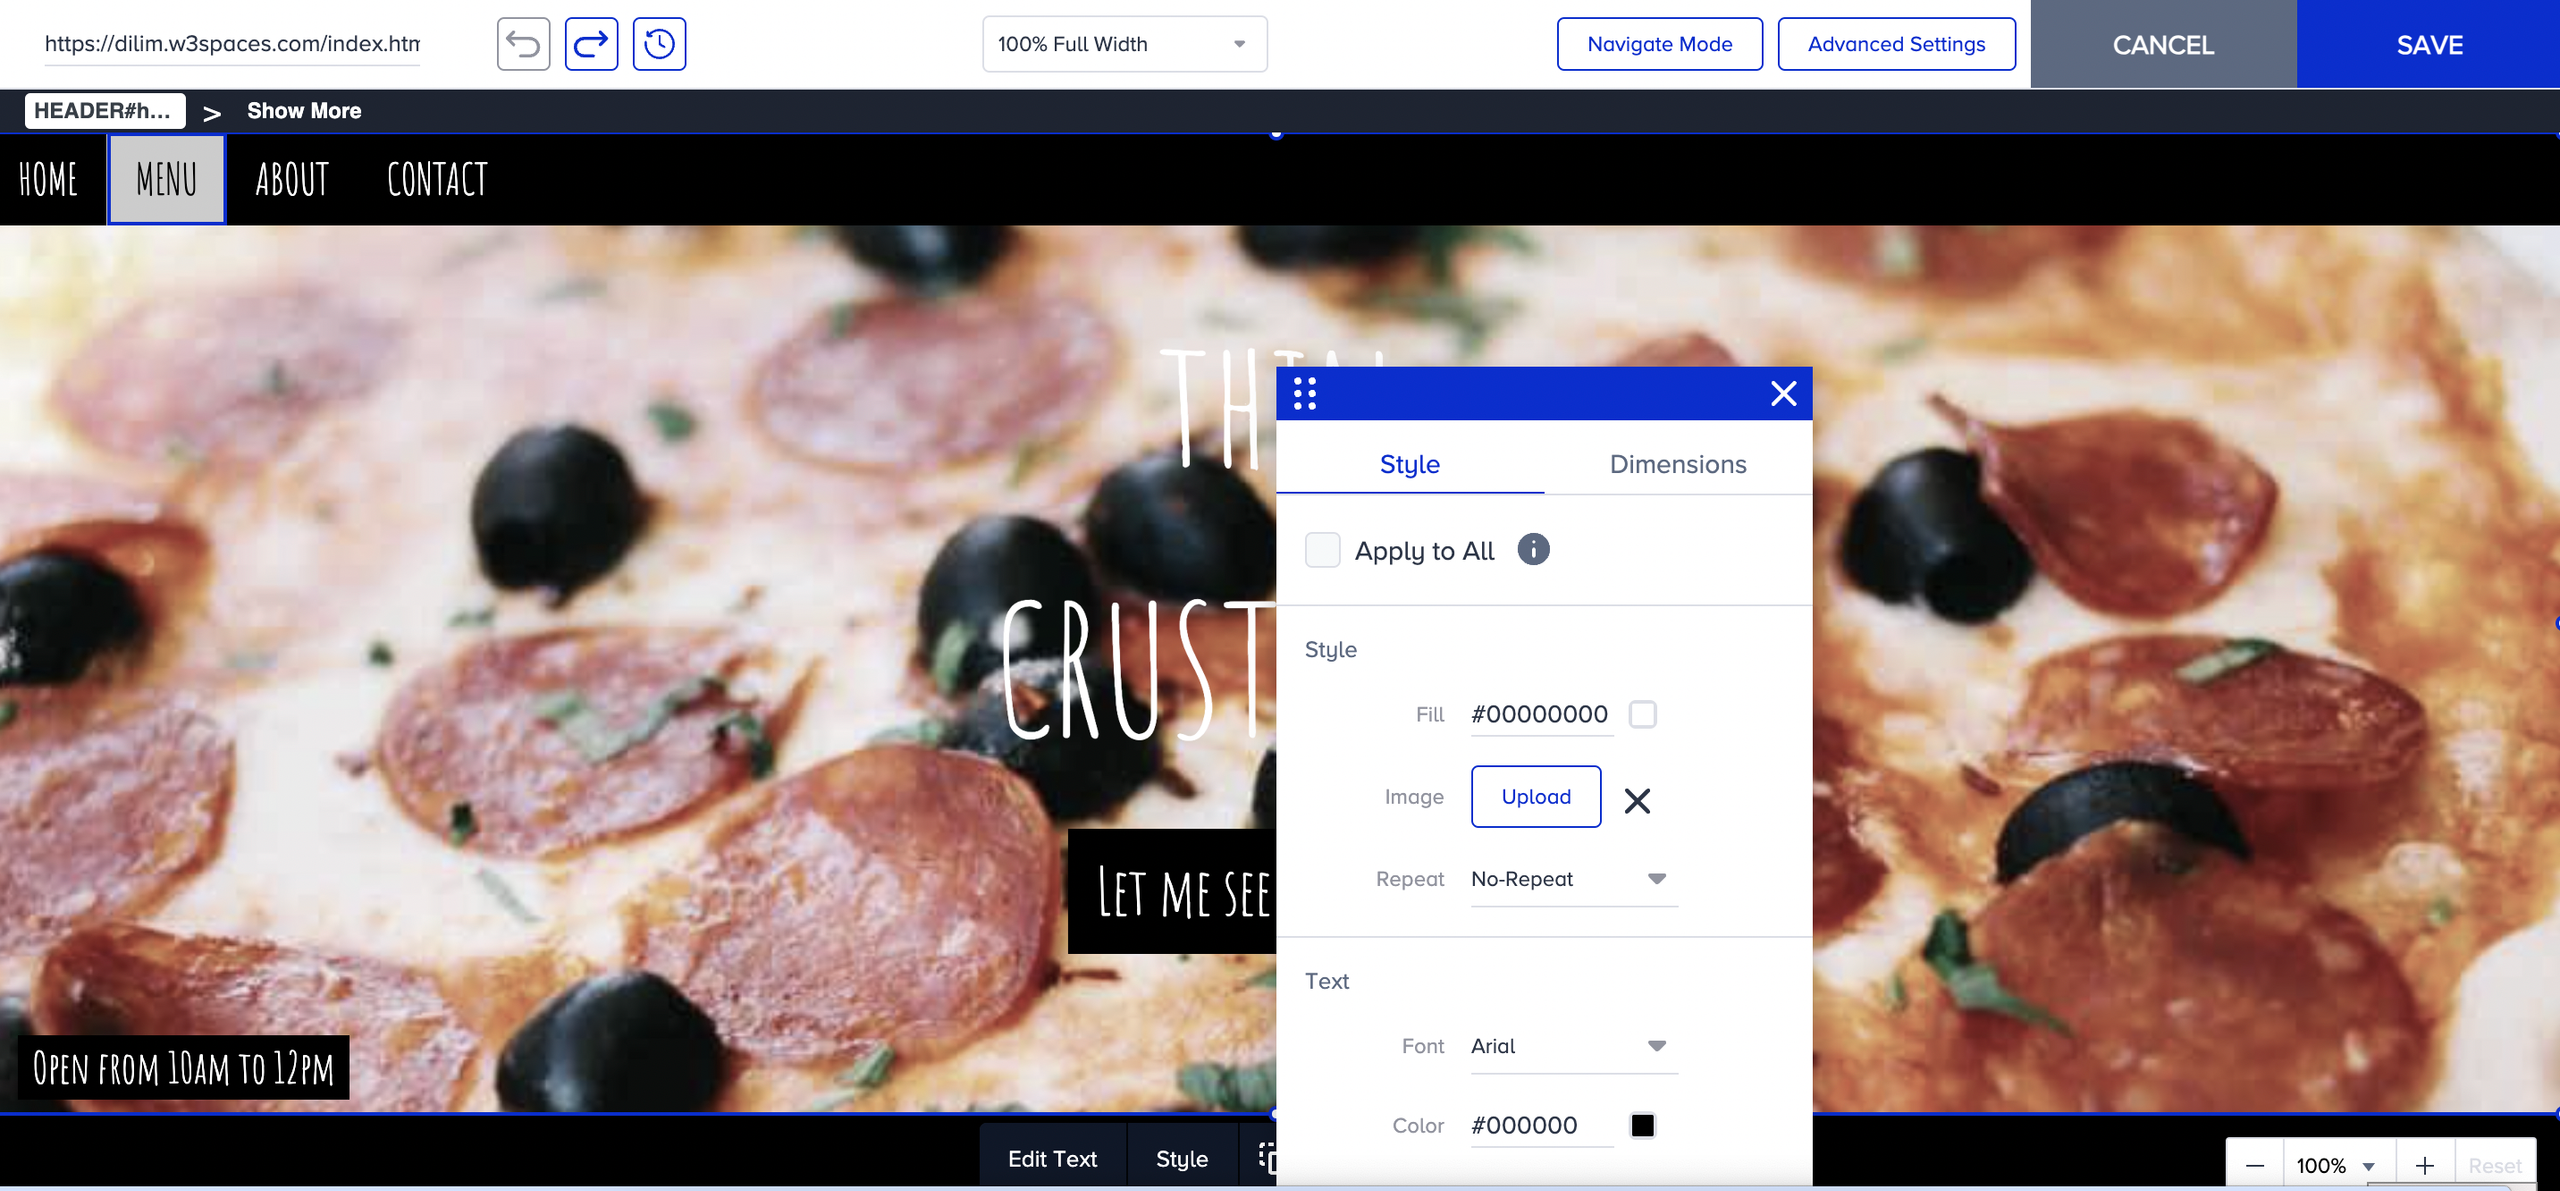
Click the Image Upload button and open the Image Library.
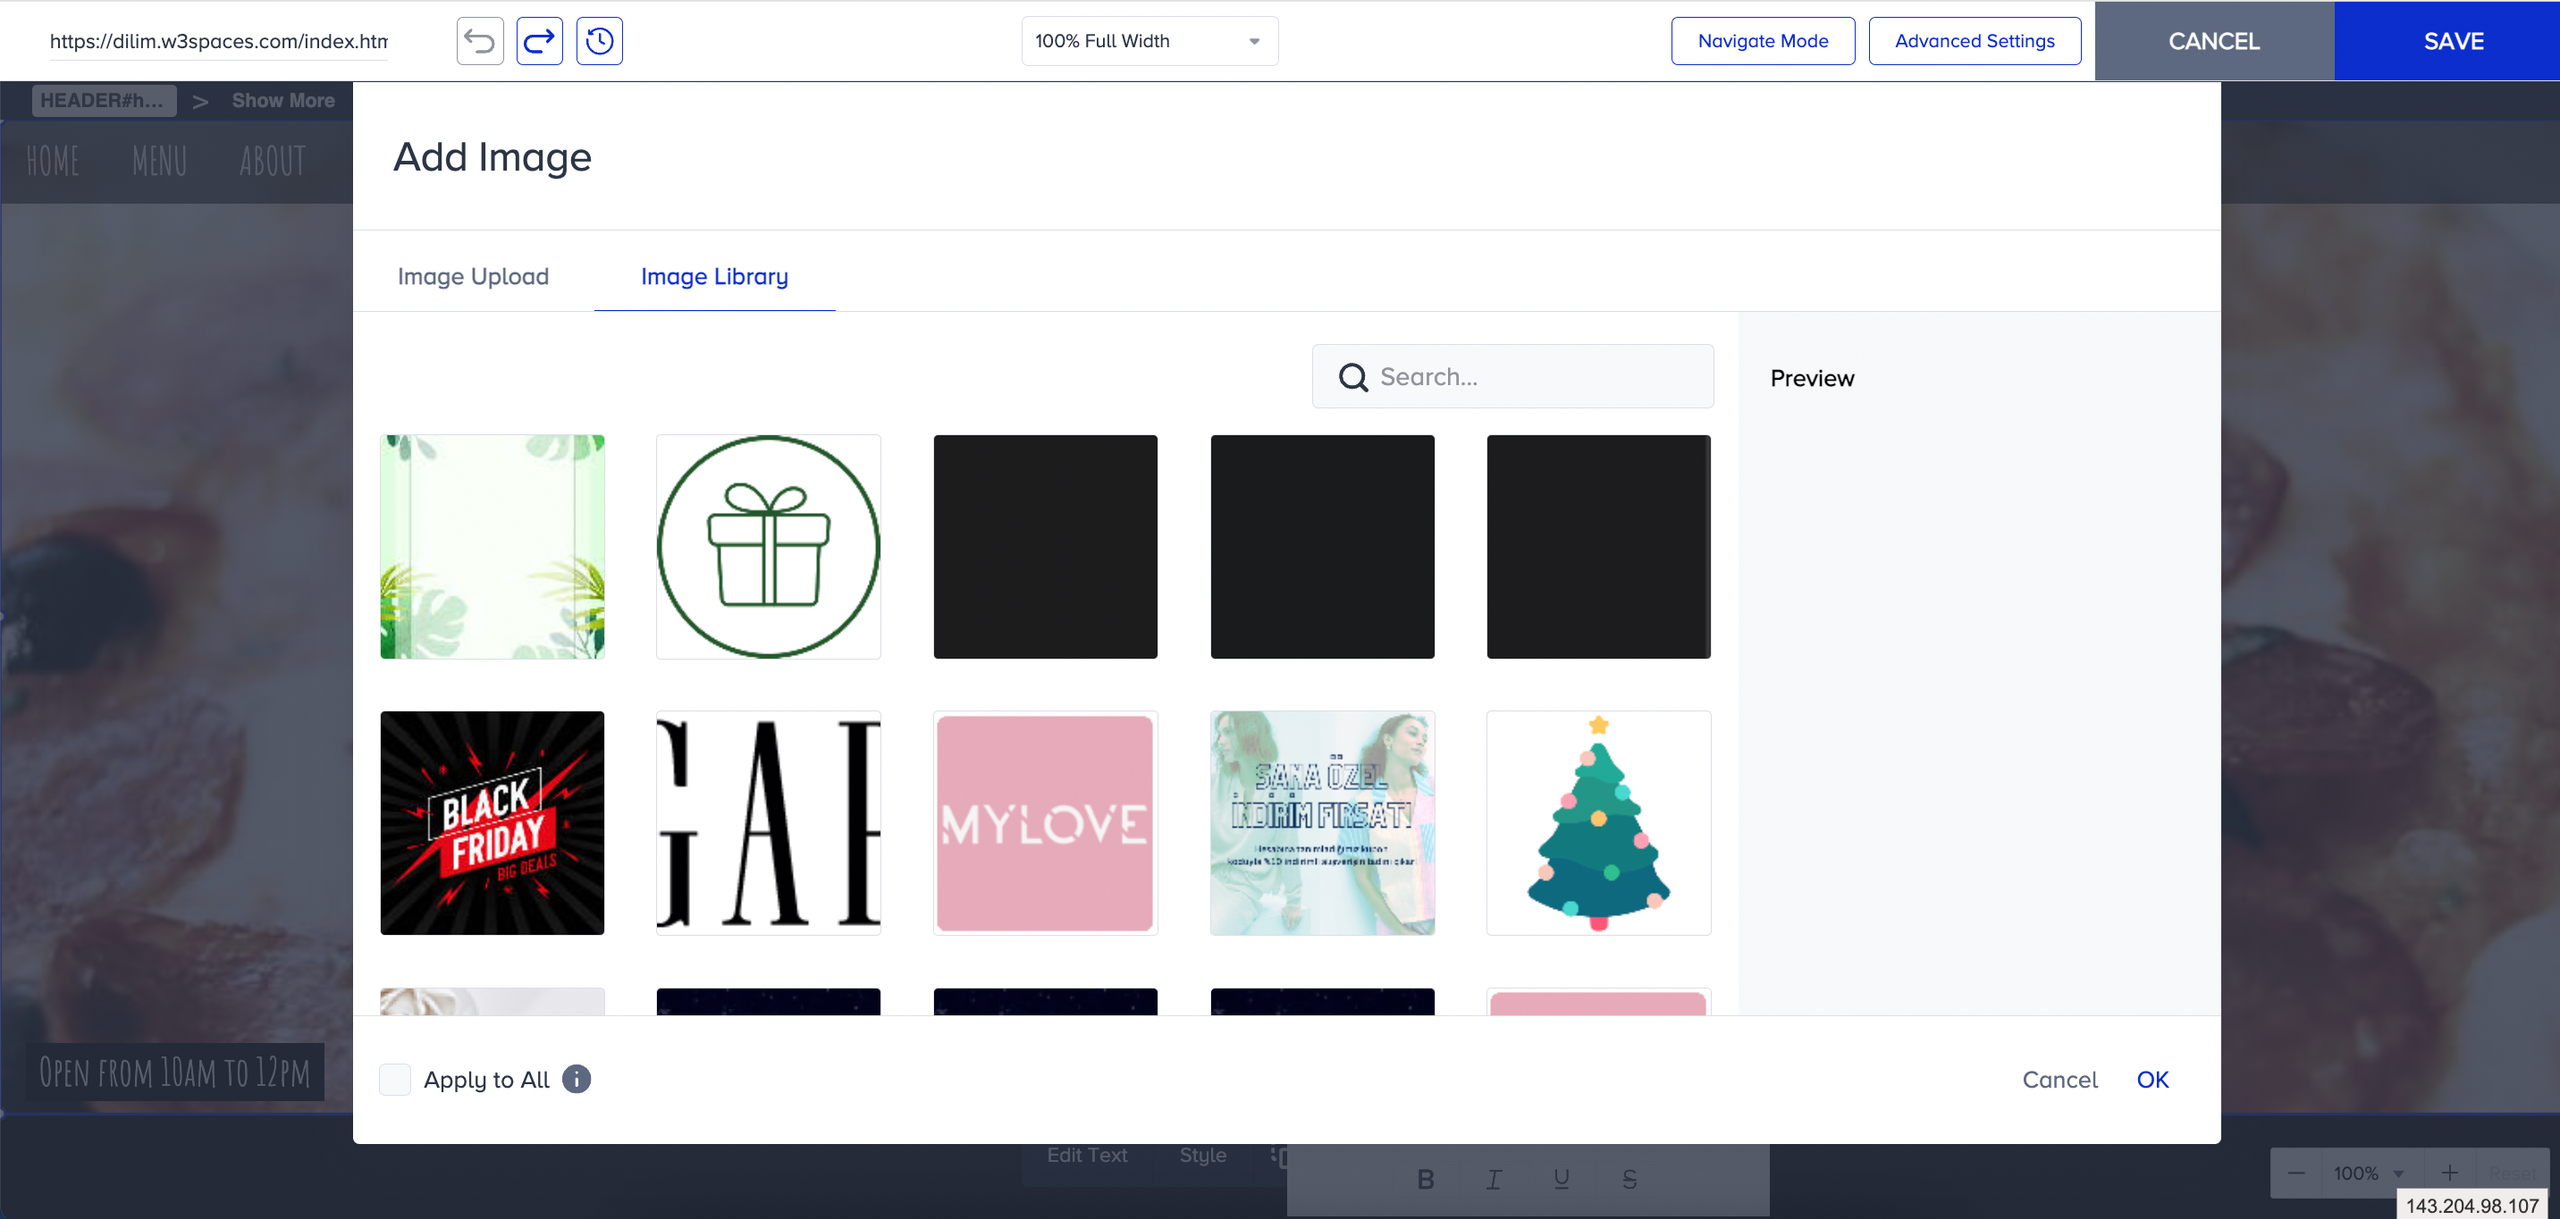
Select the image you want to display, or upload a new one from your device, then save the changes.
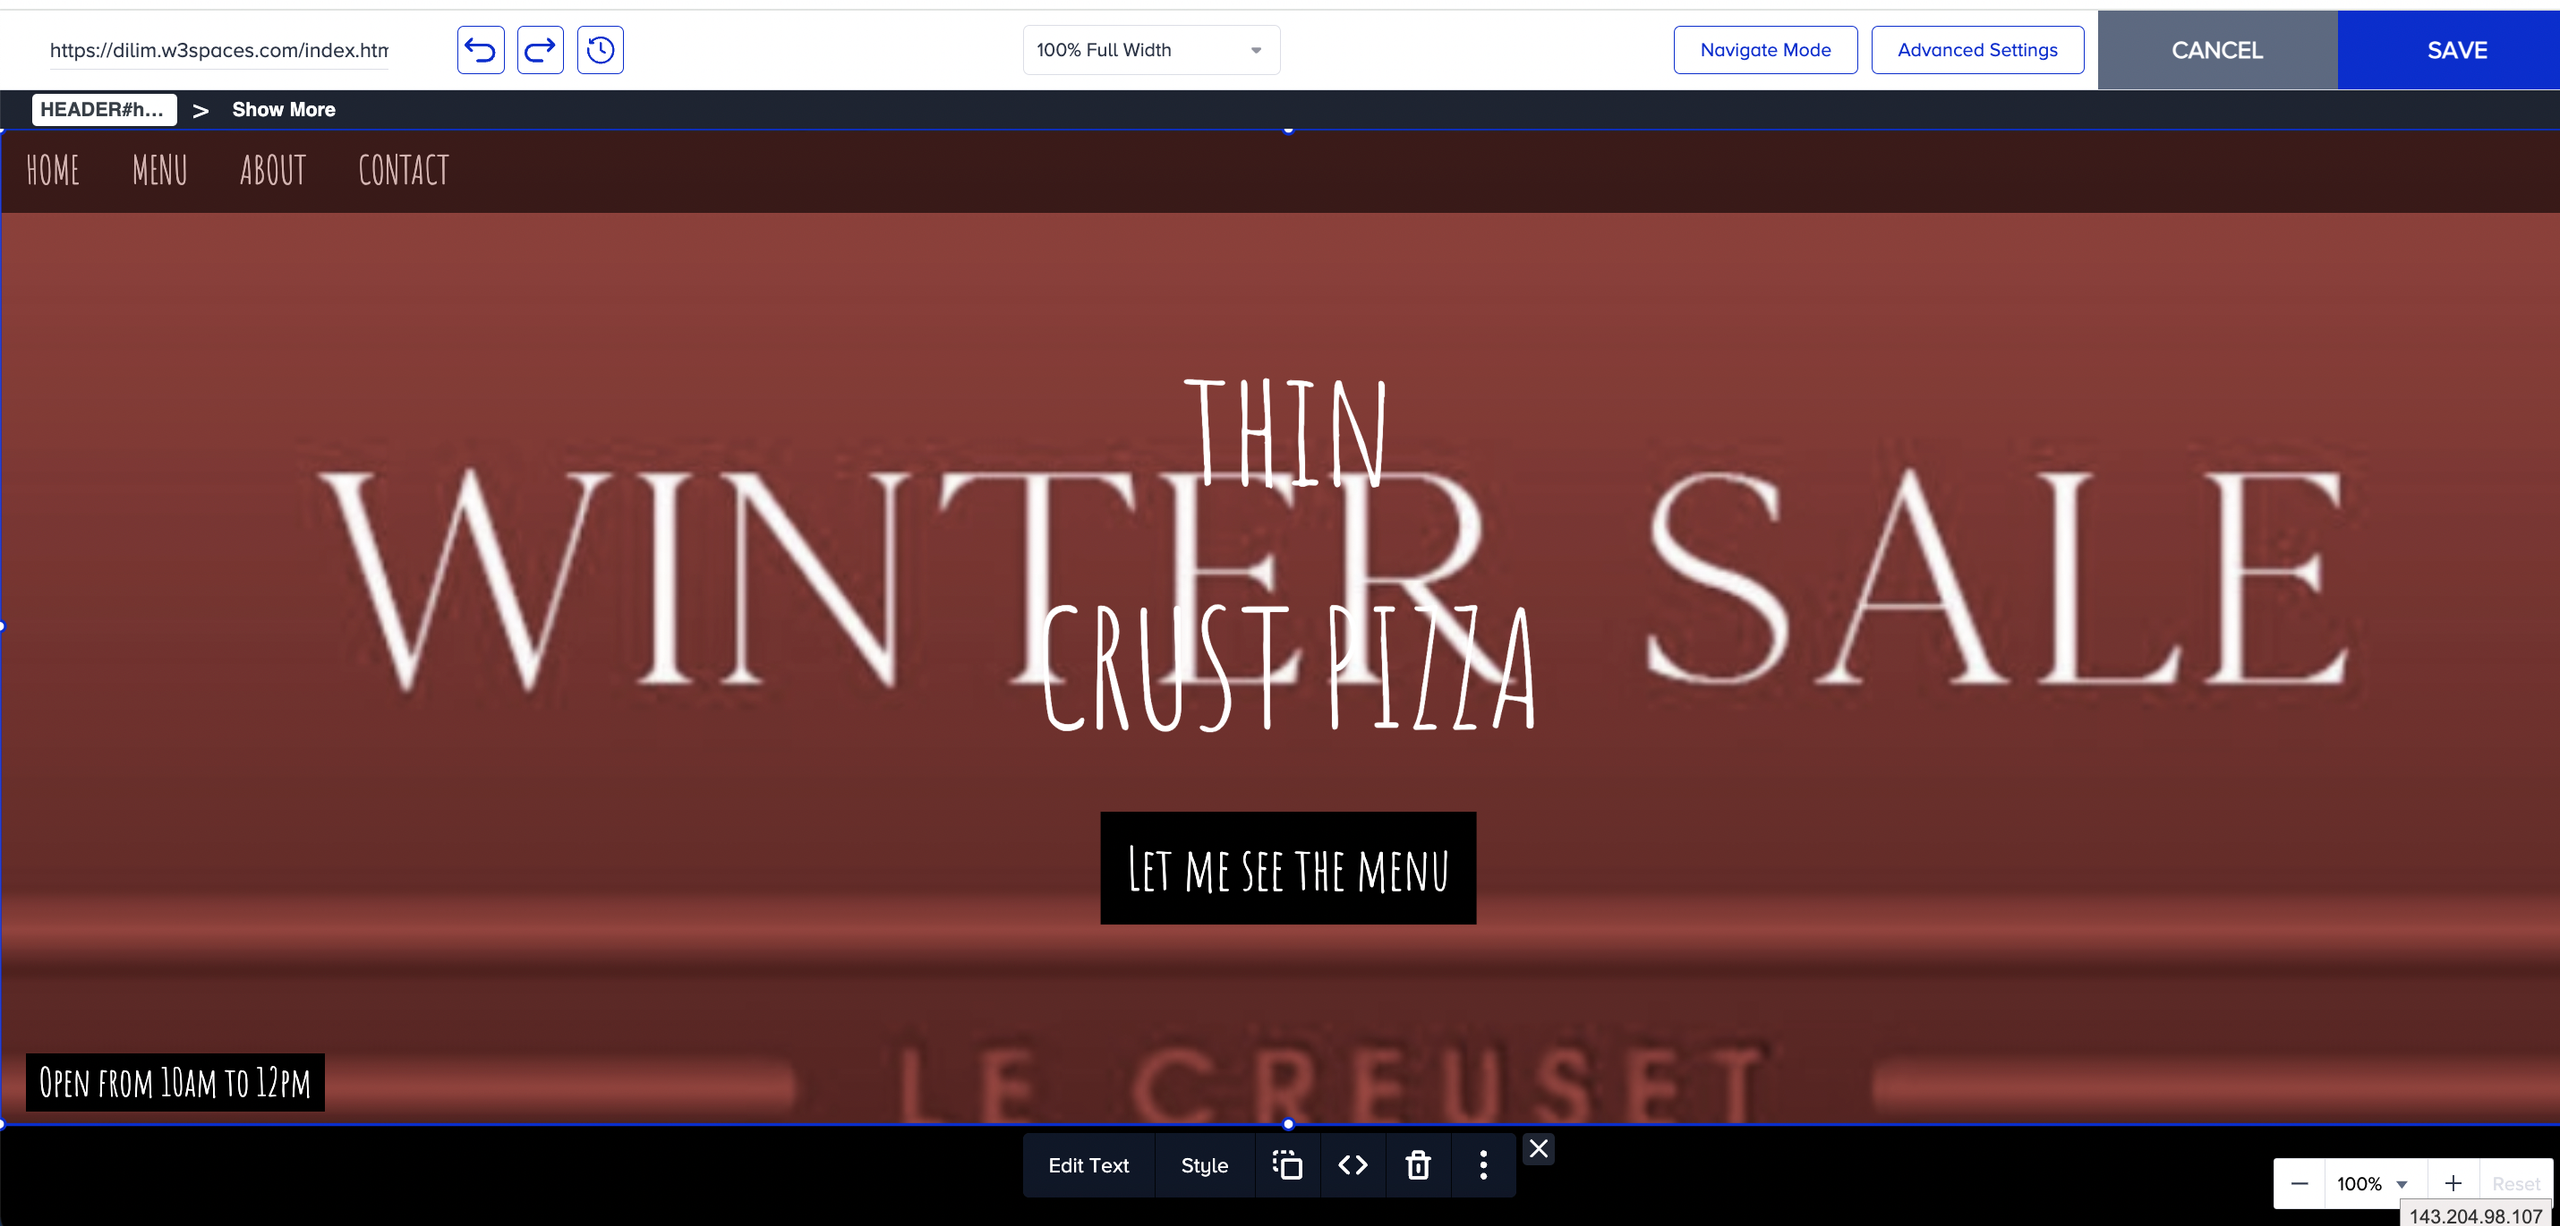
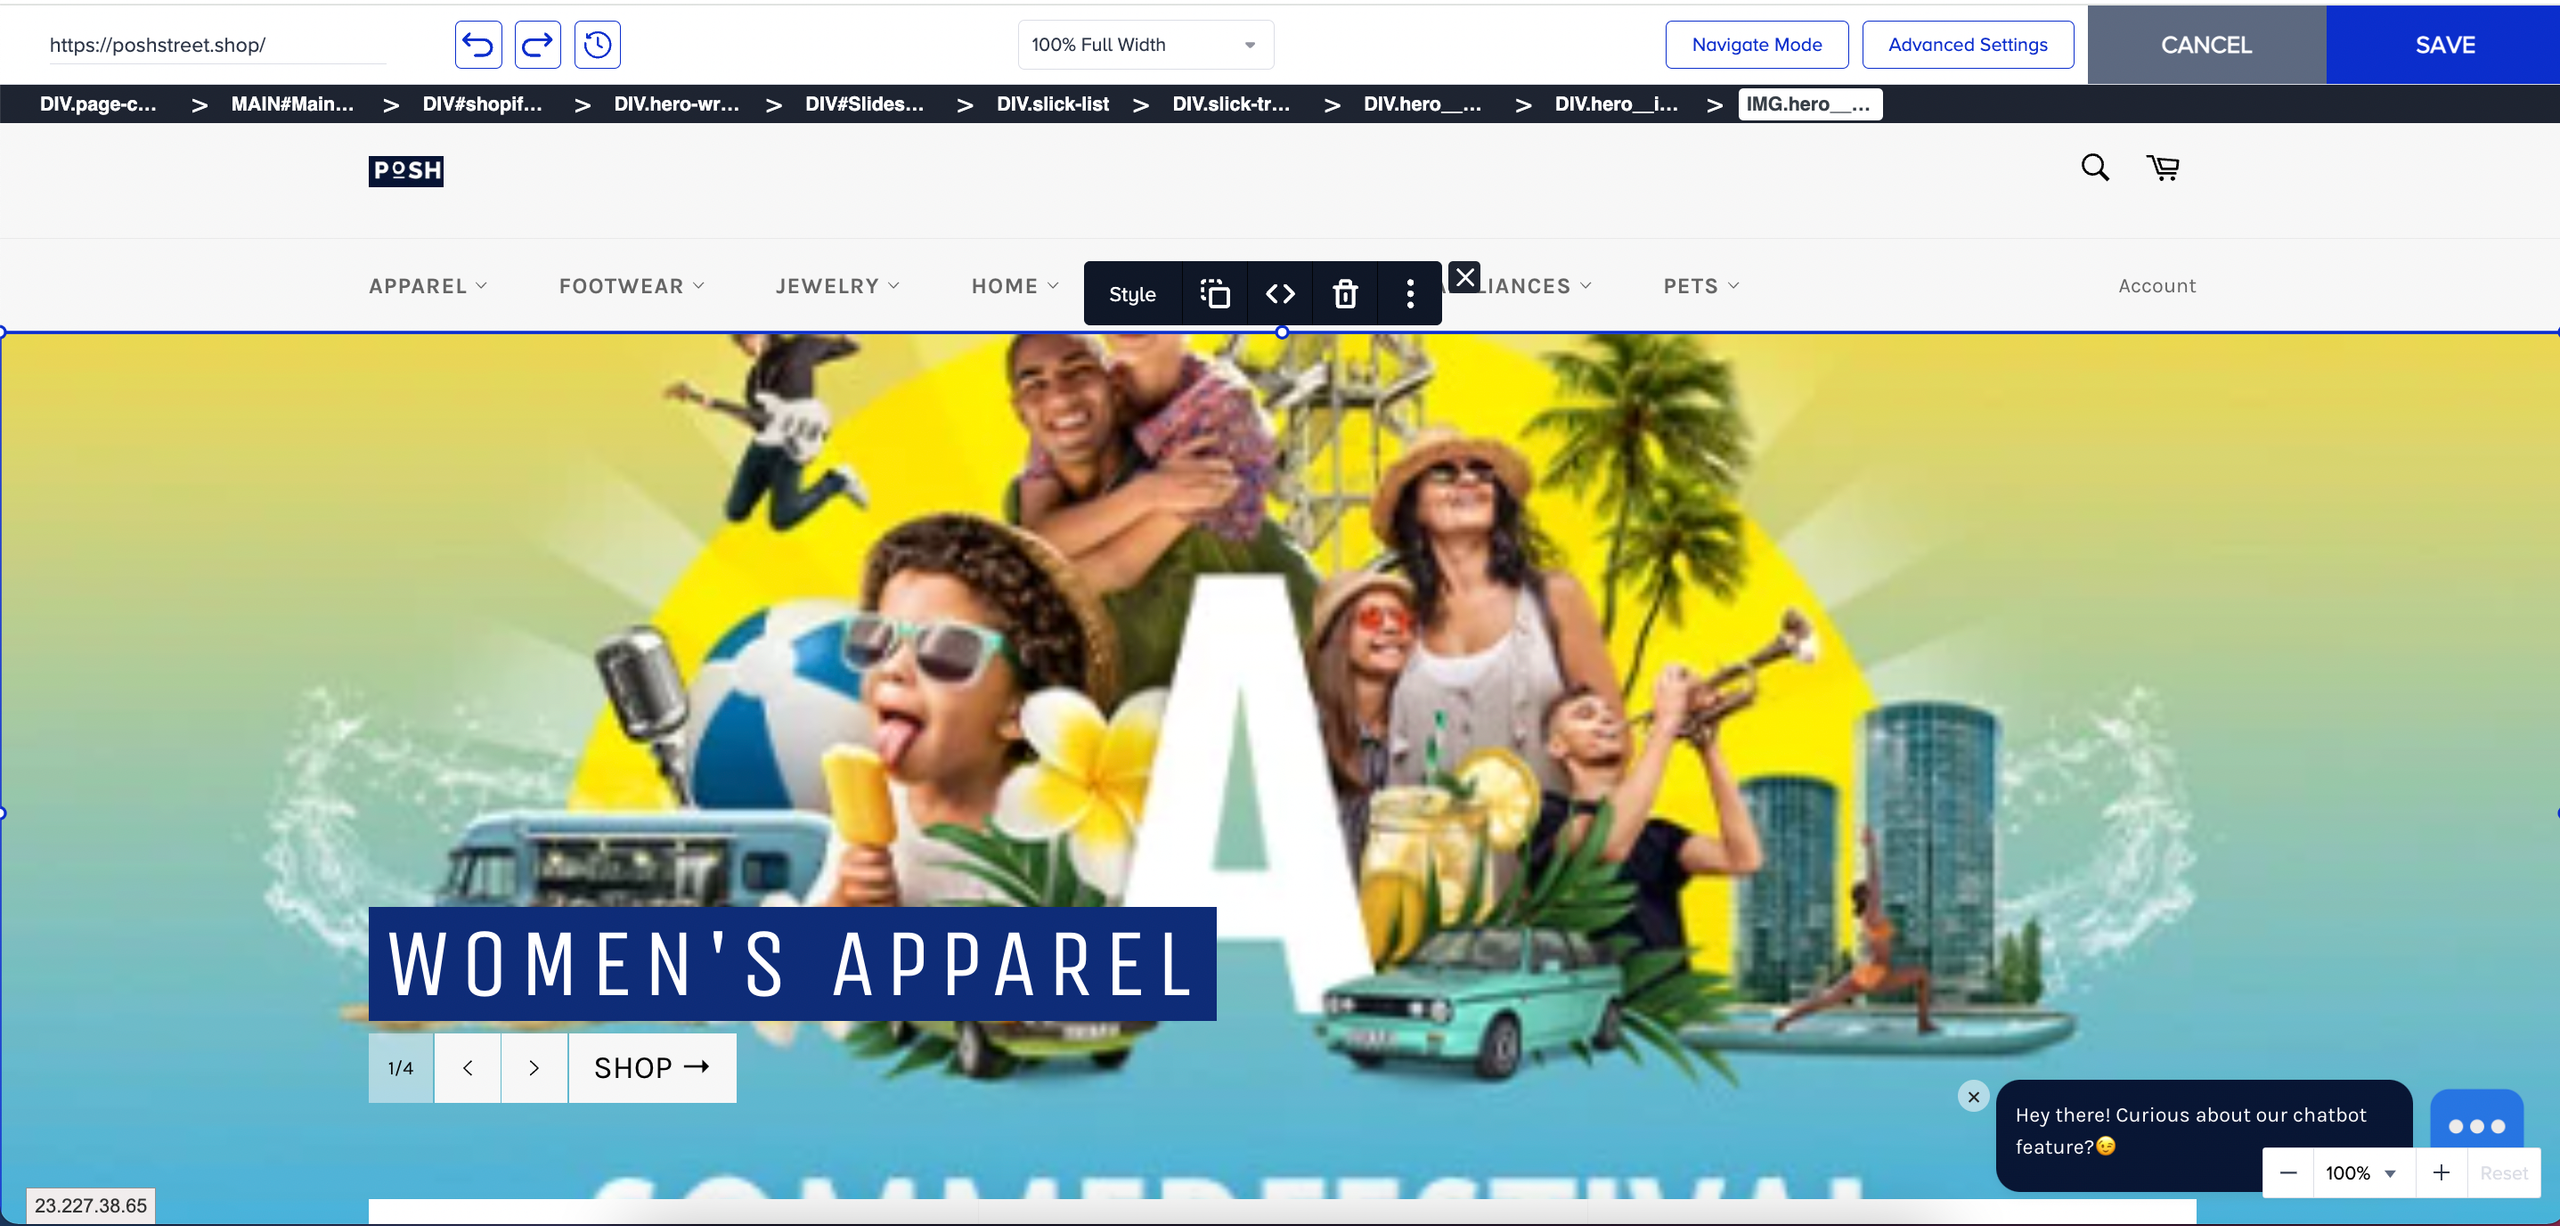
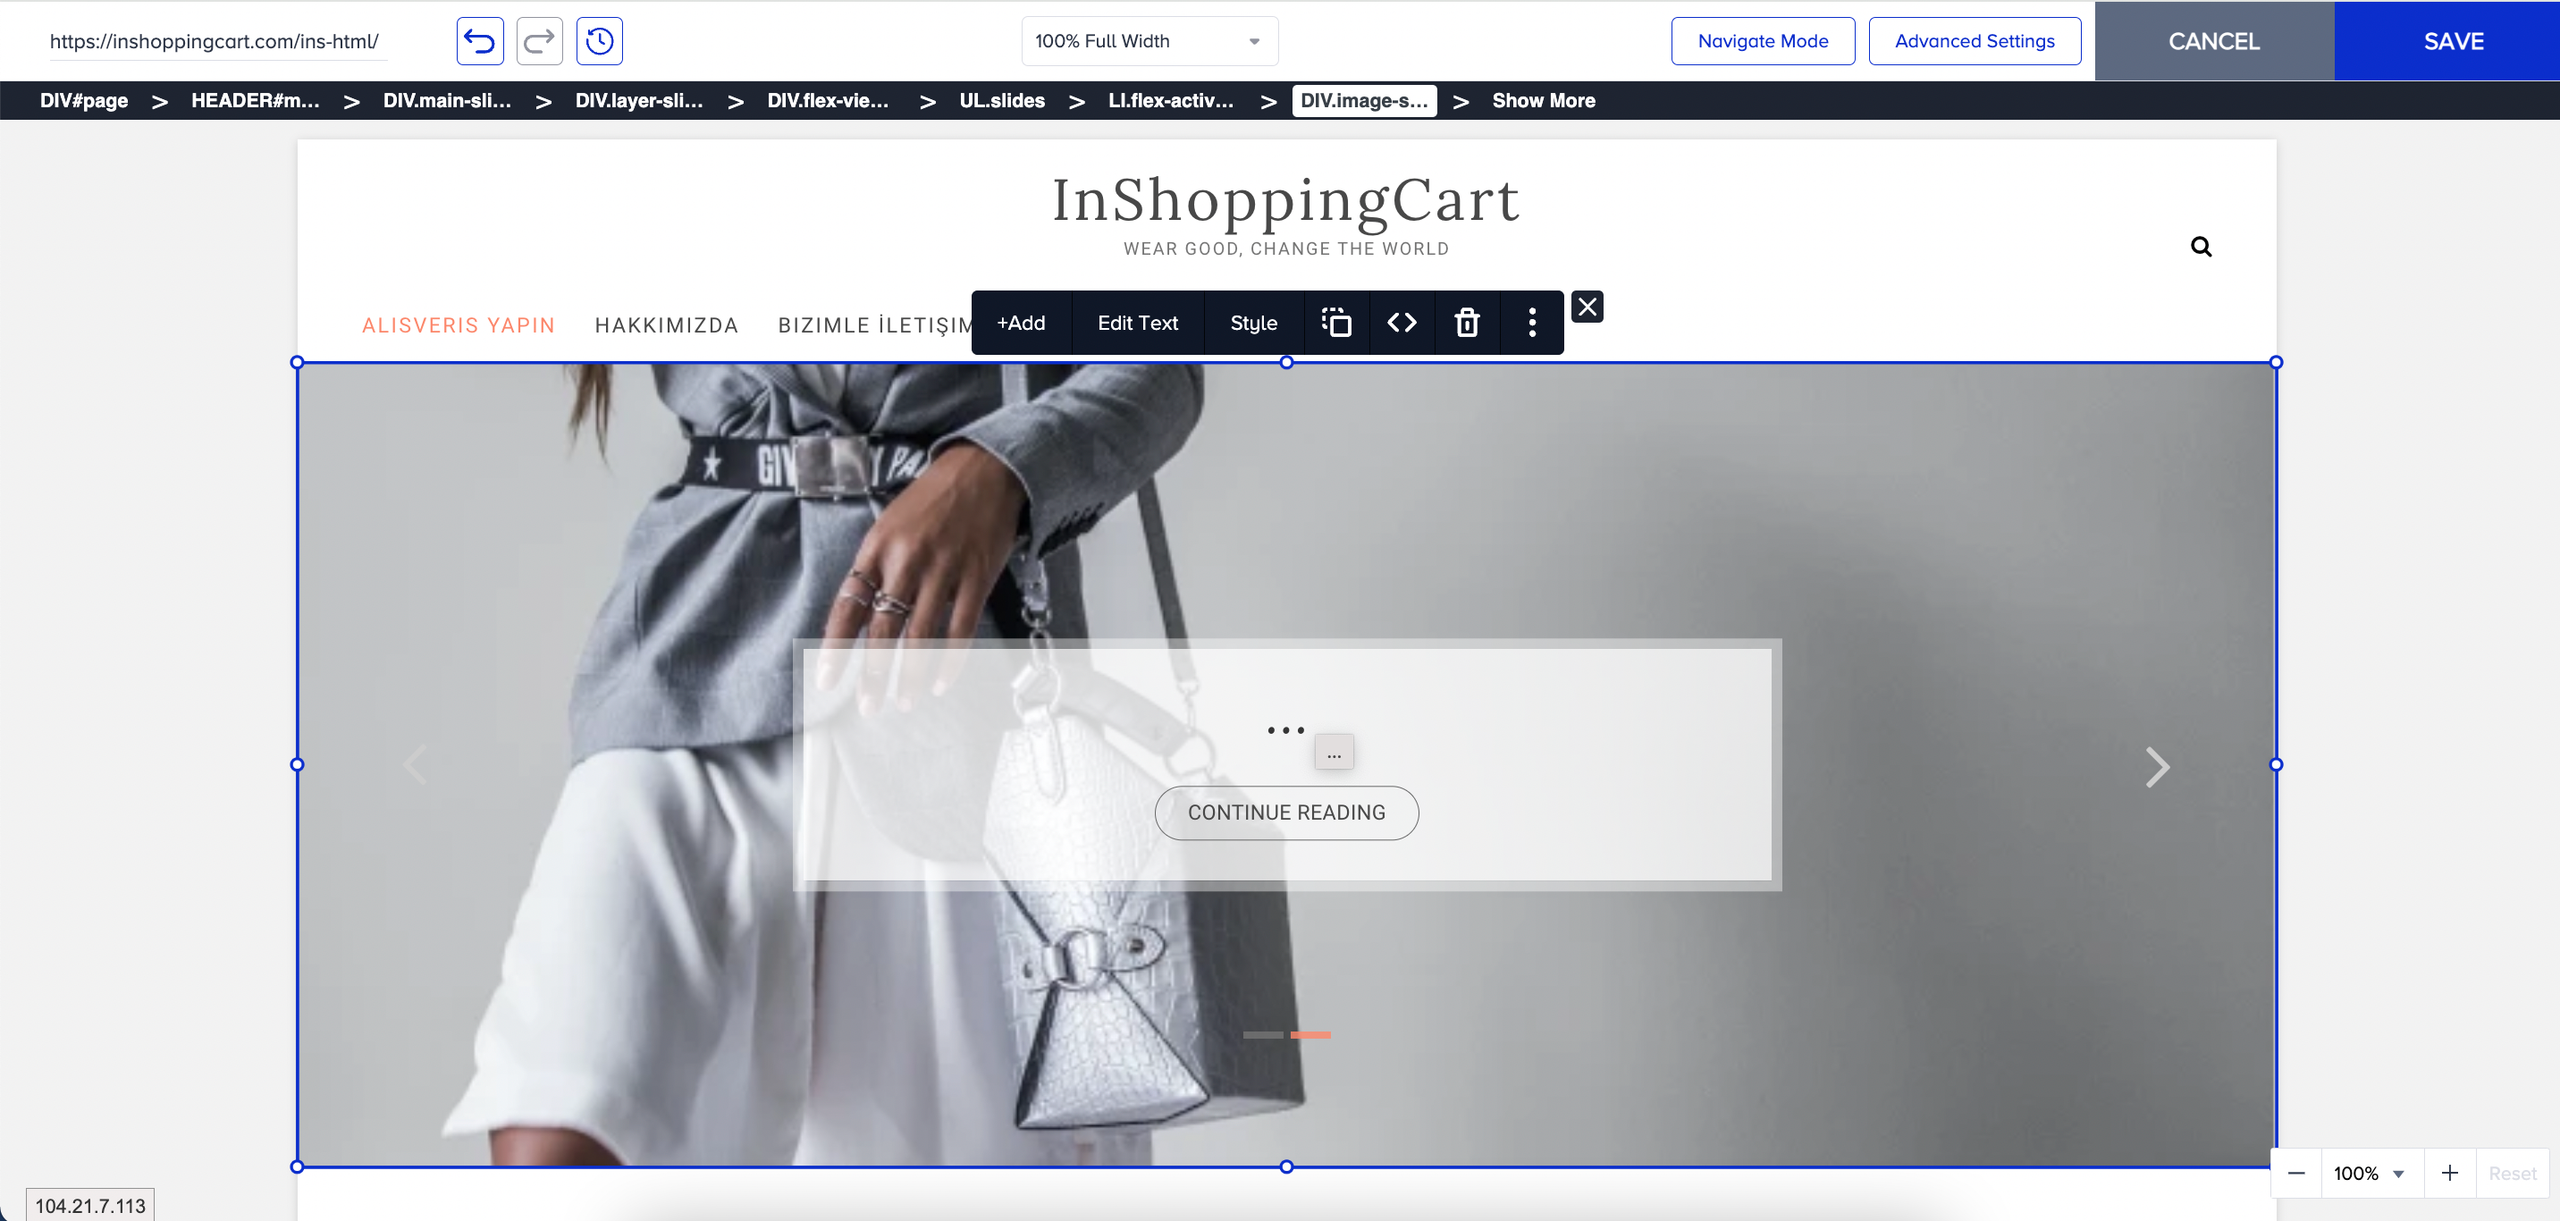
You will see the new image in the banner area.
Change the HTML code to replace the image
Select the banner image.
Click on the Code menu.
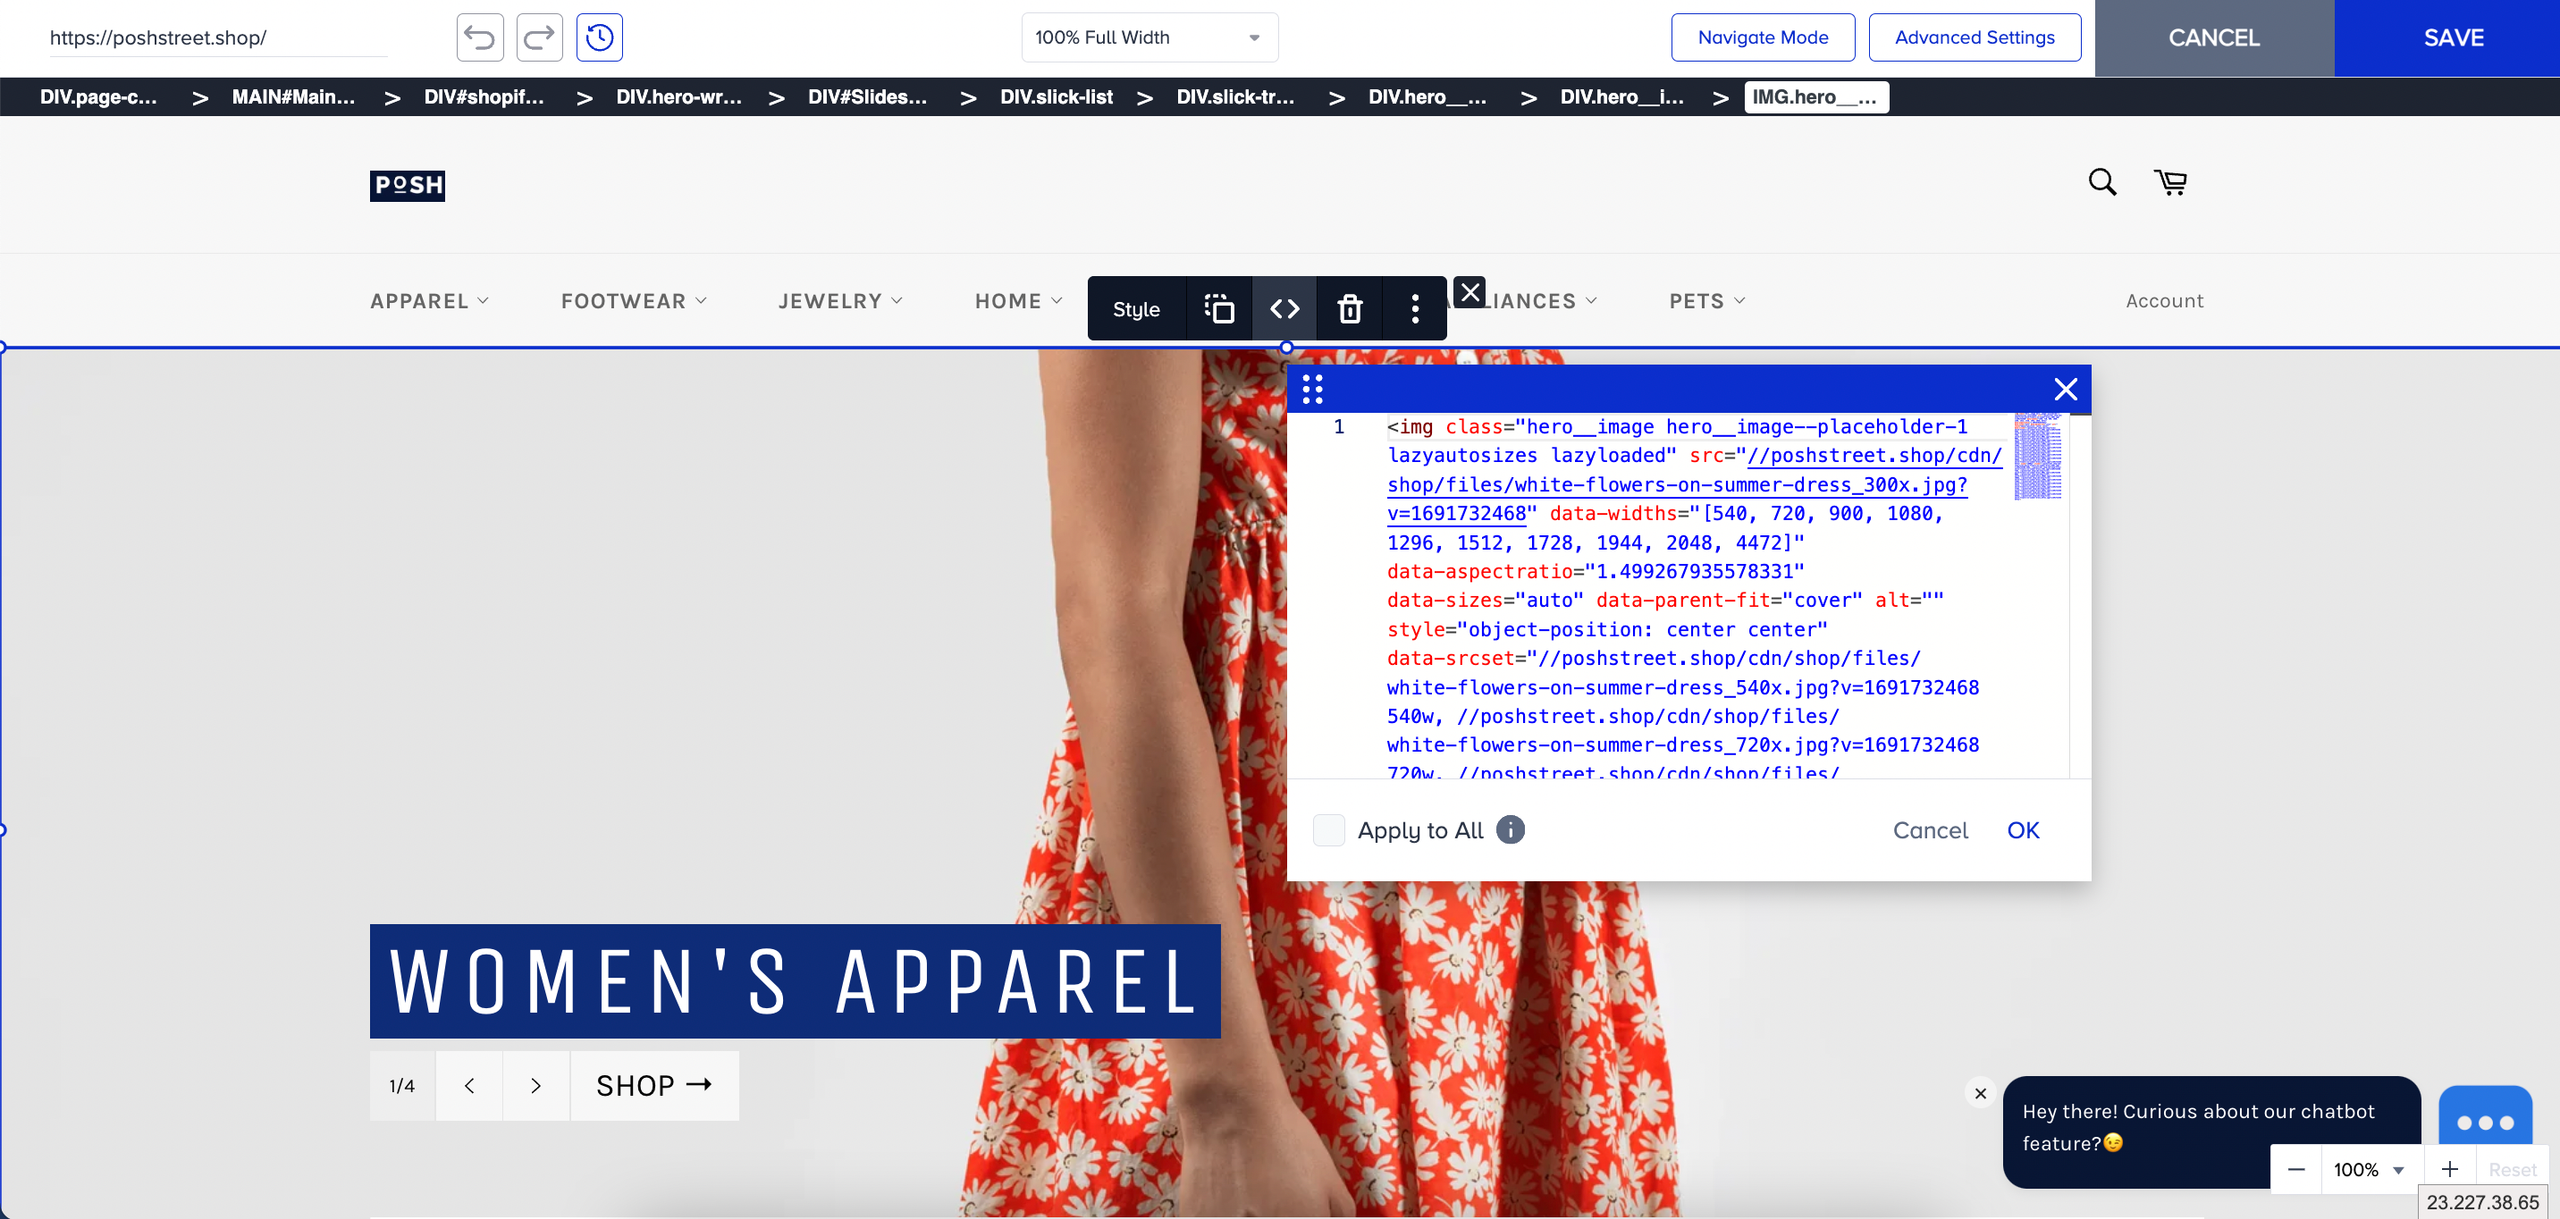
Change the image URL in the code section starting with 'src=' and save the changes.
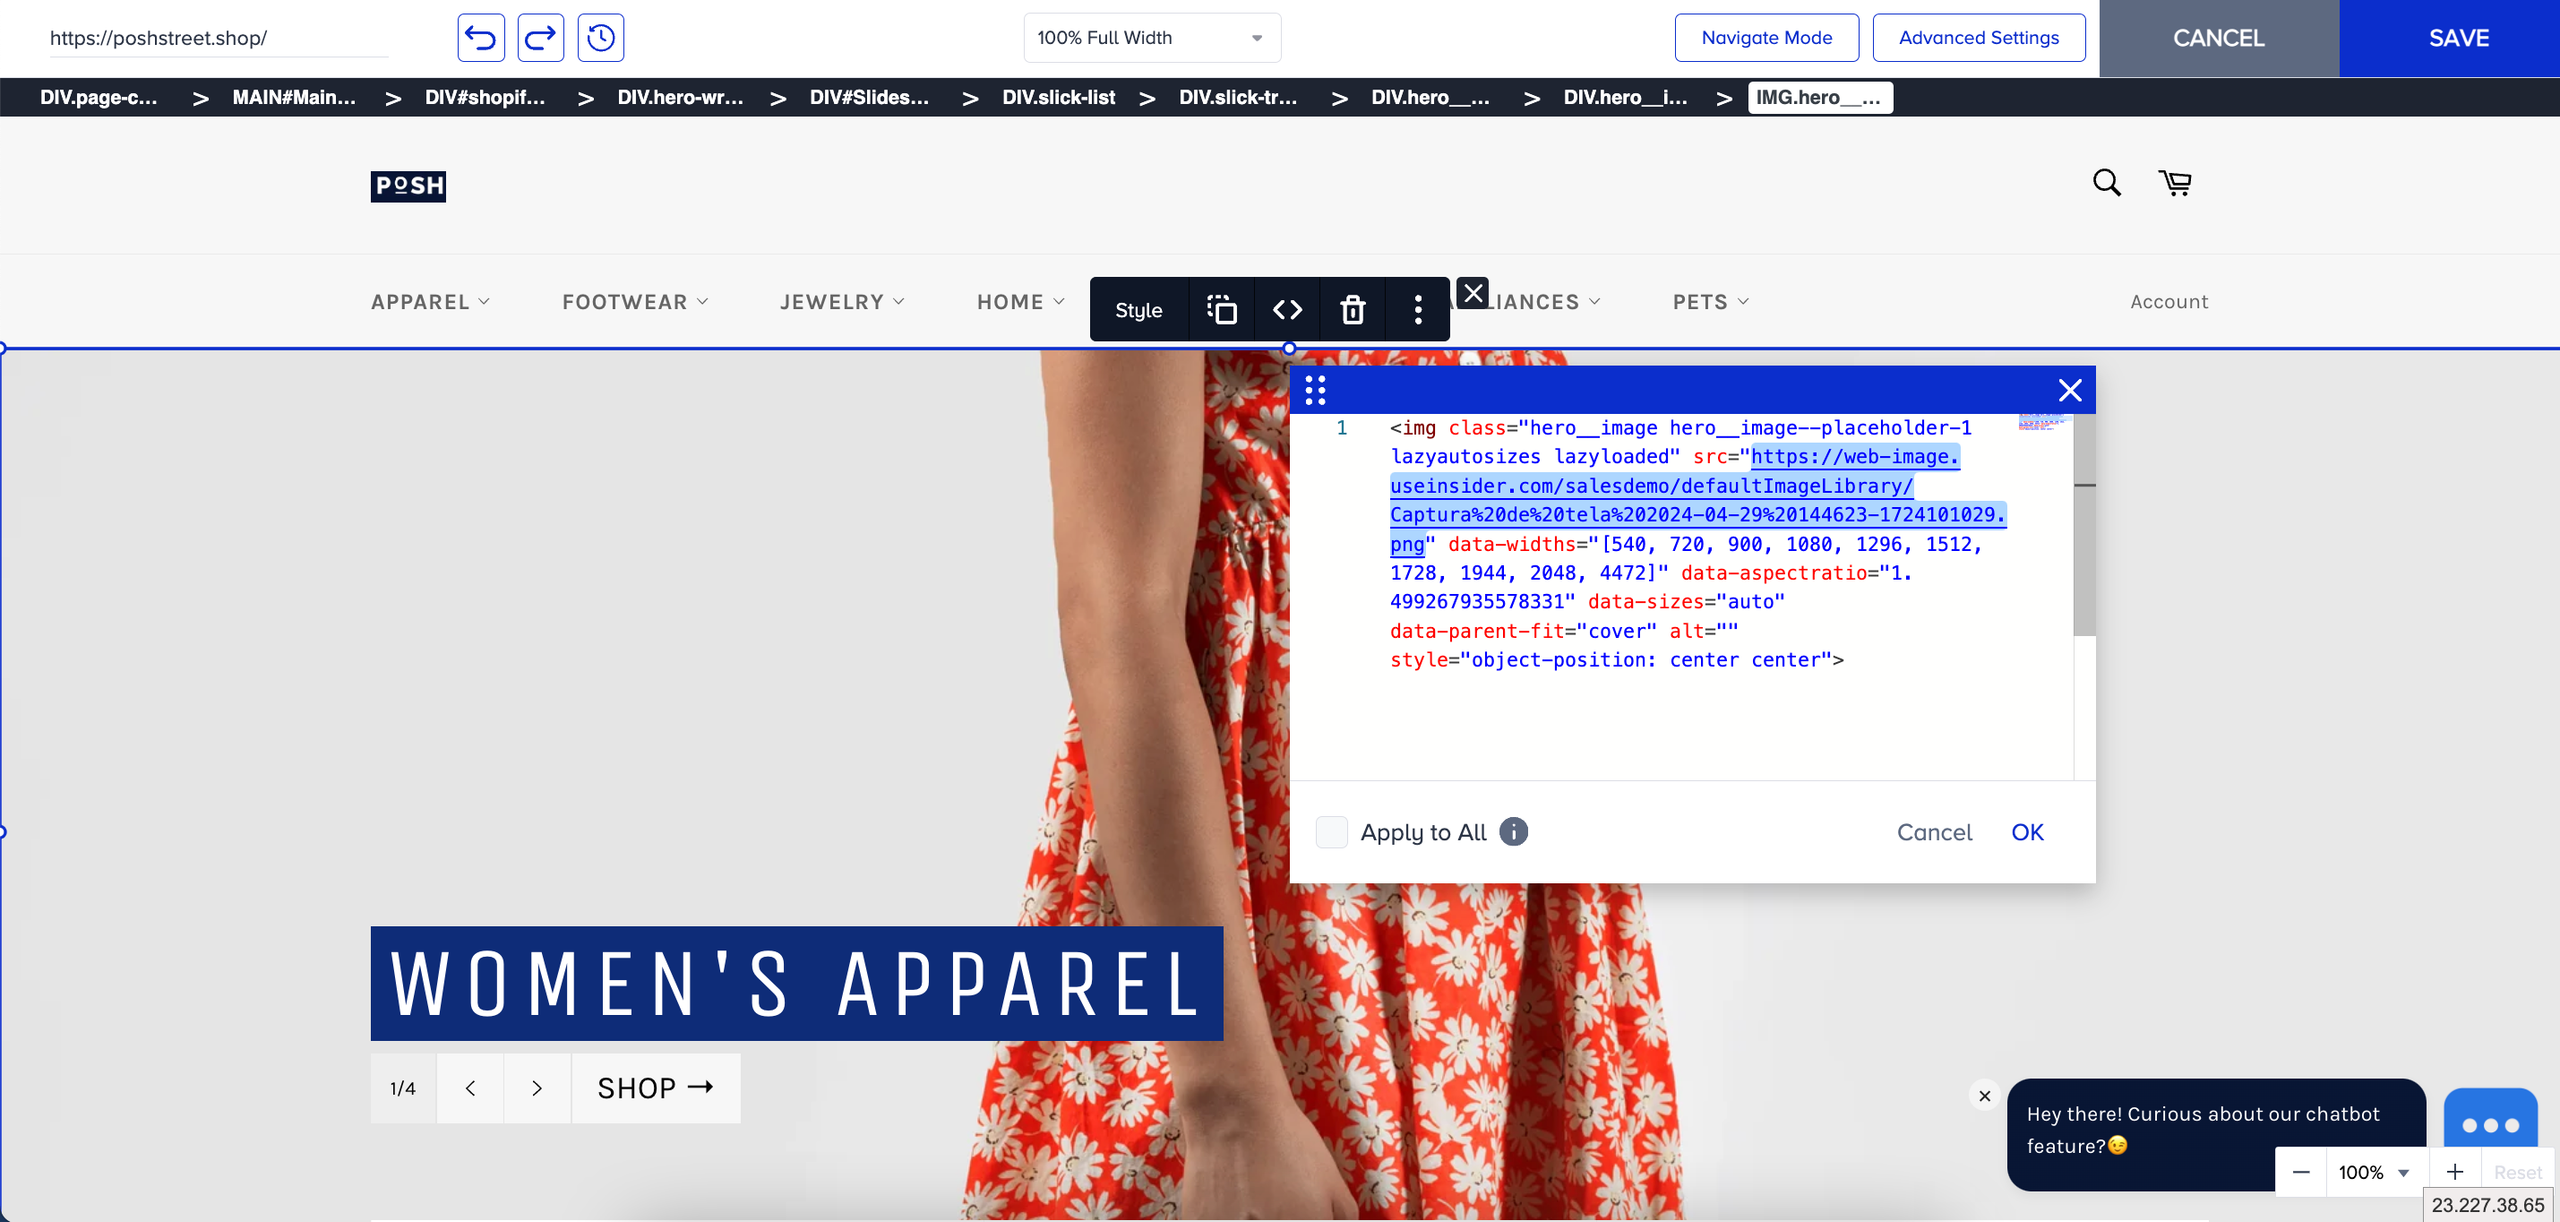
You will see the new image in the banner area.
Change the image URL attribute to replace the image
Select the banner image.
Click on the Attributes menu.
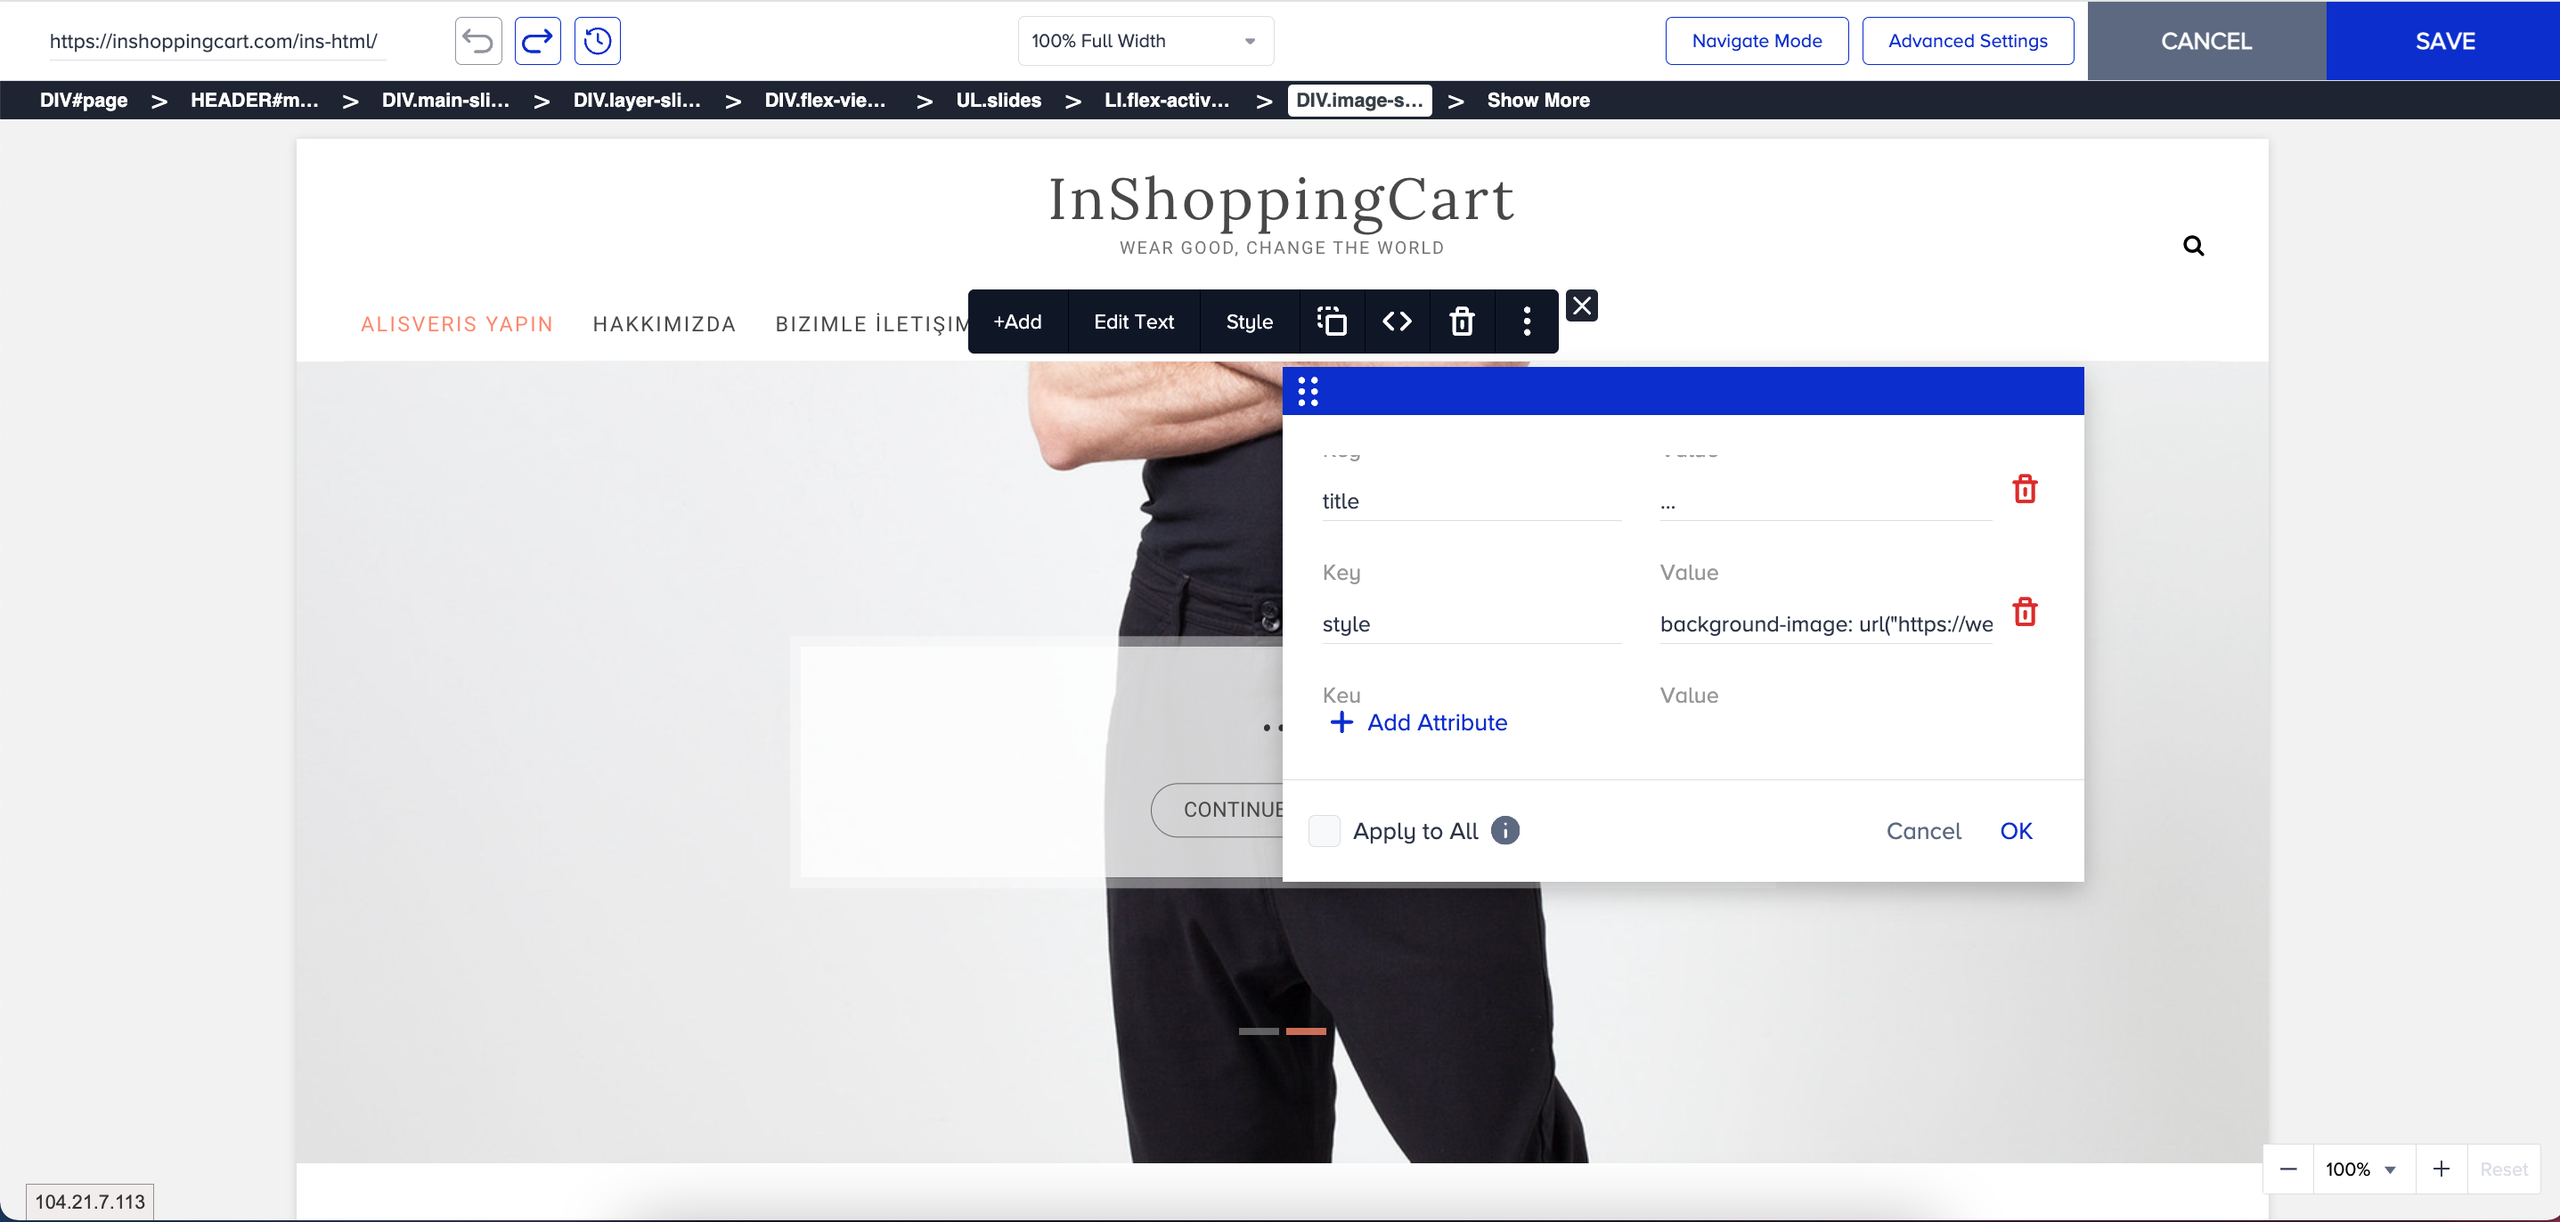
Change the link associated with the style key, then save the changes.
You will see the new image in the banner area.
Please check the image and container size for a better experience. If the image size is smaller than the container area, the image quality might be compromised.