Suggested readings: Cross-Platform Omnichannel Journeys, How to Create an Architect Journey, Architect Feature Set
With Architect, you can create omnichannel journeys that help you understand each customer's activities on all your platforms.
A journey starts with one of the entry points called starters and branches to matching/not matching paths according to a user's behavior and actions with the if/else logic by the check elements until the flow ends.
Based on if/else logic, you can design the desired actions or interactions wisely. Users enter the journey if they fulfill the starter segment/condition/rule and proceed on the journey flow based on their actions or properties.
This guide explains the steps to follow and the elements you can use to create a journey.
- Navigate to Architect
- Create a Journey
- Canvas Elements
- Select a Starter
- Select a Wait Element
- Select a Condition
- Select a Channel
- Select an Action
- Optimize Your Journey
- Launch Your Journey
- Test Your Journey
- Track Analytics
1. Navigate to Architect
After logging into your Insider account, you will land on the Executive Summary Dashboard.
Go to Experience > Architect to navigate to Architect.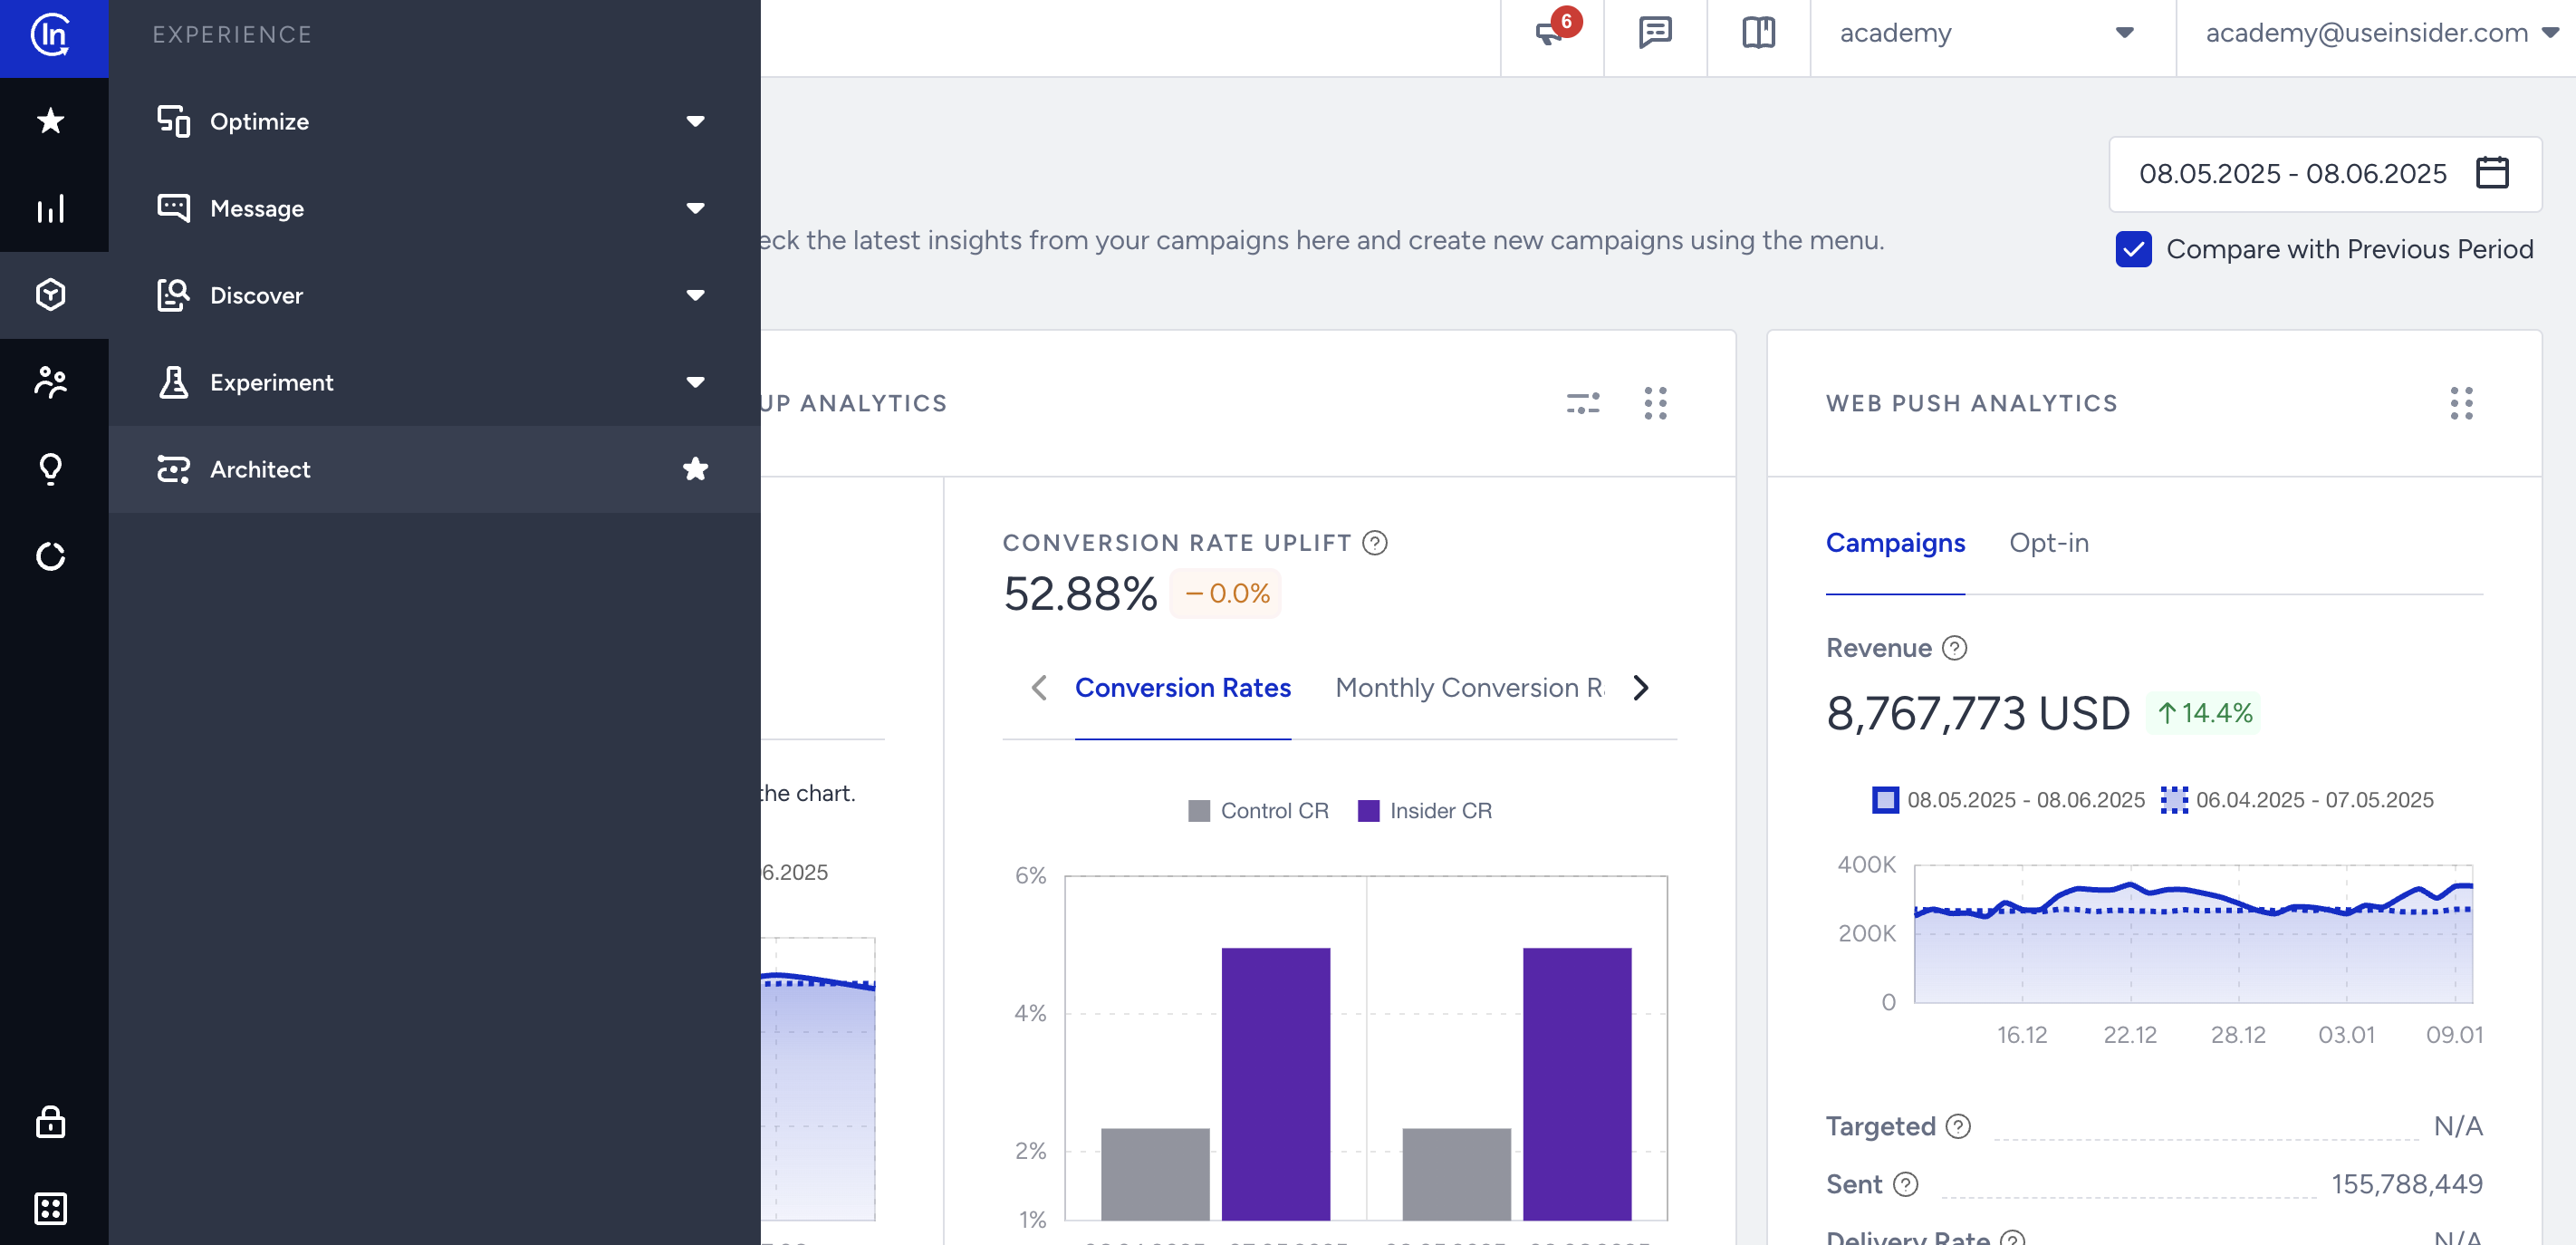
2. Create a Journey
Navigating to Architect, you will land on the journey listing page.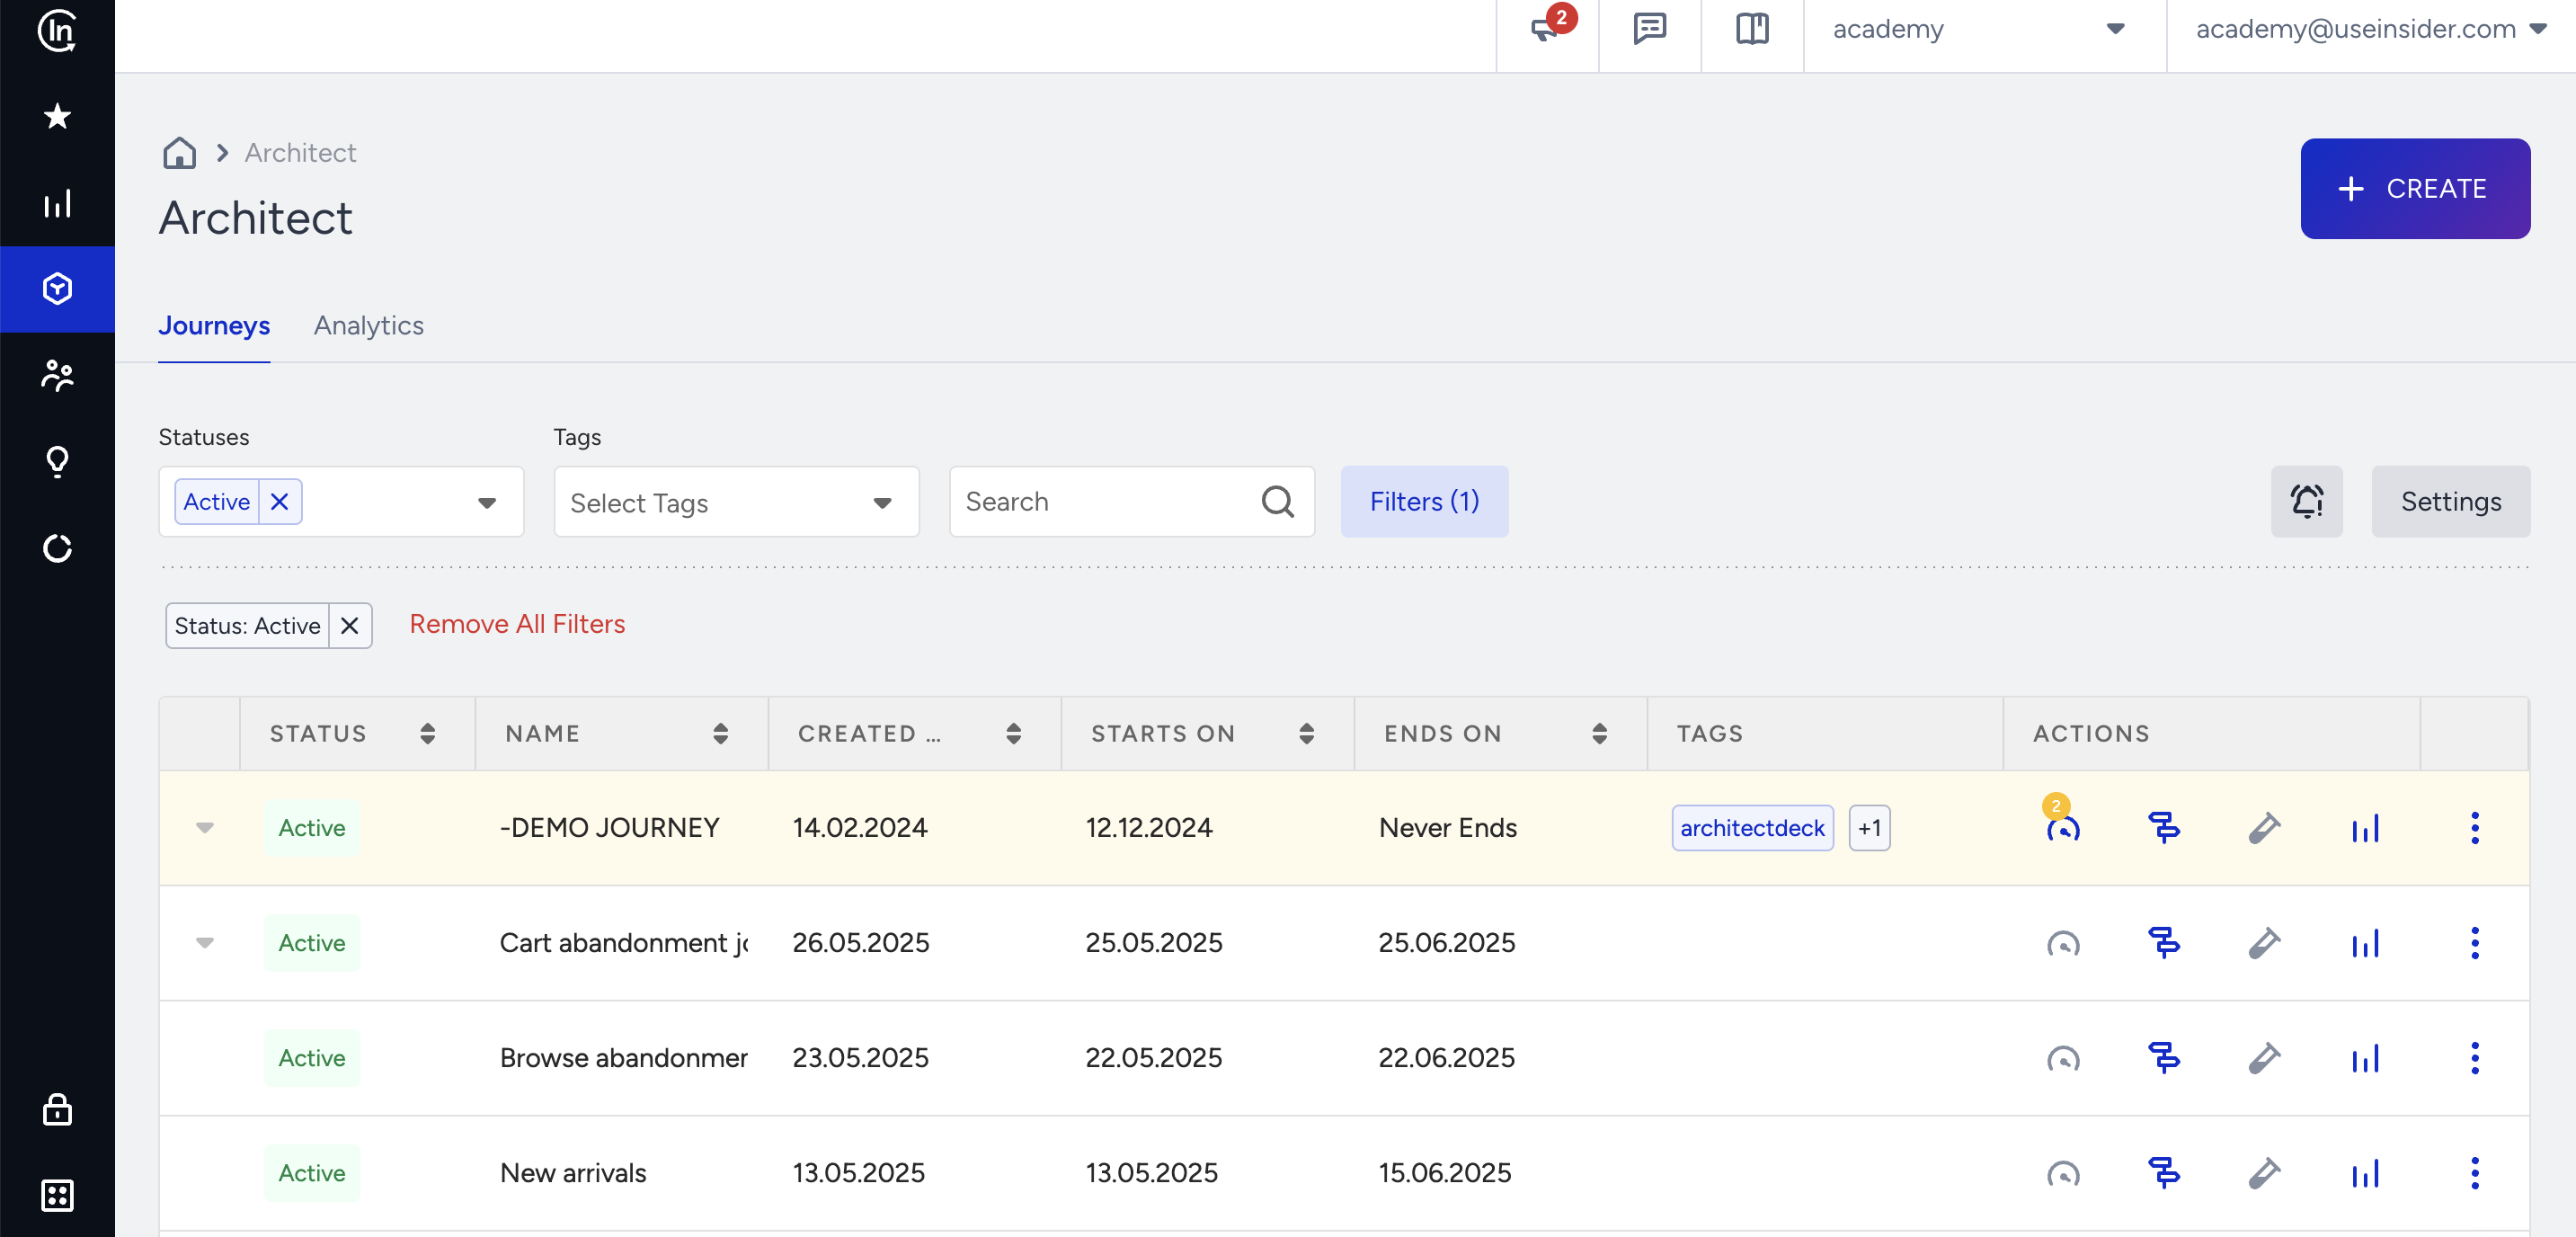 This page lists your existing journeys along with:
- Analytics: Helps you analyze the performance of all journeys on the analytics dashboard.
- Discover: Takes you on an interactive tour to see how journeys work.
- Settings: Helps you configure Facebook integration and journey entry capping.
To create a journey:
1. Click the Create button.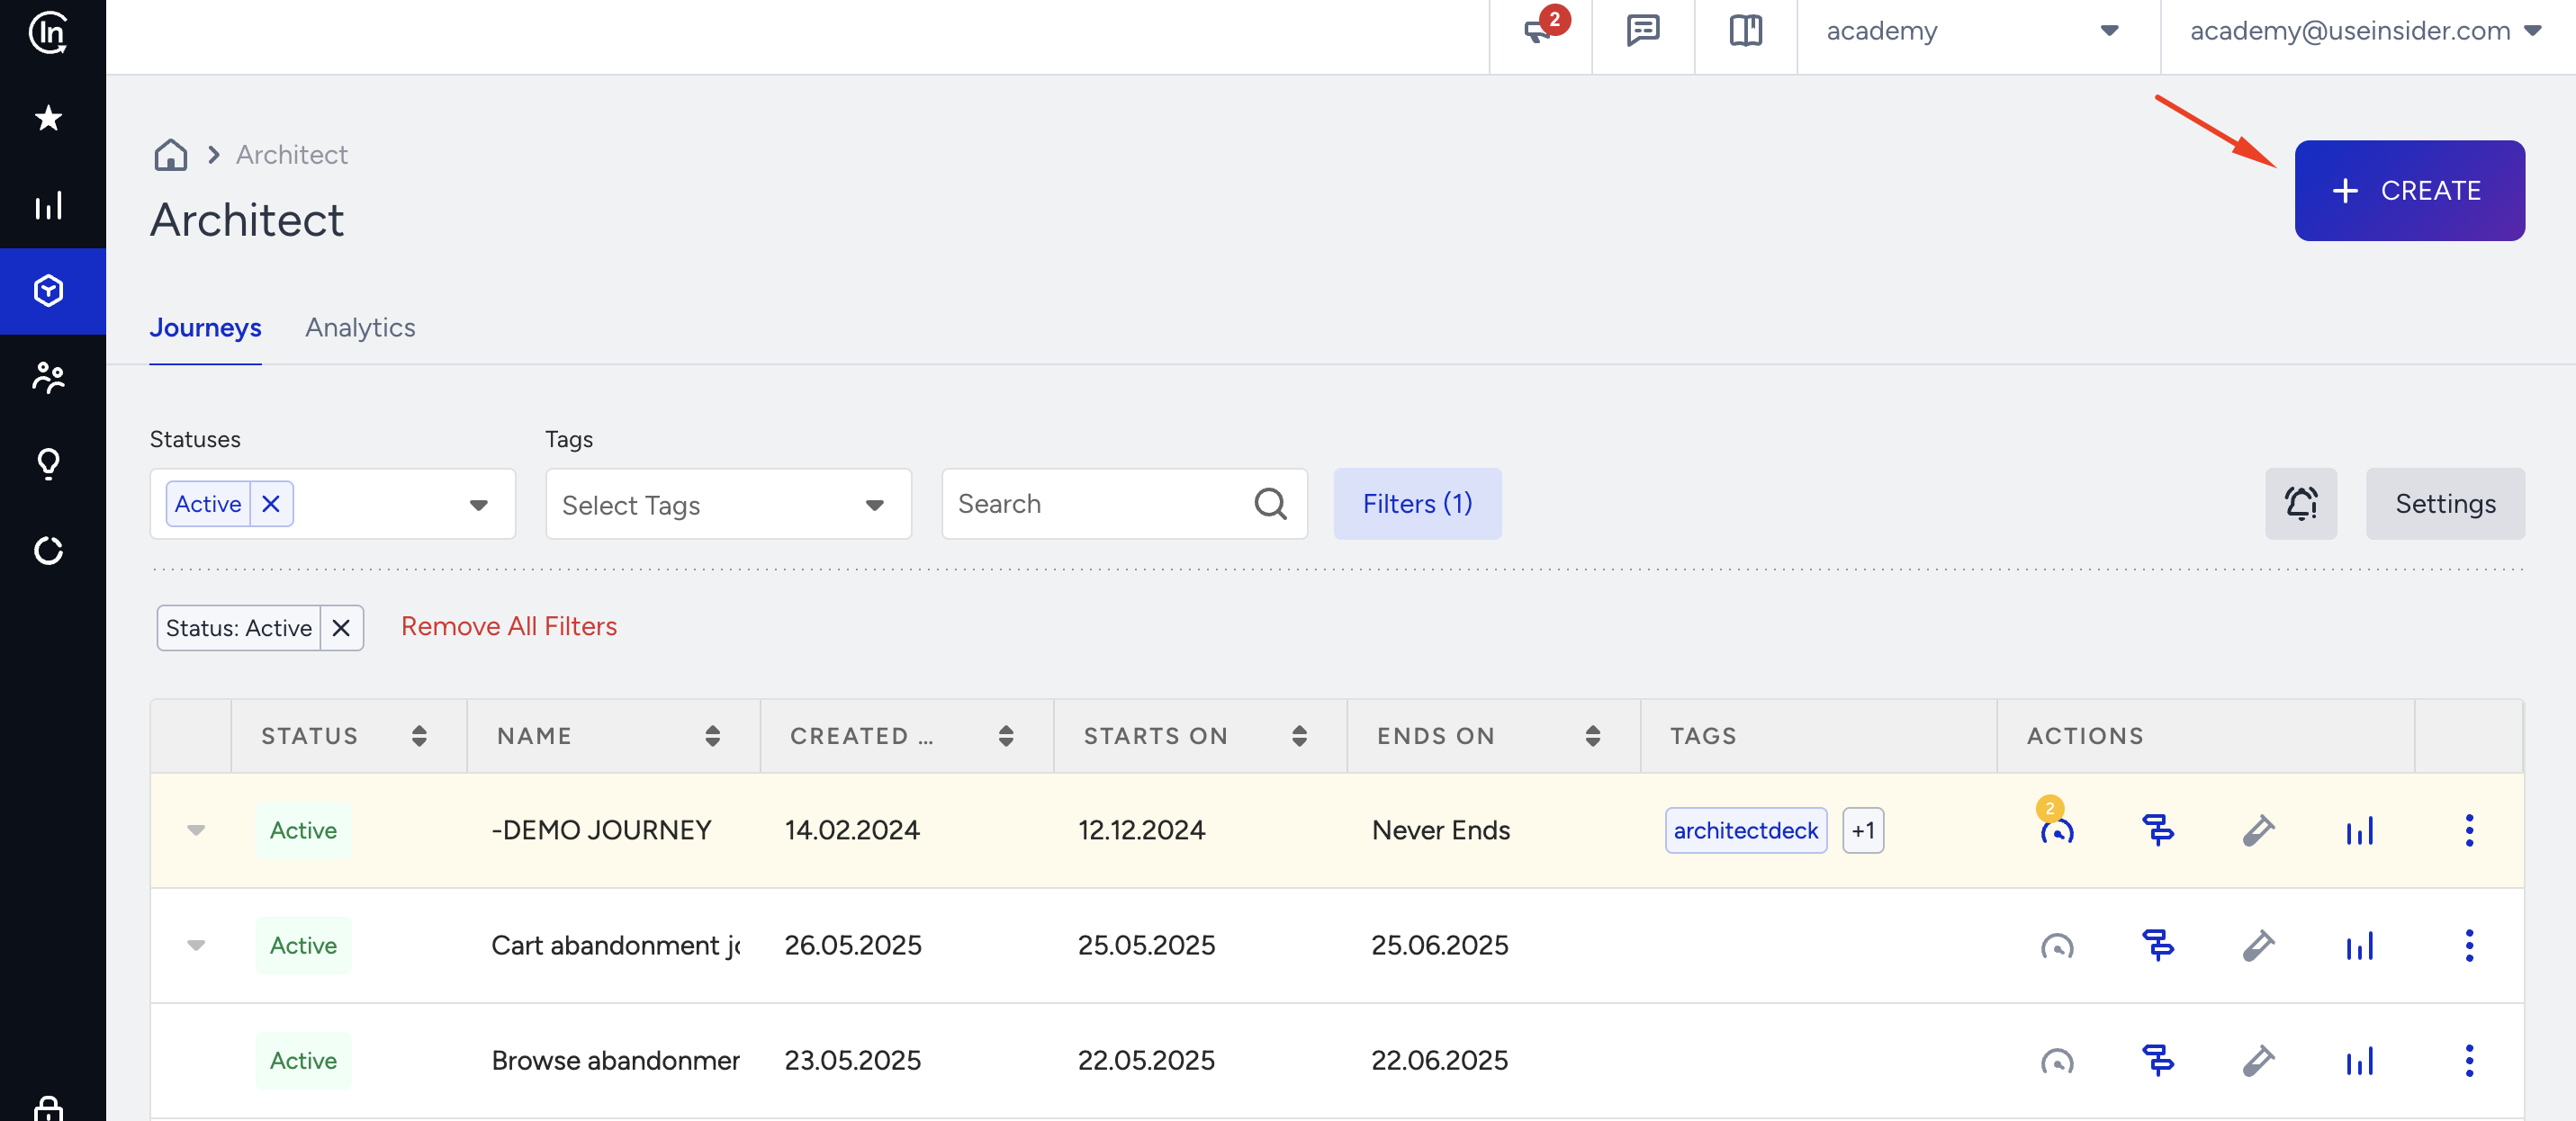
2. Name your journey and select or create a tag if applicable.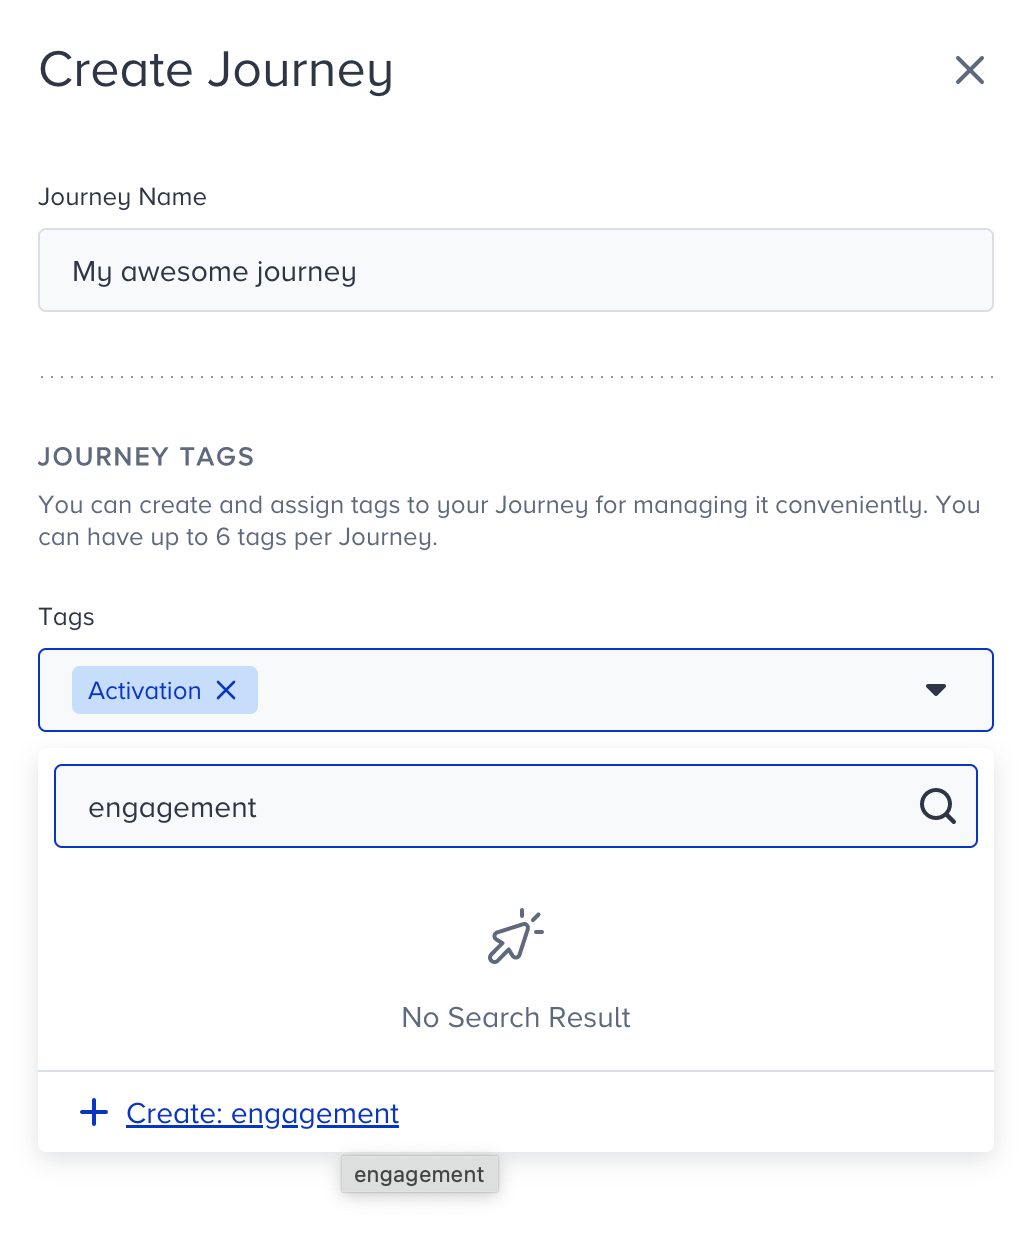
3. Creating your journey, you will land on the template store page to see categories, goals, channels, industries, templates, and custom templates.
You can select your industry and see the recommended pre-built templates for your industry.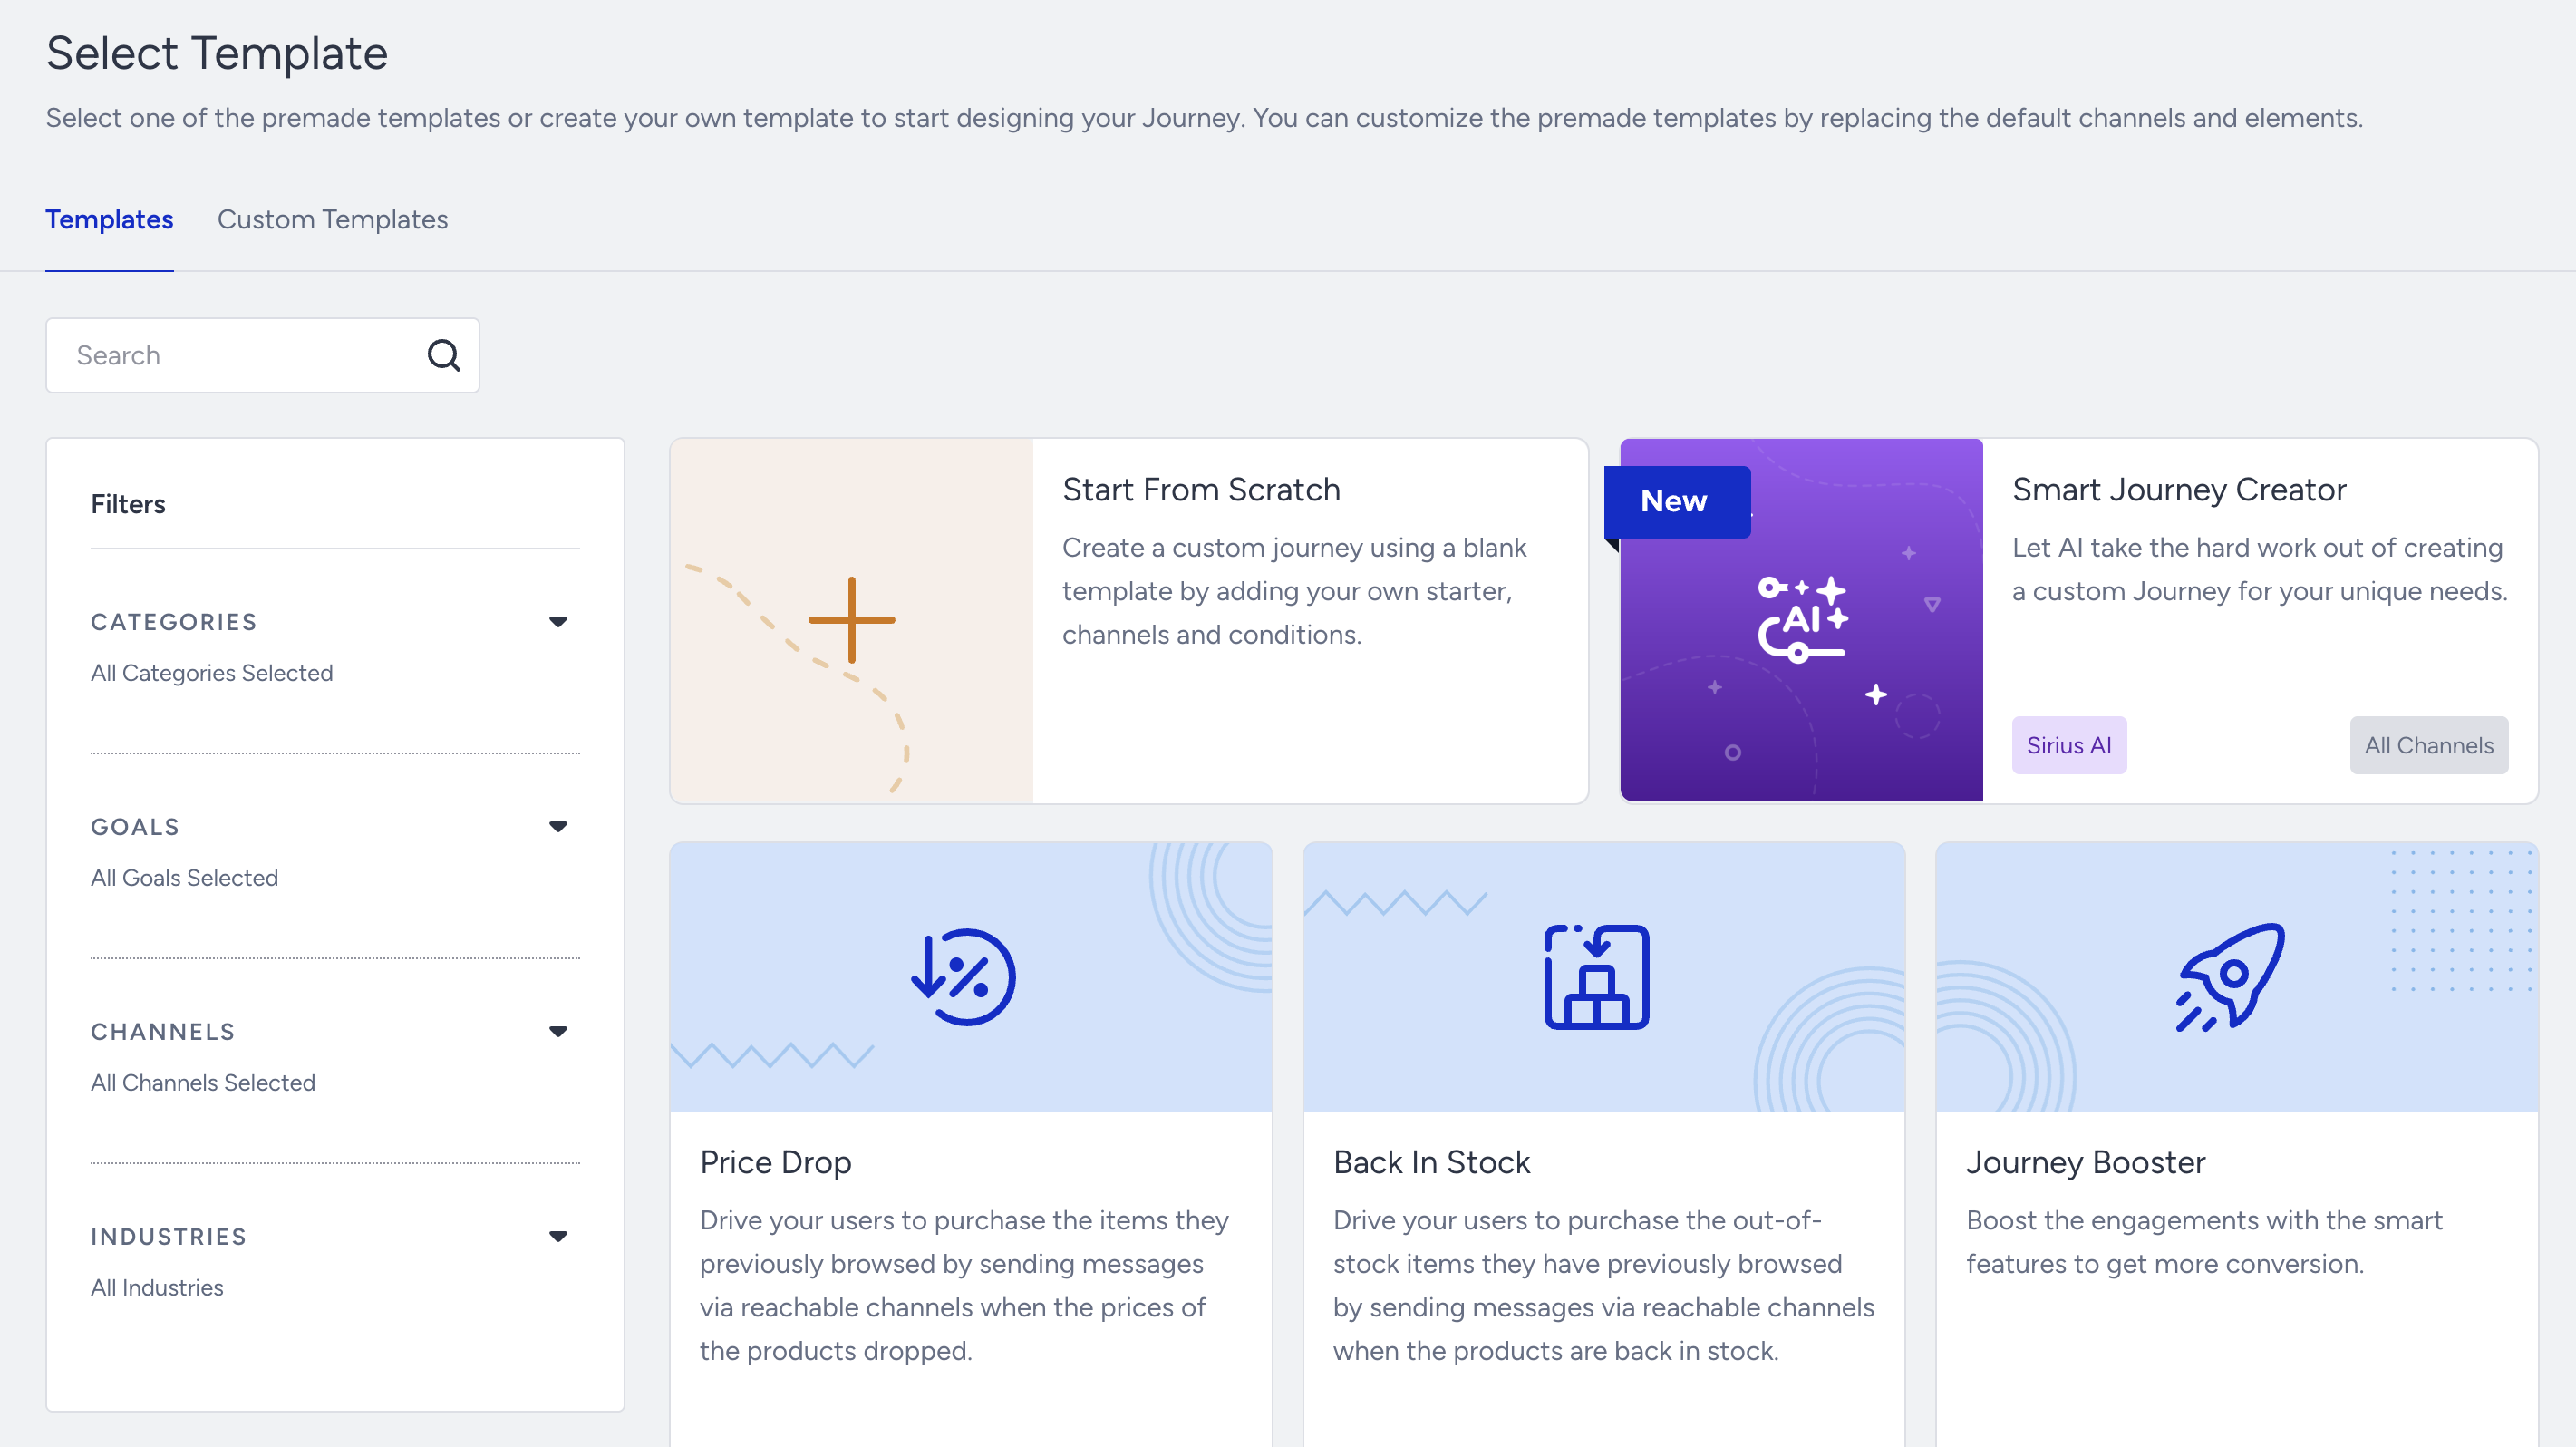
4. If you want to create a journey using one of the pre-built templates, you can search for them by their names or the channels available in the journeys.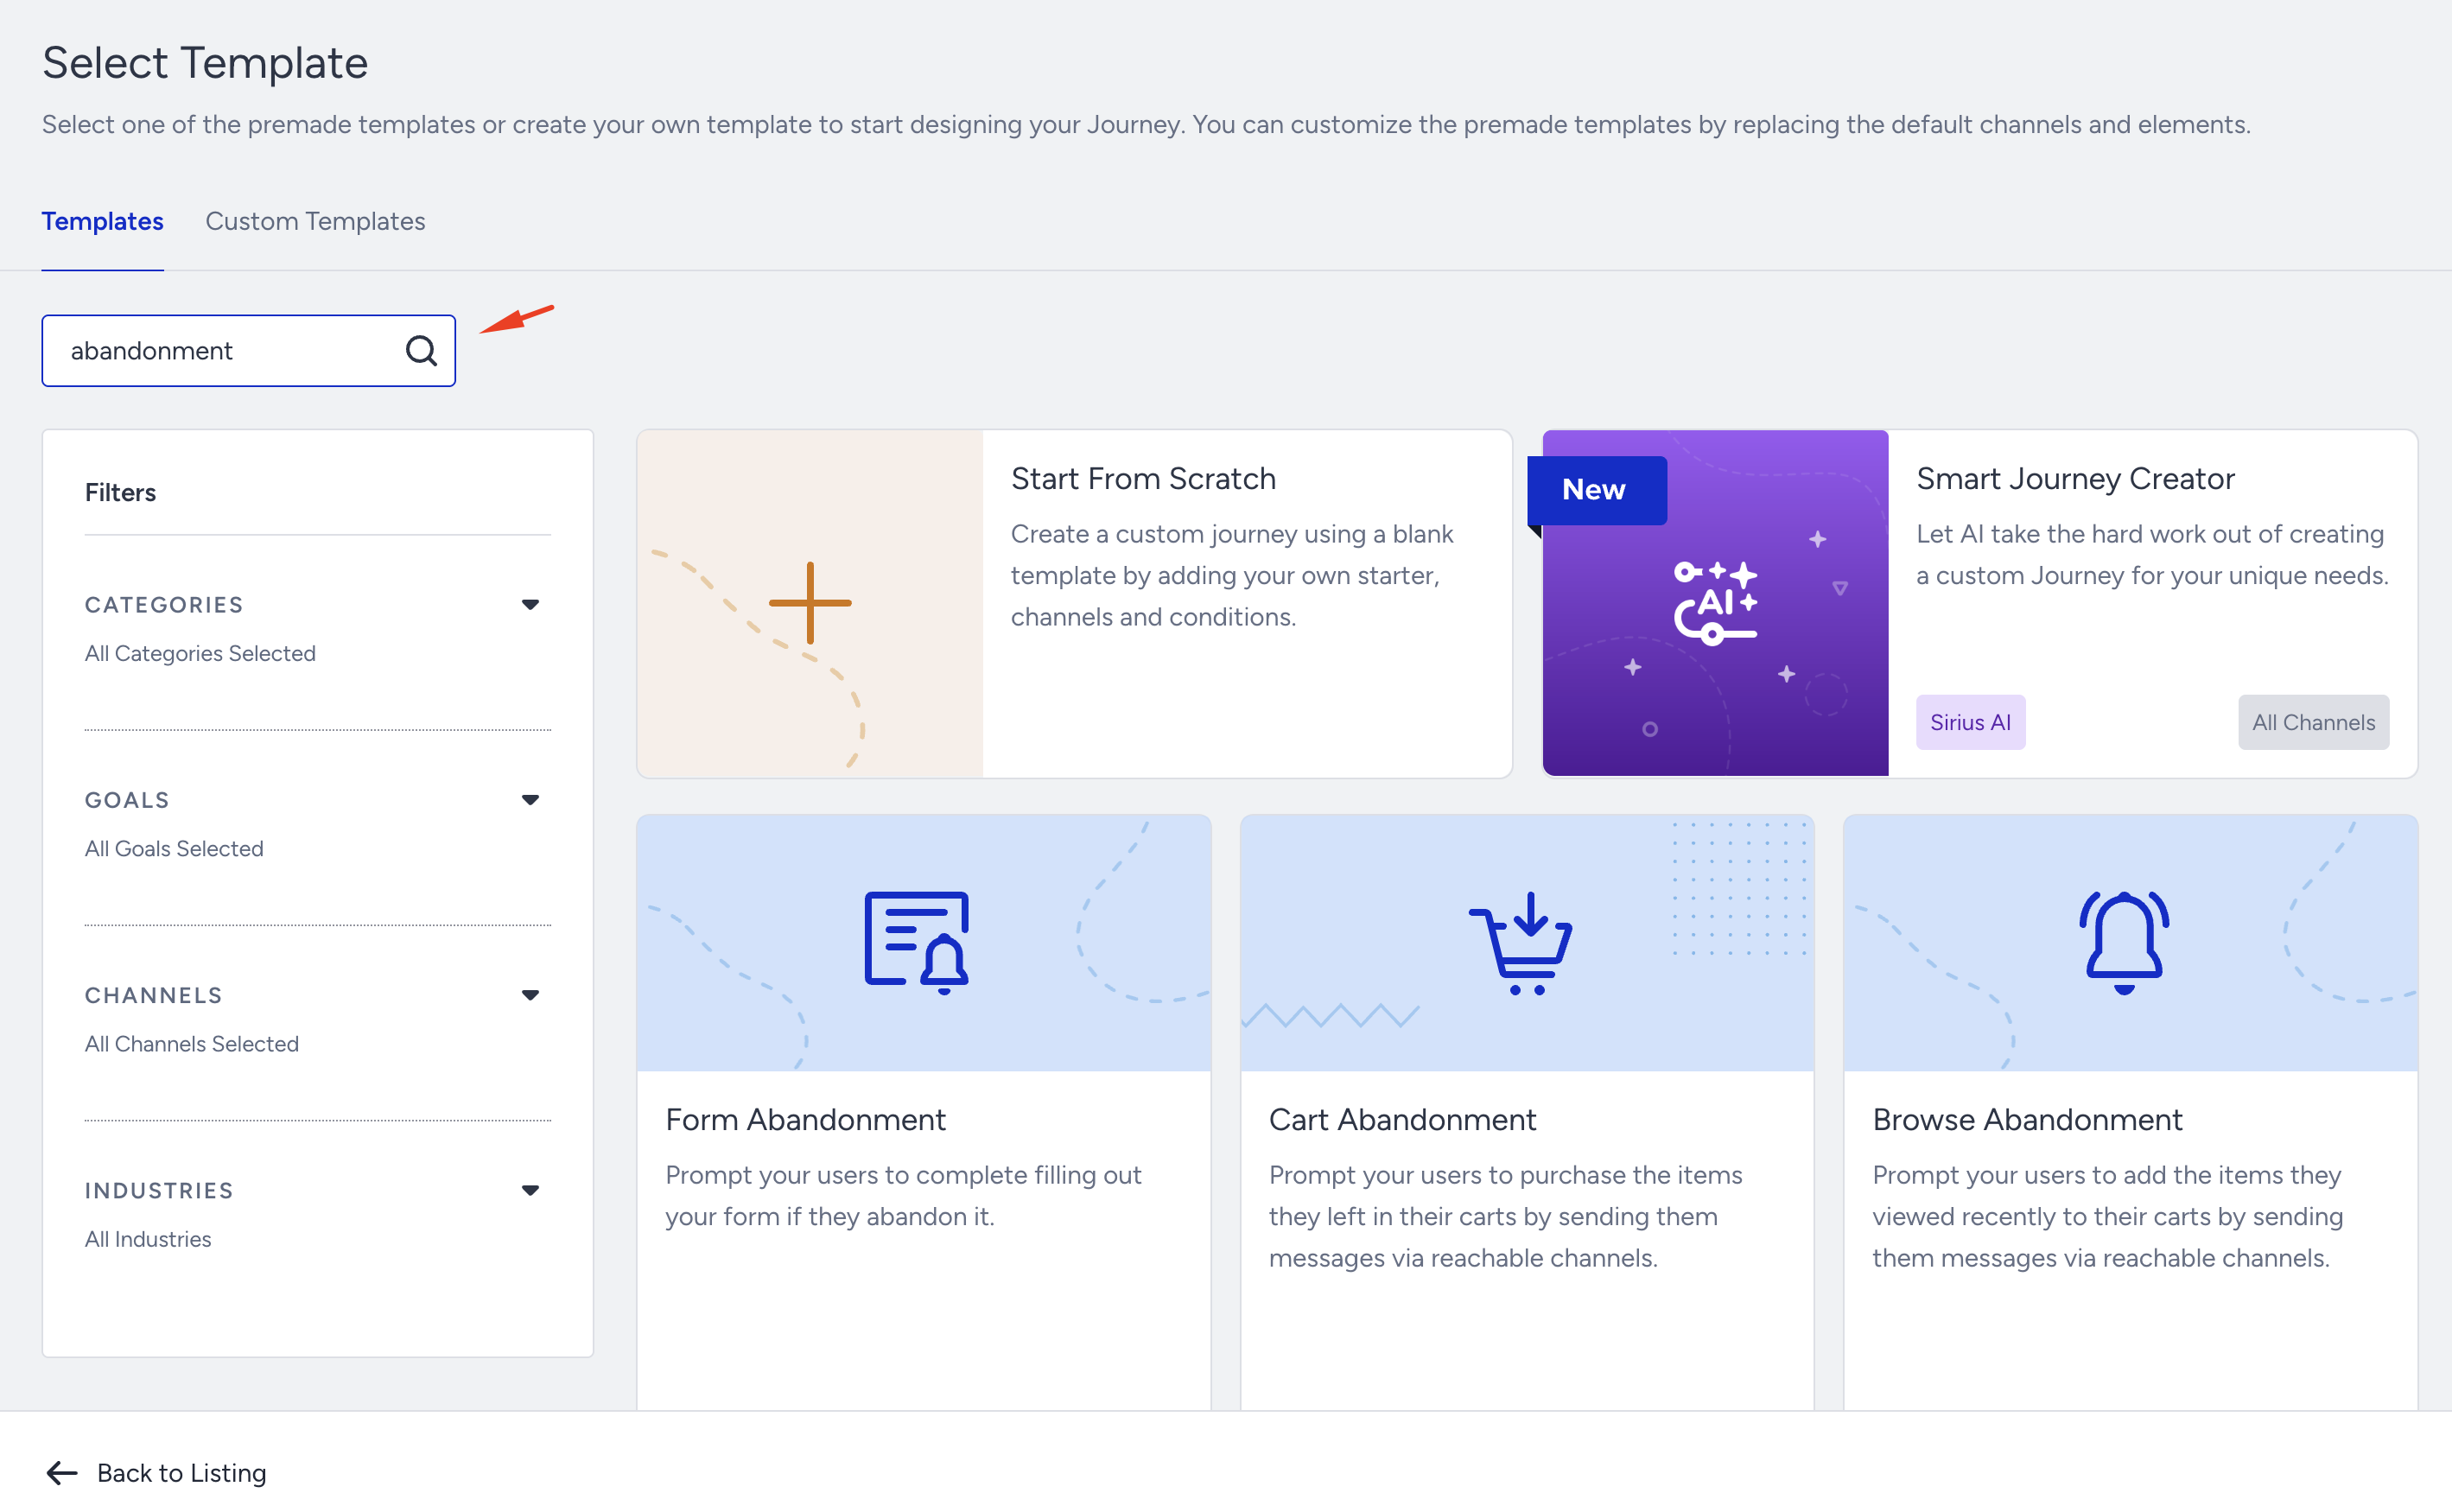
5. To create a journey from scratch, you can Start From Scratch or use the Smart Journey Creator.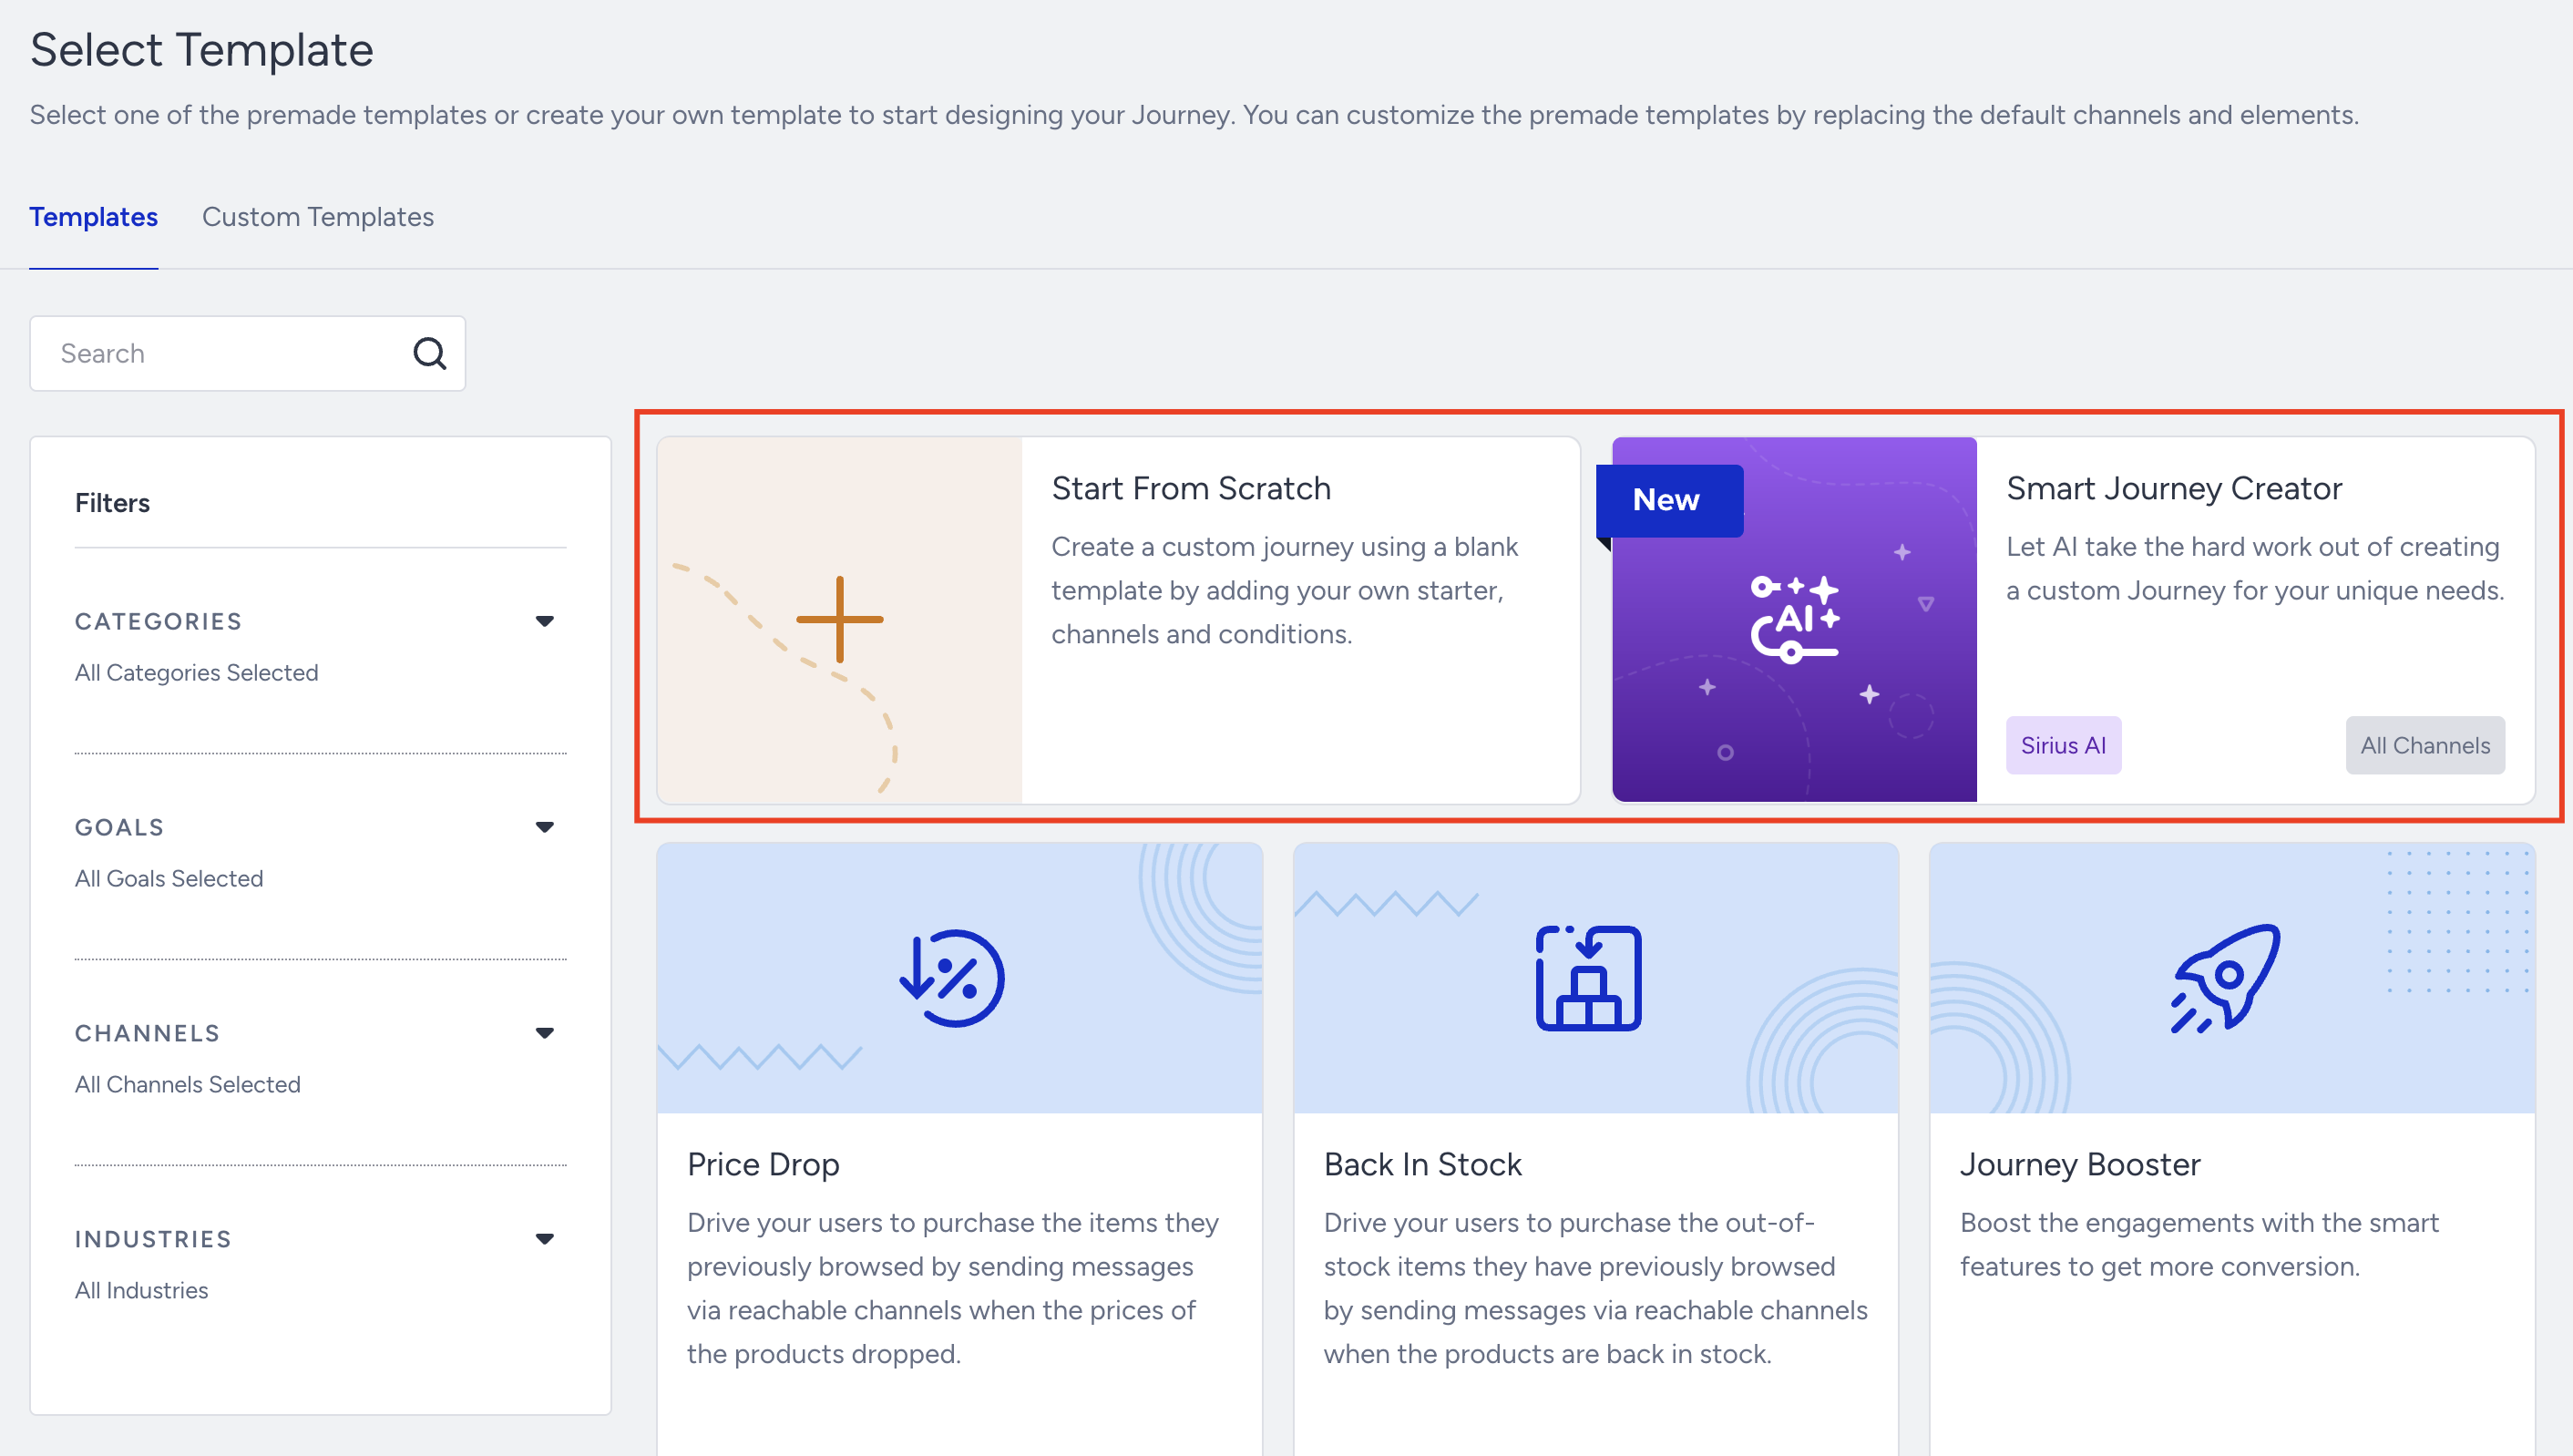
6. If you want to use one of the journeys that you saved as templates before, you can click the Custom Templates to list your templates.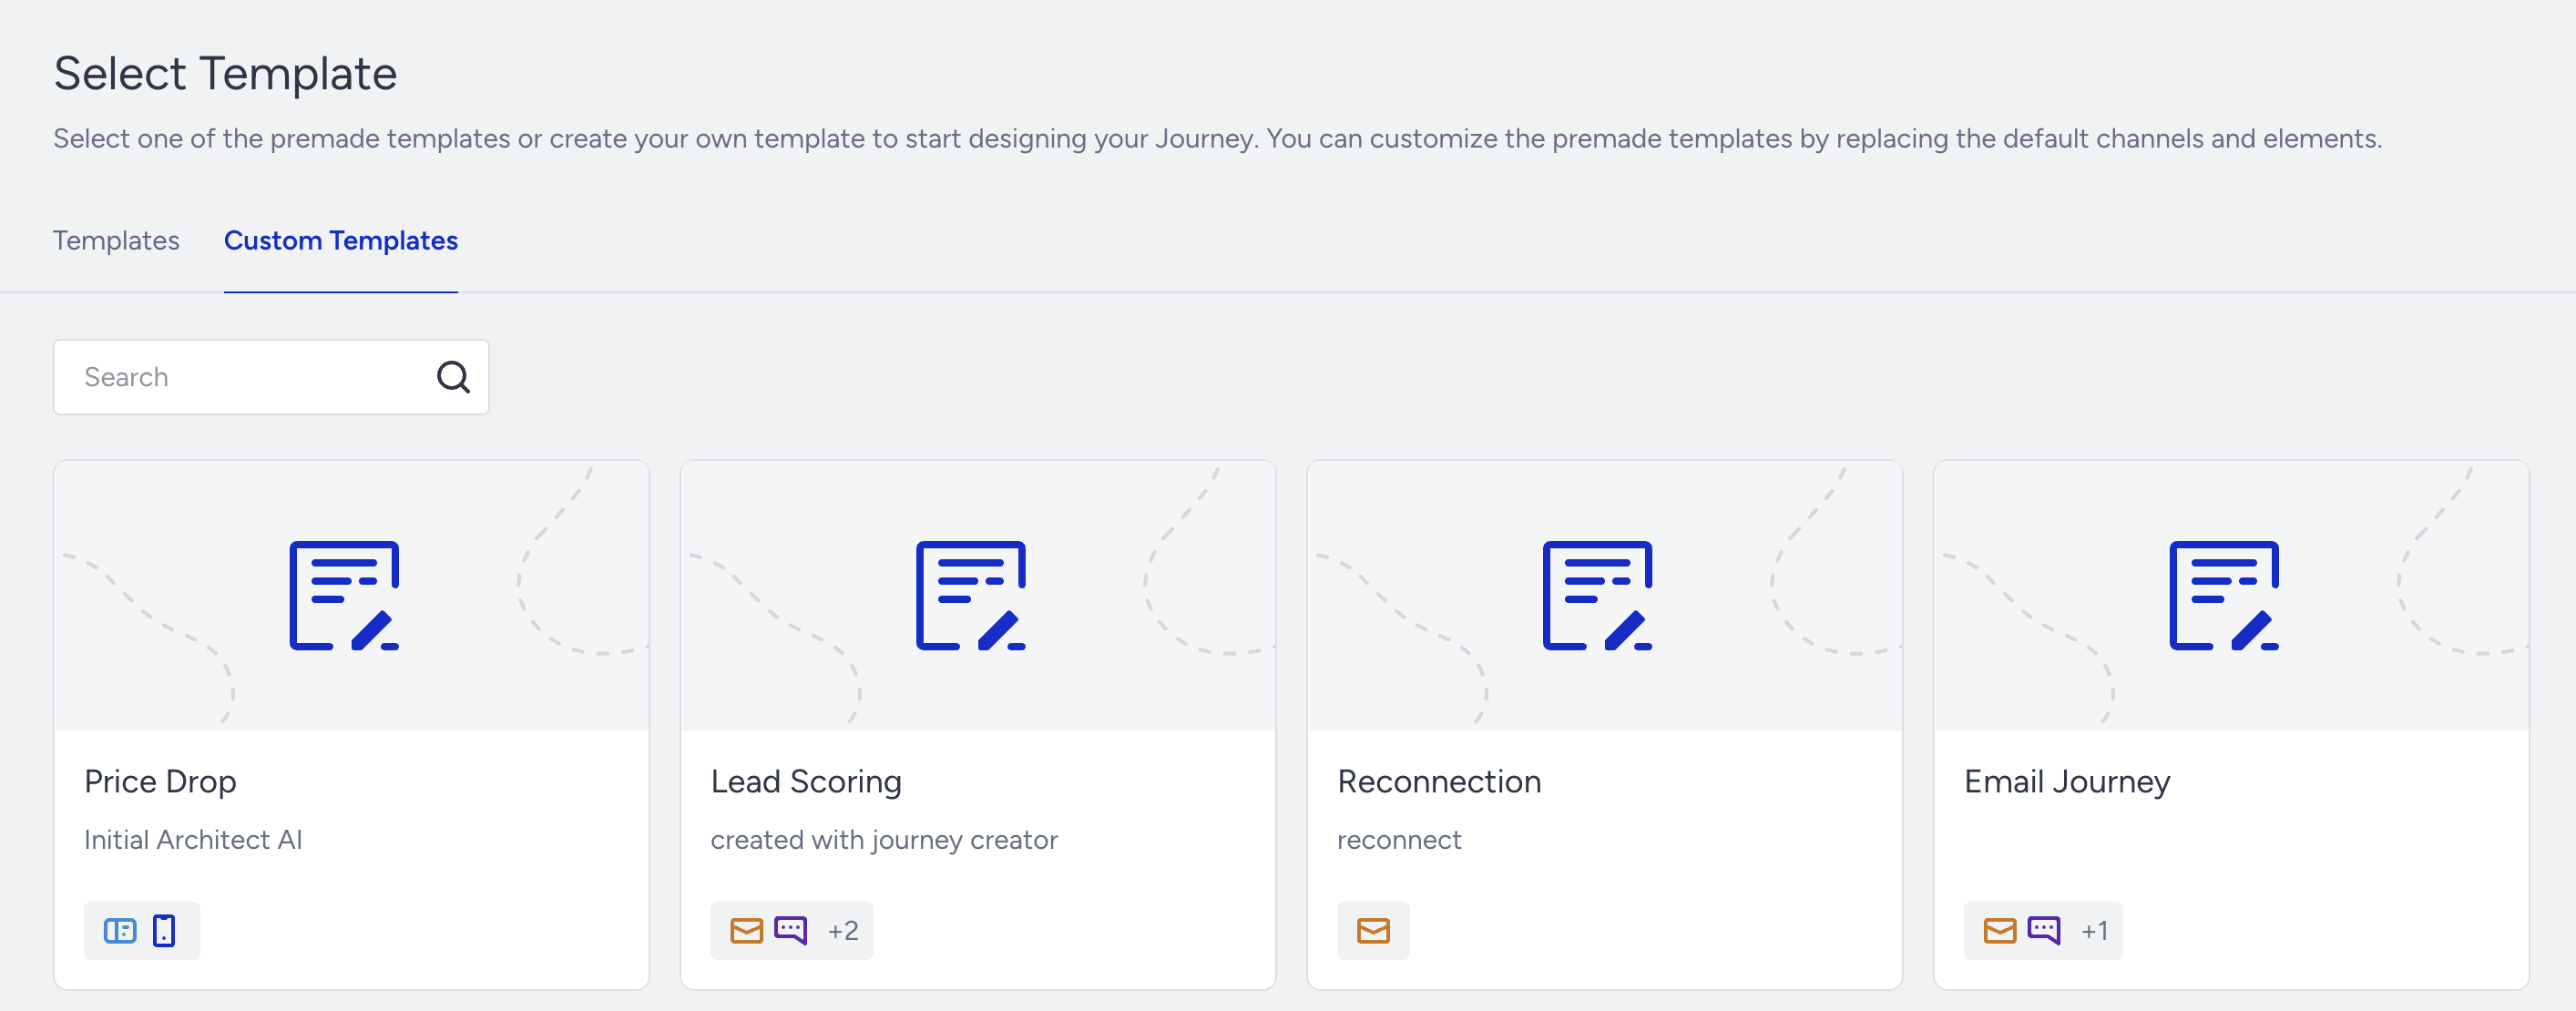
7. This guide aims to walk you through the steps for creating a journey from scratch.
Go back to the Templates tab and select Start From Scratch..png)
3. Canvas Elements
After selecting a template or the blank canvas, you will land on the canvas page. This page displays the journey elements depending on your selection and the canvas's default elements that help you take journey-related actions (e.g., undo, redo, launch, template selection, etc.).
Undo/Redo
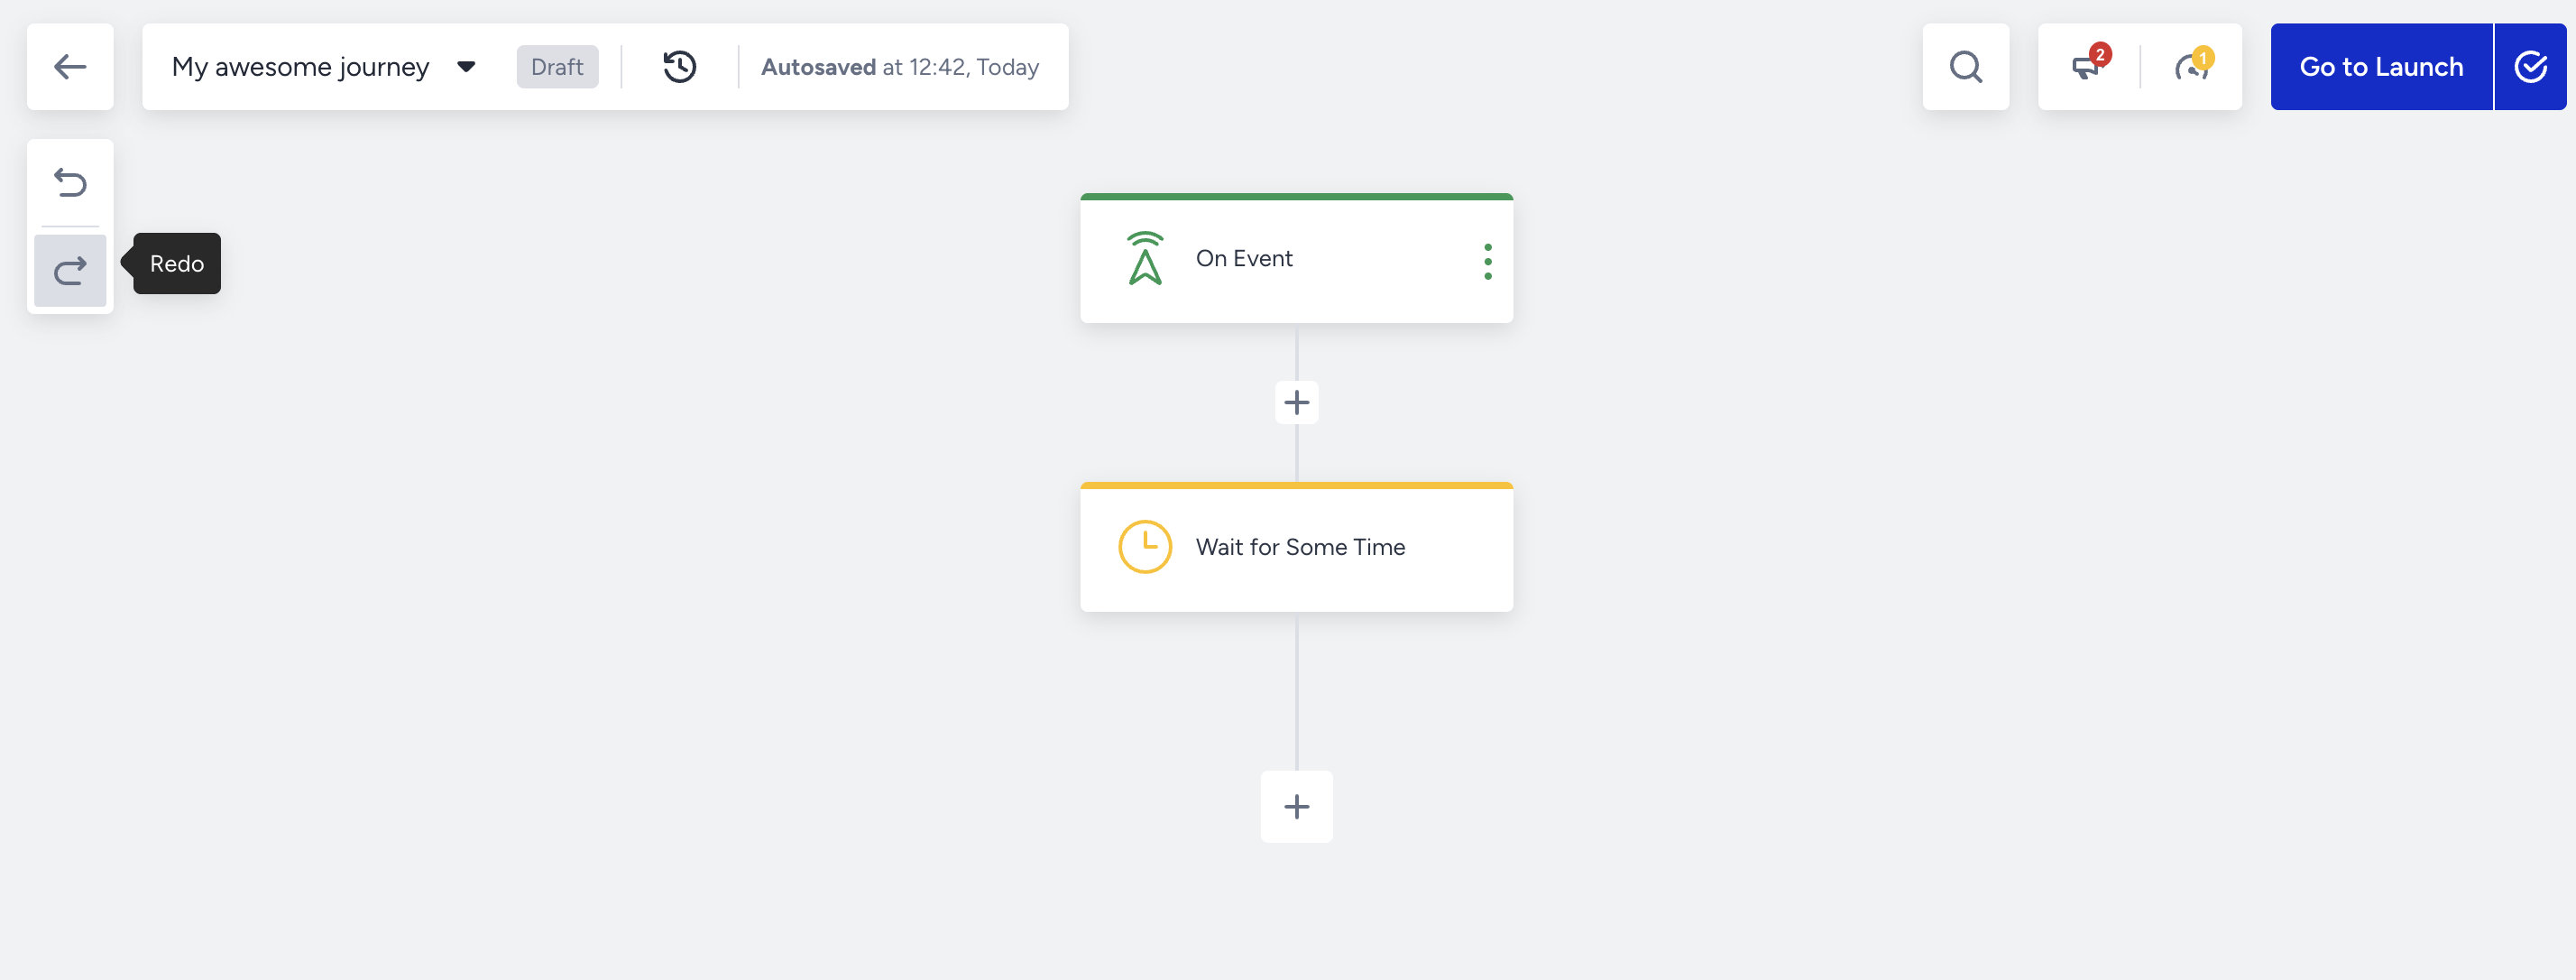 You can use these buttons to undo/redo a change on the canvas.
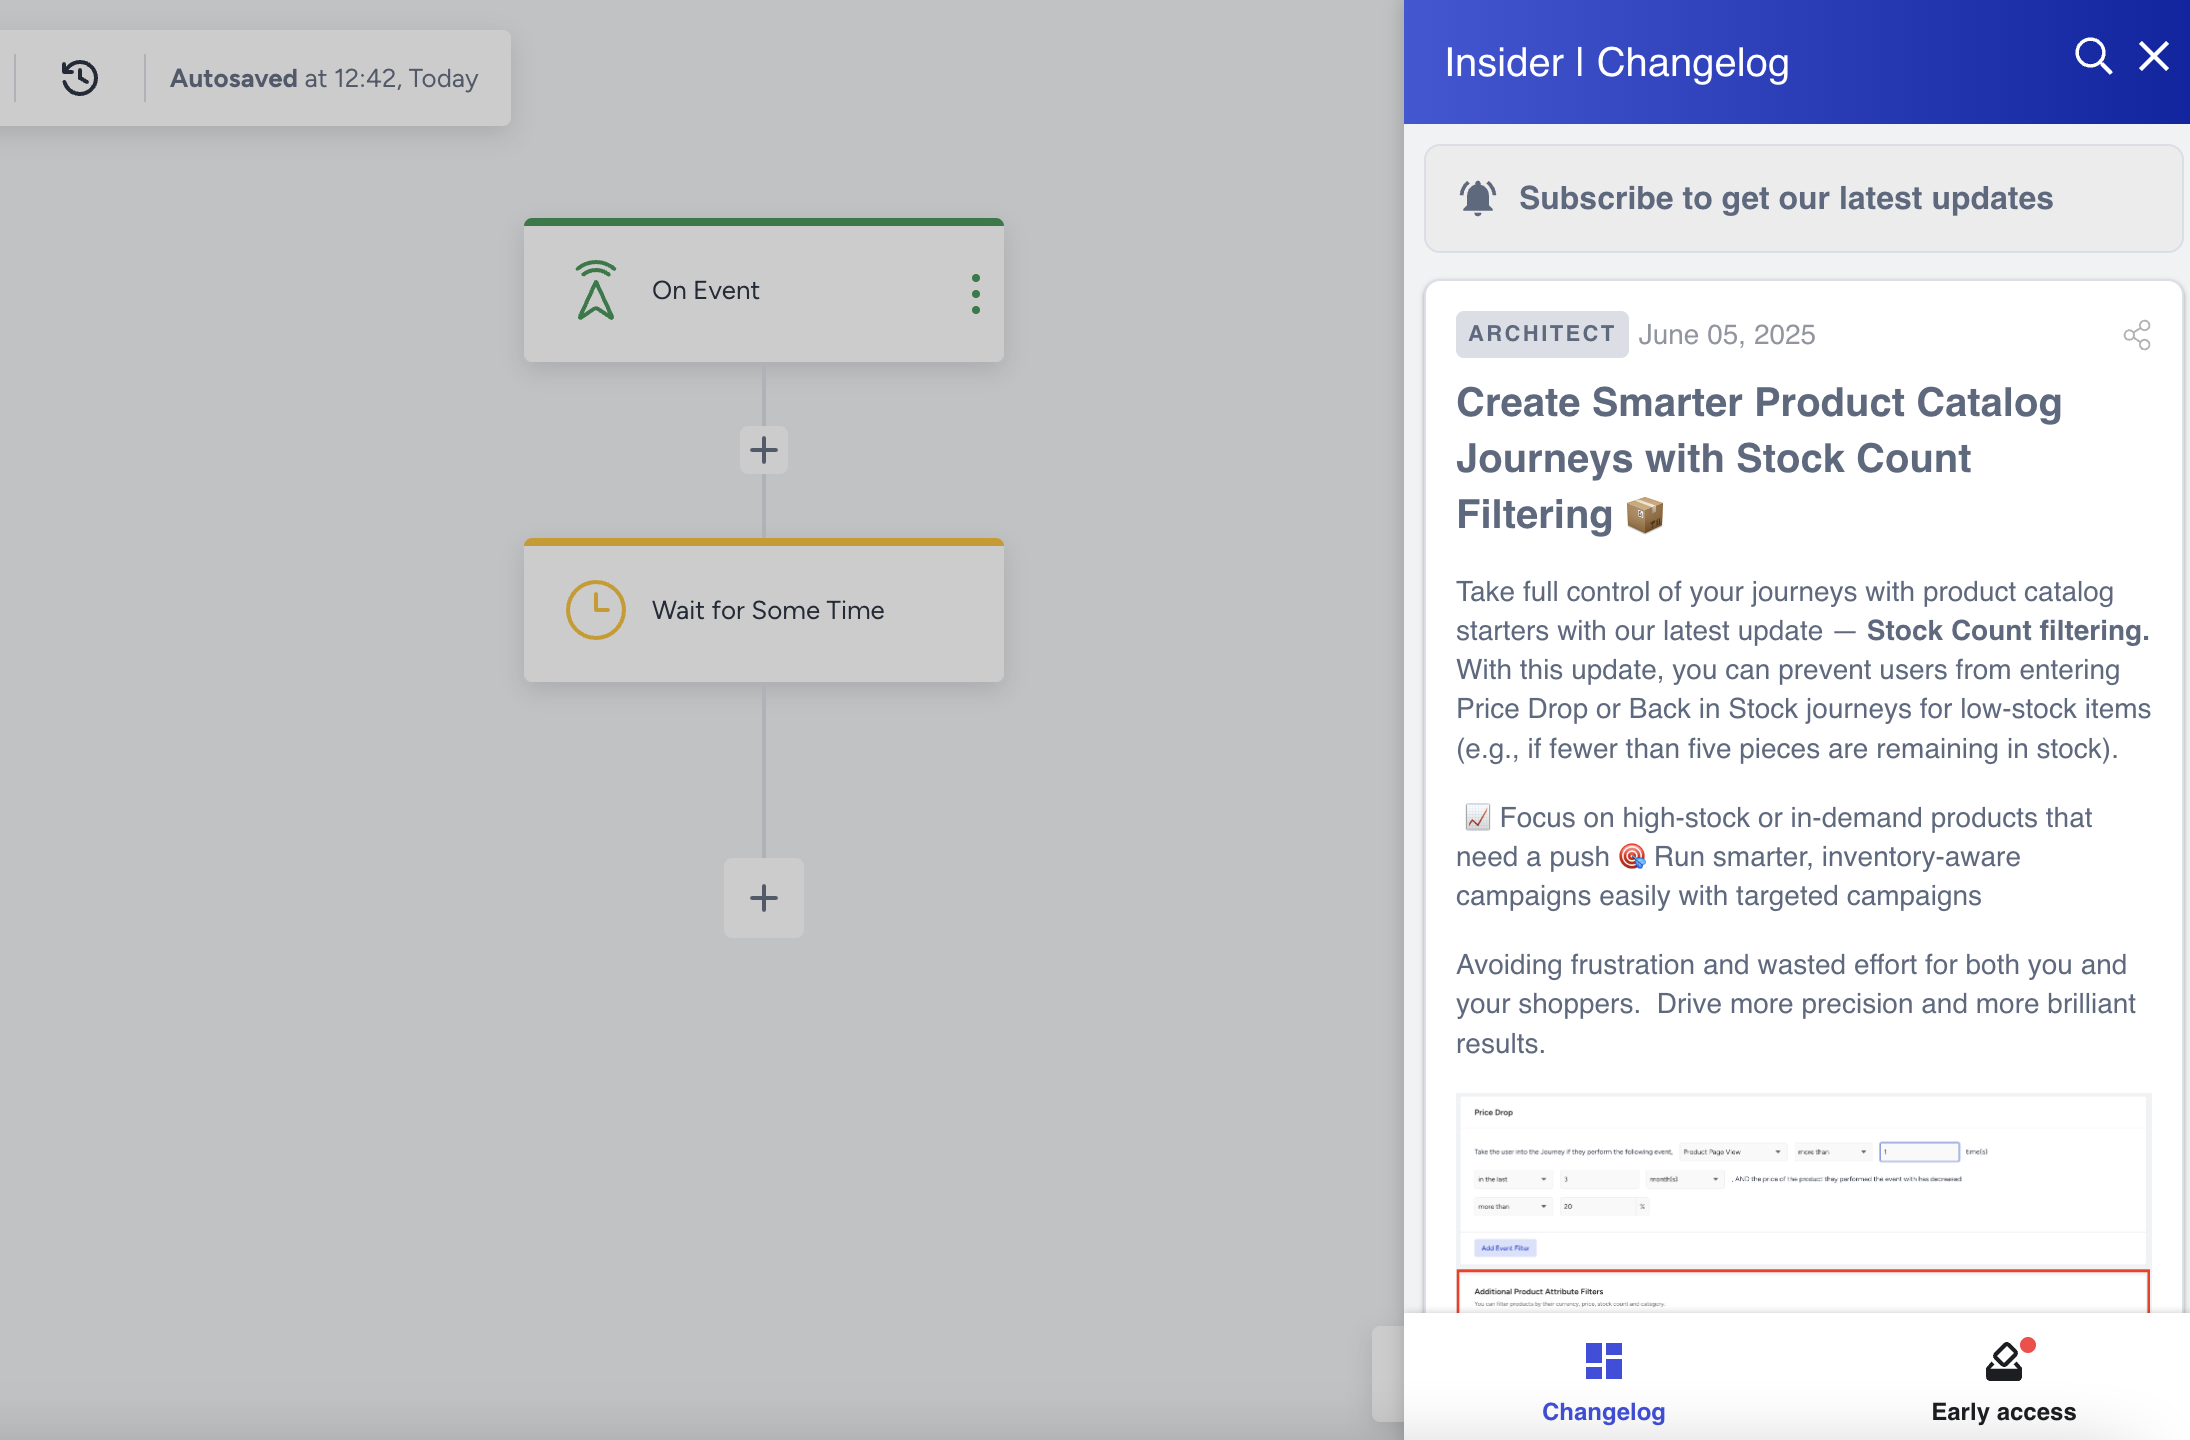
Announcements
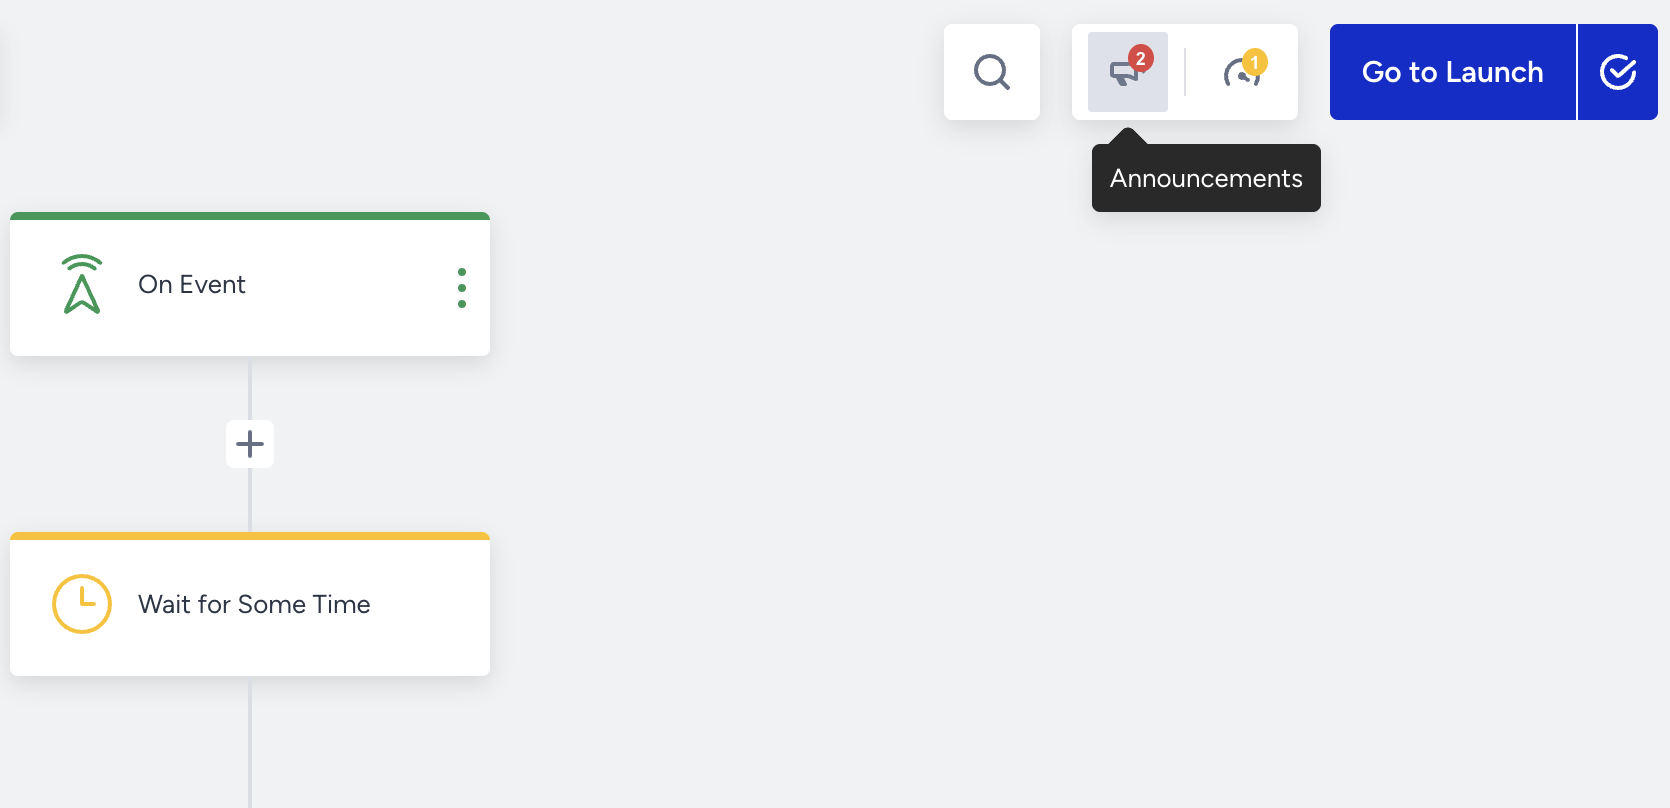 Following the notifications, you can stay updated with the latest features and improvements on Architect. Once you click to open it, you can see the latest updates.
Templates
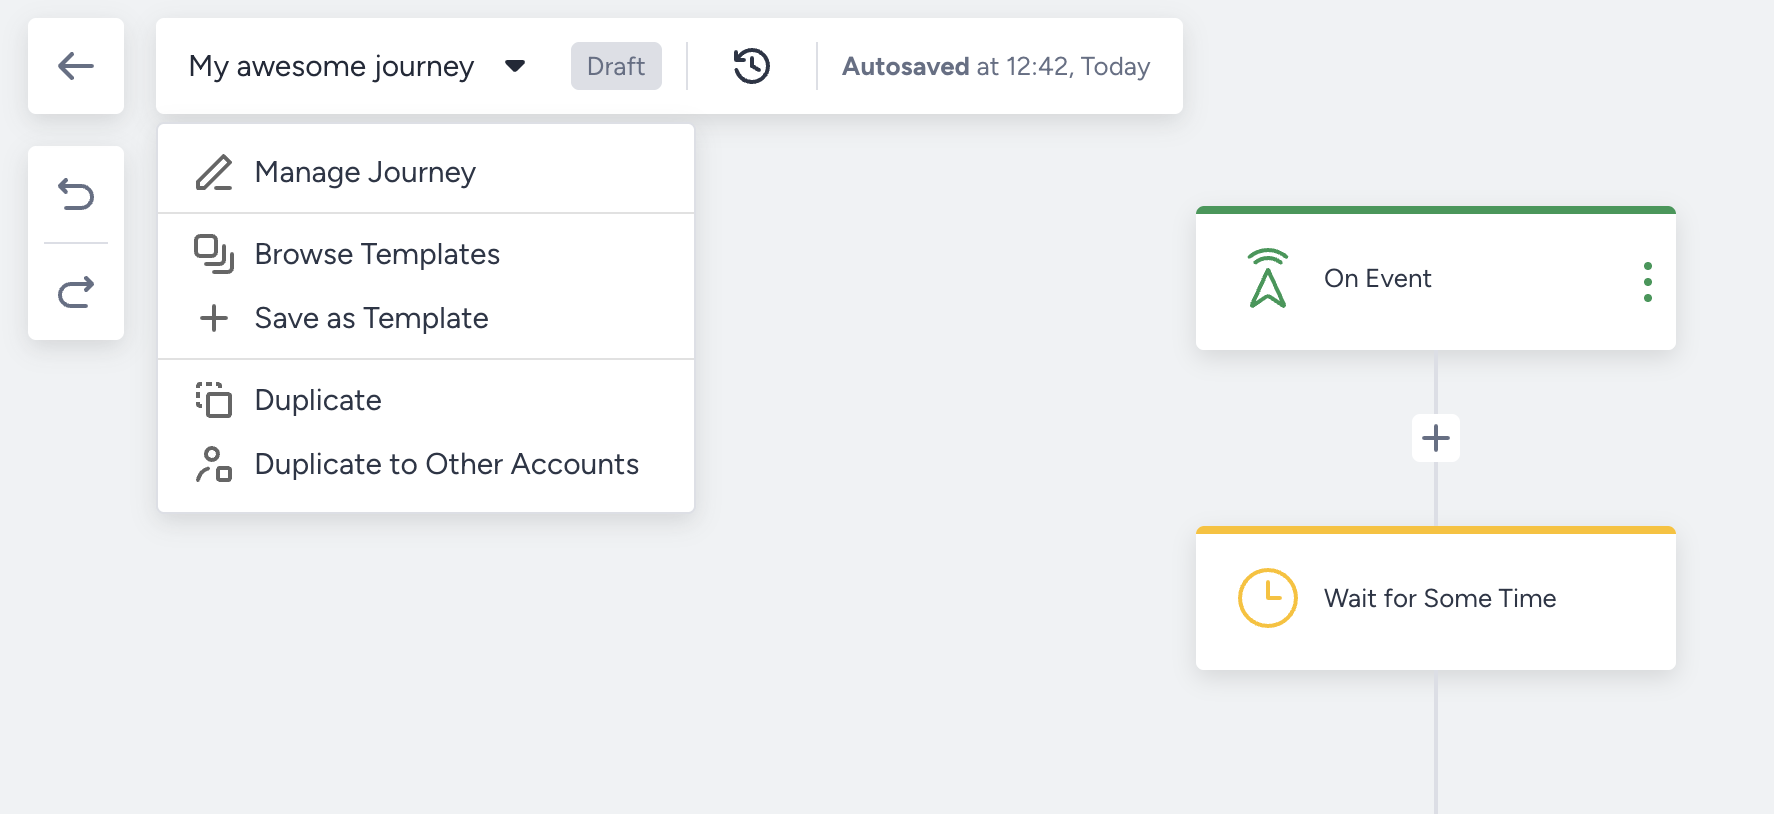
You can click the journey name to manage your journey, browse templates, save your journey as a template, and duplicate your journey.
Journey Optimizer
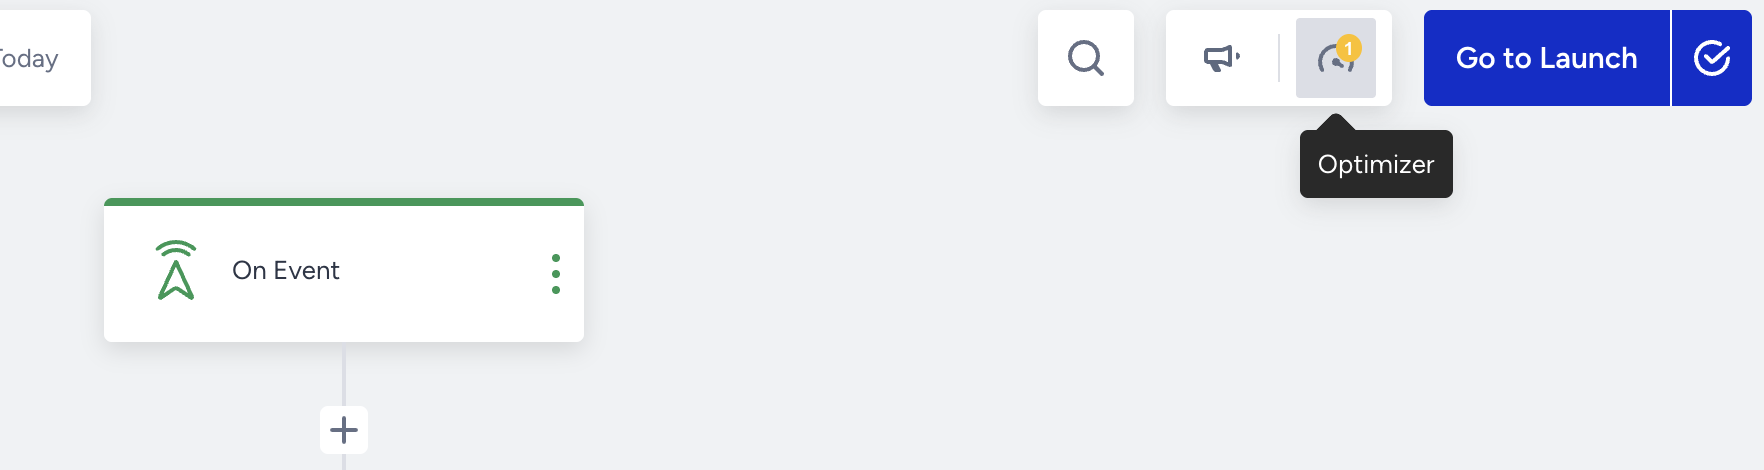
The Journey Optimizer offers recommended practices to optimize your journeys before launching them.
Launch
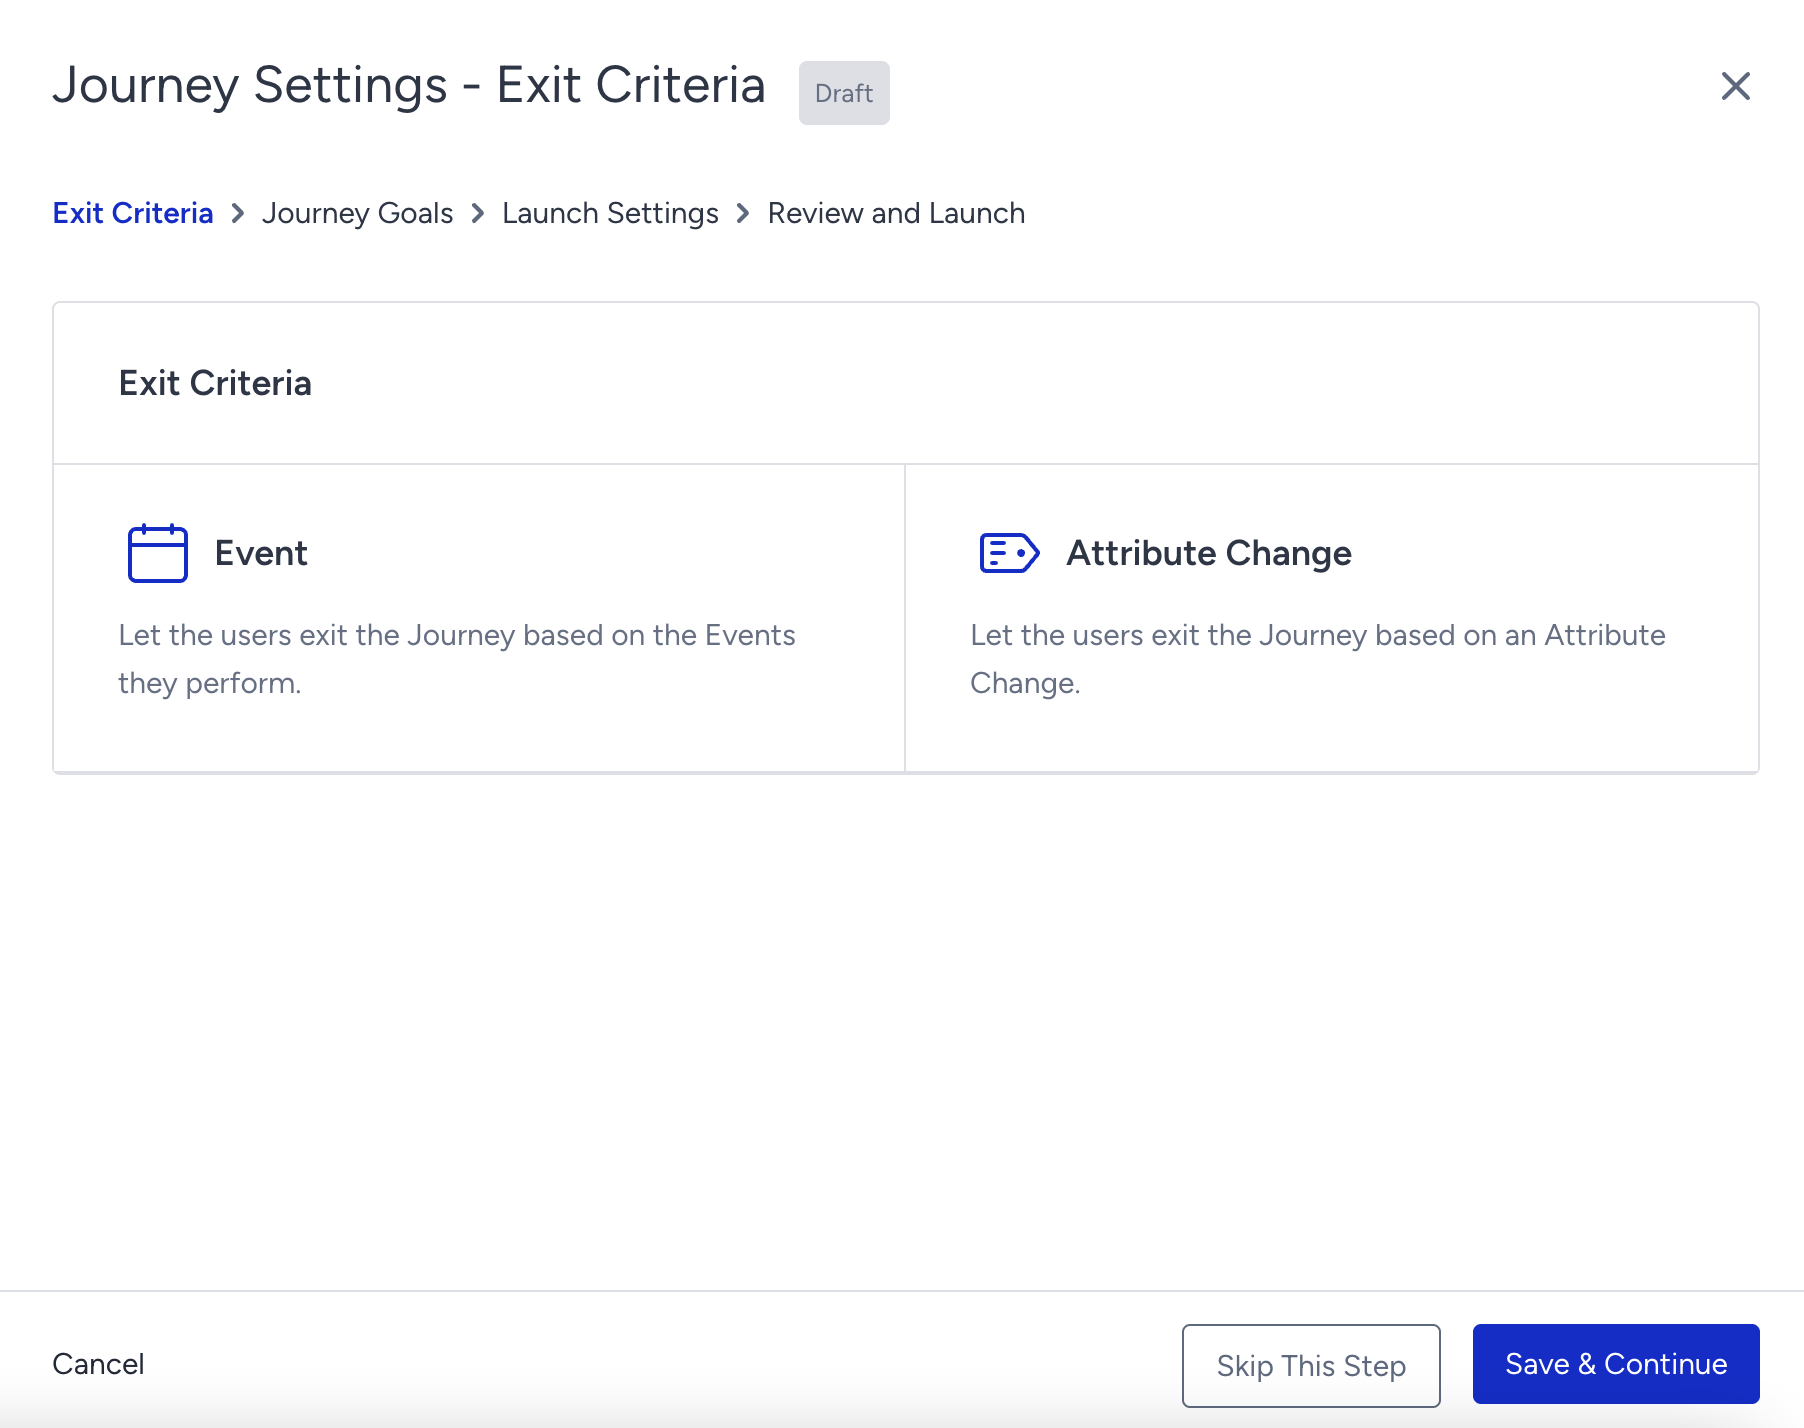 With launch settings, you can set Exit Criteria and Journey Goals, select a journey language, set an activation day and time, select an activation status, configure user eligibility, and override general entry capping.
Start
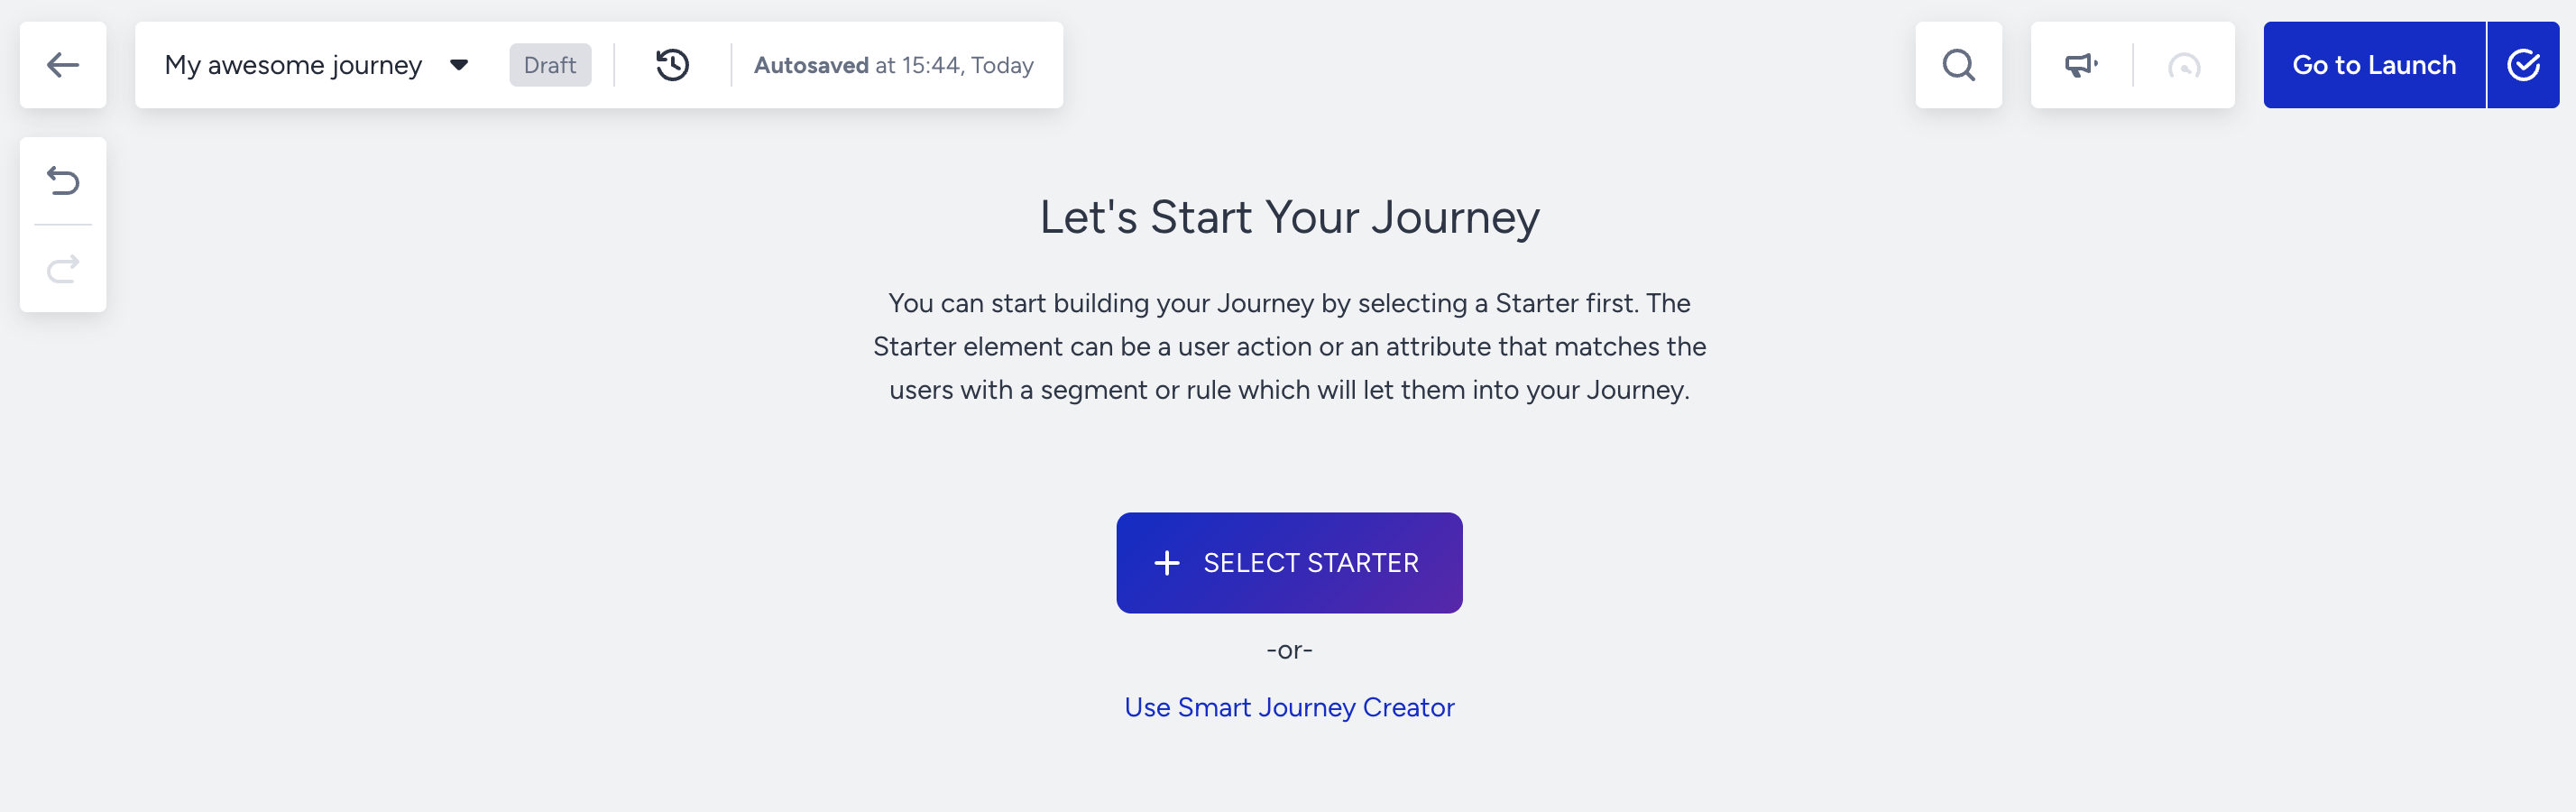 You can click the Select Starter button to start designing your journey.
4. Select a Starter
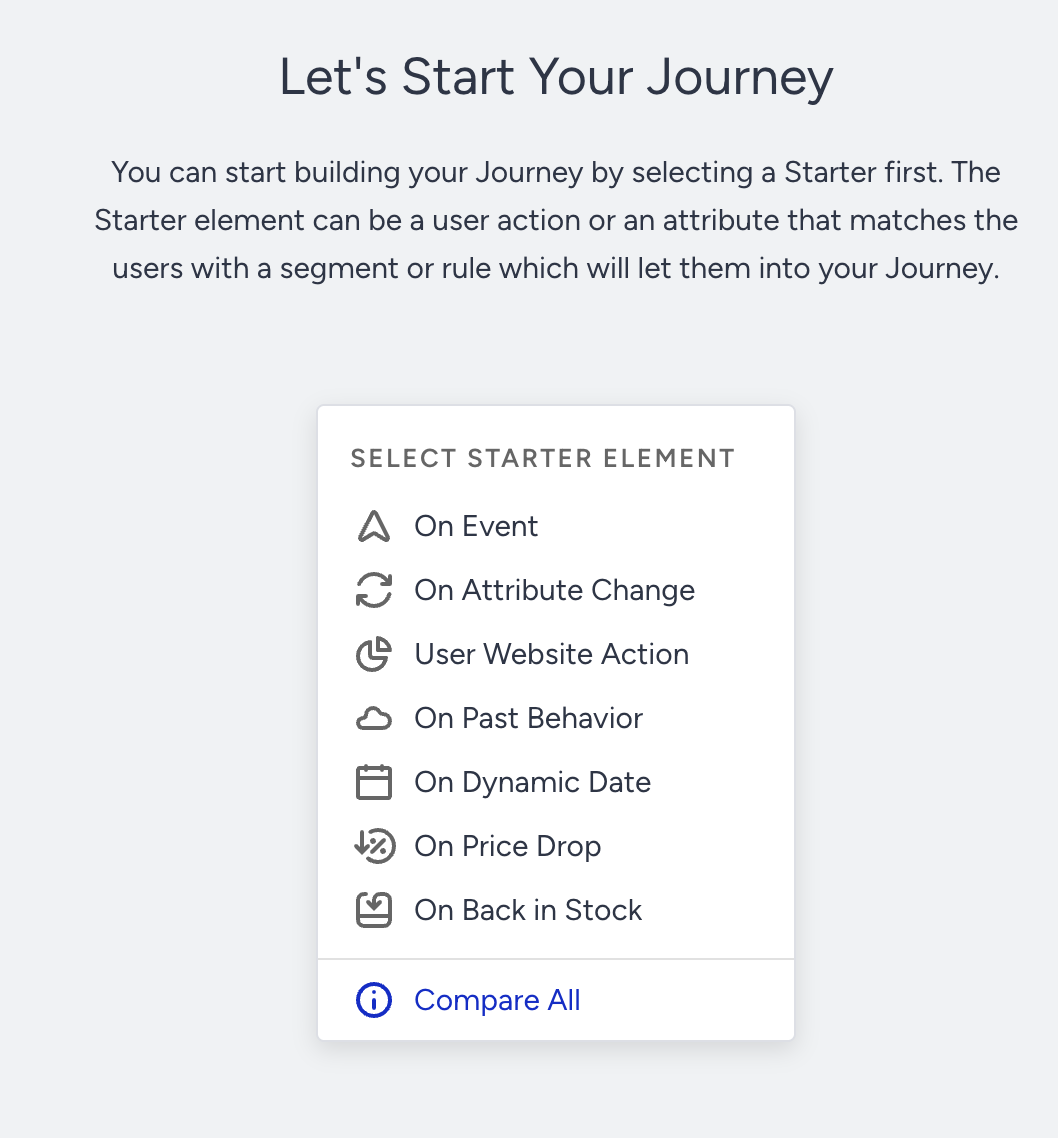 You should define a trigger that will start your journey. Select one of the following entry points, namely starter elements:
- On Event
- On Attribute Change
- User Website Action
- On Past Behavior
- On Dynamic Date
- On Price Drop
- On Back in Stock
5. Select a Wait Element
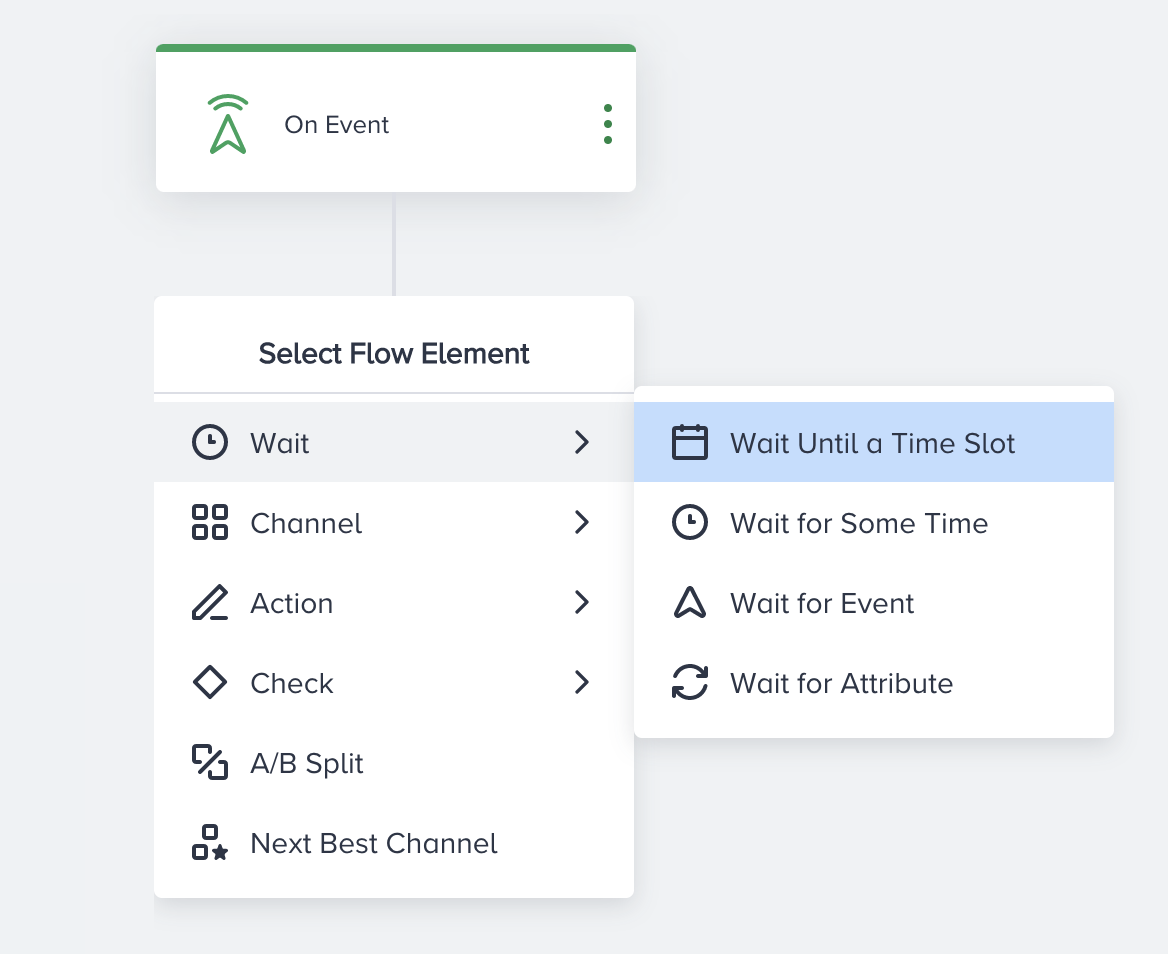 You should give your users some time to take specific actions after the starter element. Select one of the following Wait elements:
6. Select a Condition
 You should track users' behavior and actions in your messages and starters, and their reachability on the channels you want to communicate with them. Select one of the condition elements:
7. Select a Channel
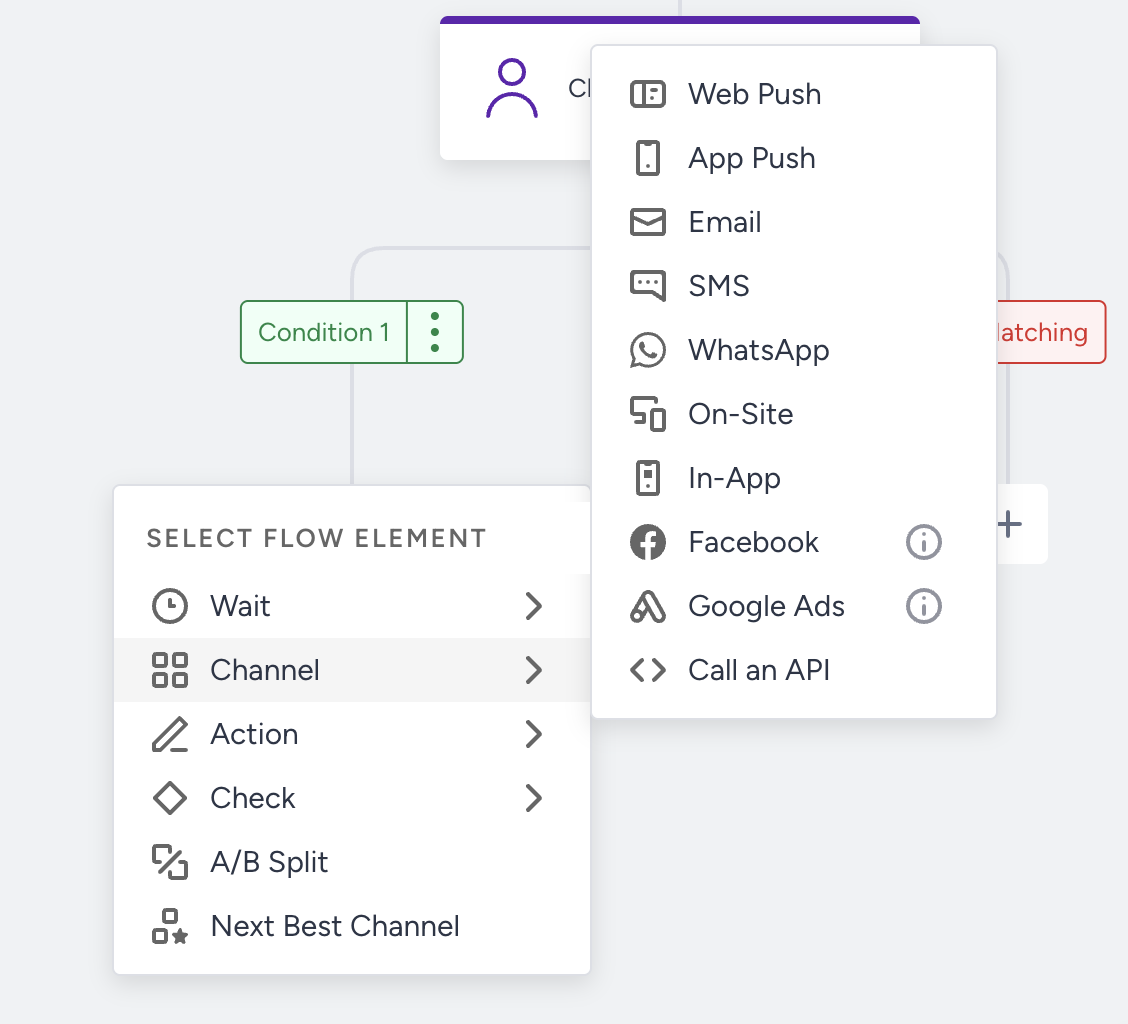 You can engage and convert your users with cross-channel communications. Select one of the channels that are available for your account:
8. Select an Action
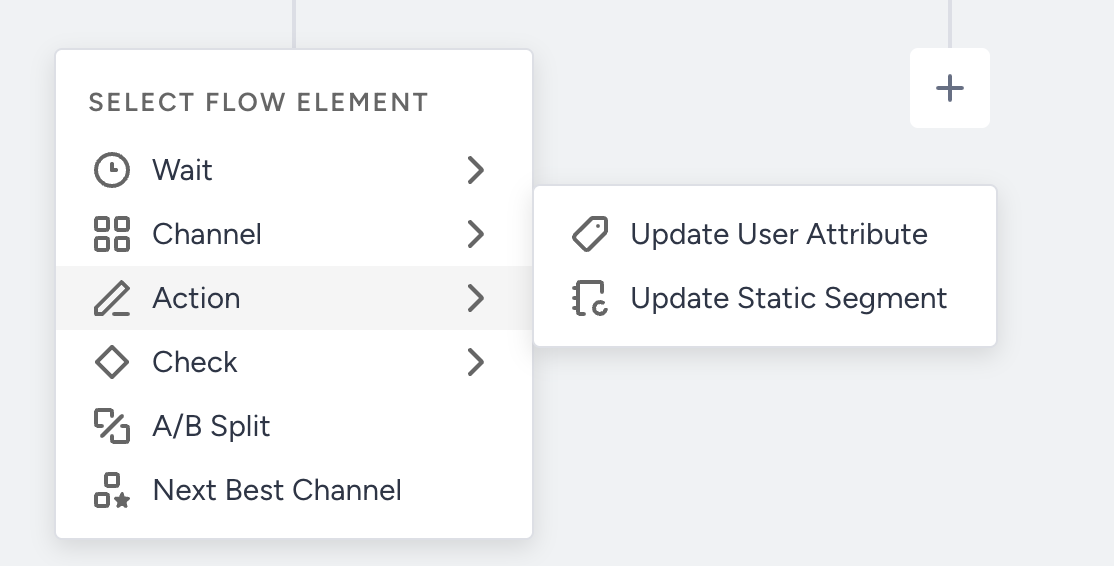 You can take action based on your users' responses to your messages. This step is optional. Select one of the actions that you want to take:
9. Optimize Your Journey
Journeys help you analyze your users' behavior and interactions throughout the funnel and foresee any possible issues. Once you optimize the flow based on these insights, you can improve the performance of your journey.
You can optimize your journey using various use cases. For example, you can use A/B Split and Next Best Channel to select the correct channel to interact with users.
A/B Split
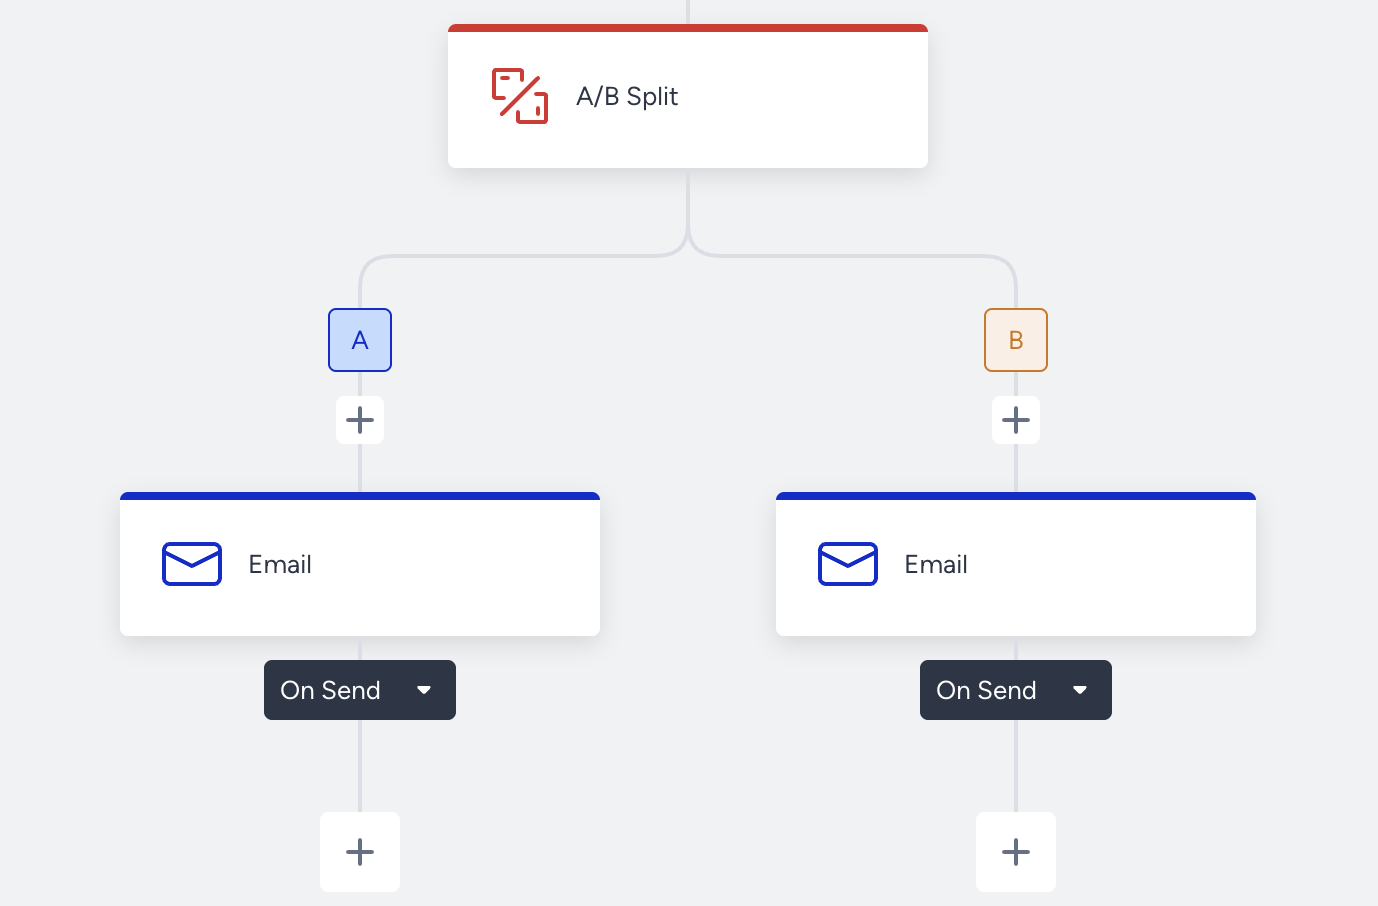 Add the A/B Split element to branch your journey flow, compare different elements, and select the best-performing element for your journey.
Next Best Channel
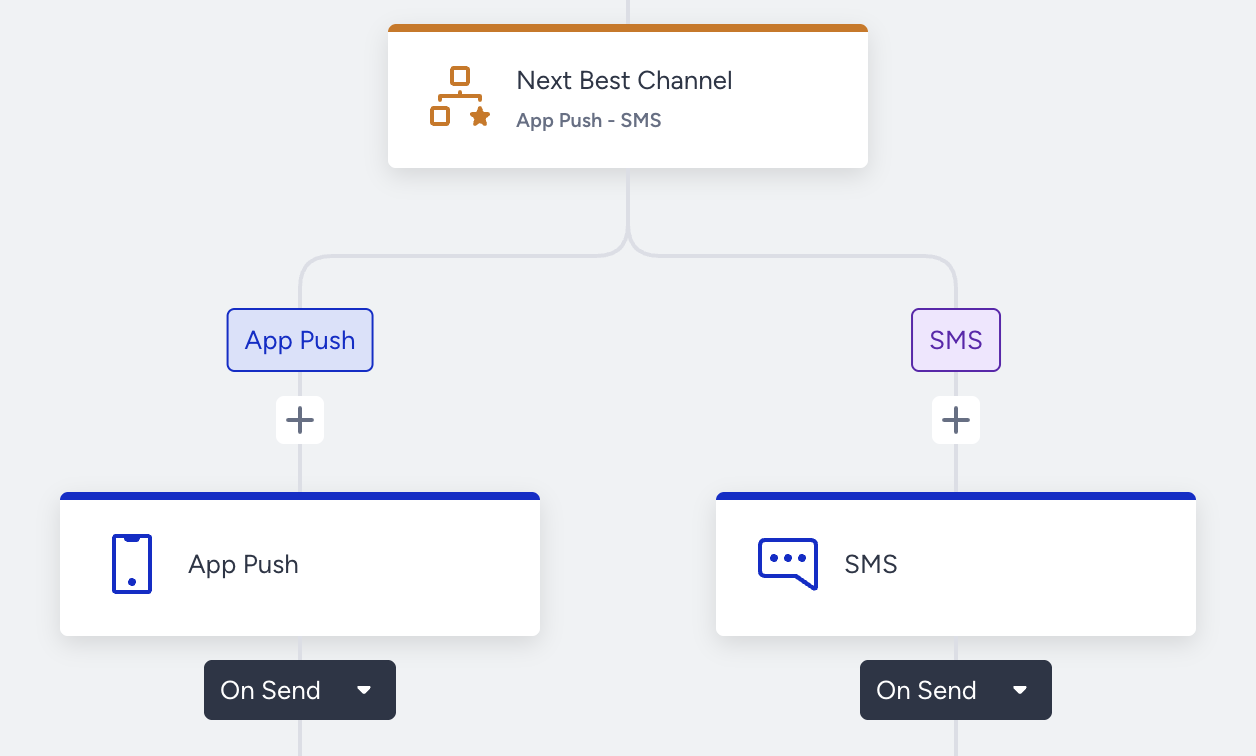 Add the Next Best Channel element to journeys to automate your decisions based on each user's past behavior.
10. Launch Your Journey
Once you complete the flow, you should configure the launch settings and save your journey in the Test status.
11. Test Your Journey
Before launching your journey, you should always test it as an end user to experience what your users will experience.
Test your journey using one of the test options.
12. Track Analytics
Architect Analytics allows you to see the results and evaluate many metrics on various analytics pages.
Track the results of your journey via one of the dashboards:
- Analytics dashboard
- Live statistics
- Single journey analytics
- Channel statistics for web push, app push, email, SMS, onsite, WhatsApp, InApp, and Call an API
- A/B split analytics