Now you’re ready to create your first Web Smart Recommender Campaign! You can create your campaigns using ready-made templates and customize them on Insider One’s InOne panel during the campaign creation process.
Requirements before starting
Before creating your campaign, make sure you have the following in place:
Configured Page Links: Ensure your website pages are correctly configured so the campaign can be displayed on the intended page types.
Defined Recommendation Strategies: Have at least one recommendation strategy set up to tailor the recommendations in your campaign.
Audience Segments Ready: Decide whether to target specific segments or run the campaign for all users.
Step 1: Create a new campaign
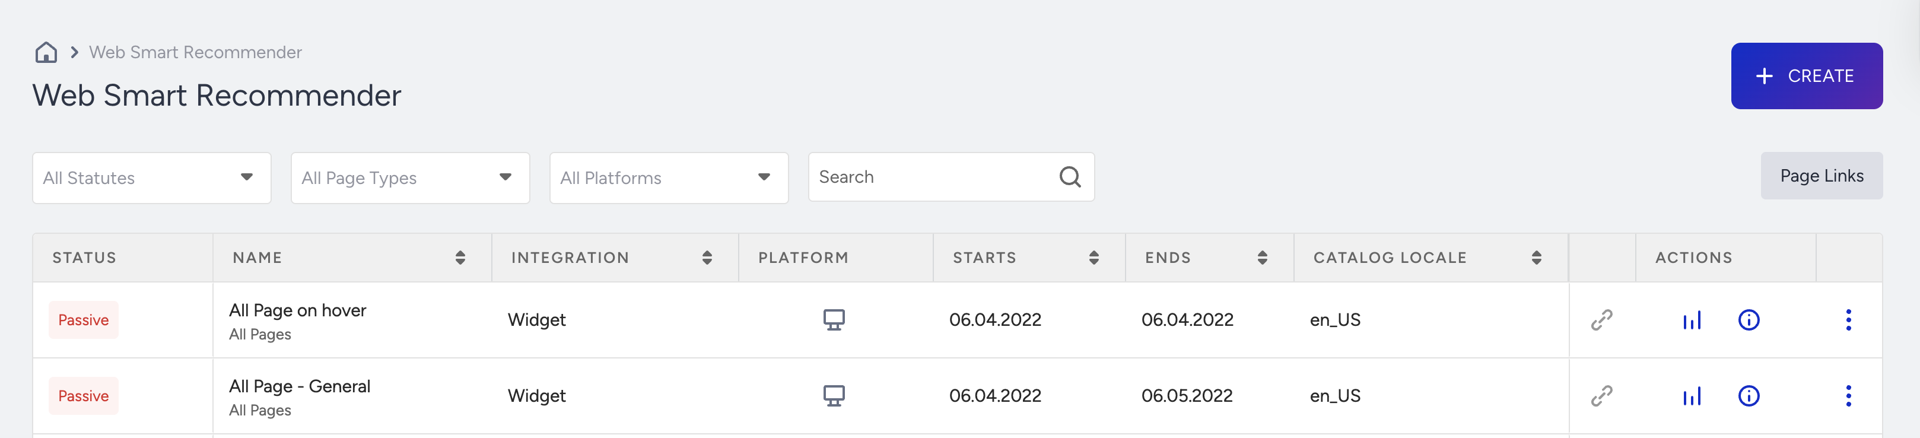
Navigate to Campaigns > Recommendation > Web Smart Recommender.
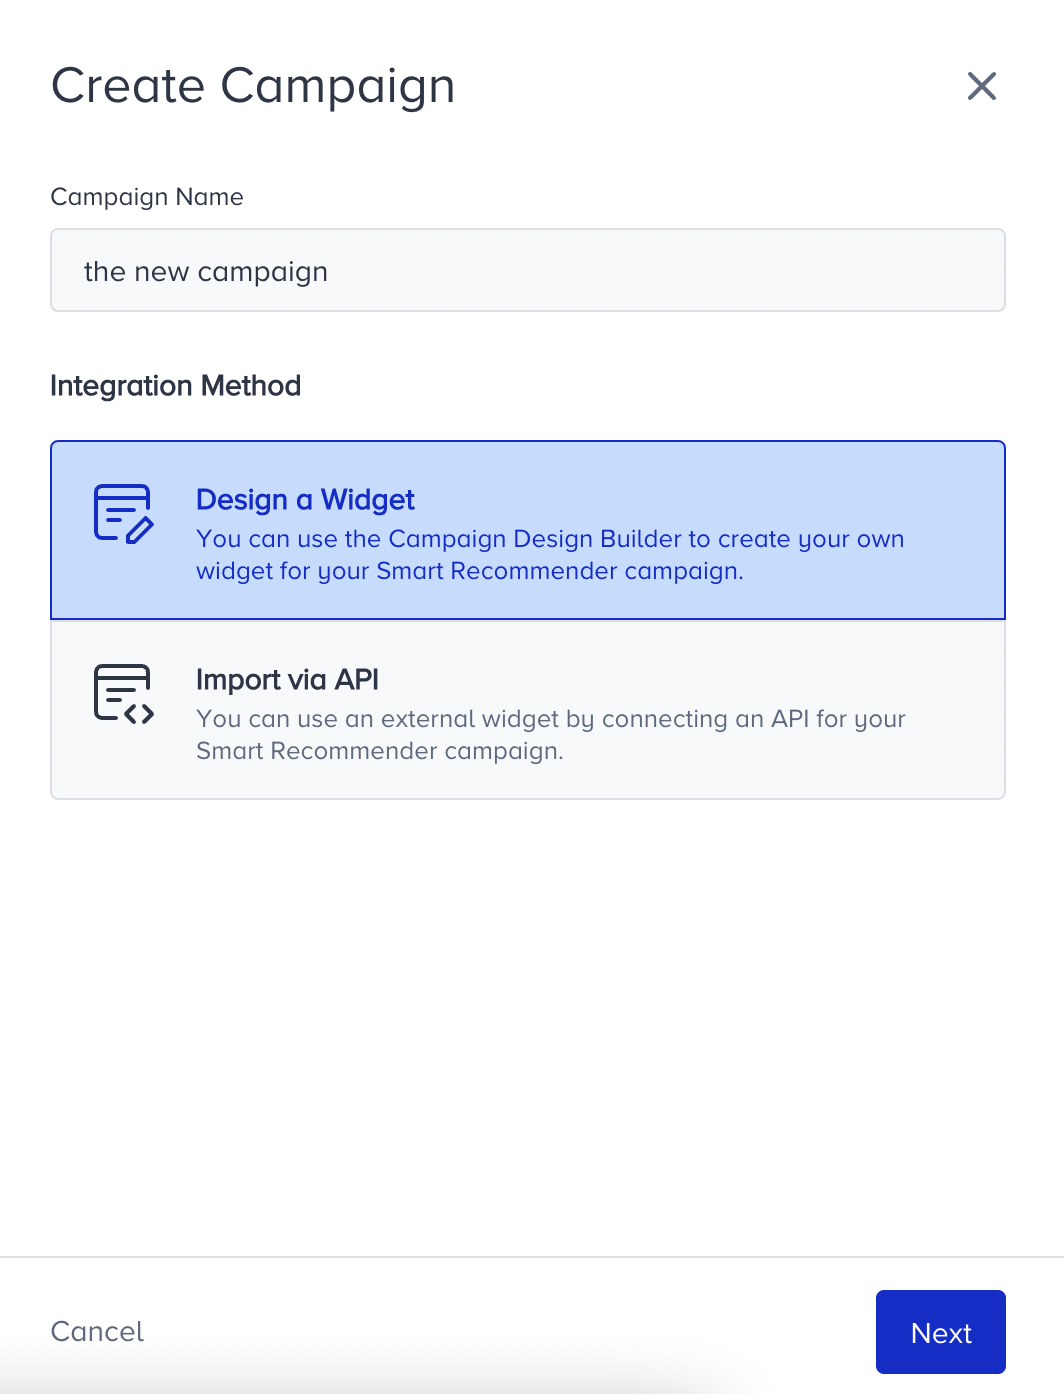
Click Create on the listing page.
Name your campaign clearly so you can identify it later.
Select the integration method for your campaign.
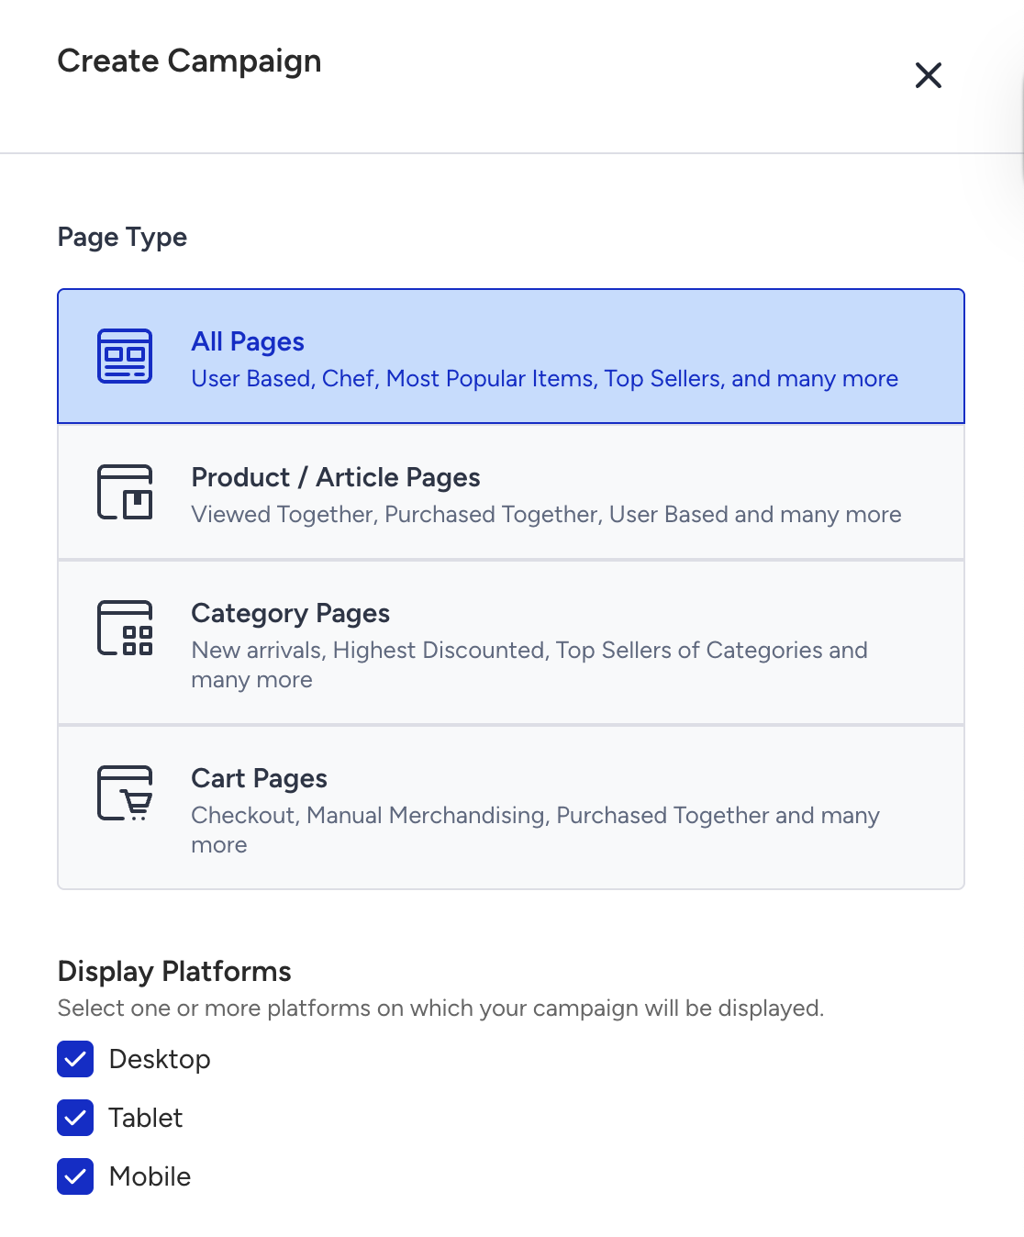
Choose the page type and platforms where the widget will appear, then click Create.
Step 2: Design the campaign
In the Design step of your campaign, click Add a New Variant.
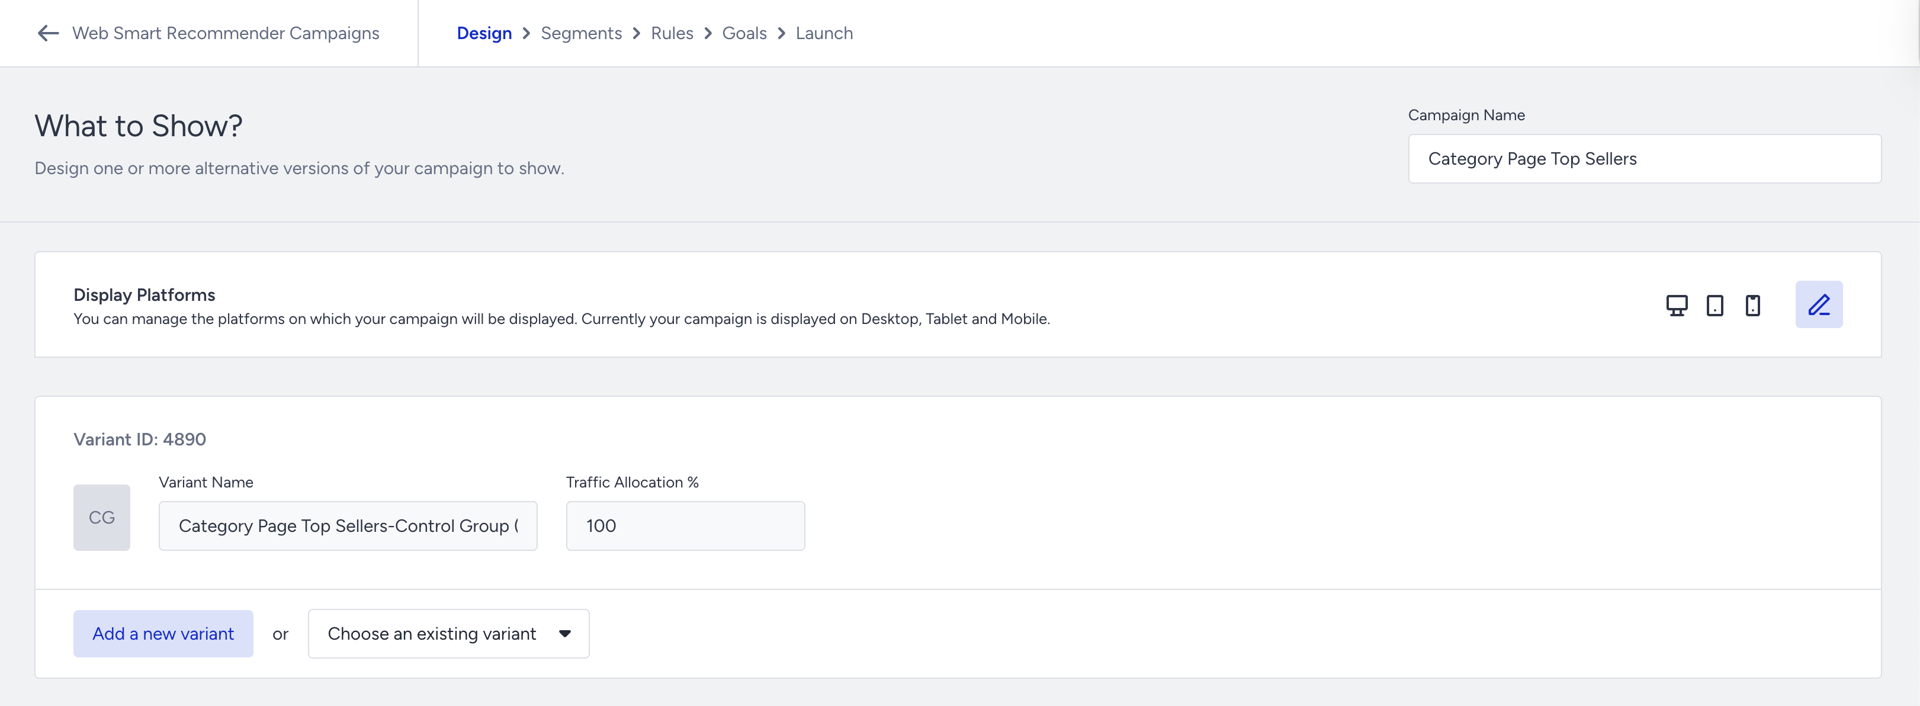
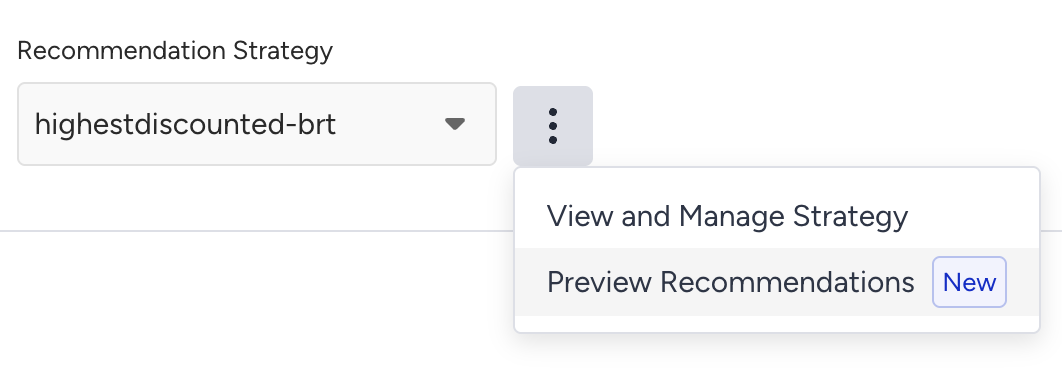
Select the Recommendation Strategy to tailor the recommendation experience.

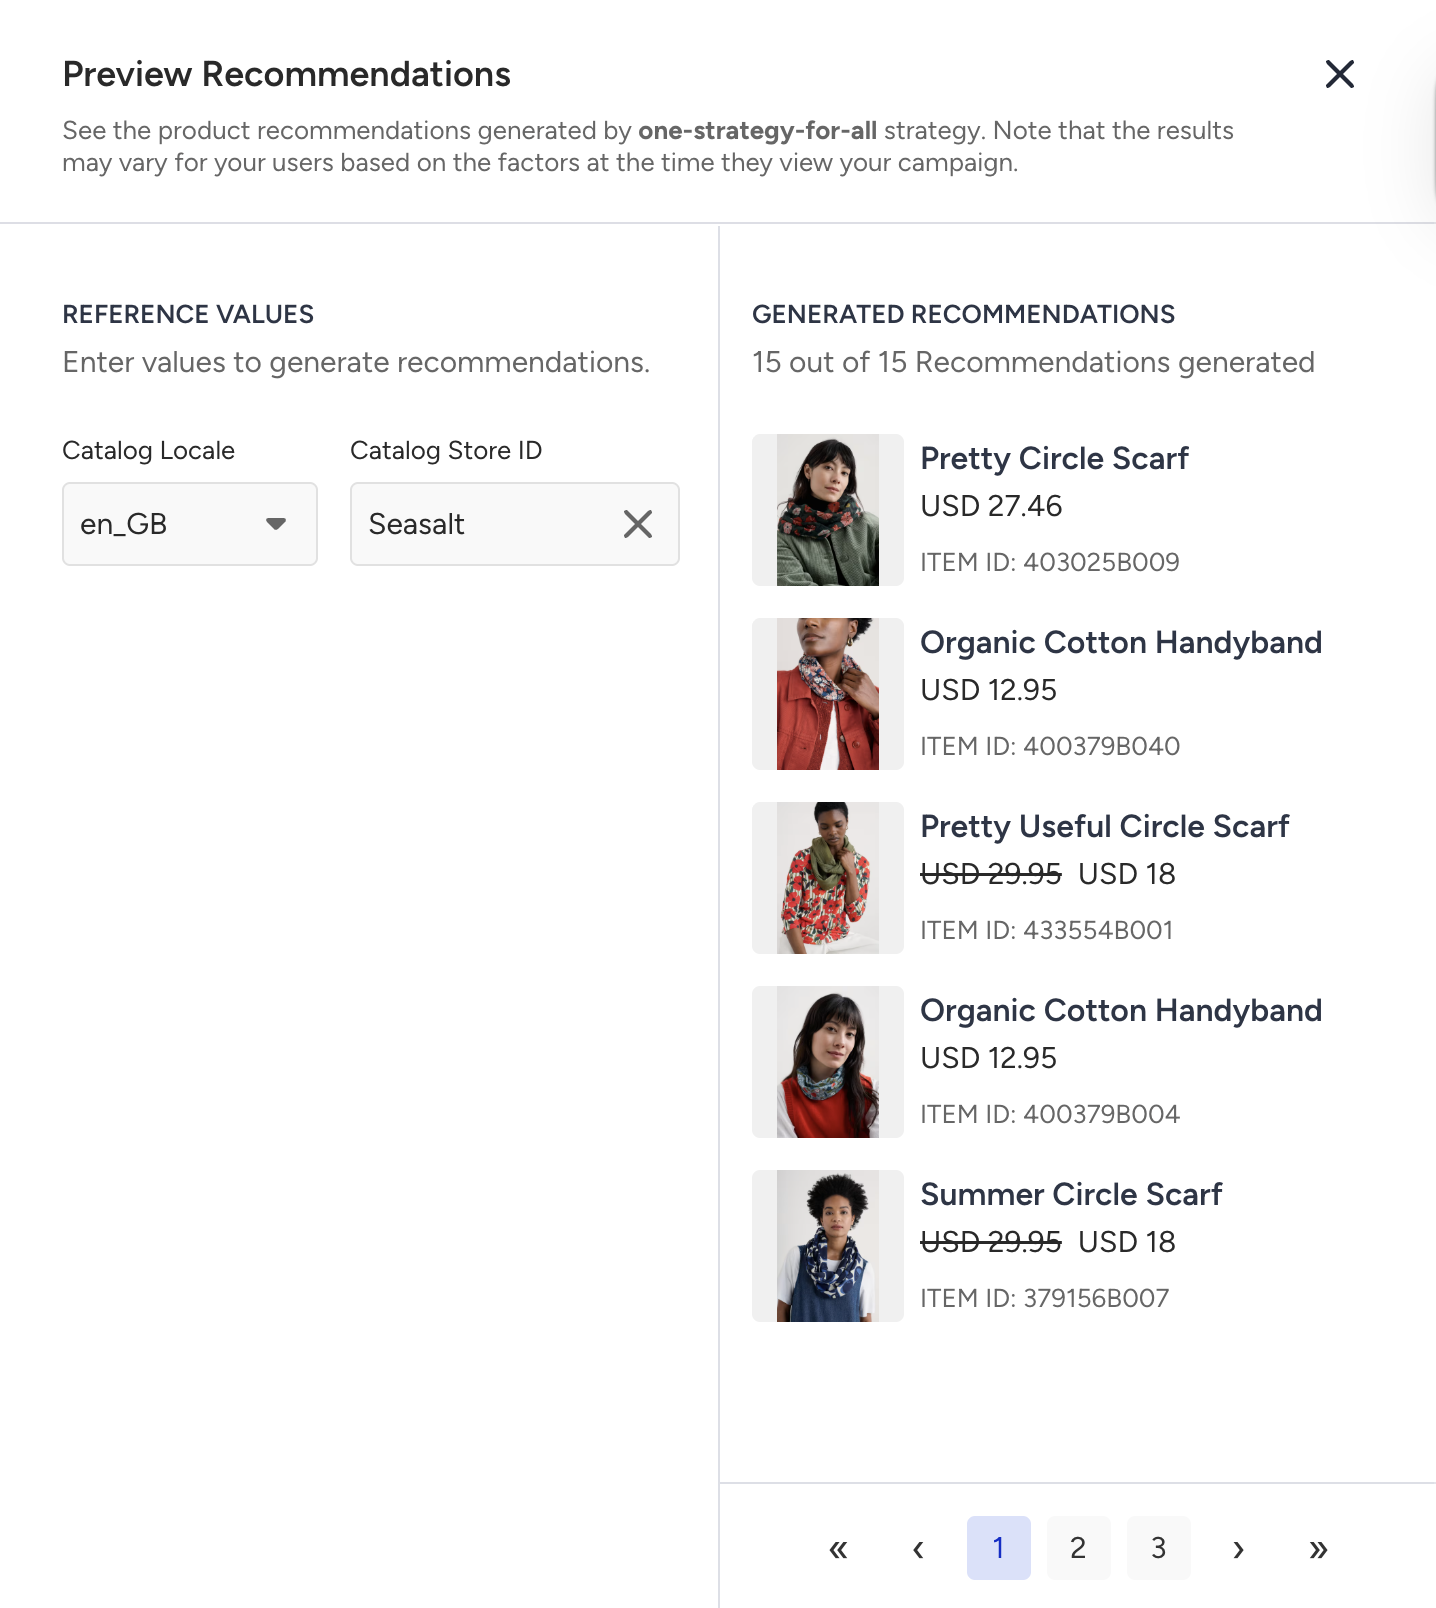
After selecting the strategy, to preview your strategy results, click the 3-dotted menu and choose Preview Recommendations.
Click Create Design to open the design panel. You won’t see this option if you selected Integrate via JavaScript SDK method while creating your campaign.
Customize your Smart Recommender widget according to your campaign needs. For more details, refer to Design and Place the Smart Recommender Campaign.
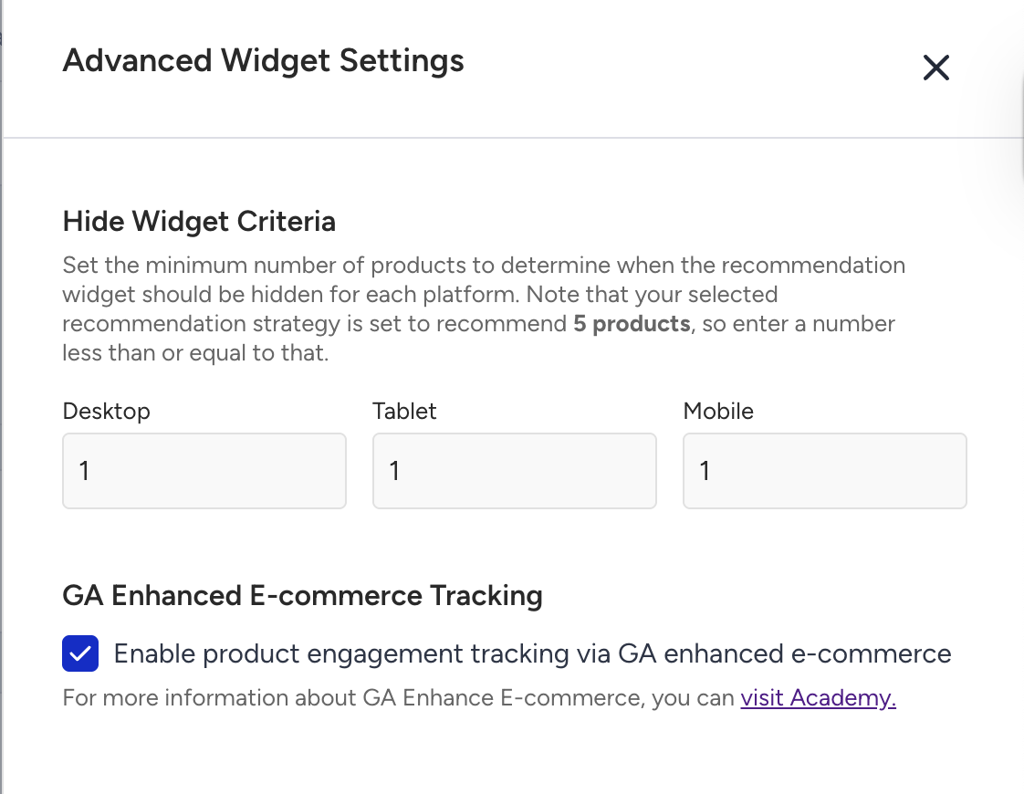
After creating your design, click on the menu icon right next to the Edit Design button. Set the Hide Widget Criteria and enable GA Enhanced Tracking if necessary.
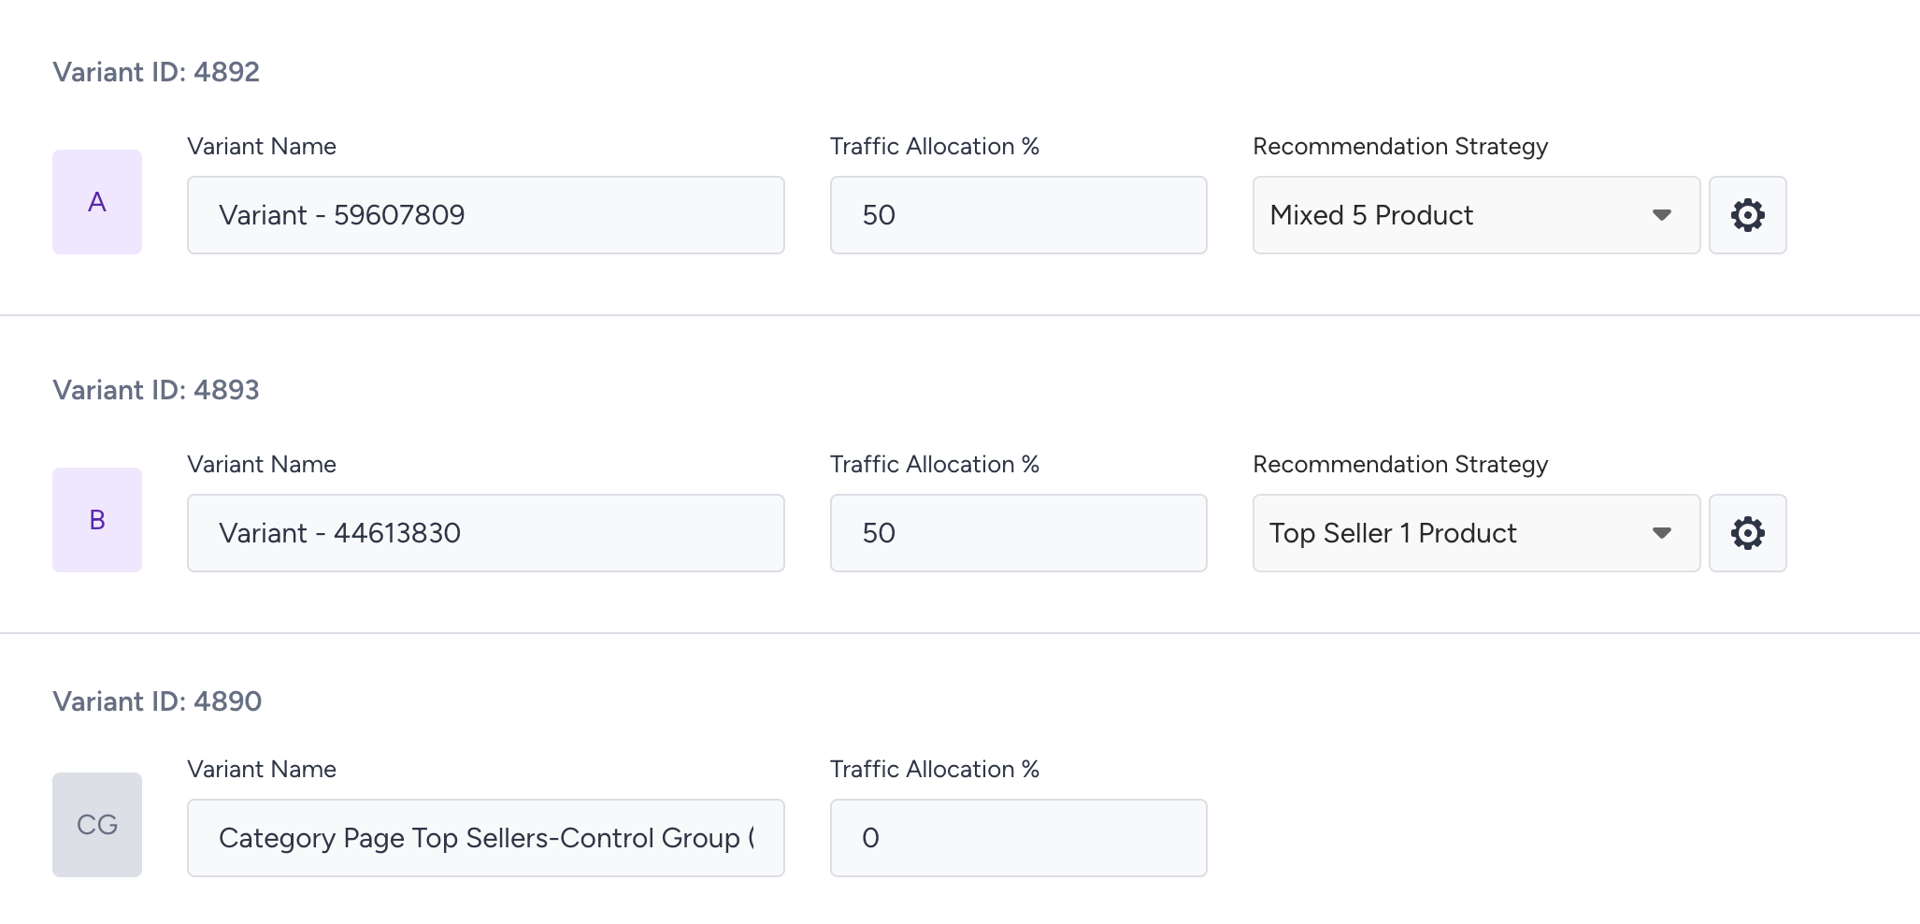
Decide how your variants and control groups will be shown:
Single Variant: Allocate 100% to show the variant to all users.
Variant + Control: Split 100% between the variant and the control group.
Multiple Variants + Control: Allocate traffic percentages across all variants and the control group.
Step 3: Configure audience segmentation
Segment your audience to target specific users. Available options include:
If you don’t select any segment group, the campaign will be delivered to all users.
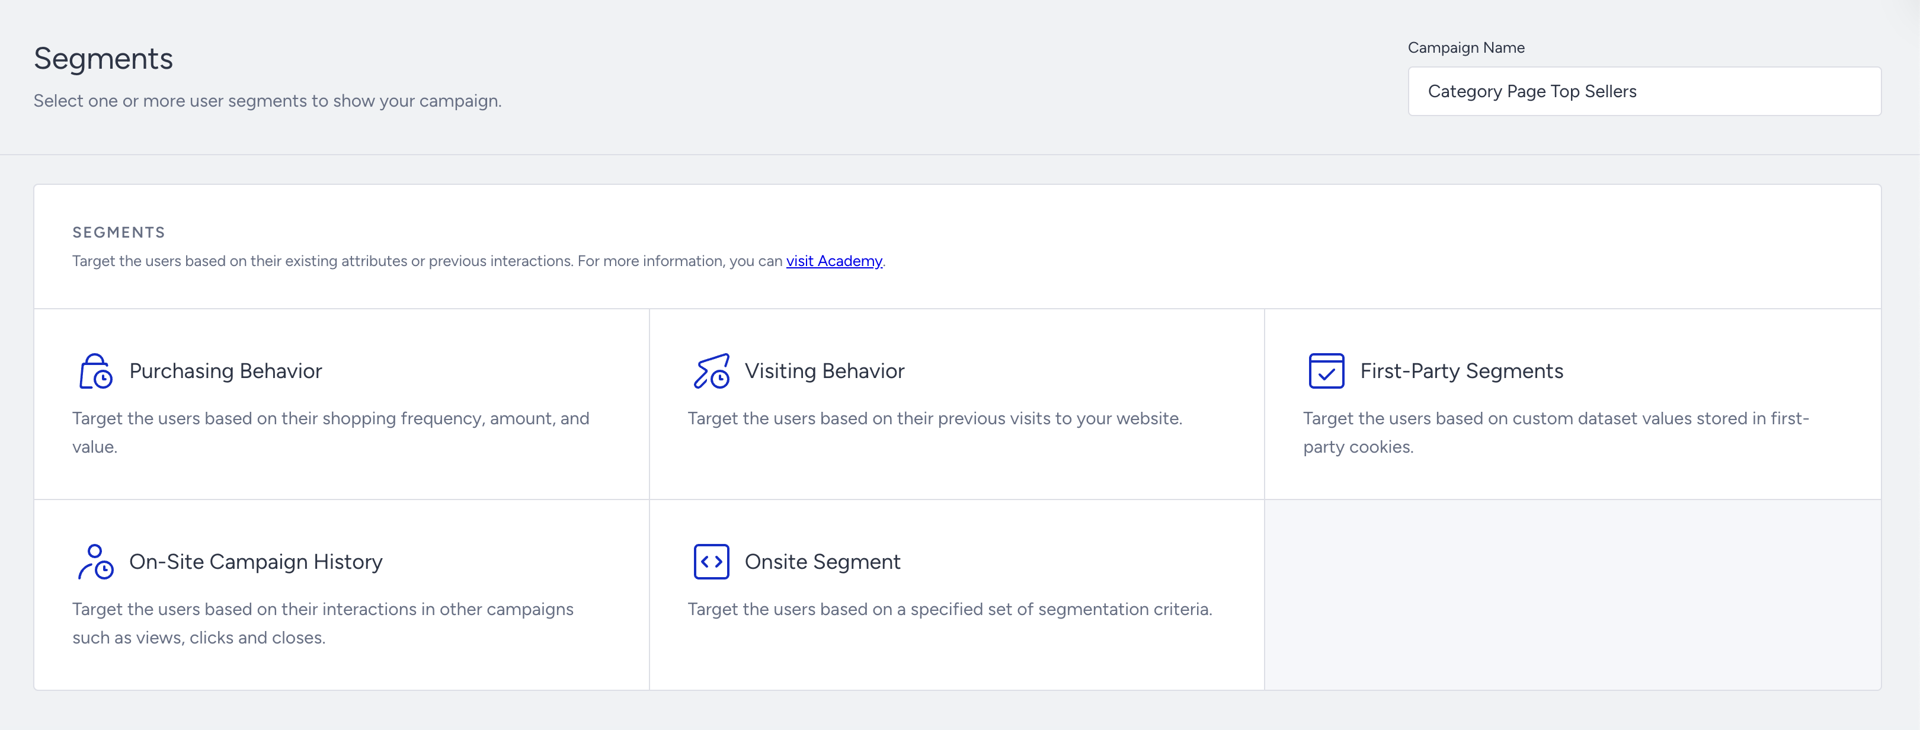
You can refer to Target the Right Audience for further information.
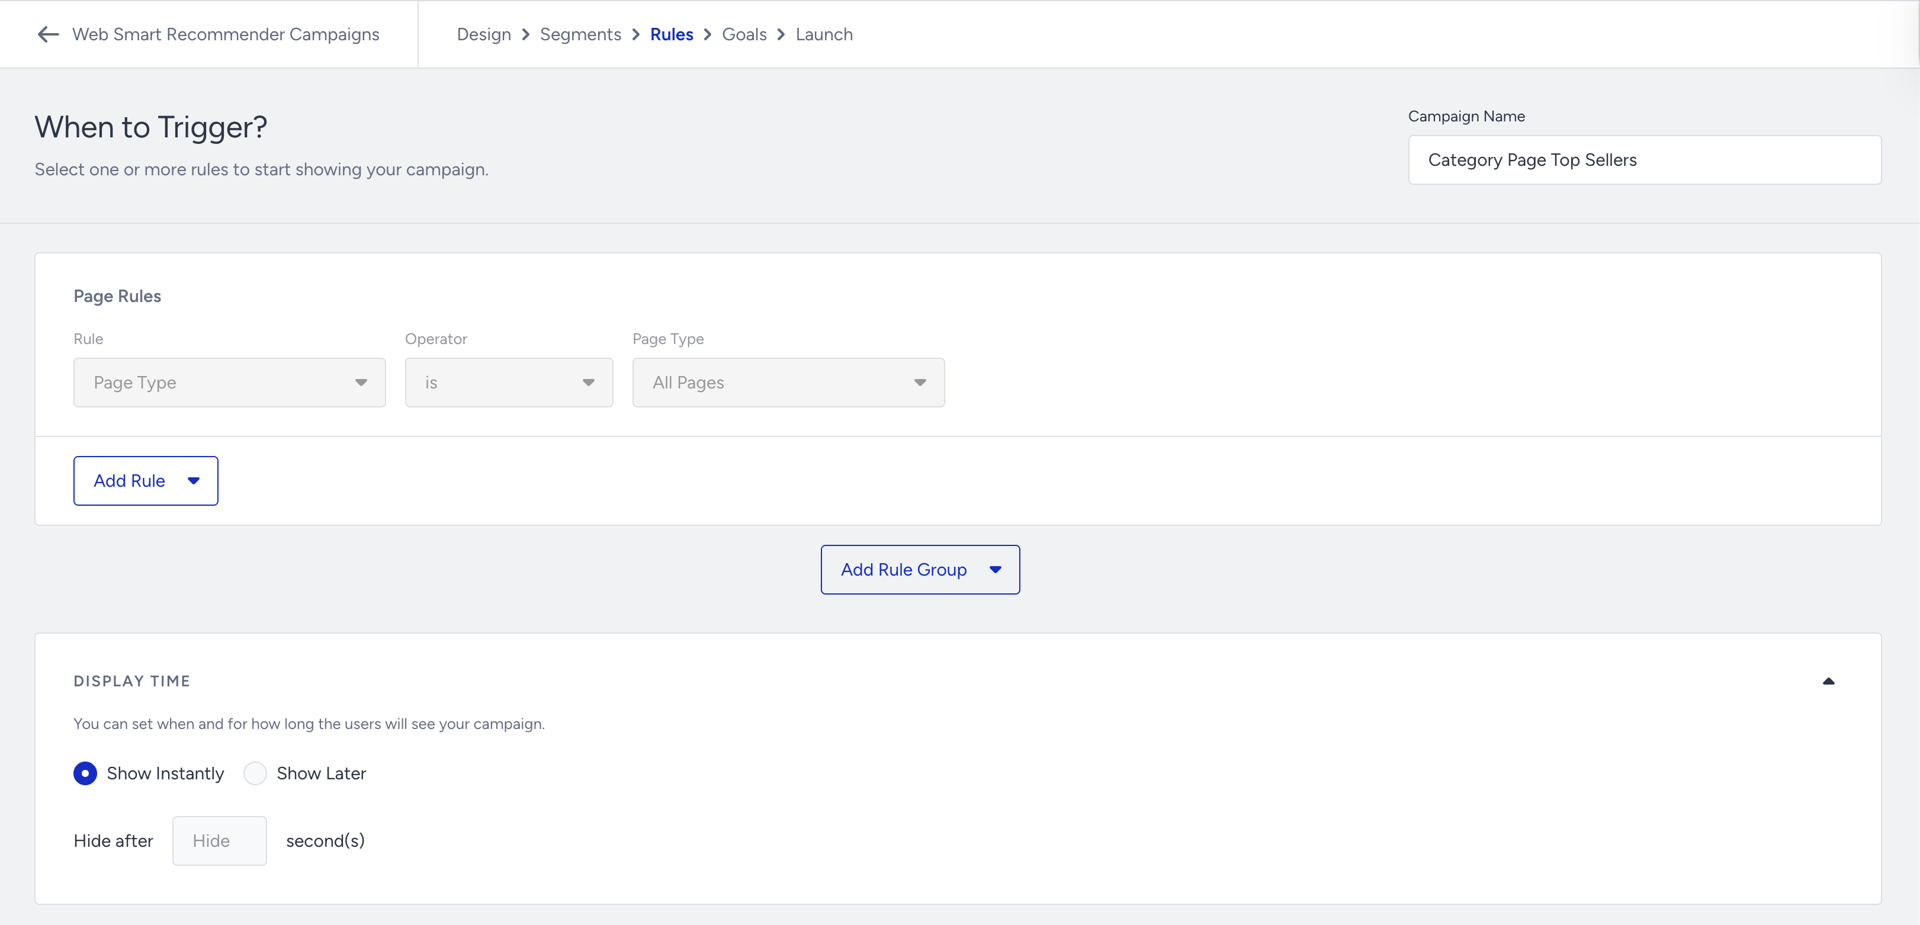
Step 4: Set campaign rules
You can define when and how your campaign appears using rules:
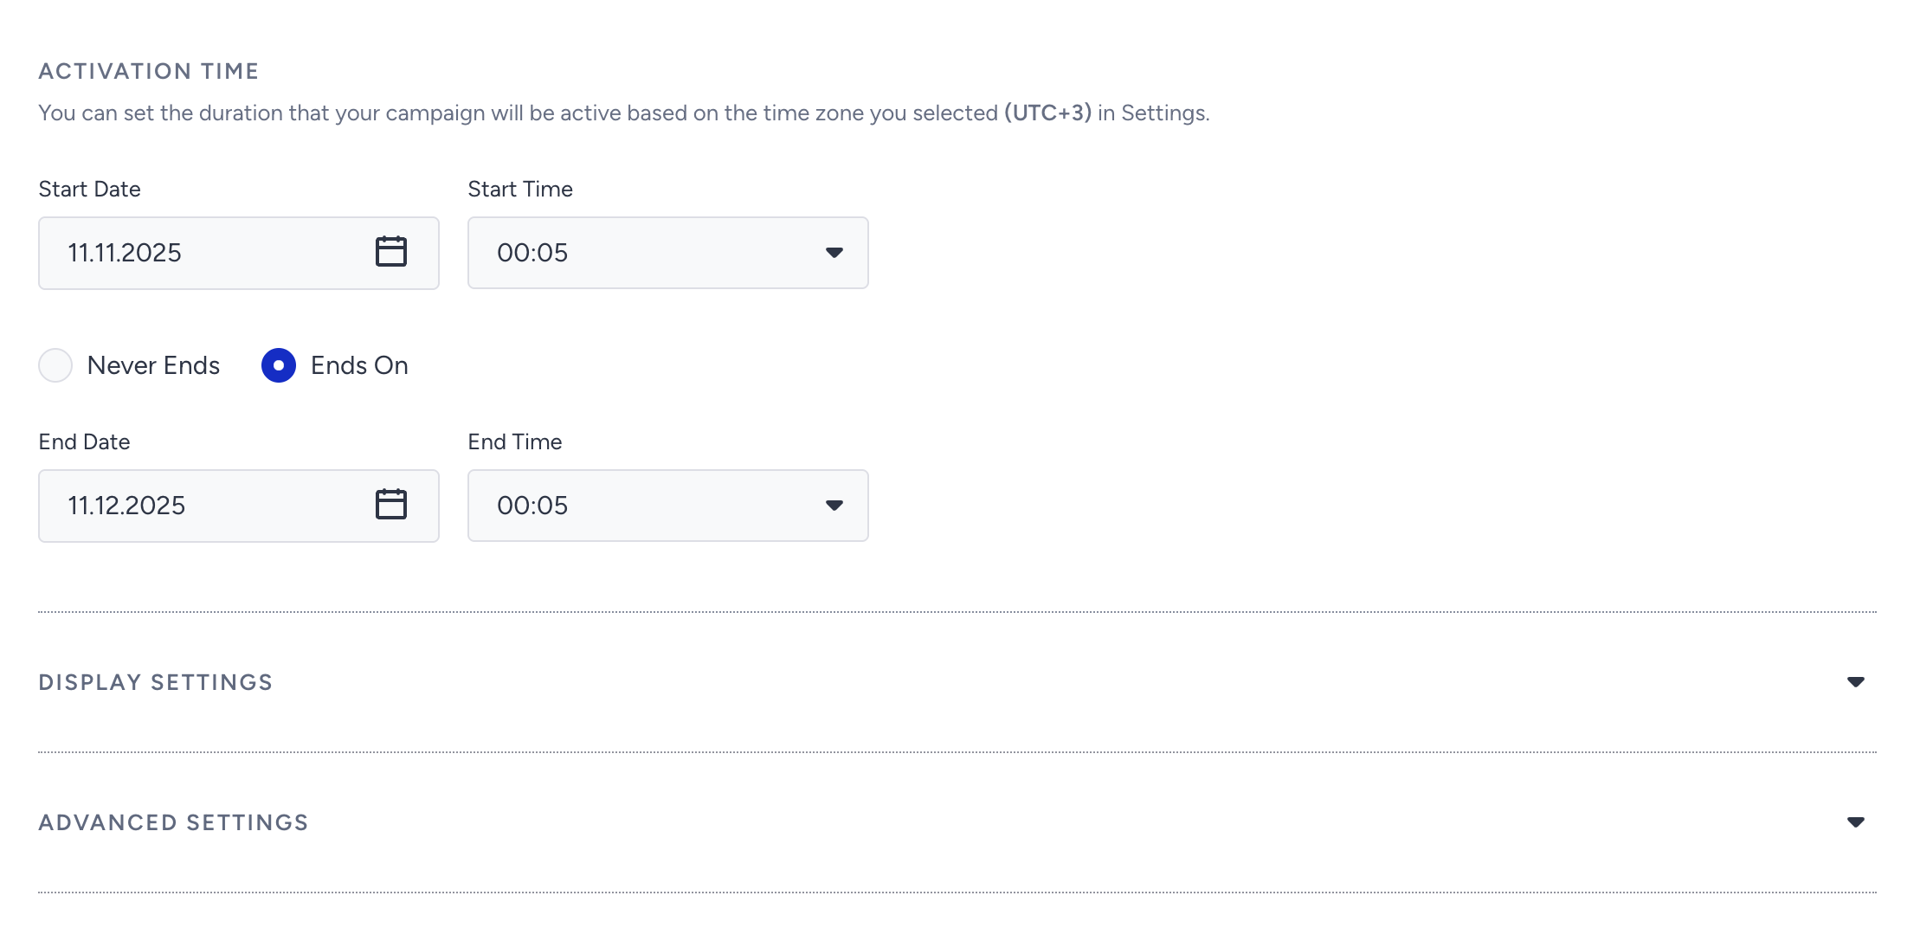
You can also set Display Time to determine when and how long users see your campaign.
You can refer to Set the Campaign Triggers for further information.
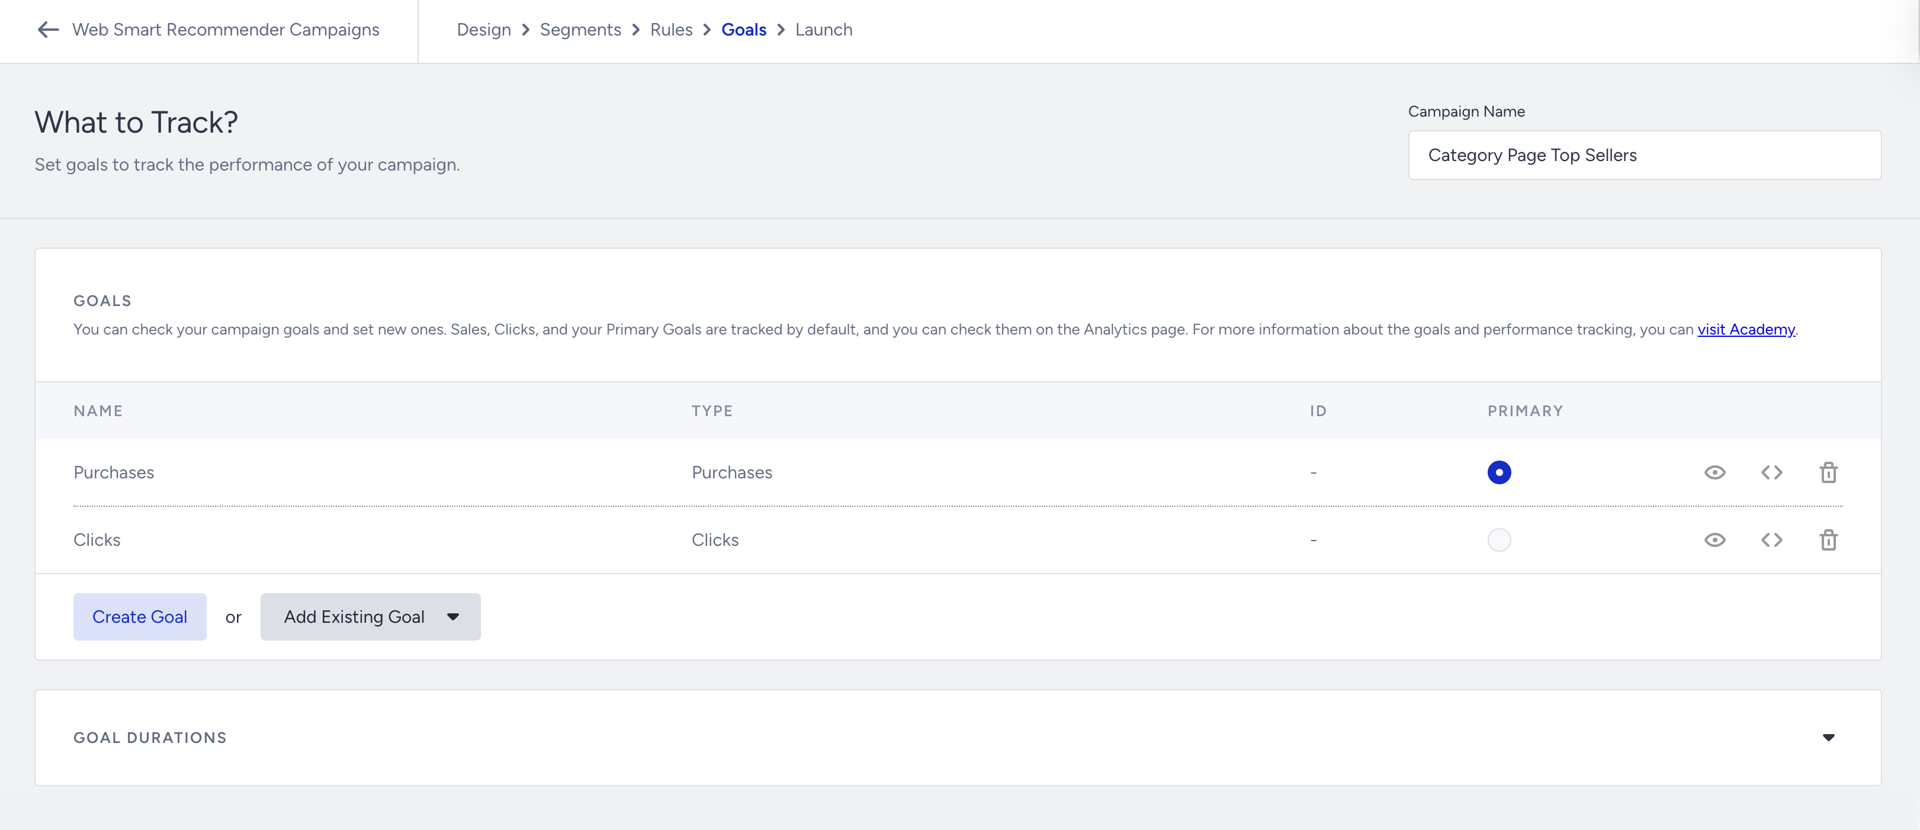
Step 5: Configure goals
Select campaign goals to track performance. Purchases are selected by default.
Create new goals or choose from existing ones.
Set Goal Duration to define the period during which users must complete the campaign objectives.
Step 6: Launch settings
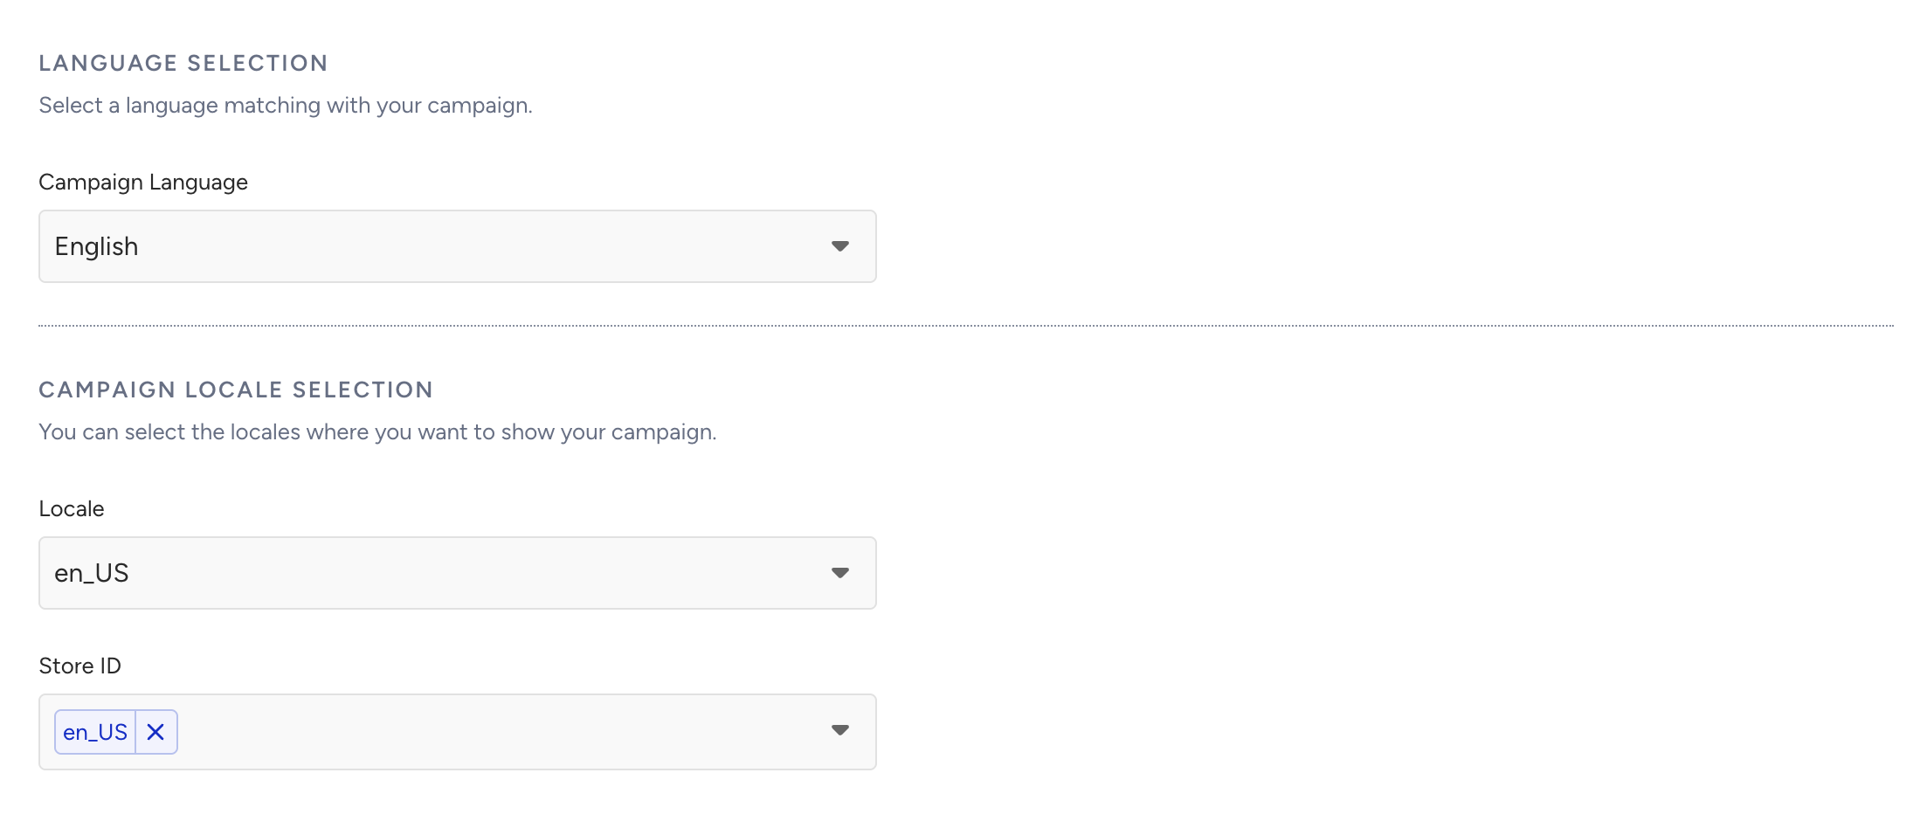
Select the language for your campaign, then select the locale and the store where you want to show it.
Configure activation time, display settings, and advanced settings as needed.
Choose the campaign status:
Test: Recommended for initial trials.
Active: Live for all users.
Passive: Saved but not active.
Test campaigns are automatically deactivated after 14 days if not updated. You can disable this automatic deactivation in the Launch step. Existing campaigns are not affected.
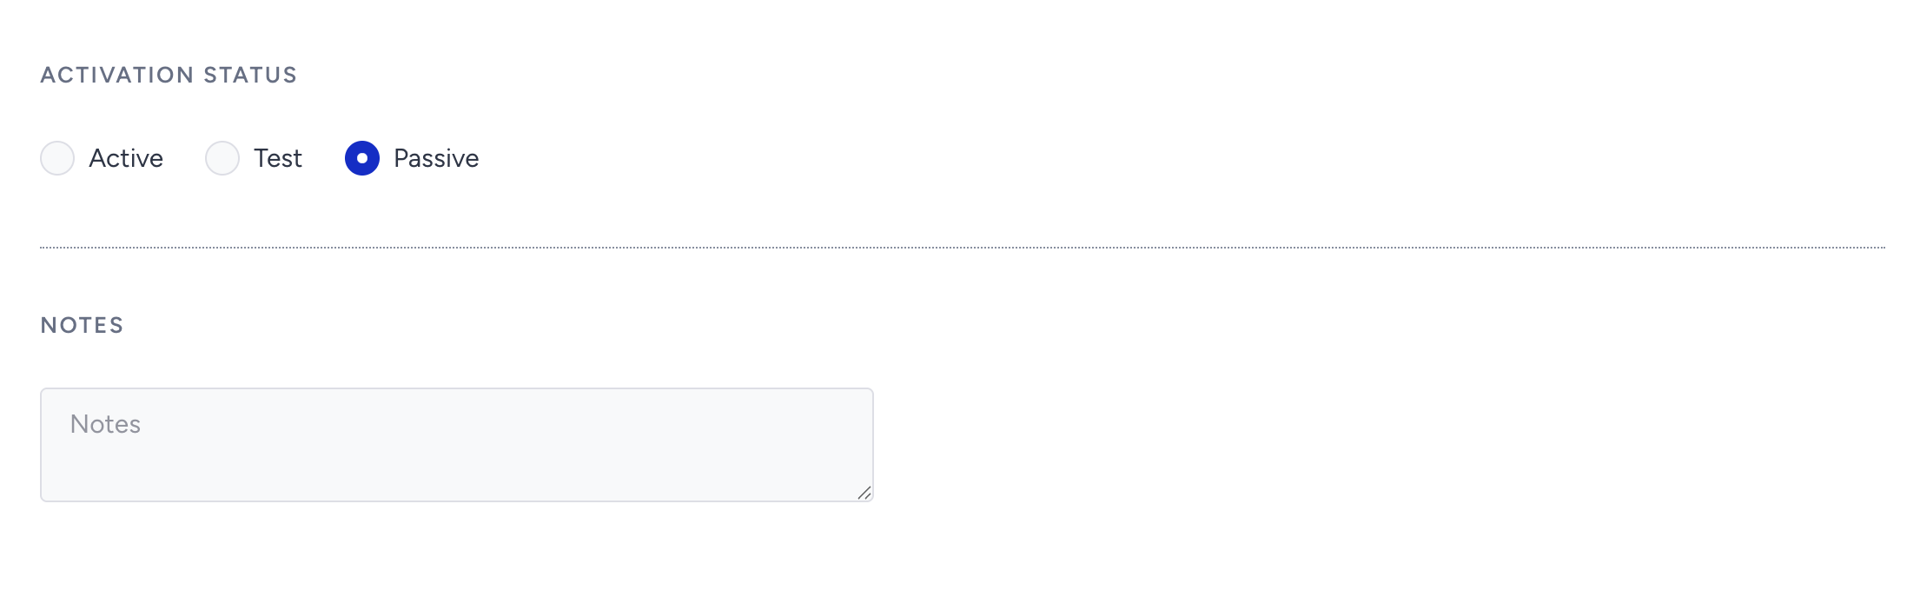
Add notes to remember any necessary details about your campaign.
Step 7: Launch the campaign
Once your campaign is configured and tested:
Review all settings and traffic allocations.
Change the status to Active.
Click Launch to start your campaign.
You just launched your first campaign in Web Smart Recommender.
Edit a Smart Recommender Campaign
Once you create a campaign, you can test and edit it, or view detailed campaign-level analytics to monitor performance on the listing page.
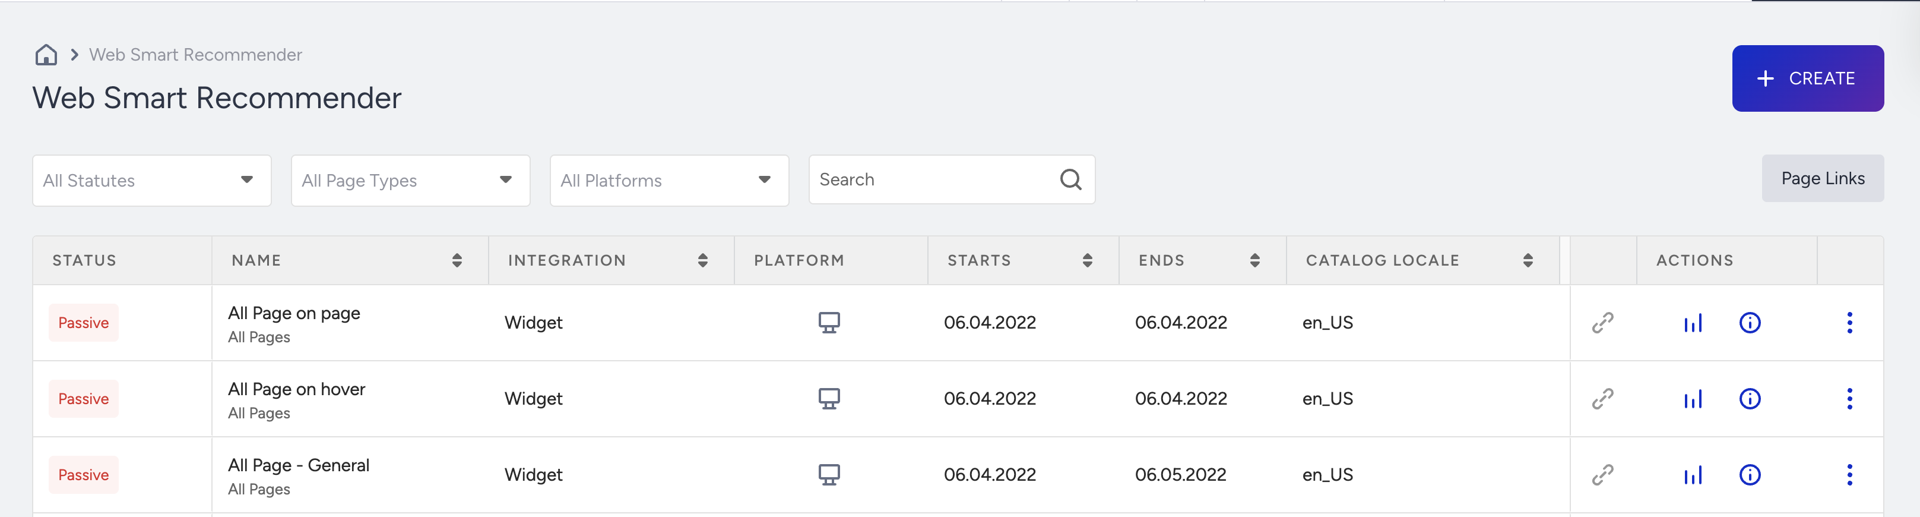
After you create your campaign, it will appear on the Web Smart Recommender page. Click any campaign name to open it for editing.
You will land on the same Campaign Detail page used during creation, where you can modify any setting, save your changes, and re-launch your campaign.