Cart Reminder Web Push notifications help you re-engage visitors who have added products to their cart but left your website without completing the purchase. These automated notifications serve as timely reminders to bring users back to their abandoned carts and encourage them to complete their purchases.
By setting up a Cart Reminder campaign, you can recover lost revenue, personalize the message based on the contents of the cart, and track the effectiveness of your recovery efforts in real-time.
Before using Cart Reminder Web Push, ensure that Web Push is properly set up in your channel settings and that the opt-in collection is active.
This article answers the following questions:
How can I set rules to trigger a Cart Reminder Web Push notification?
How can I set goals for a Cart Reminder Web Push notification?
Create a Cart Reminder Web Push notification
To create a Cart Reminder Push,
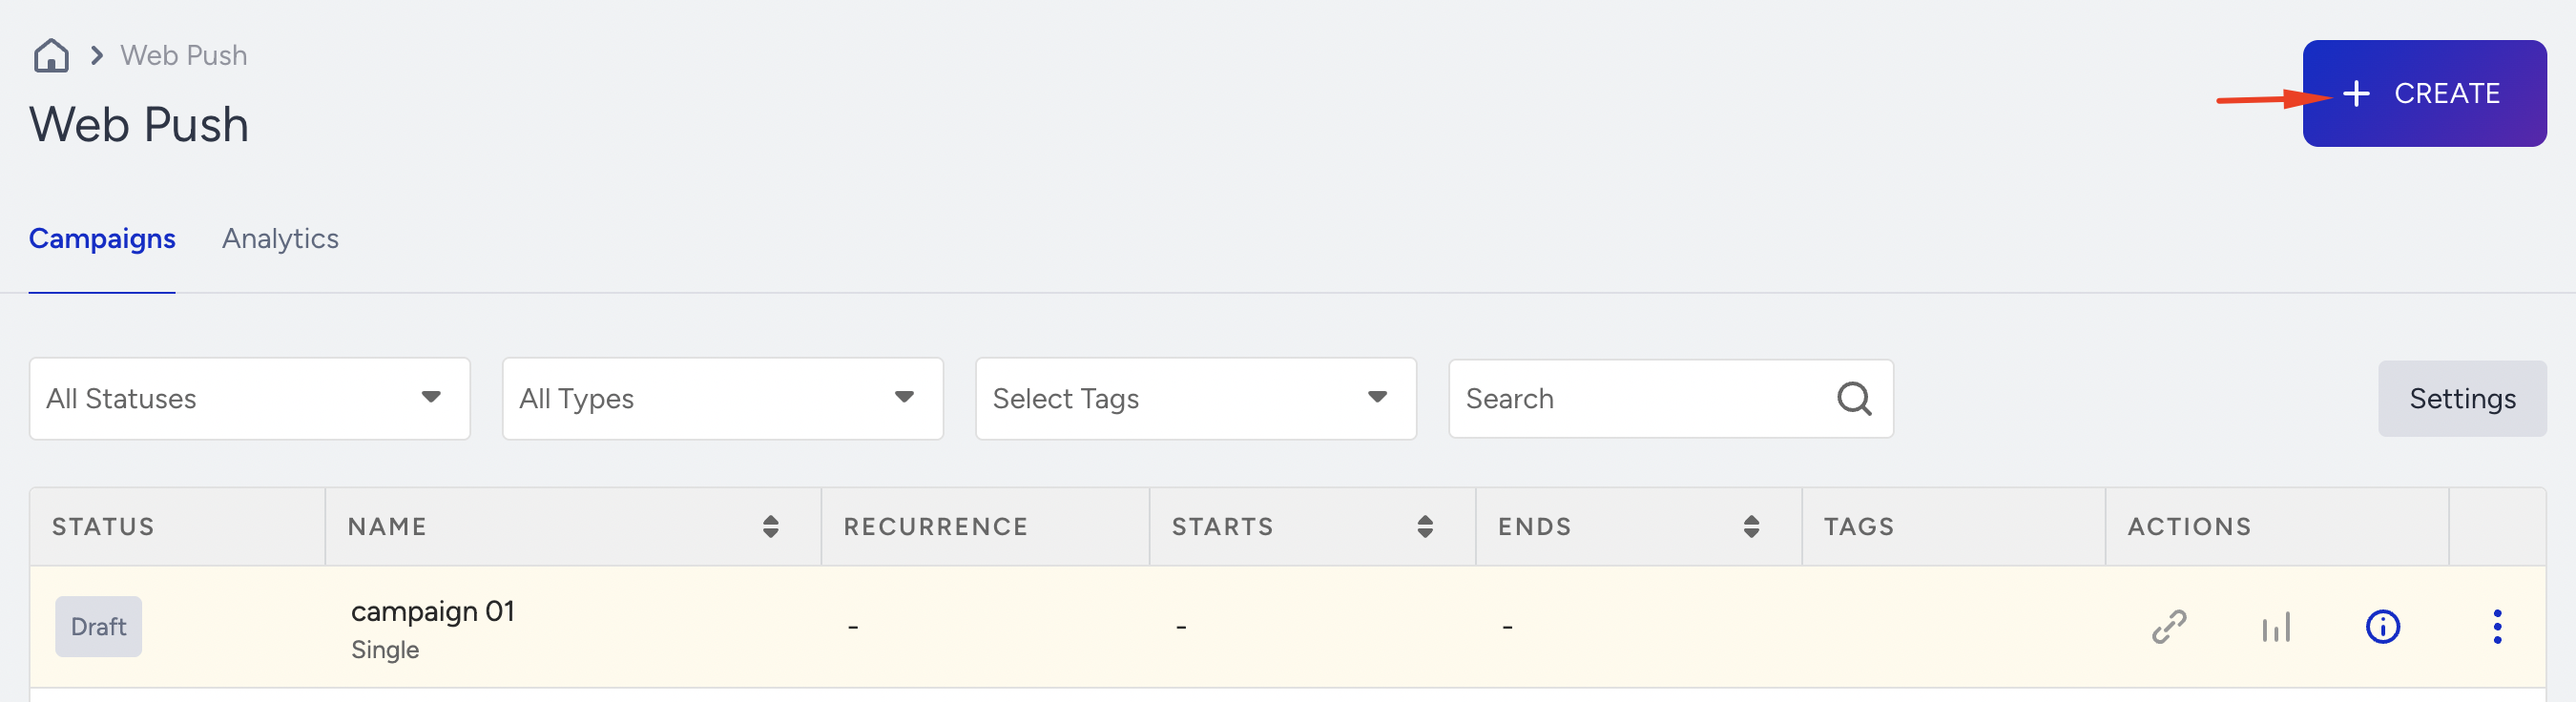
Navigate to Campaigns > Messaging > Web Push.
Click the Create button to start.
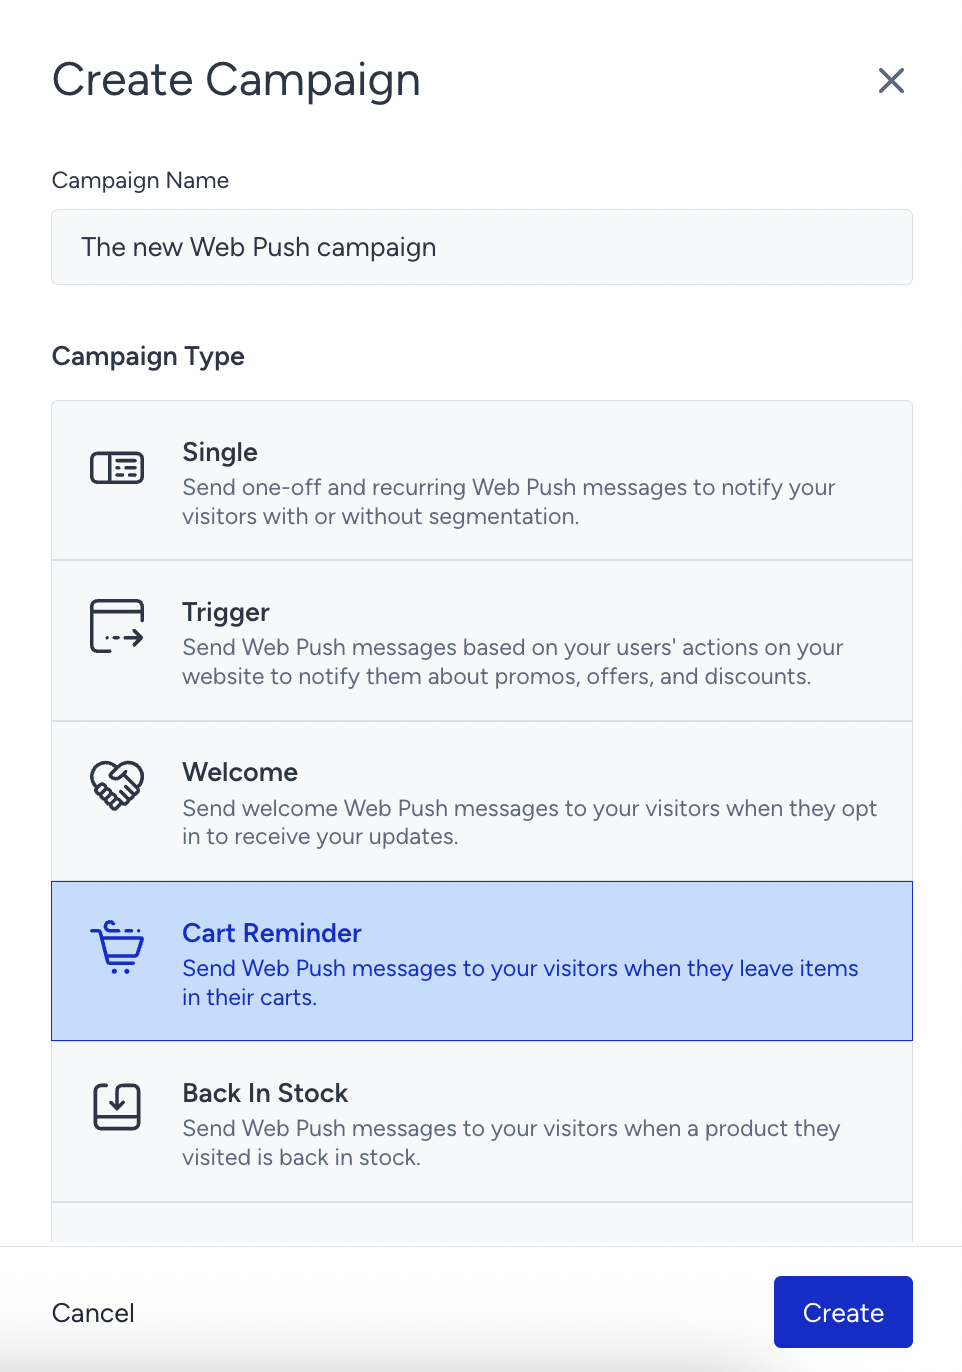
Name your campaign, choose your campaign type, and click the Create button.
Segment your audience
Define your users in the Segments step of your campaign to narrow down and target the specific audience you want to reach. You can select one or more user groups to show your campaign to.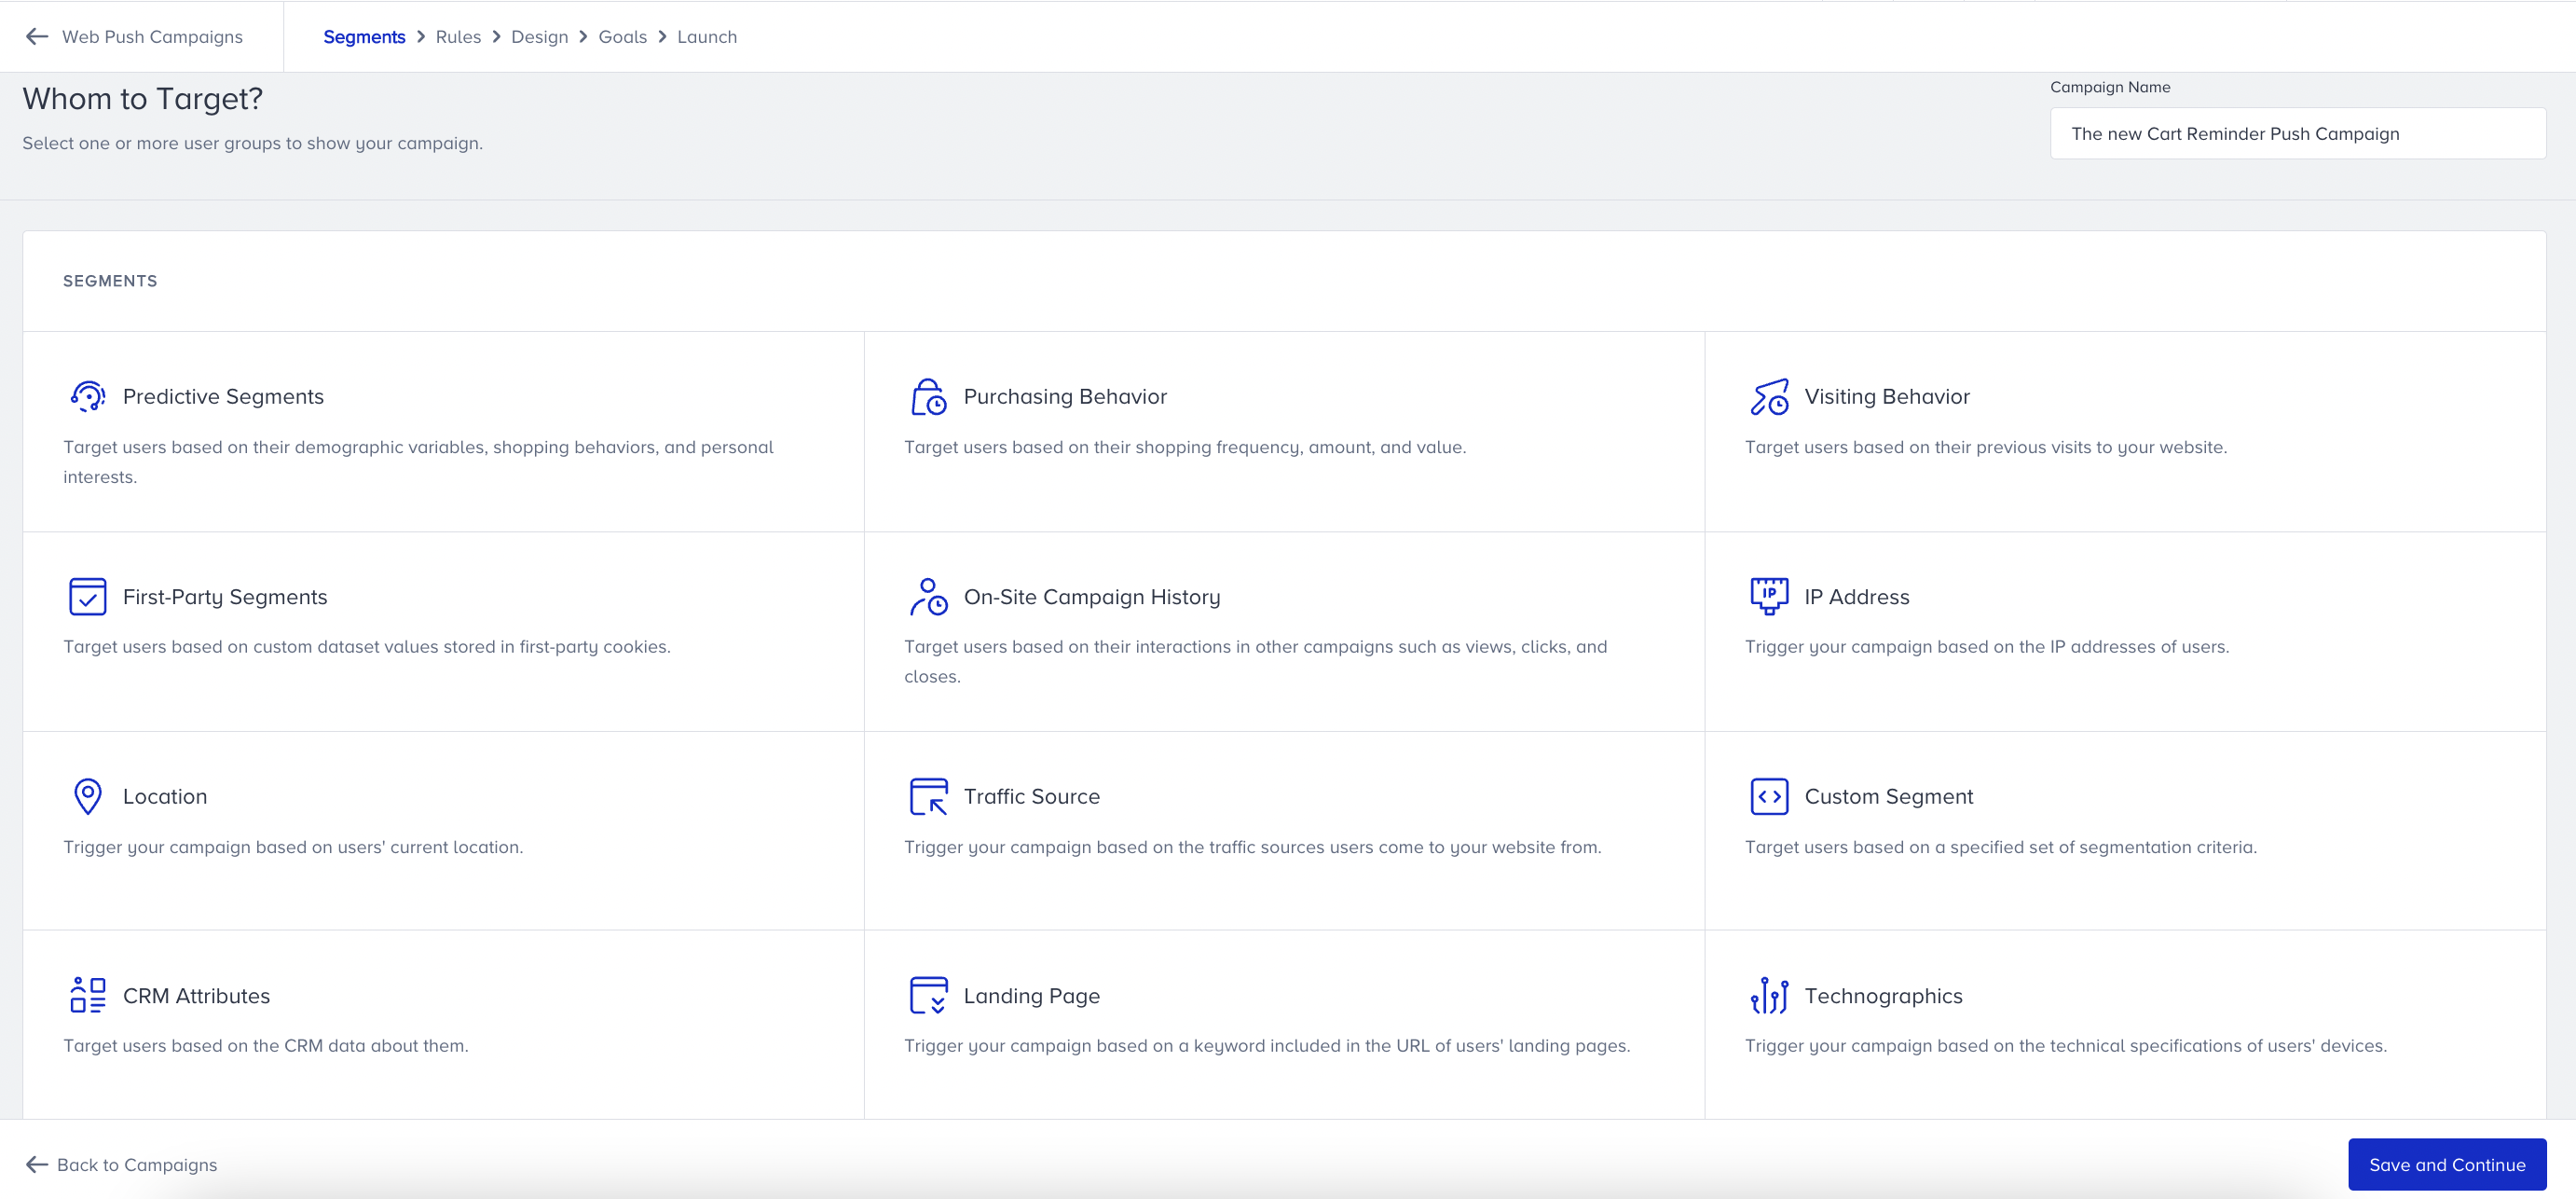
Set rules to trigger a Cart Reminder Web Push notification
With predefined trigger and success rules for cart abandonment, it is easy to set Rules to start showing your campaign. You need to provide details on when to send a push and how many times to send it to a cart abandoner.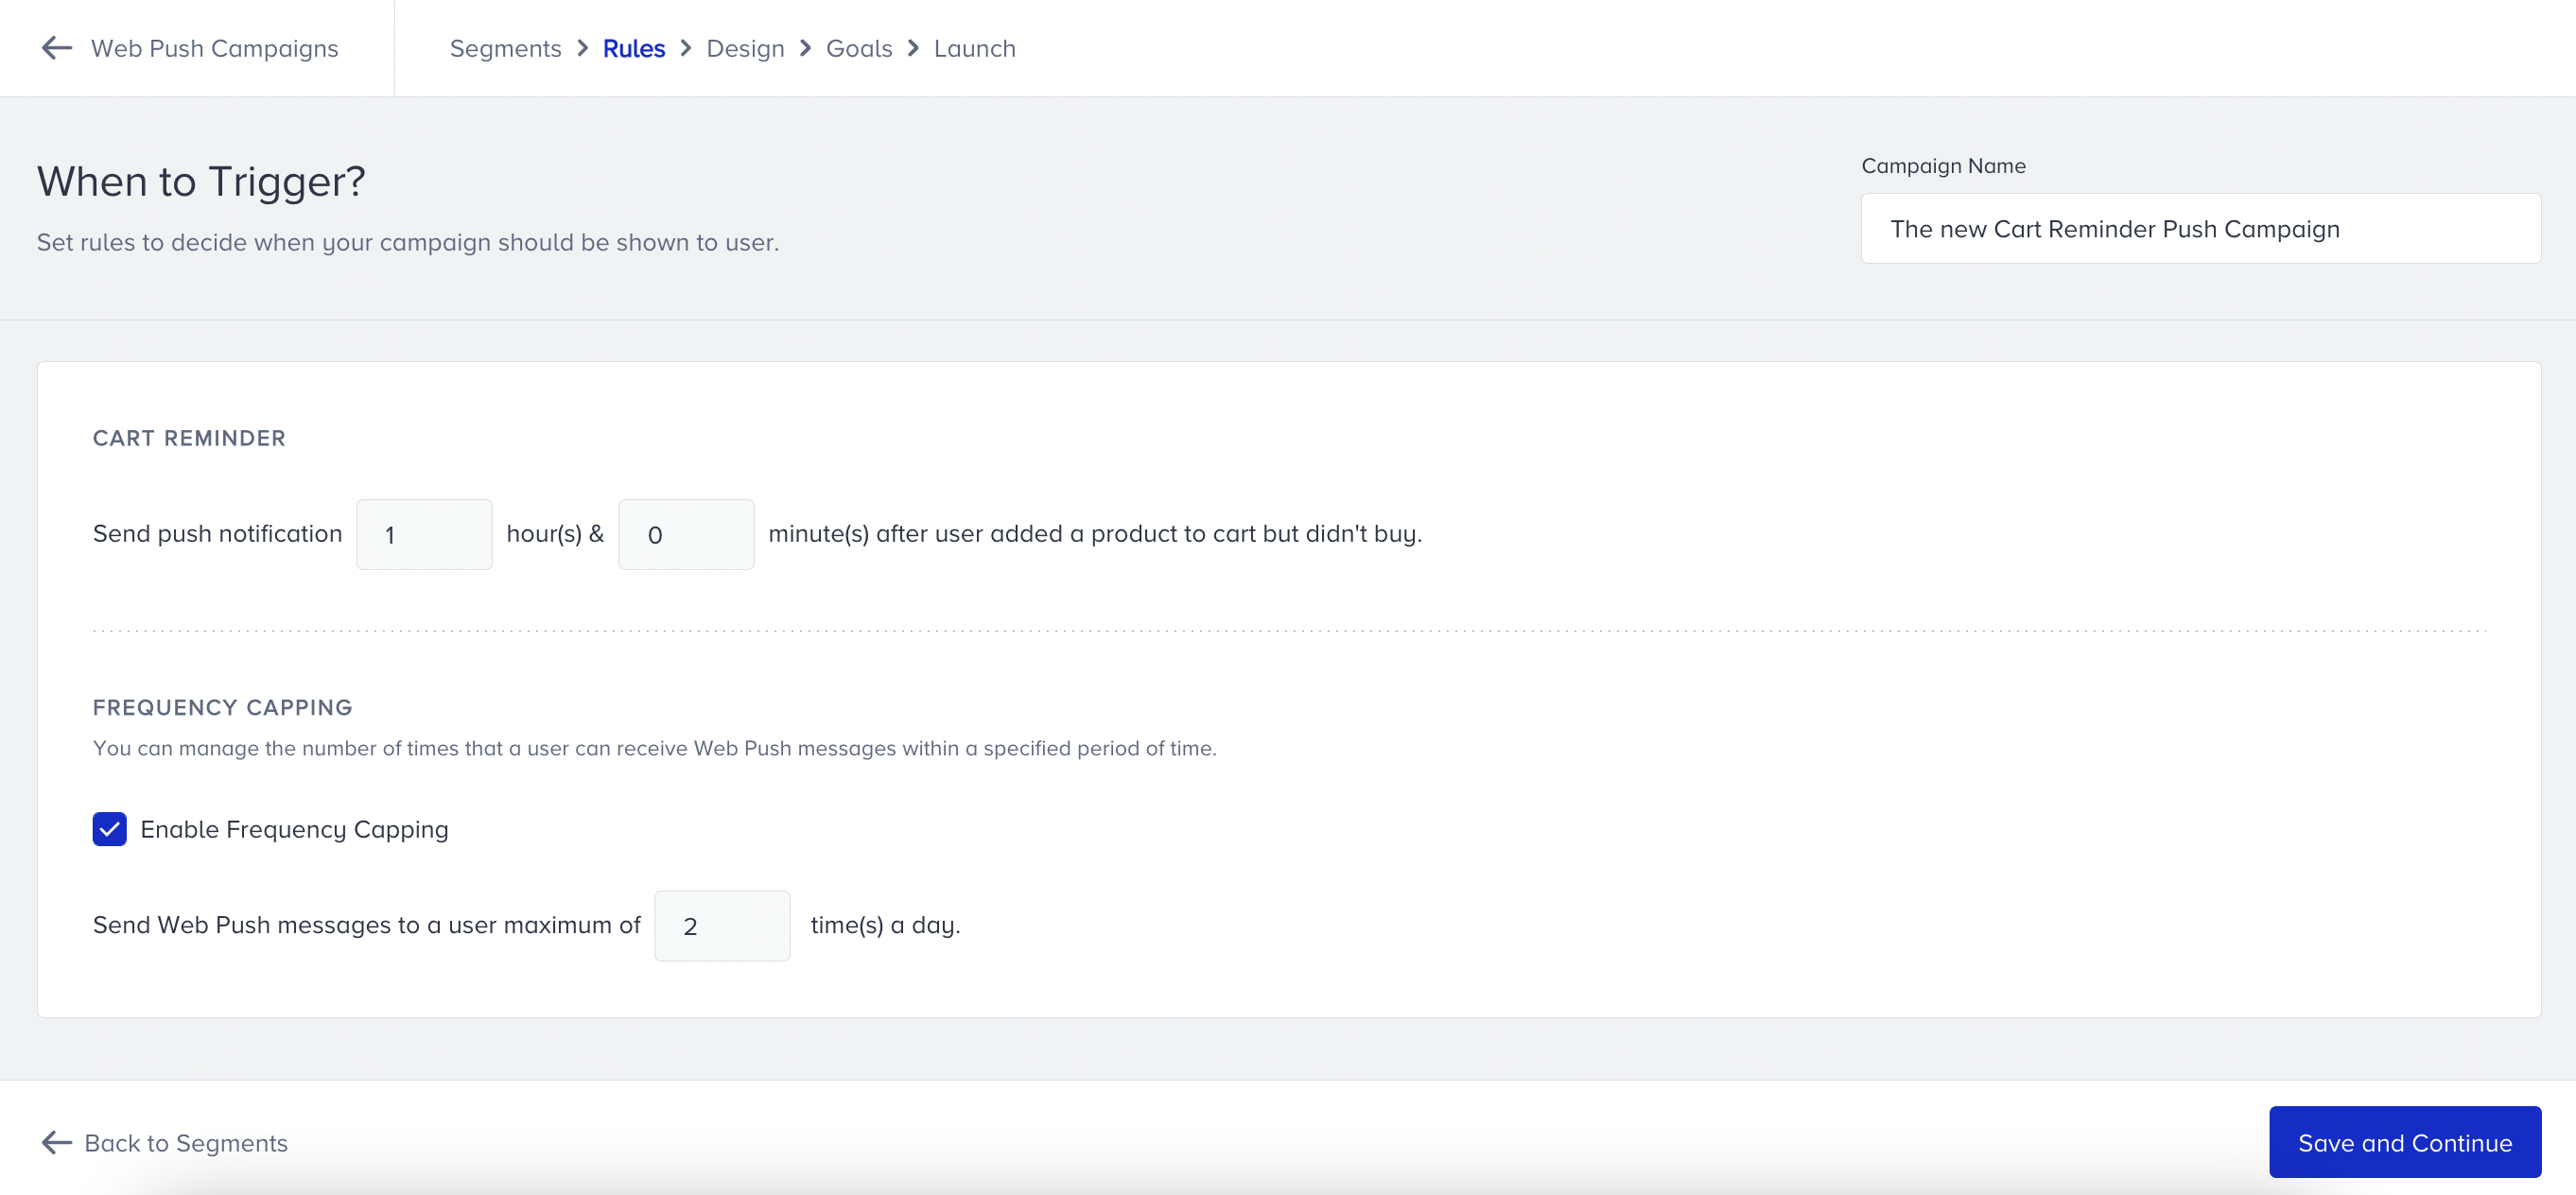
Campaign Frequency Capping is also available in the Rules step for Cart Reminder Web Push campaigns. It limits the daily number of notifications a user can receive from that specific campaign.
Design a Cart Reminder Web Push notification
In the Design step, customize your campaign's text and visual content.
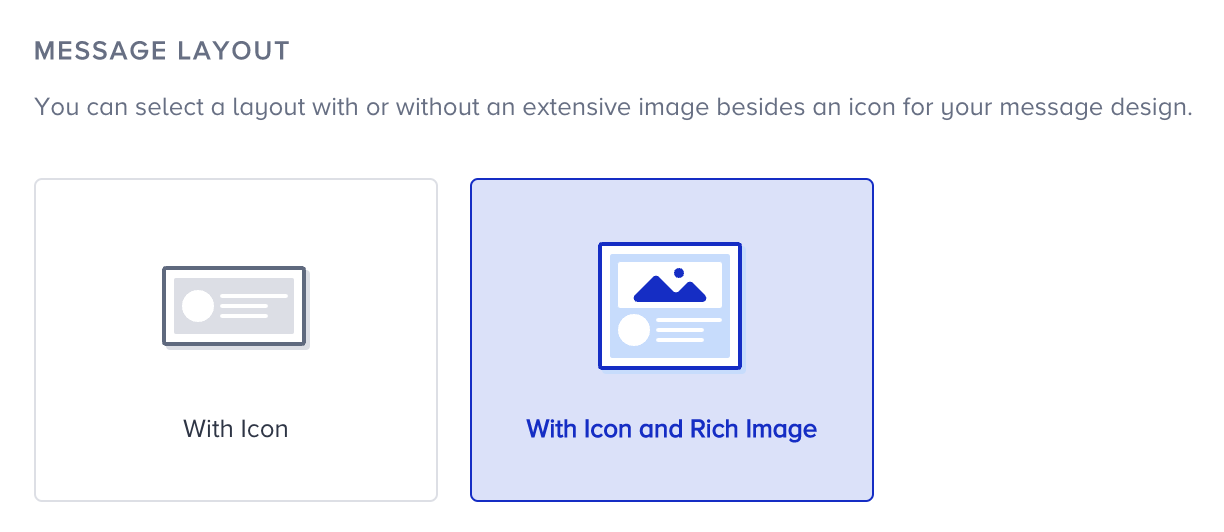
1. Select a layout to start designing your notification. It can be with an icon or an icon and a rich image.
2. Provide an icon for your push notification. Choose the type of rich image if you have chosen the layout with a rich image. You have three different options for the icon;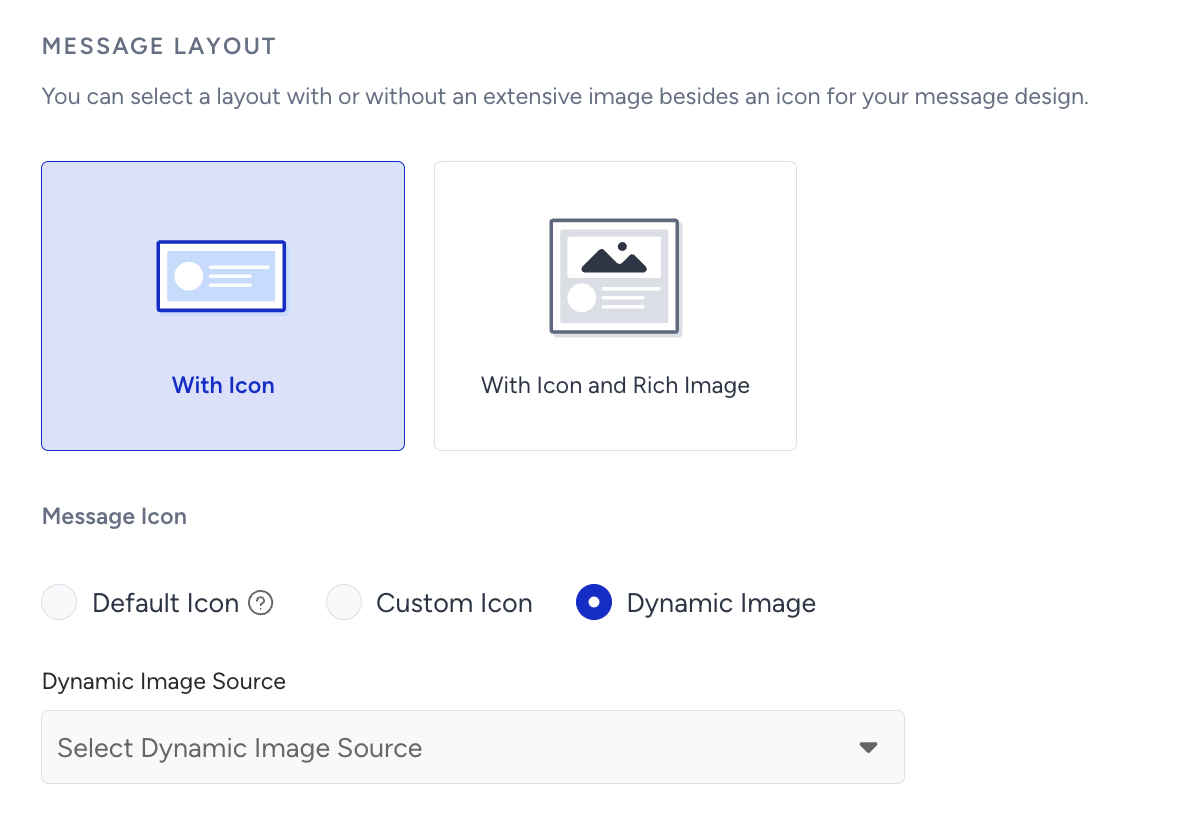
Default Icon: An icon configured on the Settings page of your panel.
Custom icon: Upload an icon from your computer.
Dynamic Image: Fetch an image using a URL (e.g., last visited product image or a product from the abandoned cart).
When you select a dynamic image as the message icon, you can also define a fallback to ensure that your Web Push notifications are not broken if the image source value is empty. 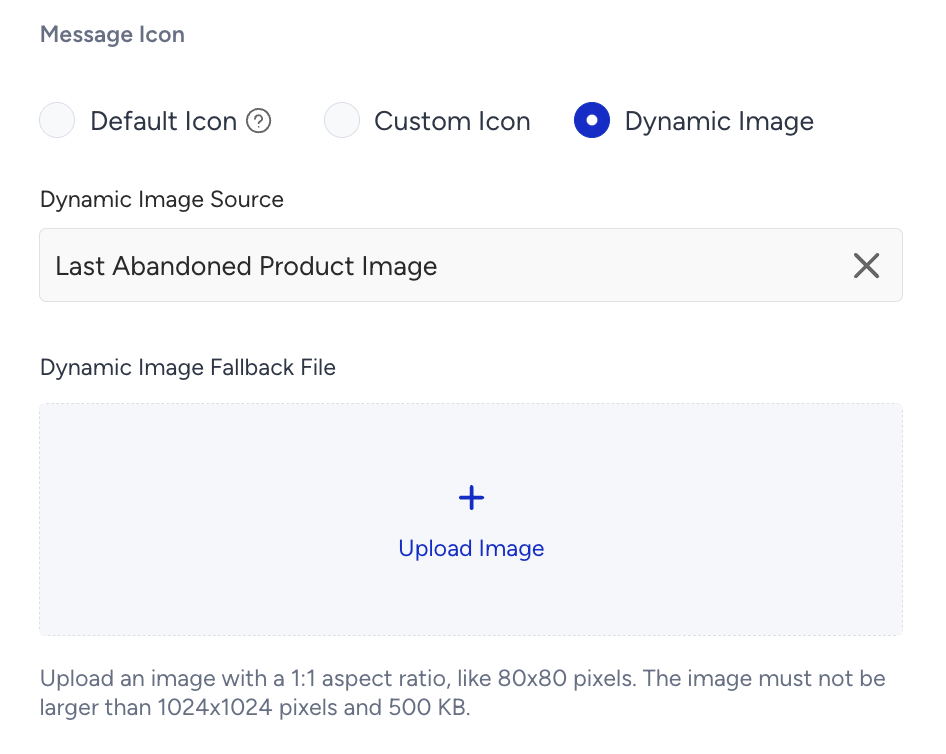
The recommended resolution is 80x80 pixels, and the image size should be less than 500 KB.
Rich image: You can either upload an image or provide a dynamic image URL for the rich push image. Make sure that the rich push image size complies with the rules:
Select an image with a 2:1 aspect ratio, such as 720x360 pixels.
The image must be 1024 x 512 pixels or smaller, and its file size cannot exceed 500 KB.
Similar to the dynamic image for the message icon, you can also define a fallback for rich images to prevent your Web Push notifications from appearing broken if the image source is empty.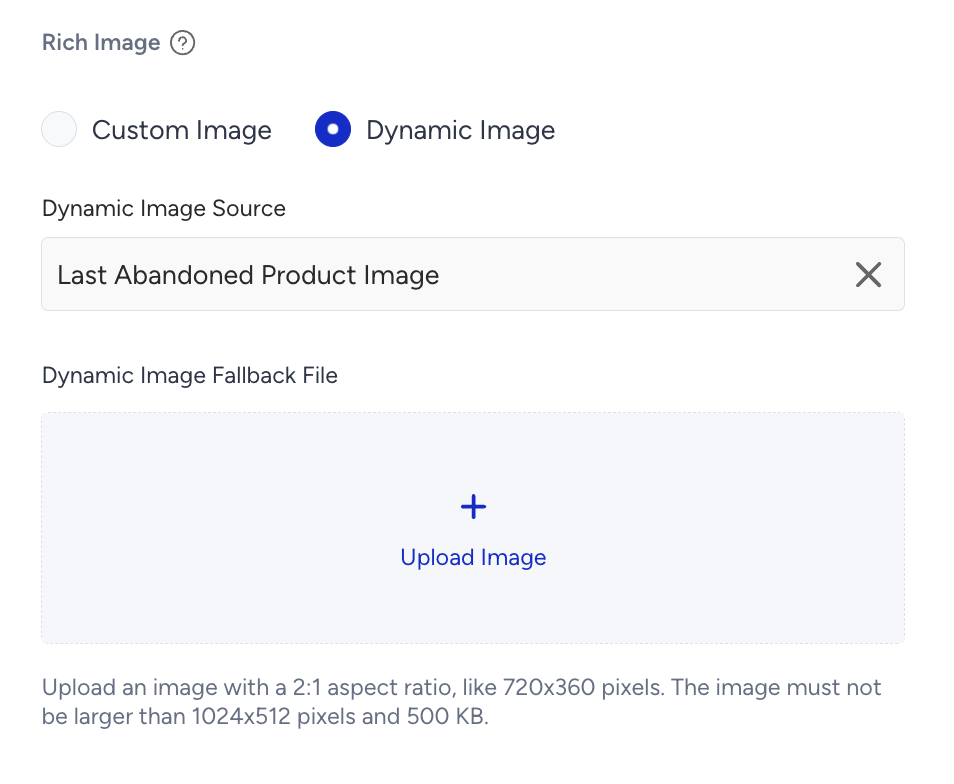
3. You can add text and emoji characters or use attributes to personalize your Web Push notifications further. You can choose from different attributes when you click + Add Dynamic Content.
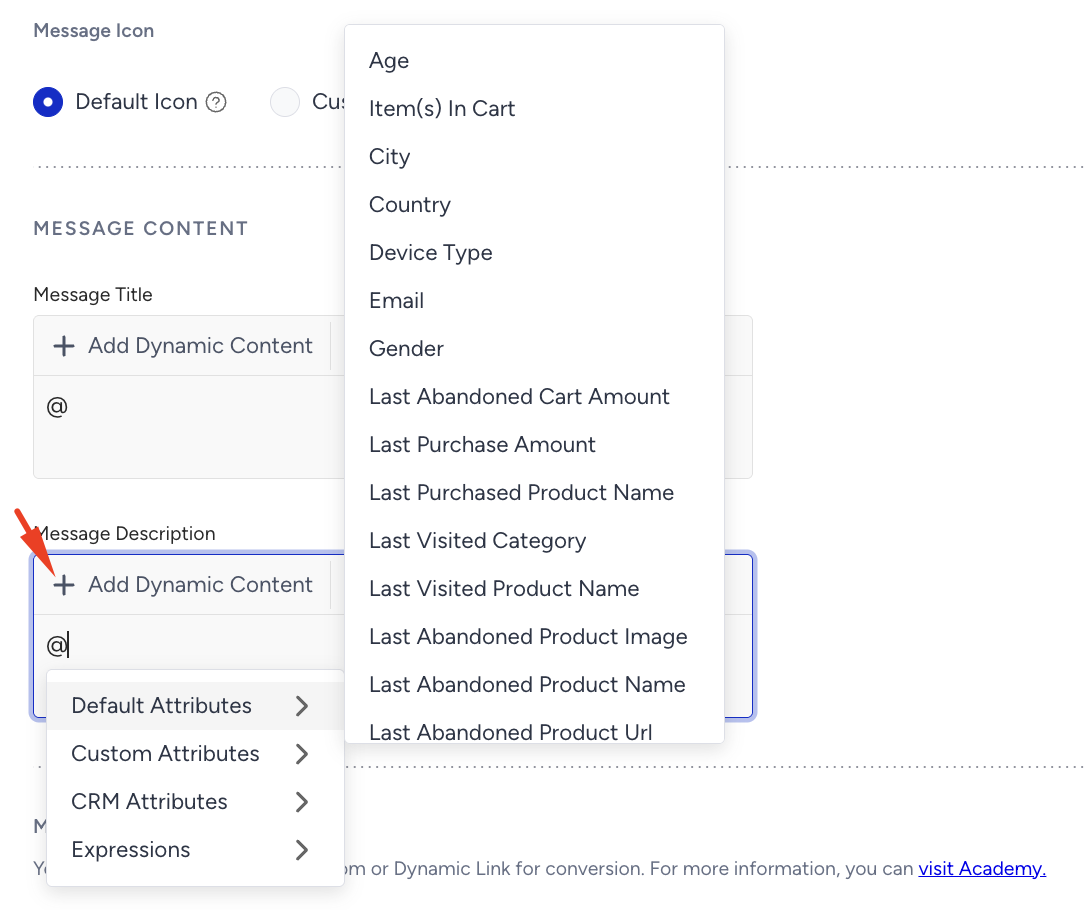
Default Attributes: Contains attributes like user name, last visited product name, last visited category, and search query, which are already defined during the initial system rule definitions.
Custom Attributes: Can contain any information related to user behavior or first-party data. These attributes need to be pre-defined.
CRM Attributes: Contains attributes you shared via Upsert API.
Expressions: Formulas used to create new attributes by combining one or more existing ones.
When you add any user attributes, you can also define a fallback or alternative text to ensure your Web Push notifications are not broken if the attributes' values are empty.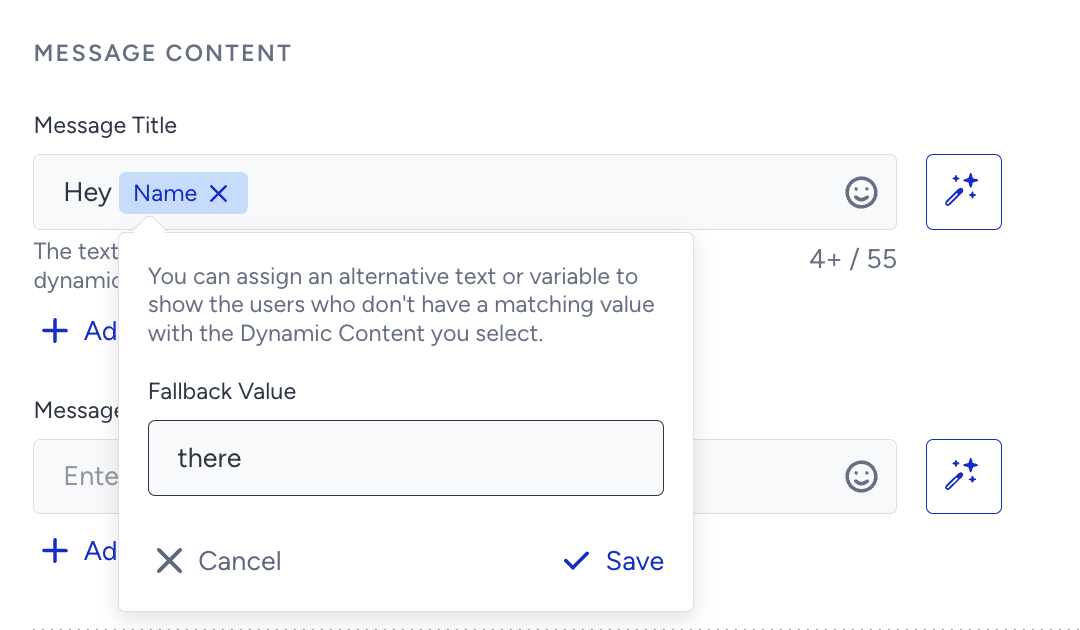
You can also get assistance from the text generator to create your title and description.
We highly recommend keeping your content brief, as the title and description may be trimmed on some devices due to factors such as the browser, operating system, screen resolution, and input language.
4. Define the message link that the user will be redirected to when clicking the notification. You can provide it in two types:
Custom link: The static URL you enter manually.
Dynamic link: You can use default or custom attributes, which should be pre-defined in custom user attributes. You can also define a fallback to ensure your Web Push notifications are not disrupted if the URL source value is empty.
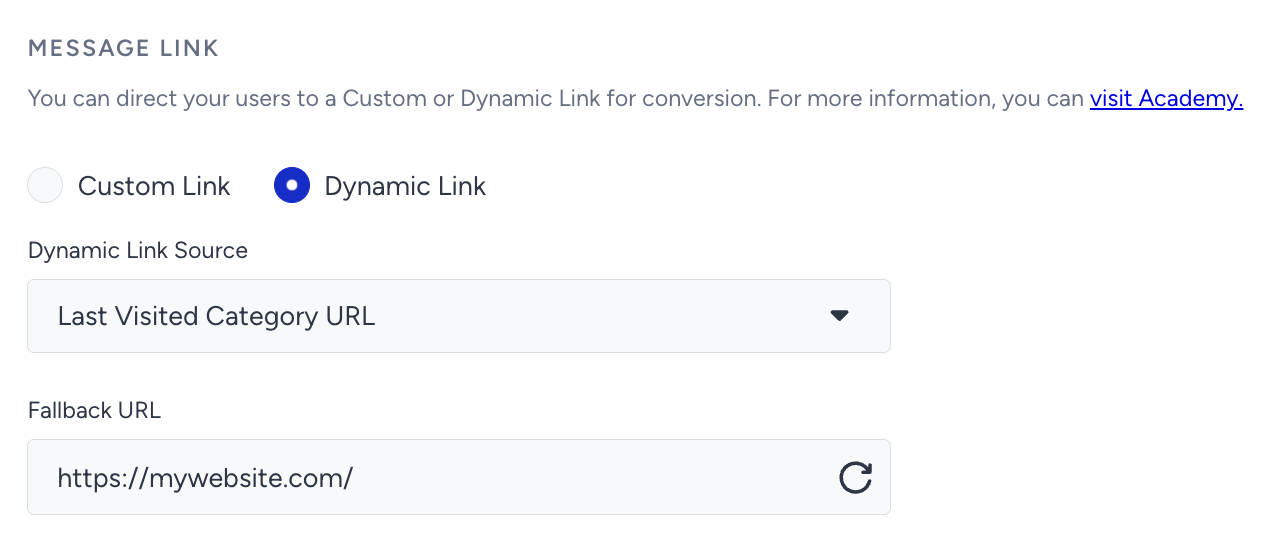
The Fallback URL field will automatically display the value set in the Web Push Settings on the screen. Even if you leave the input field empty, the fallback value will still be used.
5. You can add up to two optional Message Action buttons to push notifications to increase user interaction. These buttons are a great way to conduct mini-surveys and polls. Using this option, you can direct your user to different links by clicking on the notification body, action button 1, or action button 2. When a user clicks any of them, the Web Push notification will disappear.
An example of using these buttons could be directing your user to download a report, visit different product or category pages, or even conduct mini-surveys/polls with Yes/No options.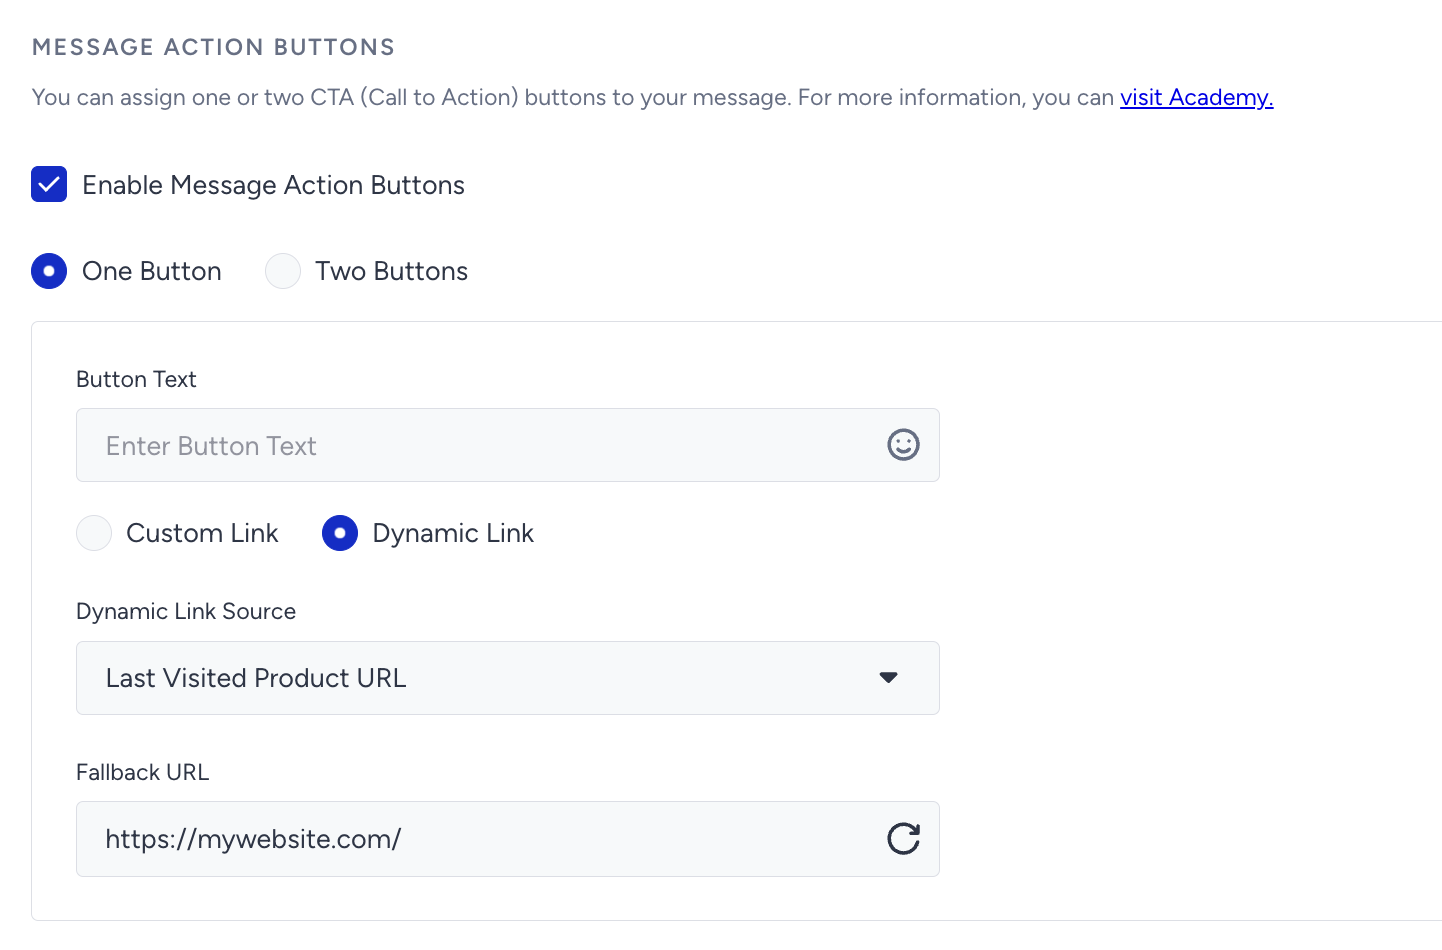
Just like the action link in the notification body, you can provide a custom link URL or a dynamic link URL (default or custom) for an action button. When you select the dynamic link, you can define a fallback to ensure that your Web Push notifications are not disrupted if the URL source value is empty.
The Fallback URL field will automatically display the value set in the Web Push Settings on the screen. Even if you leave the input field empty, the fallback value will still be used.
6. UTM Parameters are simply tags that you add to a URL. When your notification is clicked, the tags are sent back to Google Analytics if you have the Google Analytics tracking code on your website. Enter the necessary information if you have Google Analytics set up to track your campaign's performance.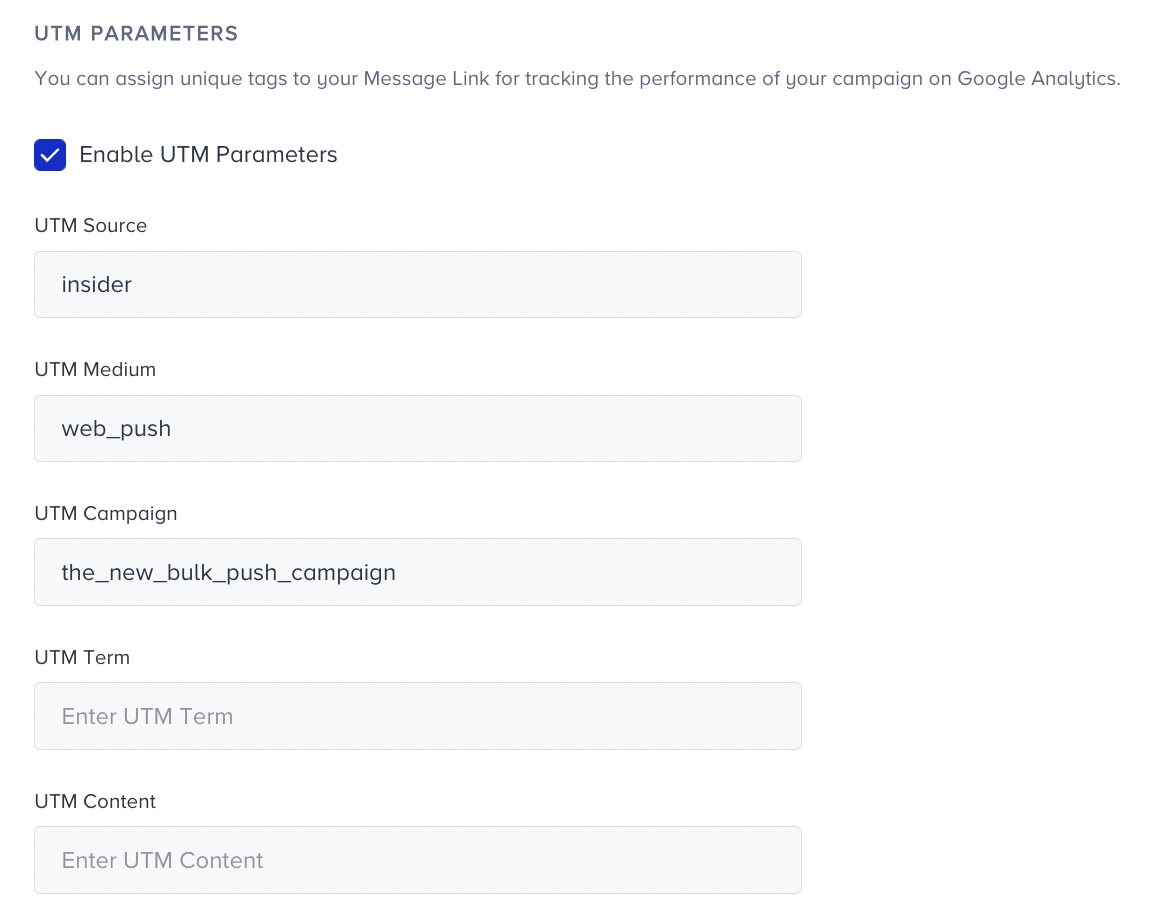
Preview your Cart Reminder Web Push notification
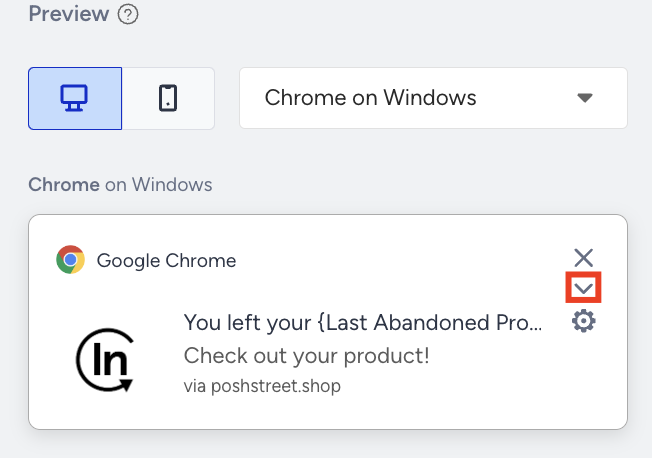
At any point during the design of the Web Push notification, you can see a live preview of what your subscribers will receive. On the right side of your screen, you can see the text, image, icon, link, and button elements in the preview.
You can click the collapse/expand button on the preview Web Push notification to see the collapsed and expanded view.
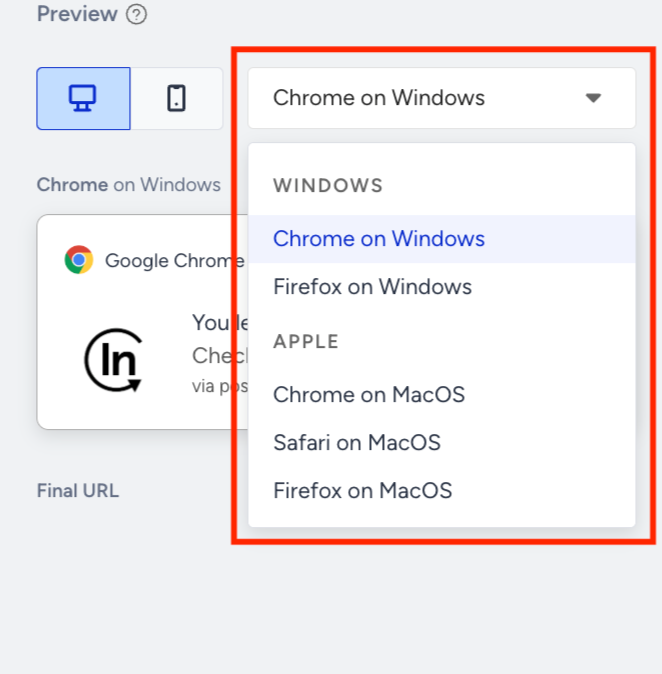
You can view how your Web Push will look in different operating systems and browsers. First, select the device, then choose the operating system and browser from the dropdown menu to preview your Web Push notification.
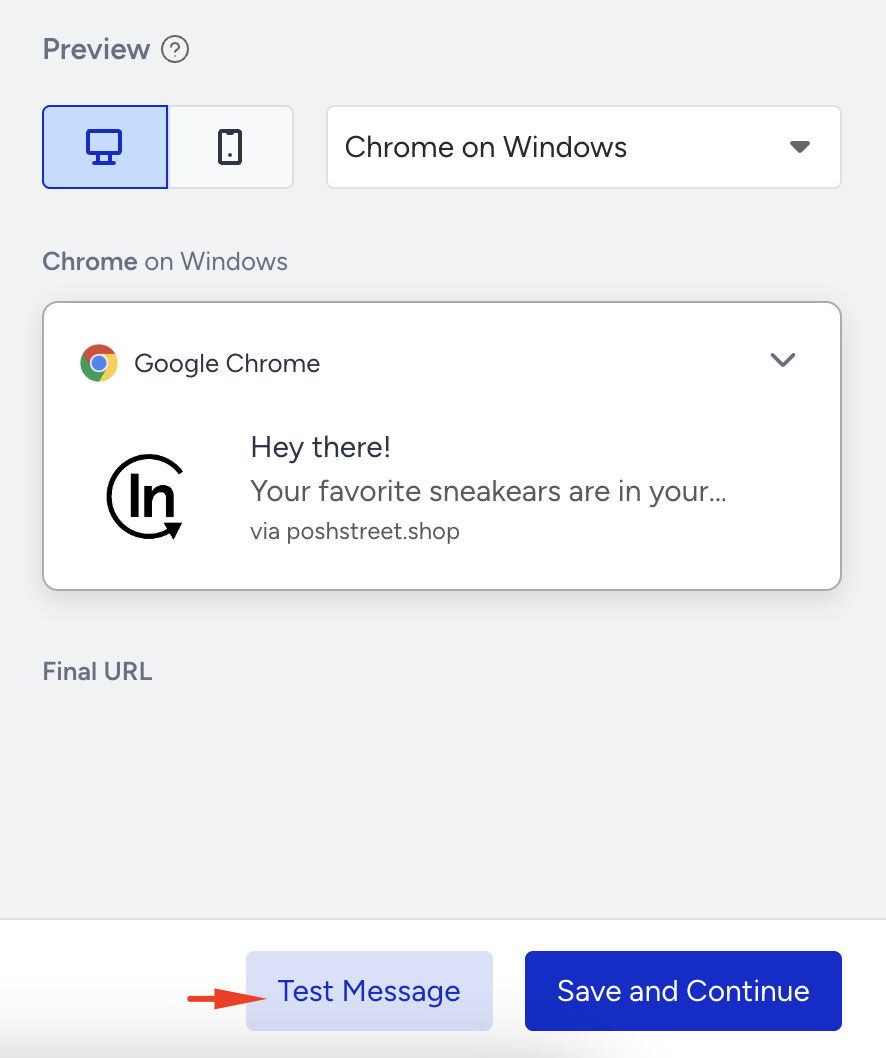
You can click the Test Message button in the bottom-right corner of the page to send a test Web Push notification to your device.
Set goals for your campaign
You can set goals to track your campaign's performance. The default goal is Purchases; you can change it to Clicks. Under Conversion Duration, you can set the period during which users must accomplish the goals of your campaign.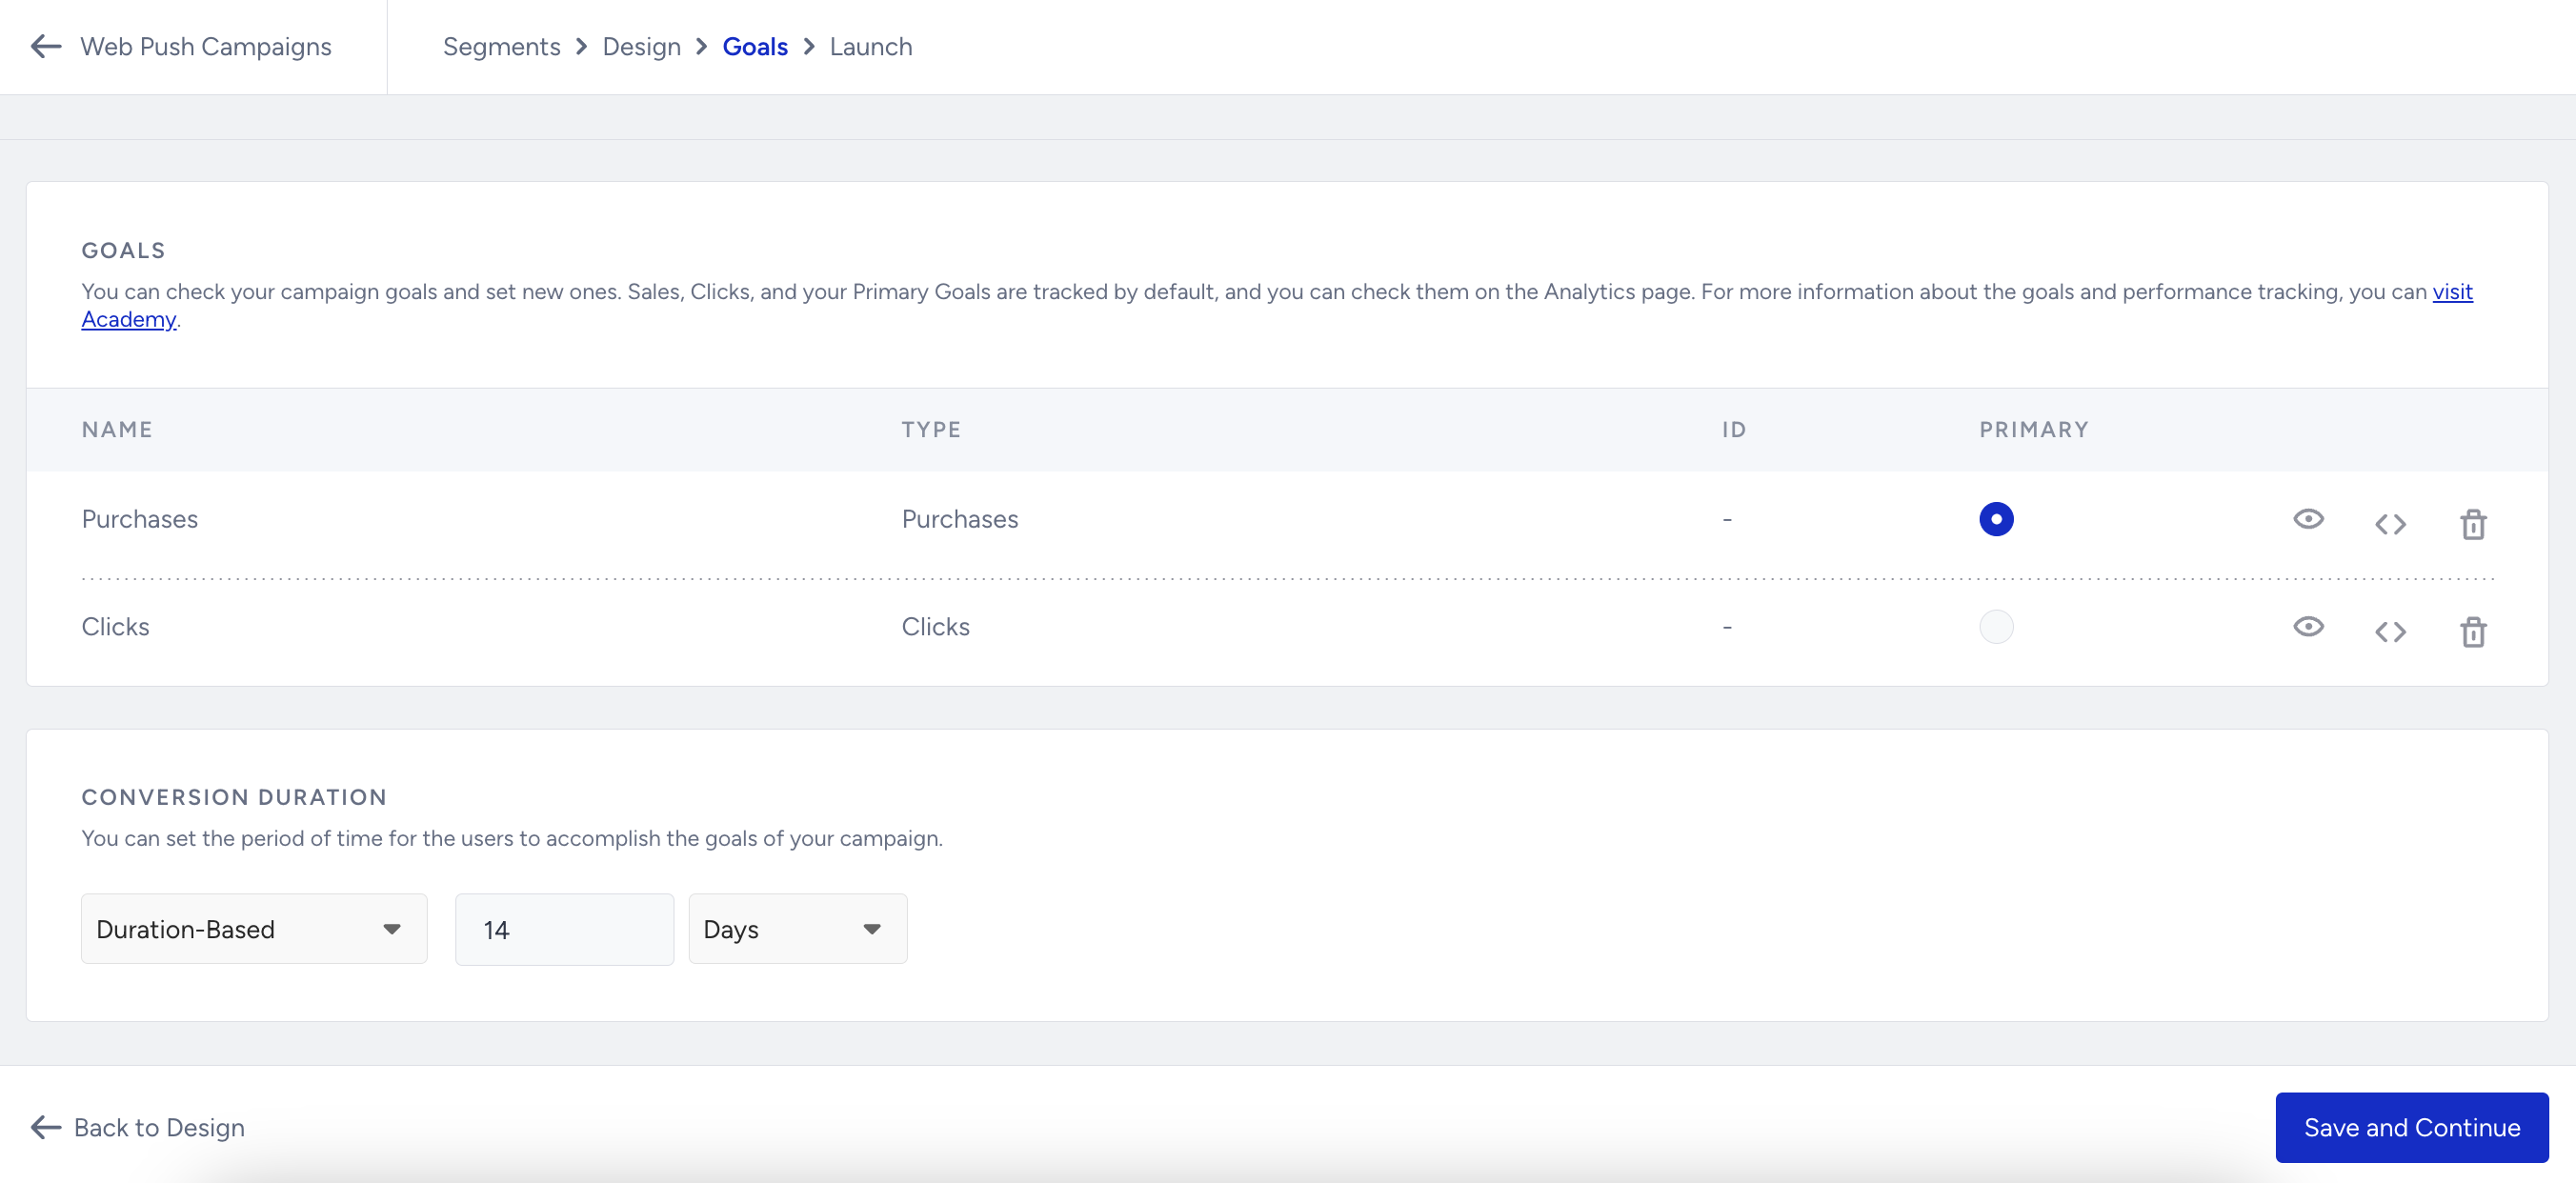
Launch a Cart Reminder Push notification
In the Launch step of your campaign,
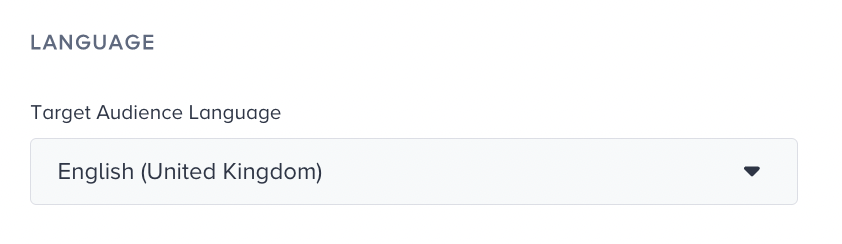
Select the language of the push notification to send it to the opt-in users who have opted in for the respective language. A warning will be displayed if there are no subscribers (tokens) for the selected language.
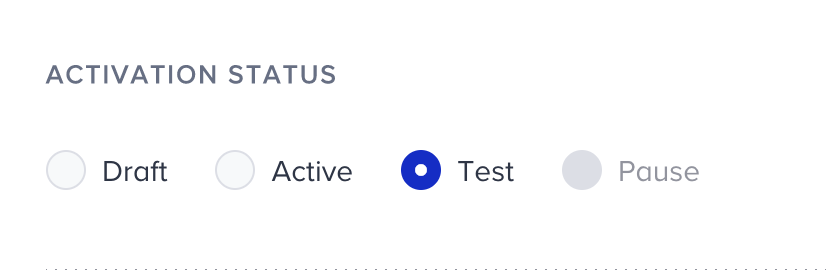
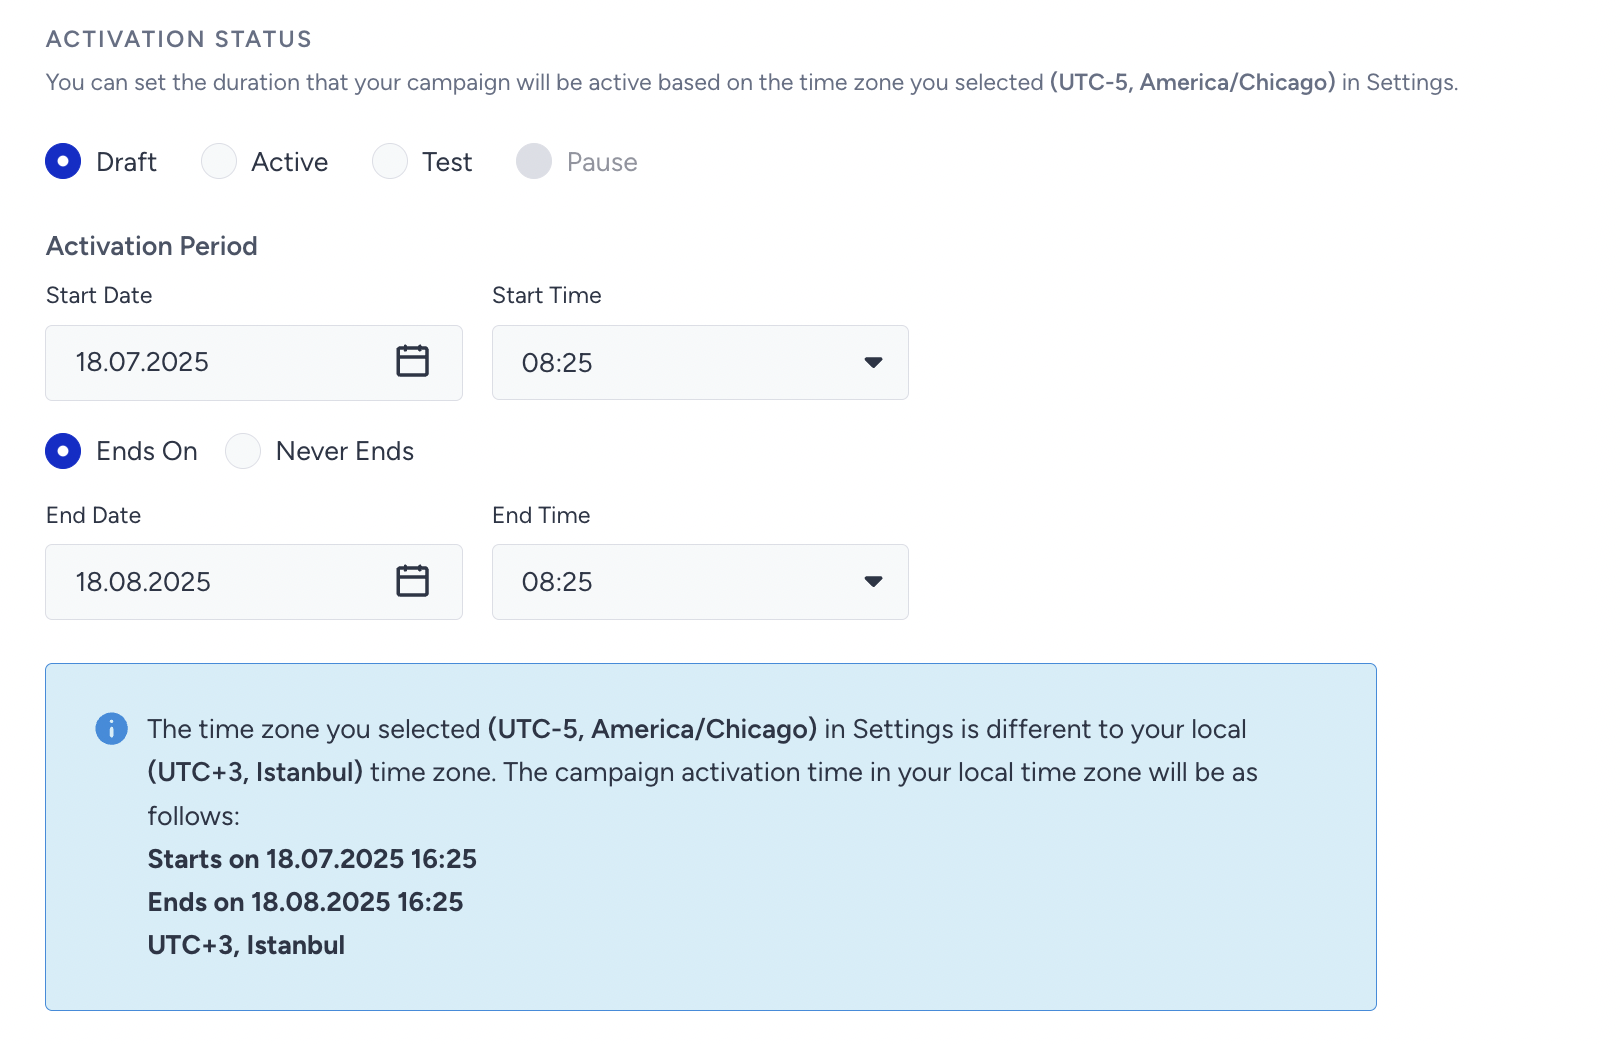
You can choose the Activation Status of your campaign.
Draft: Your campaign has not yet been sent or scheduled; it is in draft status. You can make changes to it later.
Active: This indicates that your campaign is live on your website and can be displayed to eligible users.
Test: Your campaign is in test mode and cannot be displayed to any user unless they have a test link.
Pause: You can pause your campaigns temporarily.
Set the activation time to start and end your campaign.
Time to Live (TTL) refers to the expiry time of a Web Push message. All web pushes will be sent out at the specified time. However, users who do not have their browsers open when the web push is sent will receive it the next time they open their browser, unless the time-to-live has expired.
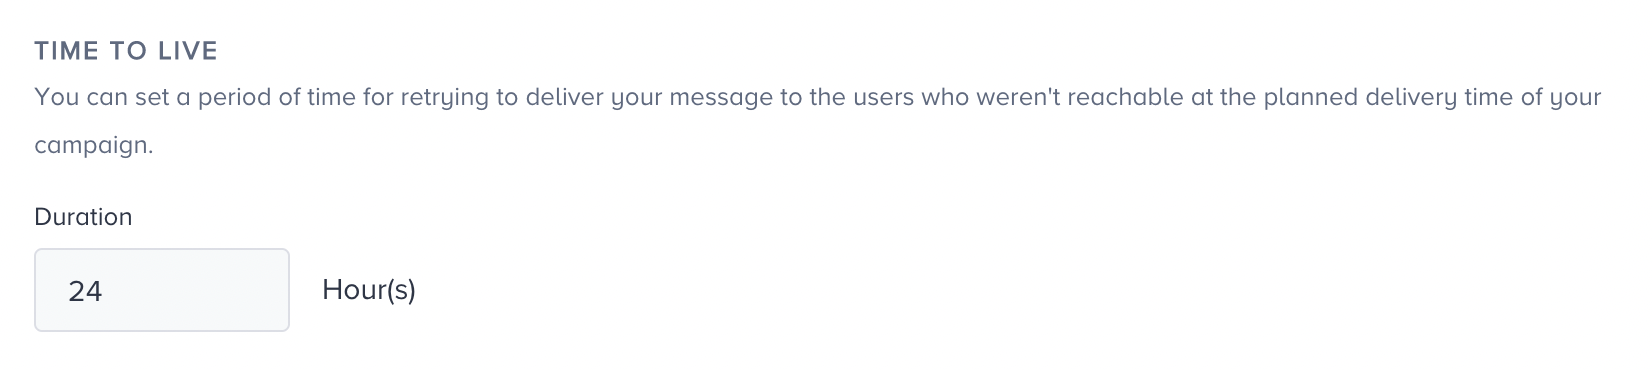
For example, imagine a Cart Reminder Push scheduled to be sent at 10:00 am with a 2-hour Time to Live. If User A’s browser is not open at 10:00 am and they open it at 11:00 am, they will receive the Web Push at 11:00 am. If they open the browser only at 12:30 pm, they will no longer receive Web Push messages, as those messages have already expired at noon. This is useful for time-sensitive offers you promote via Web Push.
Frequency Capping enables you to limit the number of Web Push notifications that a user gets in a day. To turn off the defined delivery limit for your campaign, you can enable the Bypass Channel Frequency Capping checkbox.

By setting Silent hours, you can prevent Web Push notifications from being delivered between these hours.
A silent hour is a period during which Web Push notifications are prevented from being delivered at a specific interval. Notifications that reach users at the wrong time can be disturbing. You wouldn't want to wake up and lose them with a push notification sent at 3:00 am. Additionally, some countries have laws and penalties, including high fines, regarding this matter.
You can choose to continue sending these Web Push notifications with a delay after the Silent Hour ends, or you may not send notifications that fall within that hour range.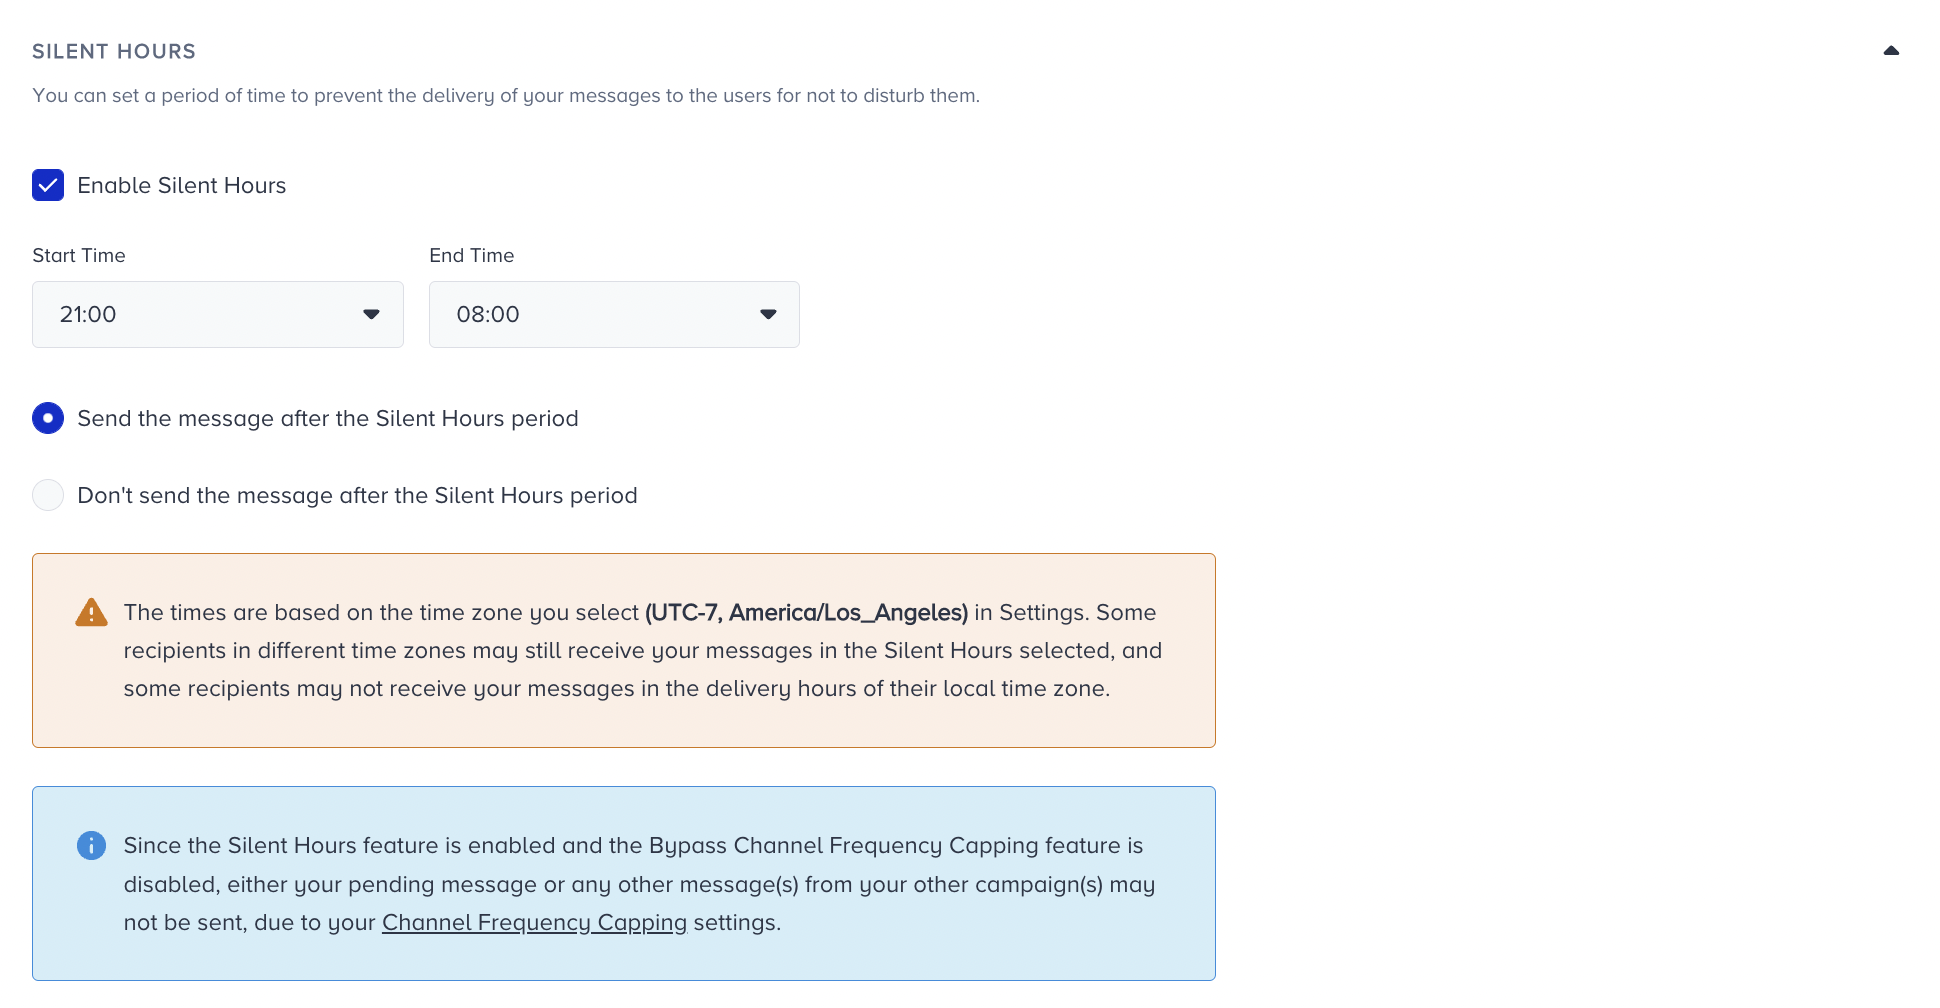
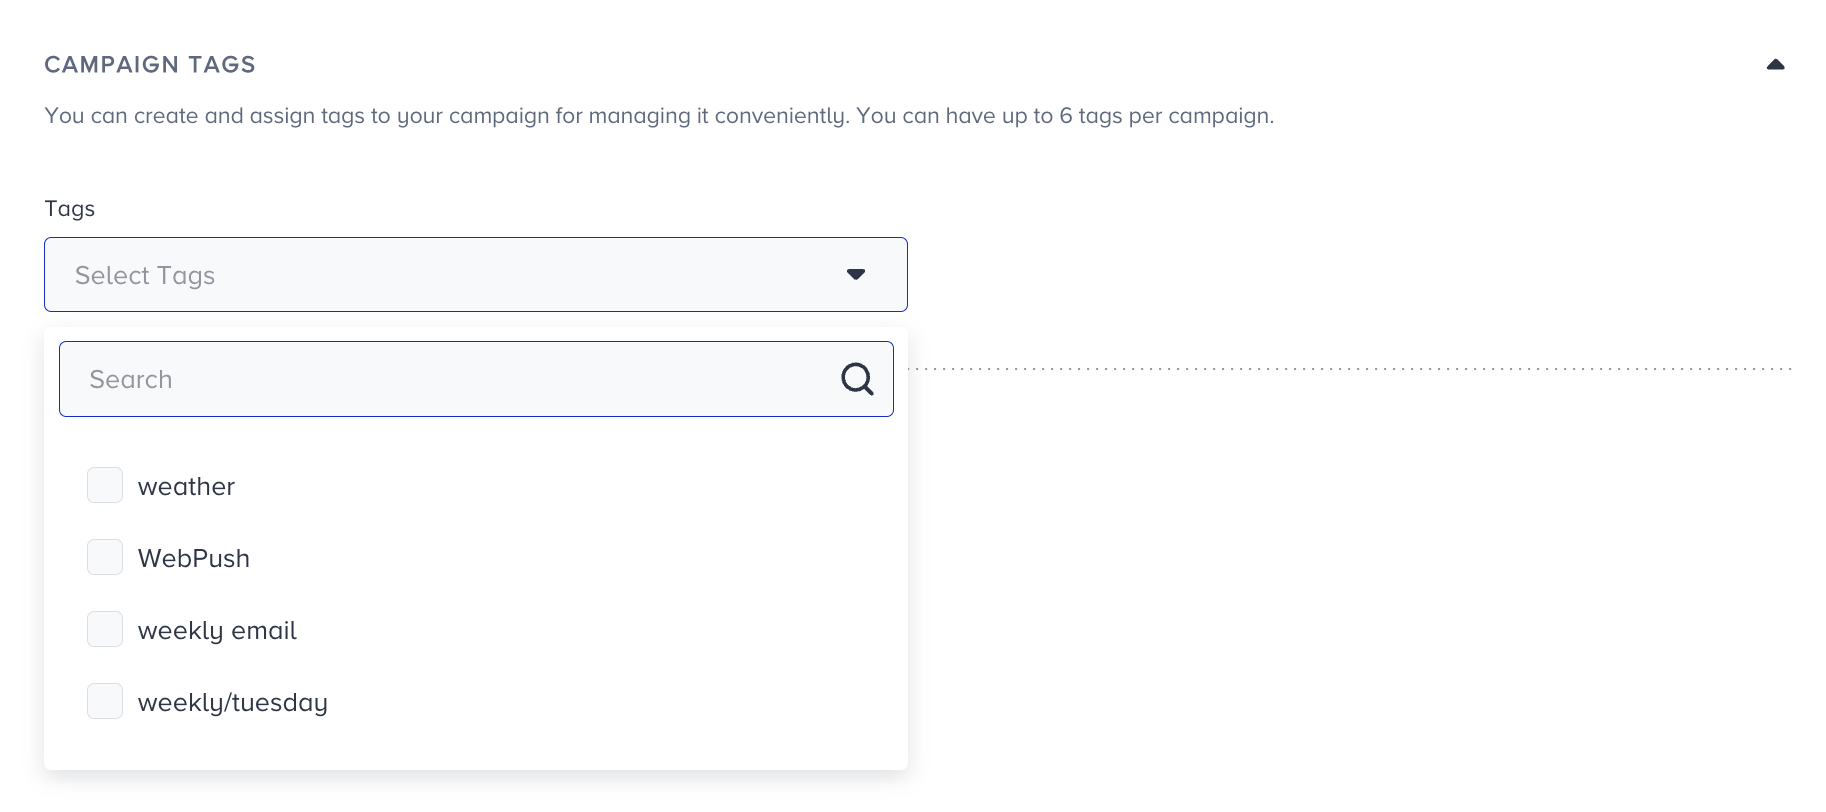
You can use tags to find or filter your campaign easily. You can add previously created tags to the campaign.
You can also create new tags and save them for later use.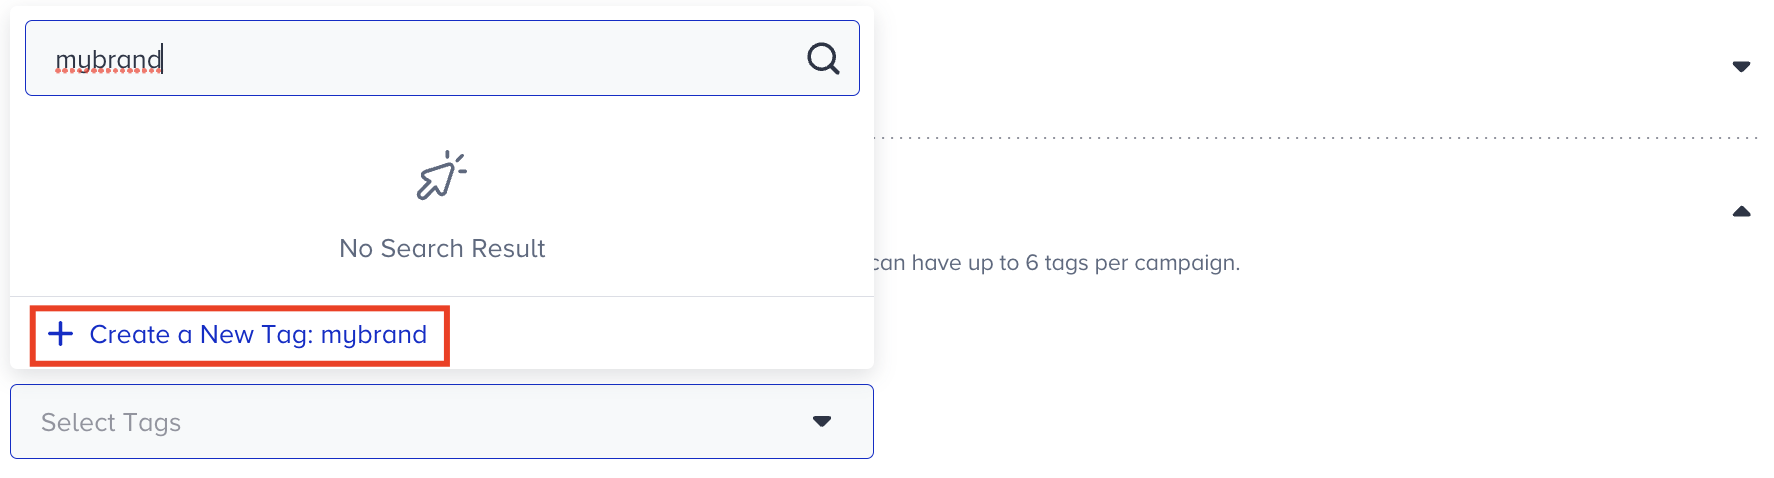
You can add up to six tags per campaign.
You can write notes in the designated area to remind yourself or your team members about the campaign.

You can see the information if your campaign is ready to go. When you are ready, click Launch Campaign.
You can call the language system rule on your website to check the current language of your website, the cart/basket count system rule to see the number of the products in the cart/basket, the cart/basket page system rule to detect if the current page is the cart/basket page, the product(s)/item(s) in the cart system rule to get the collection of product information on the cart page, and the payment confirmation page system rule to detect if the current page is the payment confirmation page.