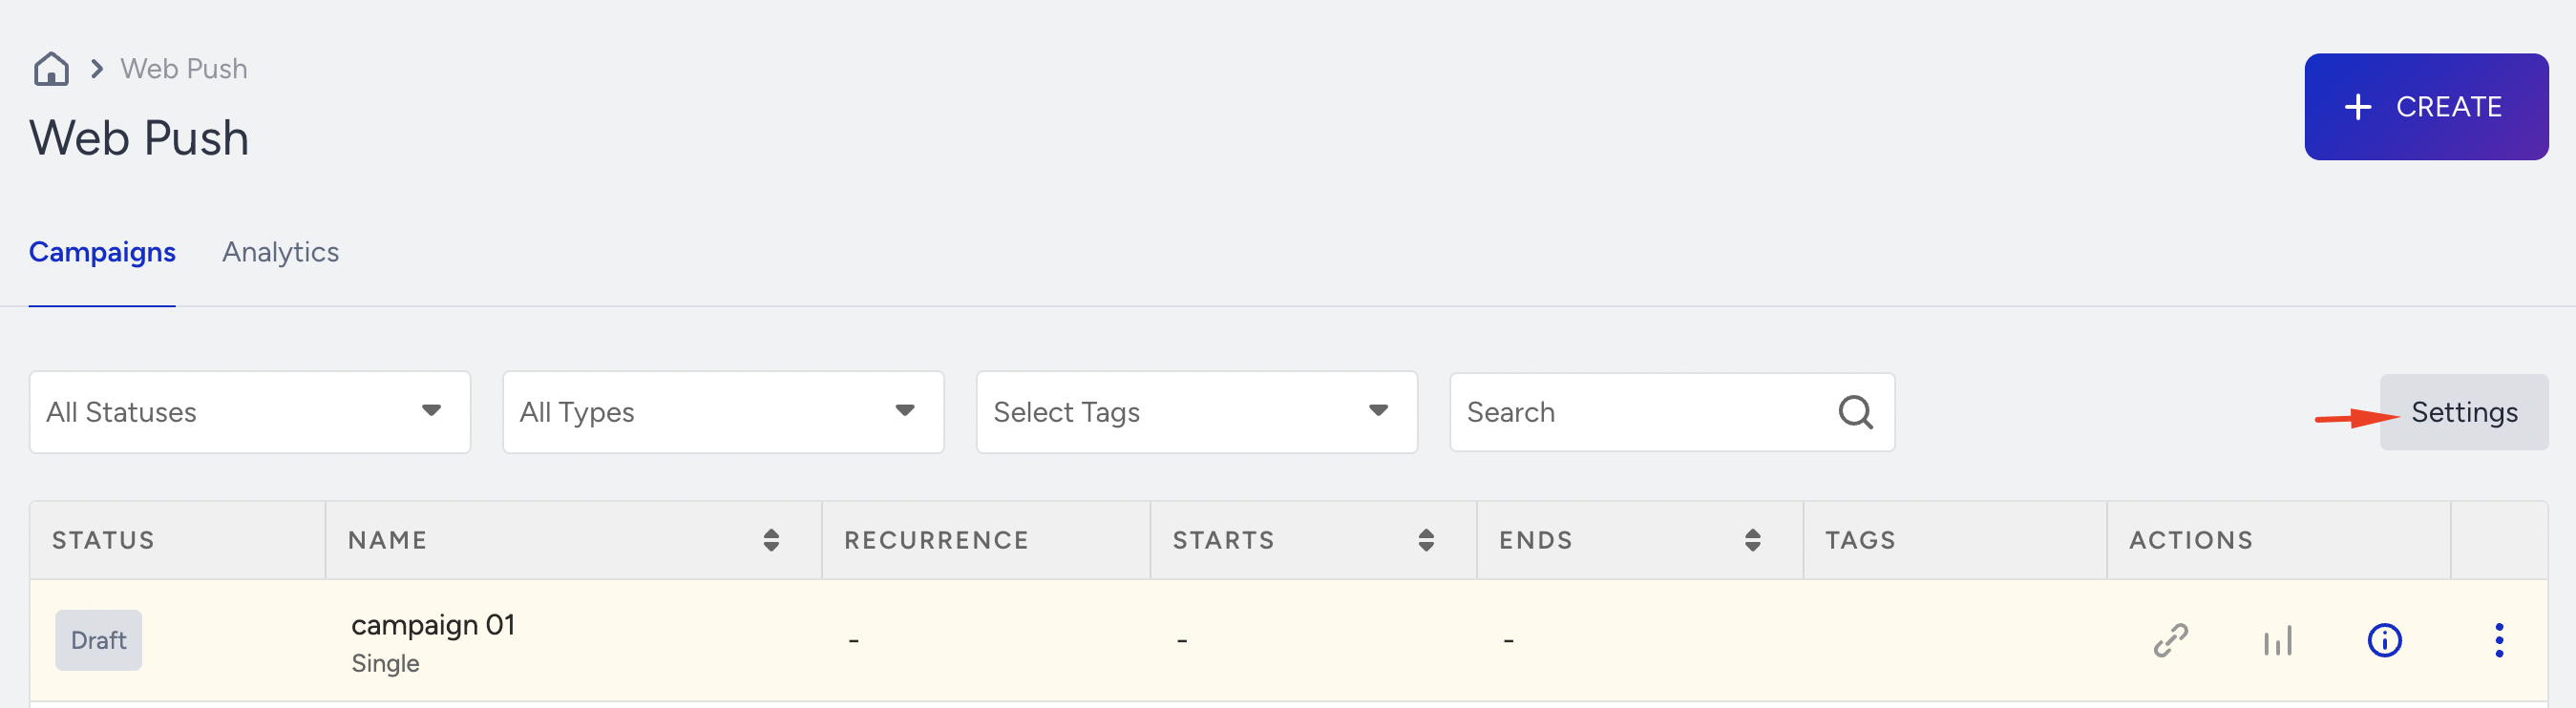
You can configure general settings and set up configurations with Web Push settings. To navigate, click Settings in the top-right corner of the Web Push listing page.
To set a default conversion duration for Web Push notifications, navigate to Inone Settings > Conversion Duration Settings.
On the Web Push Settings page, you can configure:
General Settings
The General Settings section allows you to define default behaviors for your Web Push notifications. Here, you can configure essential parameters, such as the time notifications remain active (Time to Live), what happens if a dynamic link fails (Fallback URL), how to manage traffic load (Single Push Throttling), and how to enable API-based notification delivery via the Web Push API Key.
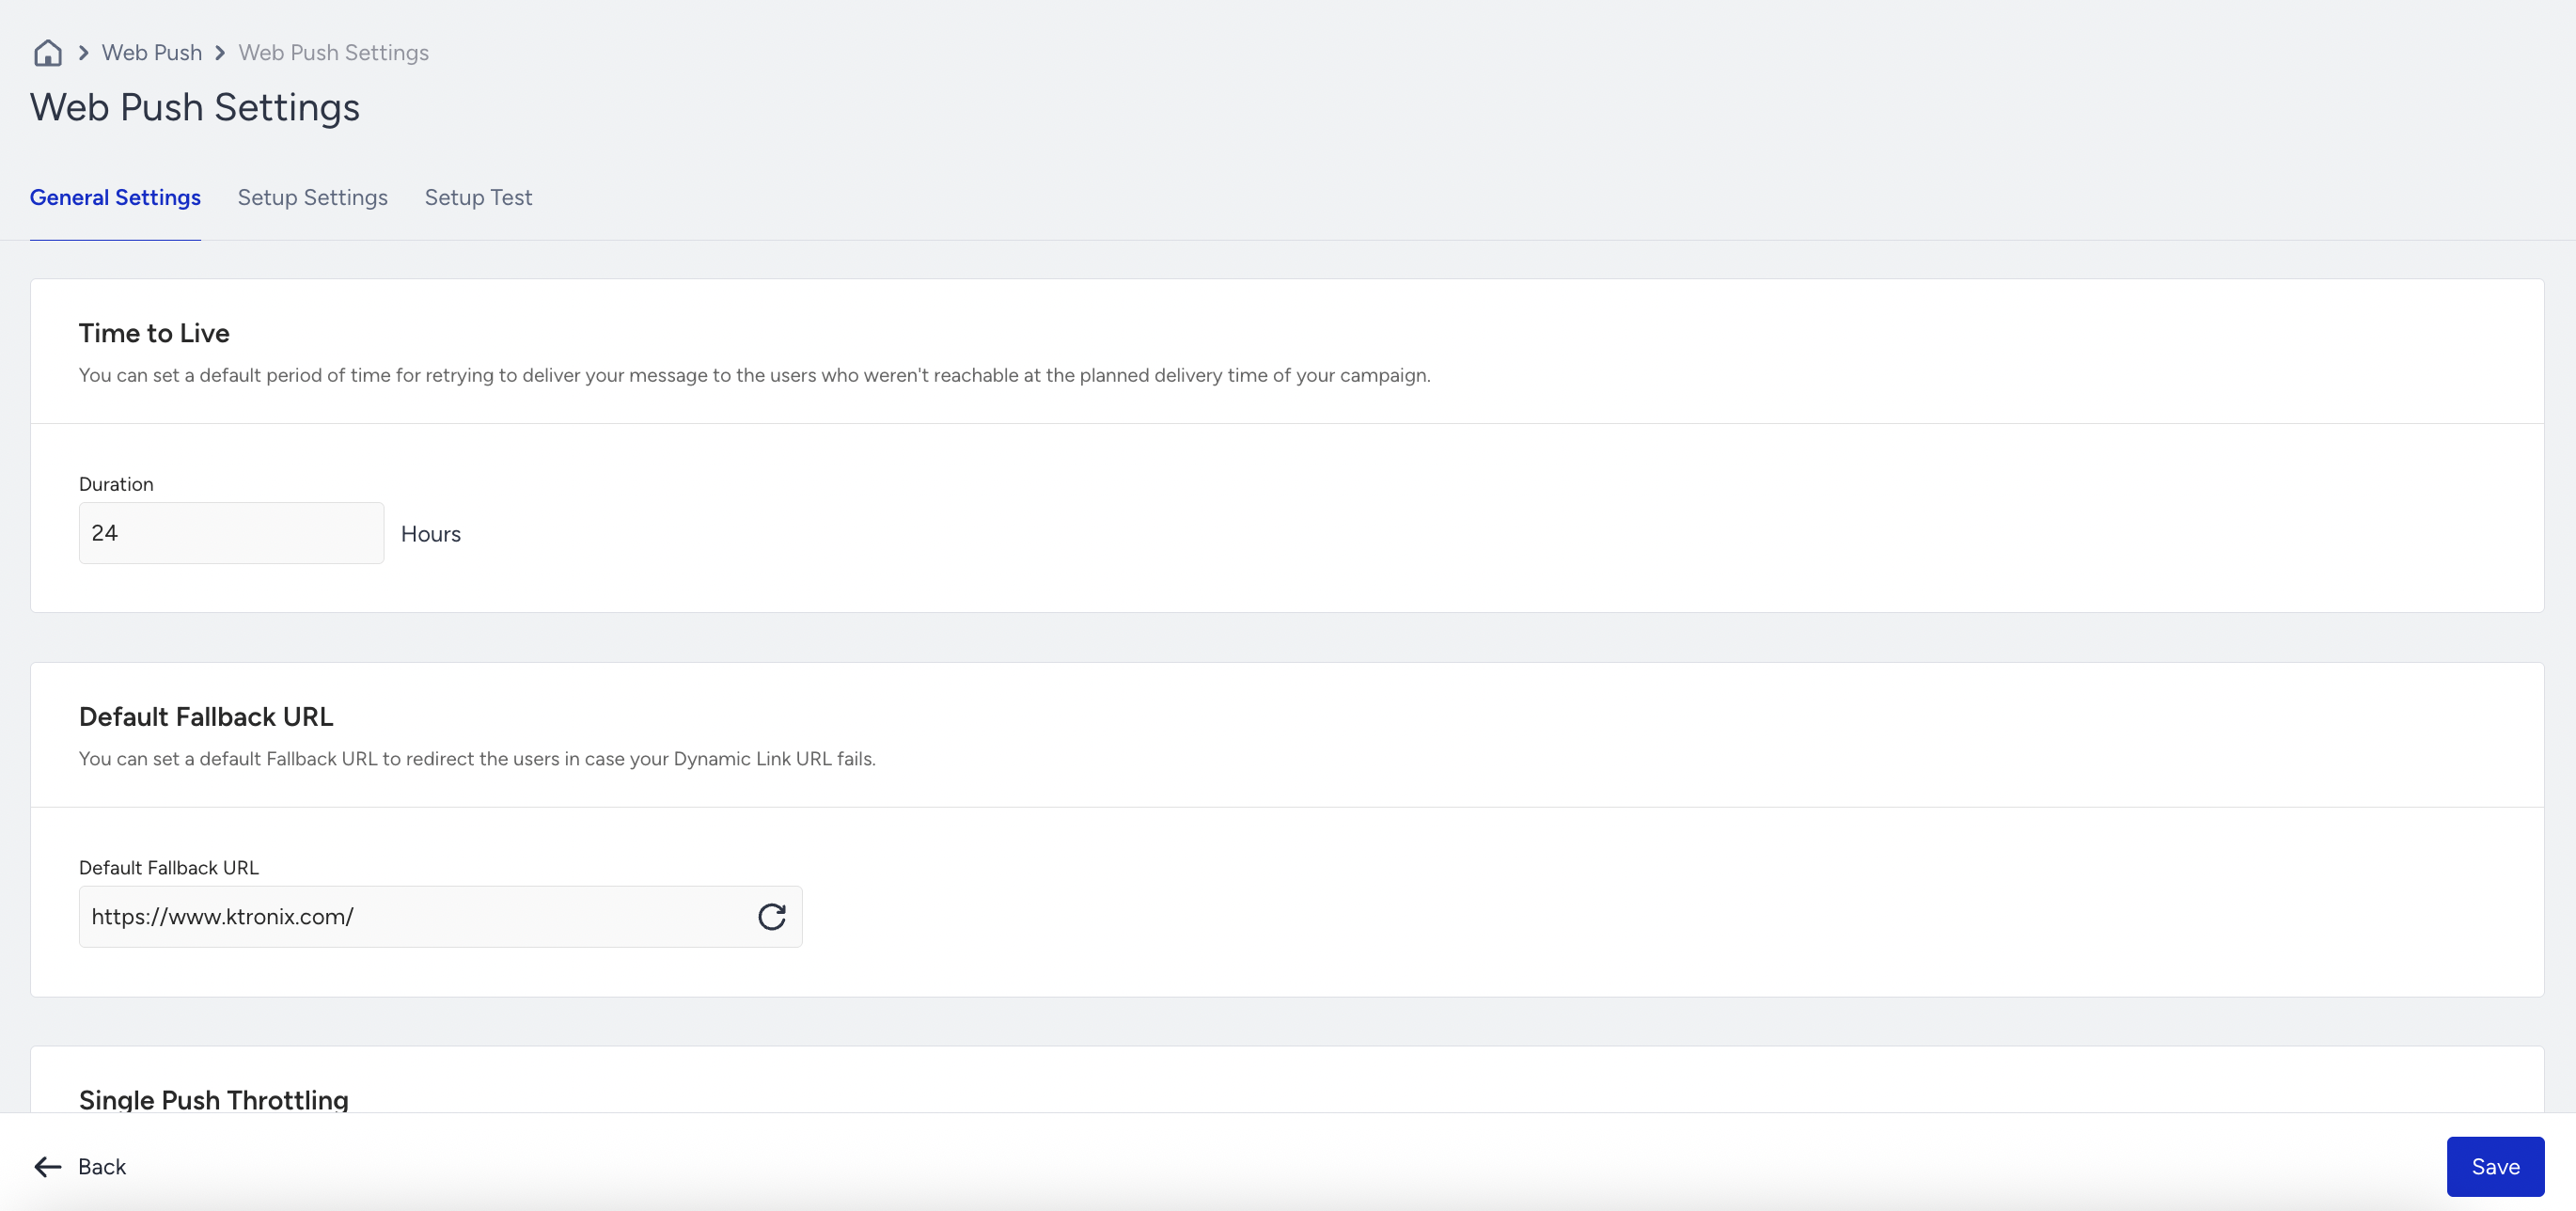
Time to Live
You can set the default Time to Live duration, which refers to the expiration time of the Web Push.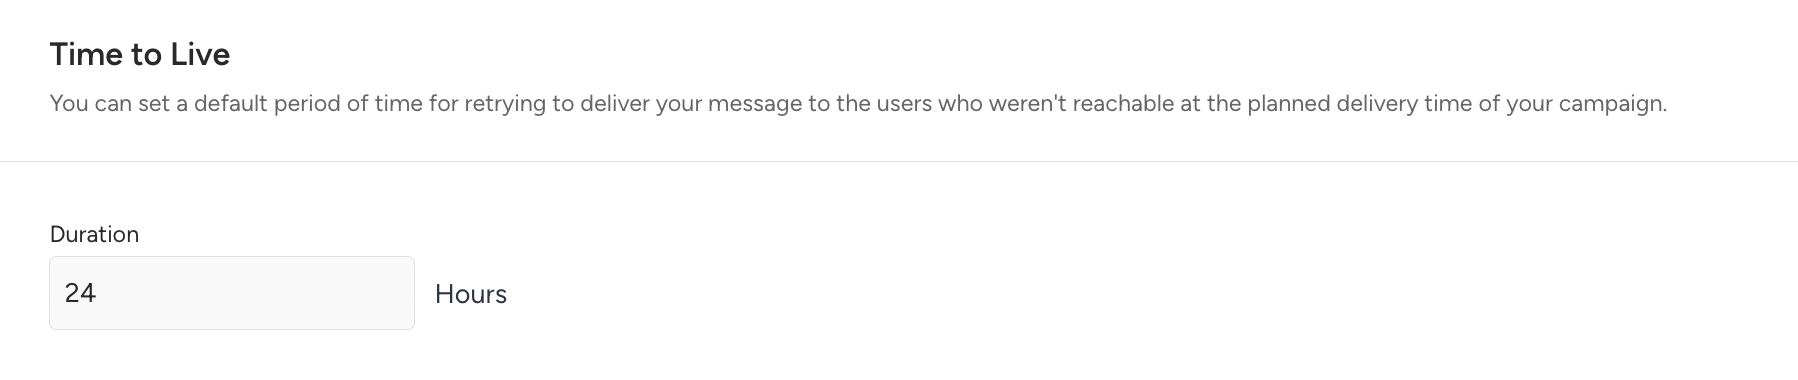
All Web Pushes will be sent out at the specified time. However, users who do not have their browsers open when the Web Push is sent will receive it the next time they open their browser, unless the time to live expires.
Fallback URL
You can set a default Fallback URL to redirect users if your Dynamic Link URL fails.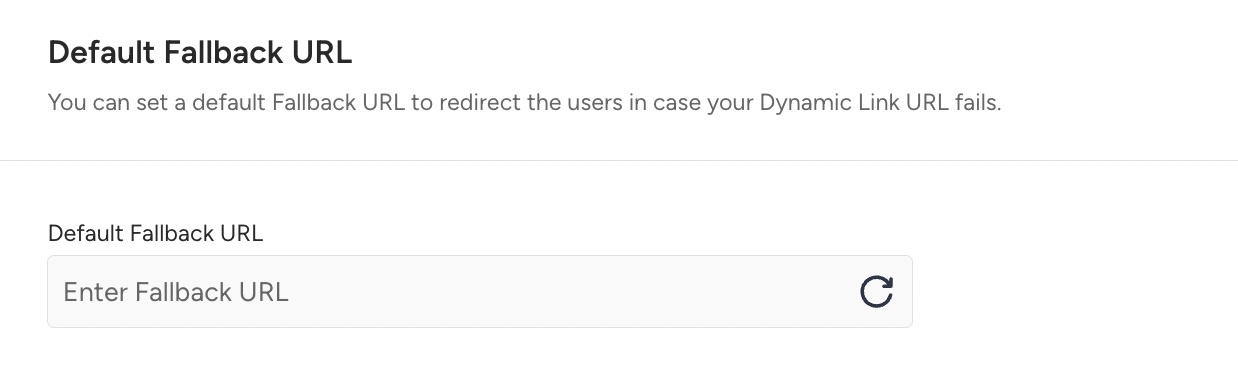
Single Push Throttling
You can enable Single Push Throttling to allow your recipients to receive Single Web Push messages gradually, especially if your website frequently experiences high user traffic issues.
Web Push API Key
If you want to send Web Push notifications from your website, rather than through the InOne panel, Insider One provides an environment for sending pushes to segmented users and for obtaining analytics using the Web Push API. The authorization transaction is done with the Web Push API Key.
To create a new Web Push API key, refer to the API Authentication Tokens.
Only users with an Administrator role can access the Web Push API Key.
Web Push API keys created in Web Push Settings will be automatically disabled on October 15, 2025. To generate new Web Push keys, navigate to Inone Settings > Integration Settings.
Setup Settings
The Setup Settings section is where you configure how users opt in to receive your Web Push notifications. Opt-in is a term used when users give permission to receive Web Push notifications. You cannot send them messages without their consent.
You can choose between Native and Custom opt-in methods, customize prompts, and define Service Worker paths for proper integration. Completing this setup ensures that your site collects valid Web Push subscribers in compliance with browser and security requirements.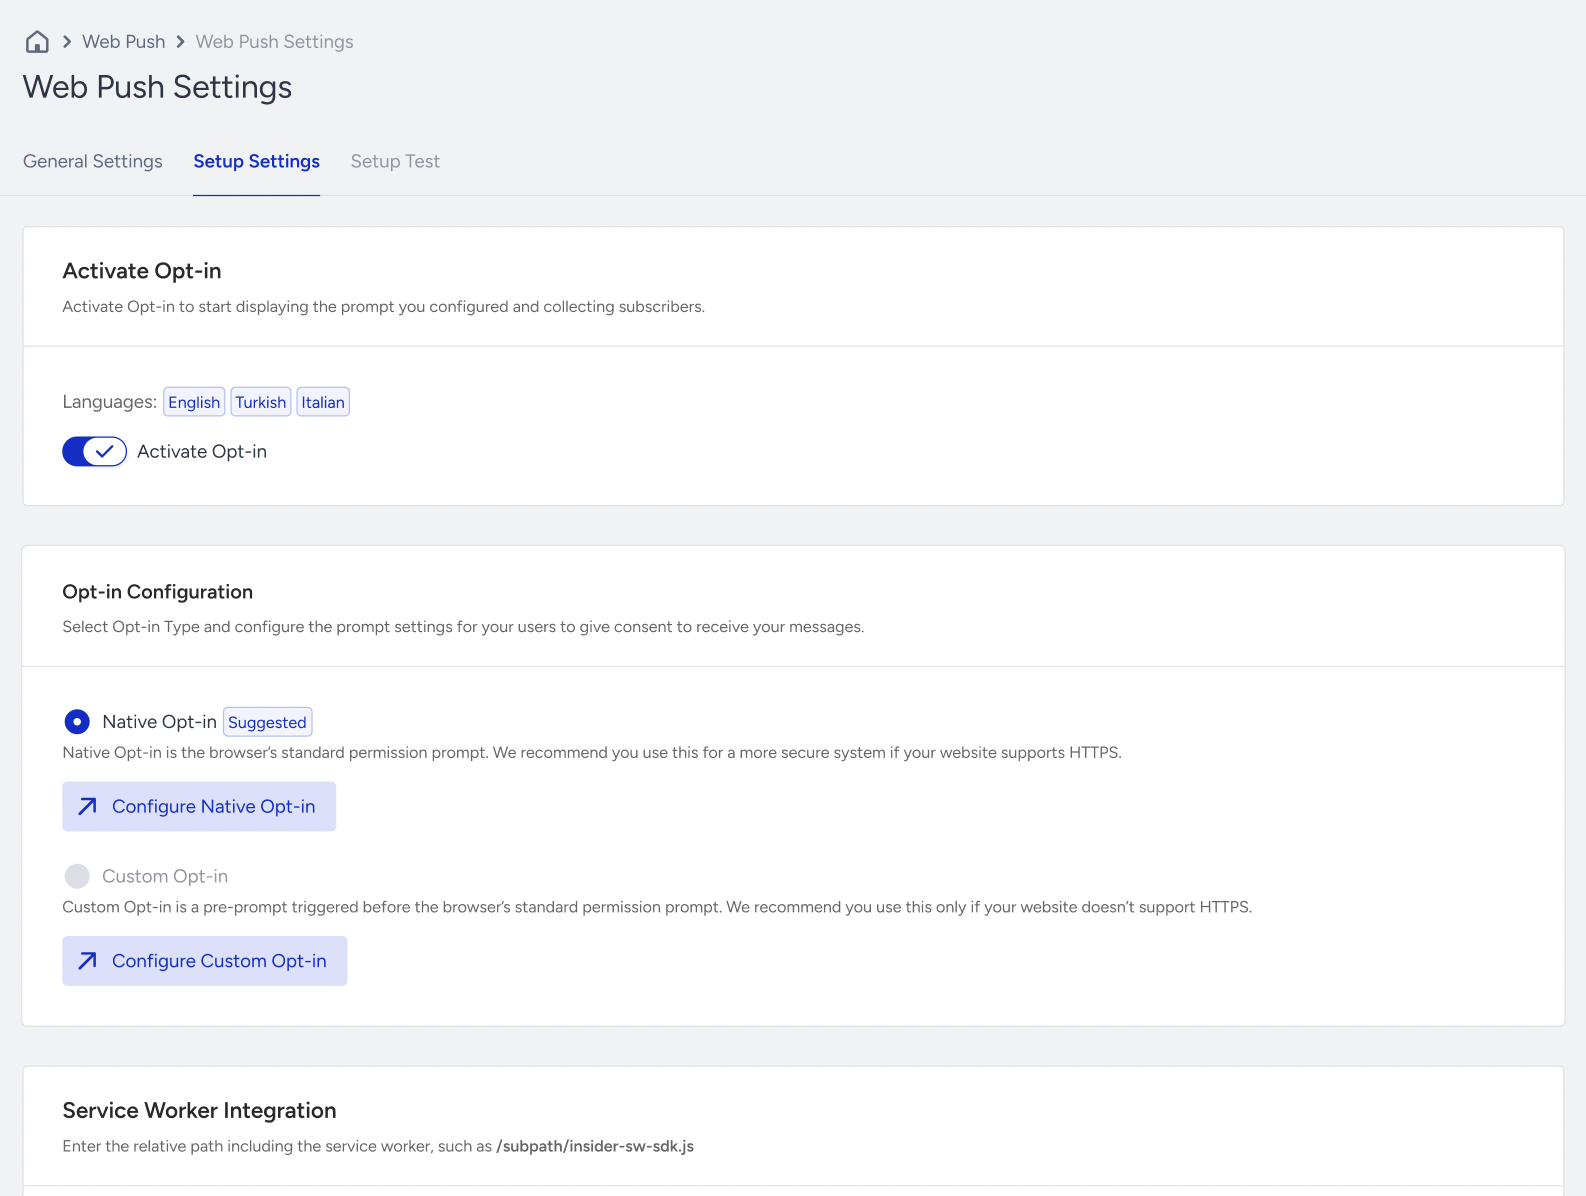
Activate Opt-in
You can enable opt-in to start displaying the configured prompt and collecting subscribers.
You should have completed Web Push Channel Setup first to activate the opt-in.
Opt-in Configuration
You can select and configure the prompt settings for your users to give consent to receive your Web Push notifications.
Native Opt-in
Native Opt-in is the browser's standard permission prompt. If your website supports HTTPS, you can use Native Opt-in, which is the browser's native prompt. This allows you to collect tokens under your domain.
Custom Opt-in
Custom Opt-in is a pre-prompt triggered before the browser's standard permission prompt. We recommend using this type only if your website does not support HTTPS. If you choose HTTP Opt-in, refer to the Custom (HTTP) Opt-in Configuration article for more information on its customization.
Service Worker Integration
If your opt-in type is Native Opt-in, enter the relevant path, including the Service Worker. You can add other domain addresses if you have more than one. Remember to add the Service Worker to the same path for all the domains.
You can make changes if any configurations related to these fields have changed after setting the Insider Onboarding Center settings.
Setup Test
The Setup Test section helps you validate that your Web Push opt-in configuration works as expected. You can run tests to verify both Native and Custom opt-in flows, confirm that Service Worker files are correctly integrated, and identify any configuration errors before launching campaigns. This step is optional but highly recommended to prevent delivery issues.
Native Opt-in
If you have changed a setting related to Native Opt-in or Service Worker integration, you can test the changes here.
Before you start testing, ensure that you enable the Activate Opt-in toggle on the Setup Settings page.
To start testing, click the Start Test button.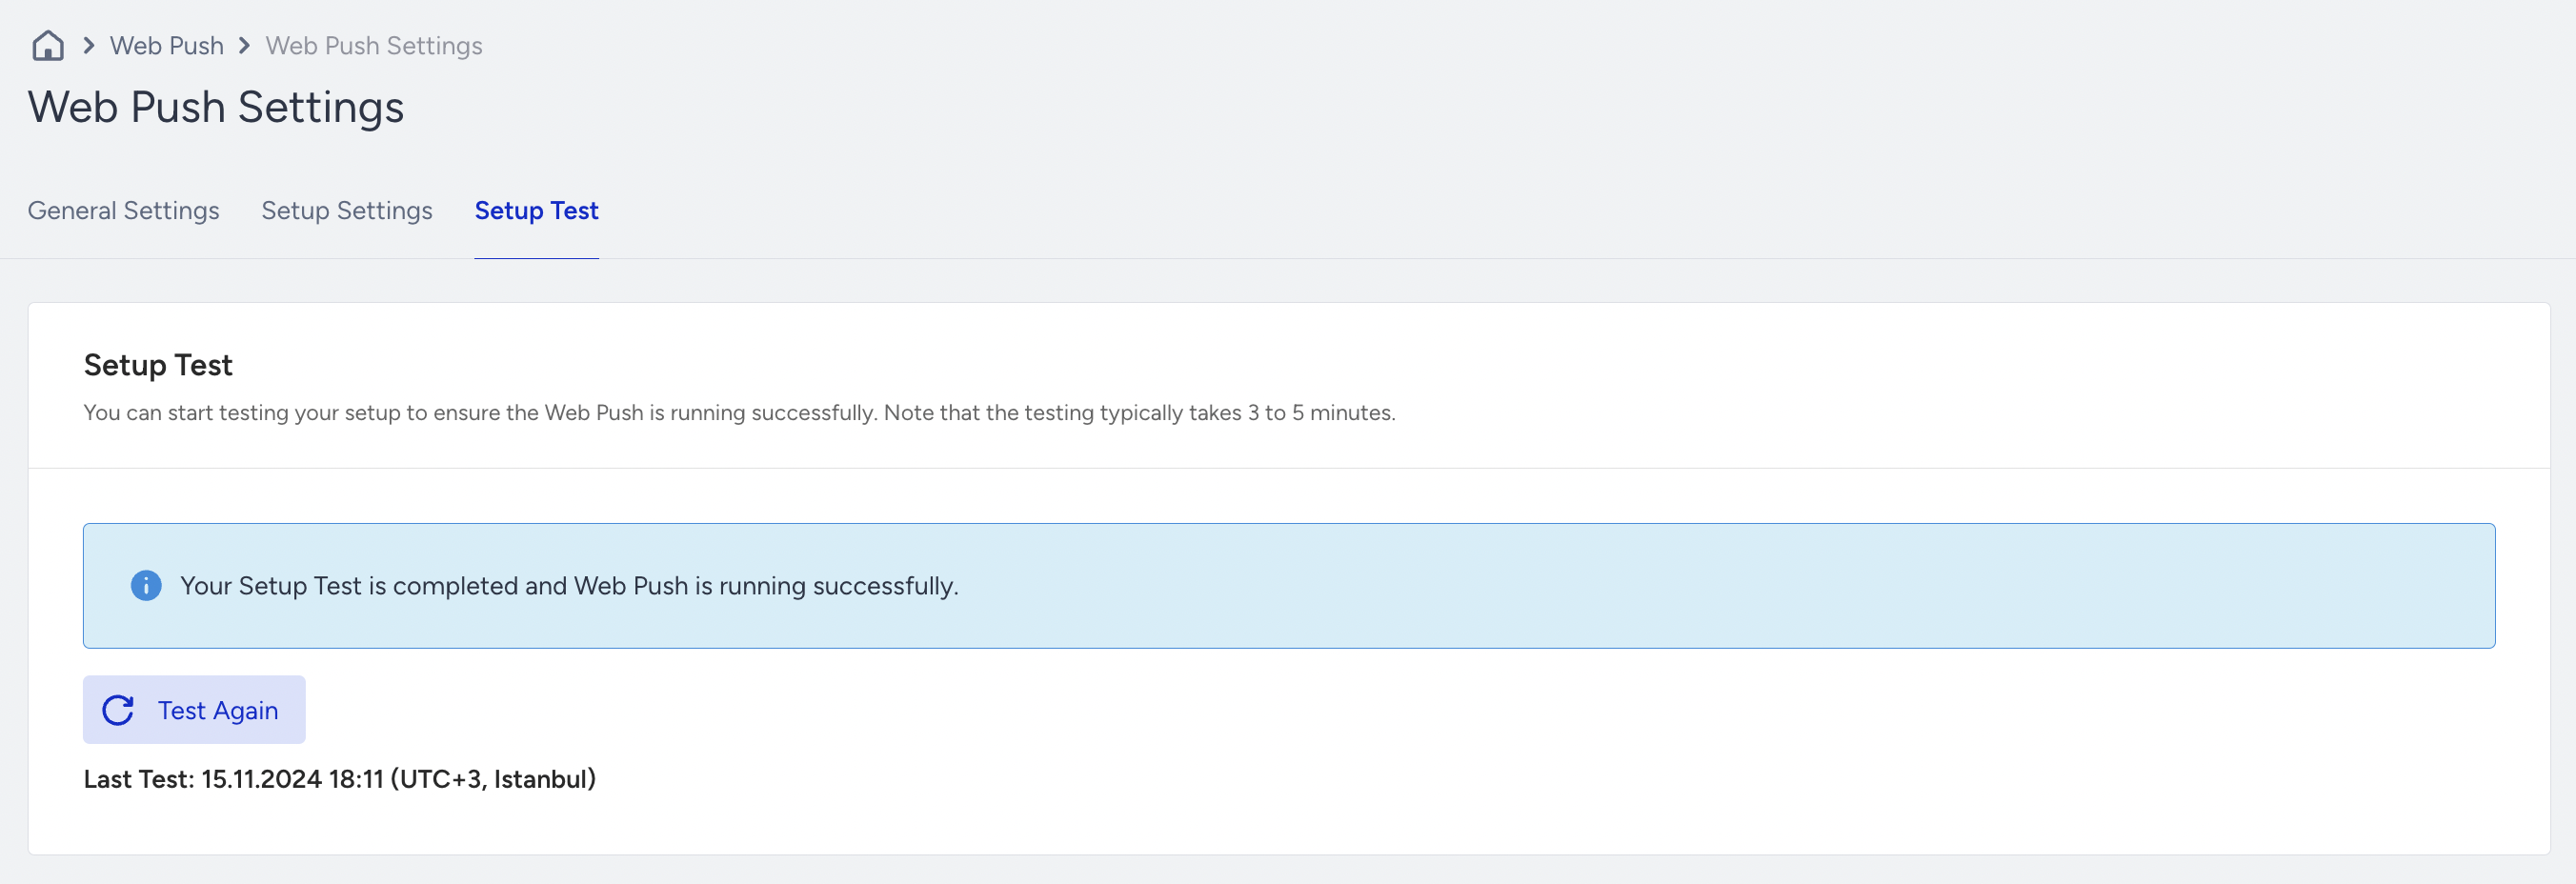
Testing your setup might take around three minutes. During testing, the Setup Settings page is disabled, so you cannot change any configuration until testing ends.
If your test fails, you see the errors and respective pages to fix them.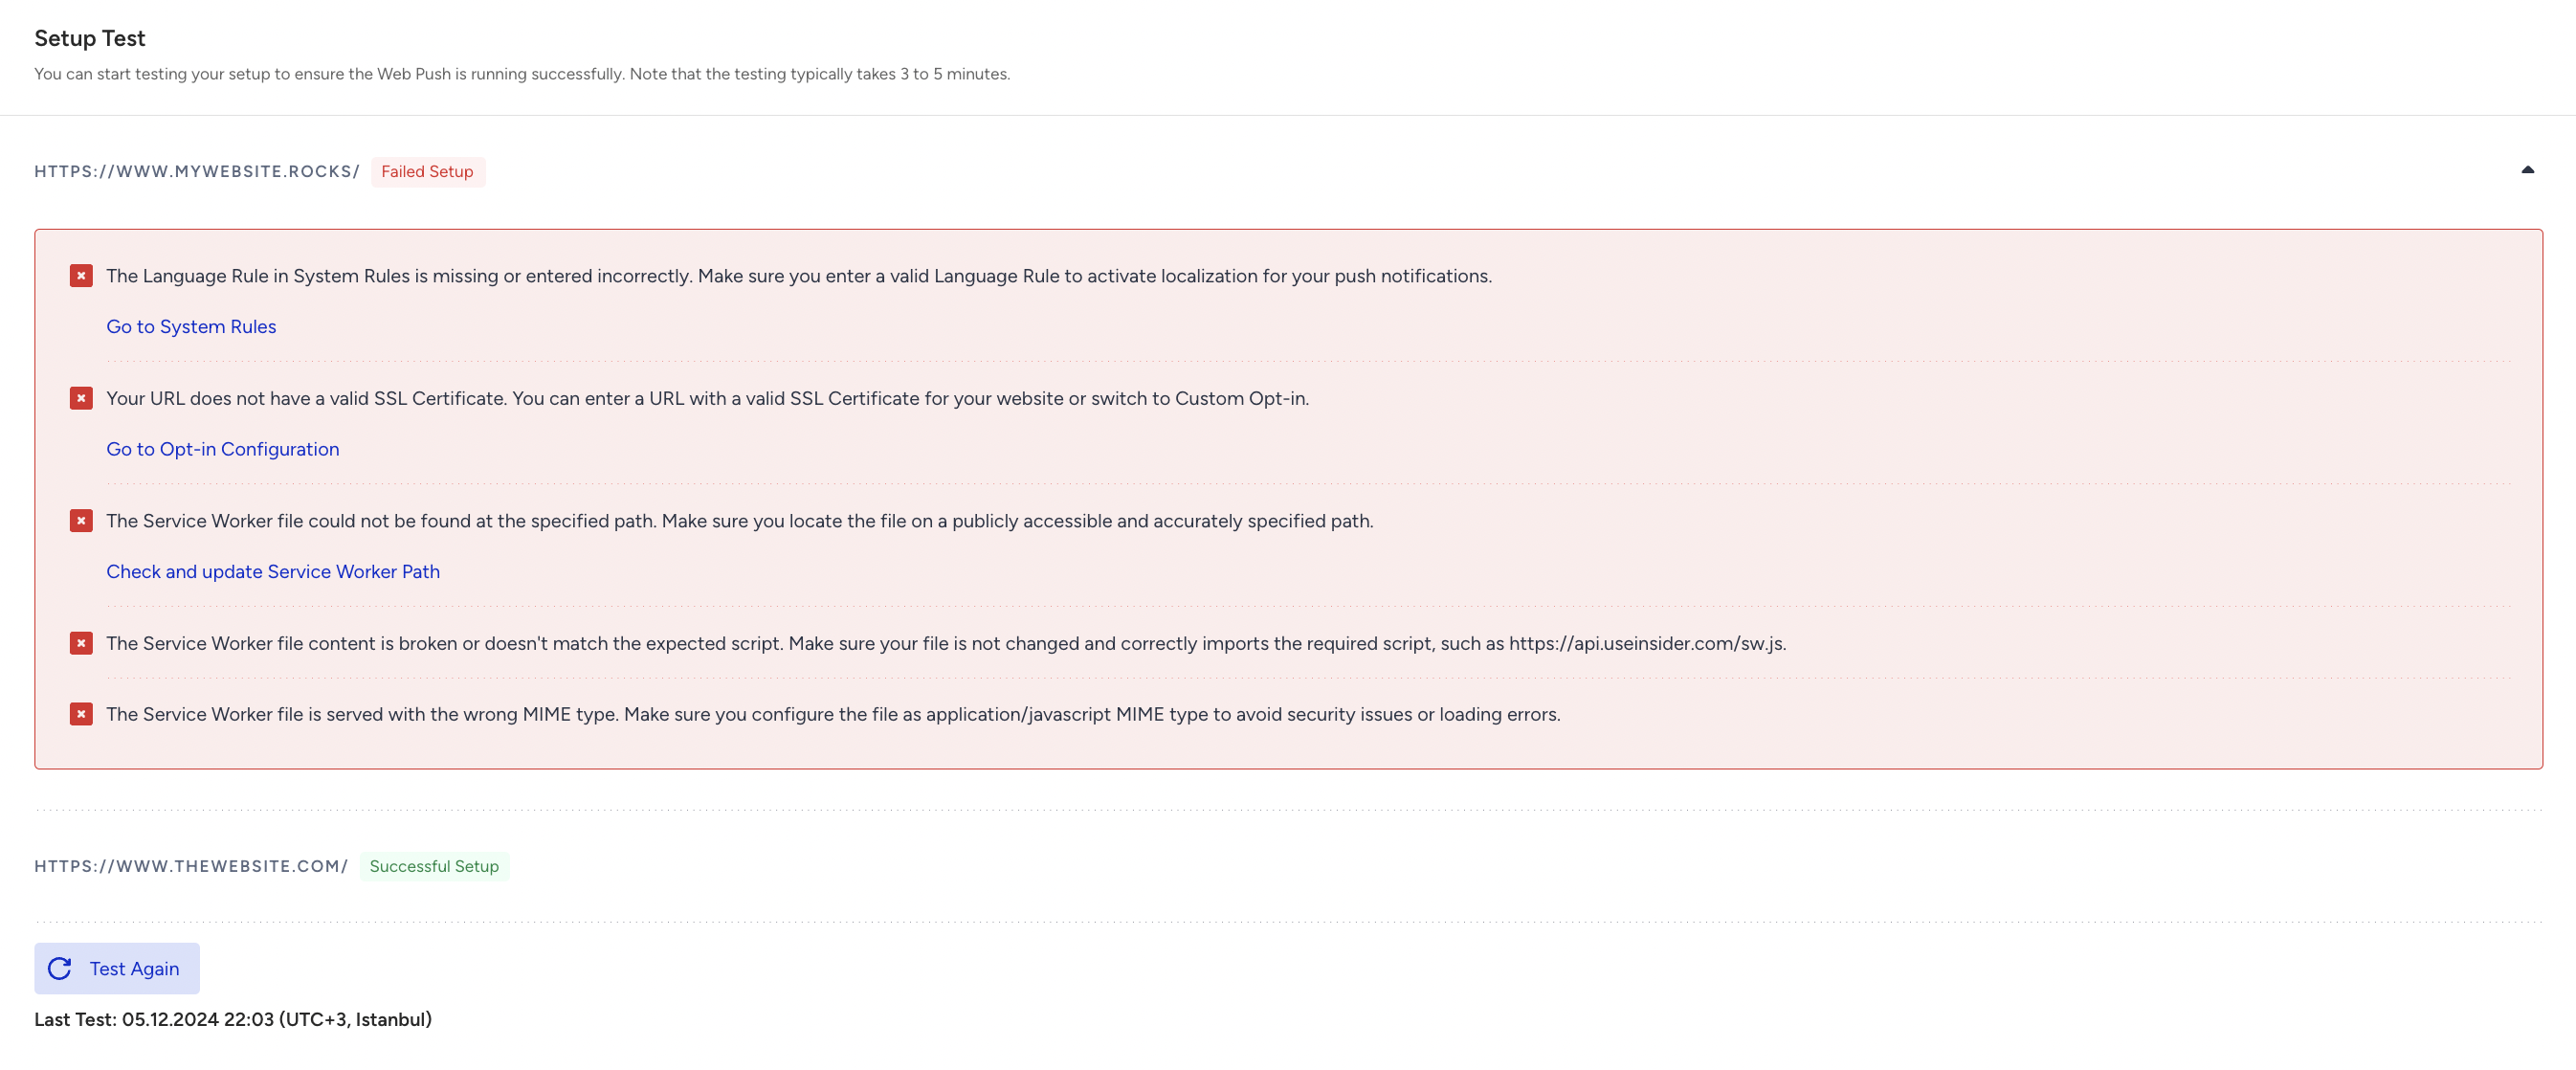
Custom Opt-in
Before you start testing, ensure that you enable the Activate Opt-in toggle on the Setup Settings page.
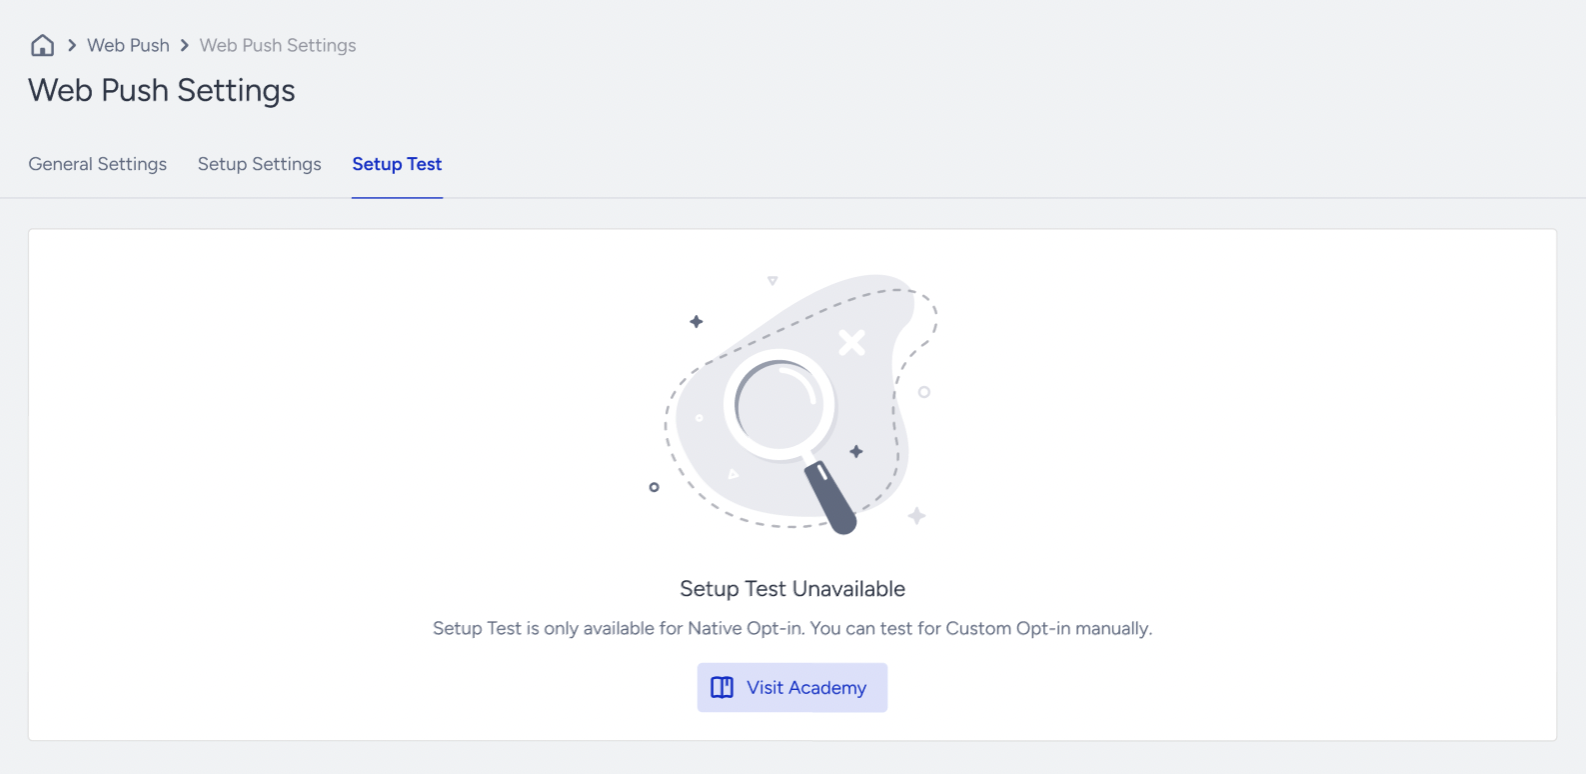
If your opt-in type is the Custom Opt-in, then you need to test your setup manually:
Go to your website and navigate to the homepage.
Accept cookies if you have a cookie policy.
Allow custom opt-in permission.
Allow native opt-in permission on the pop-up screen.
List of Errors
The errors you might face while testing your Native Opt-in or Service Worker integration are:
Problem | Solution |
|---|---|
The Language Rule in System Rules is missing or incorrectly configured. | Ensure that the Language Rule exists among System Rules and is configured correctly. Check your System Rules. |
The SSL certificate of your website is missing or invalid. | Ensure that the SSL certificate exists and is up to date. If you wish to continue without an SSL certificate, switch your opt-in type to Custom. Check your Opt-in Configuration settings. |
The Service Worker file is unreachable. | Ensure that the Service Worker is installed on your website and that the path is specified correctly. Check your Service Worker Integration. |
The Service Worker file has been placed in an inaccessible path. | Ensure that the Service Worker is placed on a public path and that the path is specified correctly. Check your Service Worker Integration. |
The Service Worker file has been placed in an automatically redirected path, preventing the script from loading due to a browser security block. | Ensure the Service Worker is located in a path without redirections for proper loading, and that you have specified the path correctly. Check your Service Worker Integration. |
The Service Worker content is different from what was intended or has been corrupted. | Make sure the content calls |
The Service Worker content type sent by the server does not match the expected type. | Make sure the server is serving the application/JavaScript for the JavaScript file. |
The Service Worker file fails to provide the correct response due to a server error. | Check the server configuration. |
A JavaScript file is deleting Local Storage keys. | Review and modify the JavaScript file to prevent this issue and ensure Local Storage remains intact. |