Welcome Web Push notifications are designed to greet users immediately after they opt in to receive them. These real-time notifications help you make a strong first impression, engage new visitors, and introduce them to your brand, offerings, or onboarding flow.
Welcome Push notifications are triggered only once, right after the user gives permission, making them an ideal opportunity to deliver high-value, personalized content while interest is at its highest.
Welcome Push notifications require an active opt-in flow, ensure that Web Push is properly set up in your channel settings and that the opt-in collection is active before creating a campaign.
This article answers the following questions:
Create a Welcome Web Push notification
To create a Welcome Web Push notification,
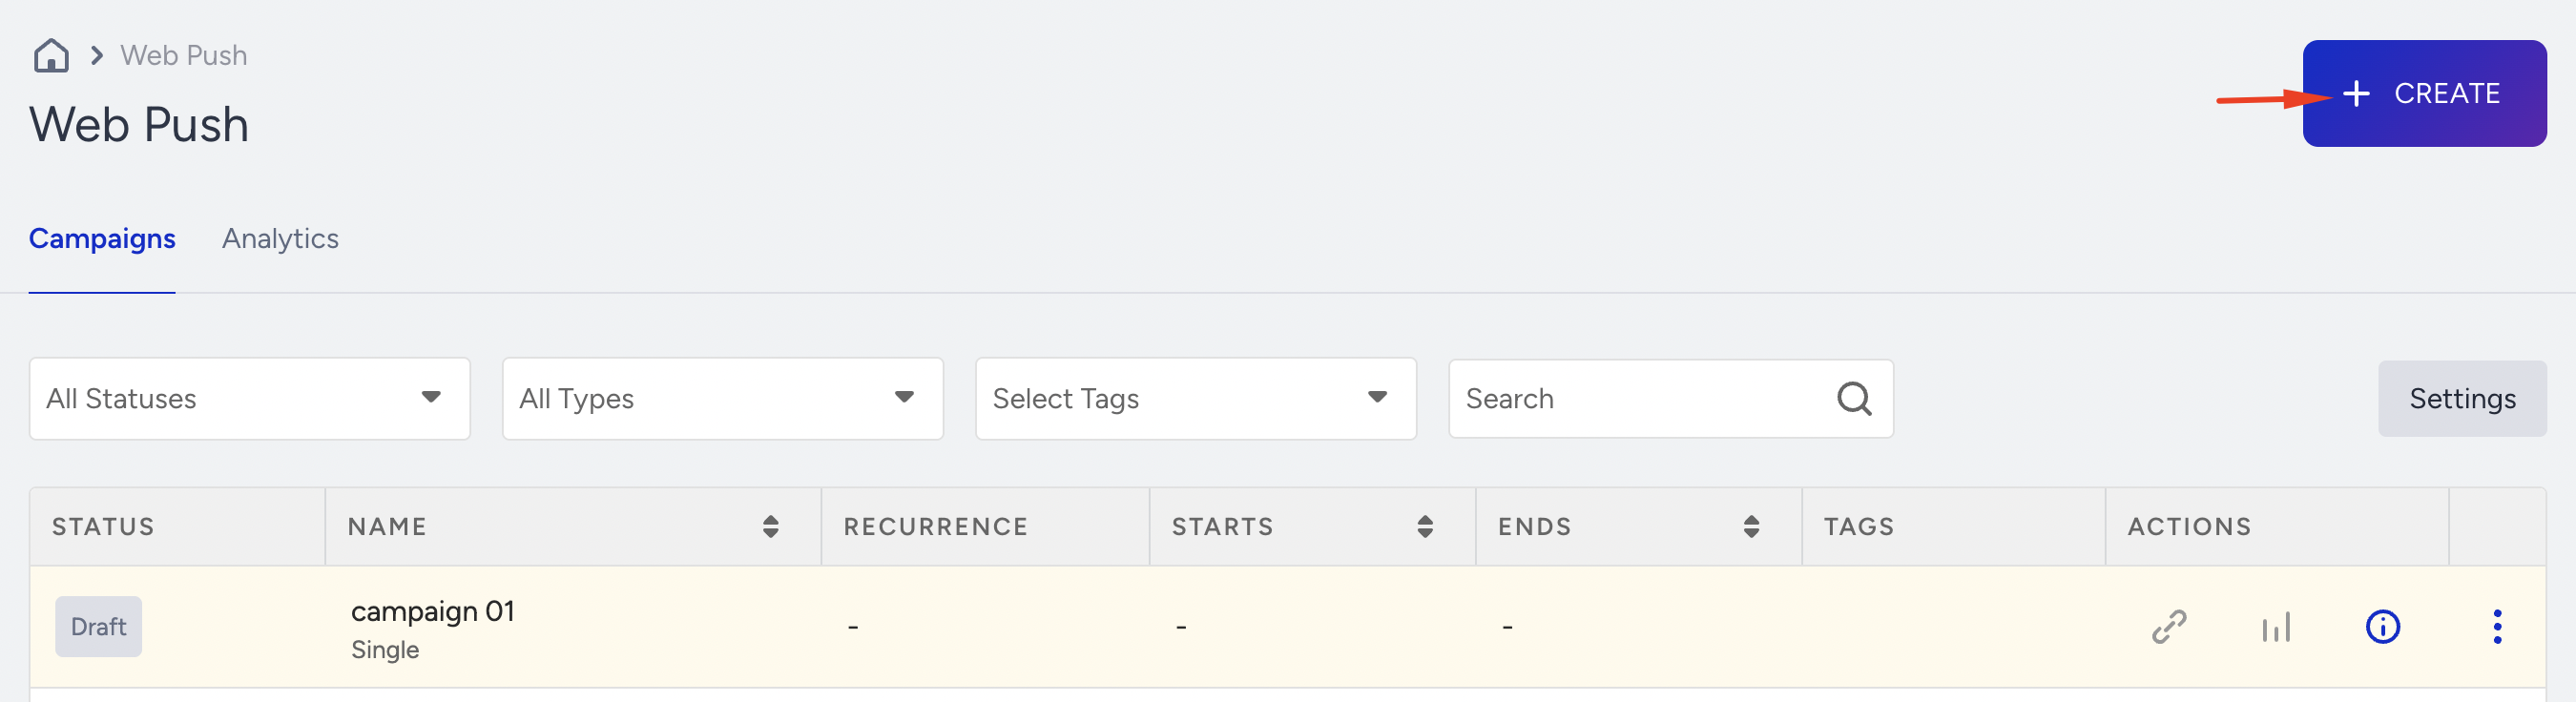
Navigate to Campaigns > Messaging > Web Push.
Click the Create button to start.
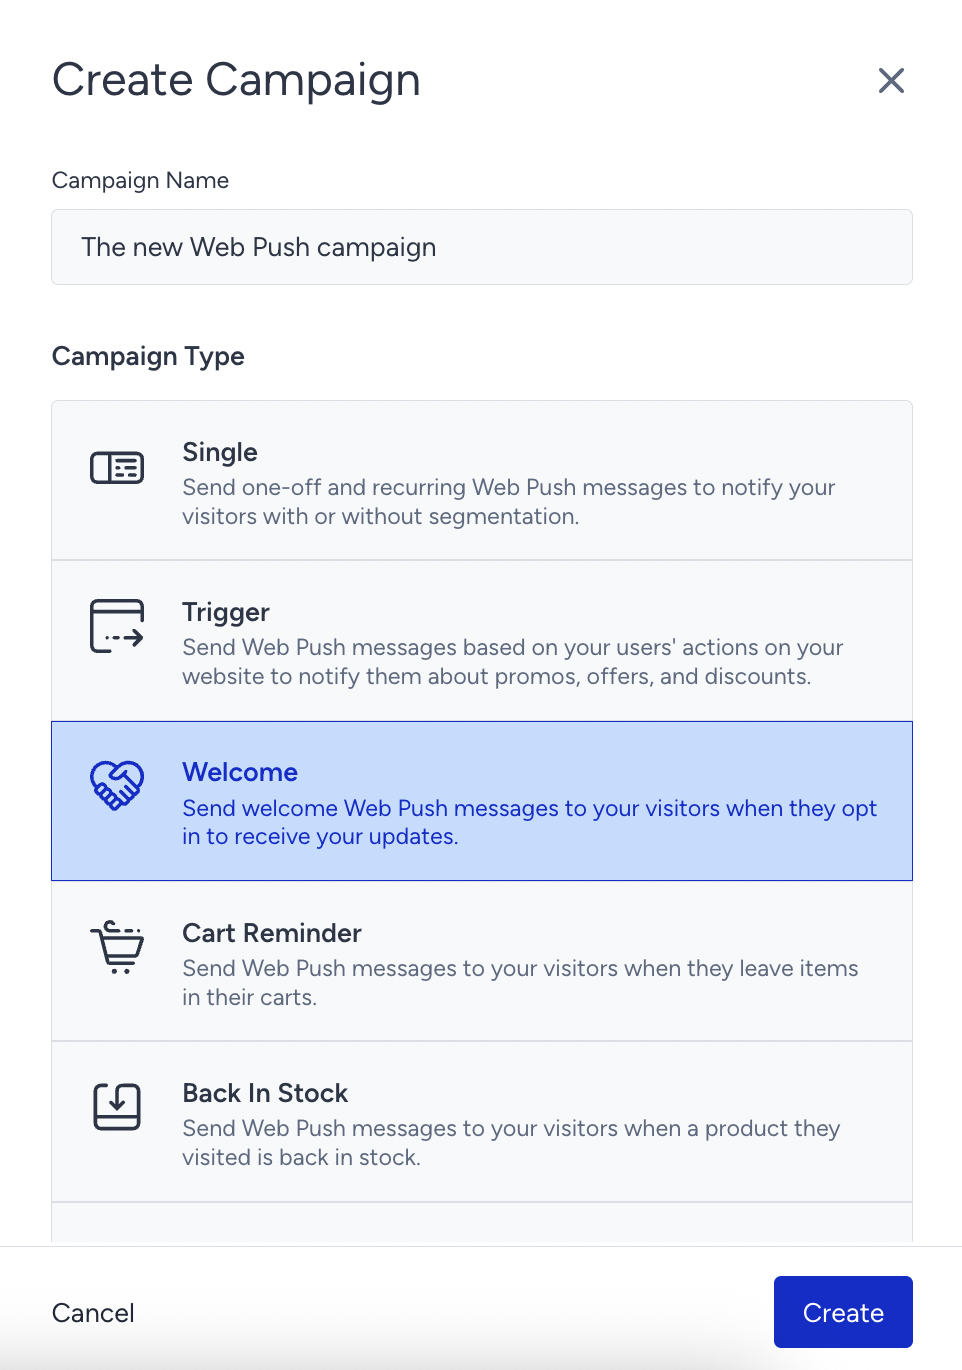
Name your campaign, choose your campaign type, and click the Create button to proceed.
Set rules to trigger a Welcome Web Push
On the Rules step, you can configure the timing for triggering a Welcome Push campaign when someone first opts in.
Two options are available:
If you select the Immediately option, the Web Push notification will be sent as soon as the user opts in.
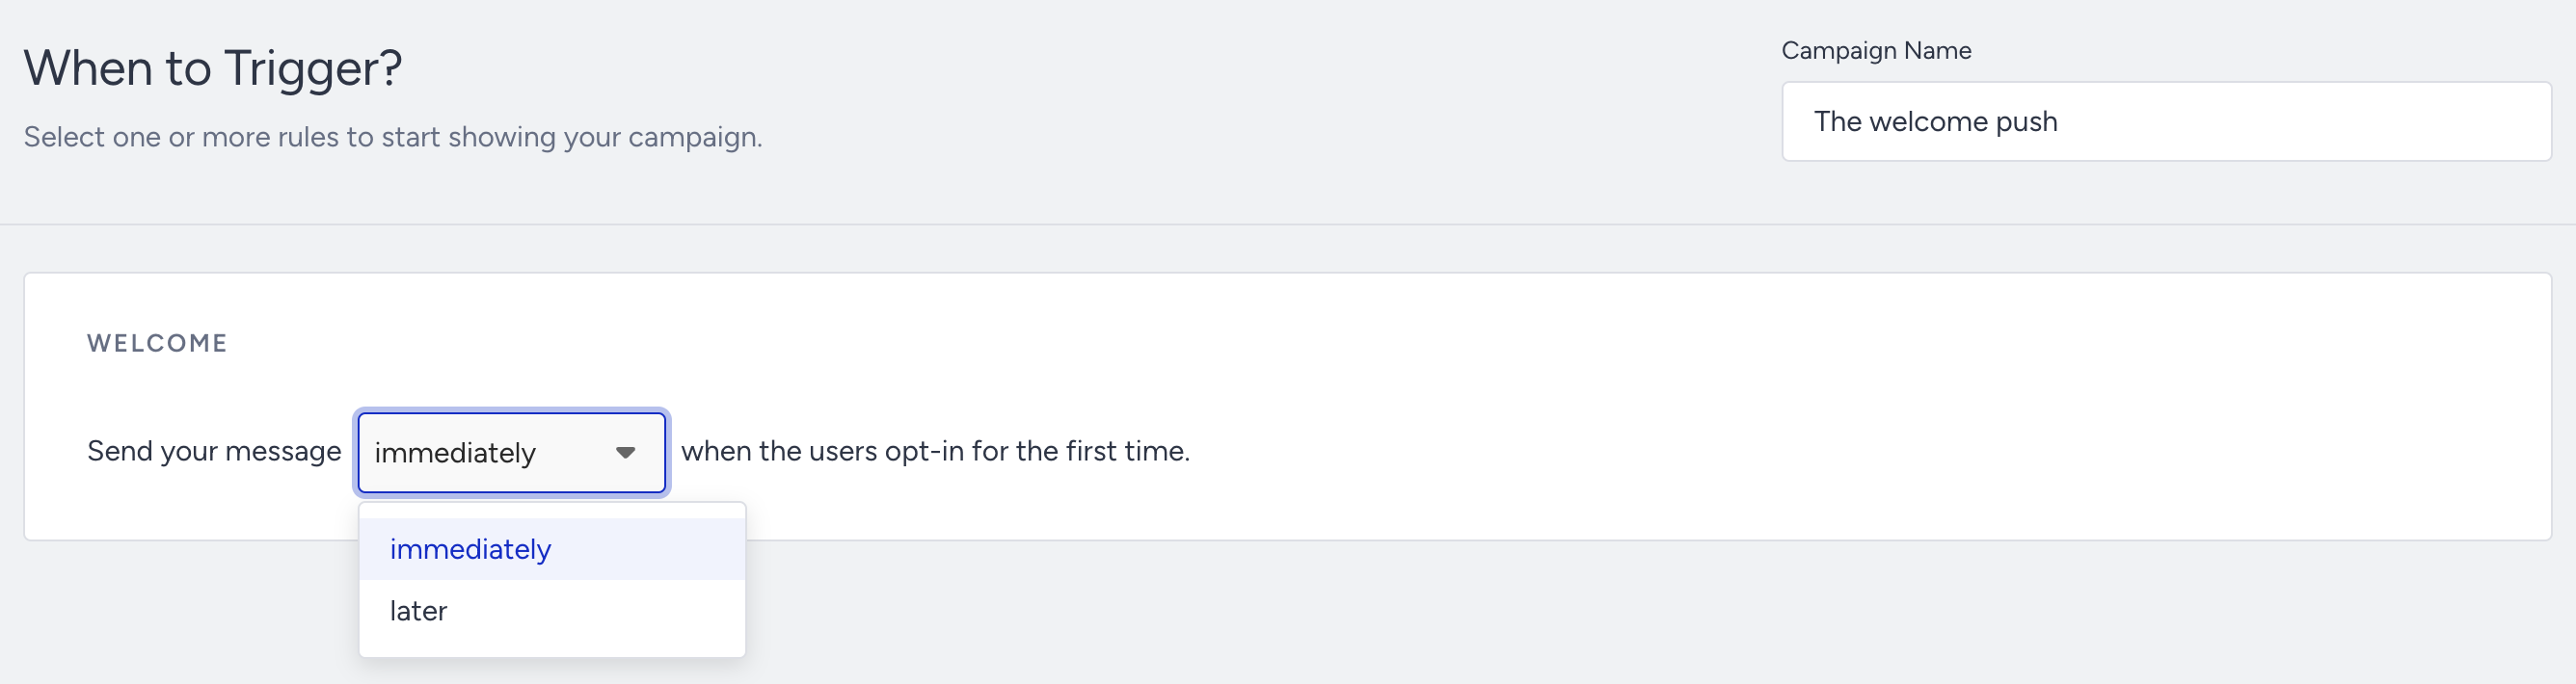
If you select the Later option, you can specify a delay in minutes or hours before the Web Push notification is delivered.
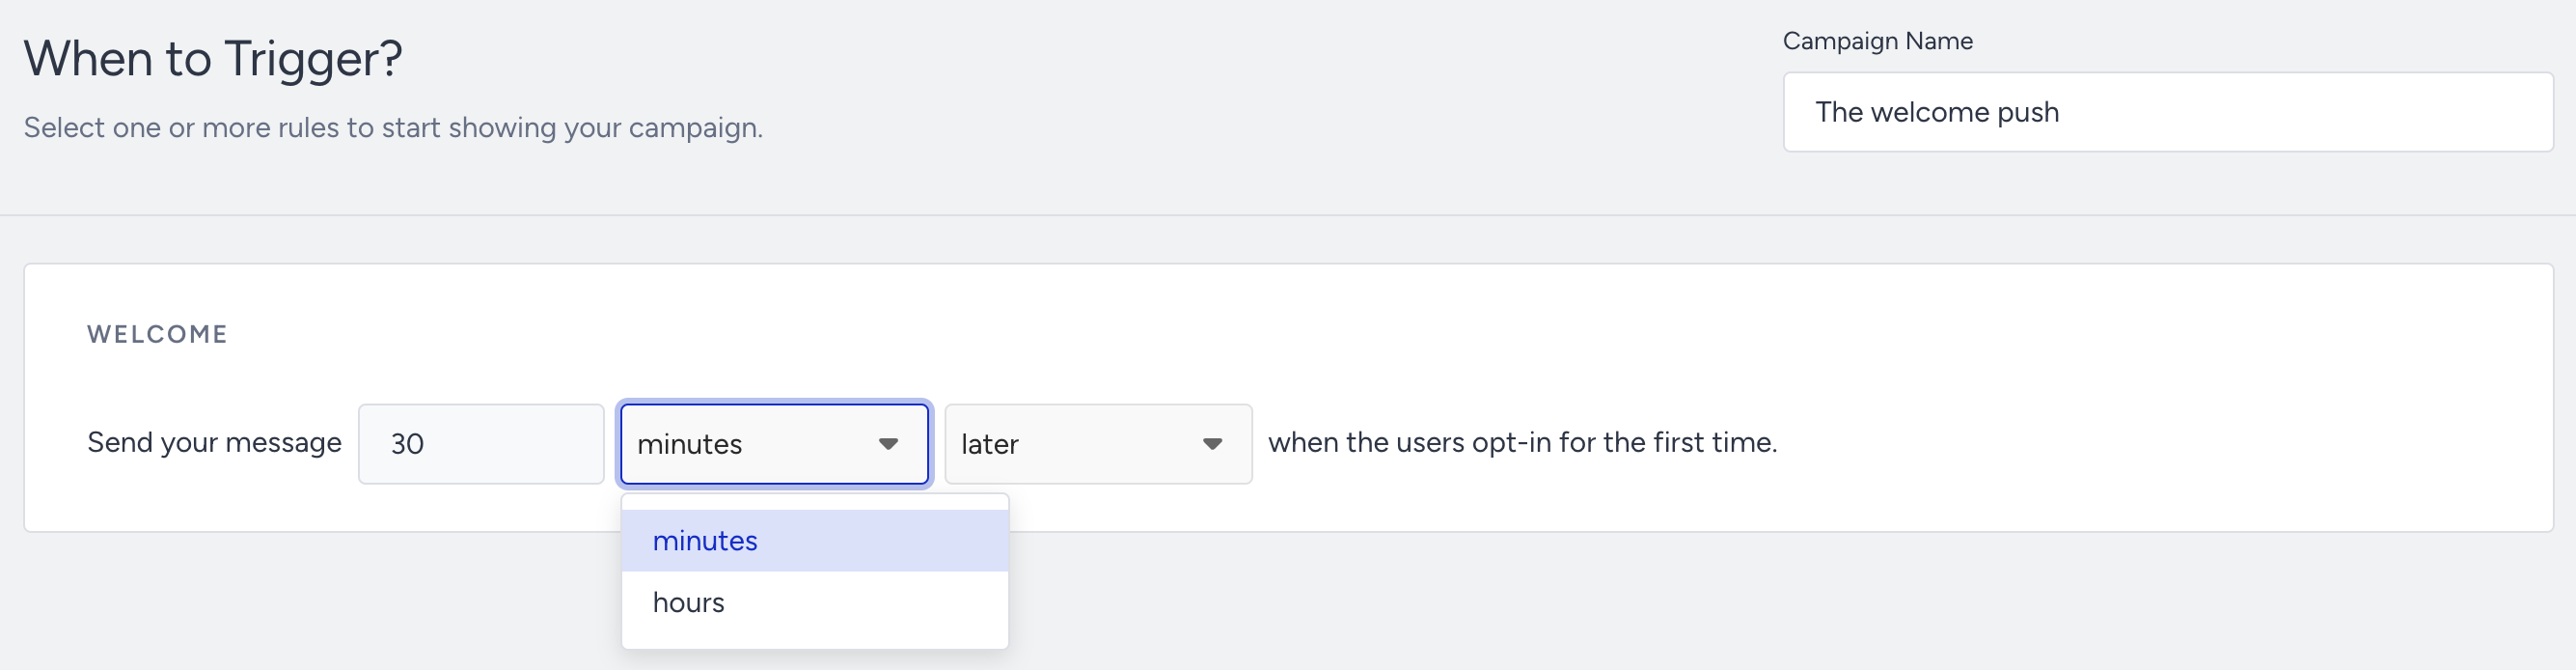
You can specify a delay of up to 24 hours before the Web Push notification is delivered.
Design a Web Push notification
In the Design step, customize the text and visual content of your campaign.
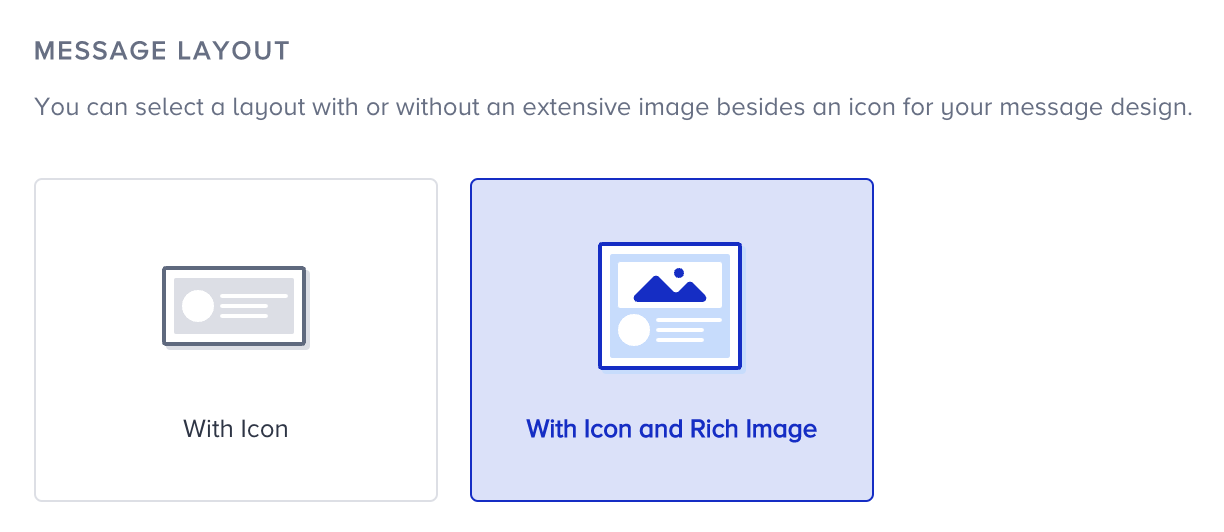
1. Select a layout to start designing your notification. It can be with an icon or an icon and a rich image.
2. Provide an icon for your push notification. Choose the type of rich image if you have chosen the layout with a rich image. You have three different options for the icon;
Default Icon: An icon configured on the Settings page of your panel.
Custom icon: Upload an icon from your computer.
3. You can add text and emoji characters to tailor your Web Push notifications.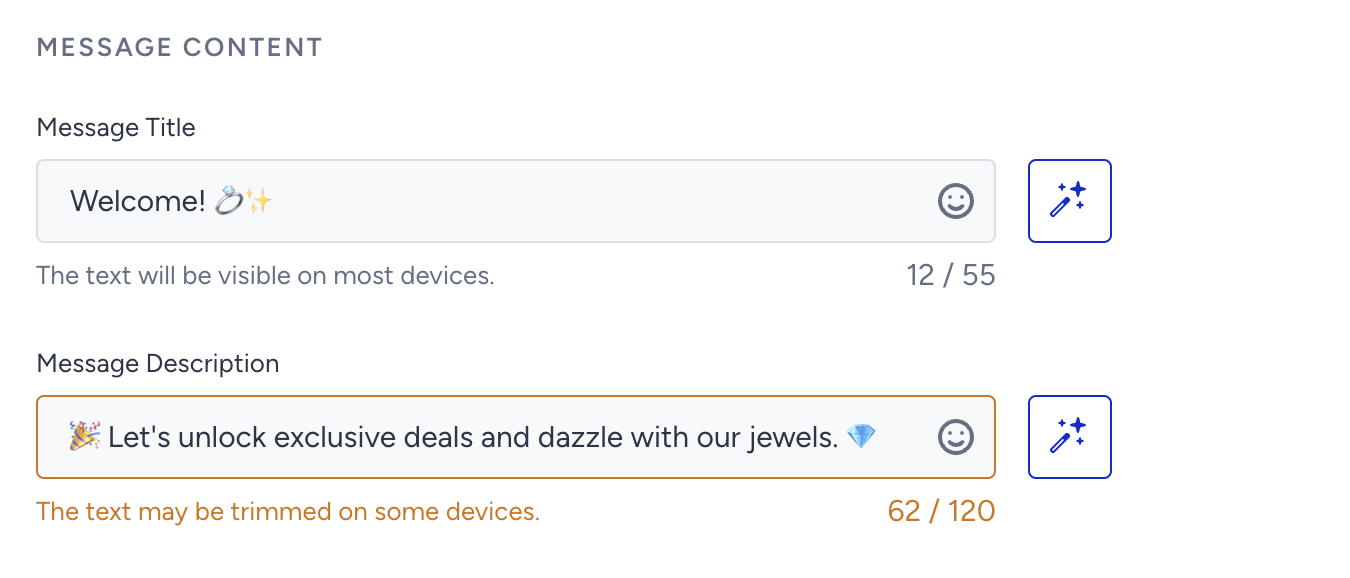
You can also get assistance from the text generator to create your title and description.
We highly recommend keeping your content brief, as the title and description may be trimmed on some devices due to browser, operating system, screen resolution, input language, and other factors.
4. Define the message link the user will be redirected to when clicking the notification. Since the custom link is the static URL, you enter it manually.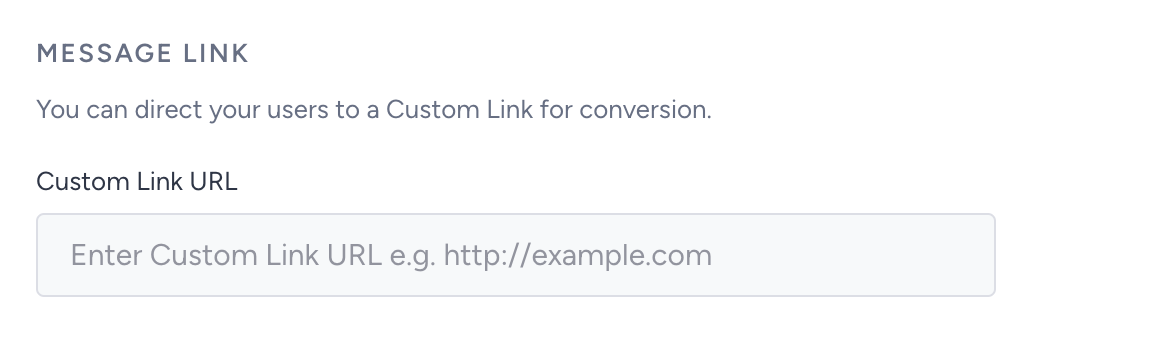
5. To increase user interaction, you can add up to two optional Message Action buttons to push notifications. These buttons are a great way to conduct mini-surveys and polls. Using this option, you can direct your user to different links by clicking on the notification body, action button 1, or action button 2. When a user clicks any of them, the Web Push will disappear.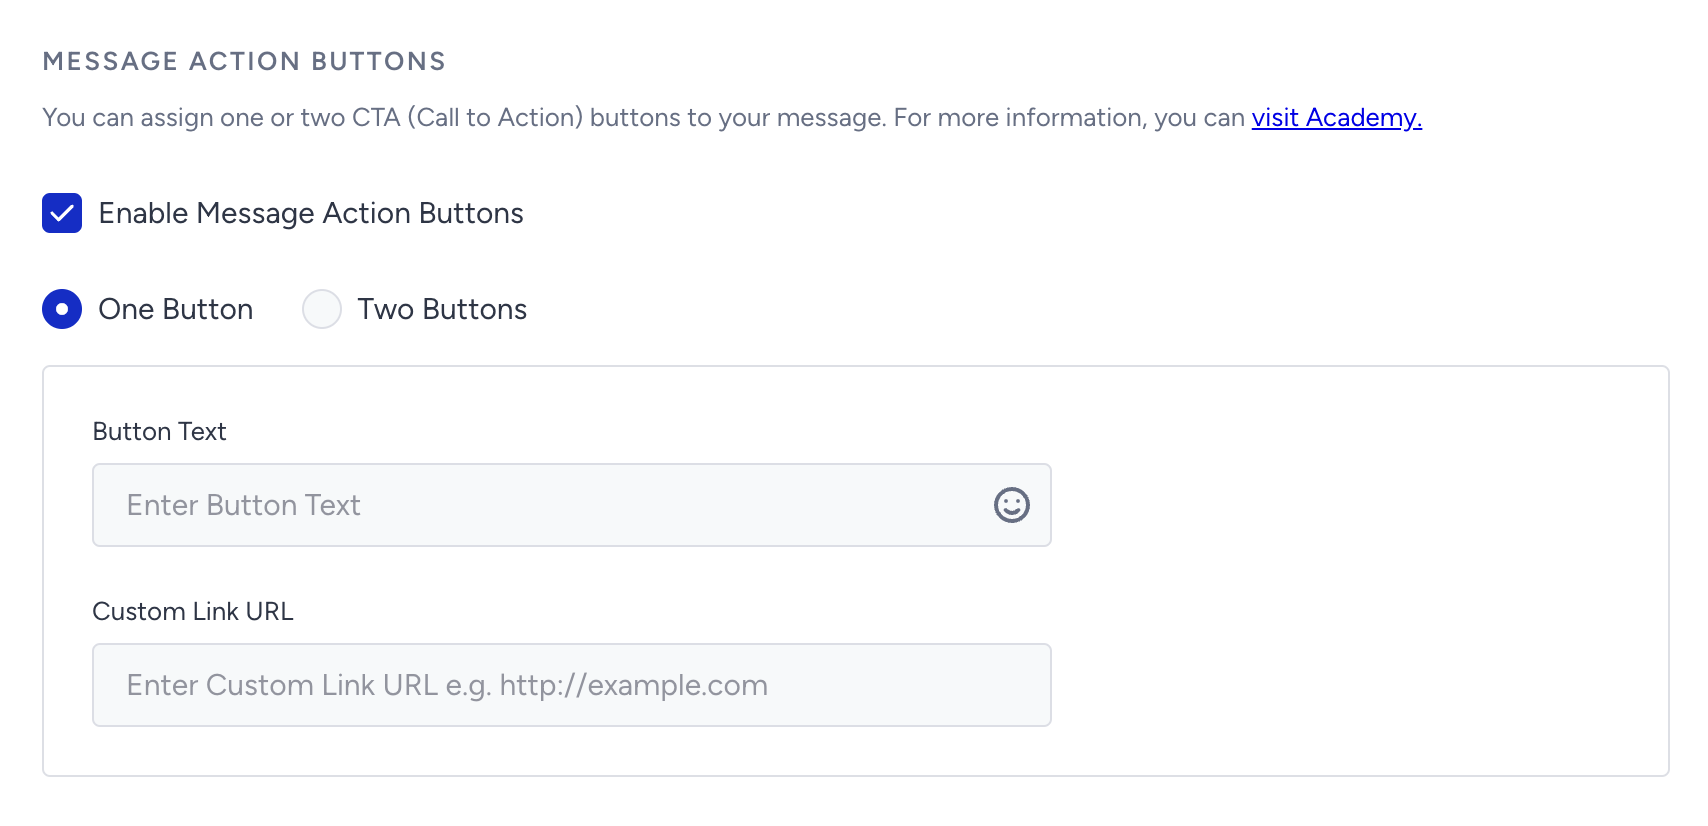
Dynamic content and dynamic links are not available for Welcome Push campaigns.
6. UTM Parameters are simply tags that you add to a URL. When your notification is clicked, the tags are sent back to Google Analytics if you have the Google Analytics tracking code for your website. Enter the necessary information if you have Google Analytics set up to track the performance of your campaign.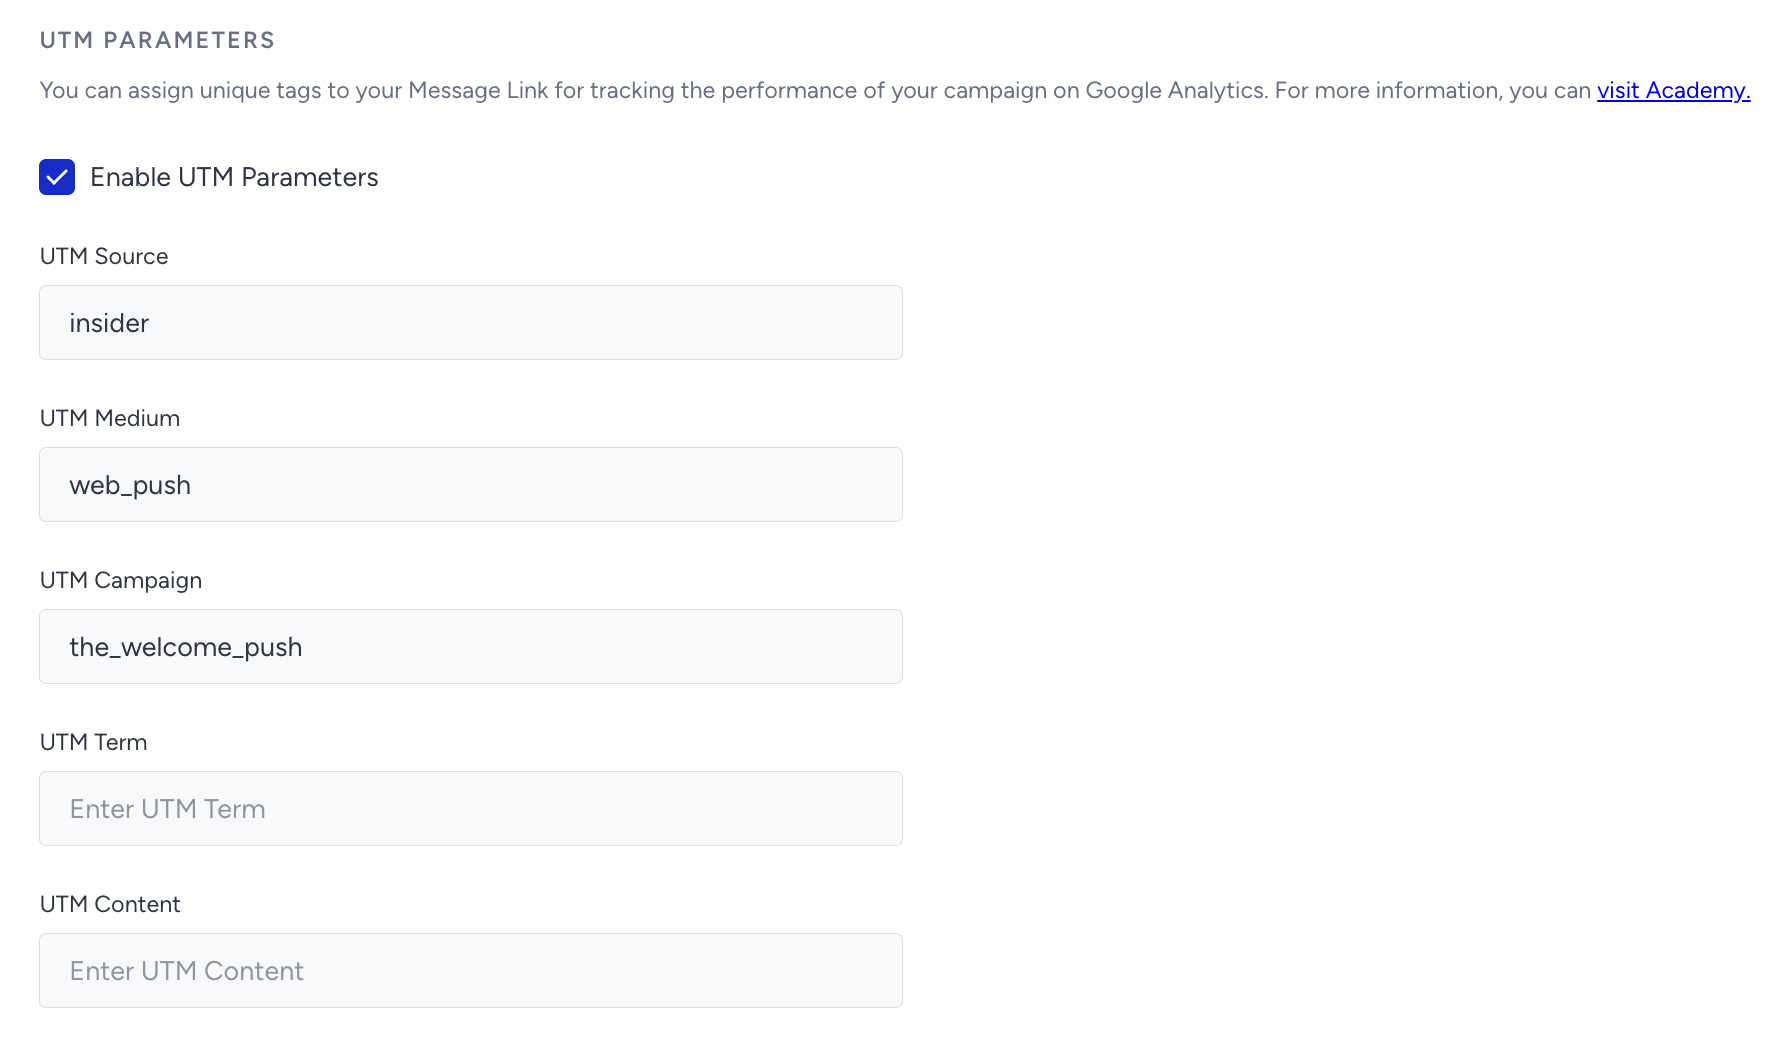
Preview a Welcome Push notification
At any point during the design of the Welcome Web Push notification, you can view a live preview of what your subscribers will receive. You can see the text, image, icon, link, and button elements in the Preview area placed on the right of the screen. 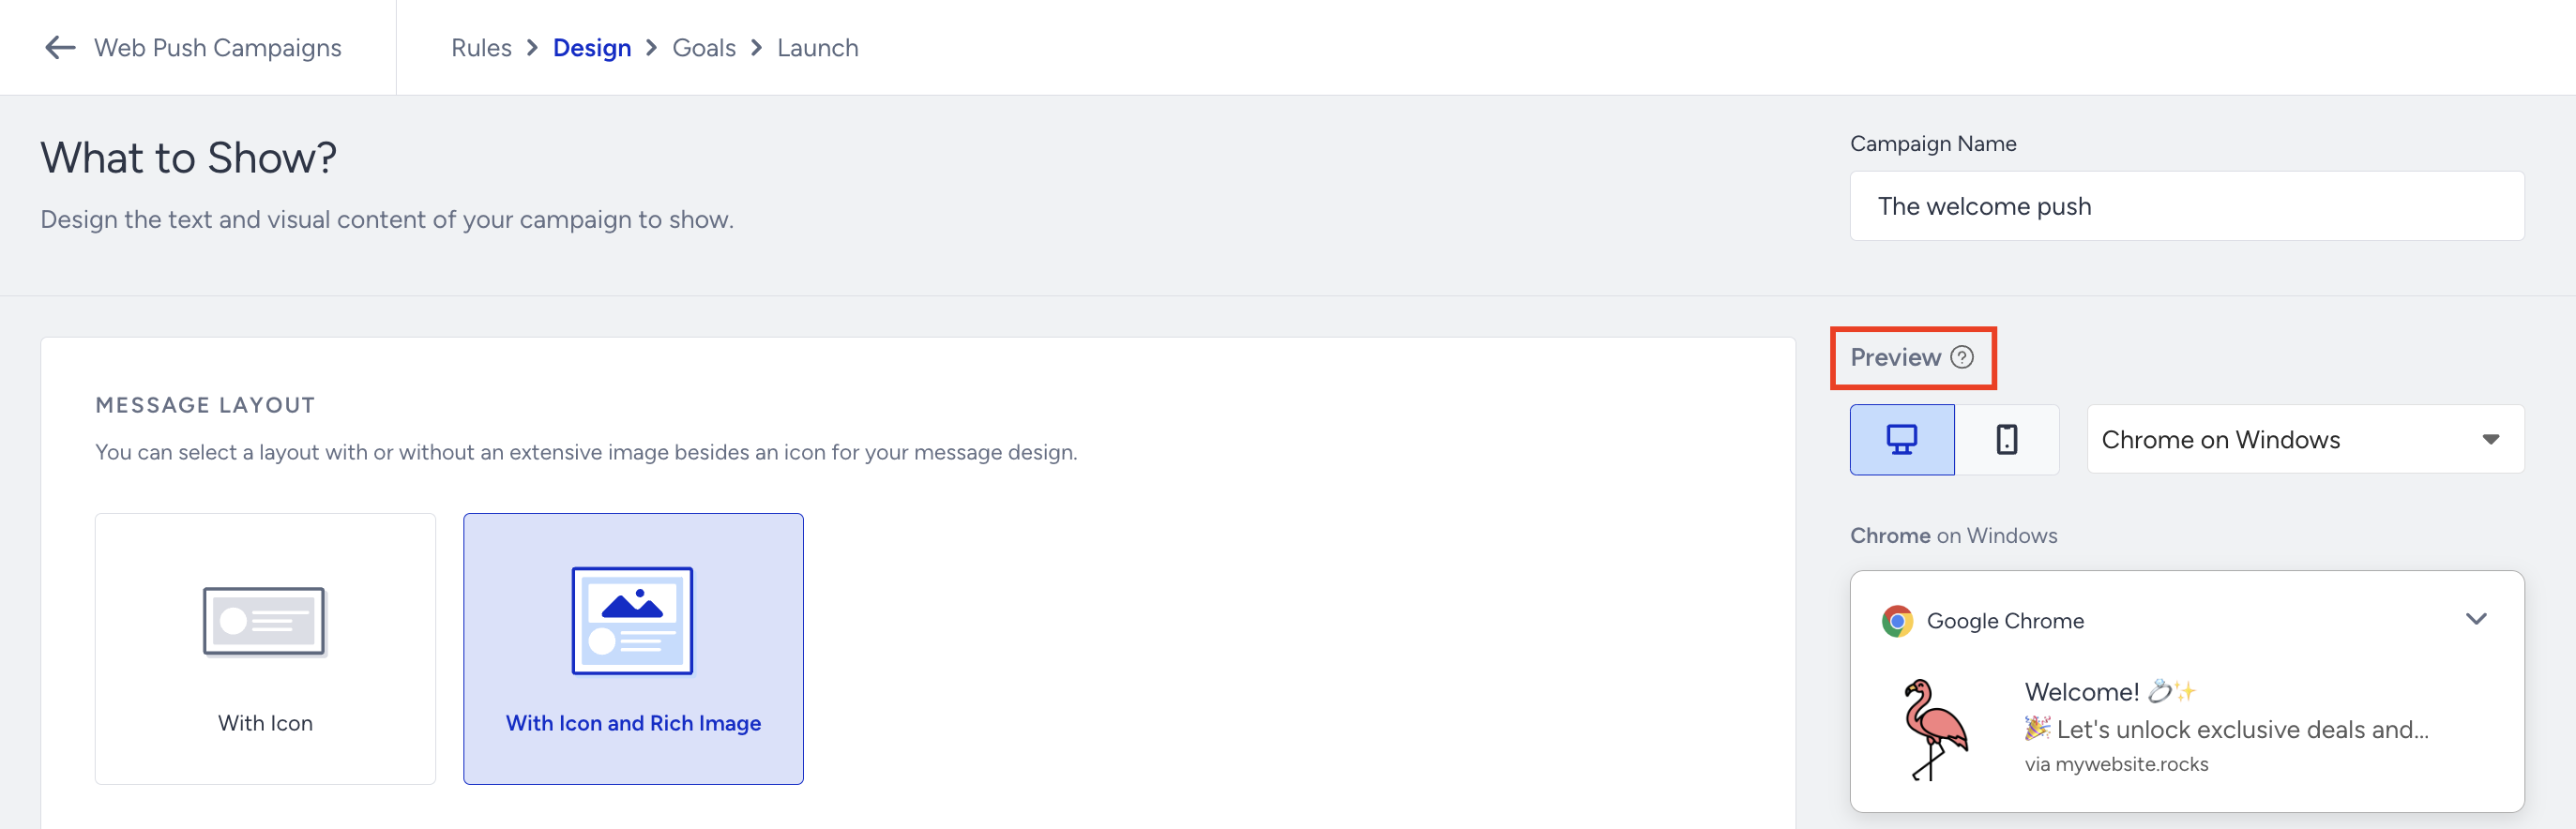
You can click the collapse/expand button in the preview Web Push notification to view the collapsed and expanded views.
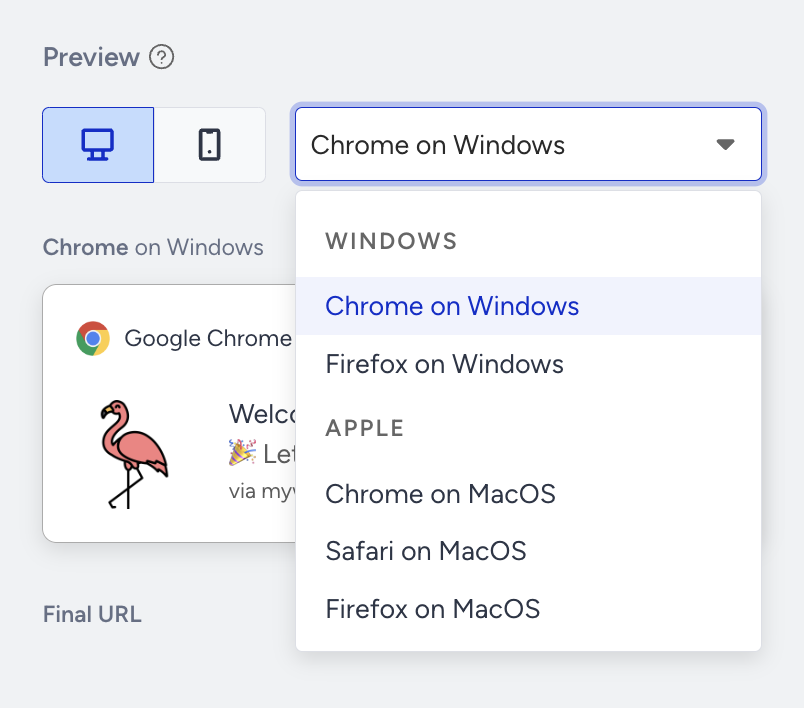
You can view how your Web Push will look in different operating systems and browsers. First, select the device, then select the operating system and browser from the dropdown menu to see what your Web Push notification will look like.
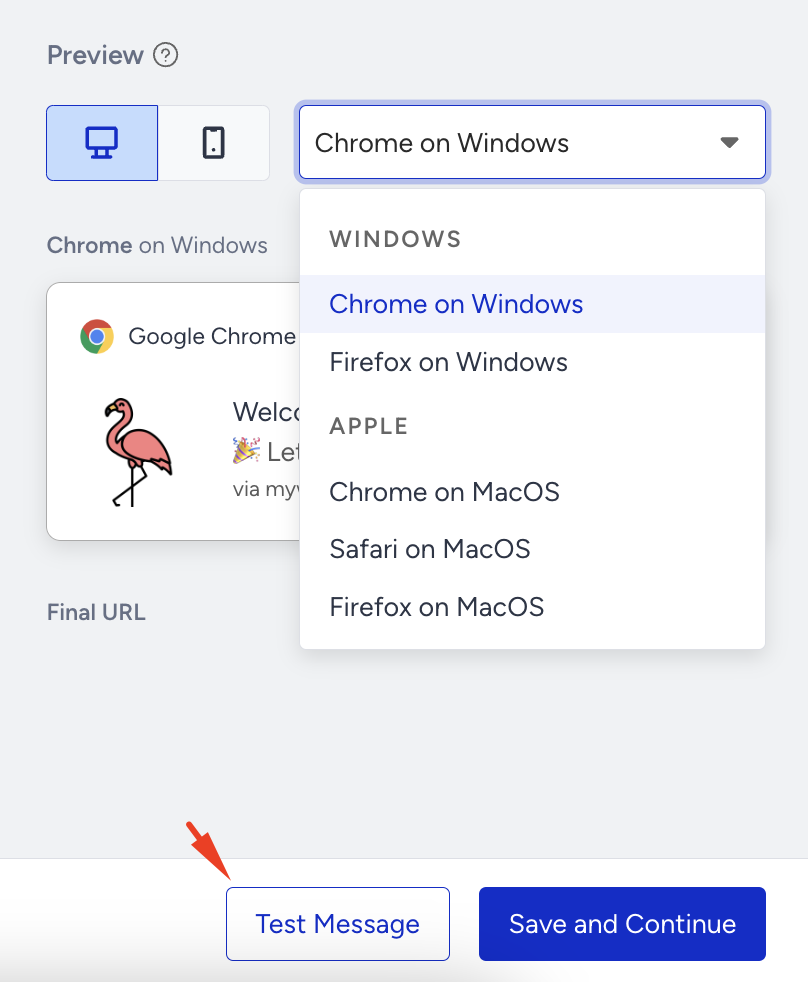
To test your Welcome Web Push notification on your device, click the Test Message button. You will receive a preview of the Web Push notification.
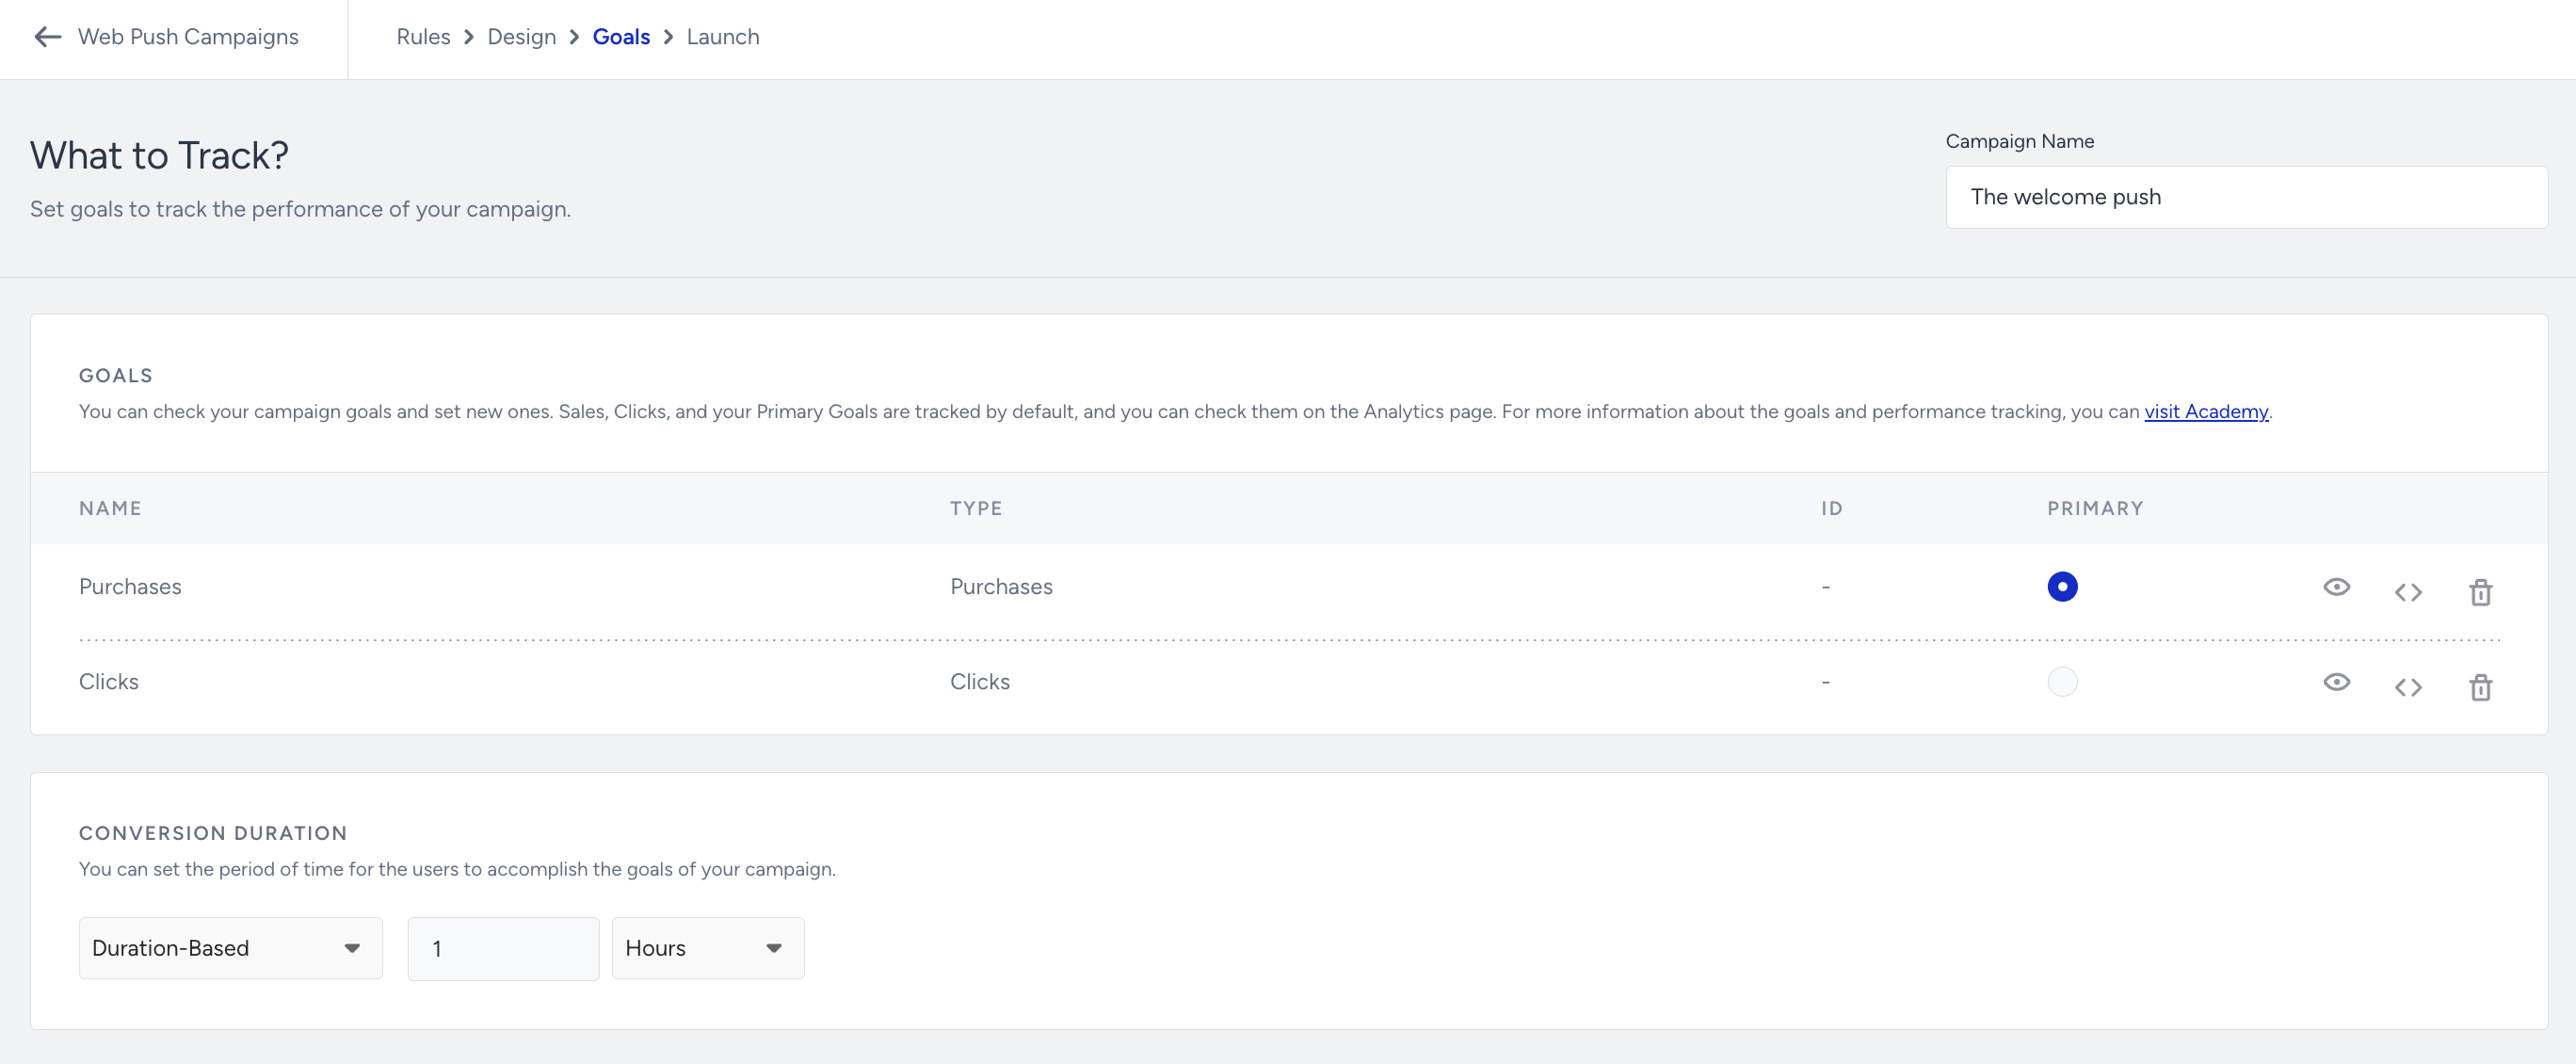
Set goals for a Welcome Web Push notification
You can set goals to track your campaign's performance. The default goal is Purchases; you can change it to Clicks.
Under Conversion Duration, you can set the period of time for users to accomplish the goals of your campaign:
Session-based: Sessions default to 30 minutes. The session will update with each user activity on the website and close after 30 minutes of inactivity.
Duration-based: This setting enables you to set conversion durations to hourly or daily intervals. The maximum limit is 90 days.
Launch a Welcome Push notification
In the Launch step of your campaign,
1. Under Language, set the target audience language. The language set here should match the language of your website, allowing users to receive Web Push notifications.
2. Once you're ready to launch your Web Push notification, select the campaign's status from Draft, Active, Test, or Pause.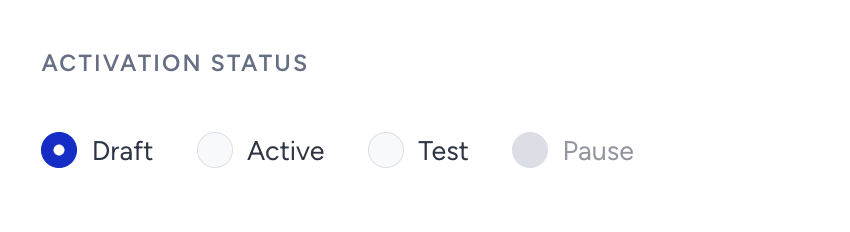
Draft: The campaign has not yet been sent or scheduled in draft status. You can make changes to it later.
Active: The campaign will be directly available for users once launched.
Test: The campaign will only be available for testing. The test link is on the Web Push listing page.
Pause: You can pause your campaigns temporarily.
3. You can set the campaign duration here. The campaign duration is set based on the time zone selected in the Settings (not on local time). 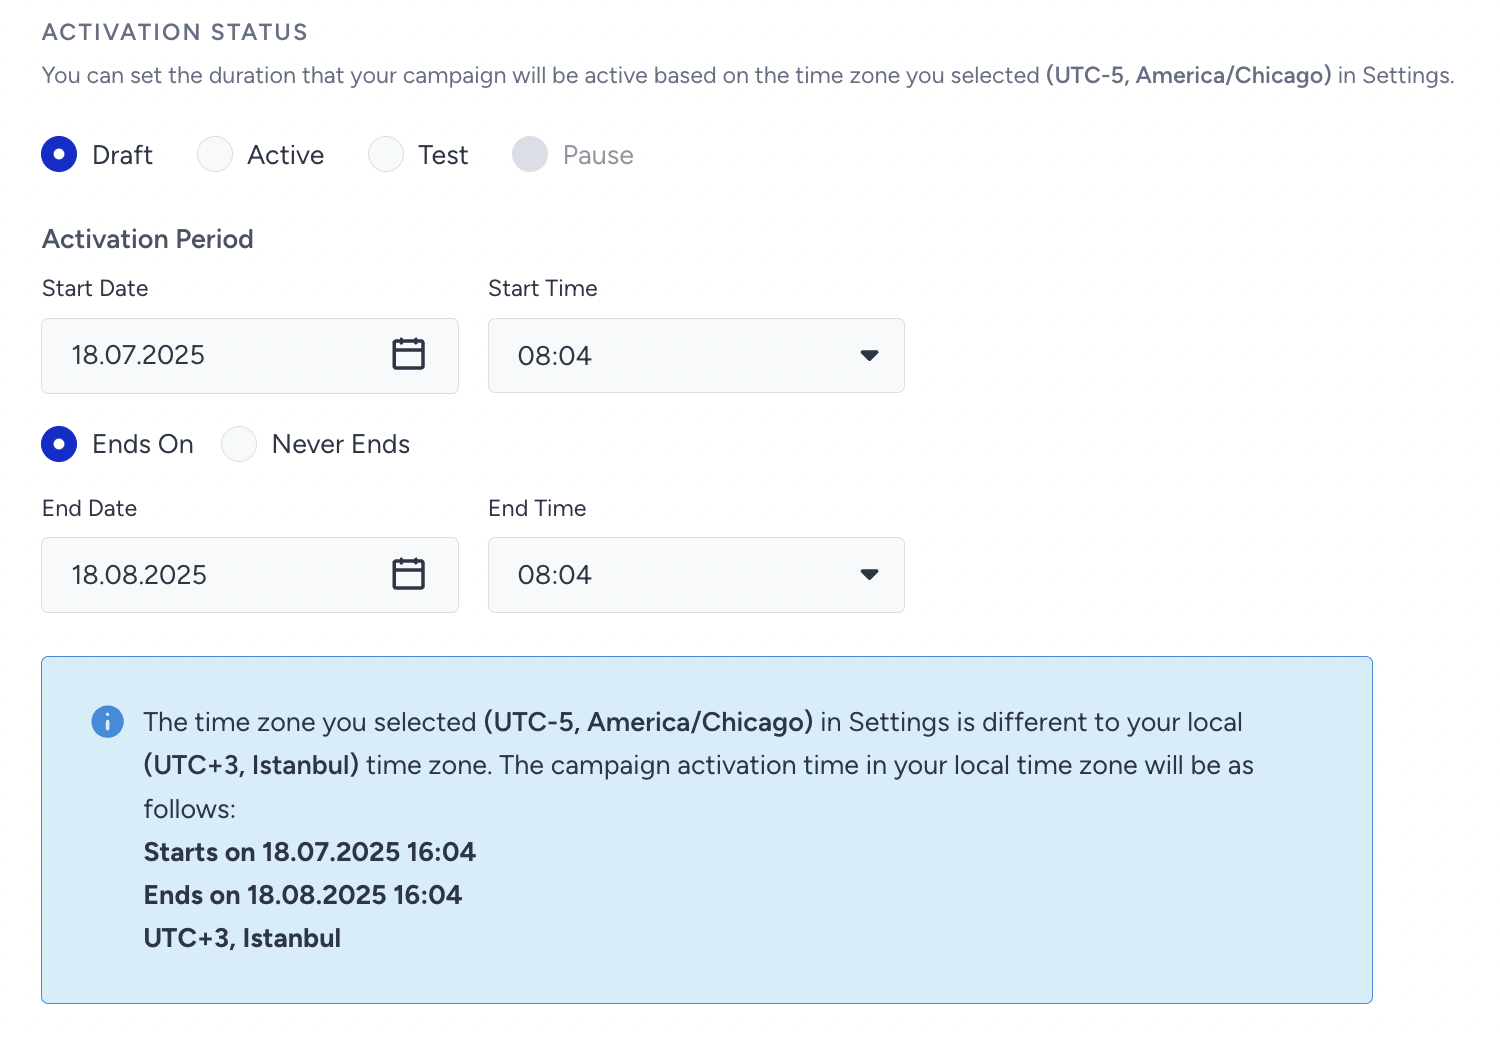
4. Time to Live refers to the expiry time of the Web Push. All web pushes will be sent out at the specified time. However, users who do not have their browsers open when the Web Push is sent will receive it the next time they open their browser, unless the time to live expires.
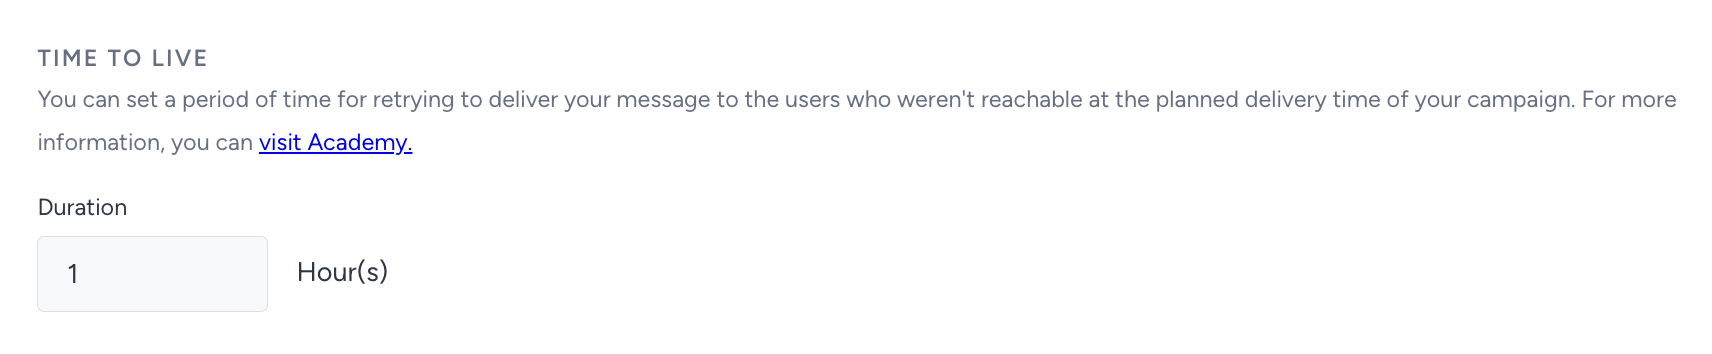
For example, imagine a Welcome Push scheduled to be sent at 10:00 am with a 2-hour Time to Live. If User A’s browser is not open at 10:00 am and they open it at 11:00 am, they will receive the web push at 11:00 am. If they only open the browser at 12:30 pm, they will no longer receive the Web Push, as it has already expired at noon. This is useful for time-sensitive offers you promote via Web Push.
5. Frequency Capping enables you to limit the number of Web Push notifications a user receives in a day. For Welcome Push campaigns, channel frequency capping is automatically bypassed.
6. Under Silent Hours, you can set a period when users will not receive notifications. The period is set based on the time zone selected in settings (not on local time). You can either send the notification after silent hours or not.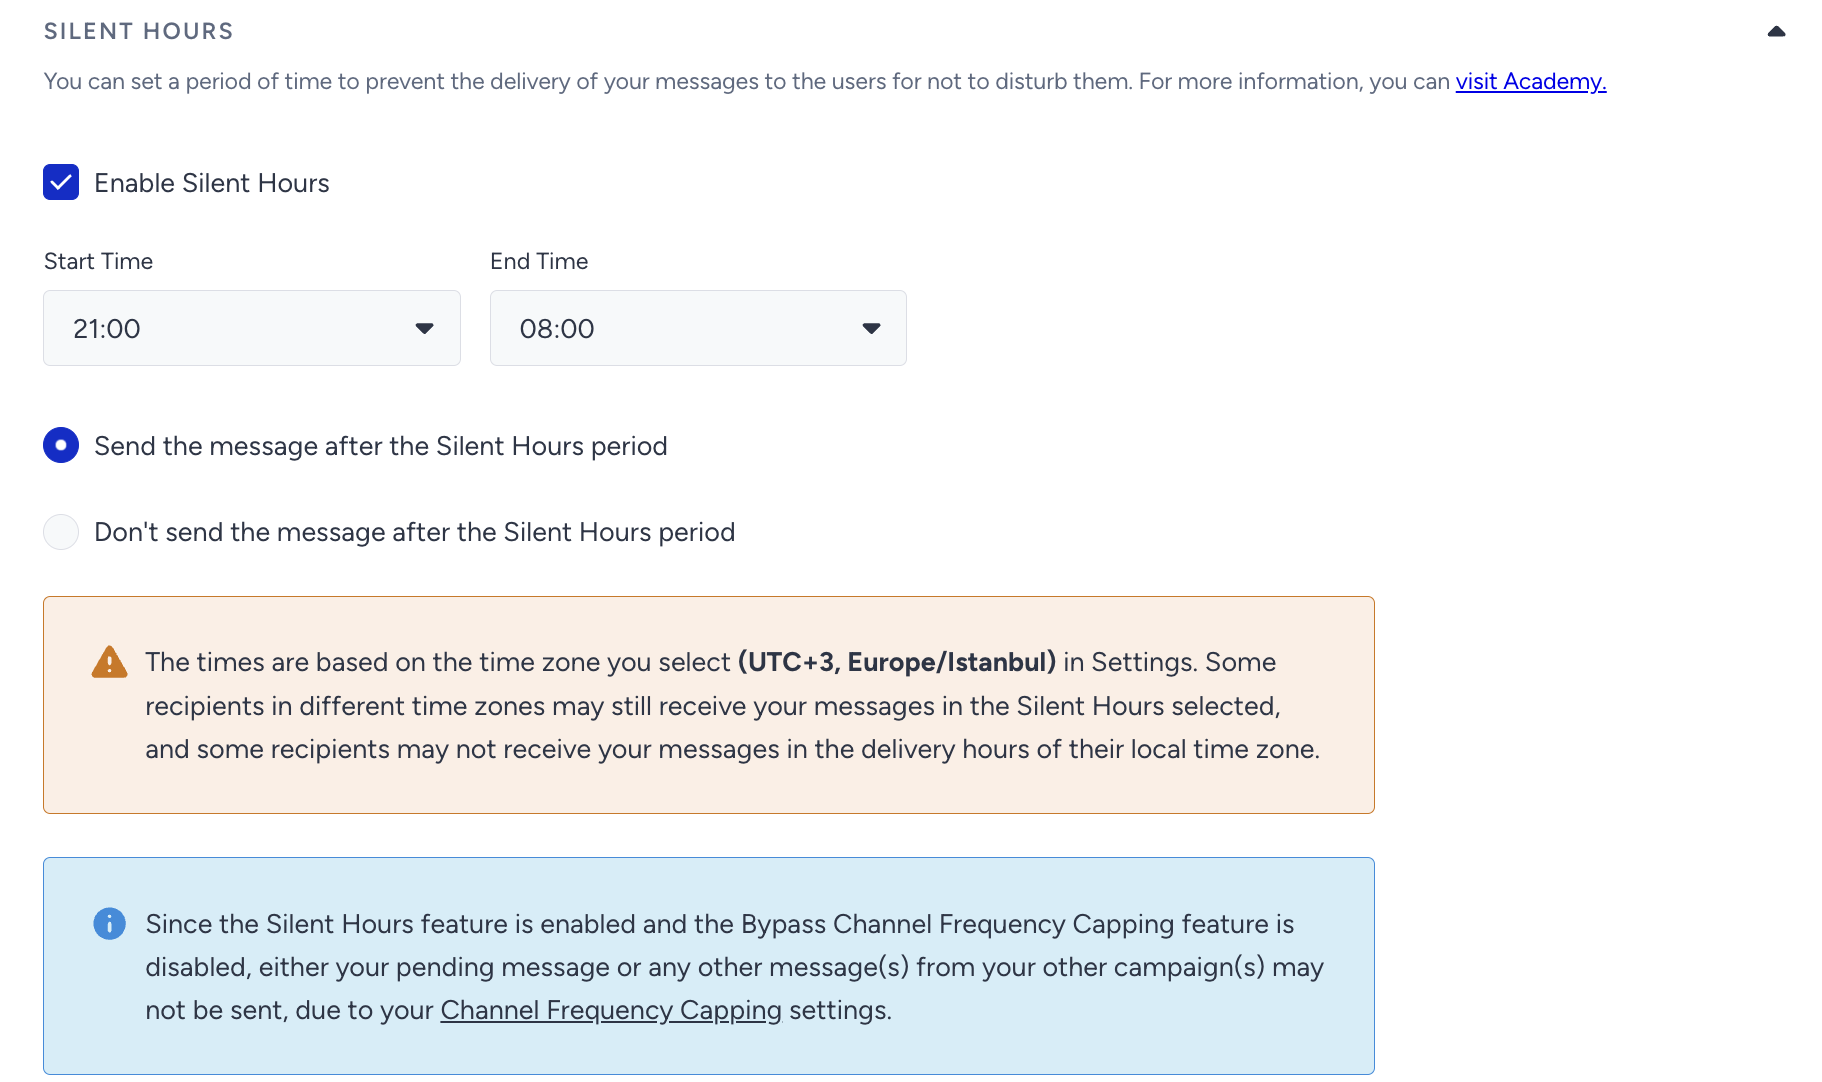
7. You can use tags to find or filter your campaign easily. You can add previously created tags to the campaign. You can add up to six tags per campaign.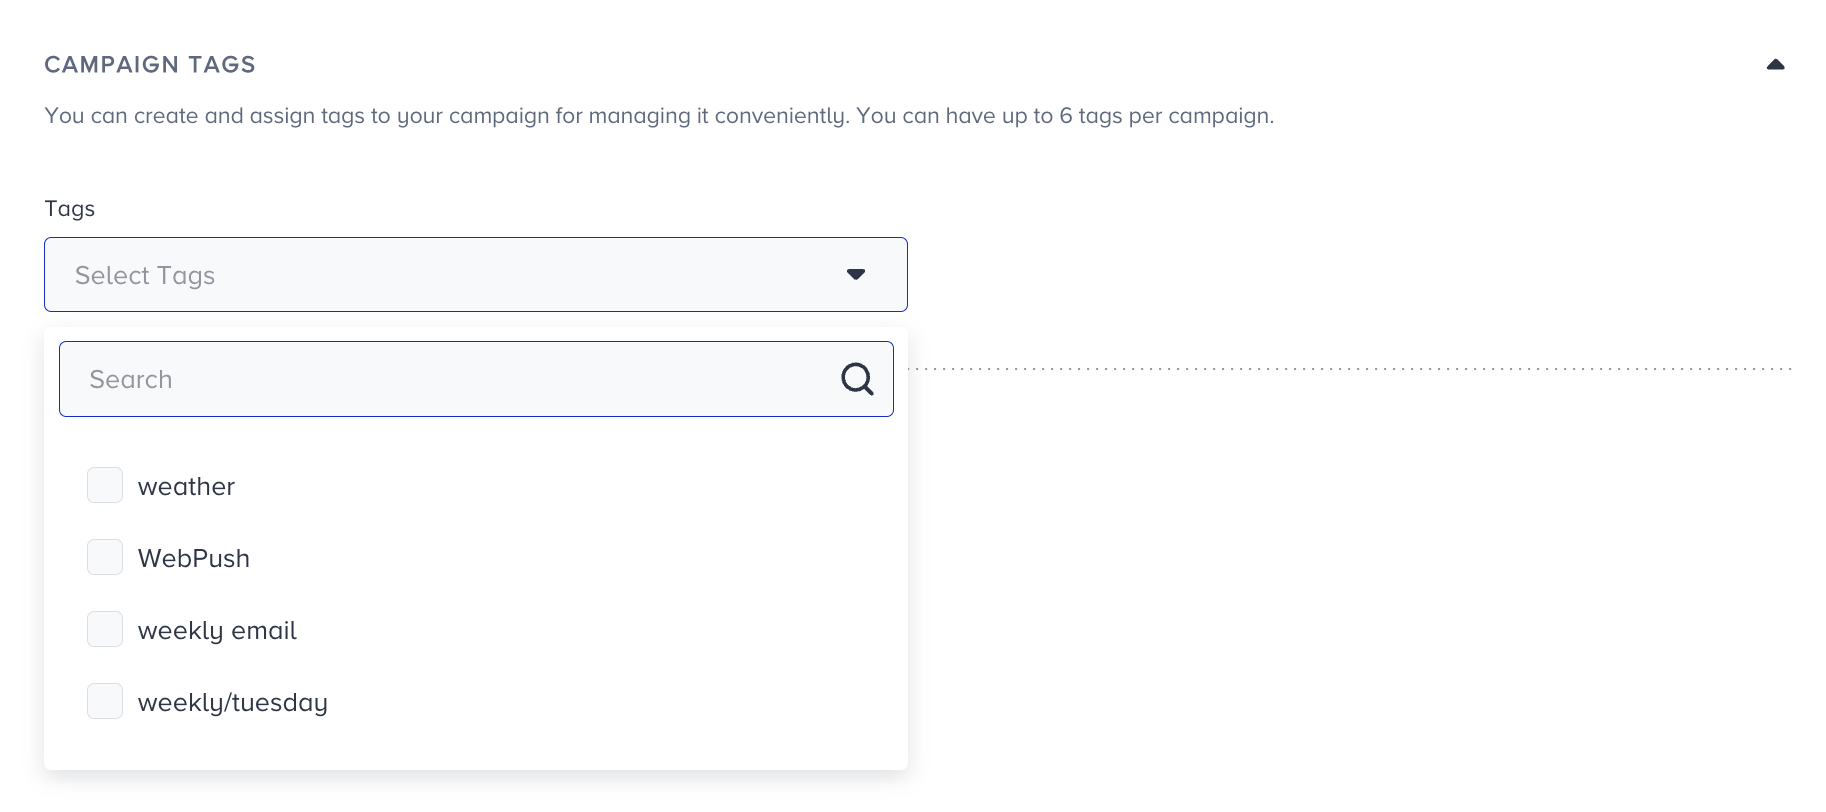
You can also create new tags and save them for later use.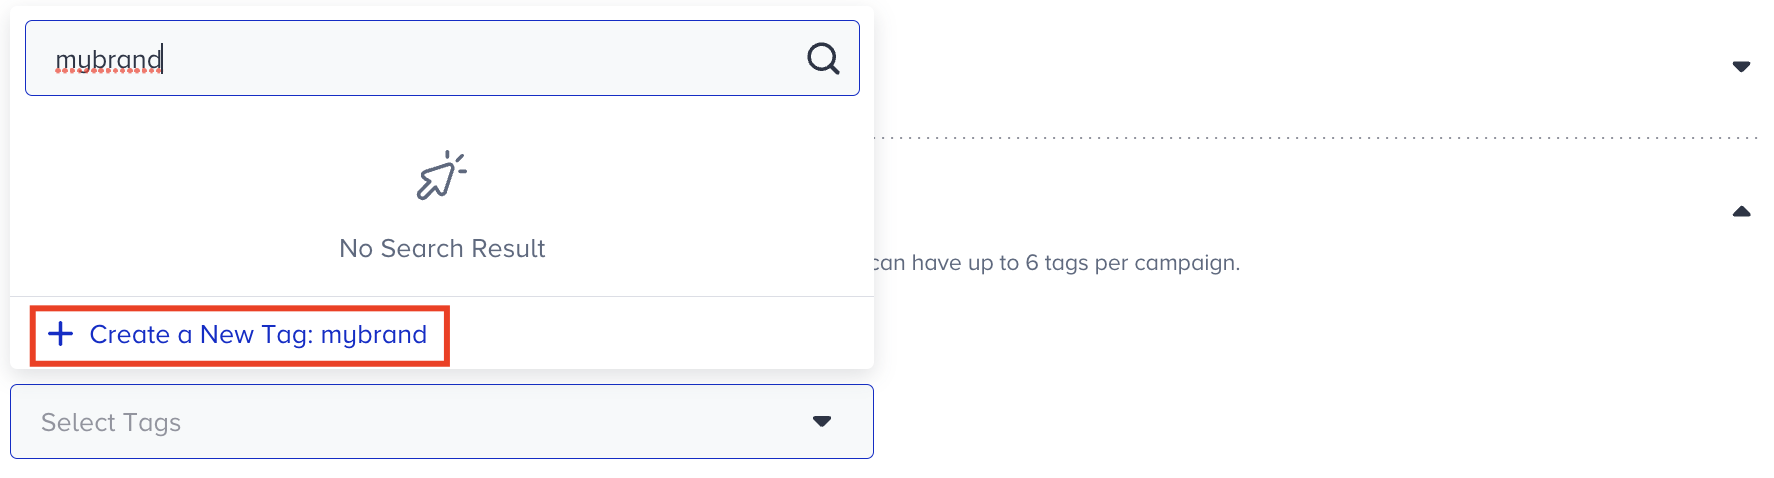
6. You can write notes in the designated area to remind yourself or your team members about the campaign.
7. You can see if your campaign is ready to go and the number of subscribers. When you are ready, click the Launch button.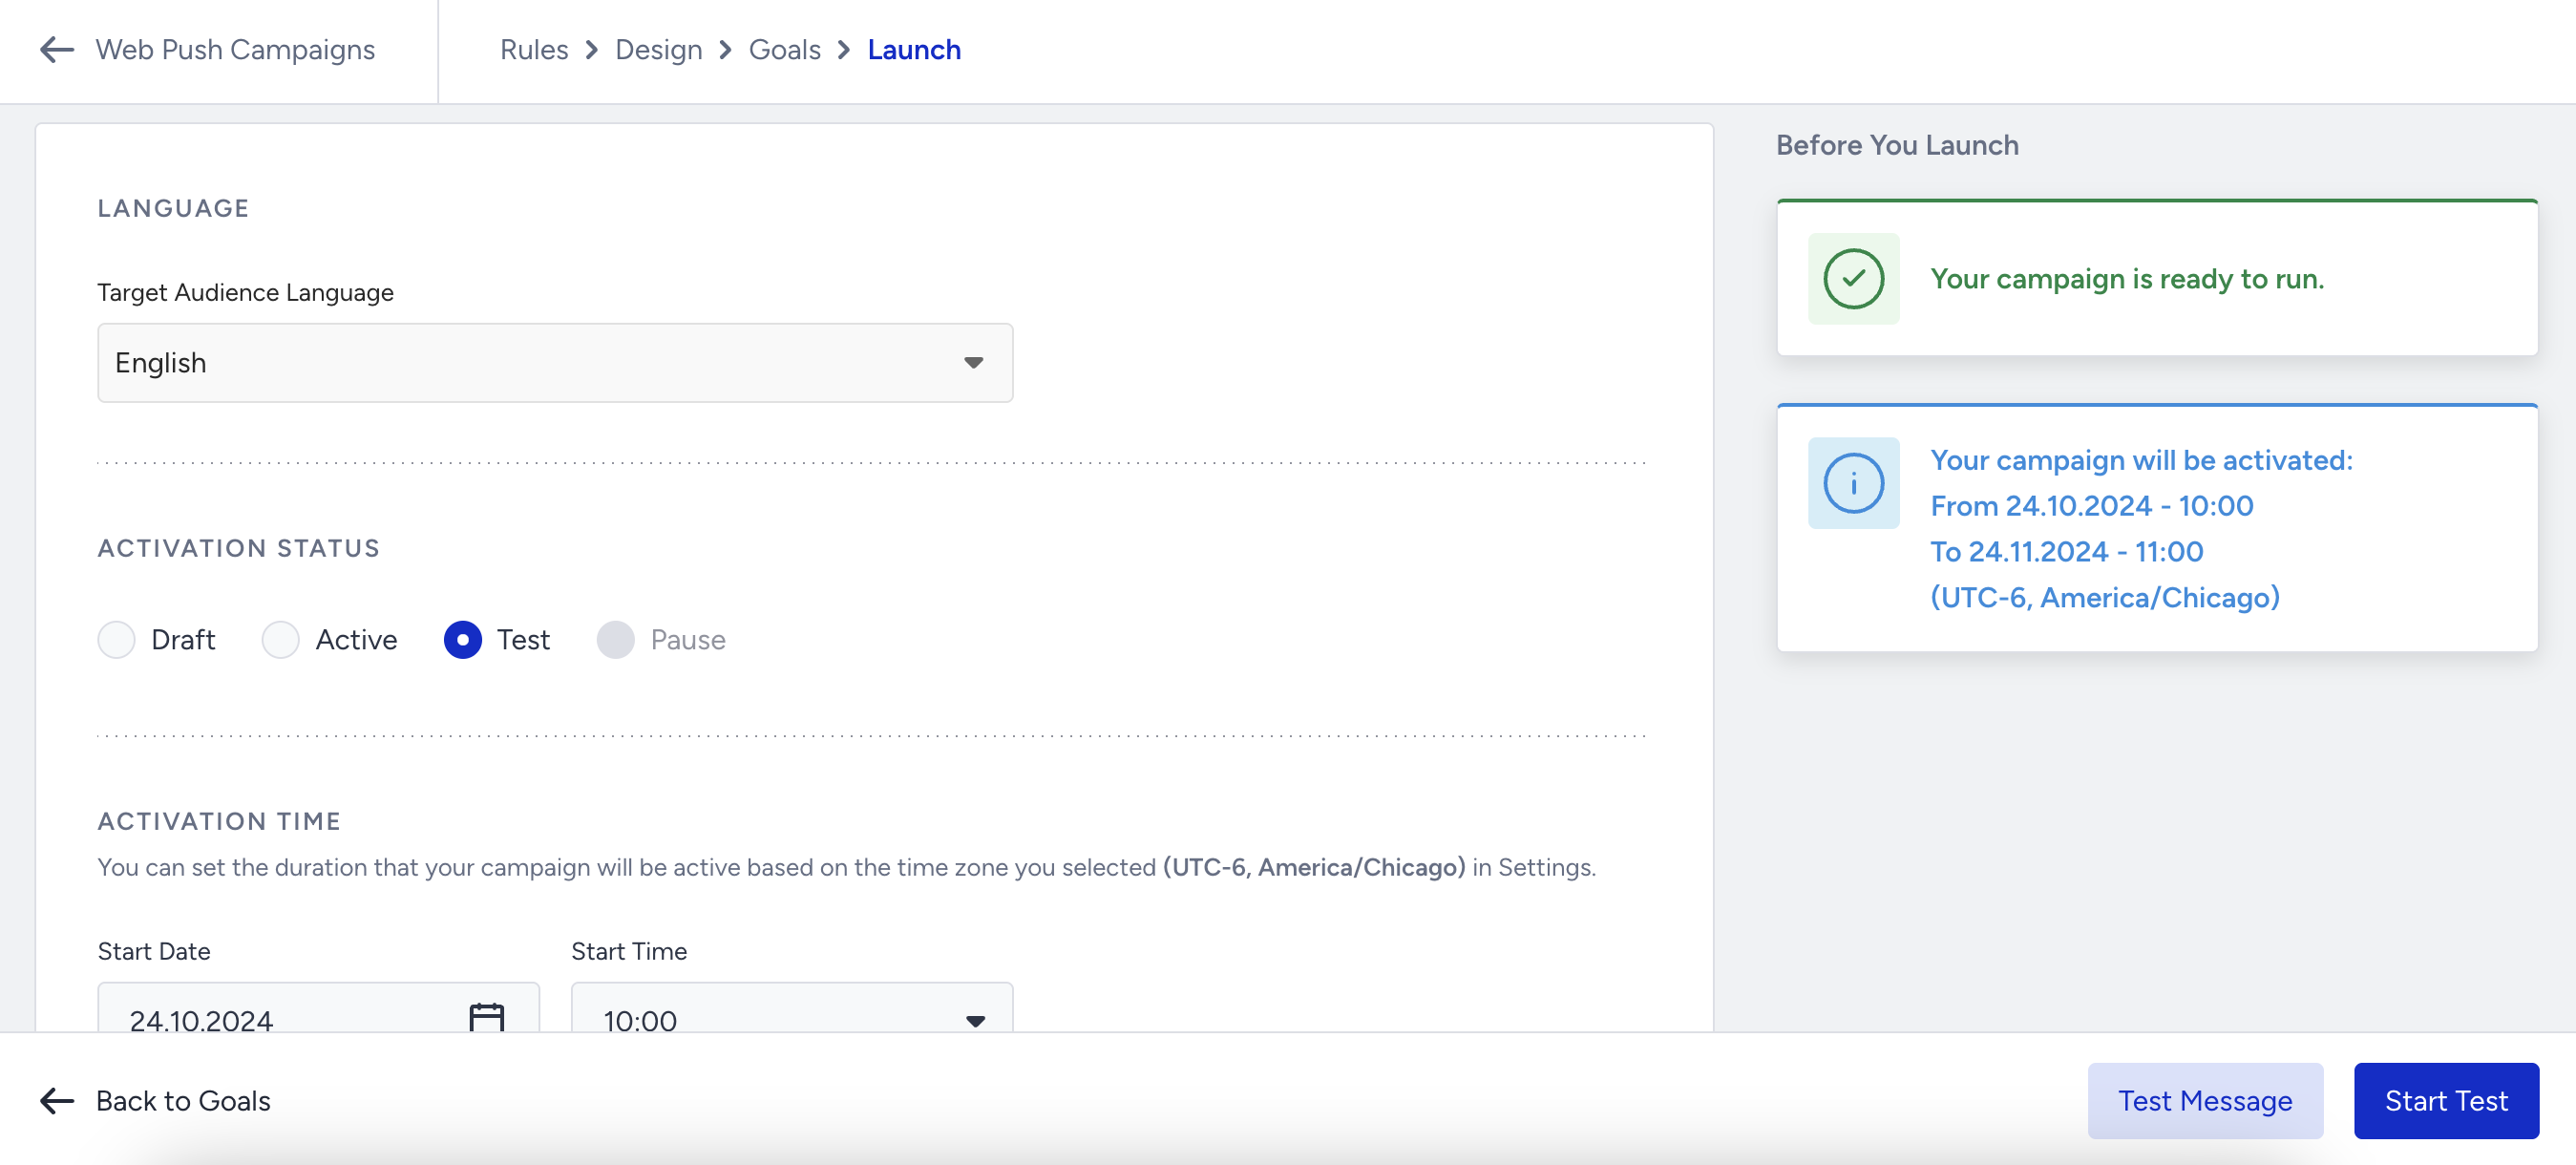
You can configure multiple Welcome Push campaigns with different delay trigger options, allowing you to create distinct use cases for your customer journey.