Suggested readings: App Content Optimizer, Use Cases for App Content Optimizer
Using Content Optimizer requires two steps: Variables and Variants.
Create variables
To implement Content Optimizer, your development team should create a set of variables, name them, assign default values, and use them in your mobile app's source code. Once your development team updates the source code and defines a content element as a variable, you can change it in the panel.
A variable can be any content element in your app. Some variable examples are:
- Submit, next, or exit button content,
- Company logo, an article's image or emoticon,
- Footer text, the company's phone number, or the date that shows when the article was published.
The value of the variable is what you can change in the variable. Some value examples are:
- Color or size of a button,
- Link(URL) of an image,
- Text in the app footer, the company's phone number, or the article's date.
Every variable will have a default value, and you can quickly get back to this value. Any change can also be created in multiple variants.
A simple example can be changing the color of the Add to Cart button on your product pages. To do this, your development team should set a variable for the Add to Cart button color in Hex Code. Let's say it looks like as follows:
variable_{Addtocartcolor} = #fea630 (this is the default value)
In this case, you can change this variable in different variants. Variant A would be variable_{Addtocartcolor} = #2869c7 while Variant B would be variable_{Addtocartcolor} = #d51c24. Once the content is updated in the app, you can see the changes applied within 10-15 minutes. To see how to apply these changes, get started with creating variants.
Create variants
Once your development team completes creating the variables needed for your campaign, you can start creating variants.
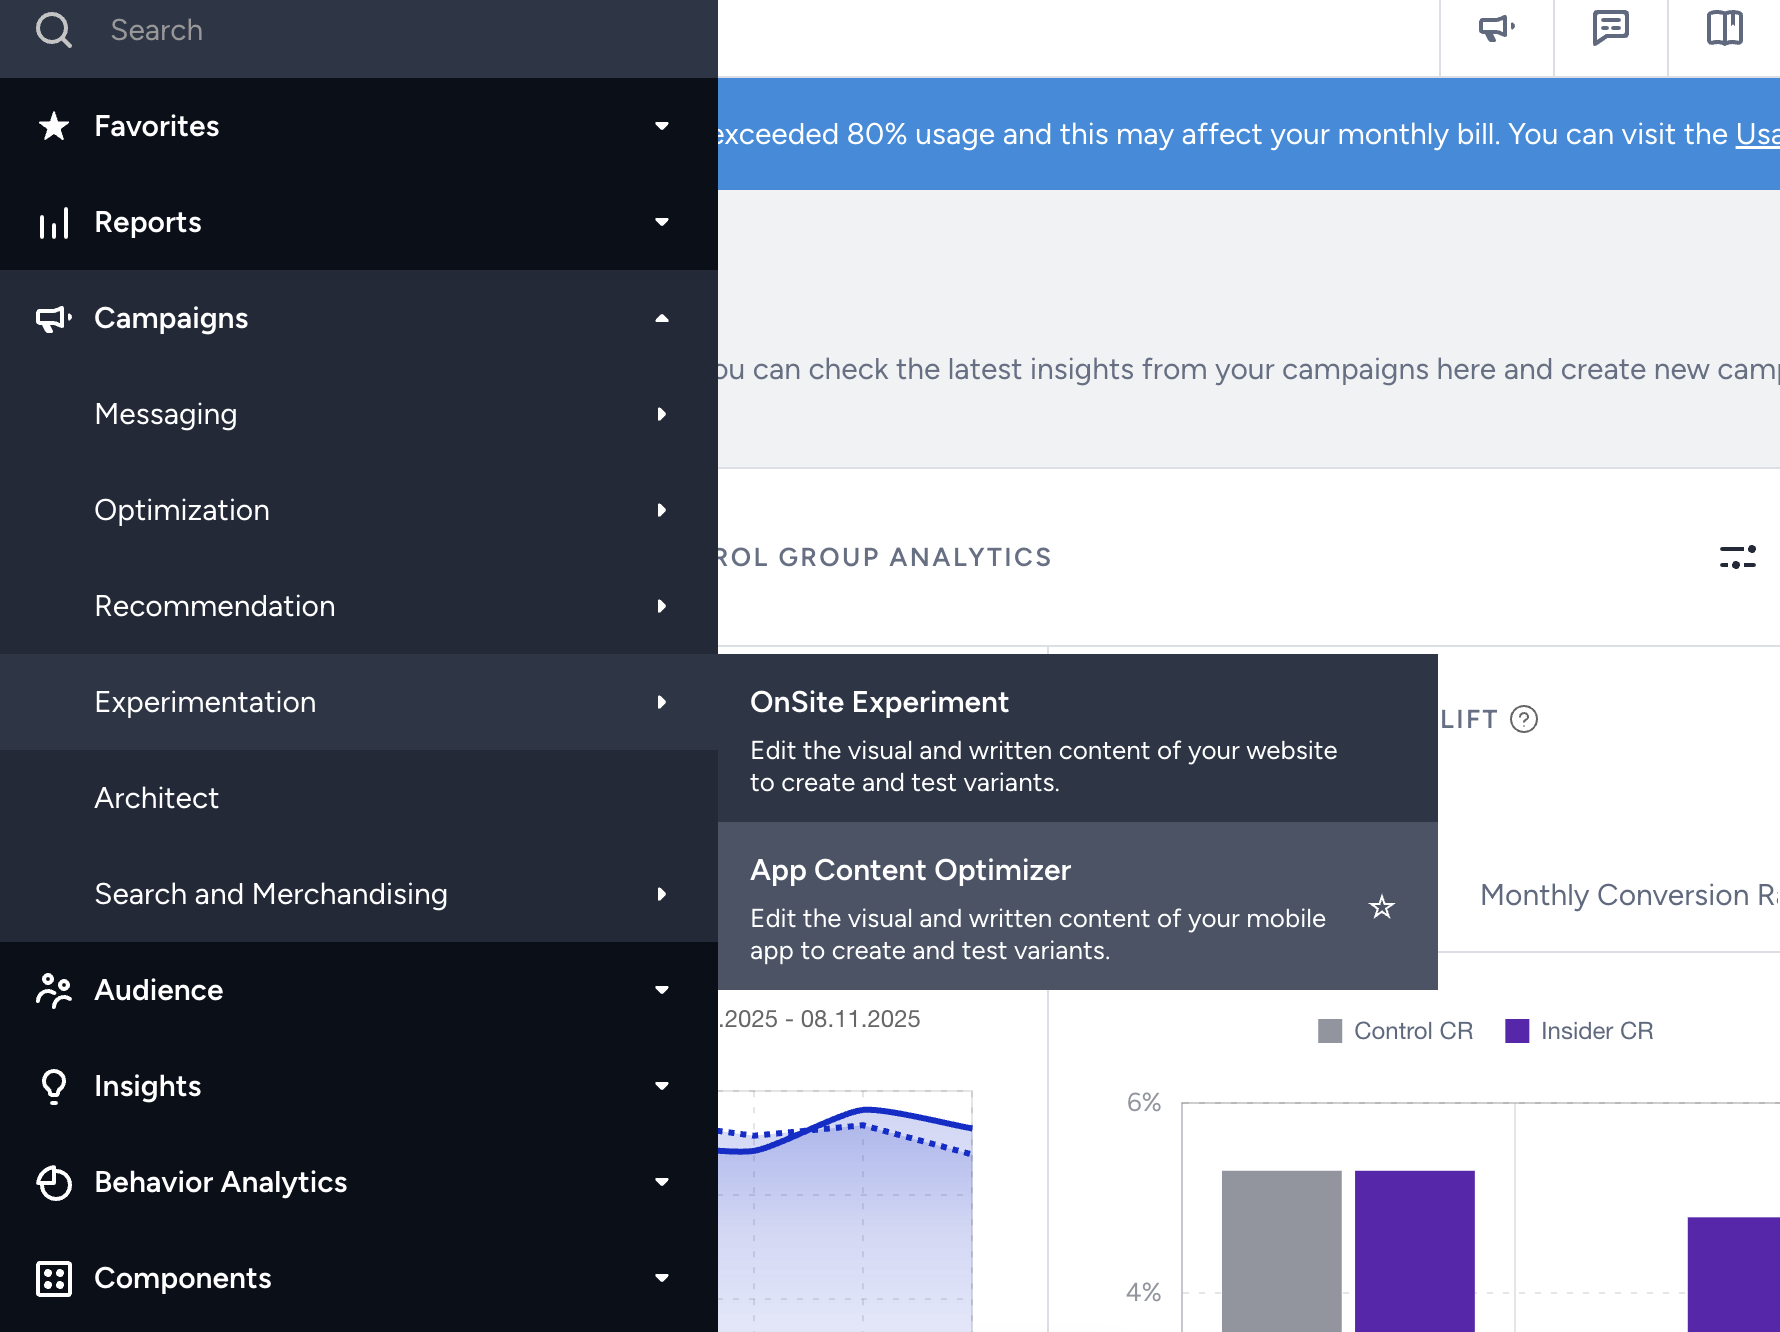
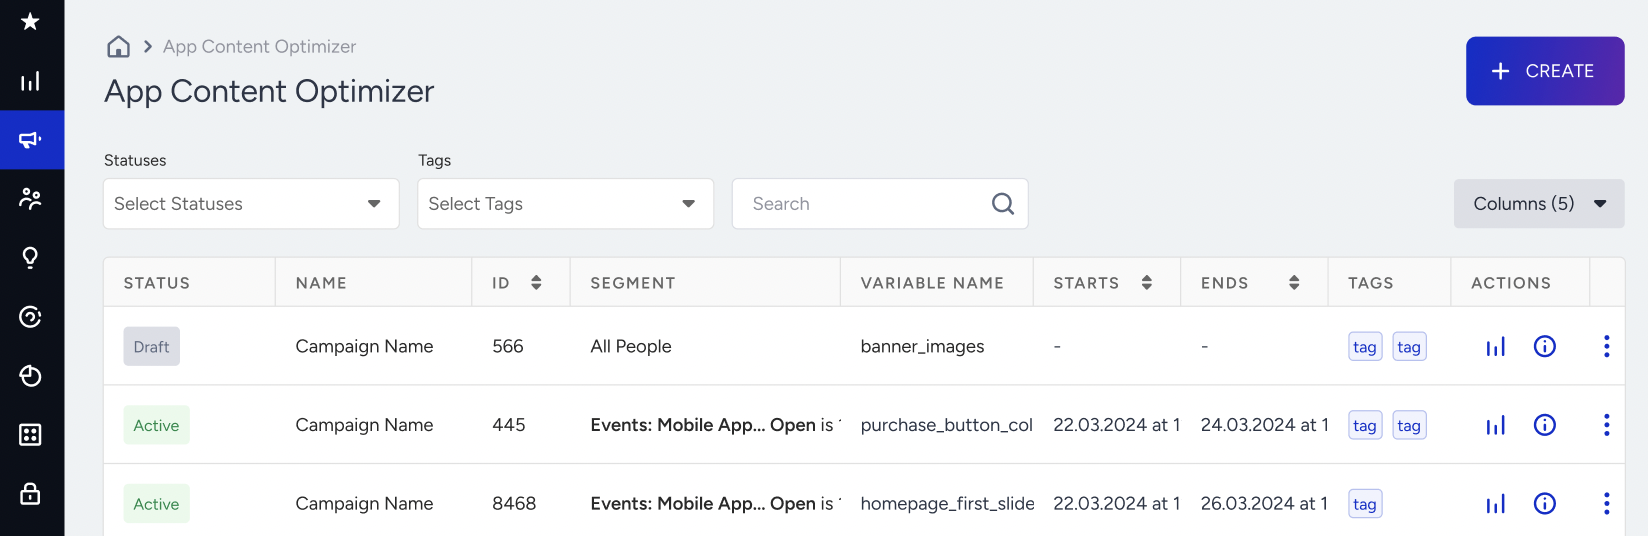
1. Navigate to Campaigns > Experimentation > App Content Optimizer.
2. Click the Create button to start creating your experiment.
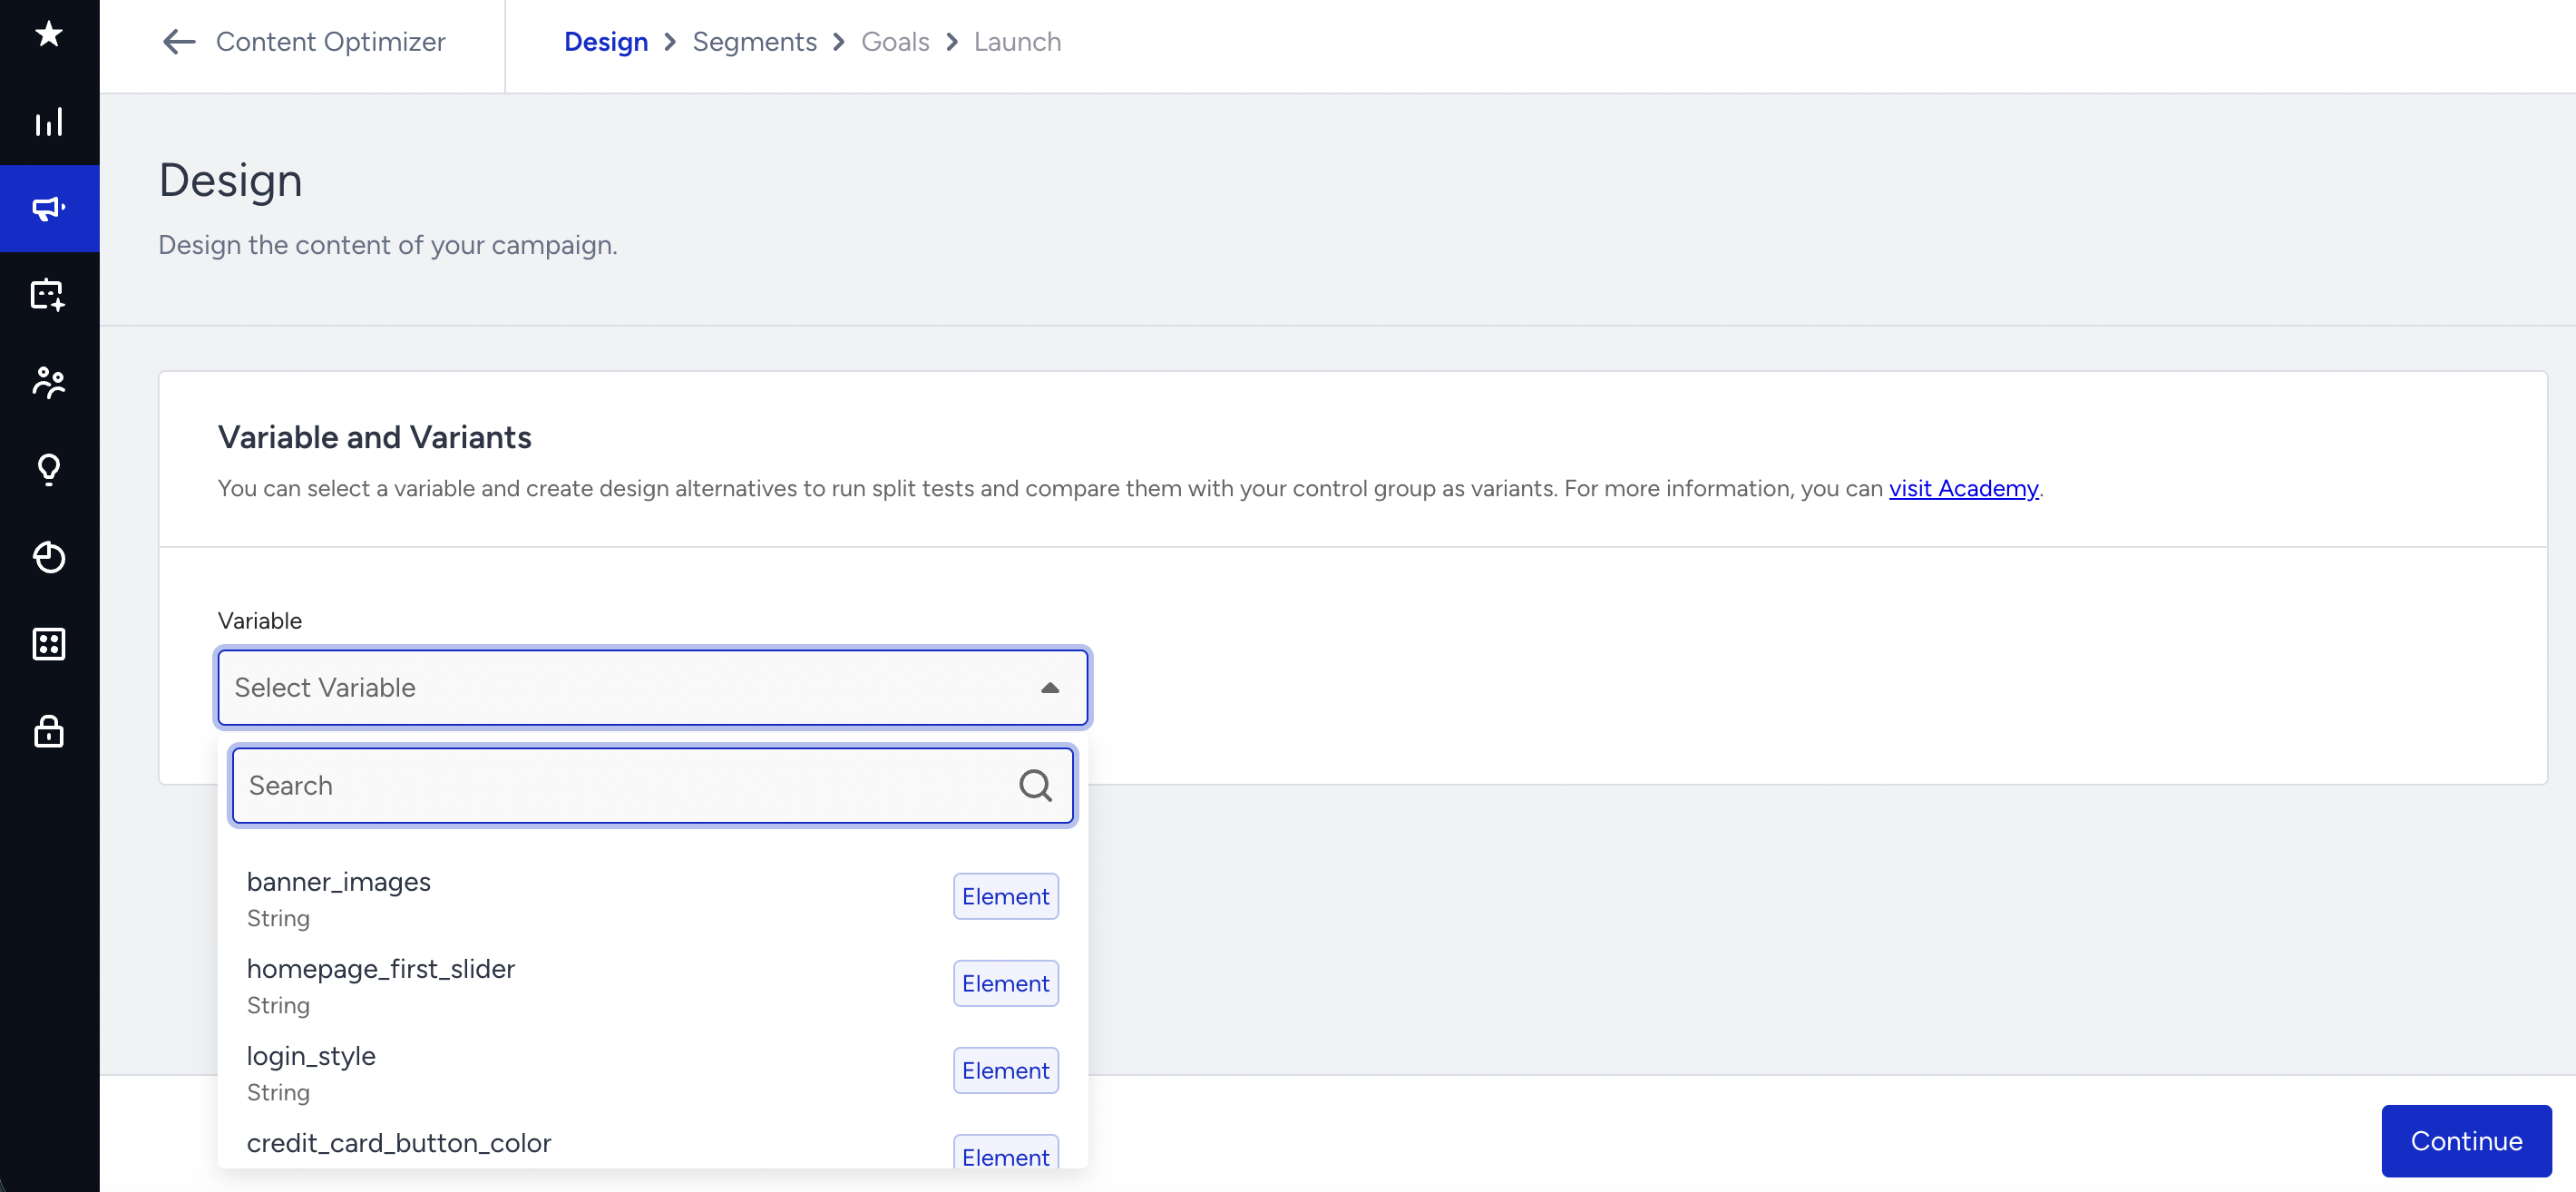
Design optimization
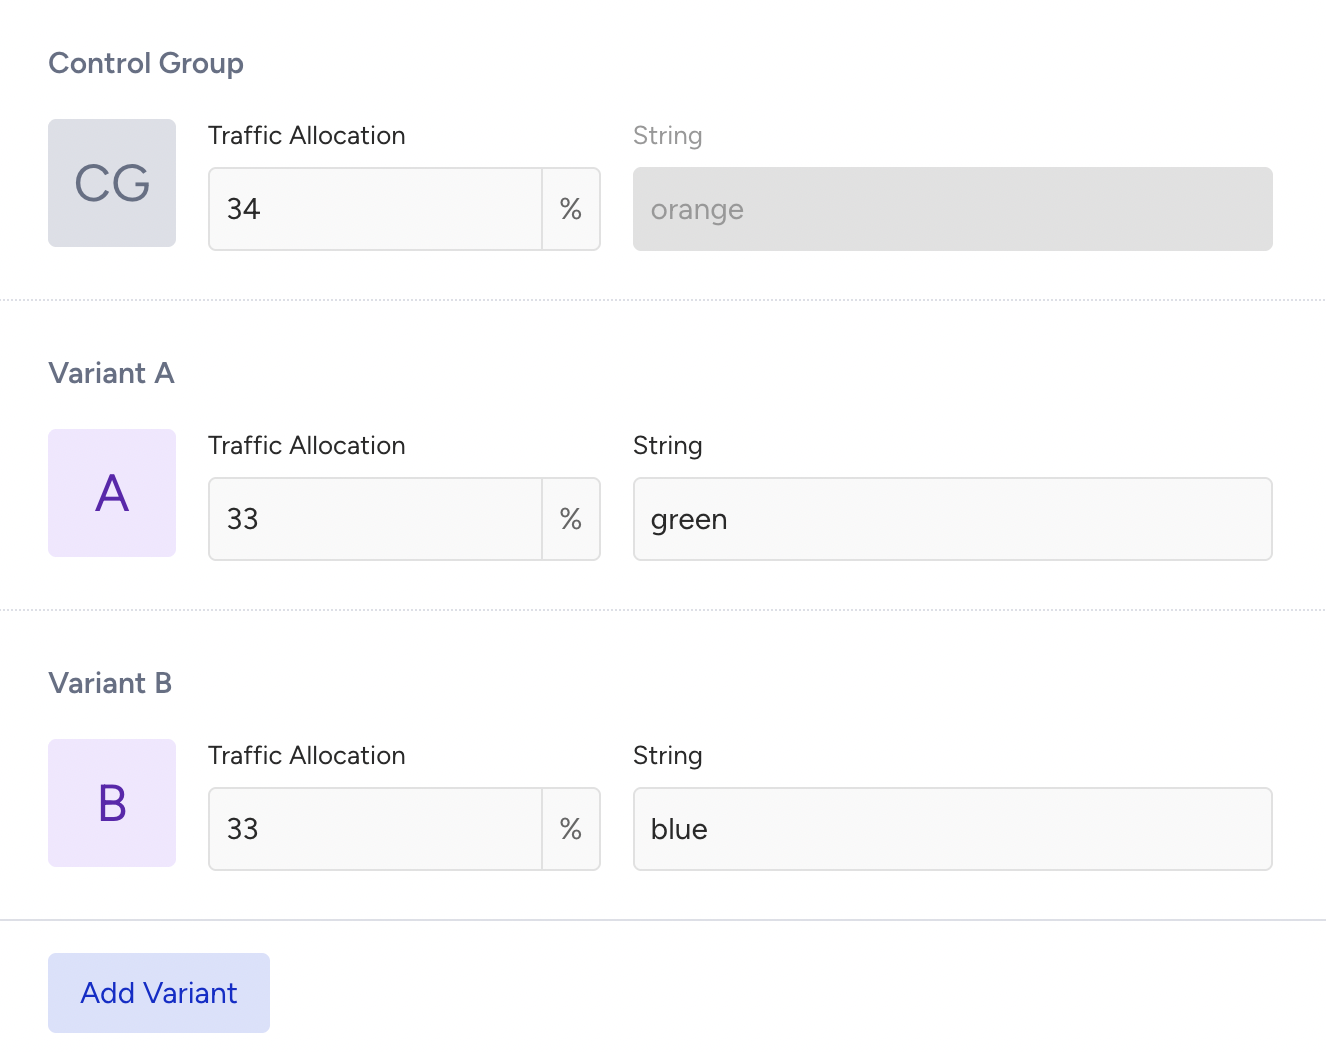
1. Choose one of the variables that your development team has created beforehand.
2. Once selected, the variable will have the default value. Add the new value for your variant. Depending on the variable, you can change text, color, image, or other content in your app. Adjust the traffic allocation as needed.
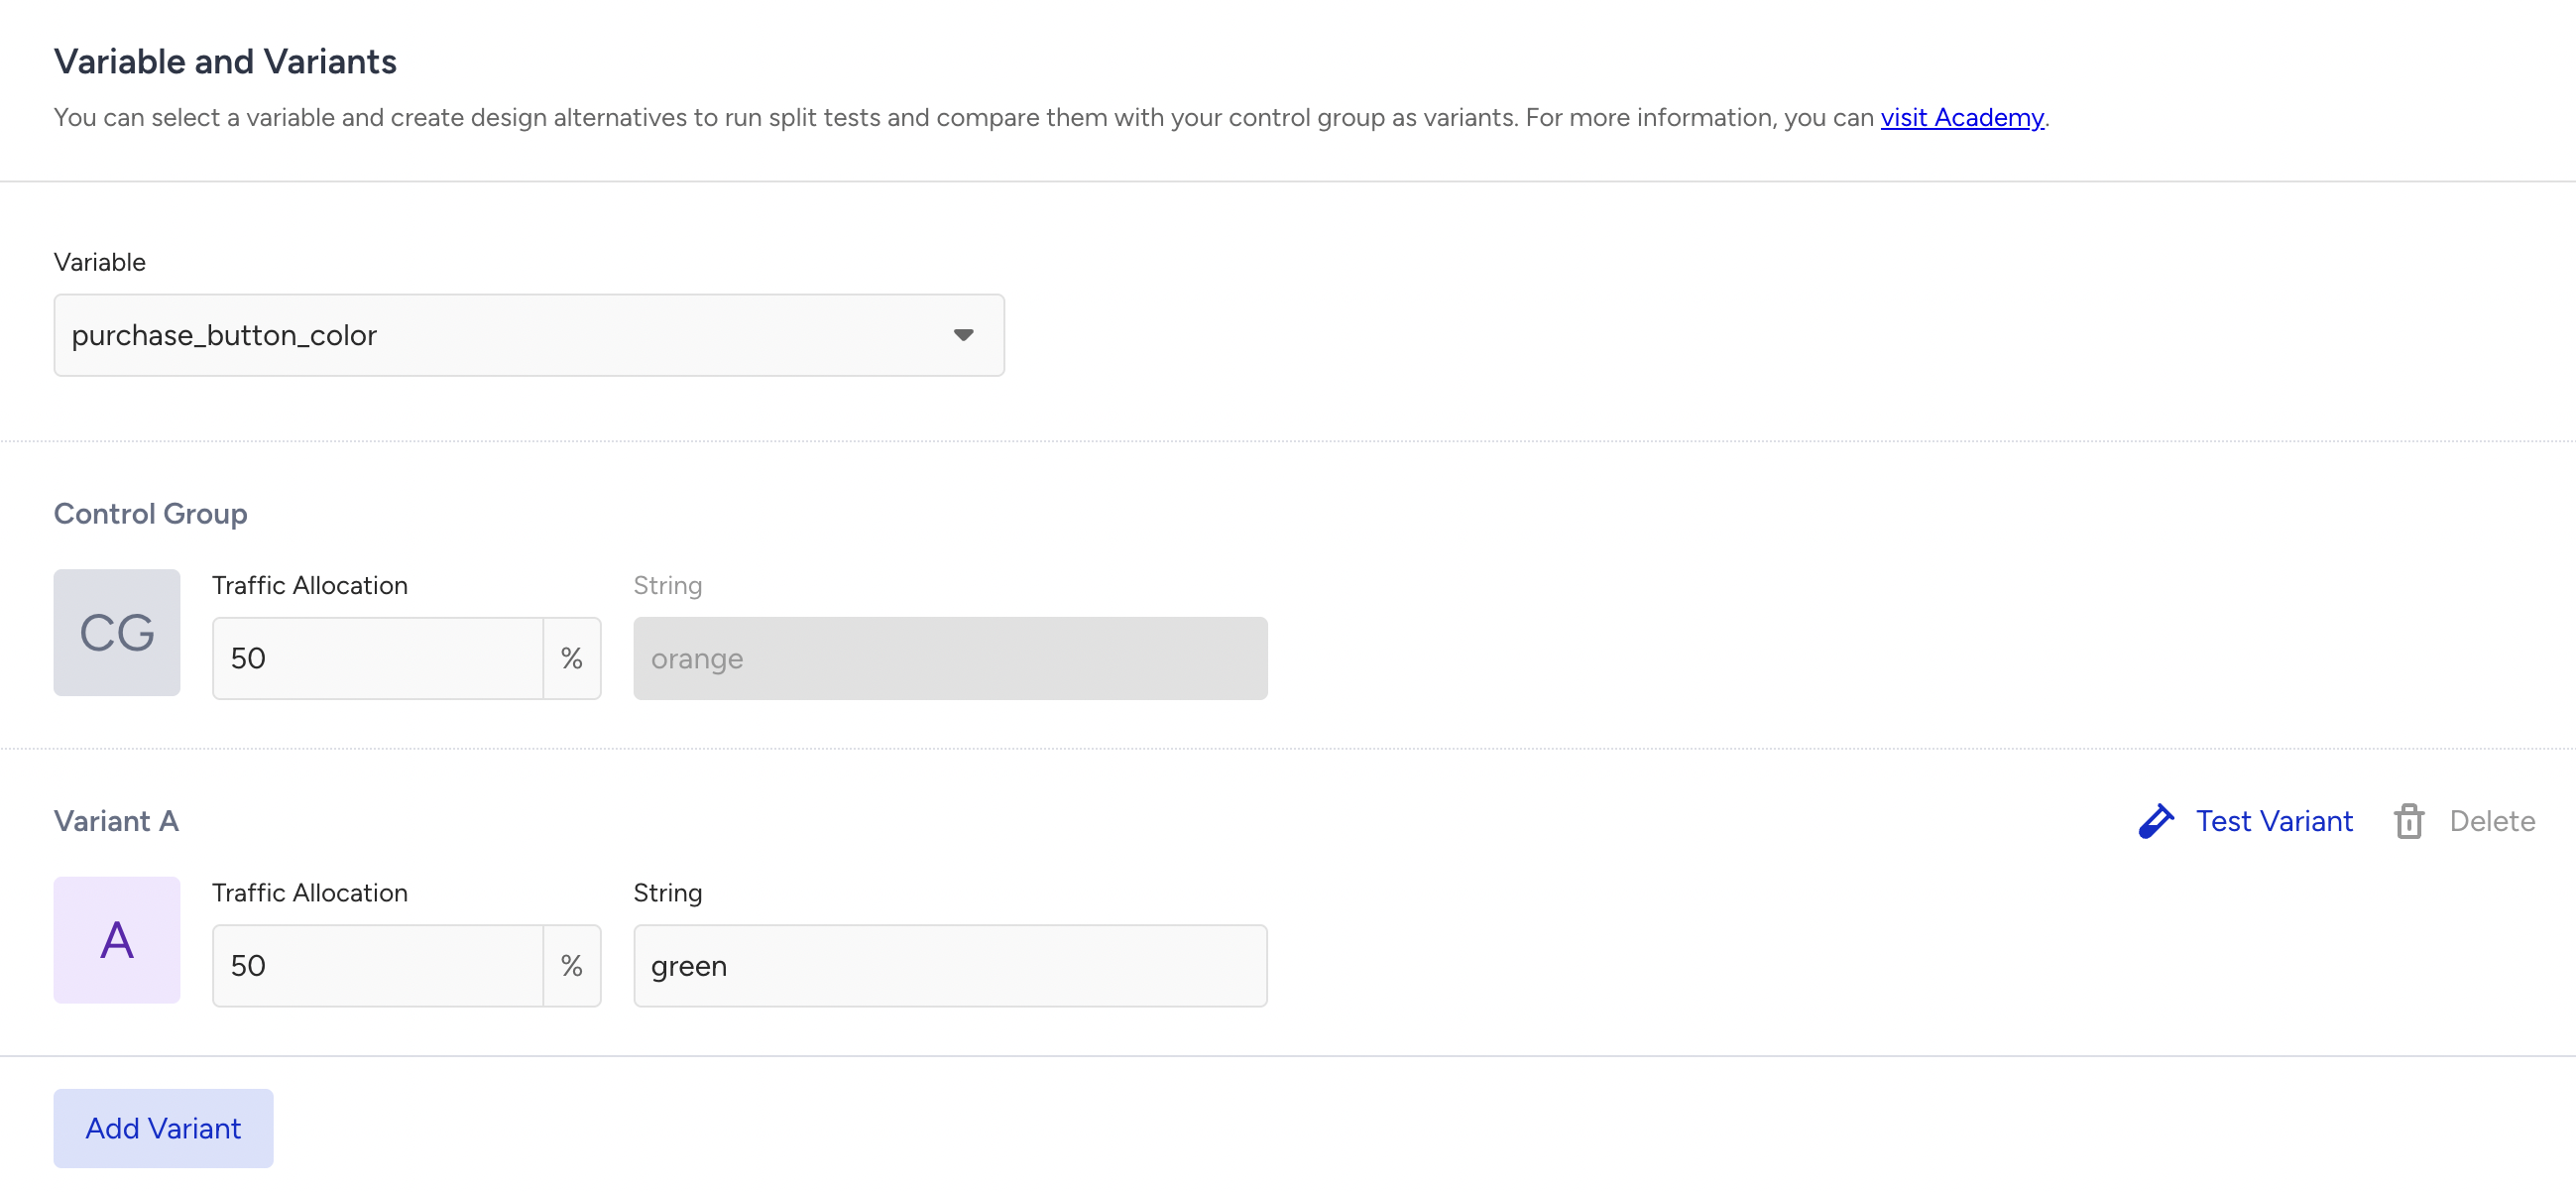
3. Click the +Add Variant button if you want to add other variants.
4. Click the Test Variant button to test your new variant. Once you complete your testing, click the Next button to proceed with your target segment.

Segment audience
After creating your variable, you can choose a target segment to display your optimization.
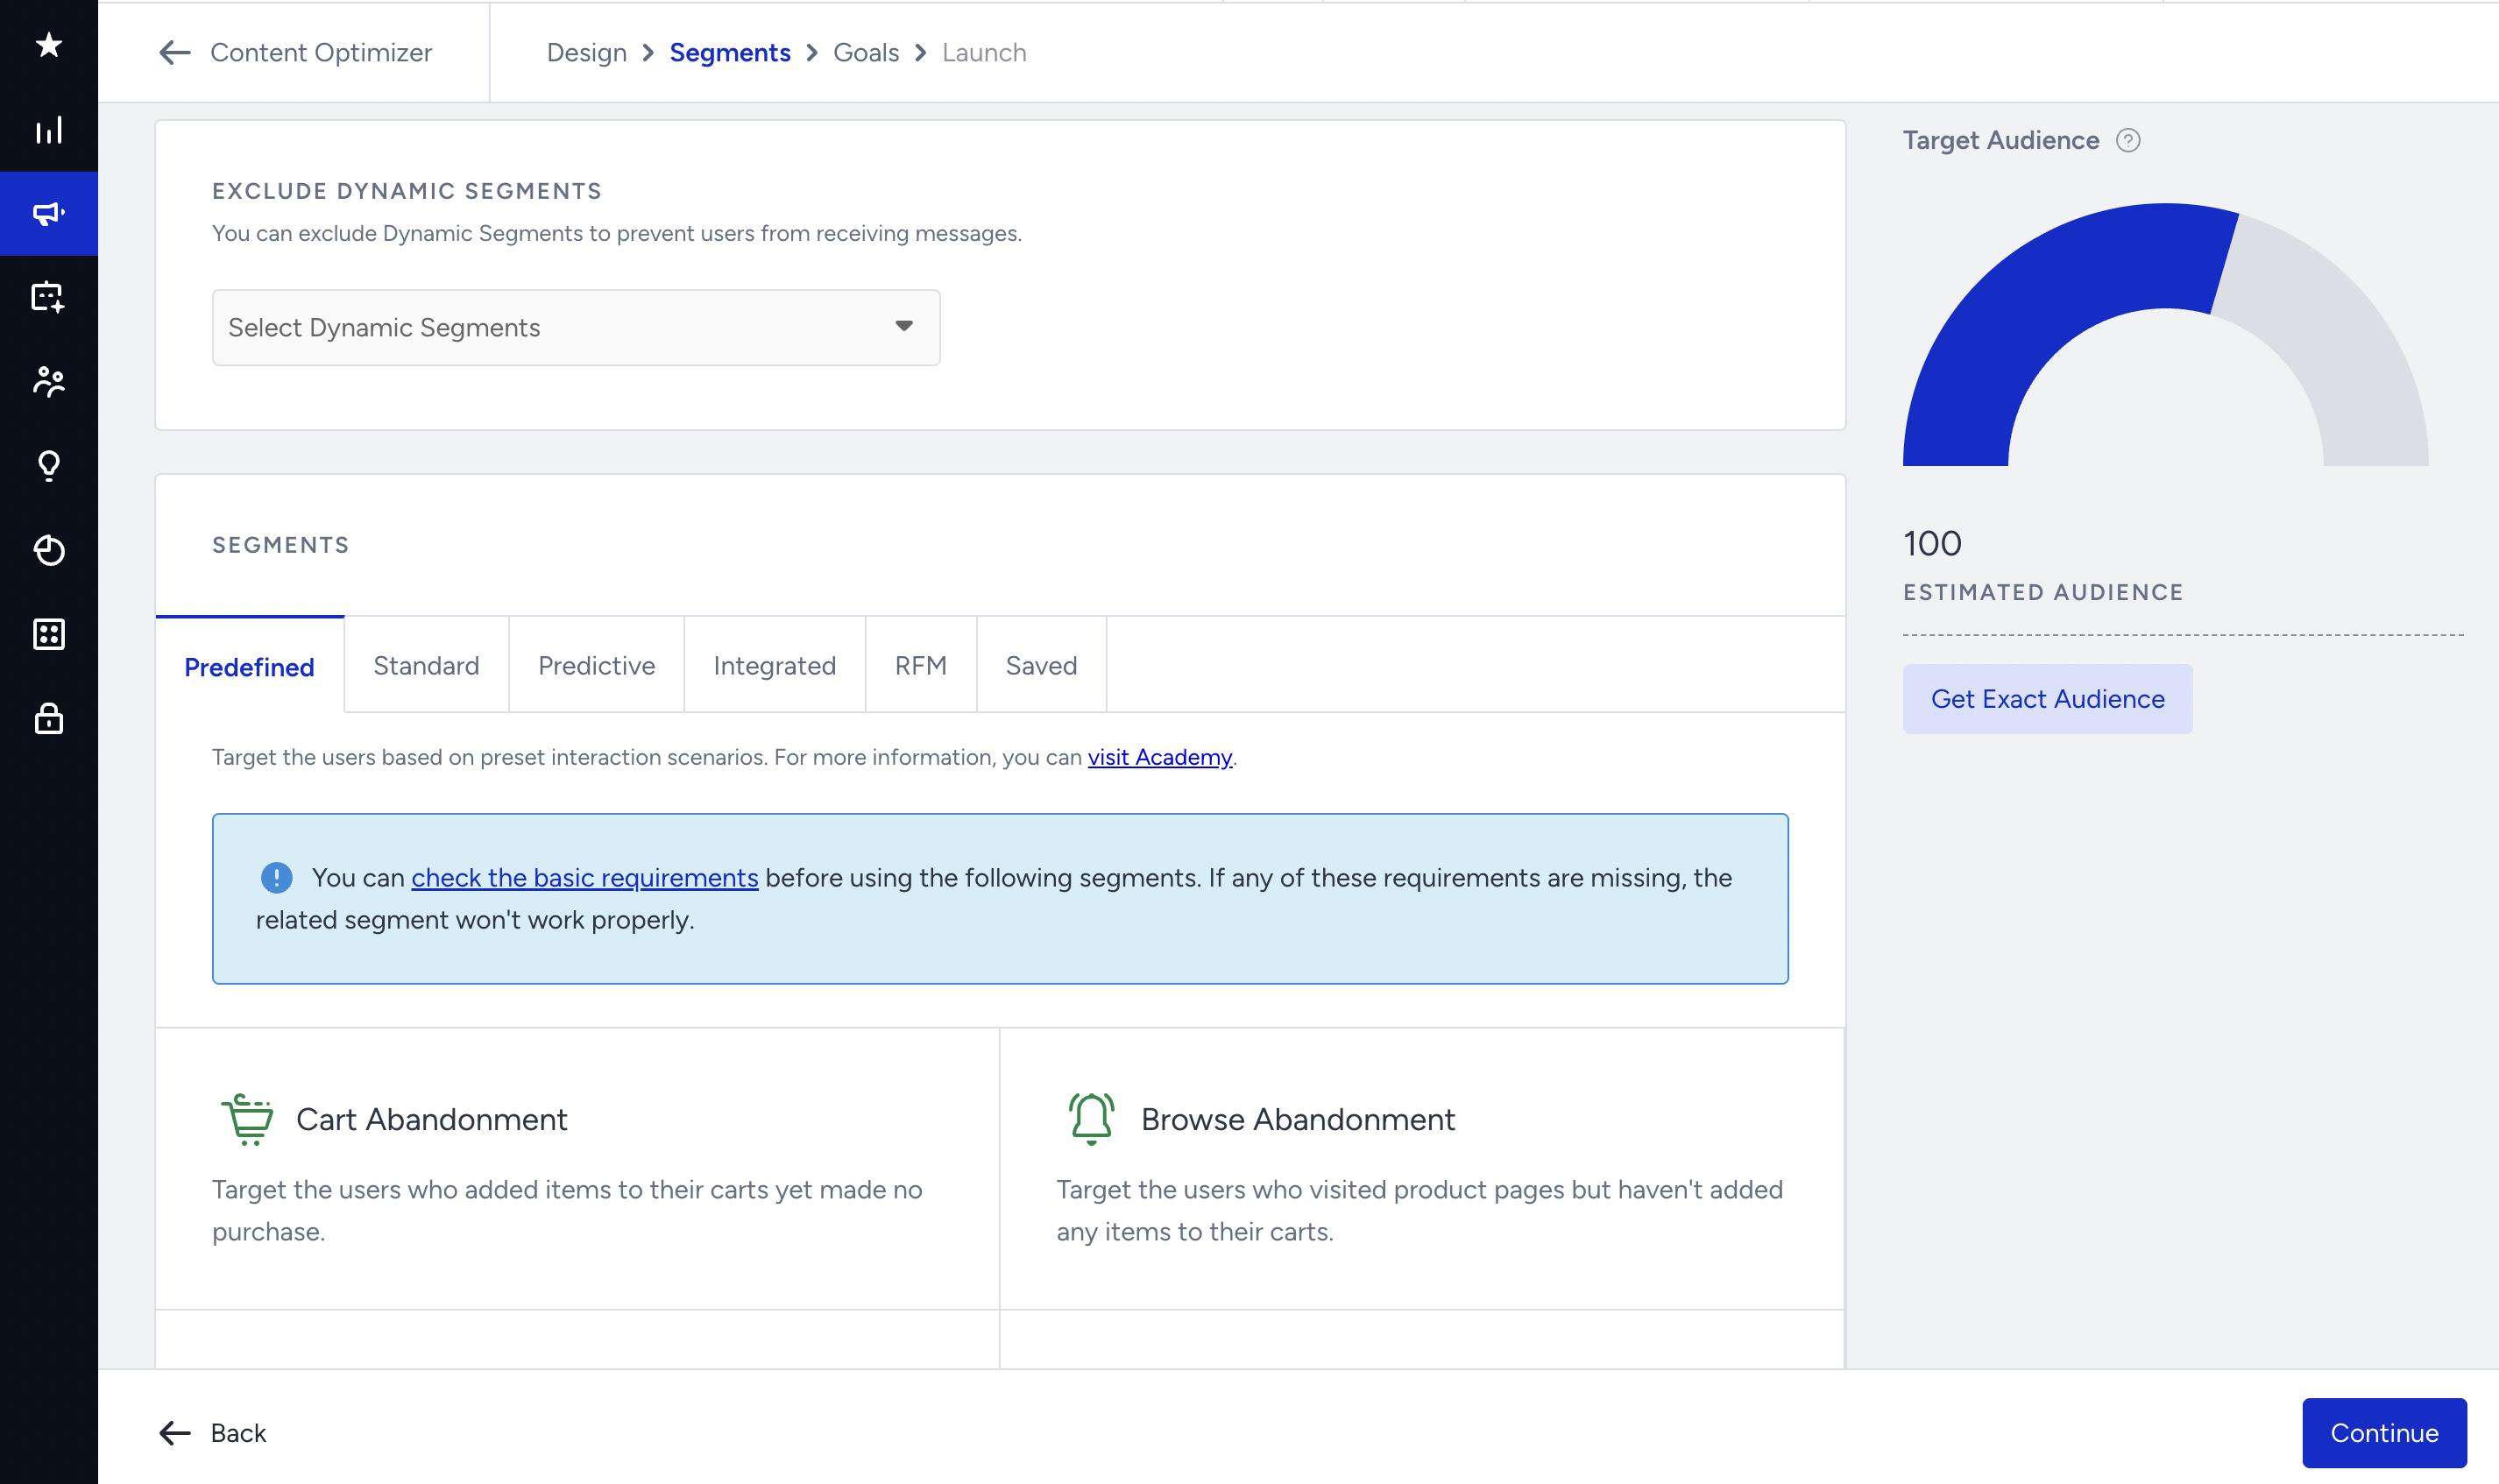
You can select dynamic segments to exclude. On the right side of the page, you can see the estimated audience. To get the exact audience after selecting the segments, click the Get Exact Audience button.
This step offers the following segmentation options:
- Predefined segments
- Standard segments
- Predictive segments
- Integrated segments
- RFM segments
- Saved segments
Once you select your segments, click the Continue button to proceed to the next step.
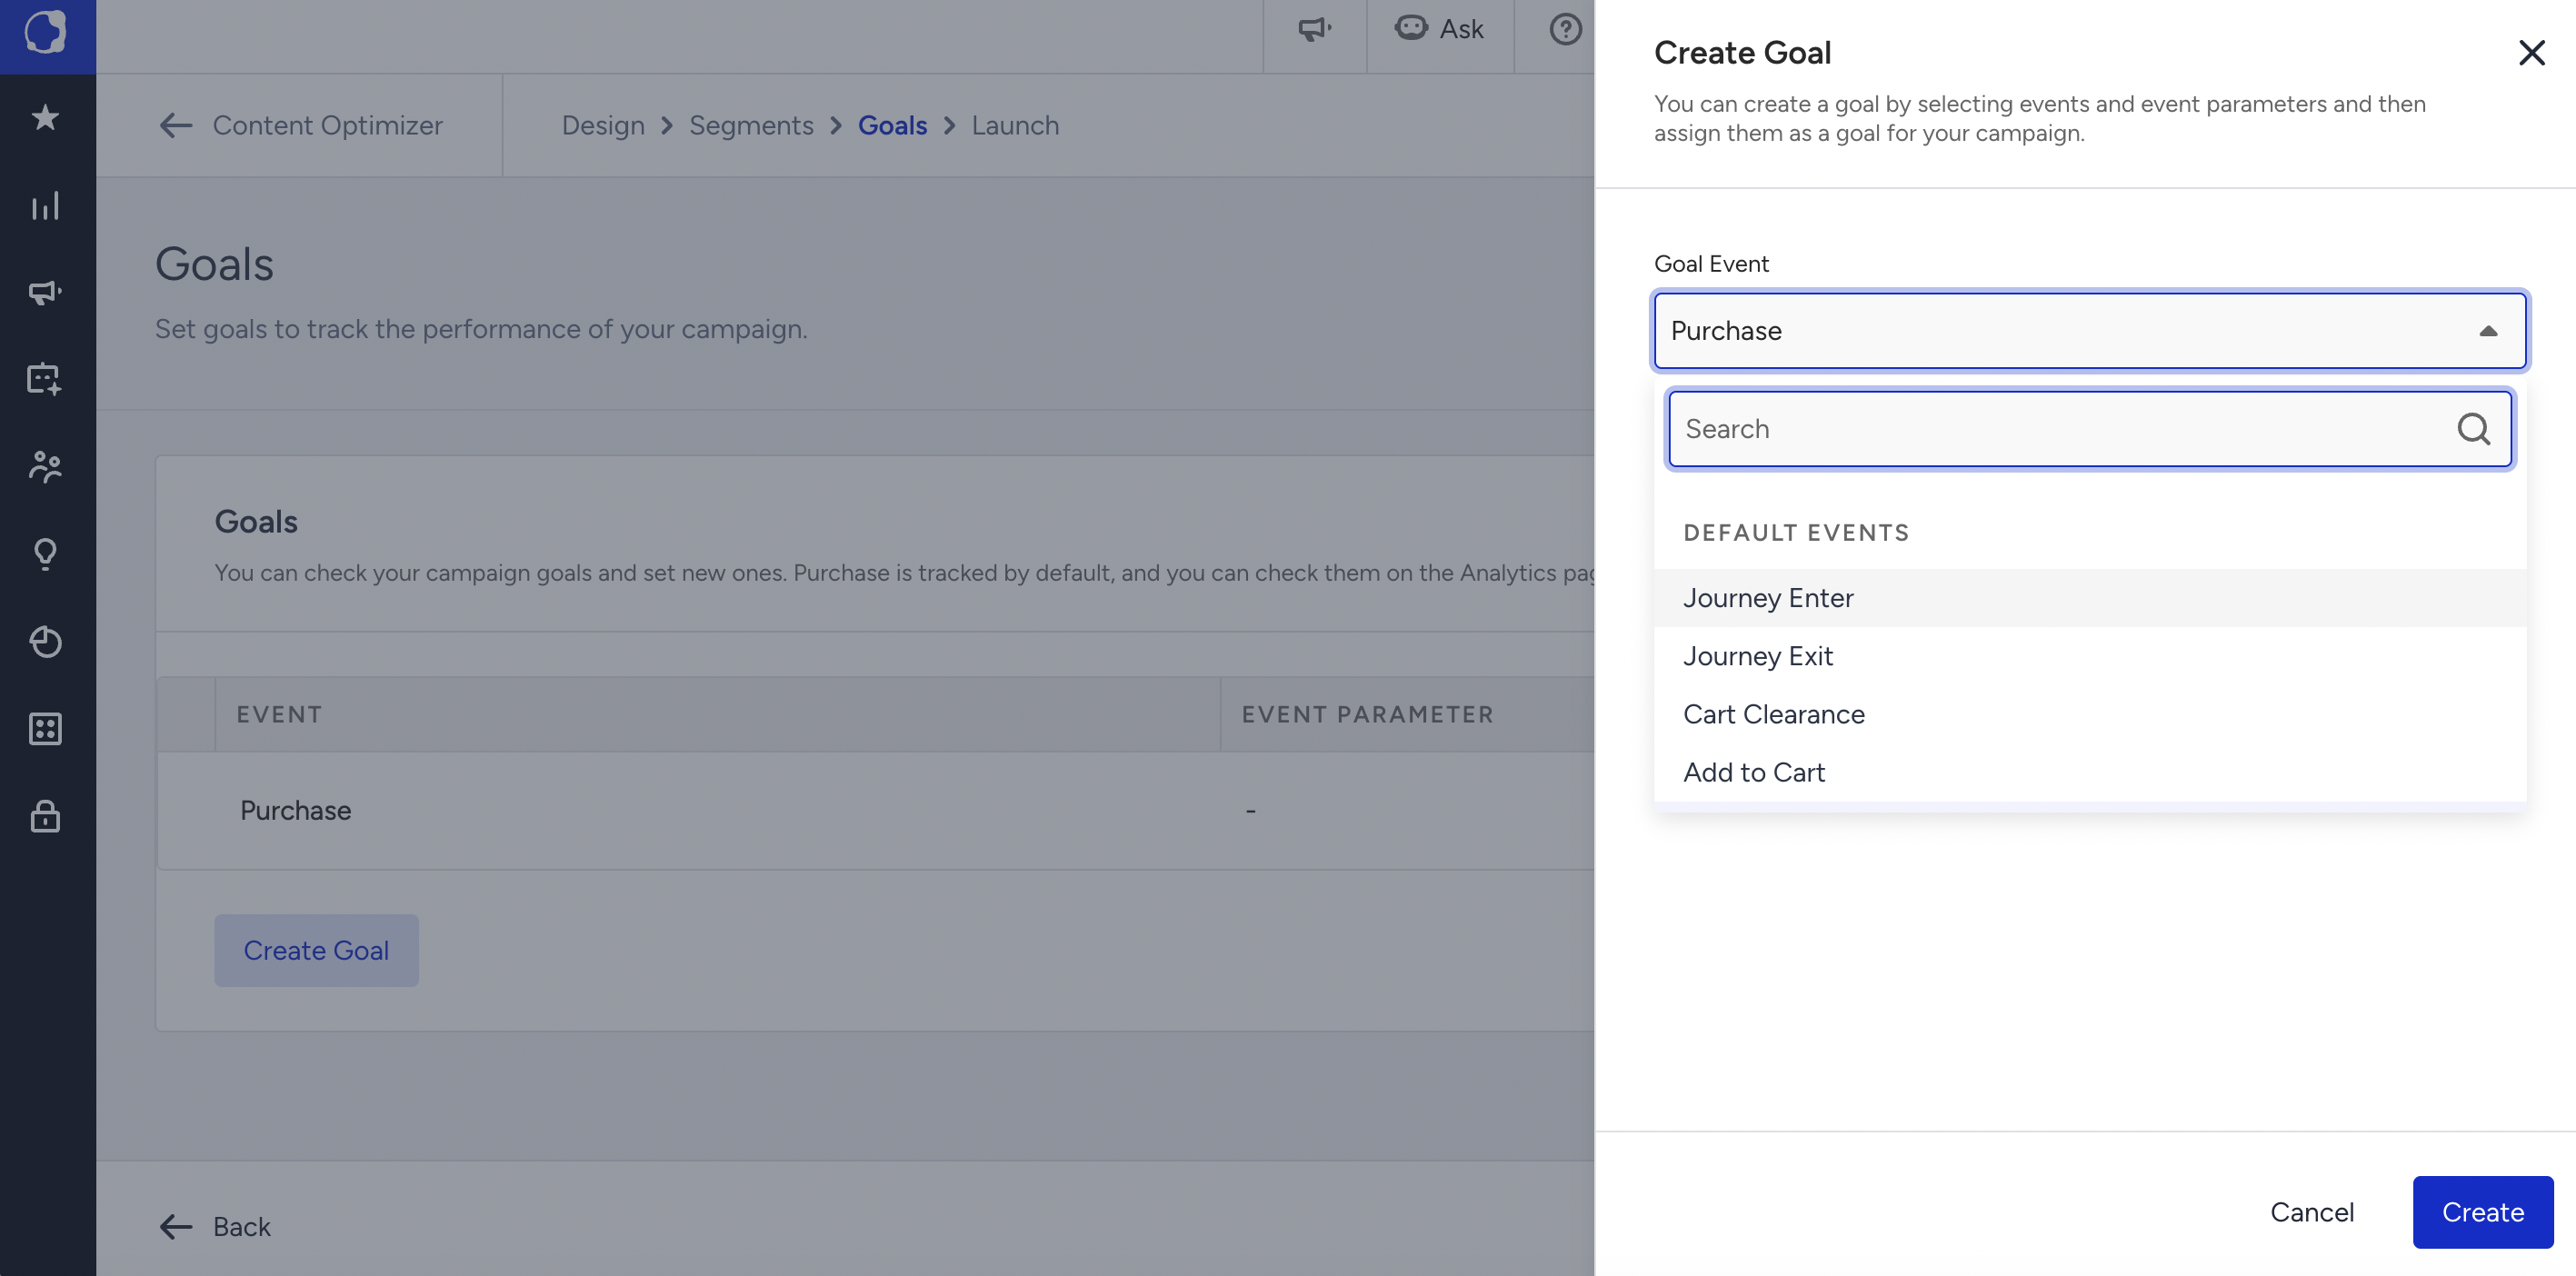
Set goals
You can edit the existing goal or create a new one as per your campaign strategy.
Launch campaign
Configure the activation status, priority, and campaign tags to launch your optimization.
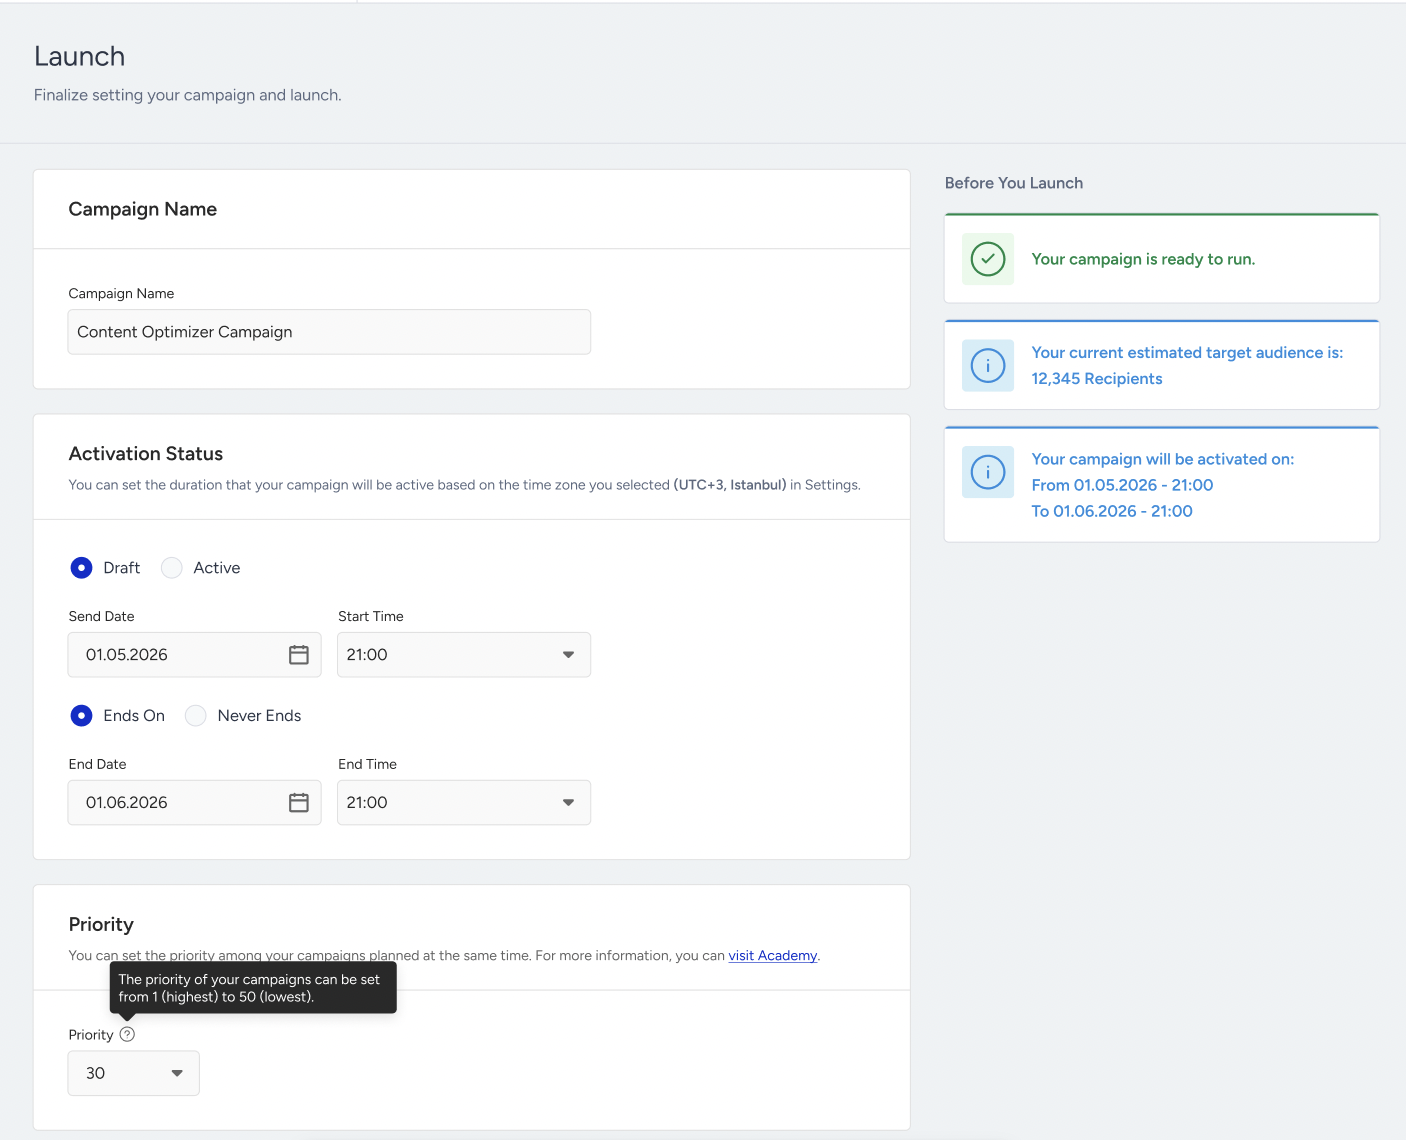
You can save it as a draft or click the Launch button to launch it to your target segment.
Even though the campaign is paused, users might see the campaign on their next visit due to device caching while the latest version of your campaigns is fetched from the backend if you have integrated the Content Optimizer with the "Retrieving Content with Stored Data" method and the users haven't visited the app after the campaign is paused.