On May 11, 2026, a fix was deployed for a bug affecting subscription preference pages. We recommend re-saving any existing preference pages. This applies to all preference centers on your panel, regardless of whether your account has transitioned to the new Drag and Drop Editor.
Once you create your unsubscribe groups, you can start designing your unsubscribe page and customize it whenever you need. When you complete creating your pages, you can add your custom unsubscribe pages them to your emails.
This article explains the following concepts:
- Global unsubscribe
- Global unsubscribe confirmation
- Resubscribe
- Subscription preferences center
- Subscription preferences confirmation
To start creating your unsubscribe page, follow these steps:
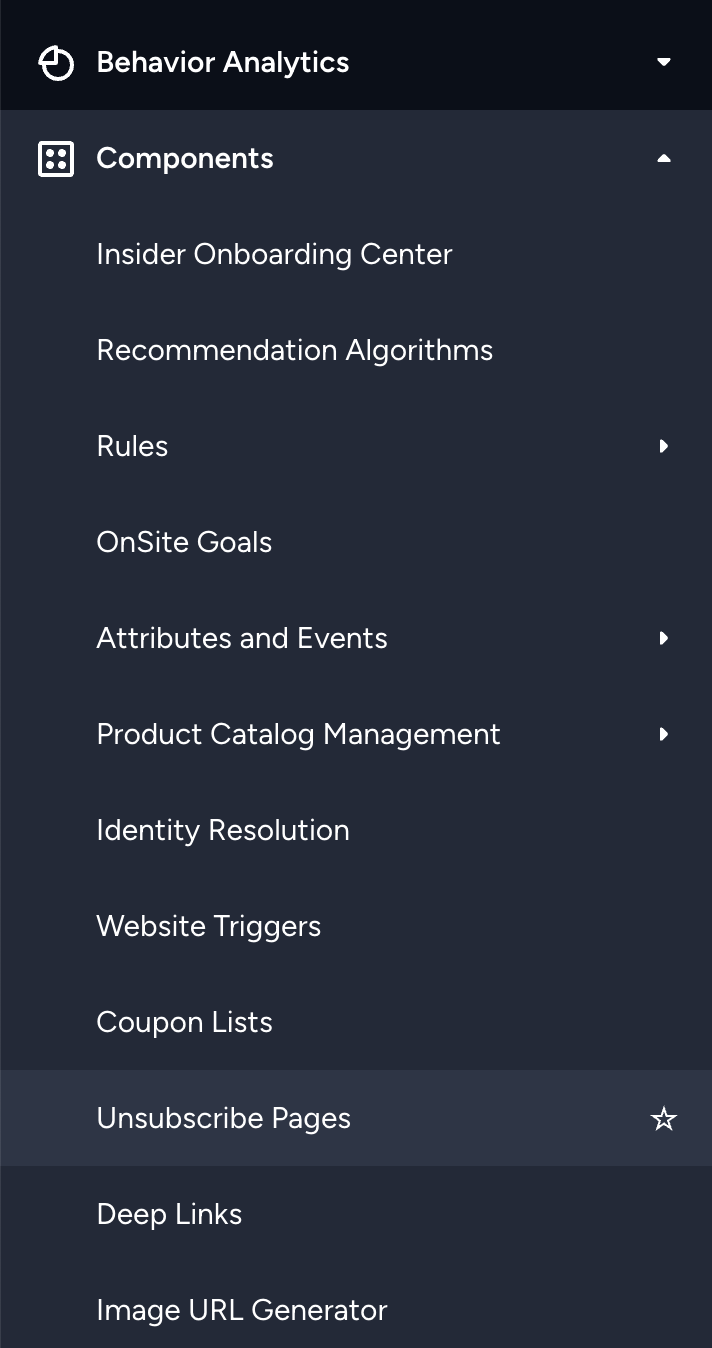
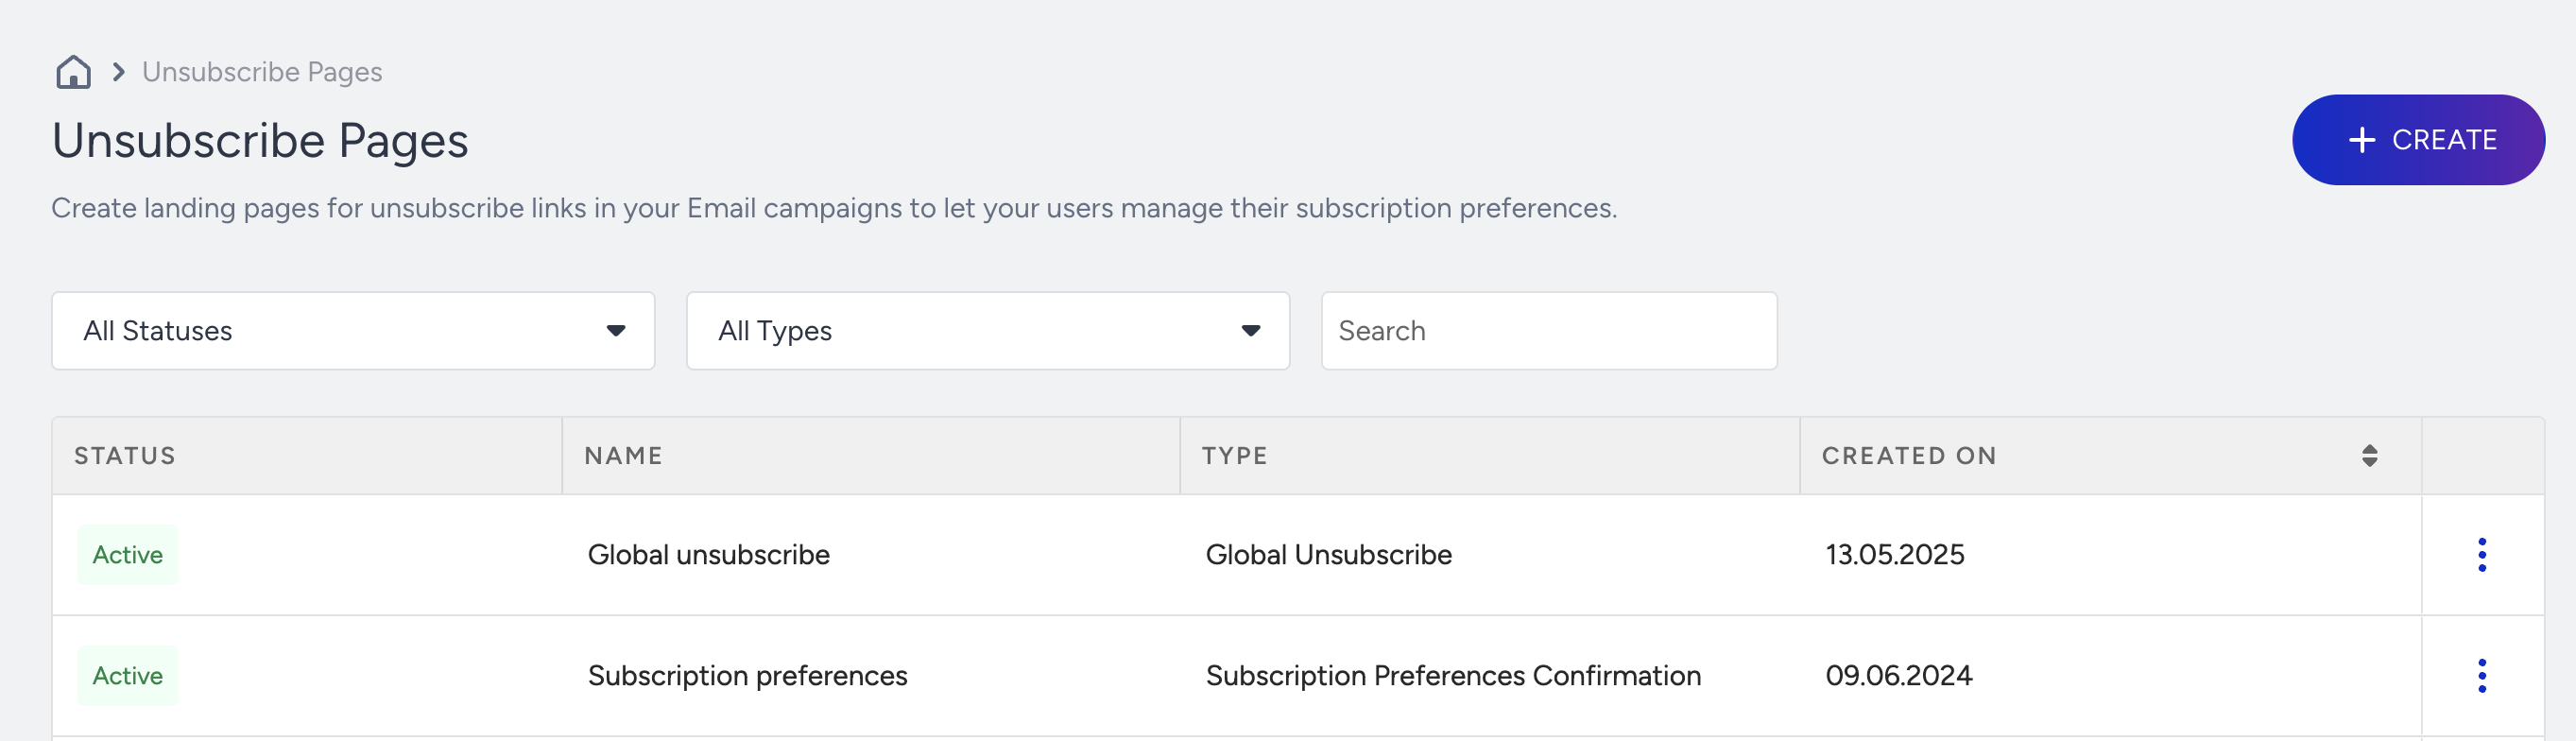
- Navigate to Components > Unsubscribe Pages.
- Click the Create button.
- Select the page type you want to create from the following:
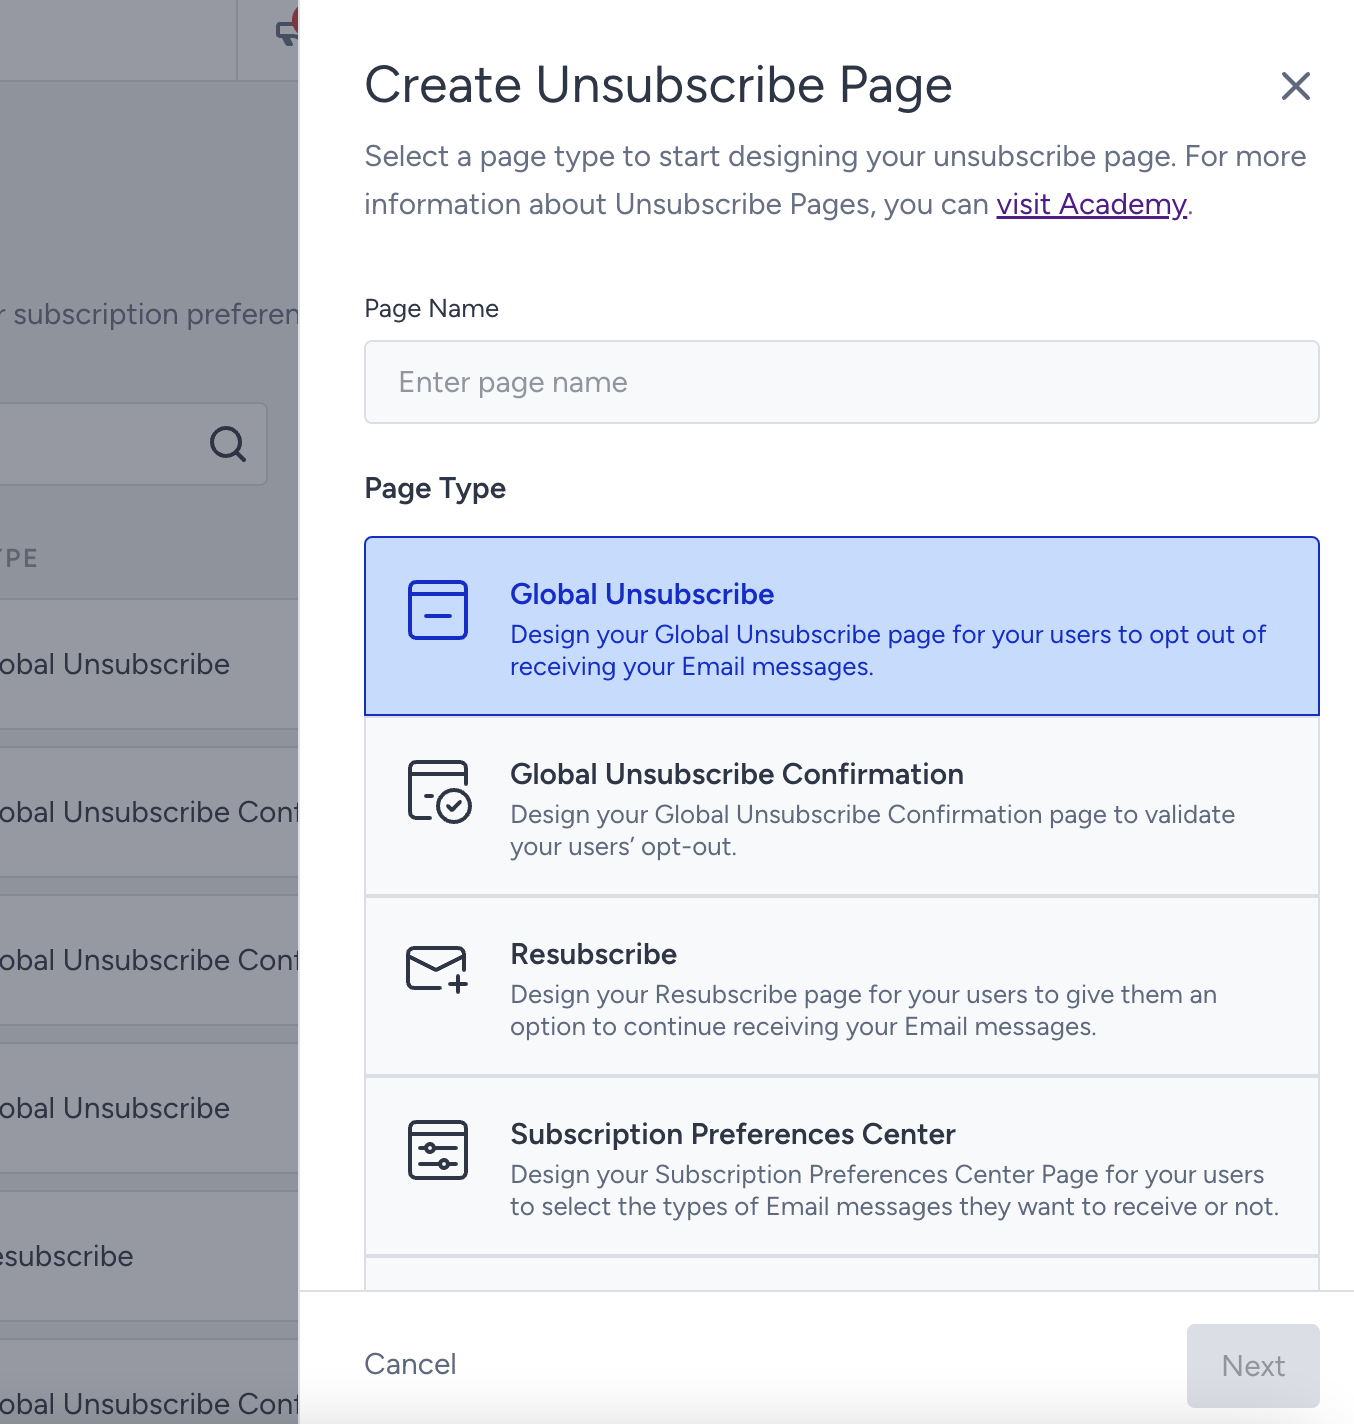
Global Unsubscribe
You can design a Global Unsubscribe page for your users to opt out of receiving your email messages.
1. Select the Global Unsubscribe page, name your page, and click the Next button.
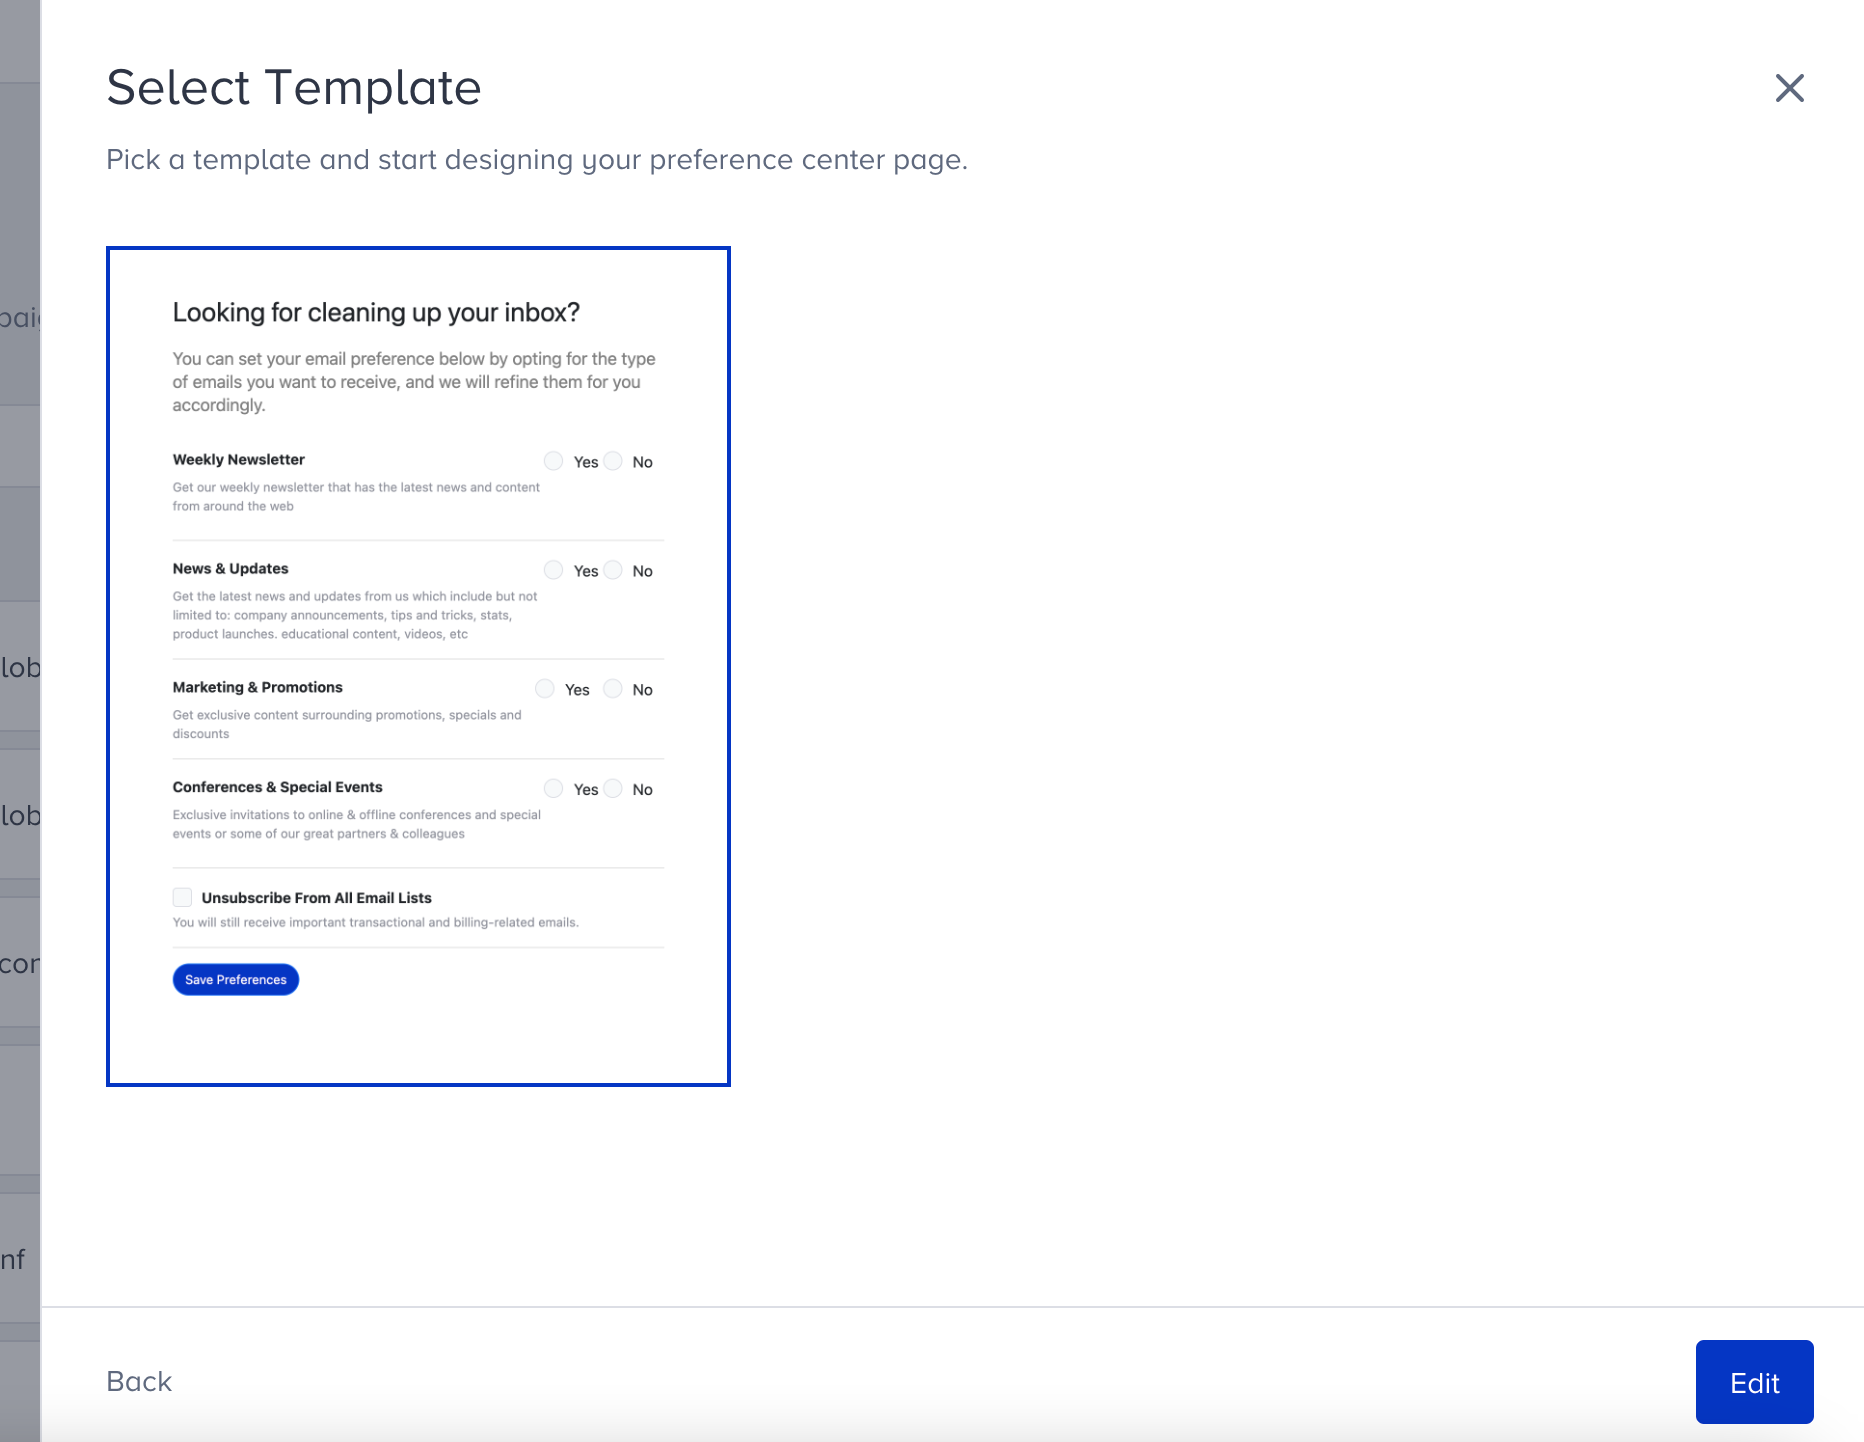
2. Select the template to start designing your page, and click the Edit button.
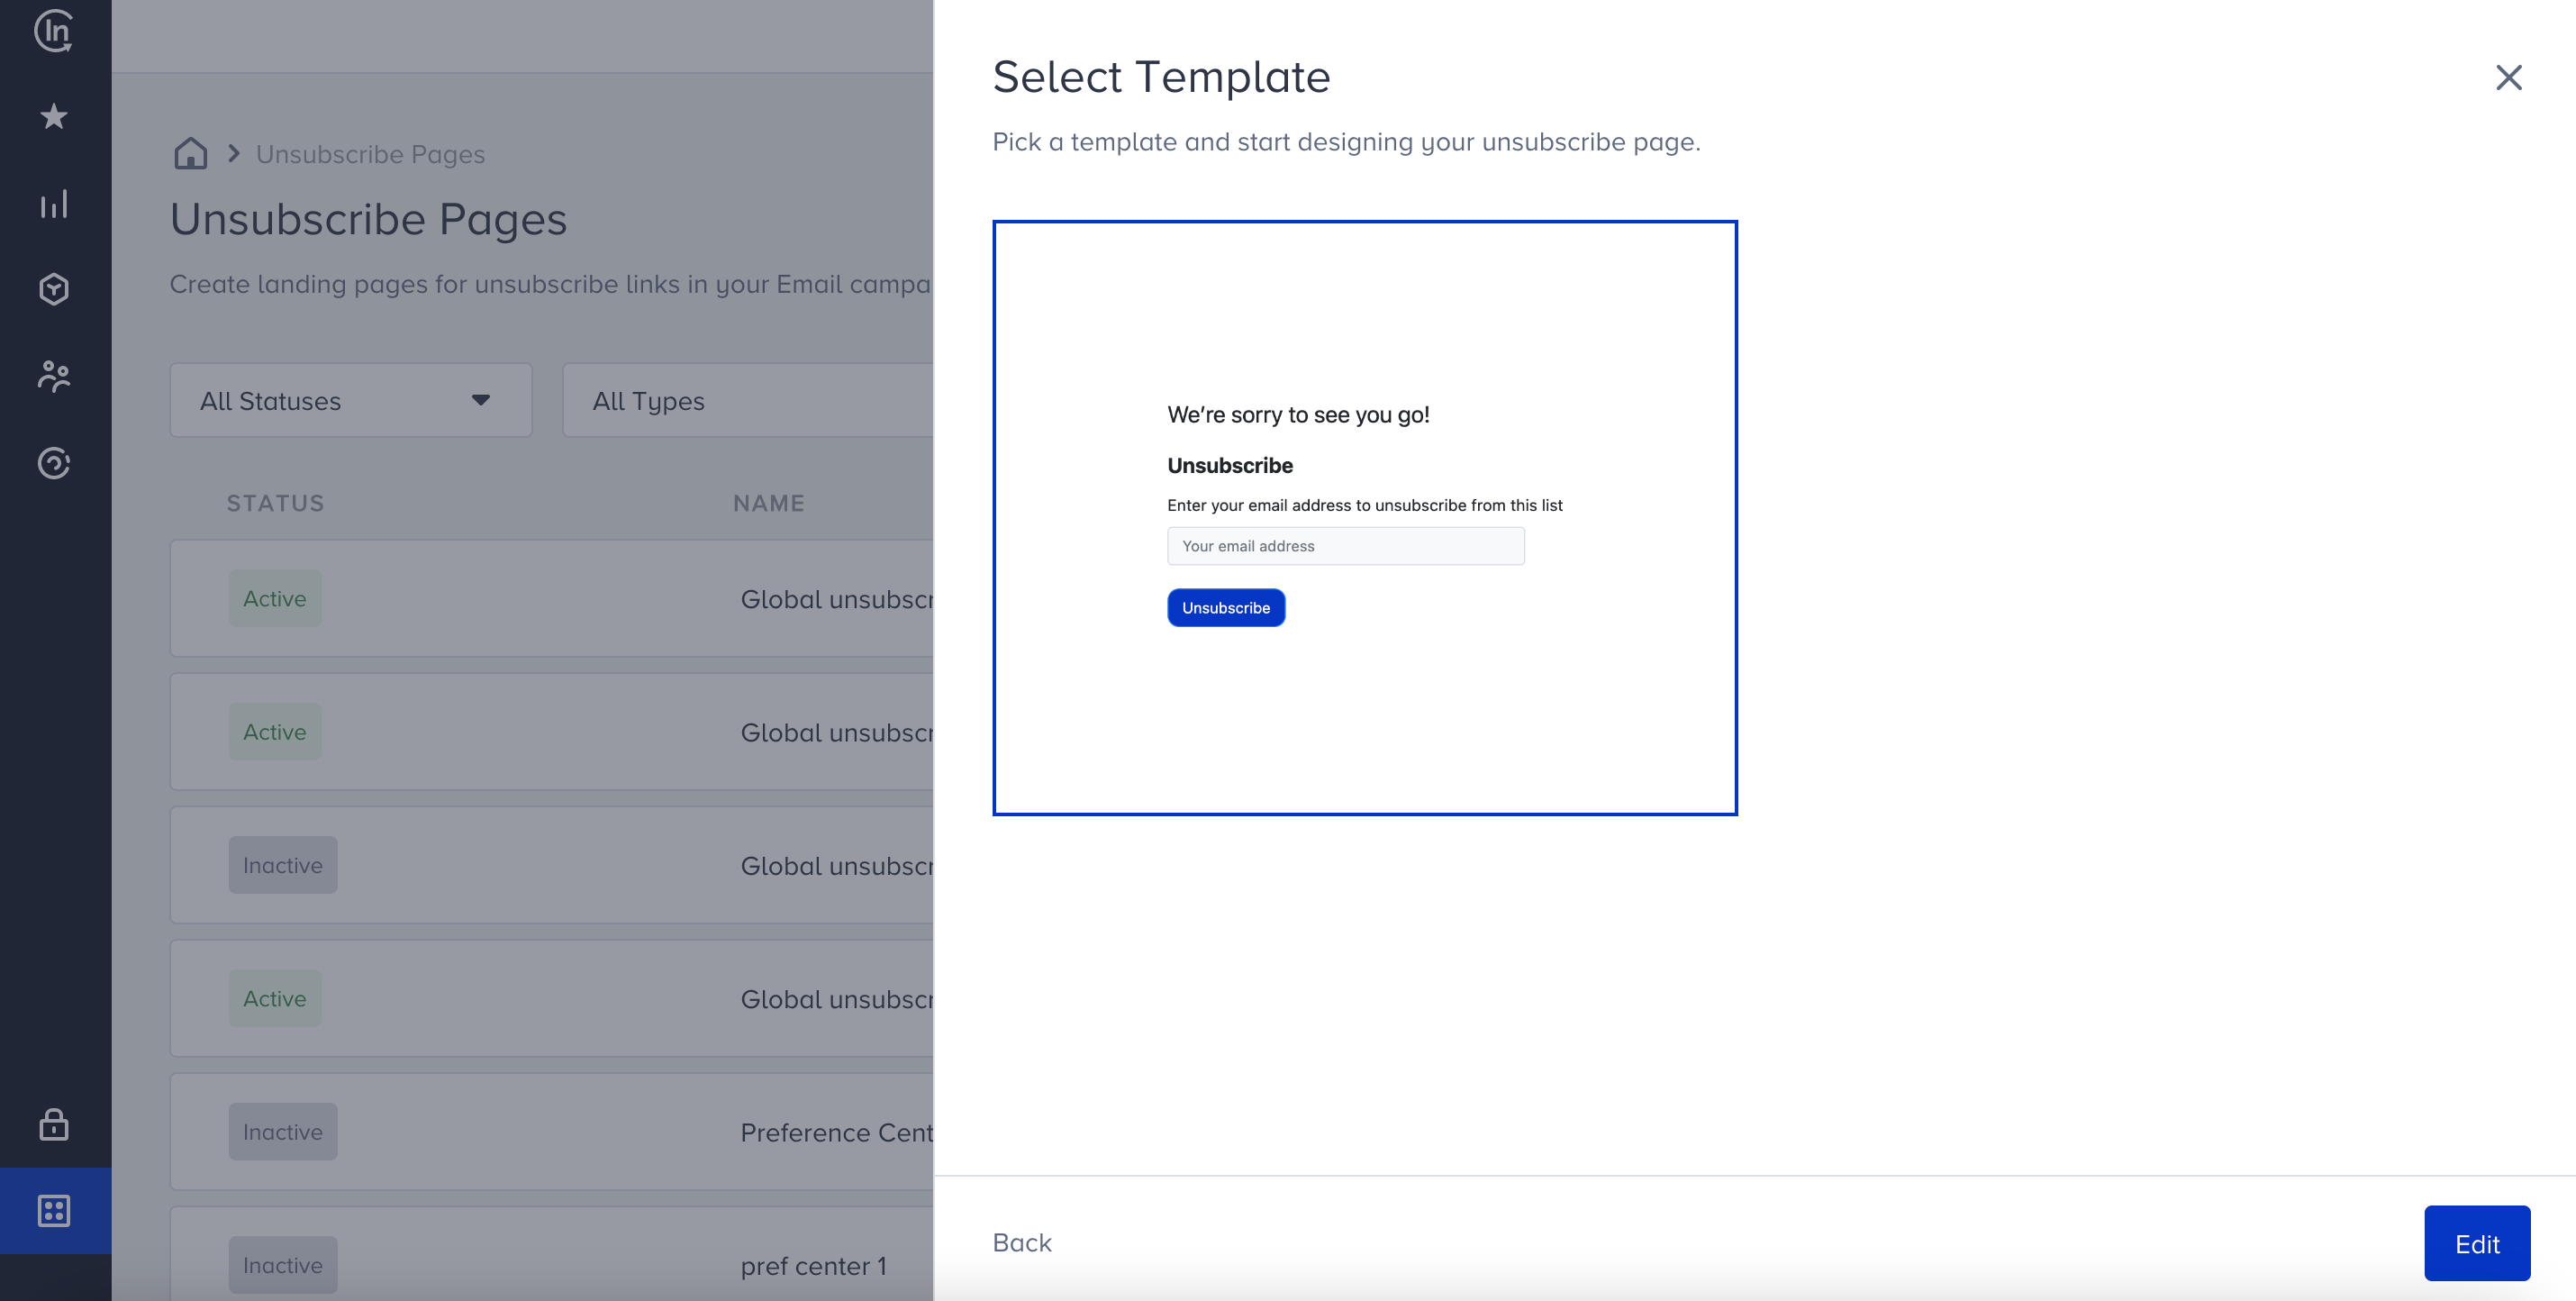
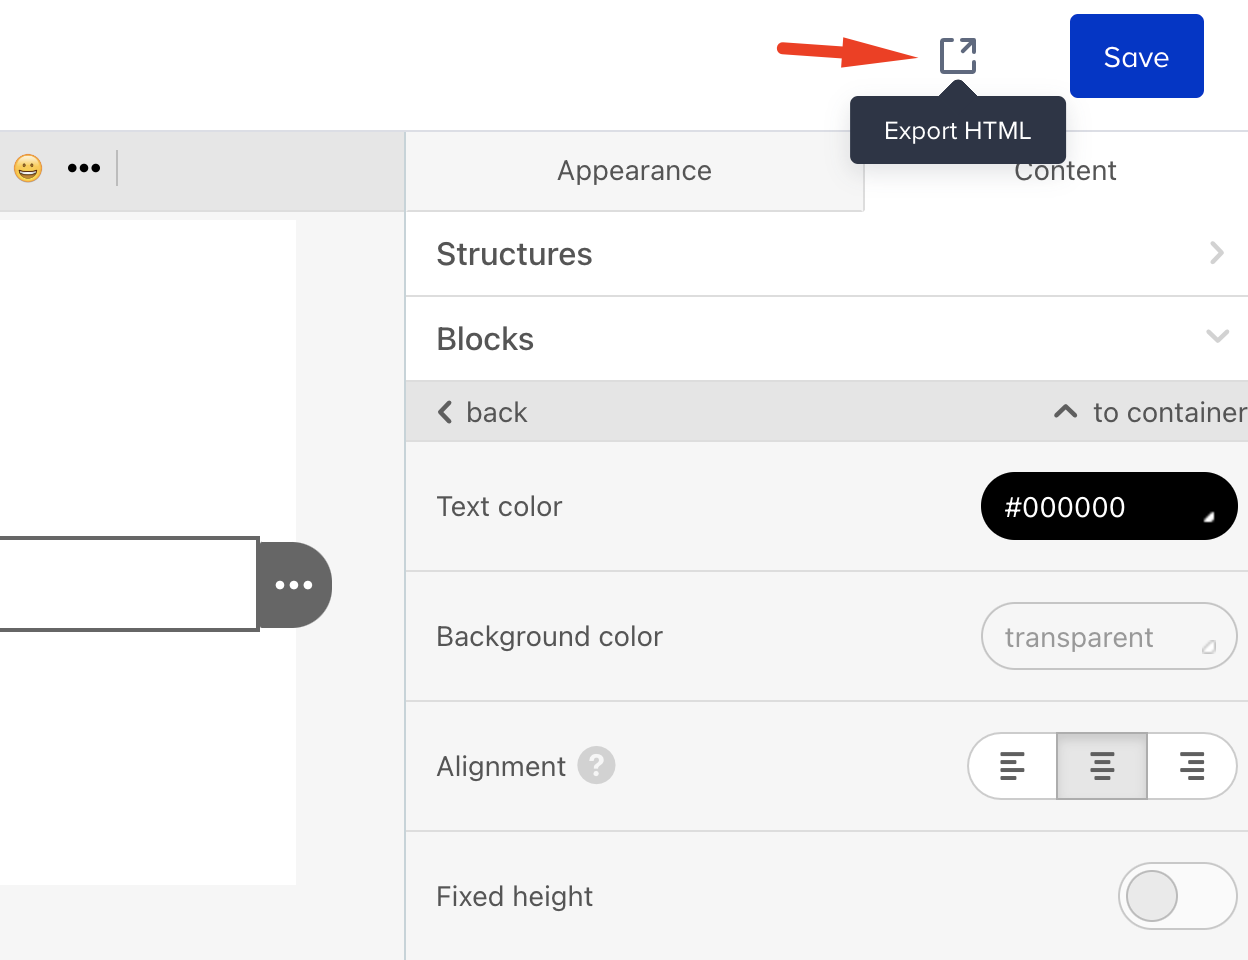
3. Edit your page using the Drag & Drop Editor.
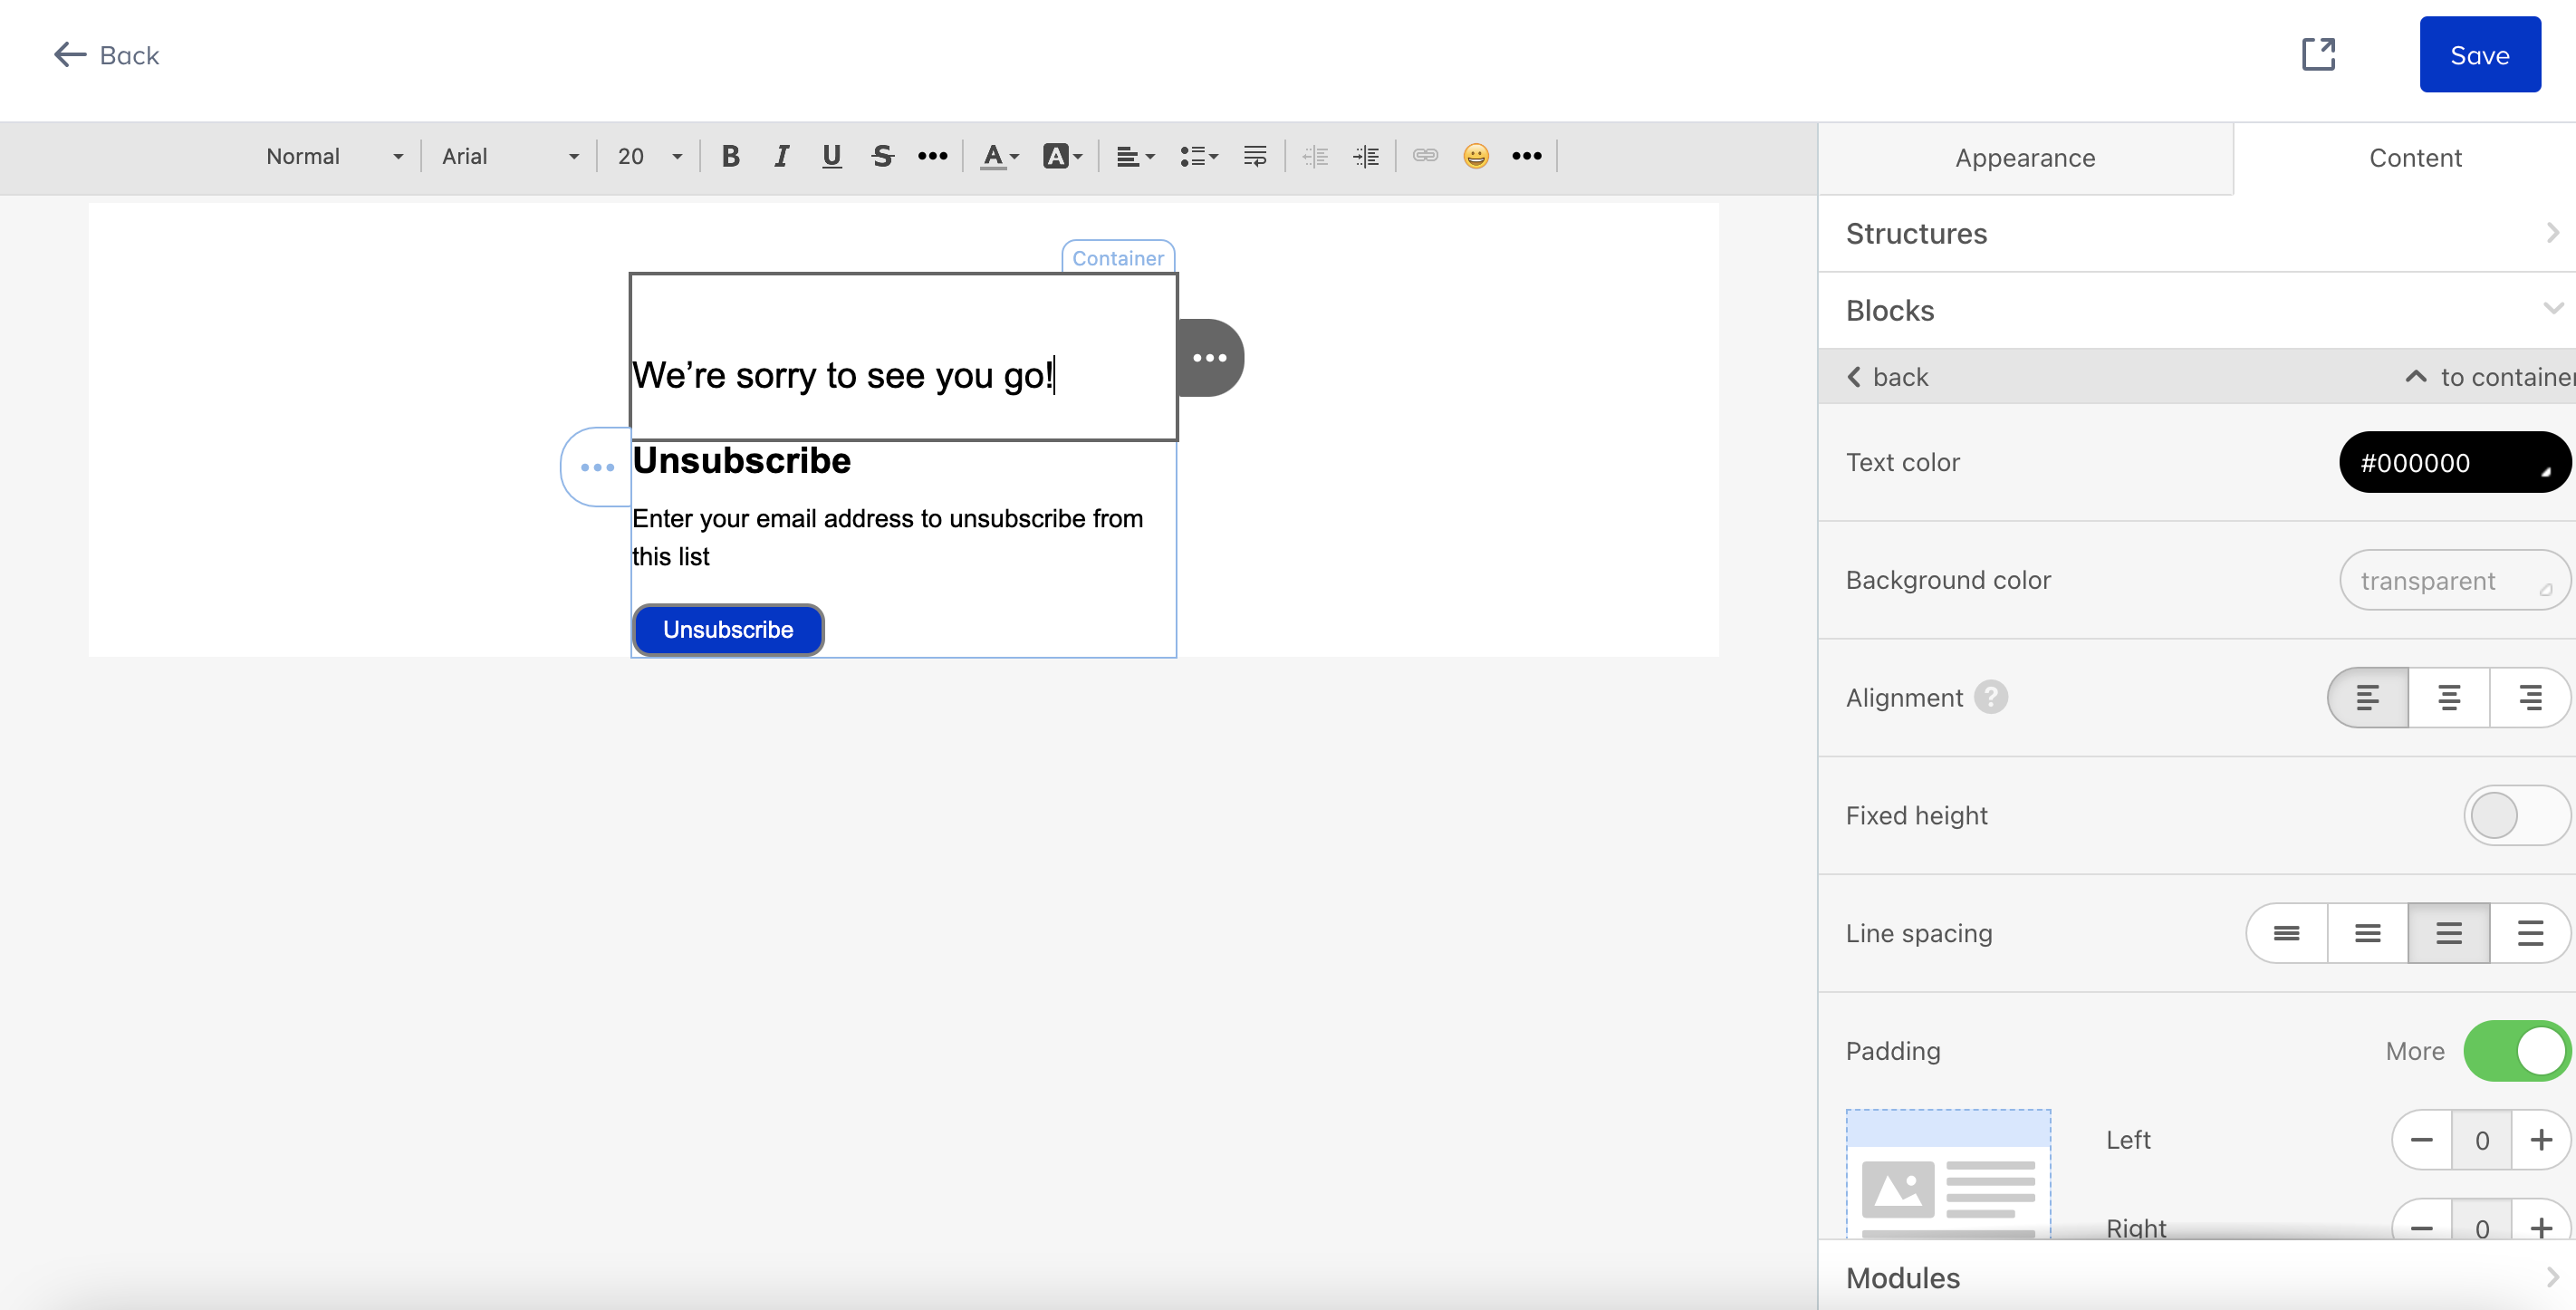
You can customize your message, colors, and logo, change the font properties, and customize the look of your page.
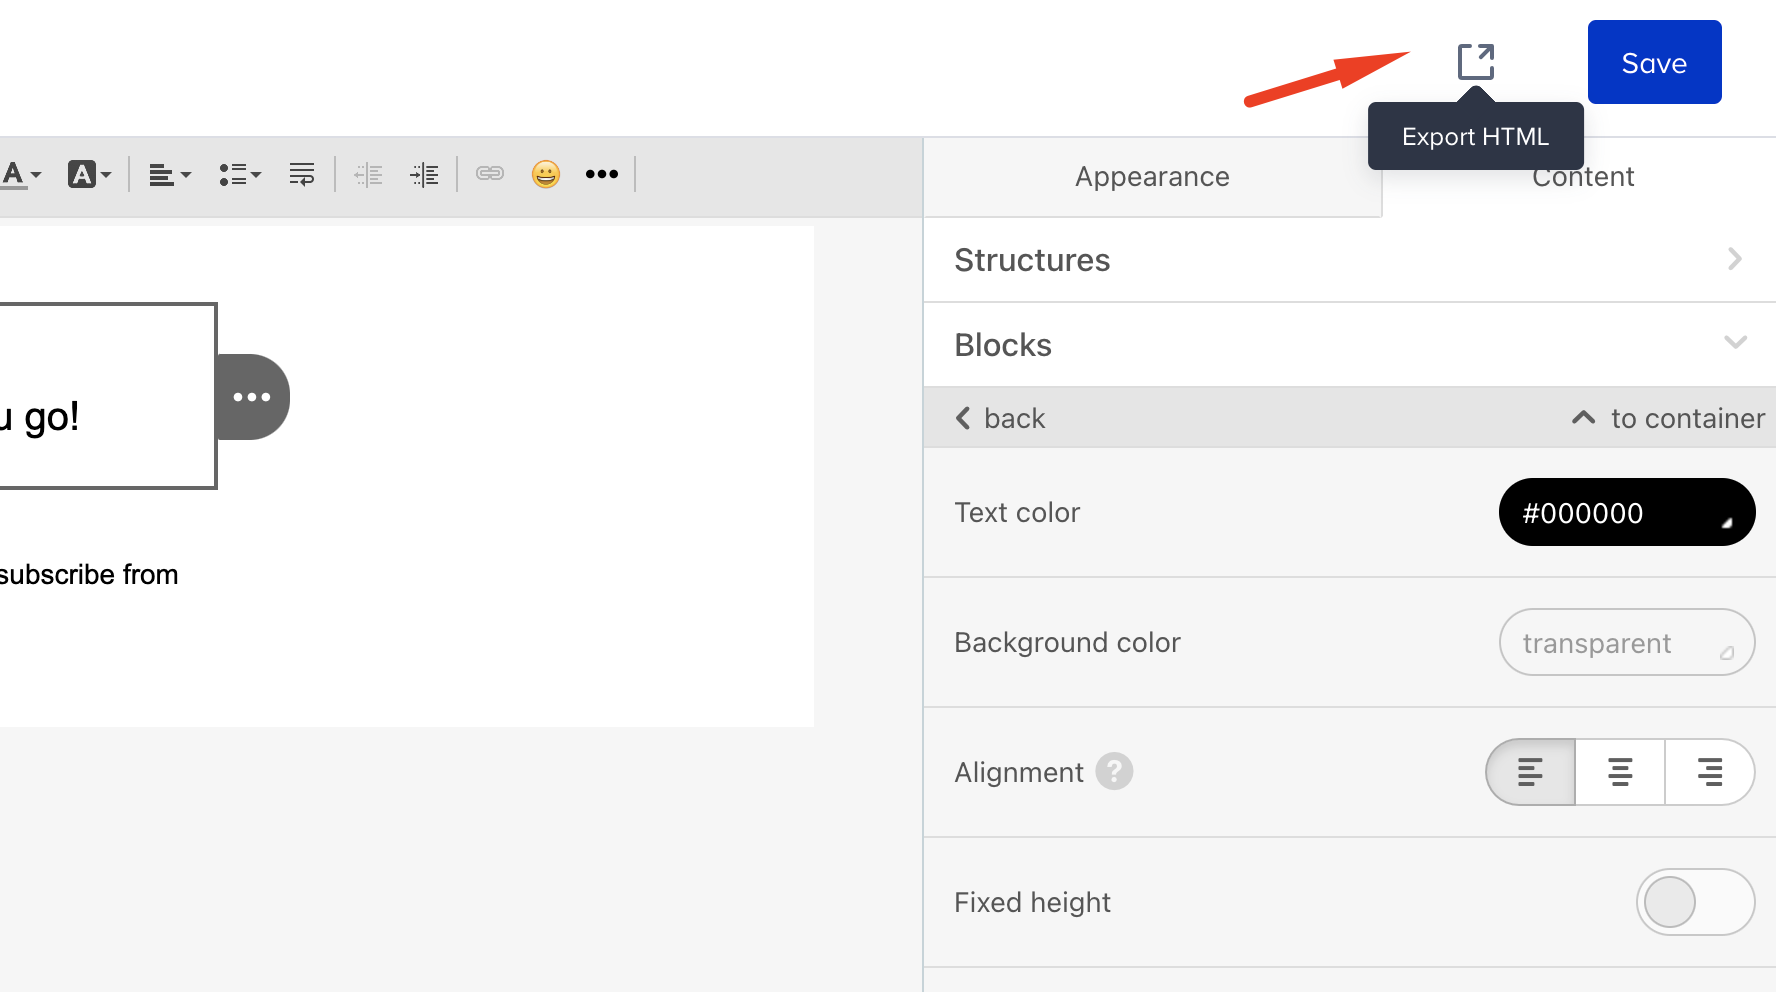
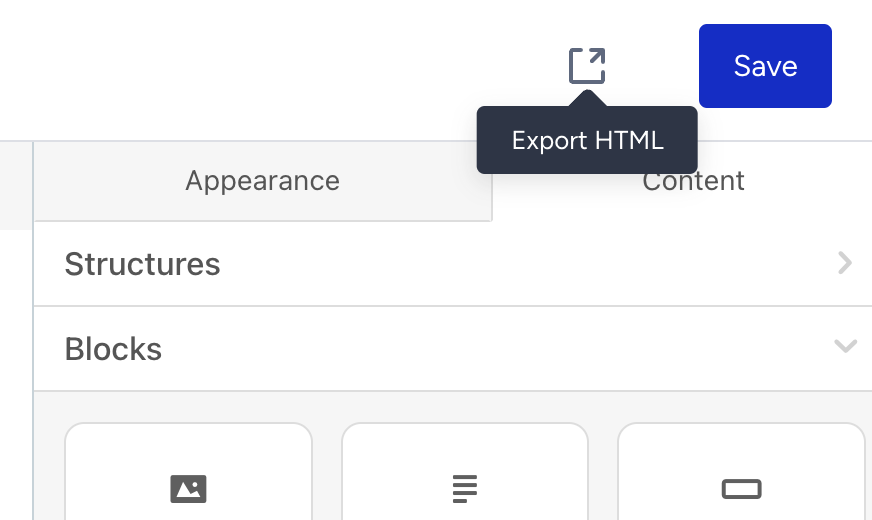
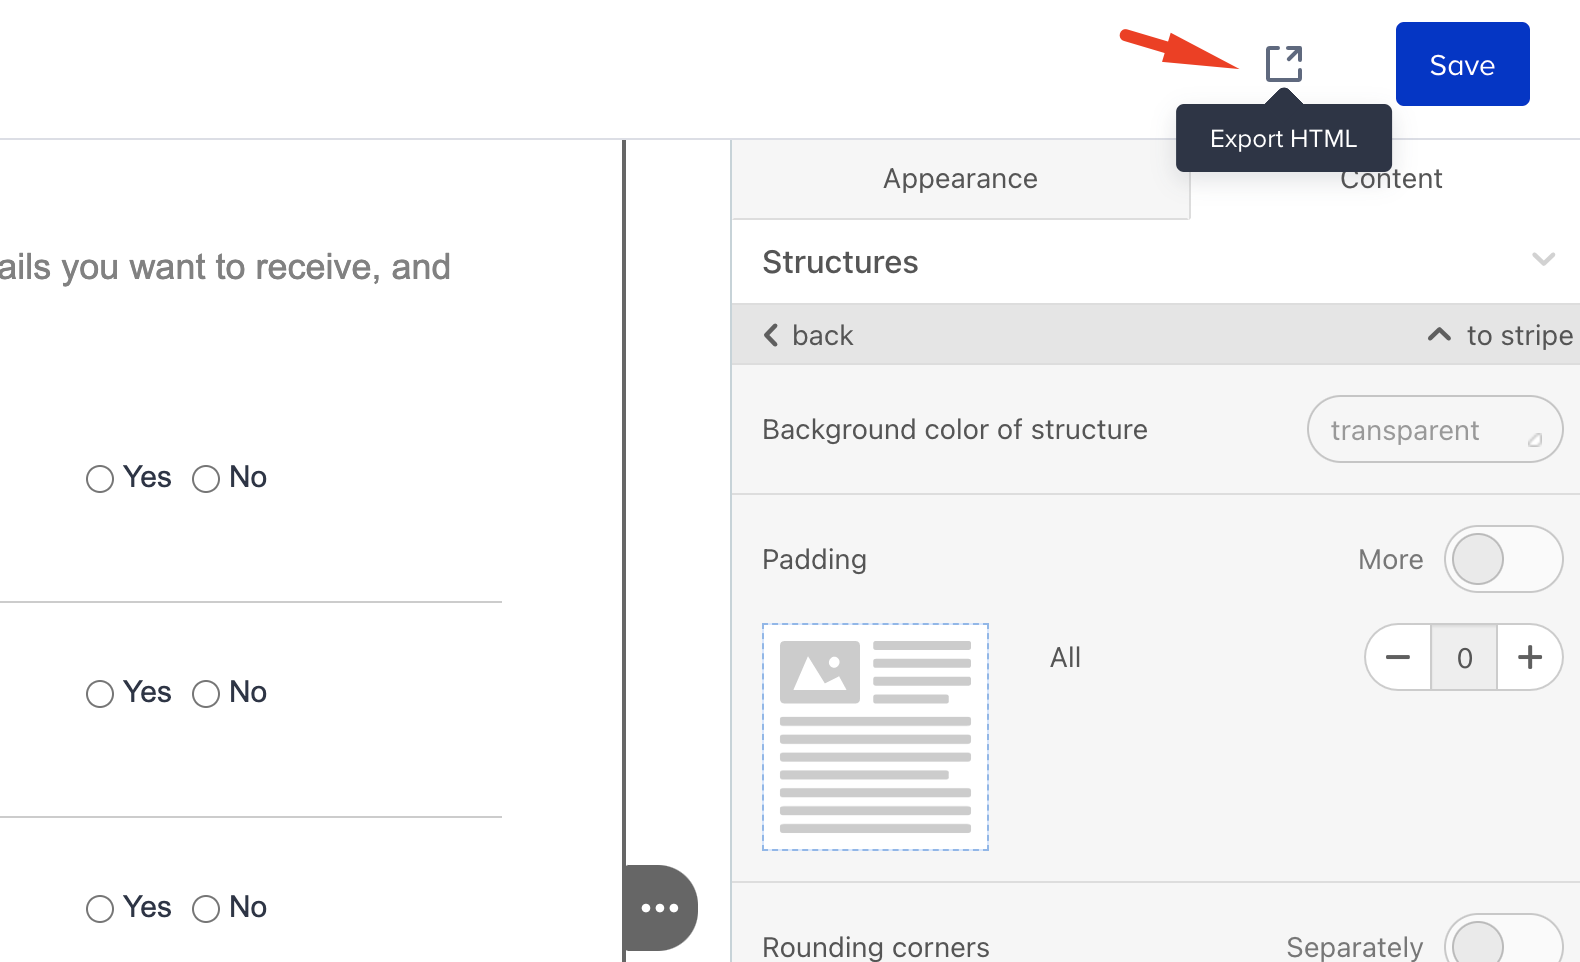
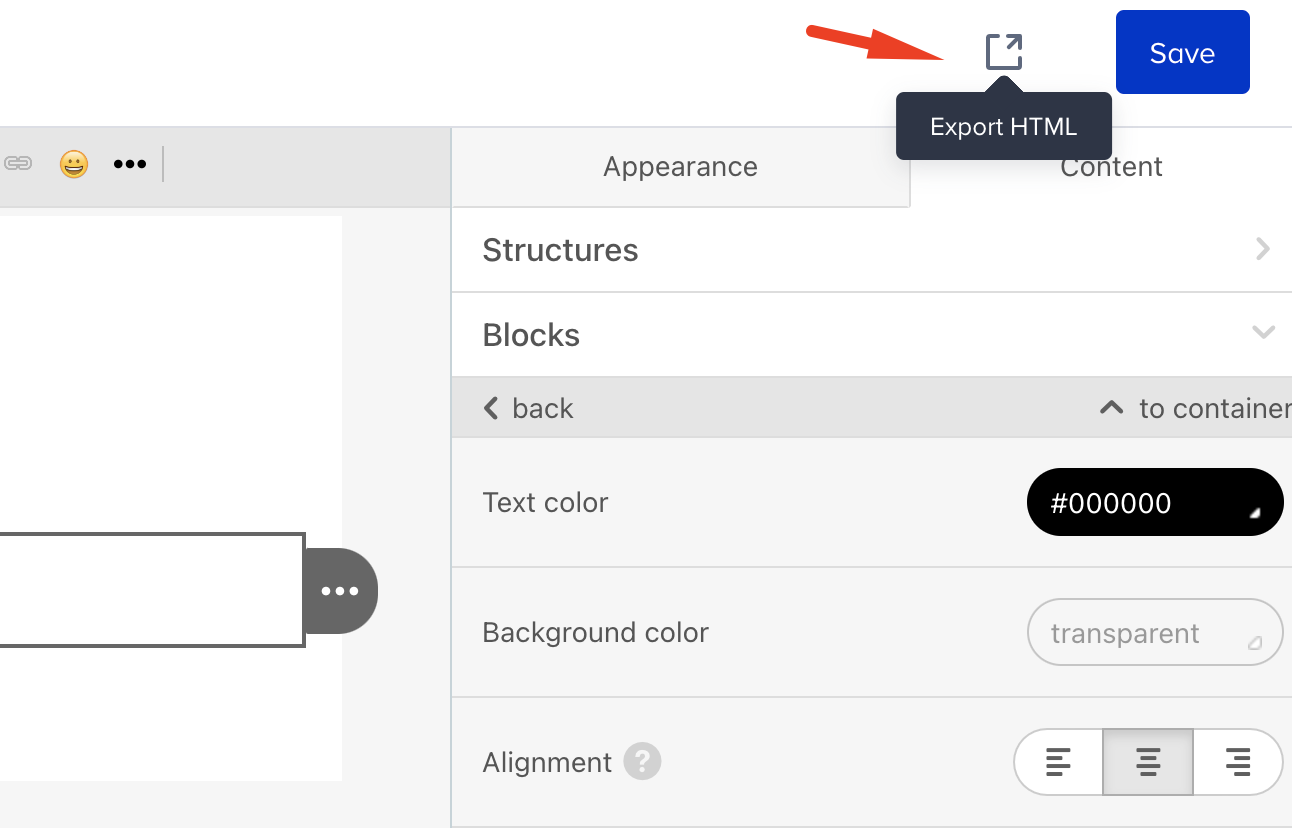
4. Once you complete designing your update, click the Export HTML button at the top of the page.
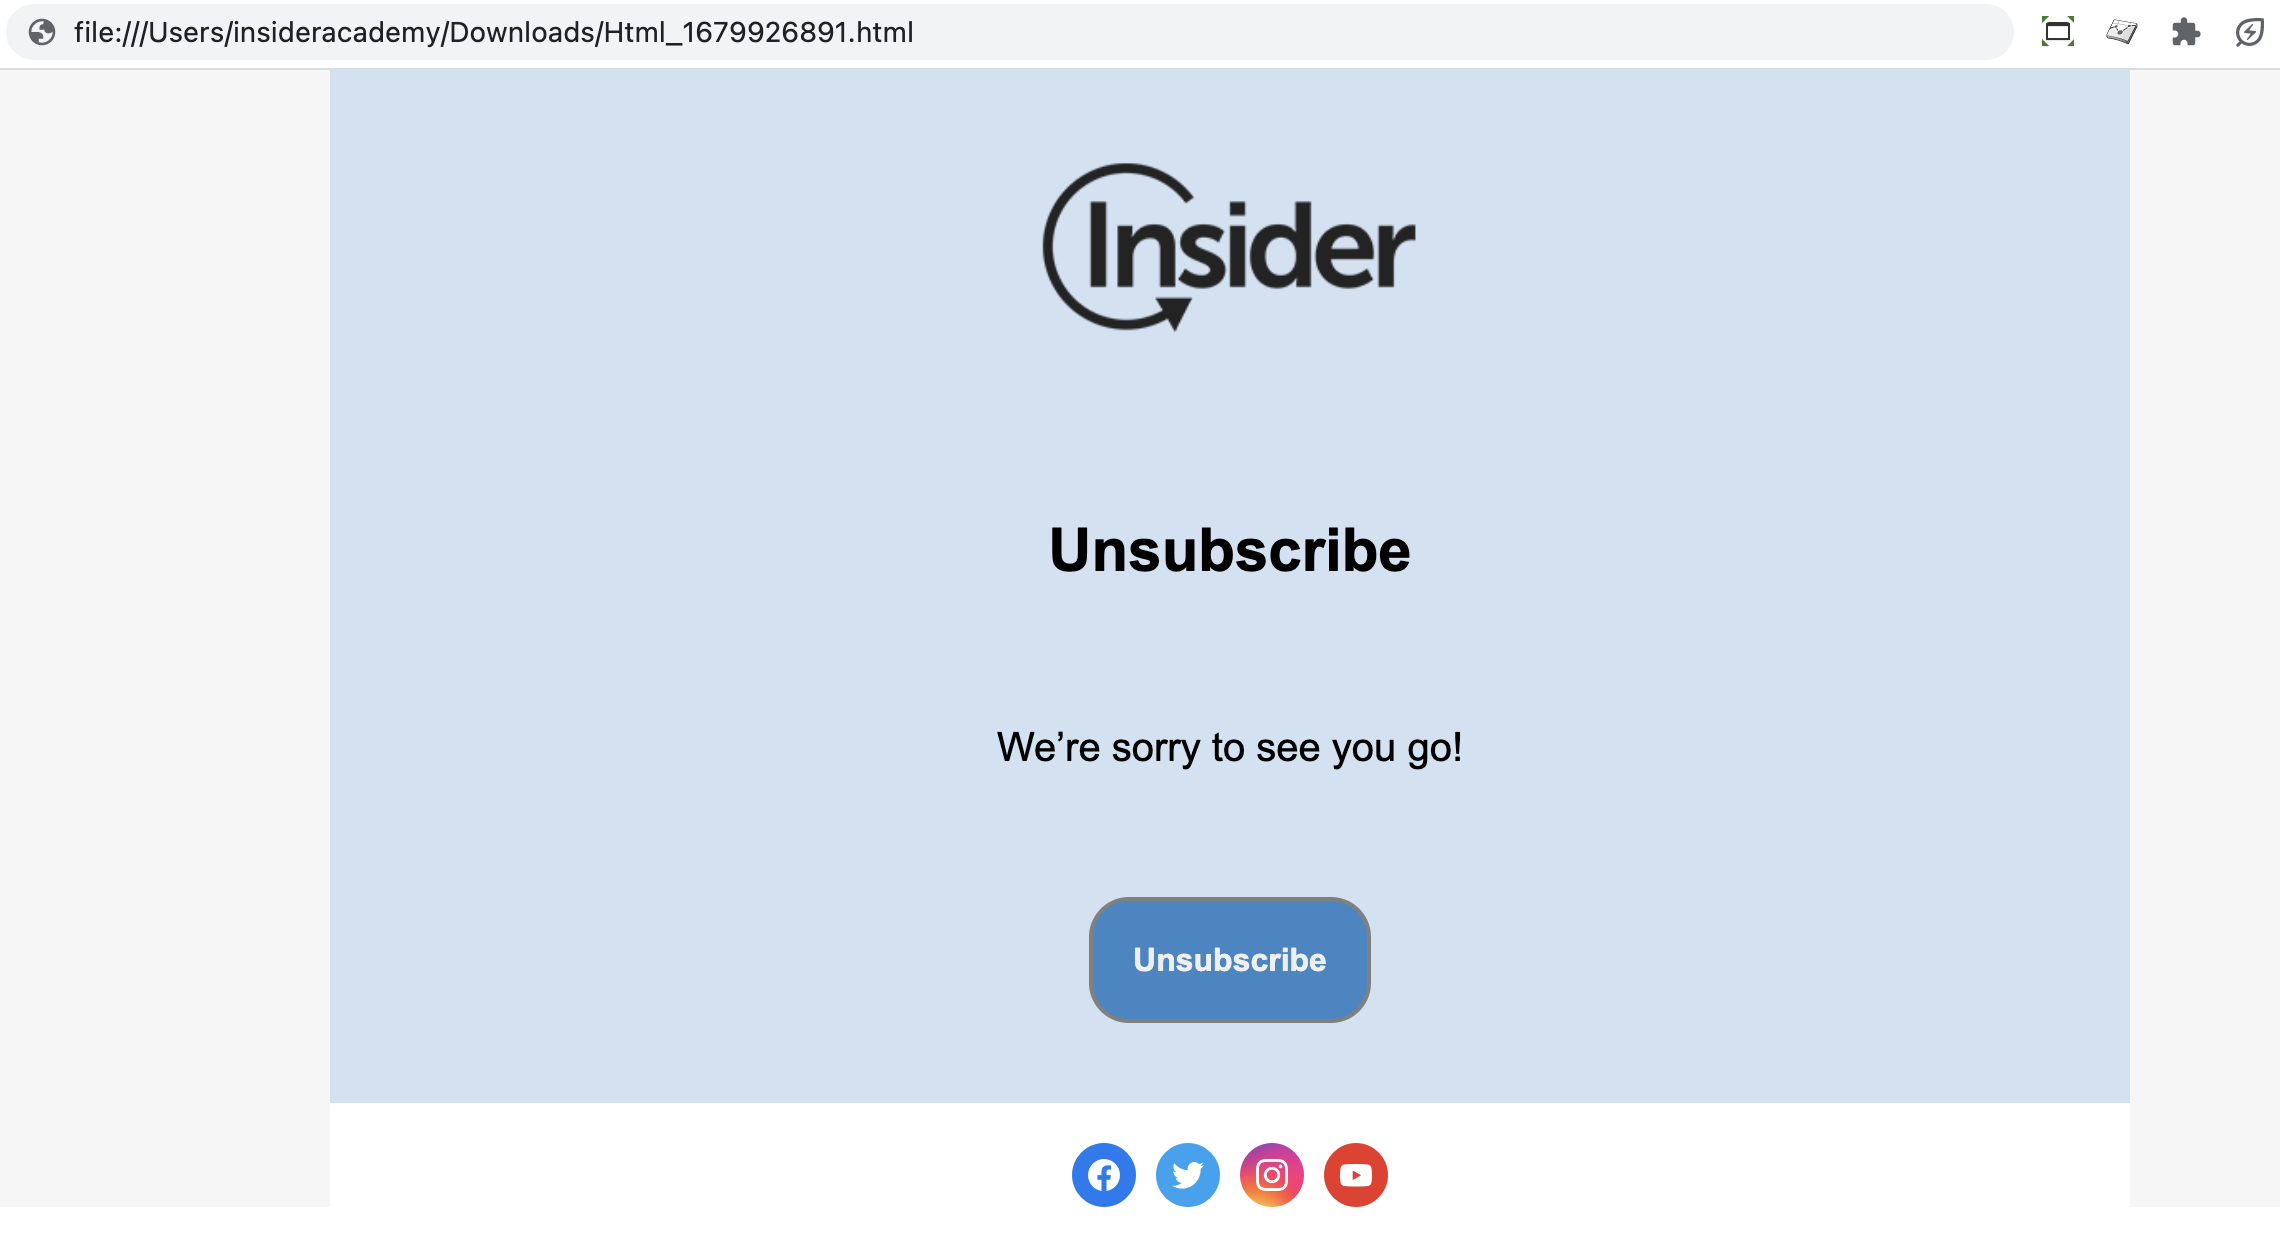
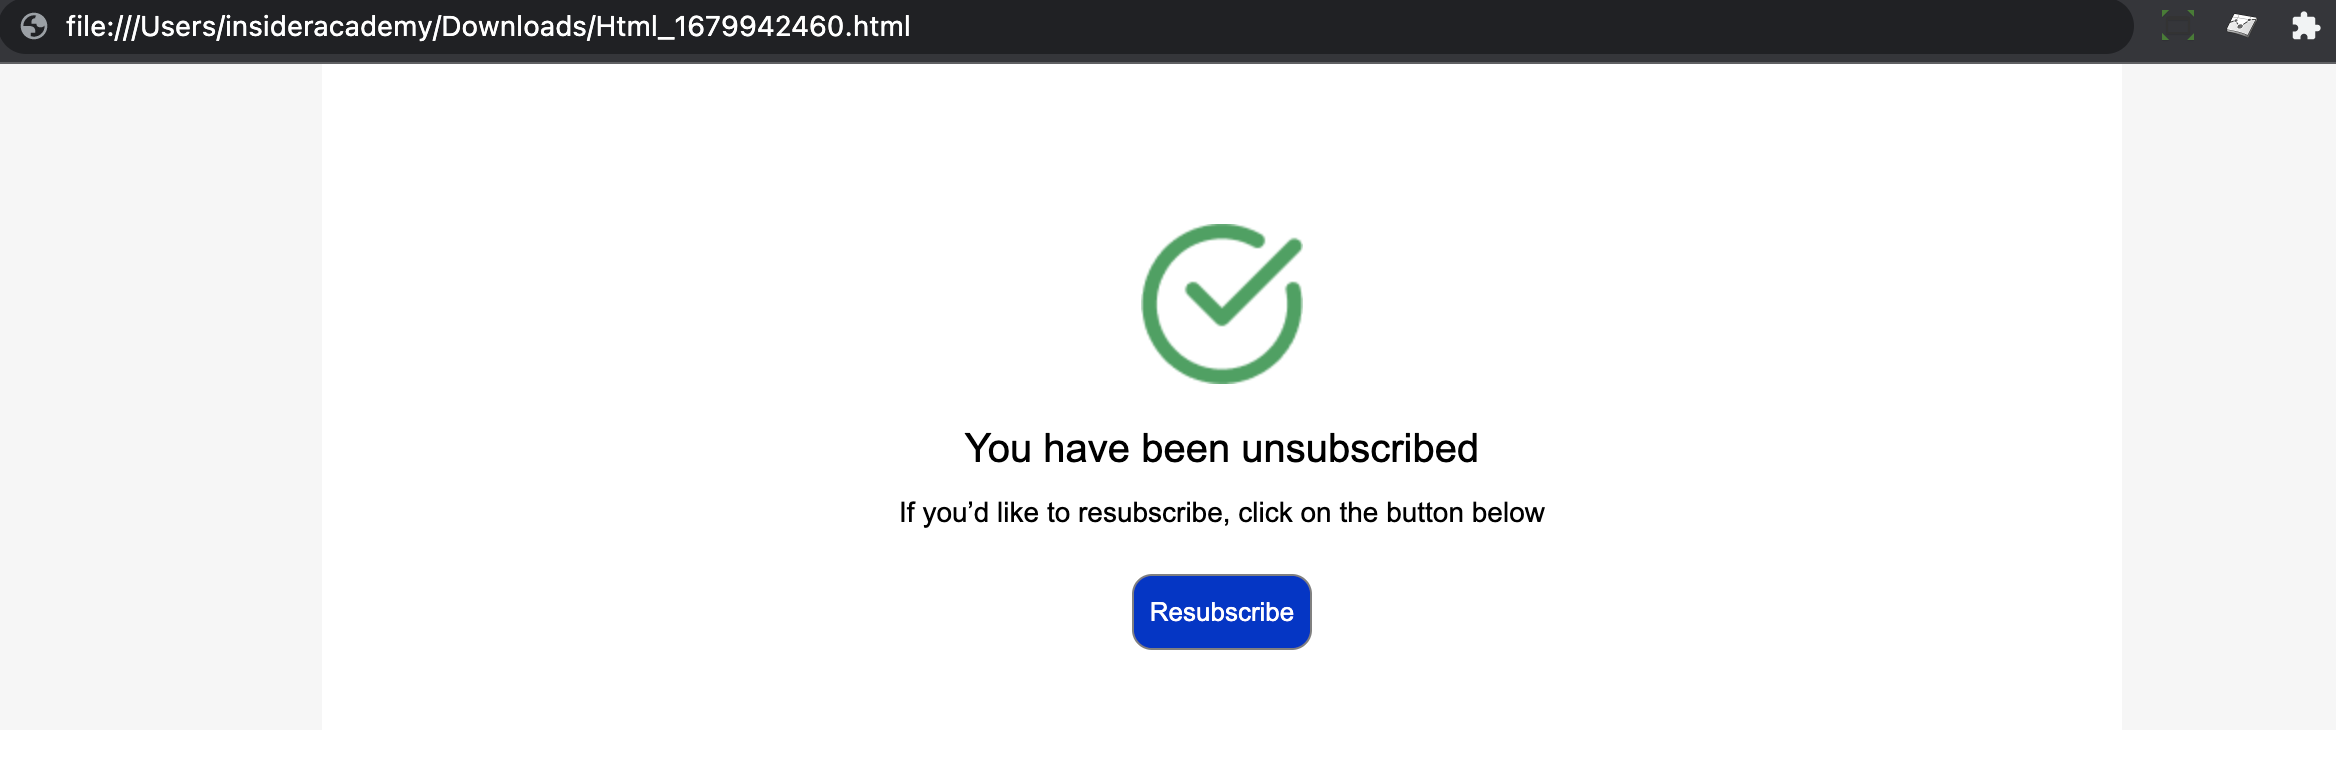
5. Open the downloaded file on your browser to see a preview of your page.
Video: Create a global unsubscribe page
See below for a step-by-step video showing how to tailor your Global Unsubscribe page.
Global Unsubscribe Confirmation
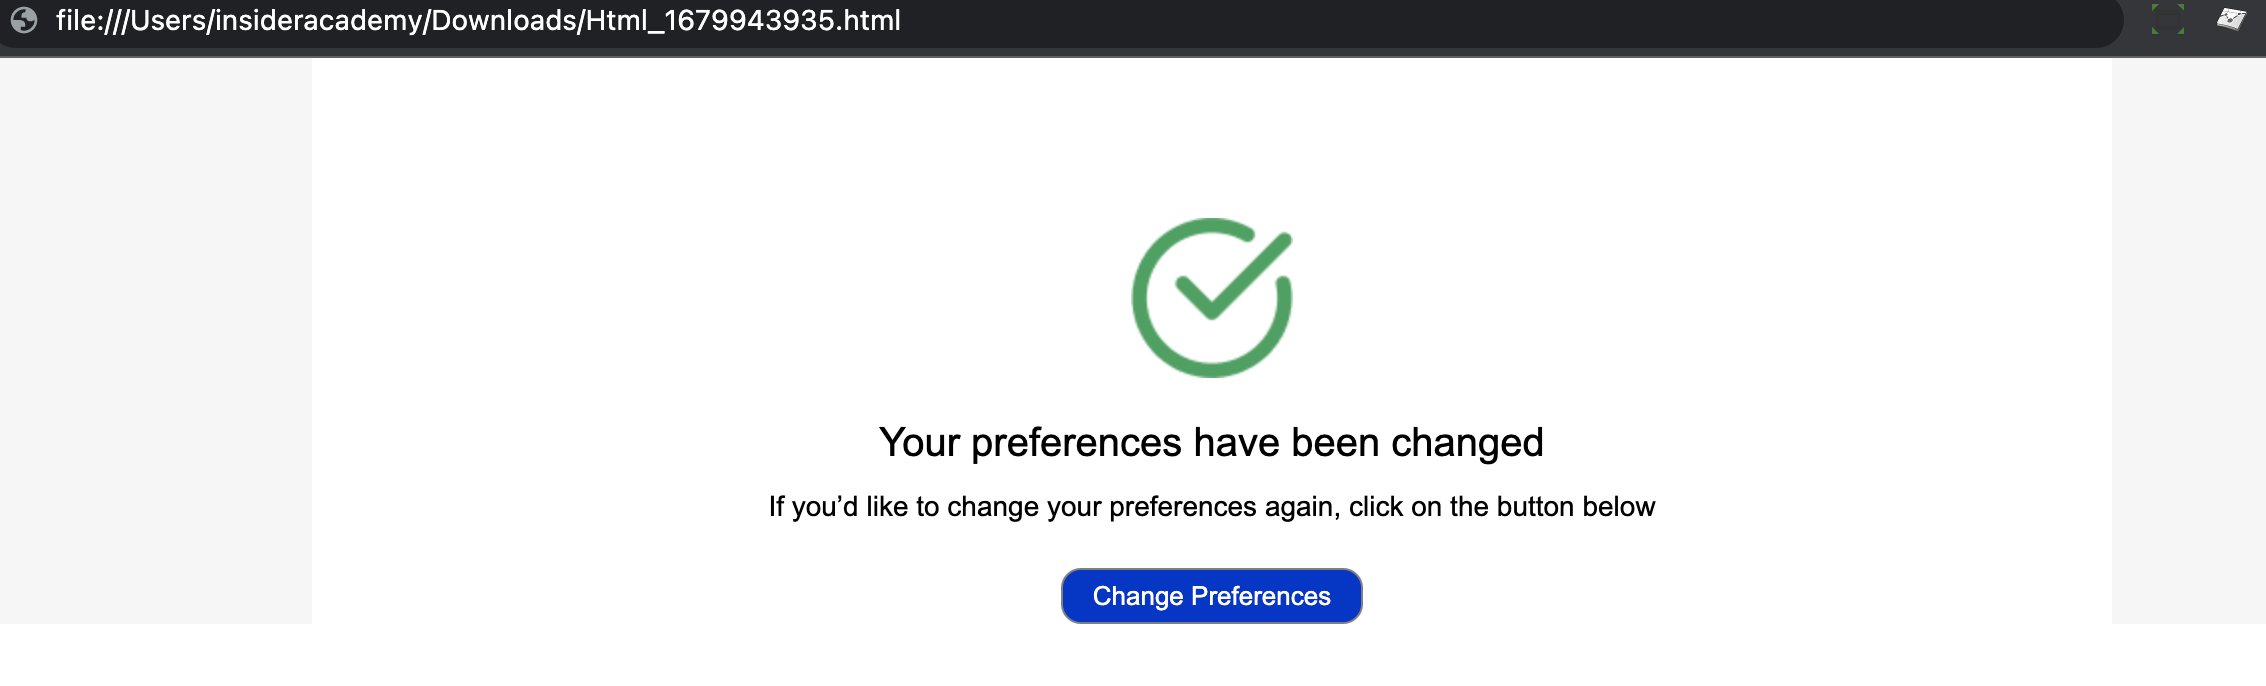
You can design a Global Unsubscribe Confirmation page to validate your users' opt-out.
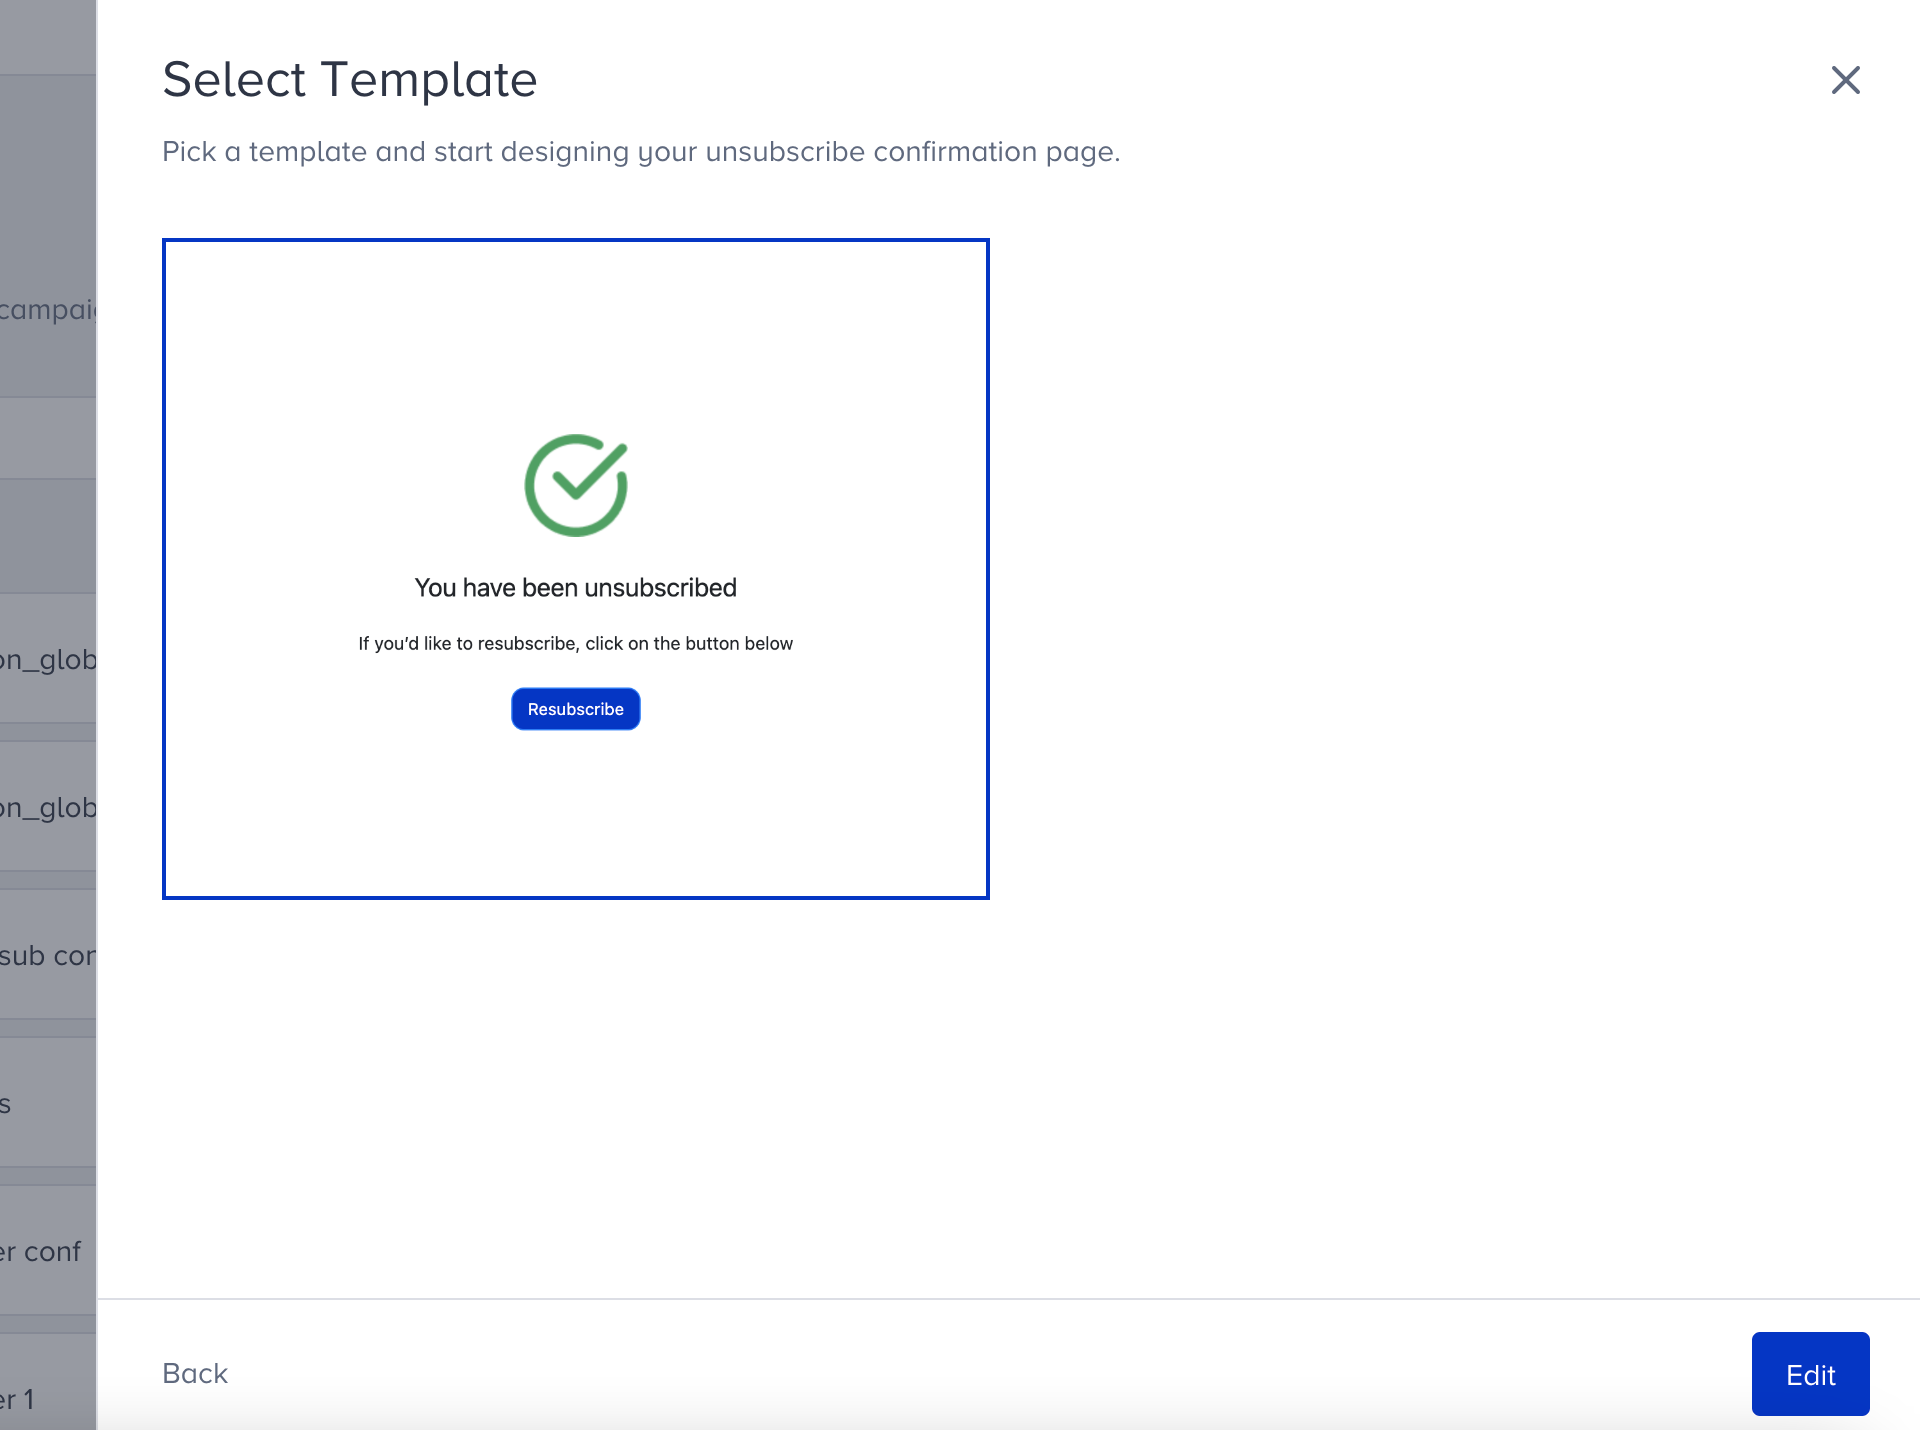
1. Select the Global Unsubscribe Confirmation page, name your page, and click the Next button.
2. Select the template to start designing your page, and click the Edit button.
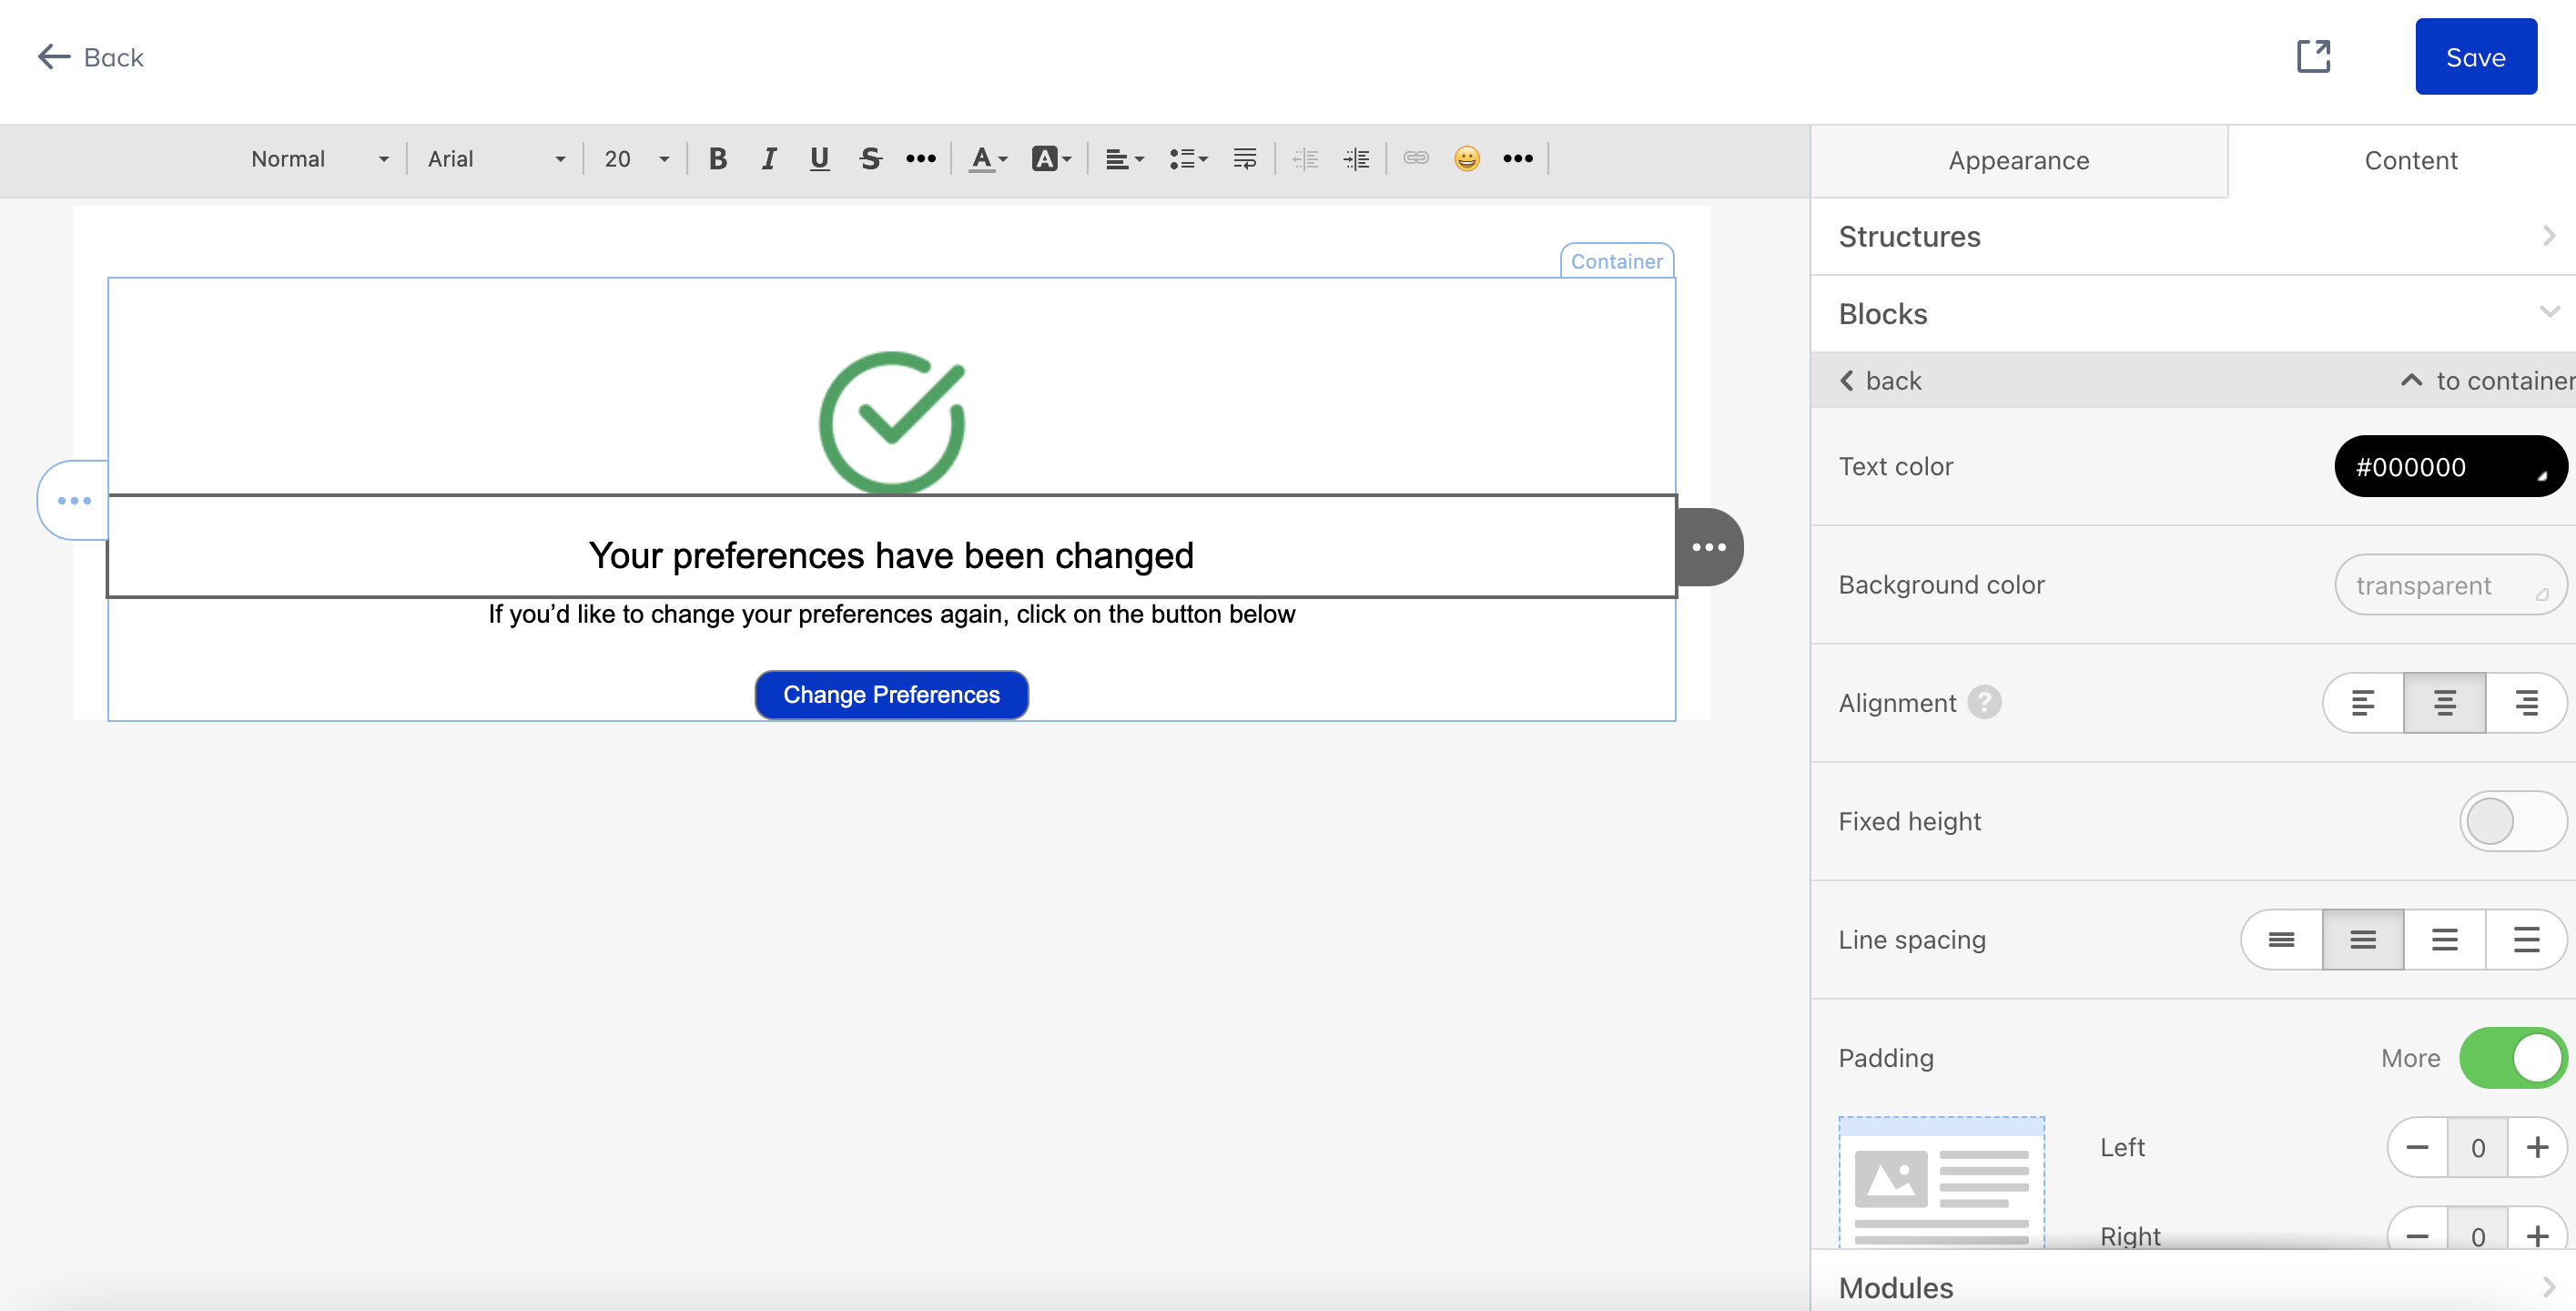
3. Edit your page using the Drag & Drop Editor.

You can customize your message, colors, and logo, change the font properties, and customize the look of your page.
4. Once you complete designing your update, click the Export HTML button at the top of the page.
5. Open the downloaded file on your browser to see a preview of your page.
Video: Create a global unsubscribe confirmation page
See below for a step-by-step video showing how to tailor your Global Unsubscribe Confirmation page.
Resubscribe
You can design your Resubscribe page for your users to give them an option to continue receiving your email messages.
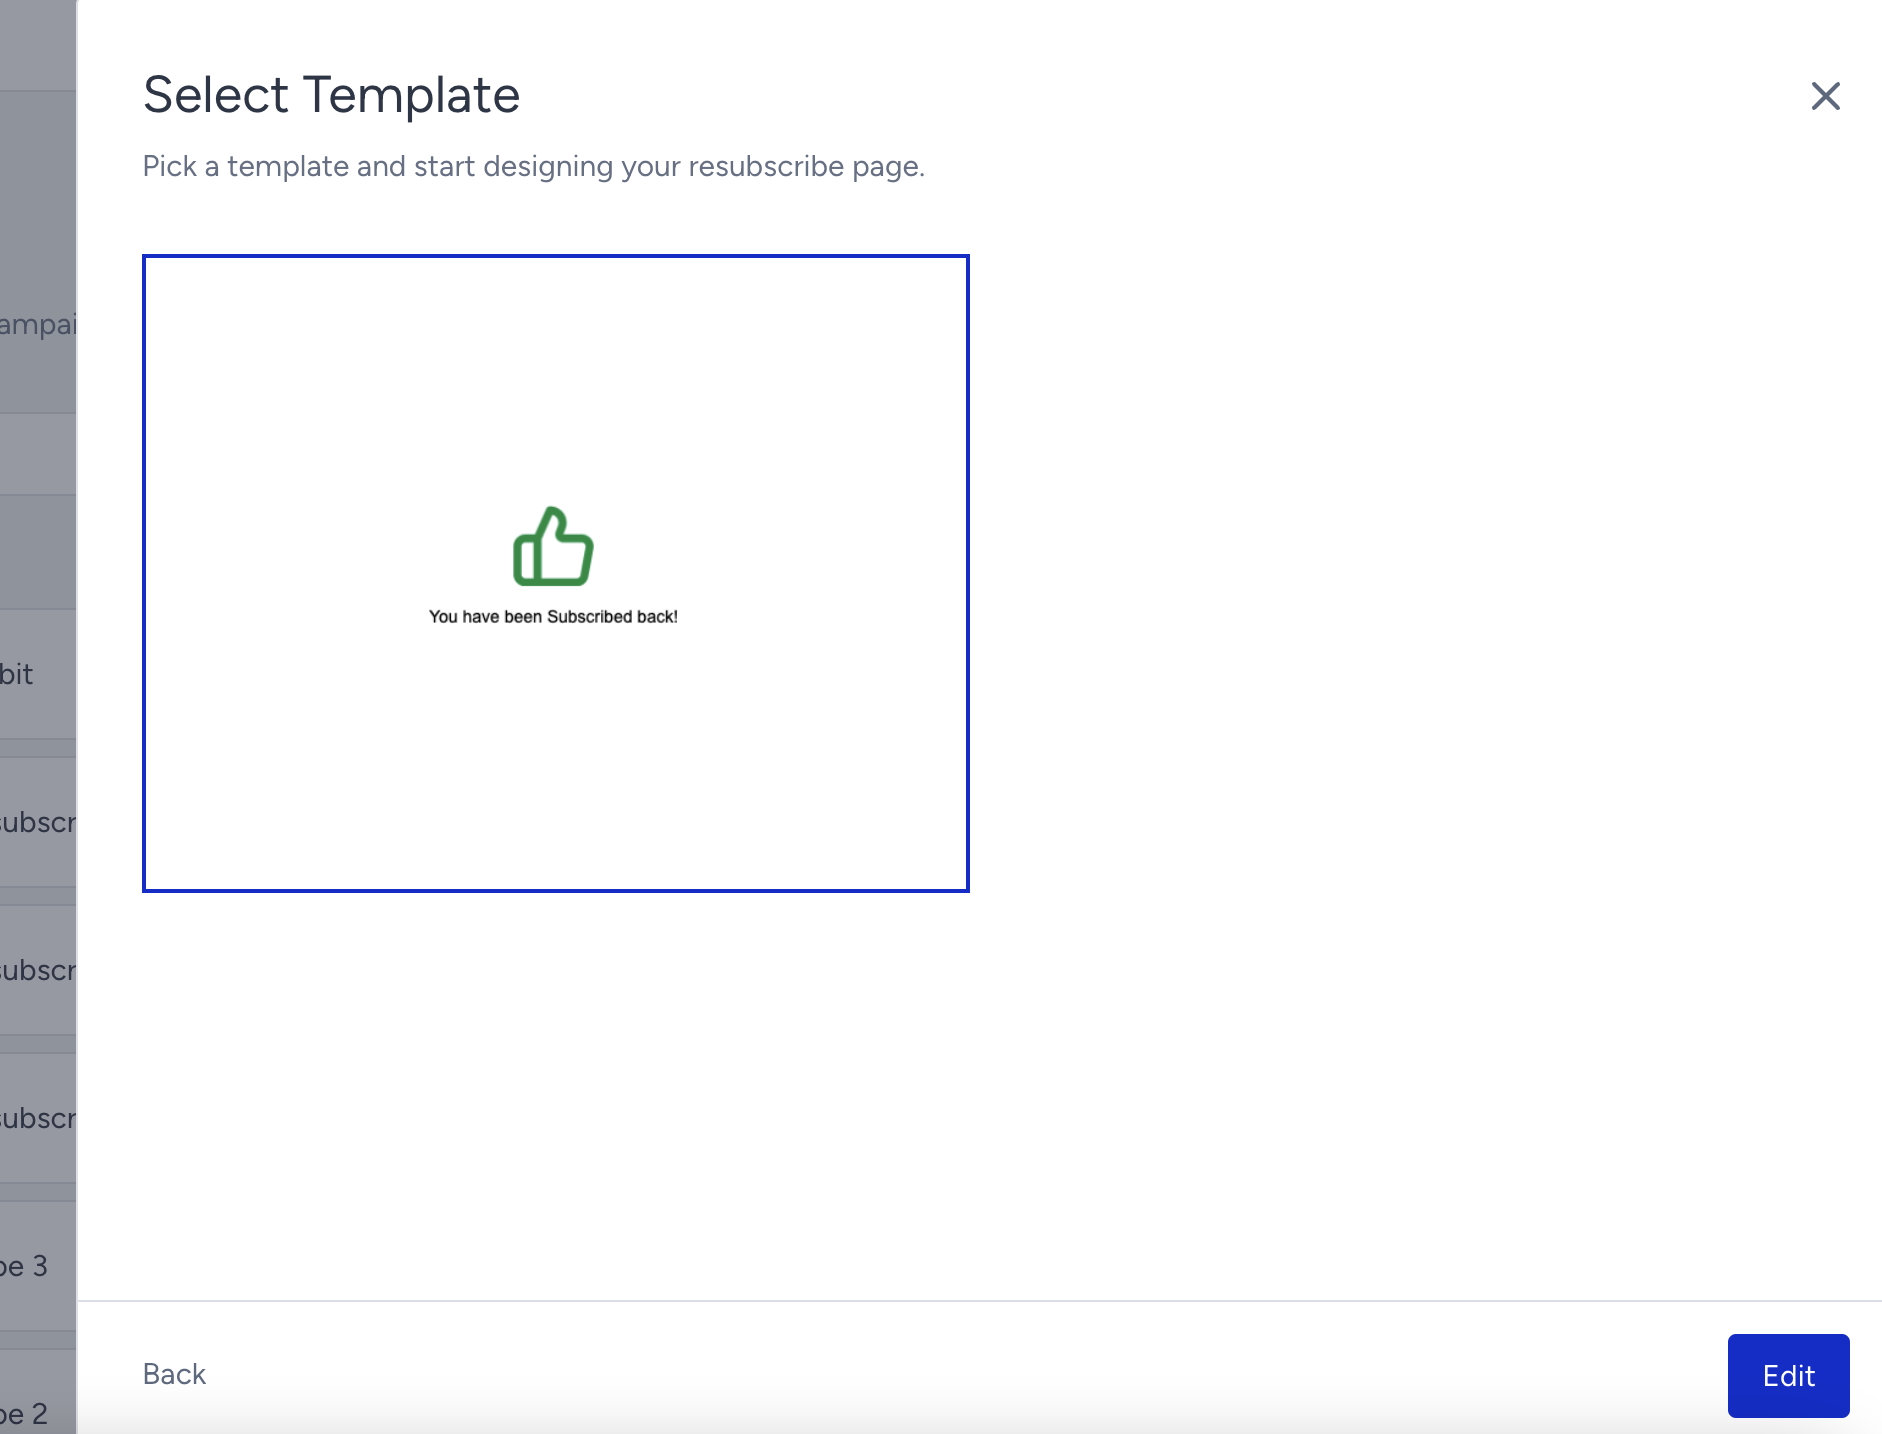
1. Select the Resubscribe page, name your page, and click the Next button.
2. Select the template to start designing your page, and click the Edit button.
3. Edit your page using the Drag & Drop Editor.
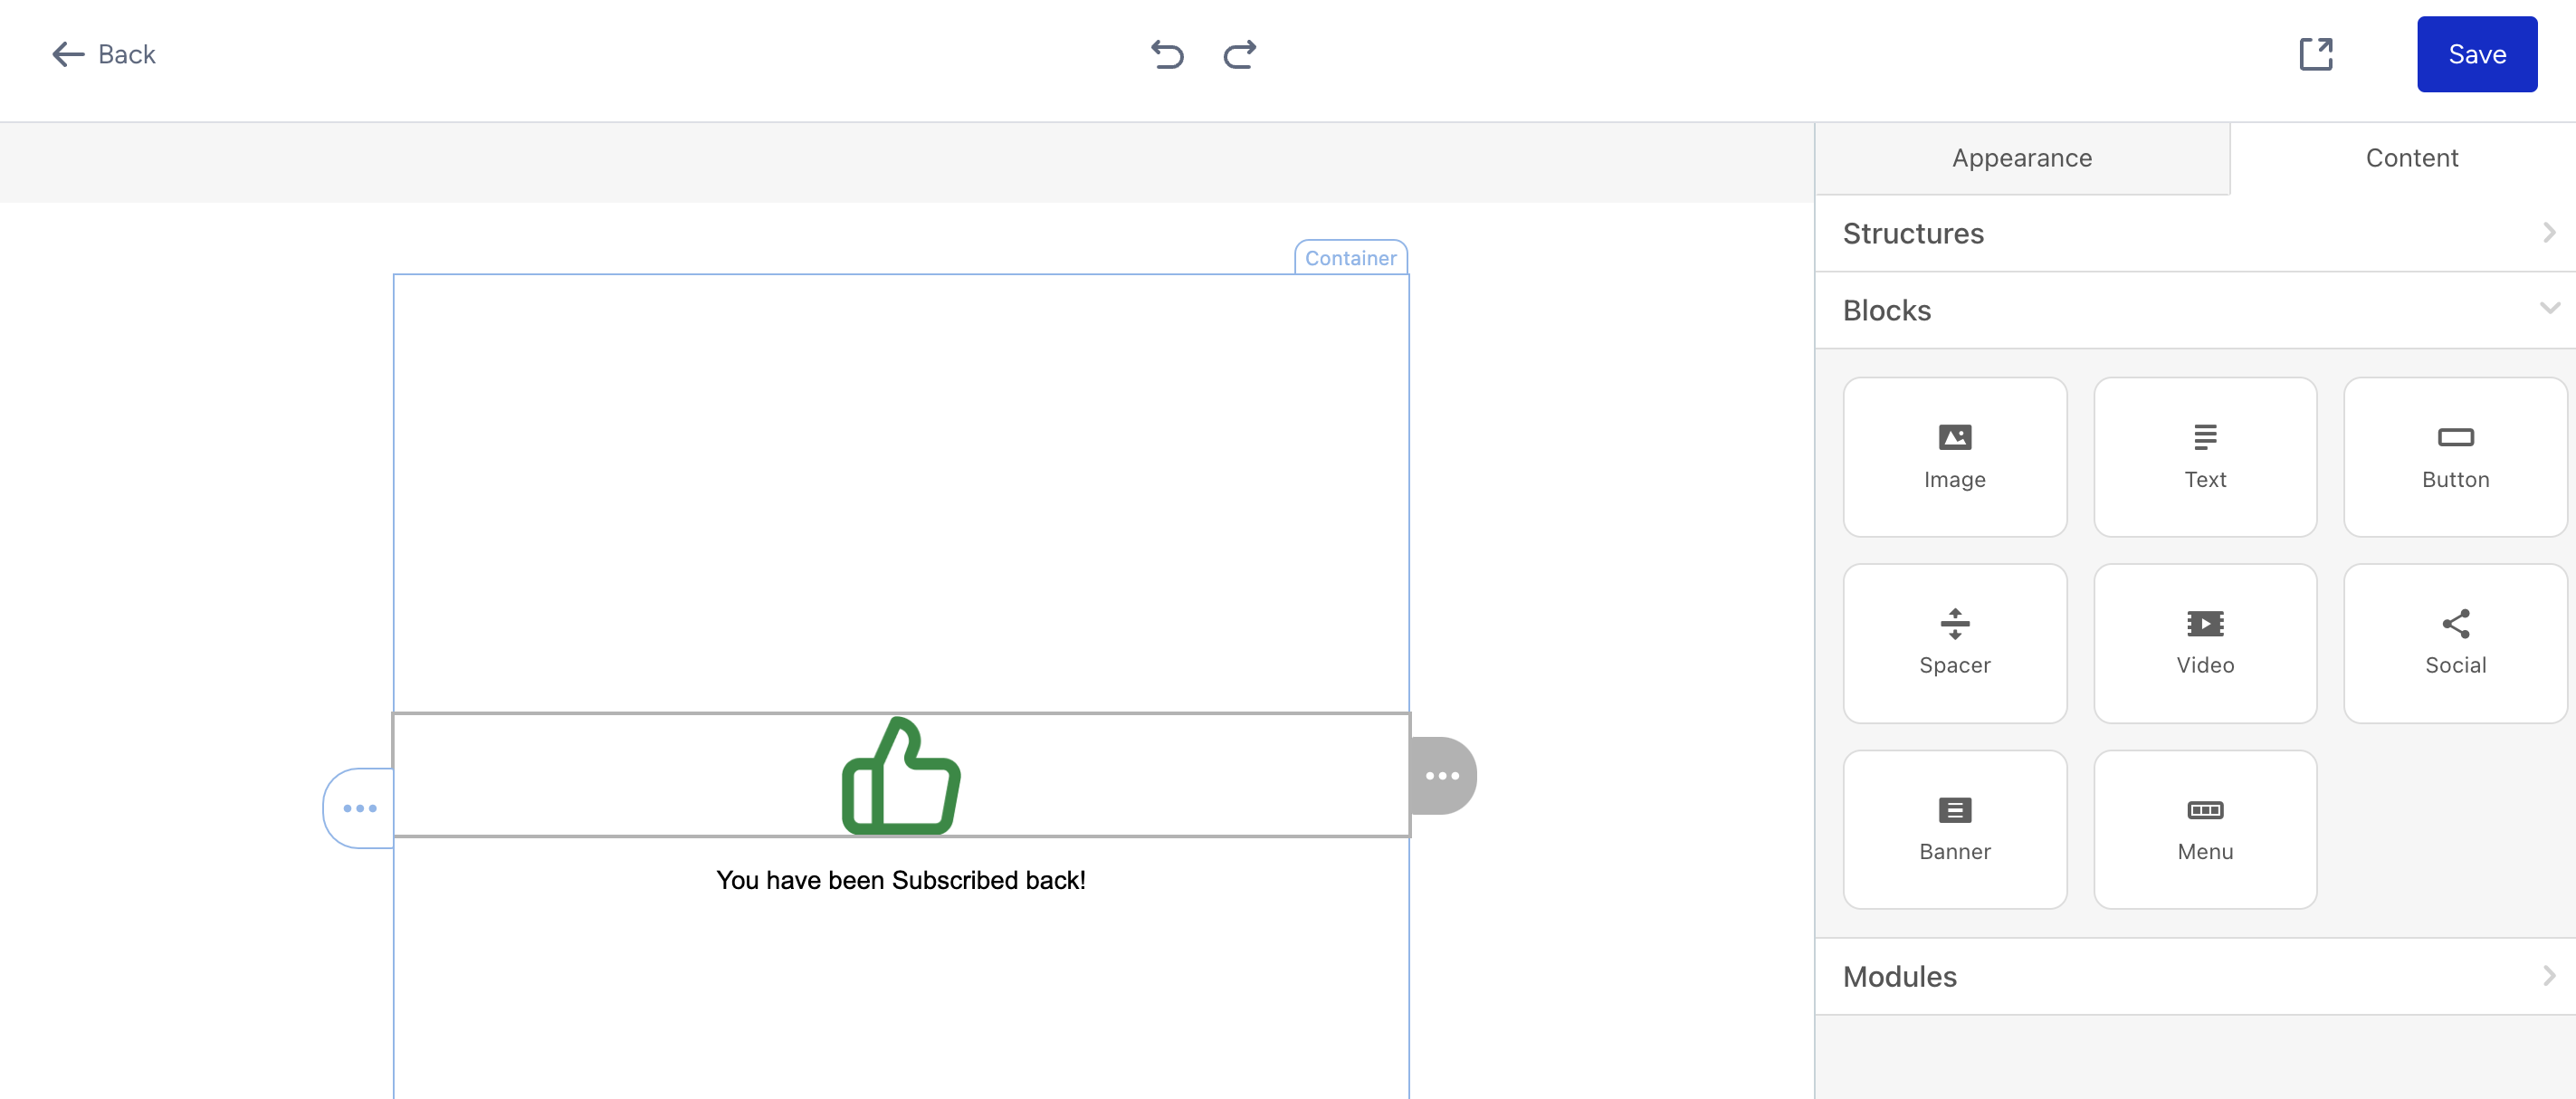
You can customize your message, colors, and logo, change the font properties, and customize the look of your page.
4. Once you complete designing your update, click the Export HTML button at the top of the page, and open the downloaded file on your browser to see a preview of your page.
Video: Add a resubscribe page to the global unsubscribe flow
Subscription Preferences Center
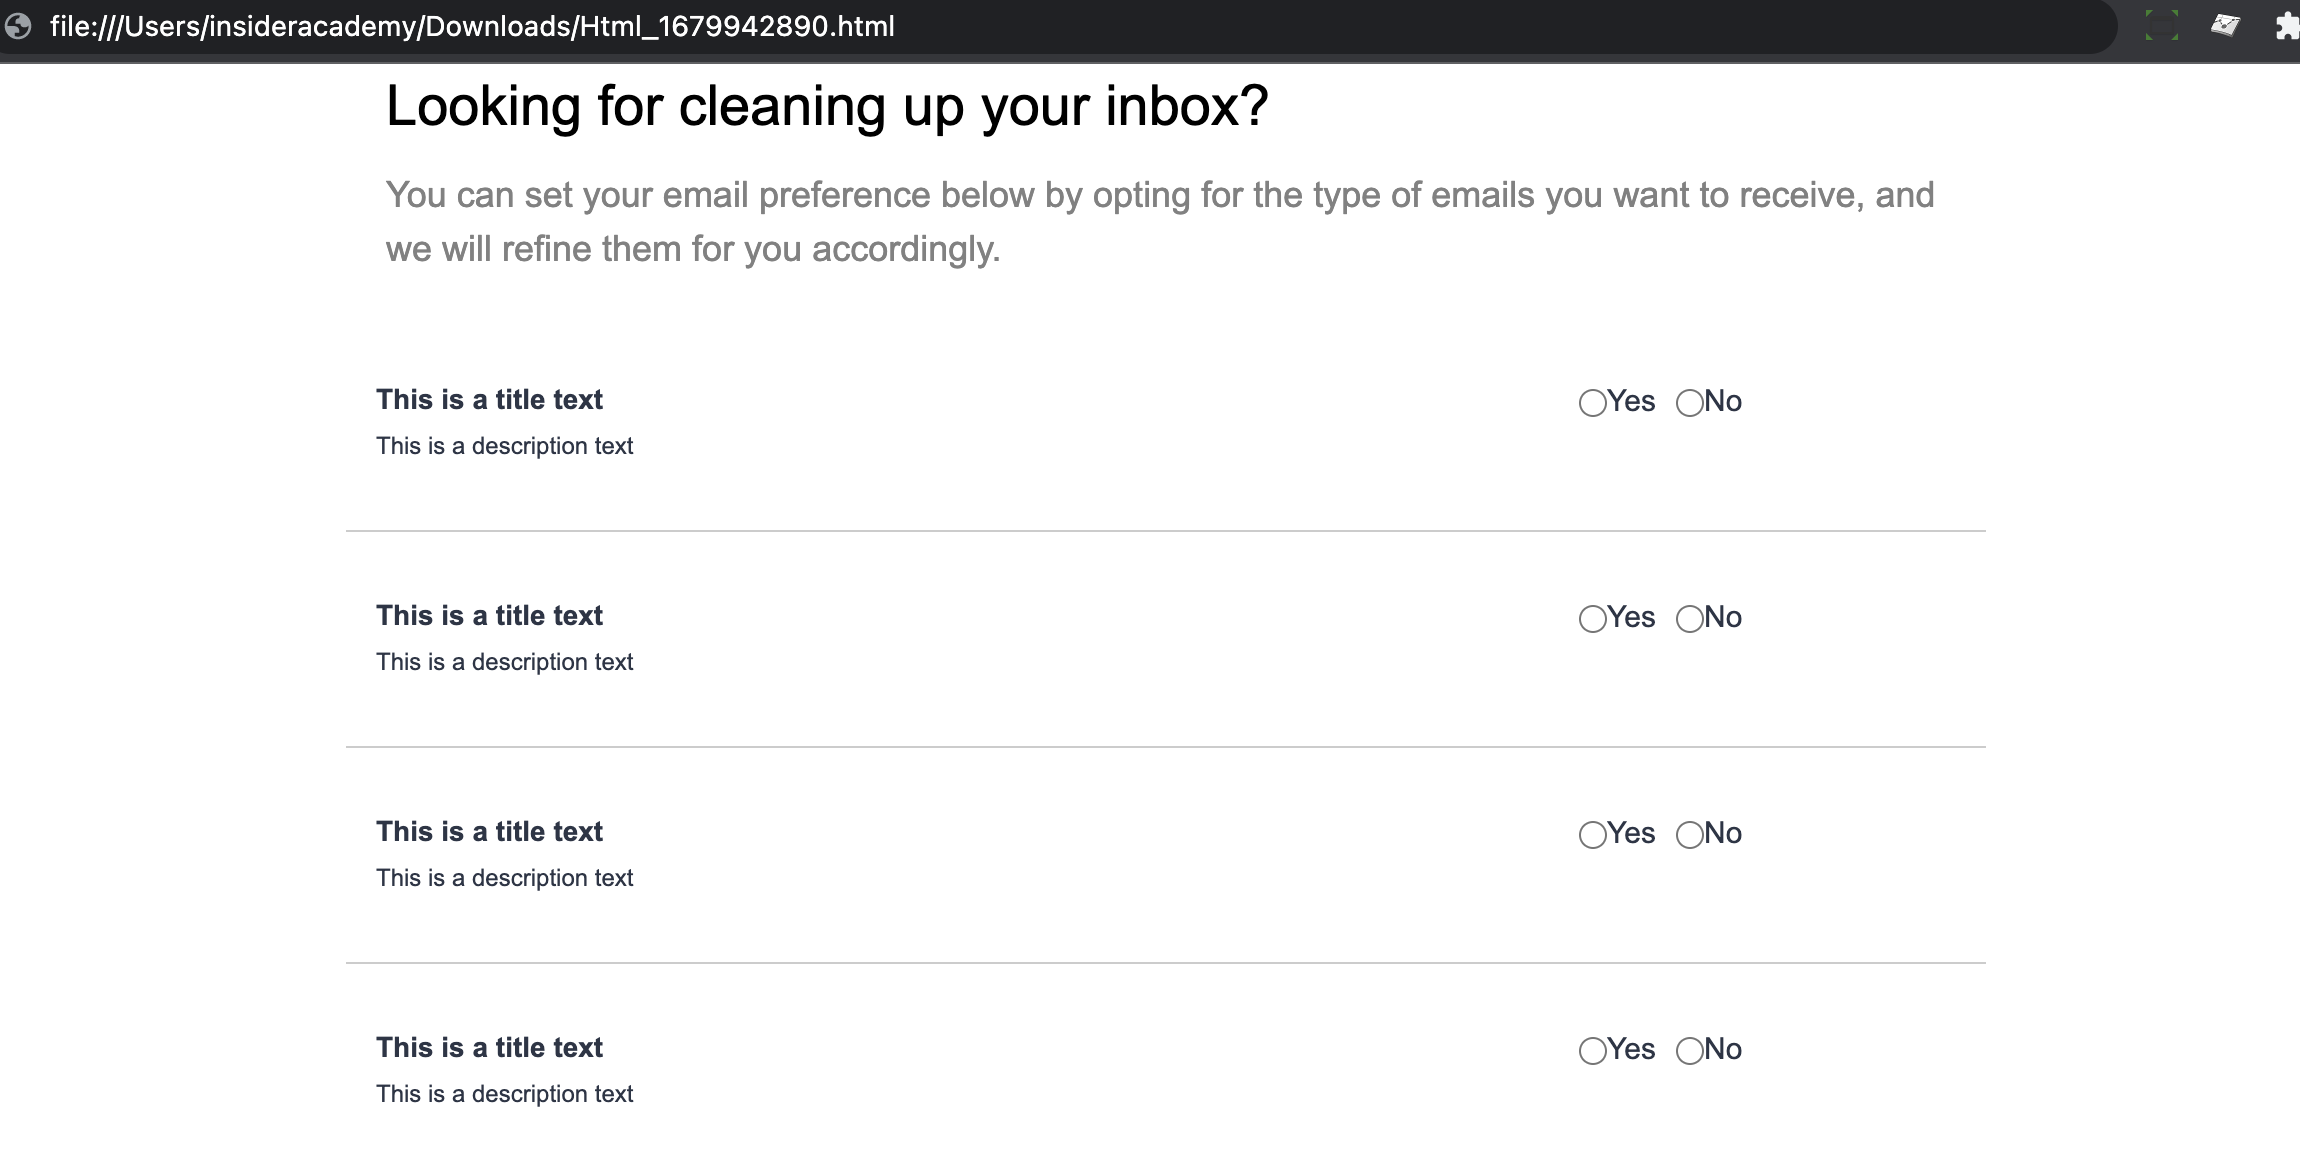
You can design a Subscription Preferences Center page for your users to select the type of email messages they want to receive.
1. Select the Subscription Preferences Center page, name your page, and click the Next button.
2. Select the template to start designing your page, and click the Edit button.
3. Edit your page using the Drag & Drop Editor.
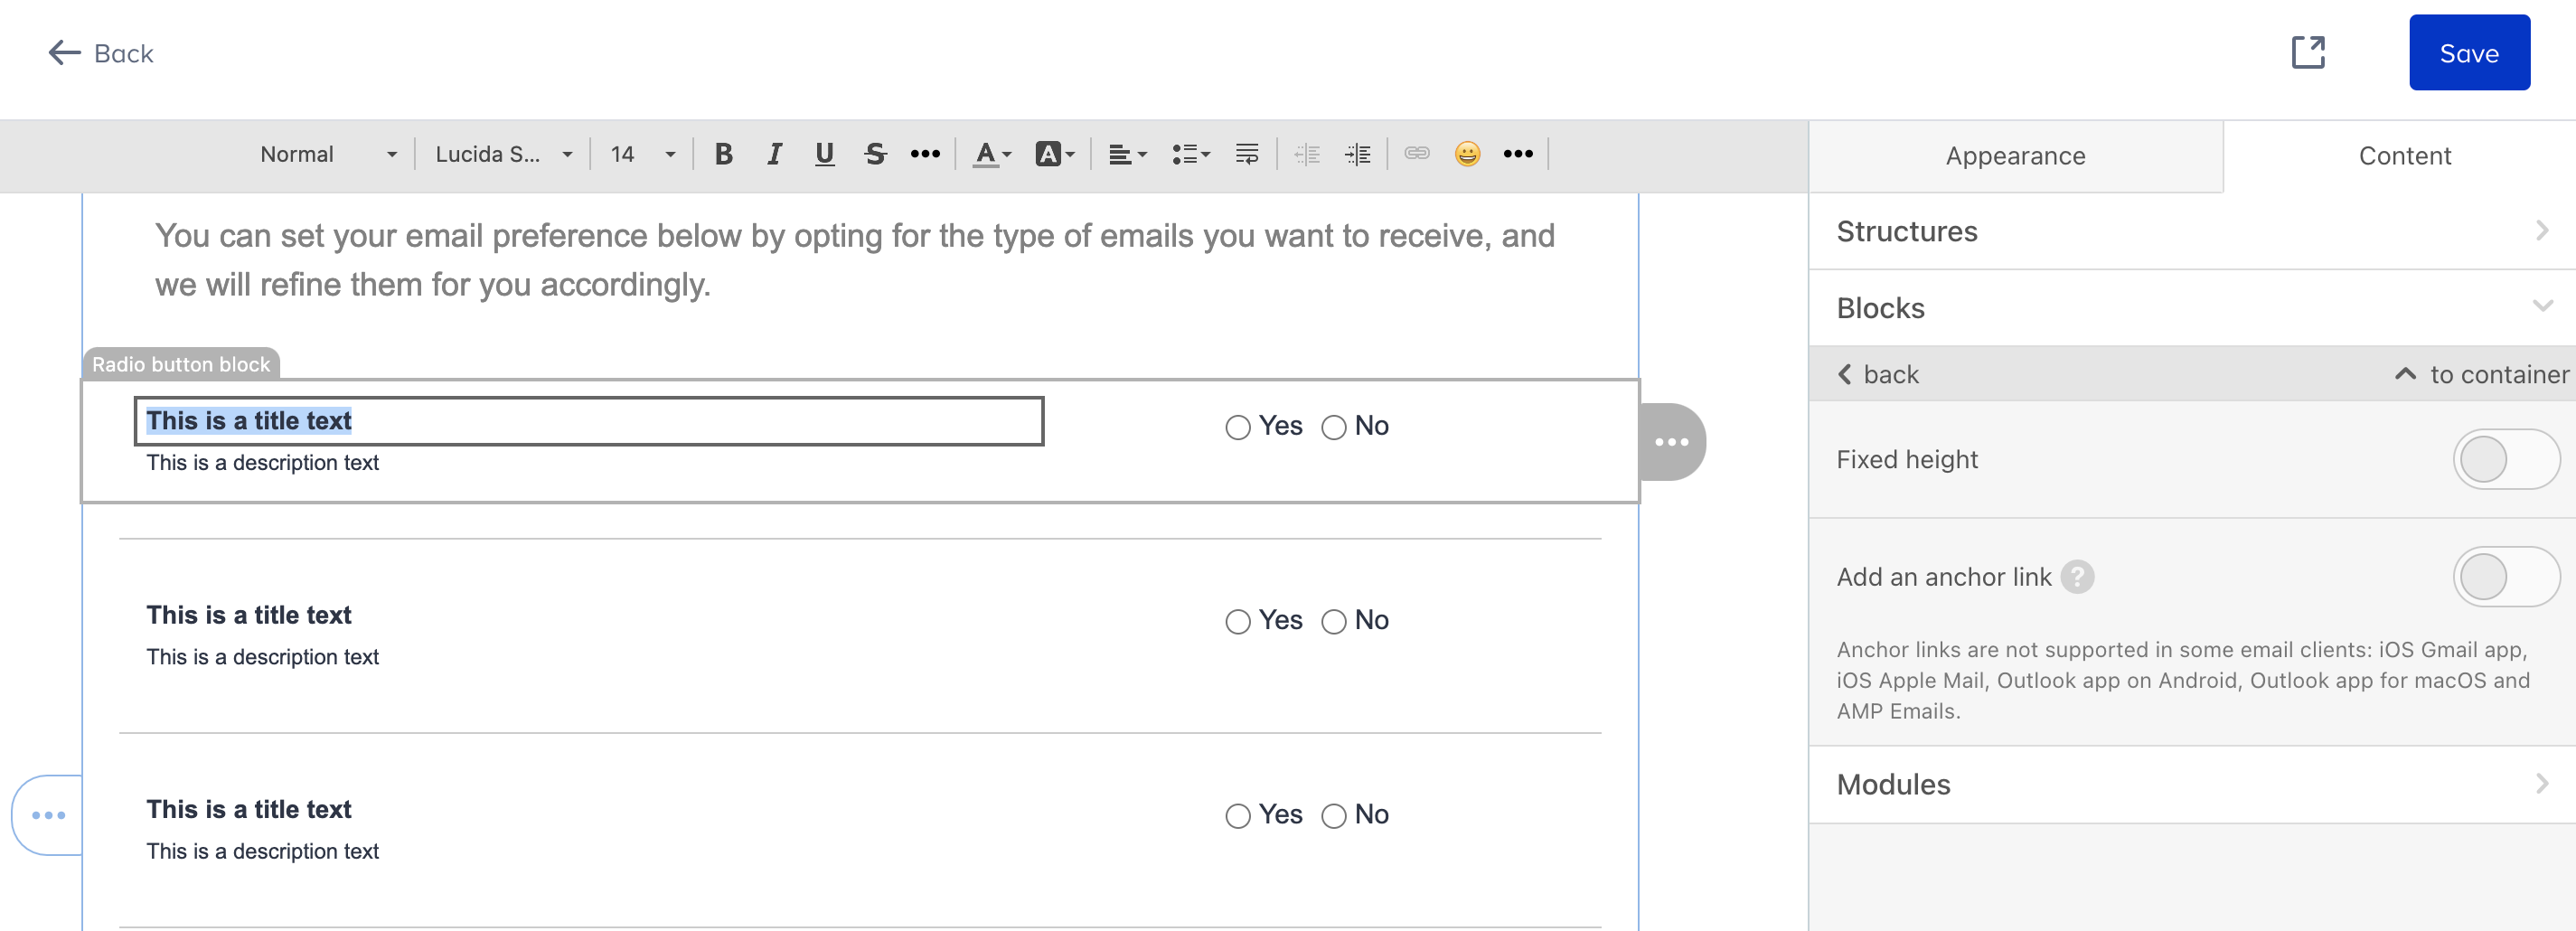
You can customize your message, colors, and logo, change the font properties, and customize the look of your page.
4. Once you complete designing your update, click the Export HTML button at the top of the page.
5. Open the downloaded file on your browser to see a preview of your page.
Video: Create a subscription preferences center page
See below for a step-by-step video showing how to tailor your Subscription Preferences Center page.
Subscription Preferences Confirmation
You can design a Subscription Preferences Confirmation page to validate your users' communication preference updates.
1. Select the Subscription Preferences Confirmation page, name your page, and click the Next button.
2. Select the template to start designing your page, and click the Edit button.

3. Edit your page using the Drag & Drop Editor.
You can customize your message, colors, and logo, change the font properties, and customize the look of your page.
4. Once you complete designing your update, click the Export HTML button at the top of the page.
5. Open the downloaded file on your browser to see a preview of your page.
Video: Create a subscription preferences confirmation page
See below for a step-by-step video showing how to tailor your Subscription Preferences Confirmation page.