This guide walks you through the InOne panel so you can get around before you build your first campaign. By the end, you will know how to read your landing dashboard, navigate by use case, save the products you use most, and manage campaigns from the listing page.
Before you start:
Log in to your InOne account, and open InOne in Google Chrome, which gives the best experience
Your landing page: the Executive Summary Dashboard
When you log in, the panel opens on the Executive Summary Dashboard (ESD), a cross-channel view of return on investment. It shows incremental revenue, conversion rate uplift, and the health of each channel in one place, so you can see the total impact of your campaigns without opening each product one by one.
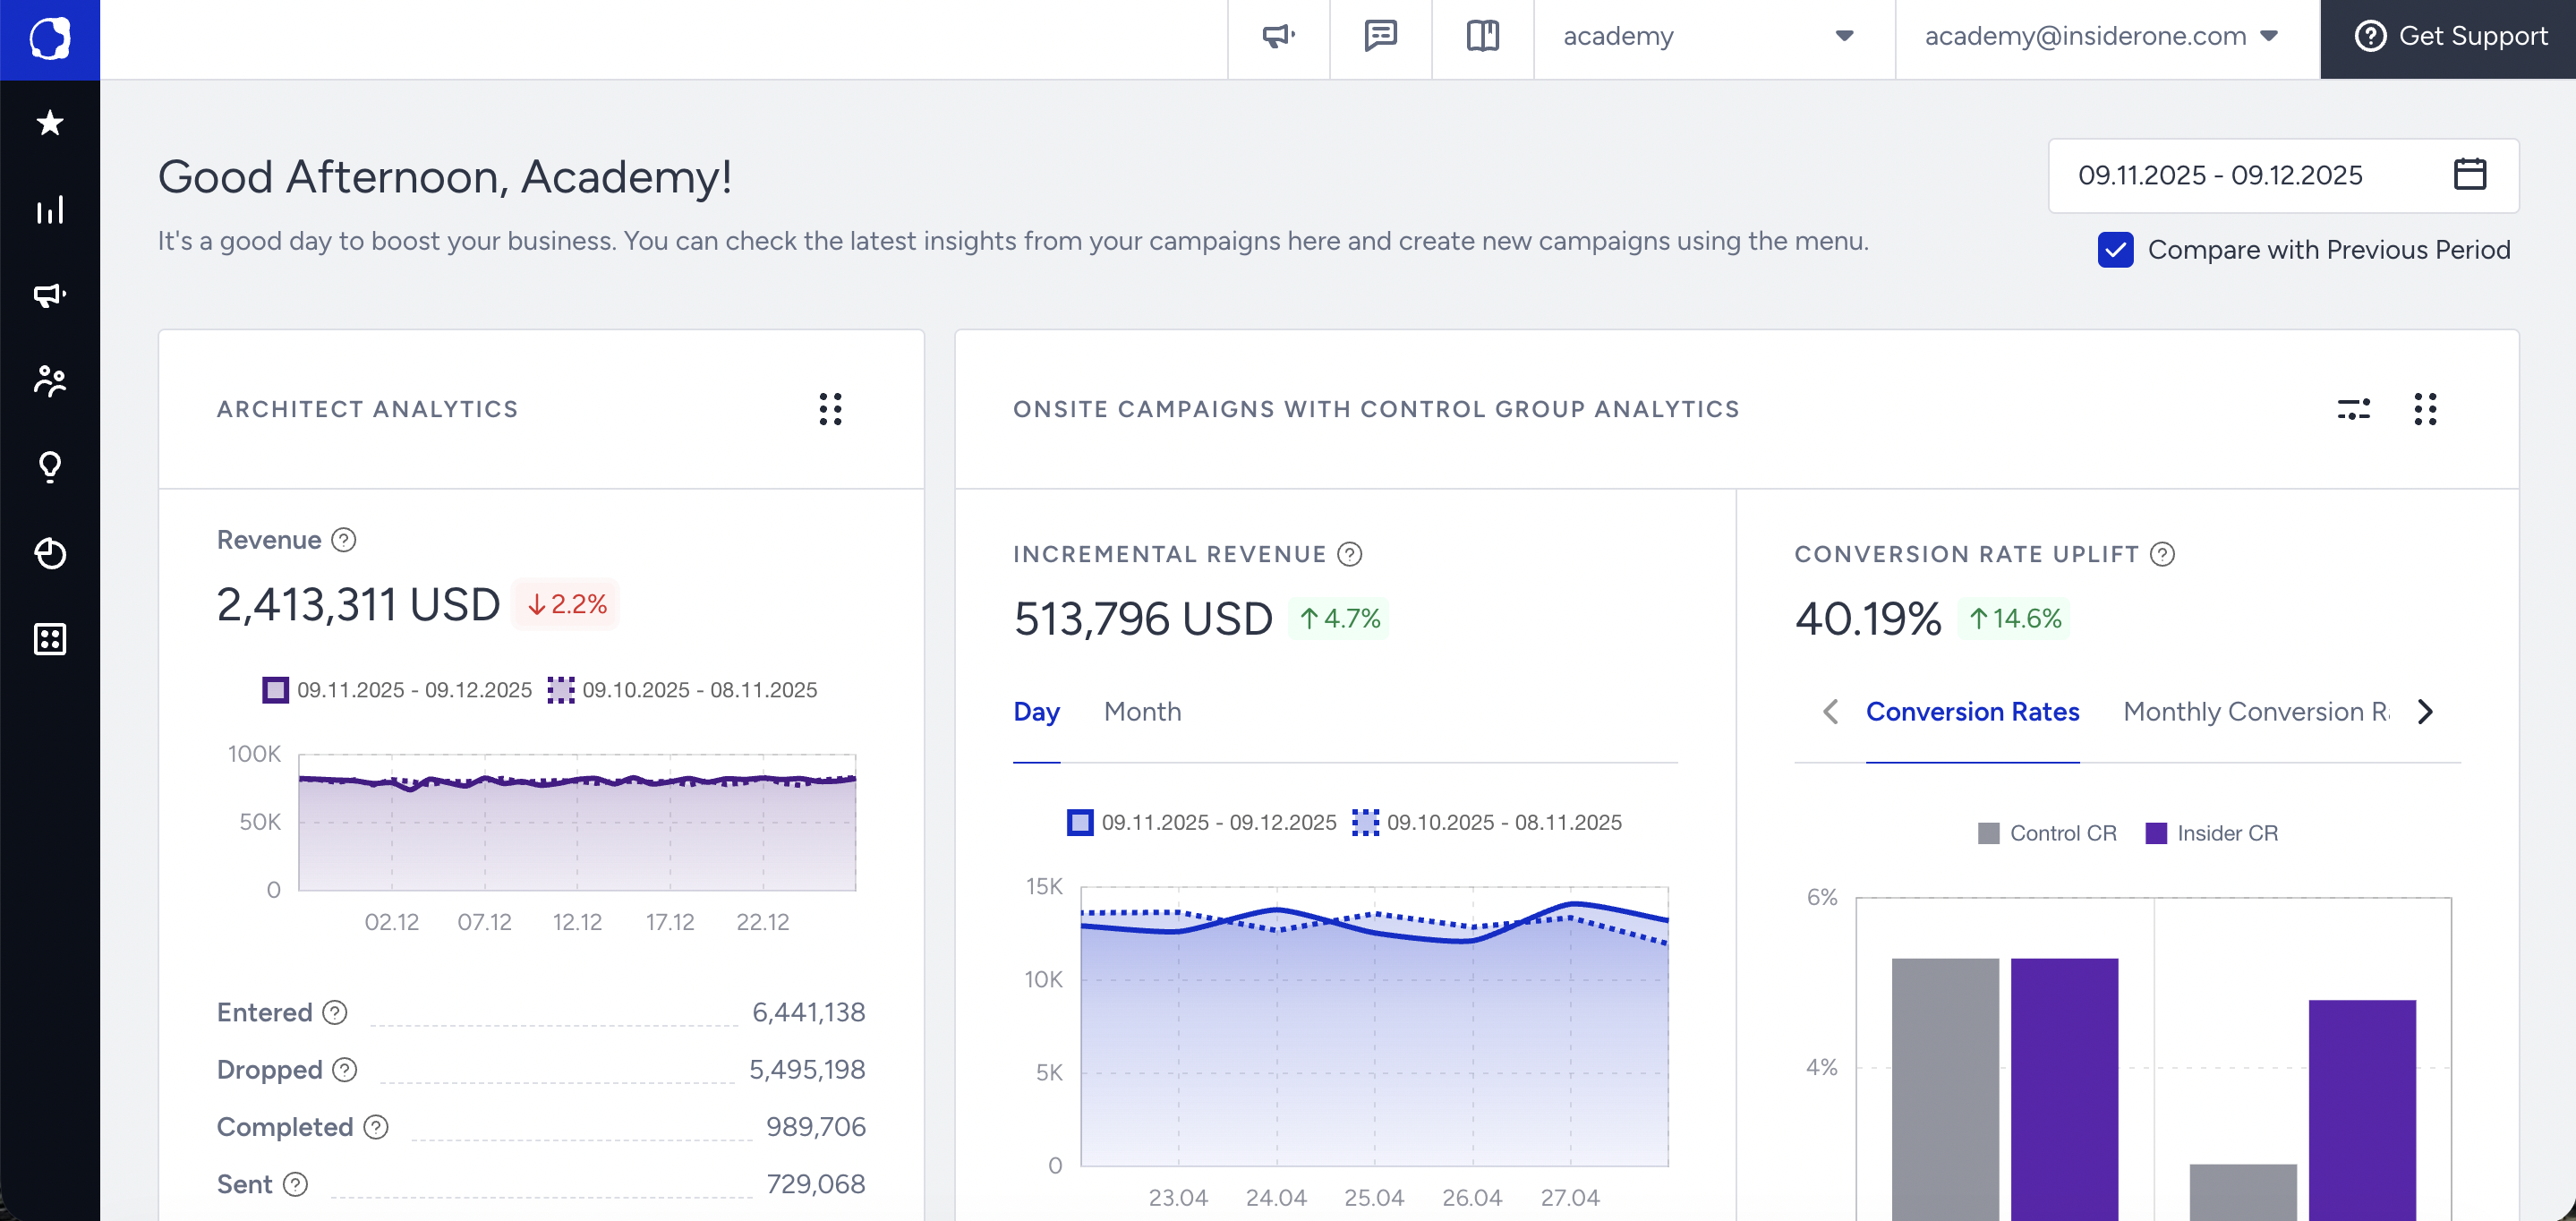
Navigation Menu
The navigation menu on the left is organized around use cases rather than channels, so you find features by the outcome you want rather than by the channel they belong to. It stays visible on every page, so you can move from building a campaign to reading a report in a few clicks.
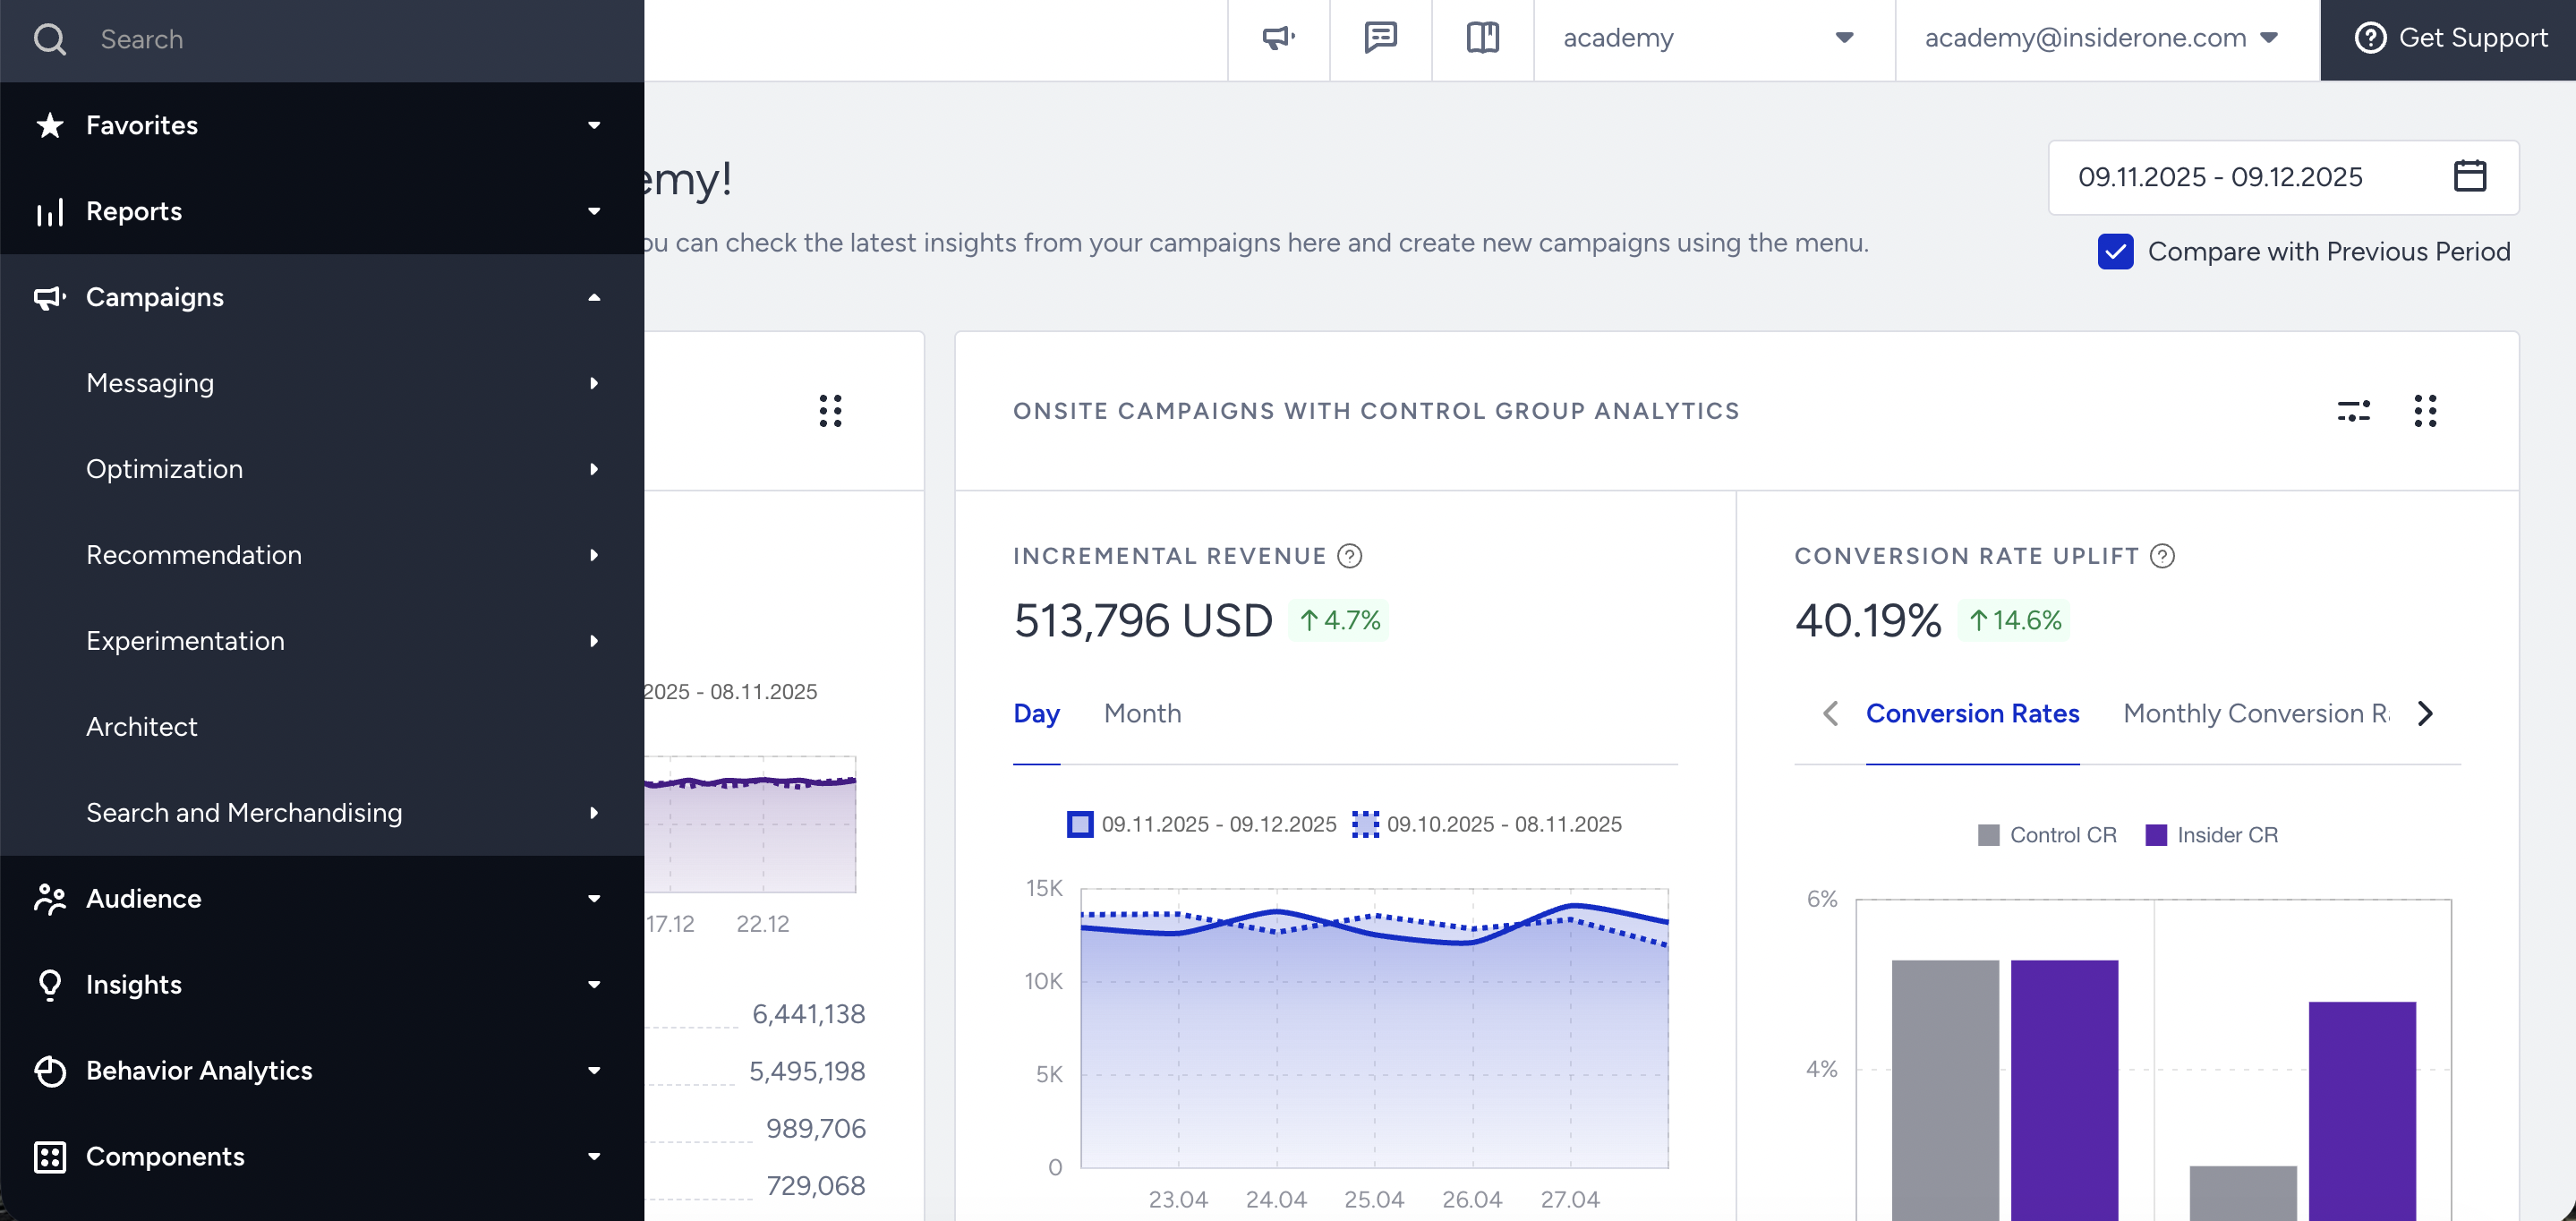
Read more on Navigation and Products.
Favorites Tab
Use the Favorites tab on the navigation bar to reach the products you use regularly from anywhere in the InOne panel.
Add a Category to Favorites
To add a category to your favorites, click the Star icon against it on the navigation bar.
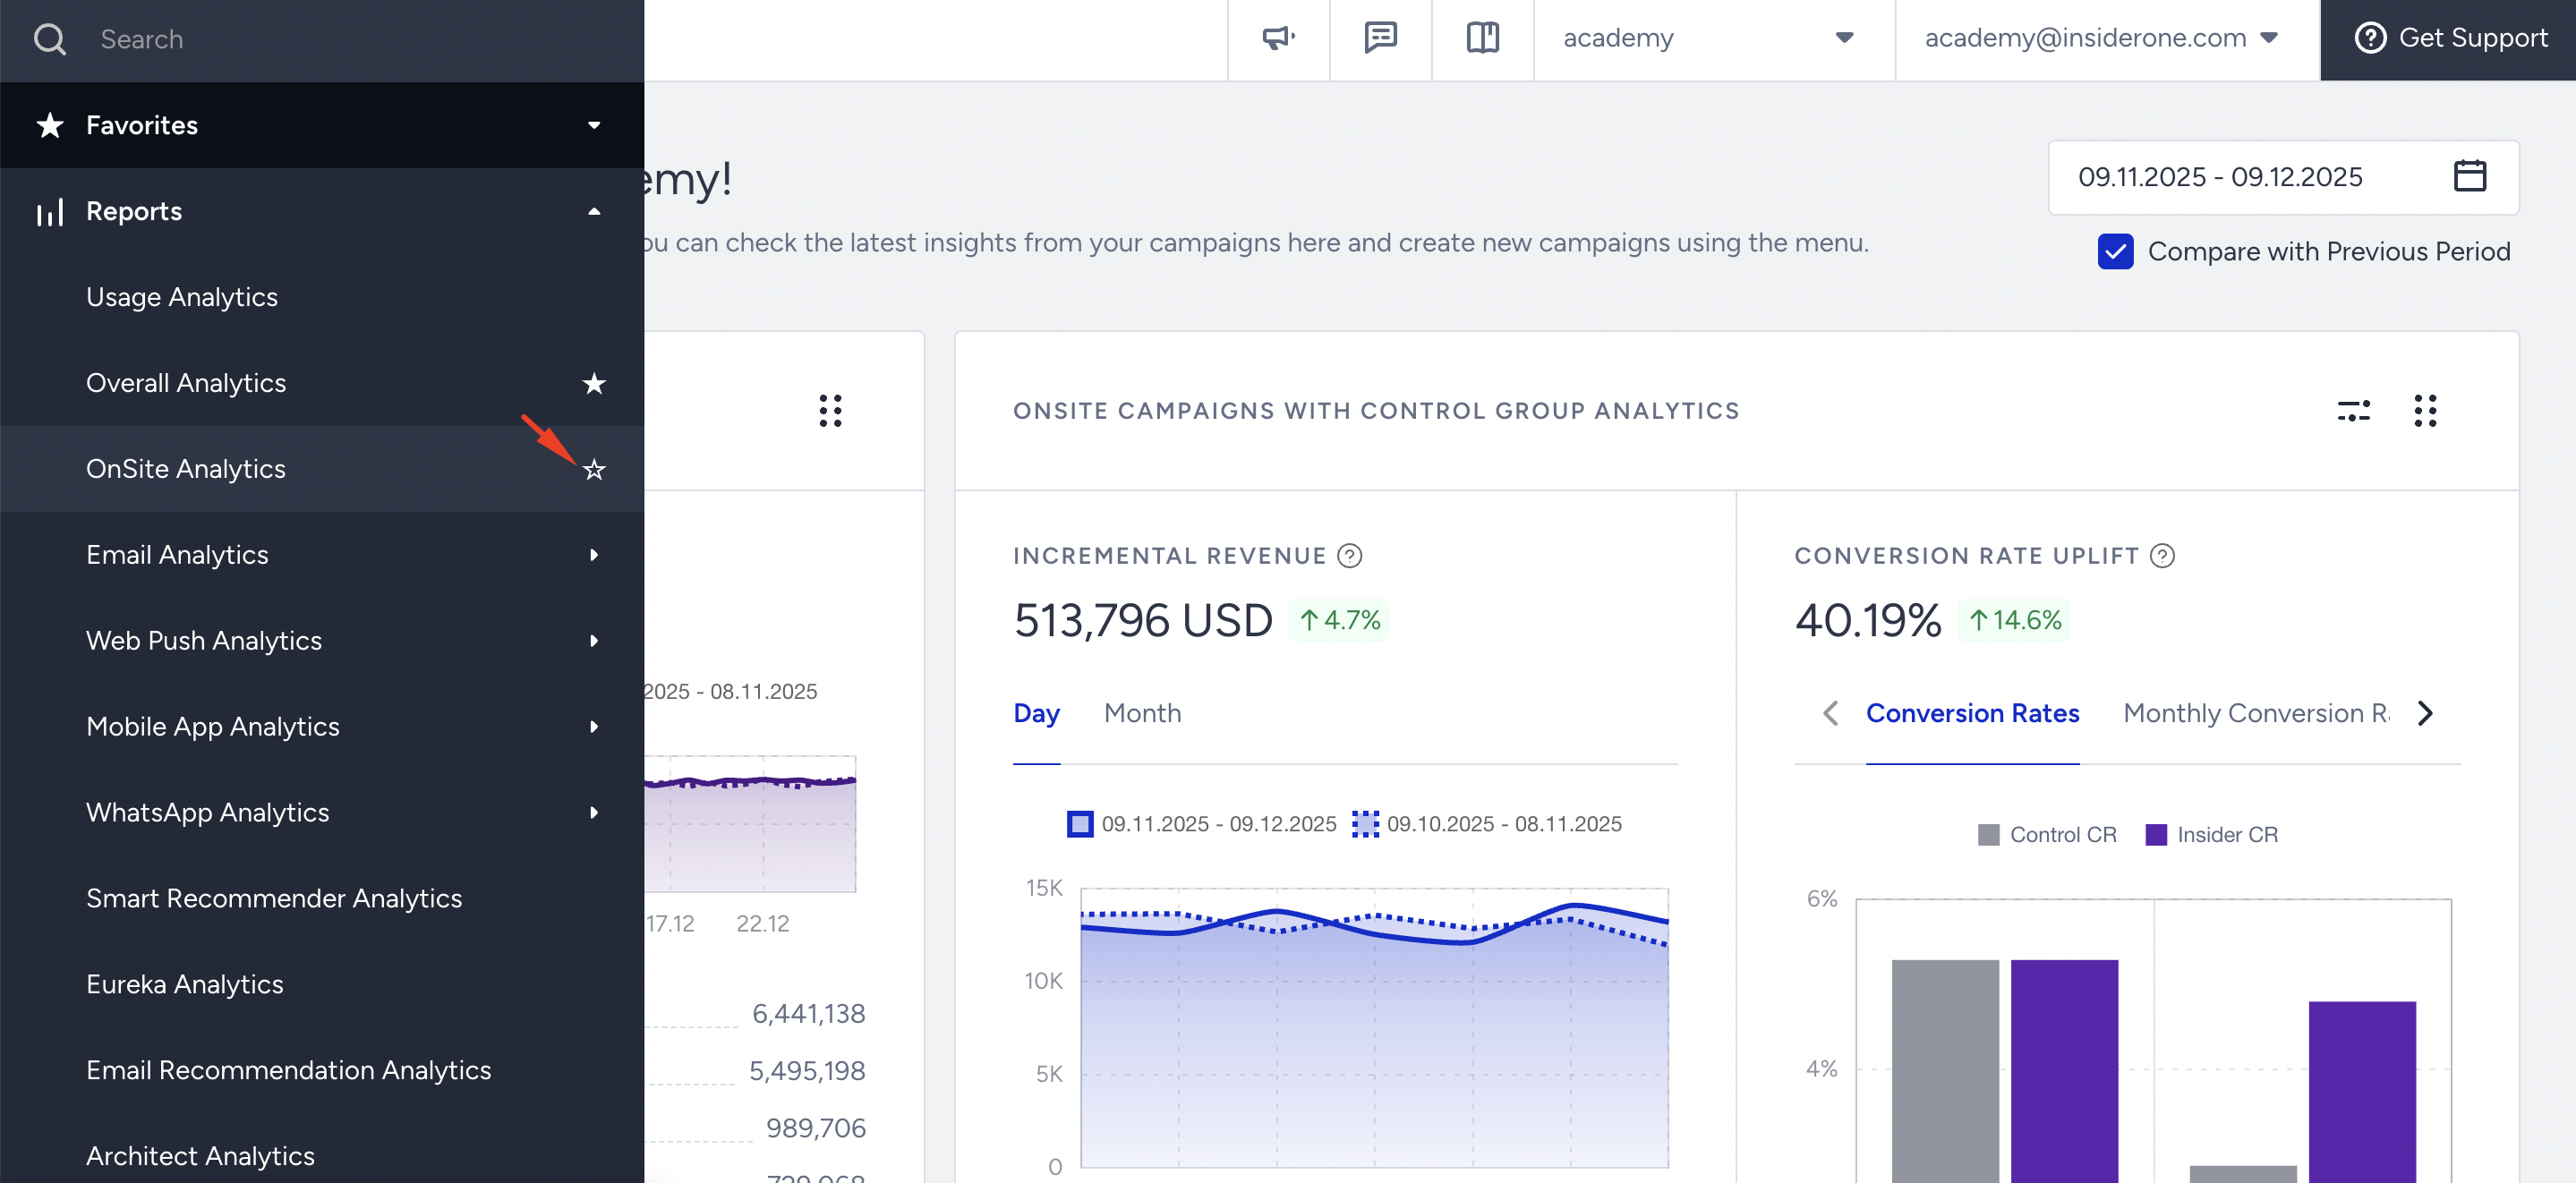
You see them in your favorites. You can add as many categories as you want to your favorites.
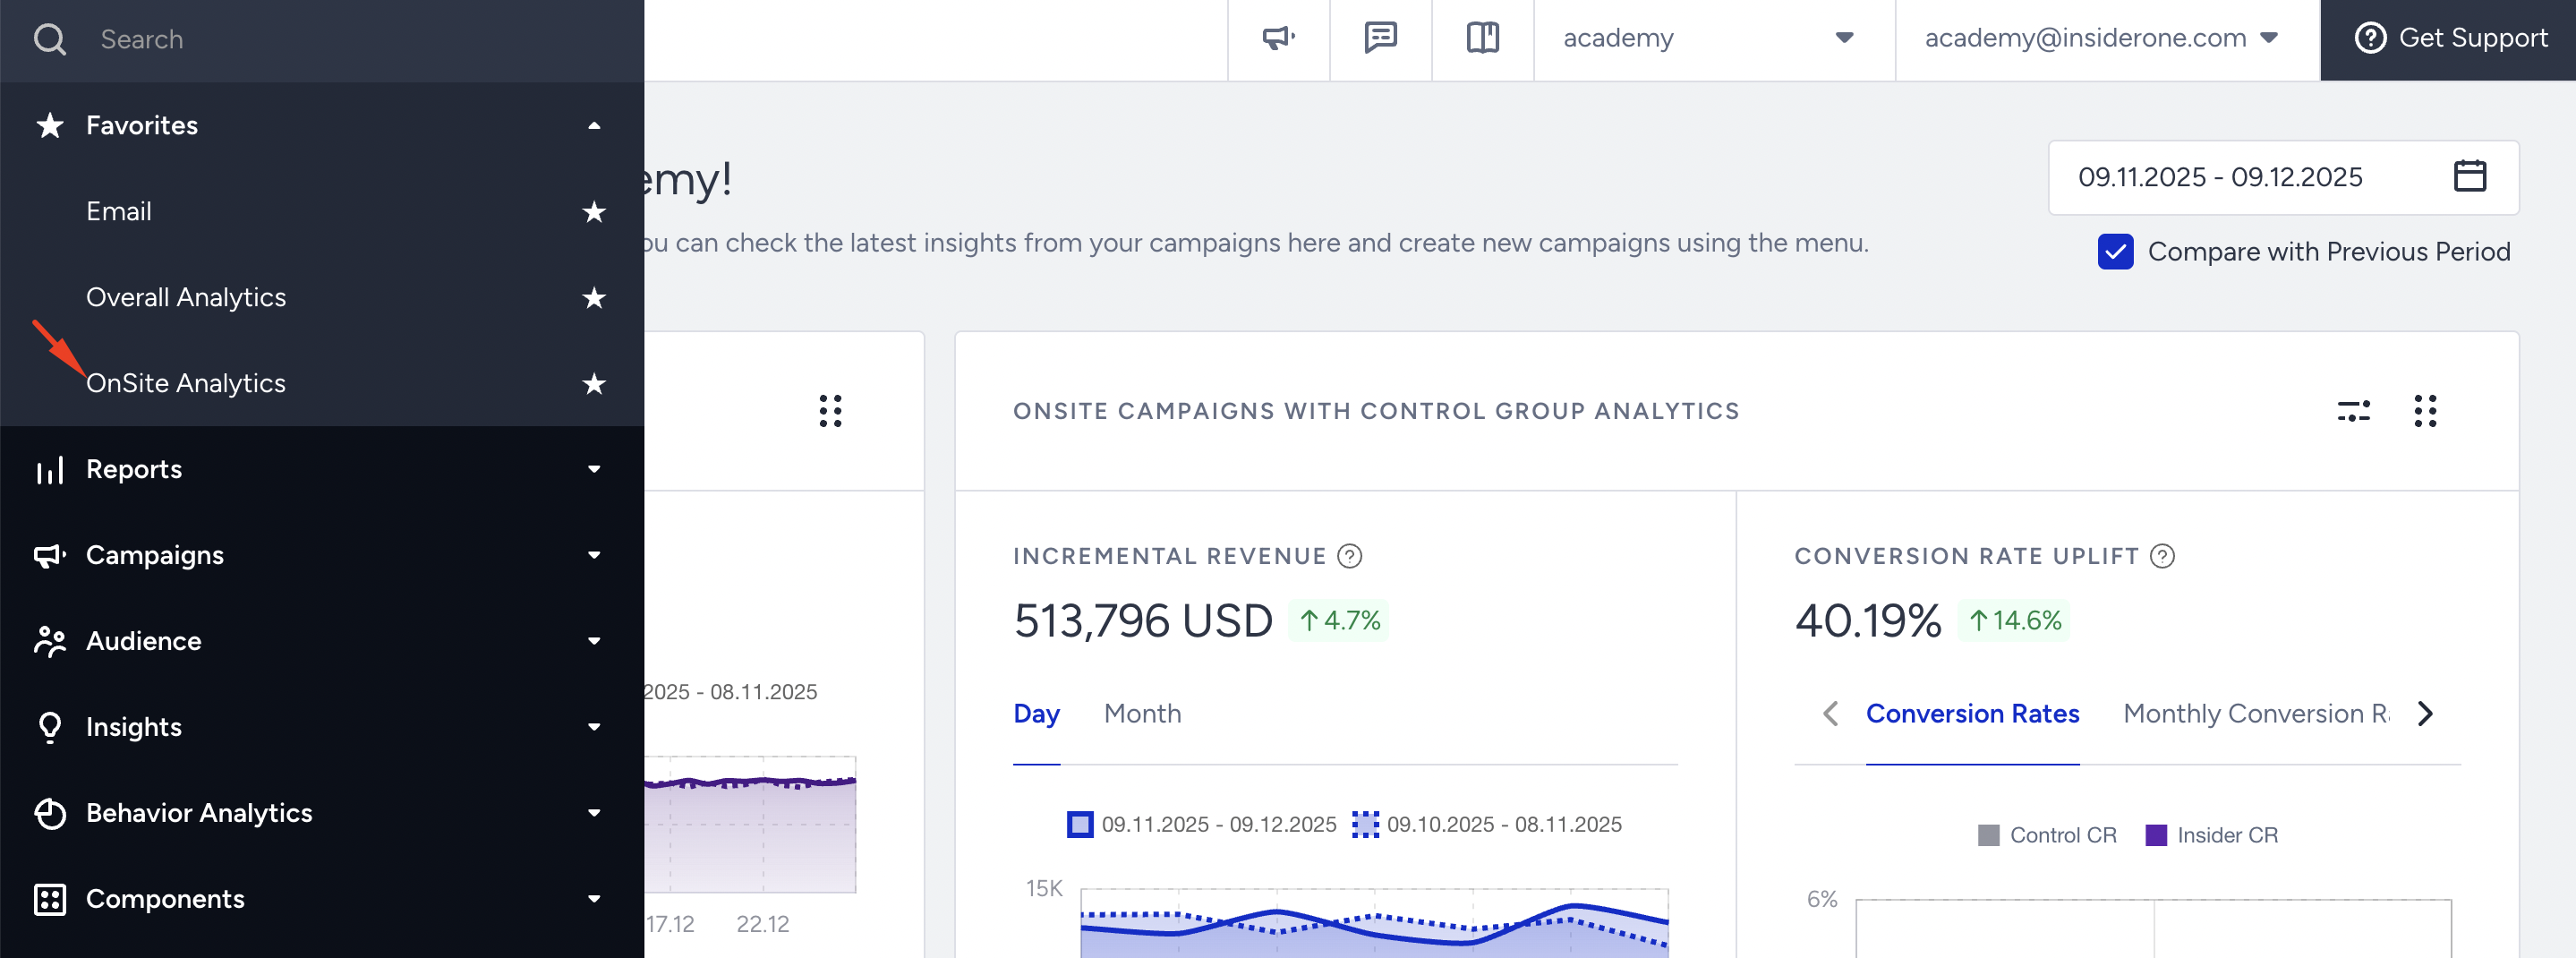
Remove a Category from Favorites
If you want to remove it from Favorites, click the Star icon next to it, either in Favorites or in its own category. You will no longer see it among your favorites.

Top Bar
The top bar helps you:
Check What's New to keep up with the latest Insider One product updates and releases.
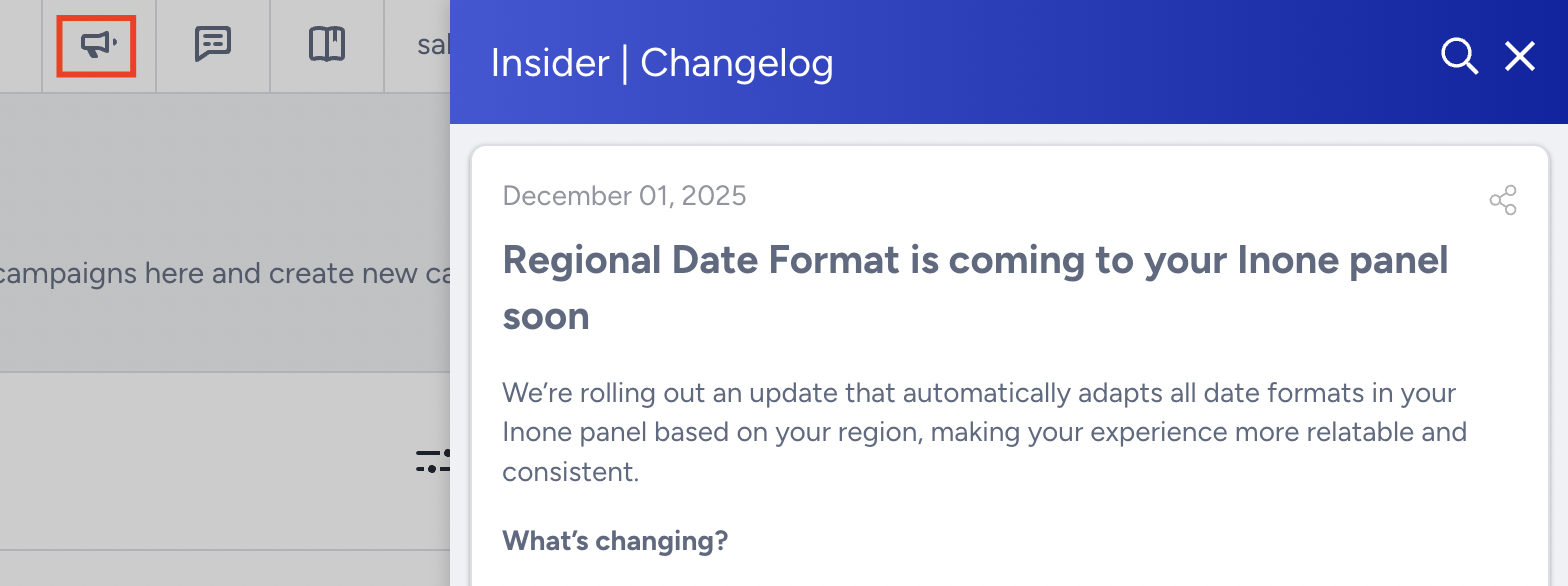
Give feedback, leave your comments, or report an issue.
Visit Insider One Academy or the full documentation.

Account Menu
Hover over your username in the top right corner to open the account menu. From here, you configure settings for the whole panel and reach:

Settings: InOne Settings and Mobile App Settings
Log Out
Campaign Listing Page
The listing page is where you see the campaigns you have created across all products.
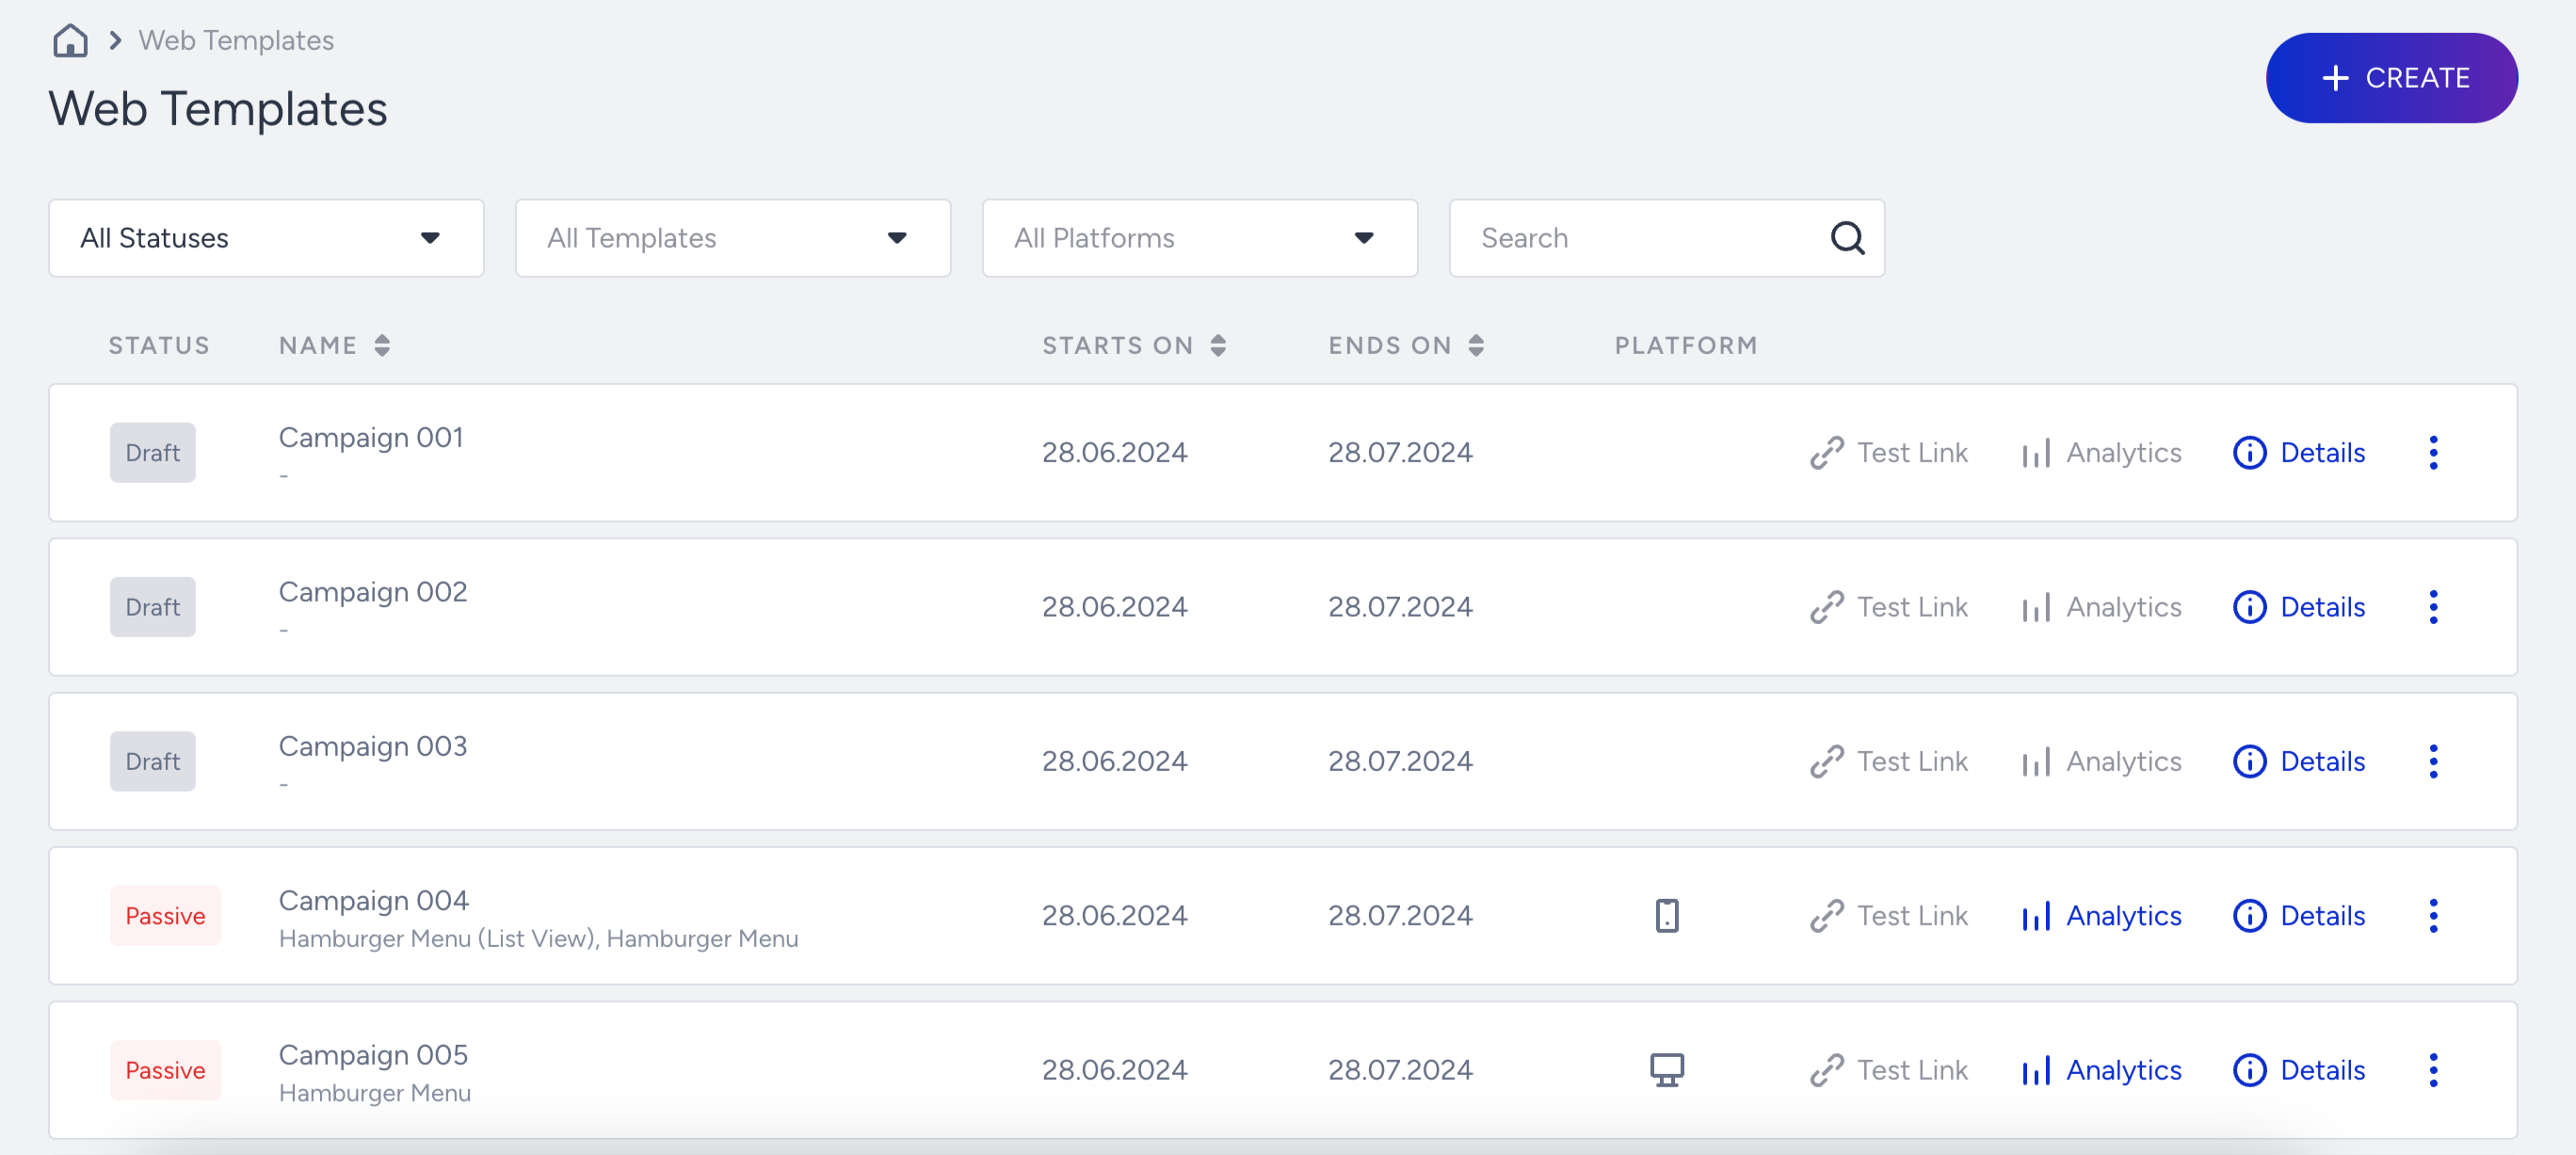
Get a test link
If your campaign's activation status is Test or Active, the Test Link button will be active.
Clicking on it, you can see the variants available for your campaign. Read more on Testing a Web Campaign.
See analytics
You can reach campaign analytics for each campaign using the Analytics button on the listing page.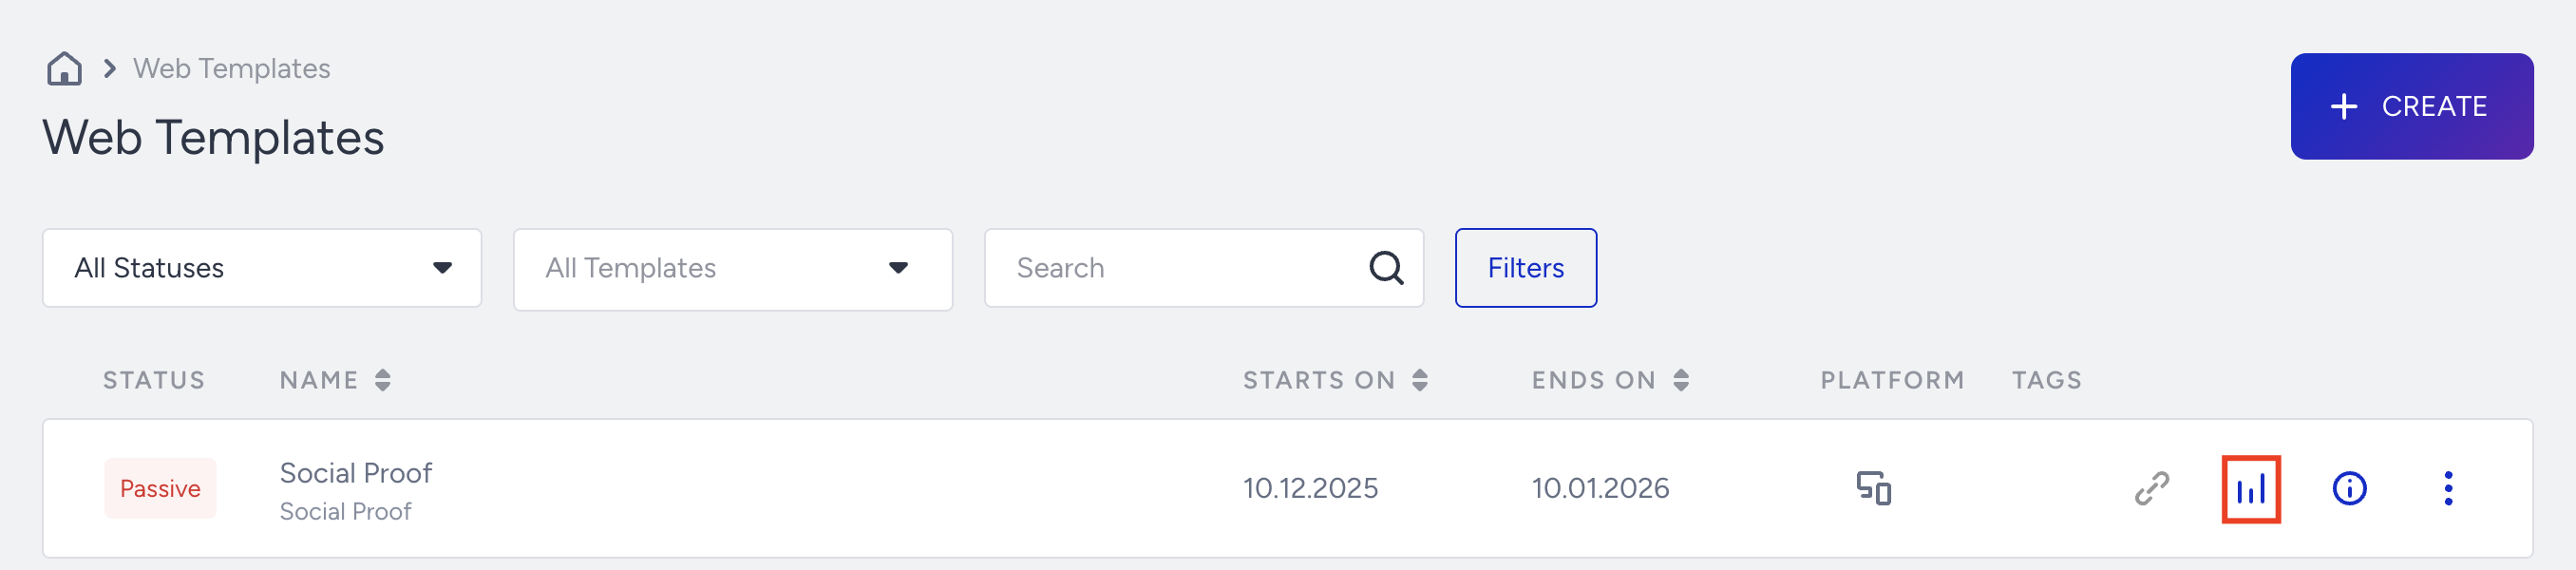
See details
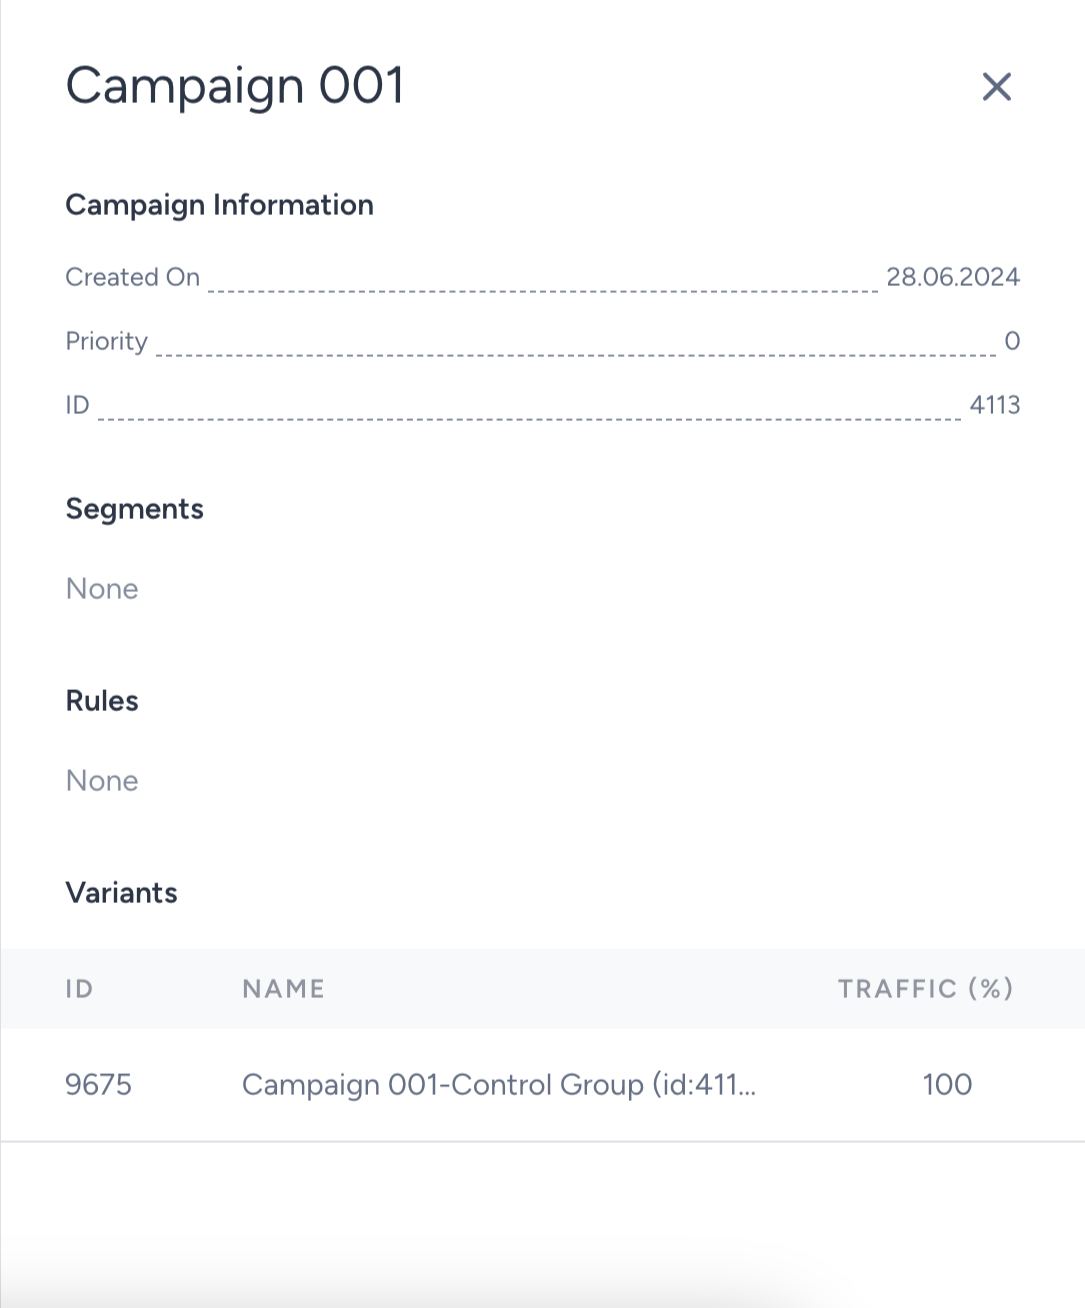
Without going through each step of your campaign, you can see a summary of your segments, rules, traffic allocation, and goals on the Details screen.
Menu

This menu enables you to:
Duplicate your campaign.
Change its activation status.
Delete your campaign.
Export variation if it is a Lead Collection or Feedback campaign.
Next steps
Now that you can find your way around the panel:
Learn how the products are grouped in InOne Navigation and Products.
Review your Account Settings before you launch.