This feature is released in beta. You can contact the Insider One team for further information.
This guide explains how to create an RCS campaign in InOne using either the Basic (Text) or Single (Media) message type. It covers the full campaign creation flow, including audience segmentation, message design, SMS fallback configuration, additional message settings, goal setup, and campaign launch.
The following sections answer these questions:
To create an RCS campaign, follow the steps below:
Navigate to InOne > Campaigns > Messaging > SMS/MMS/RCS.
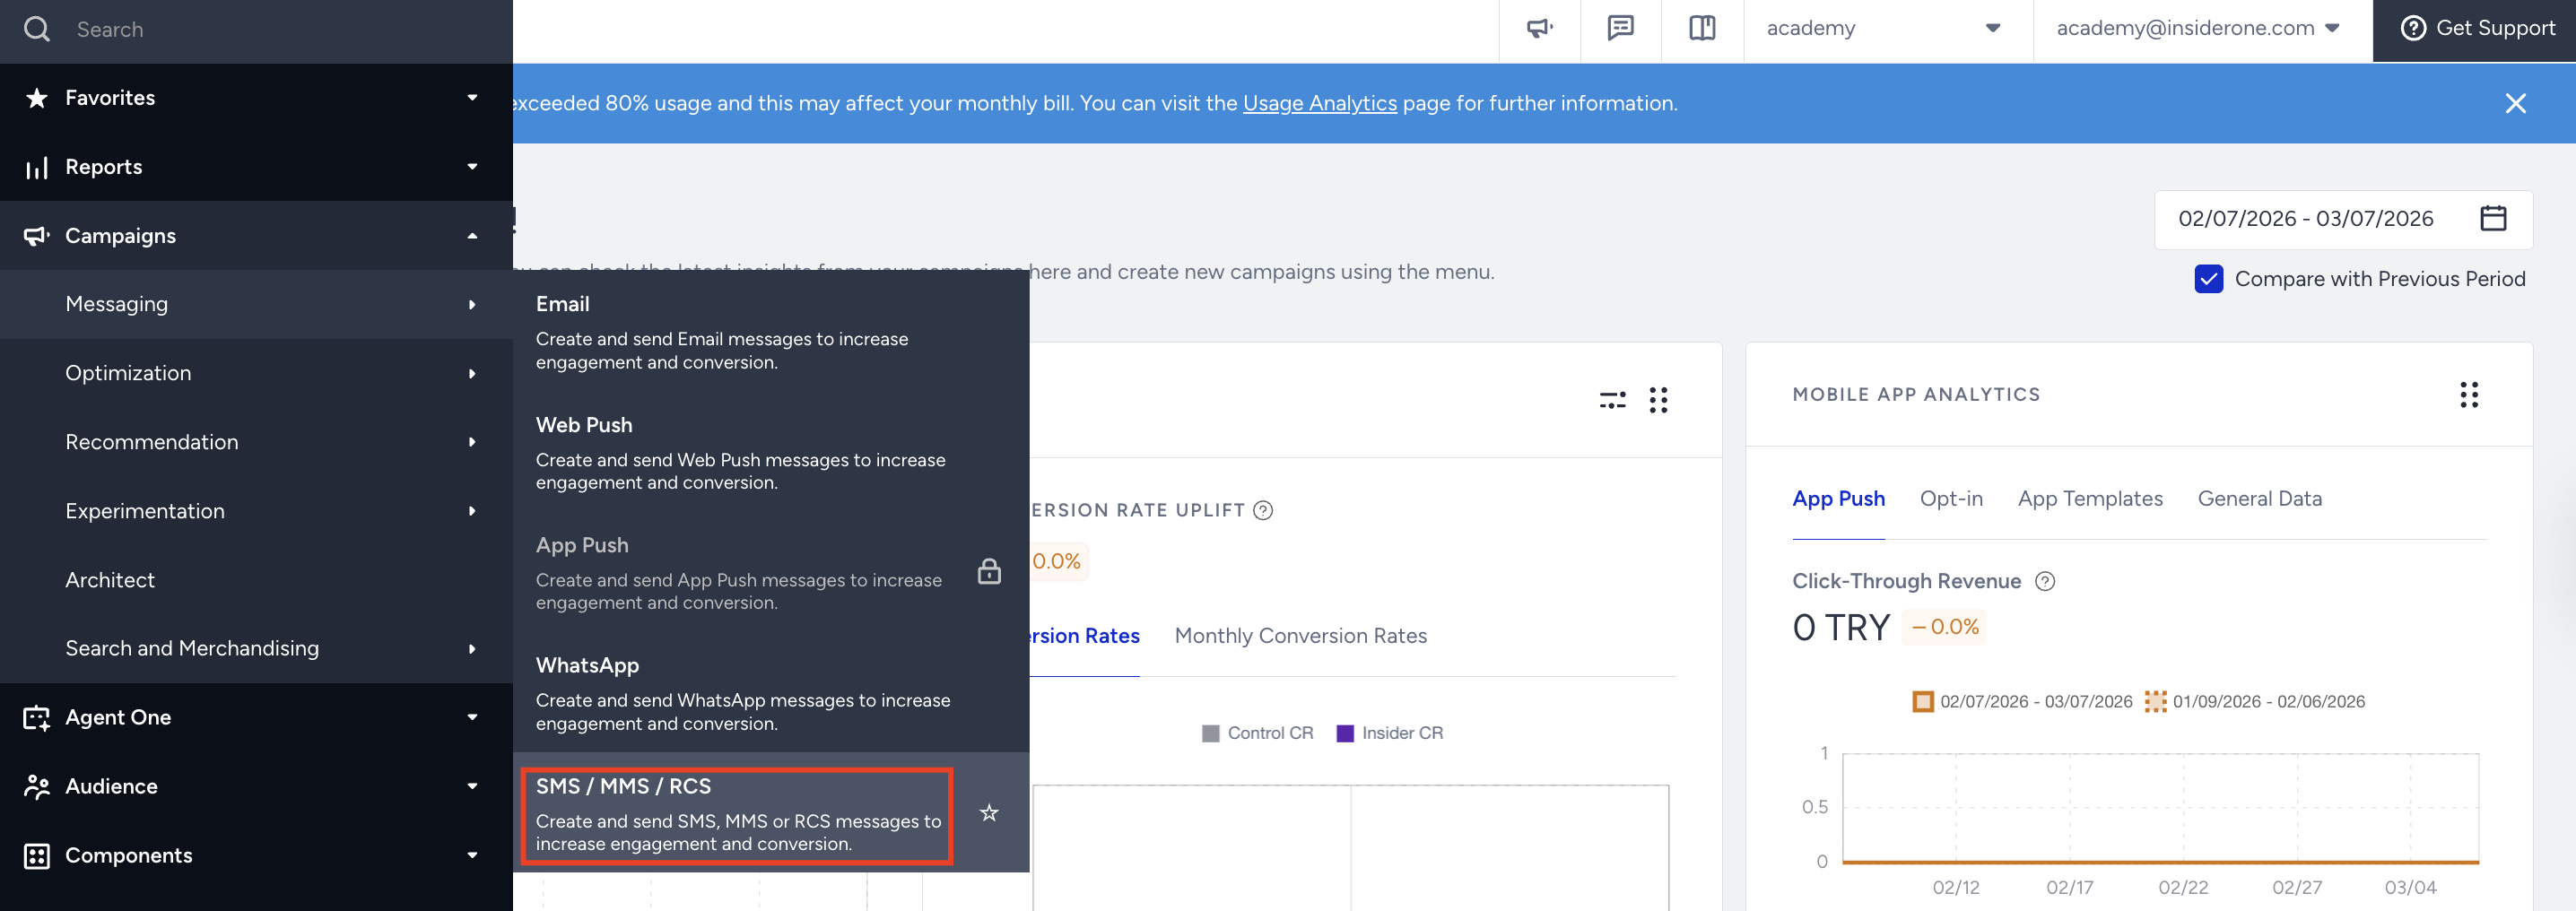
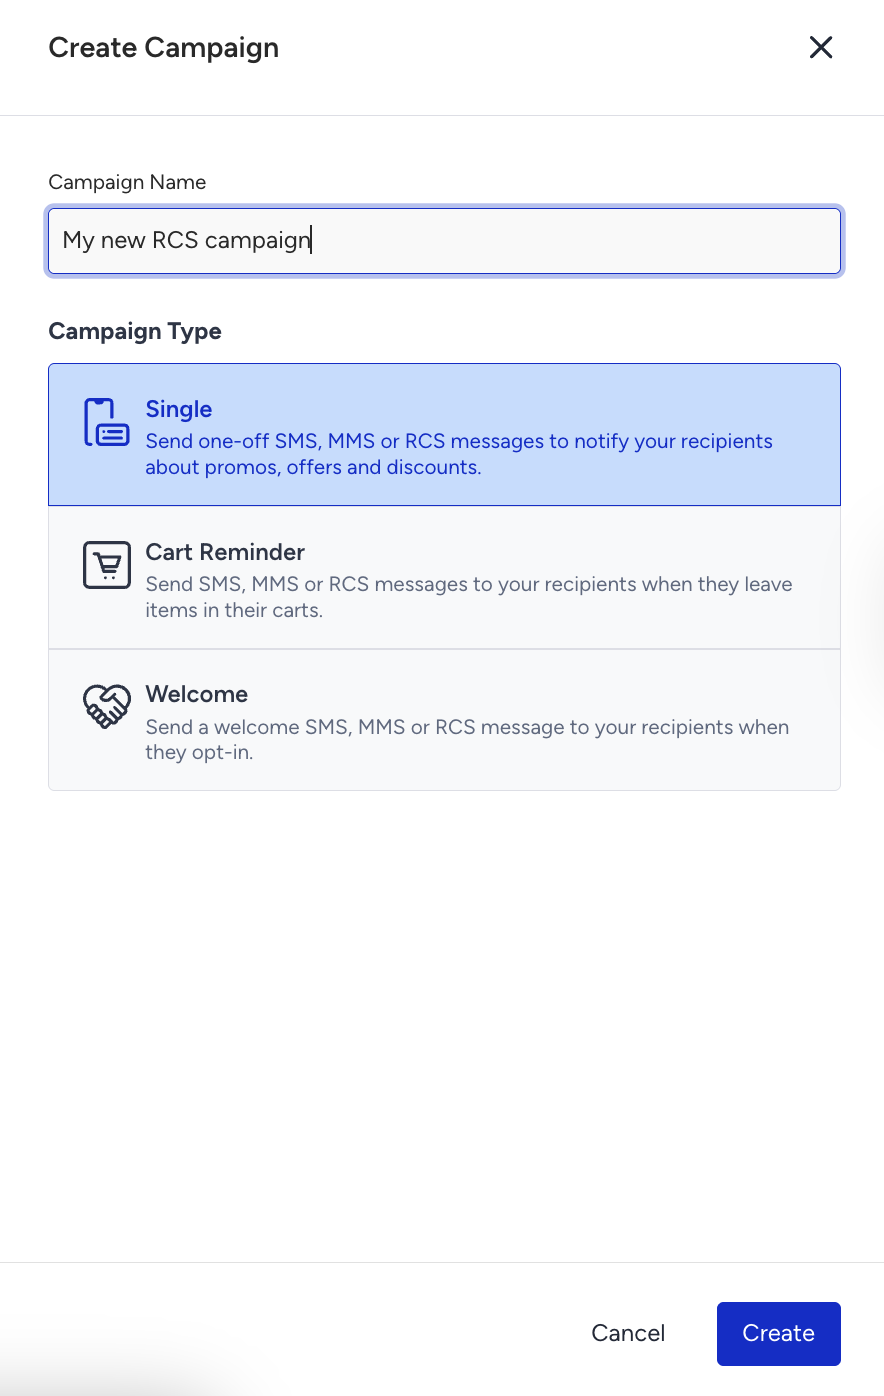
Click the Create button, select the campaign type you want to create, and name your RCS campaign.
Segment your audience
1. Select your subscriber language to create your content accordingly. Select "All Languages" if you do not need to tailor your RCS messages based on the user's language.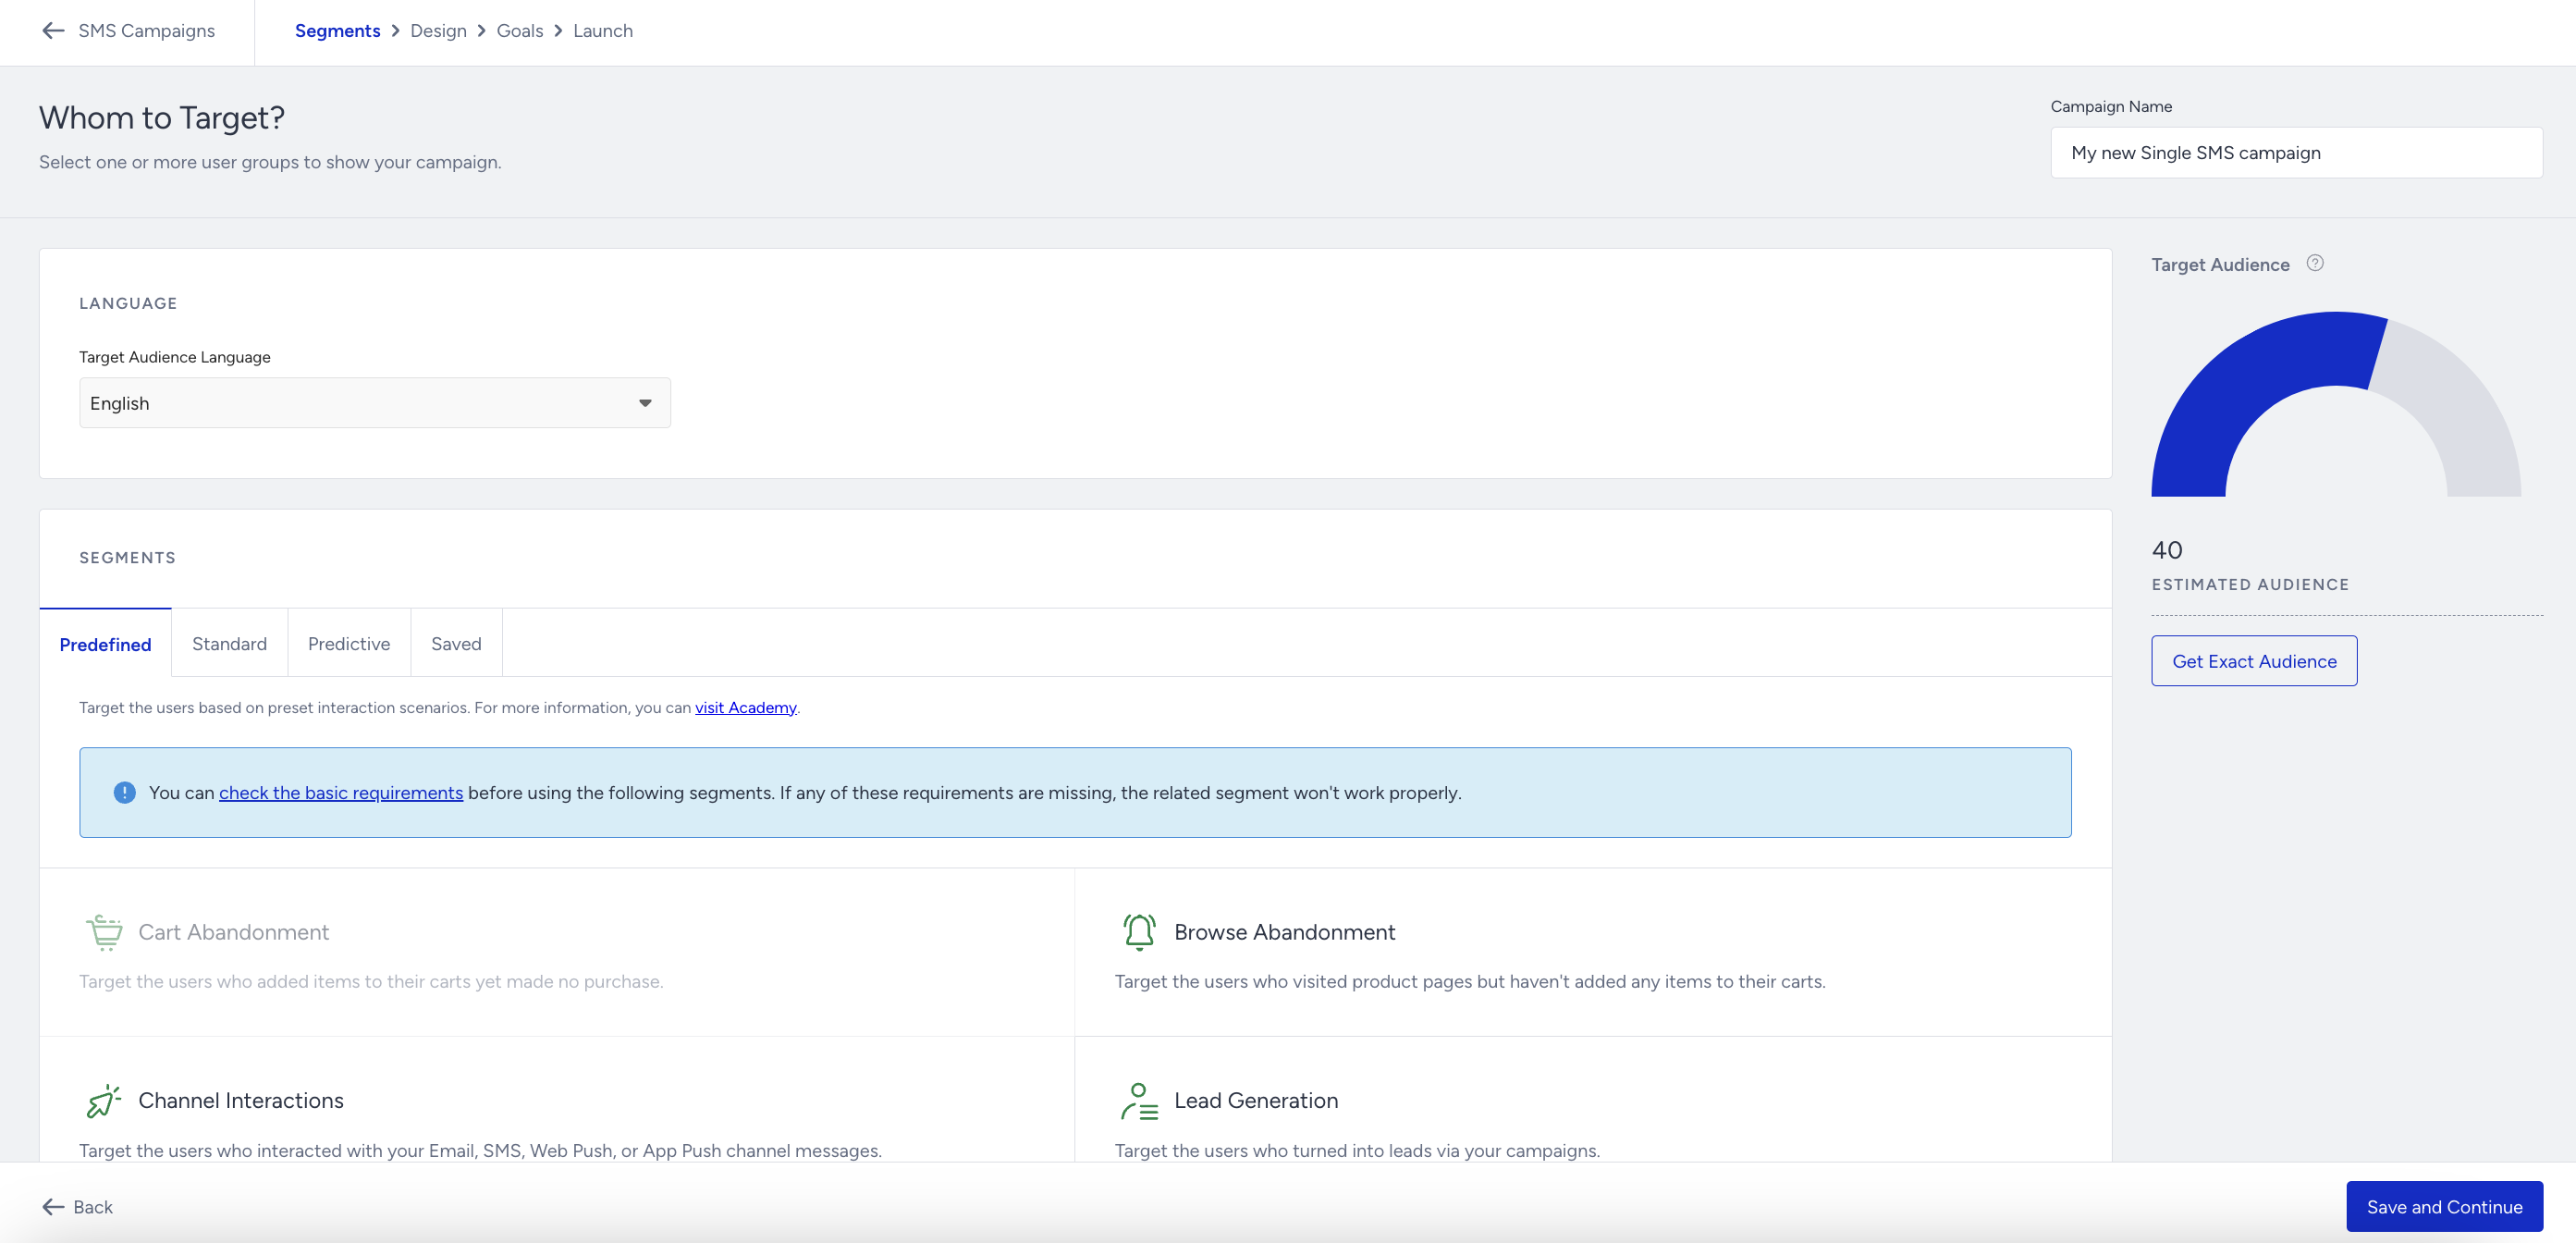
2. Create a segment group to target the relevant audience if needed. You can use the following segmentation options: Predefined Segments, Standard Segments, Predictive Segments, and Saved Segments.
Design your RCS message
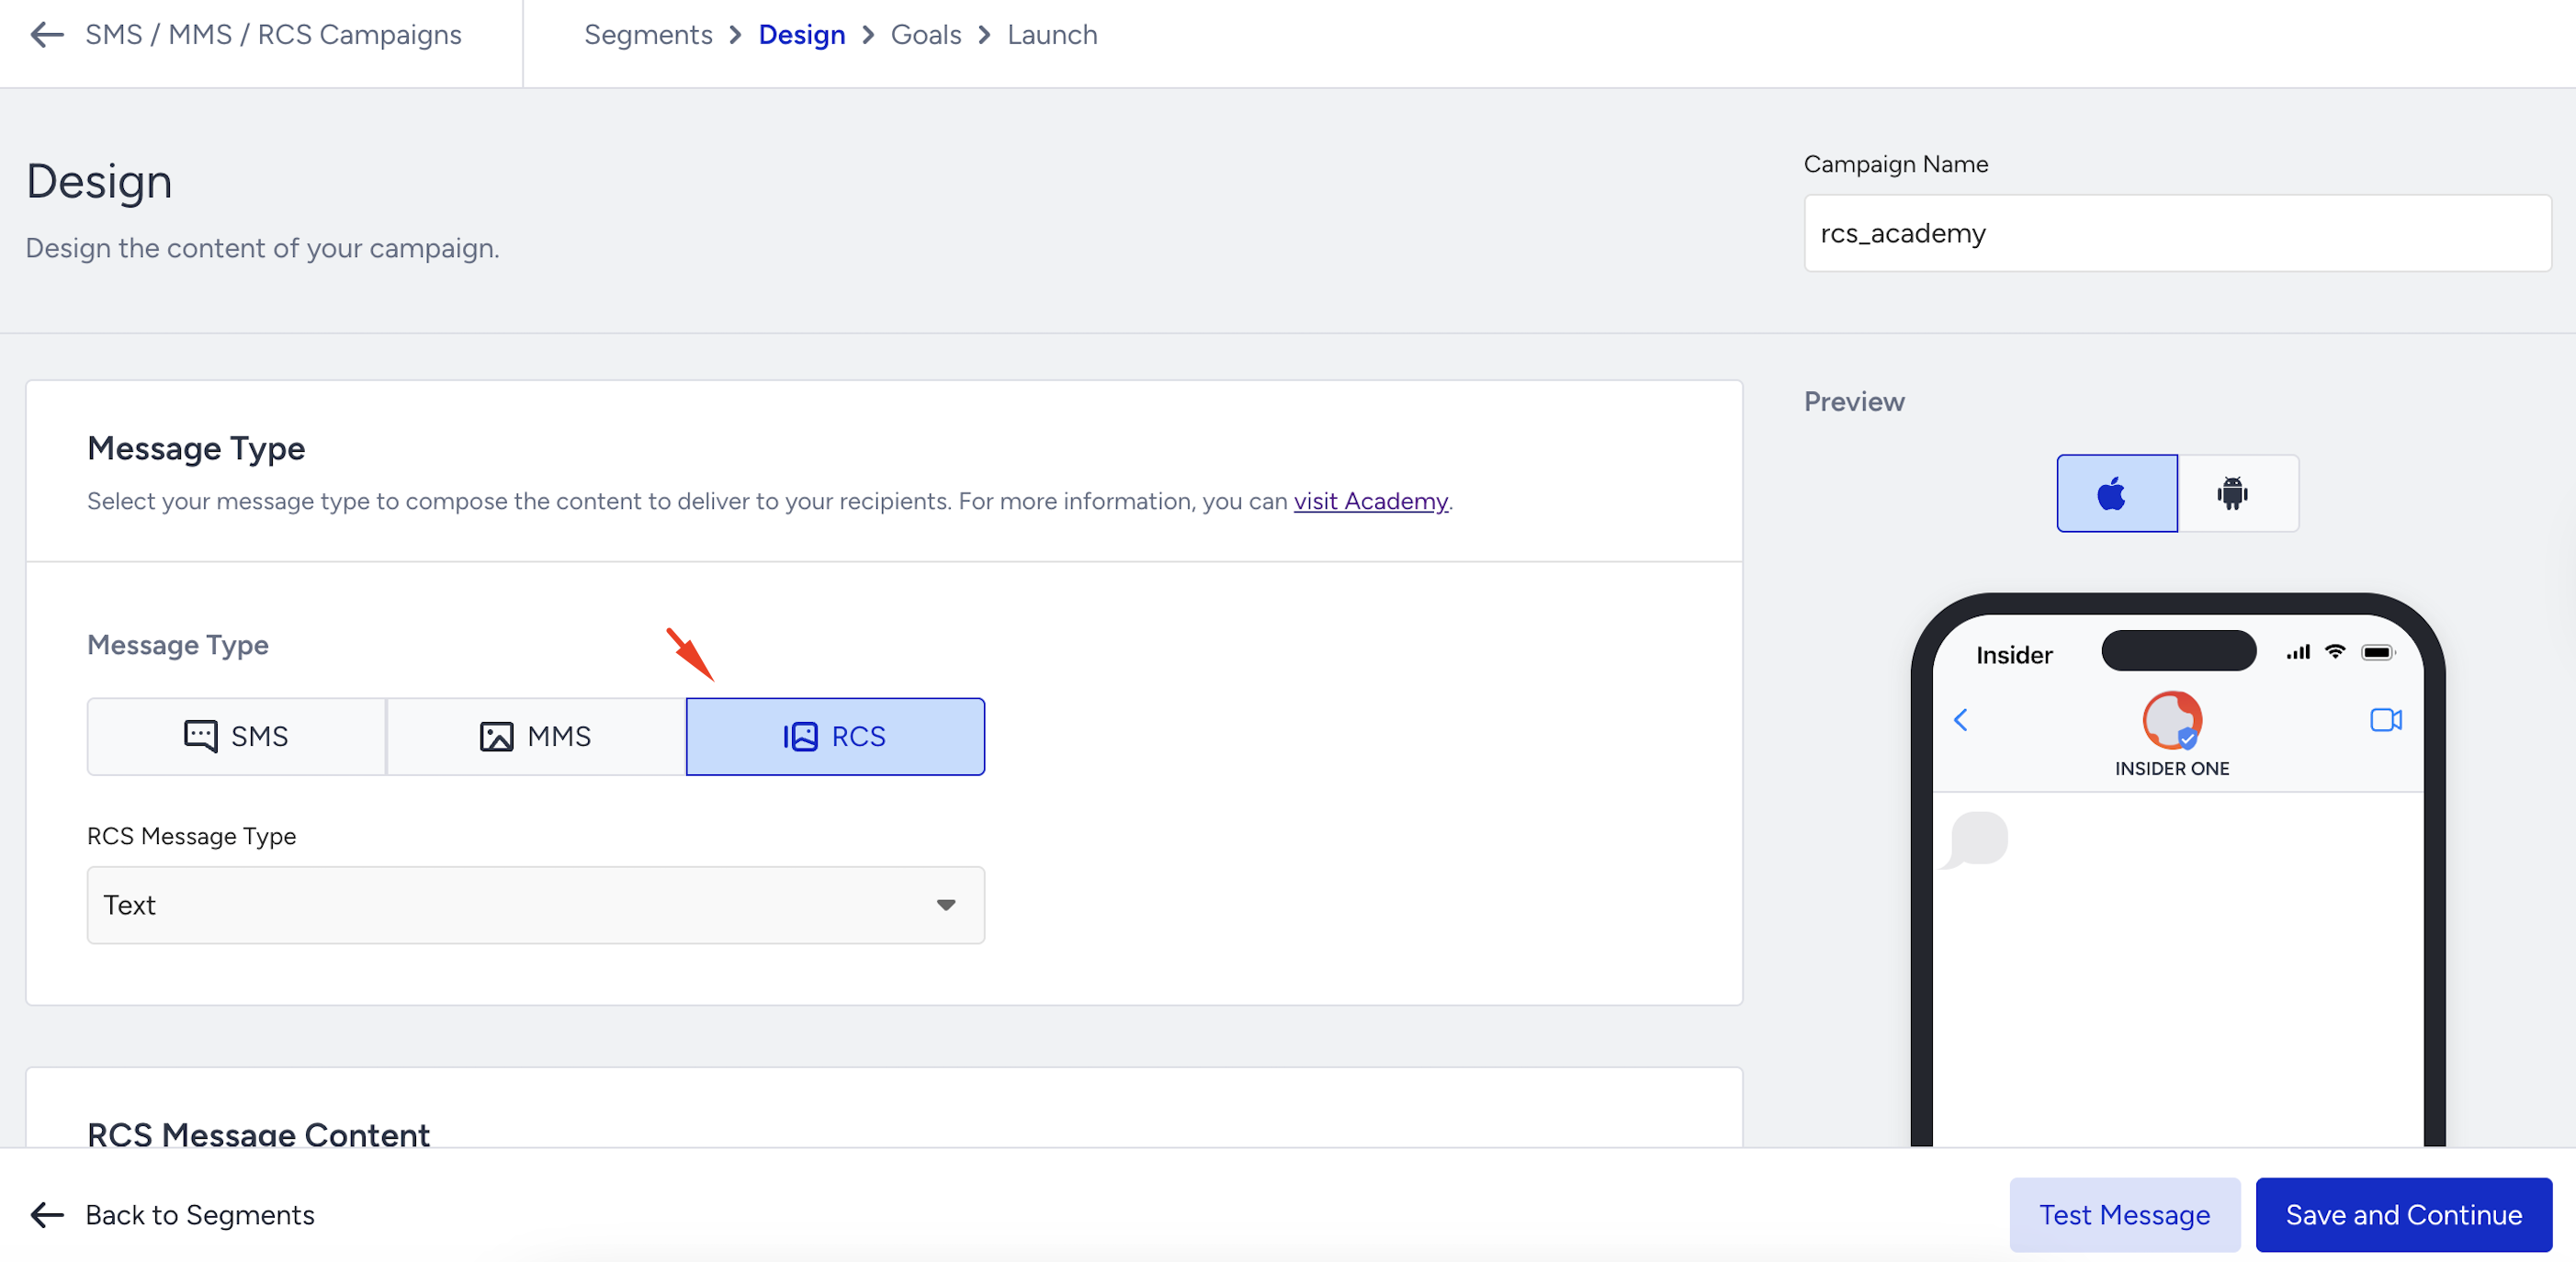
In the Design step, select RCS as the message type. Then, choose either Text or Media as your RCS message type.
Create a Basic (Text) RCS message
The Basic (Text) RCS message type supports text-only messages. Compared to traditional SMS, it provides two key advantages:
Verified profiles: Messages are sent through the brand’s verified profile, displaying the brand logo and verification badge.
Advanced analytics: You can track message open rates and engagement.
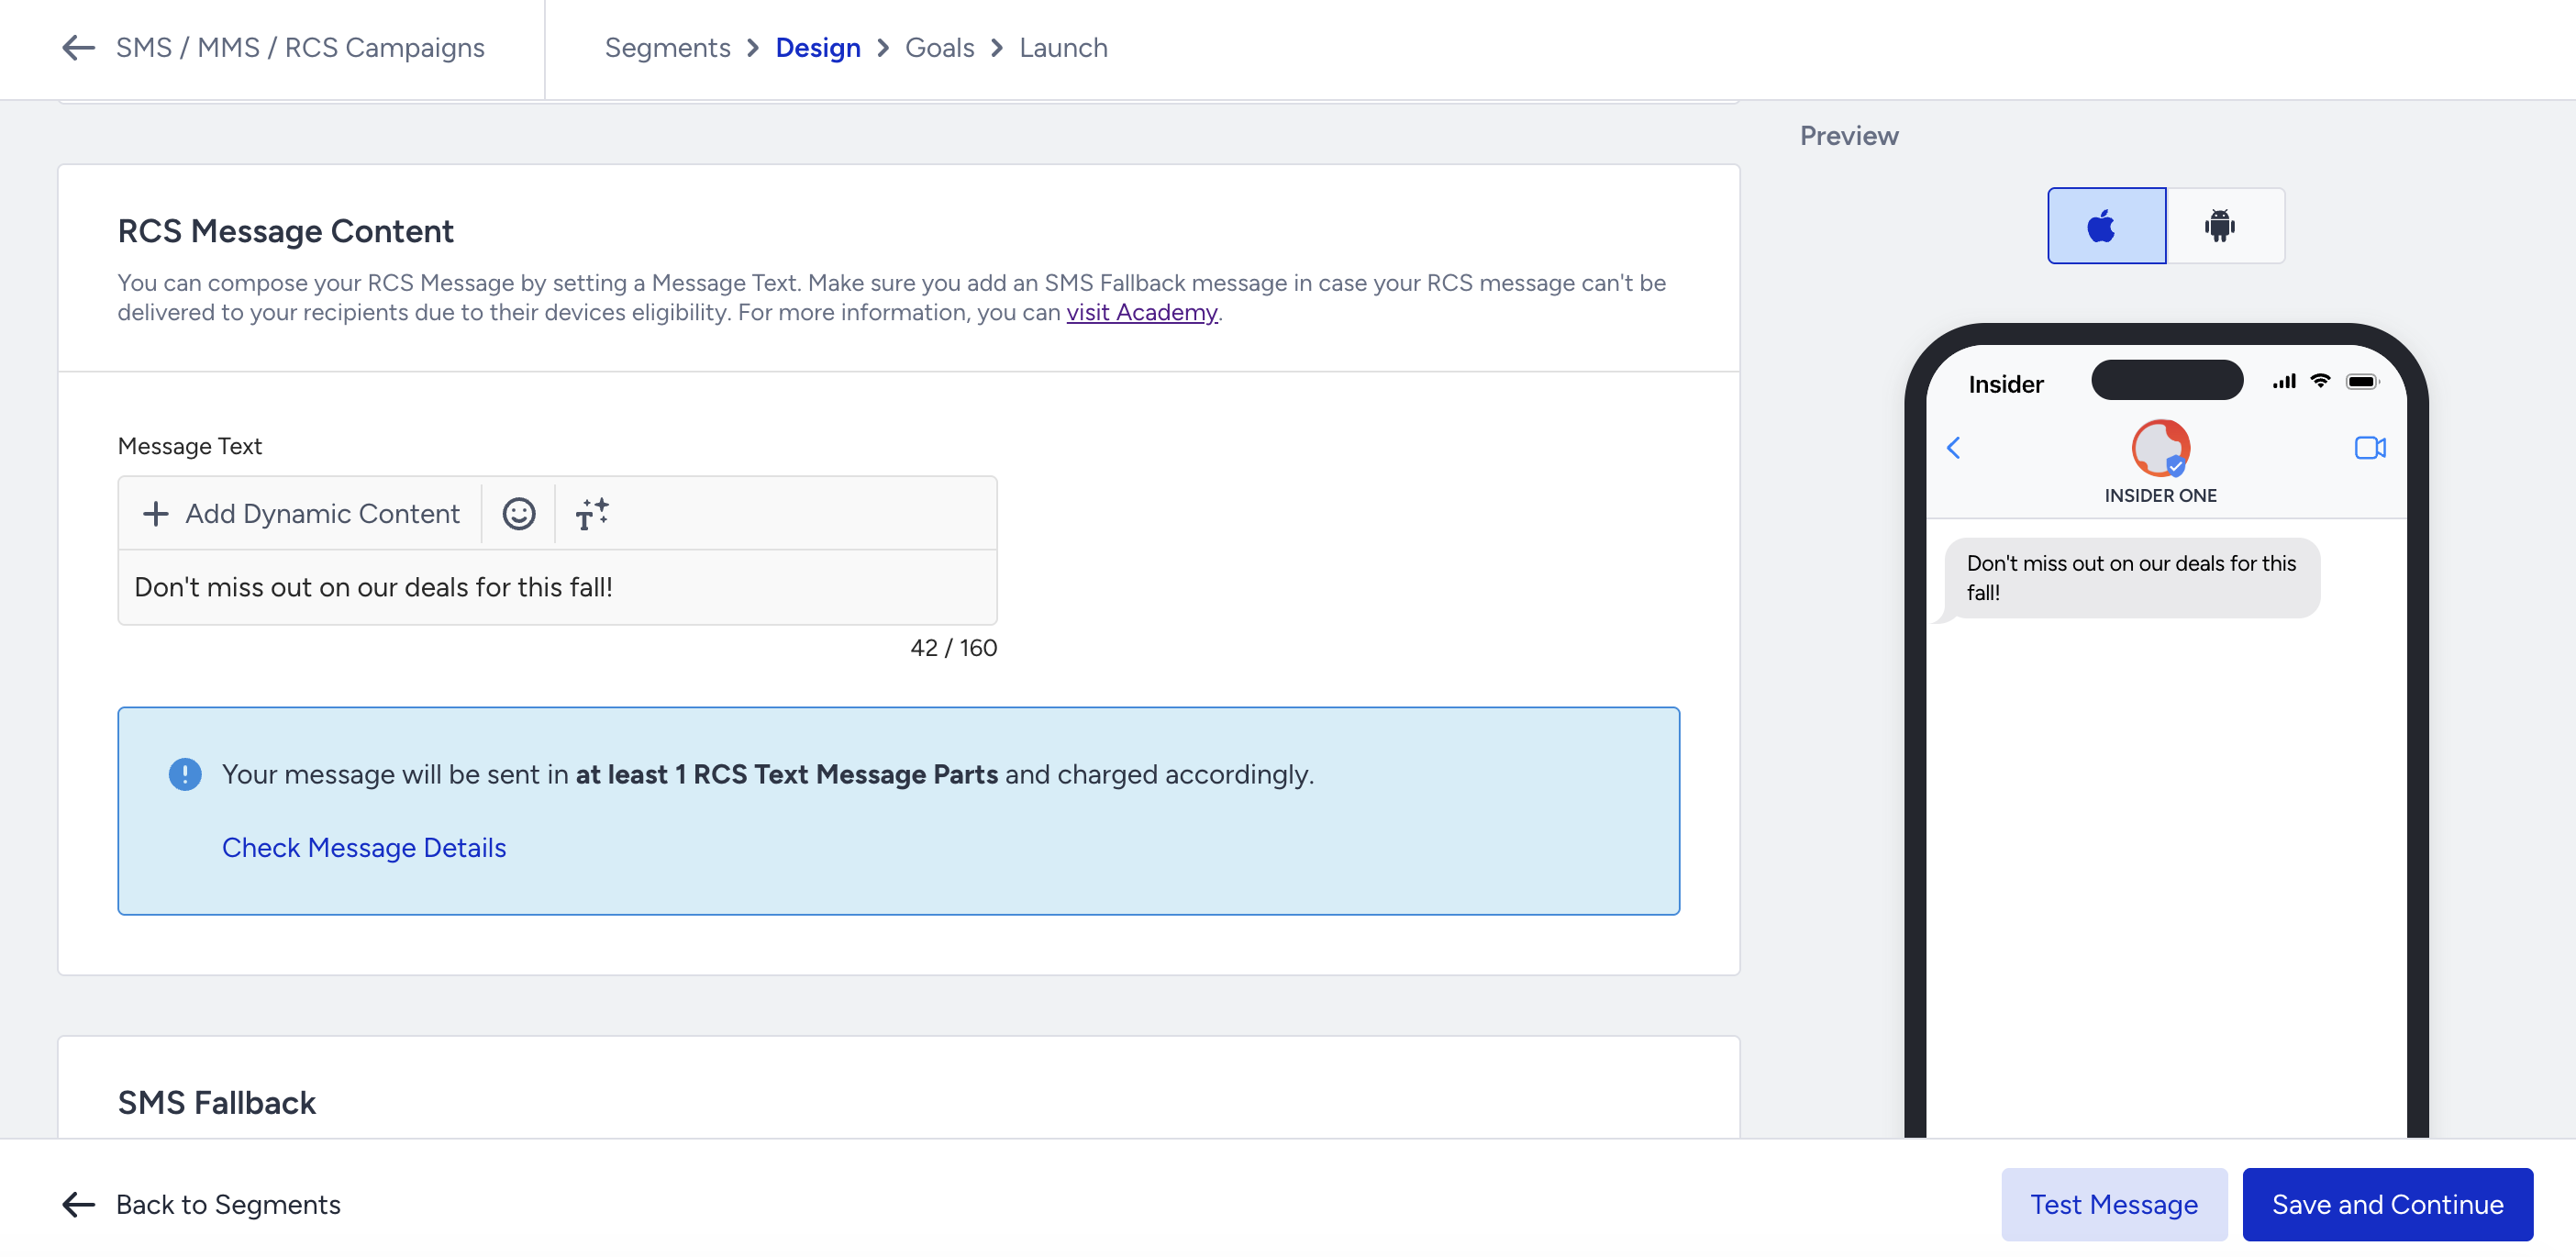
Basic (Text) RCS messages support a maximum of 160 characters.
To create a Basic (Text) RCS message, select Text in the RCS Message Type dropdown list.
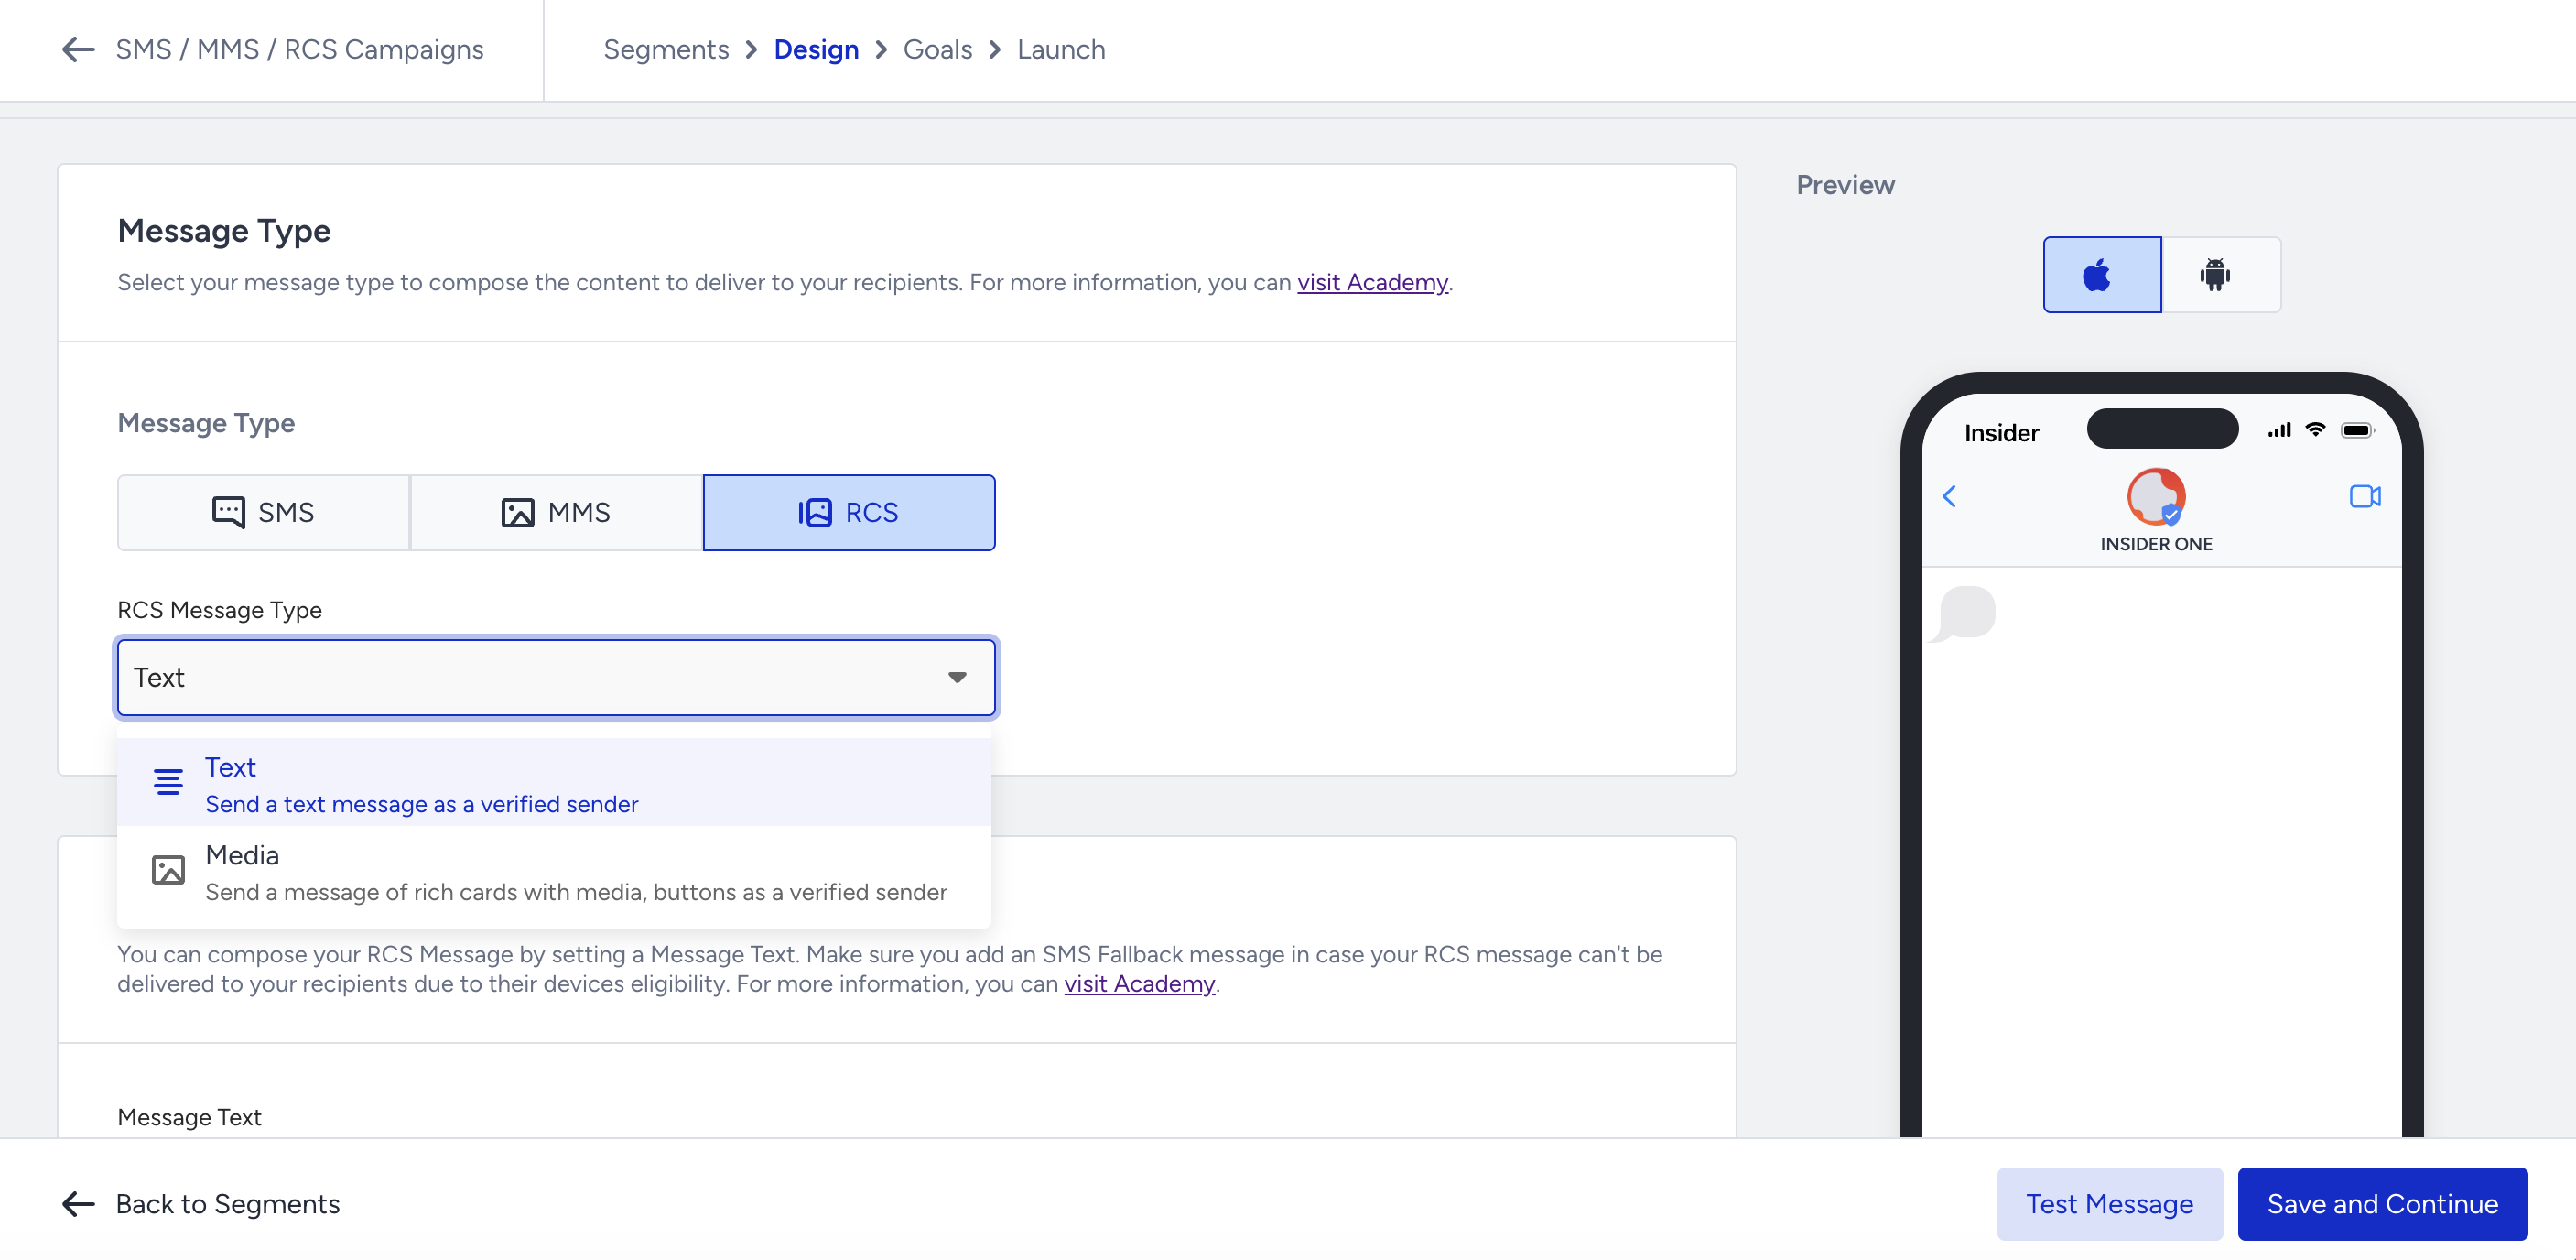
Compose your text message in the Message Text section and preview it in the Preview screen on the right.
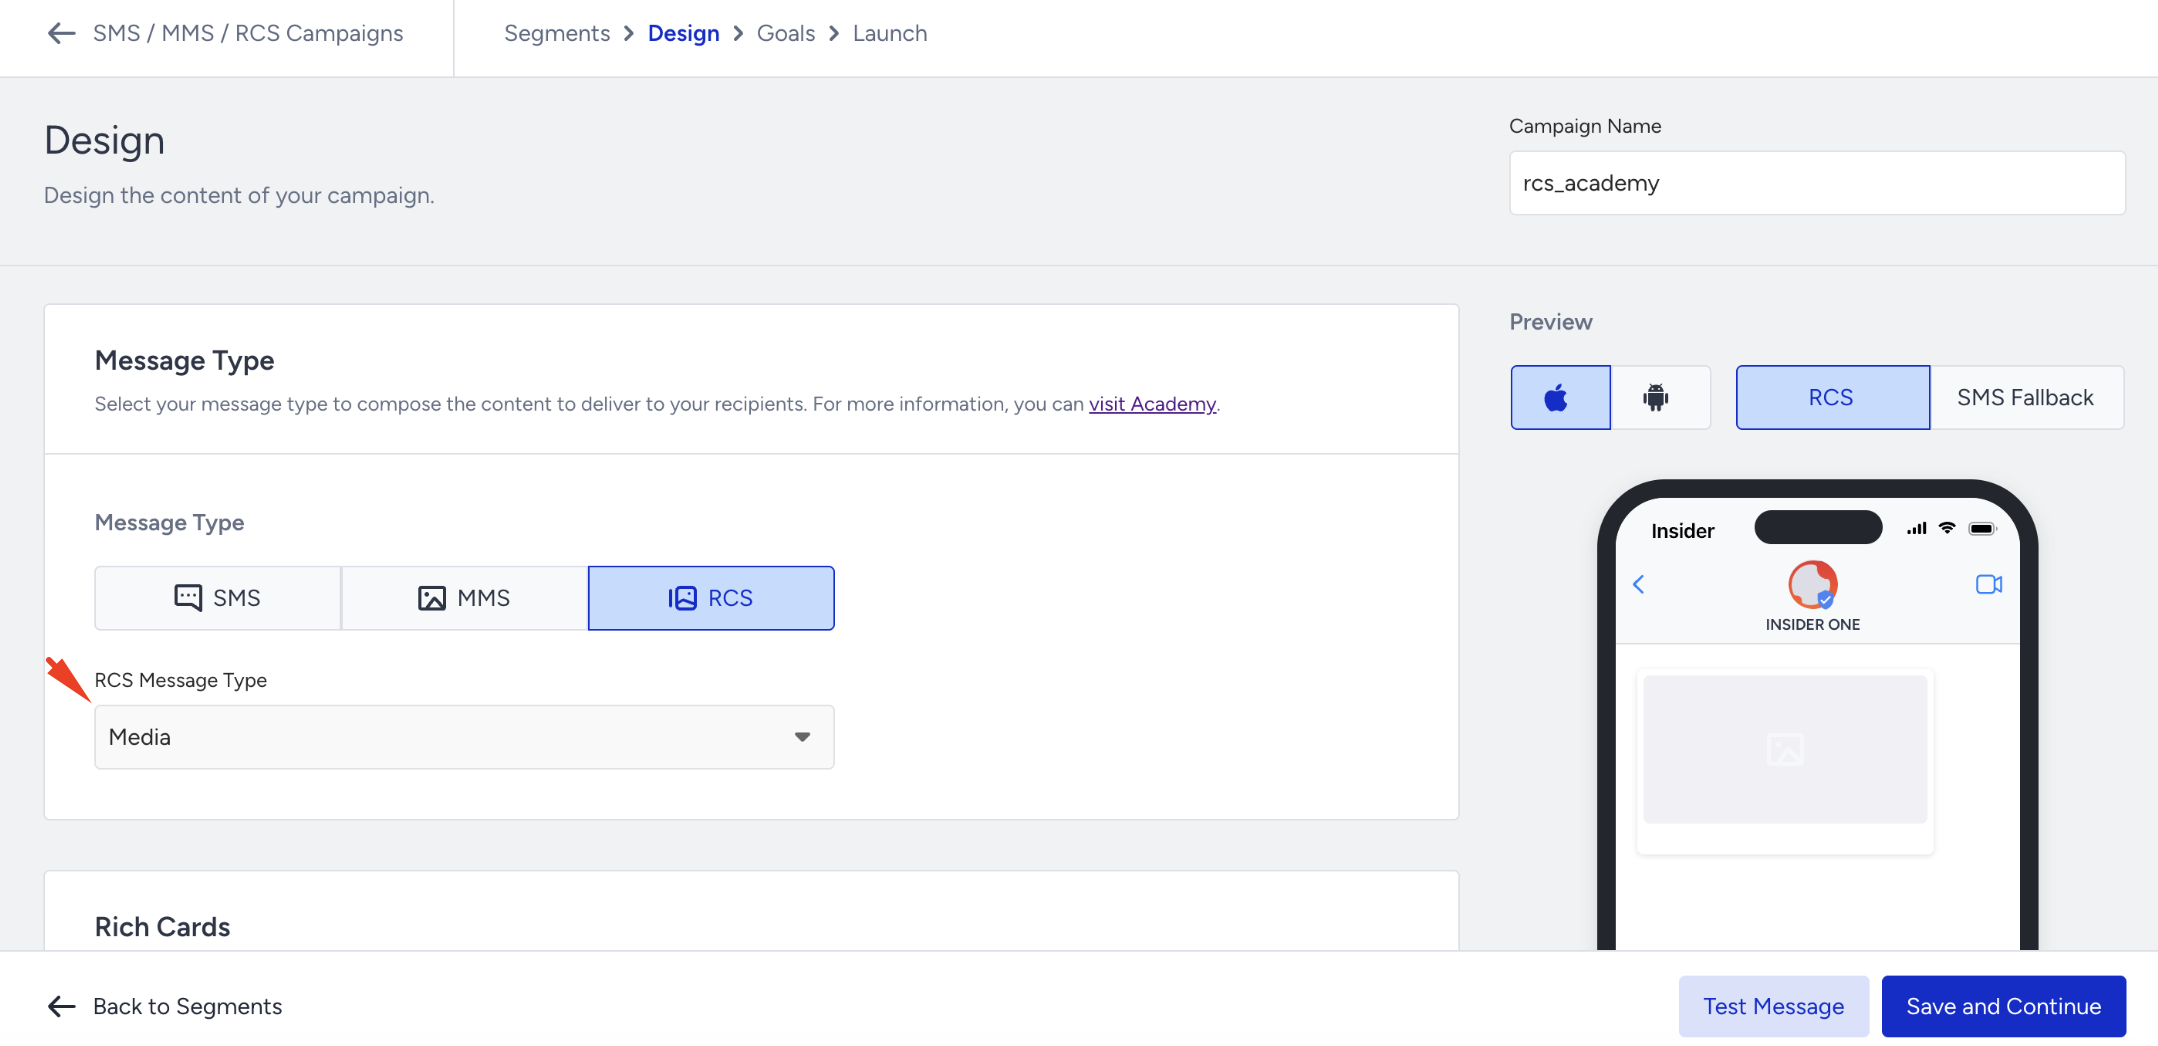
Create a Single (Media) RCS message
In addition to verified profiles and open-rate tracking, Single (Media) RCS messages let you send rich cards with media, text, and interactive elements.
Select Media in the RCS Message Type dropdown list.
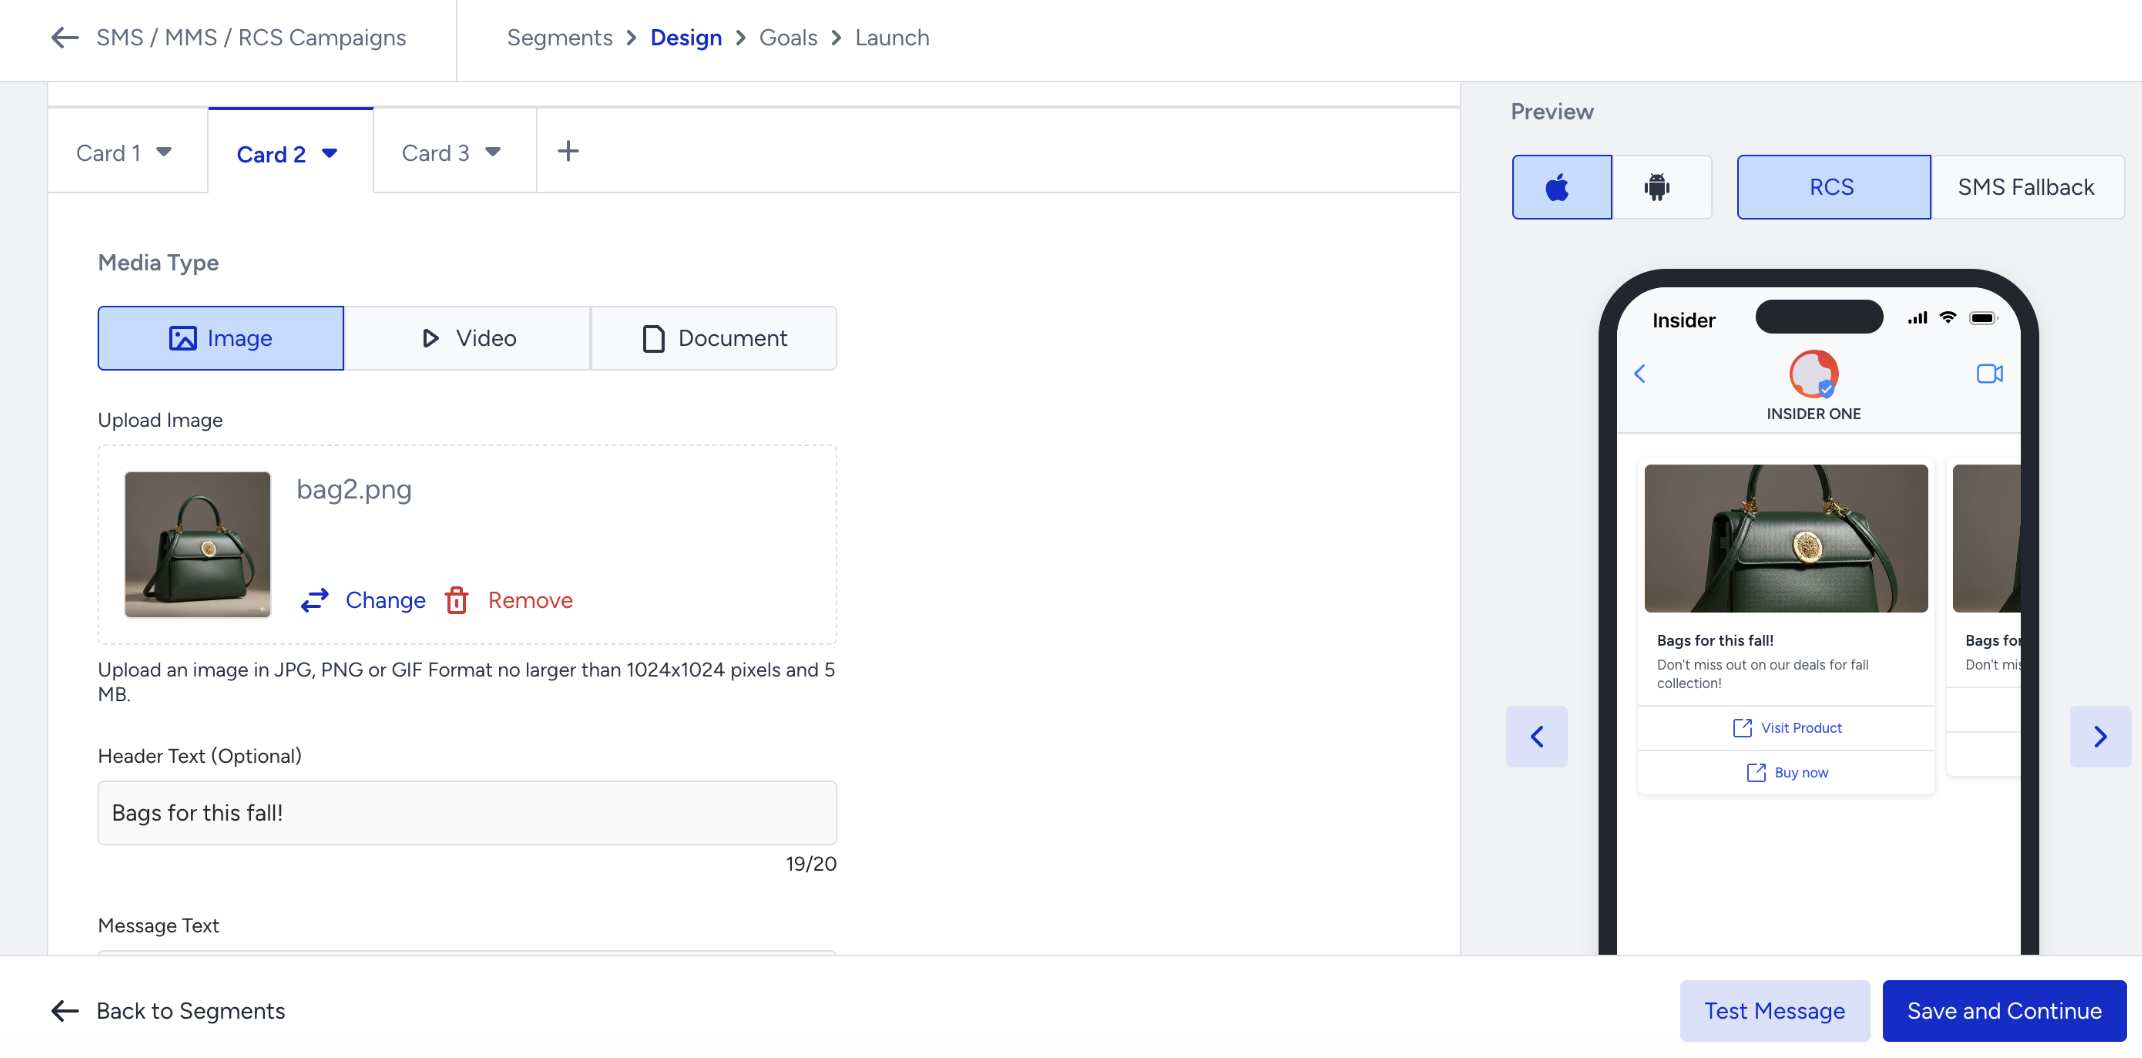
You can upload images, videos, or documents as media files.
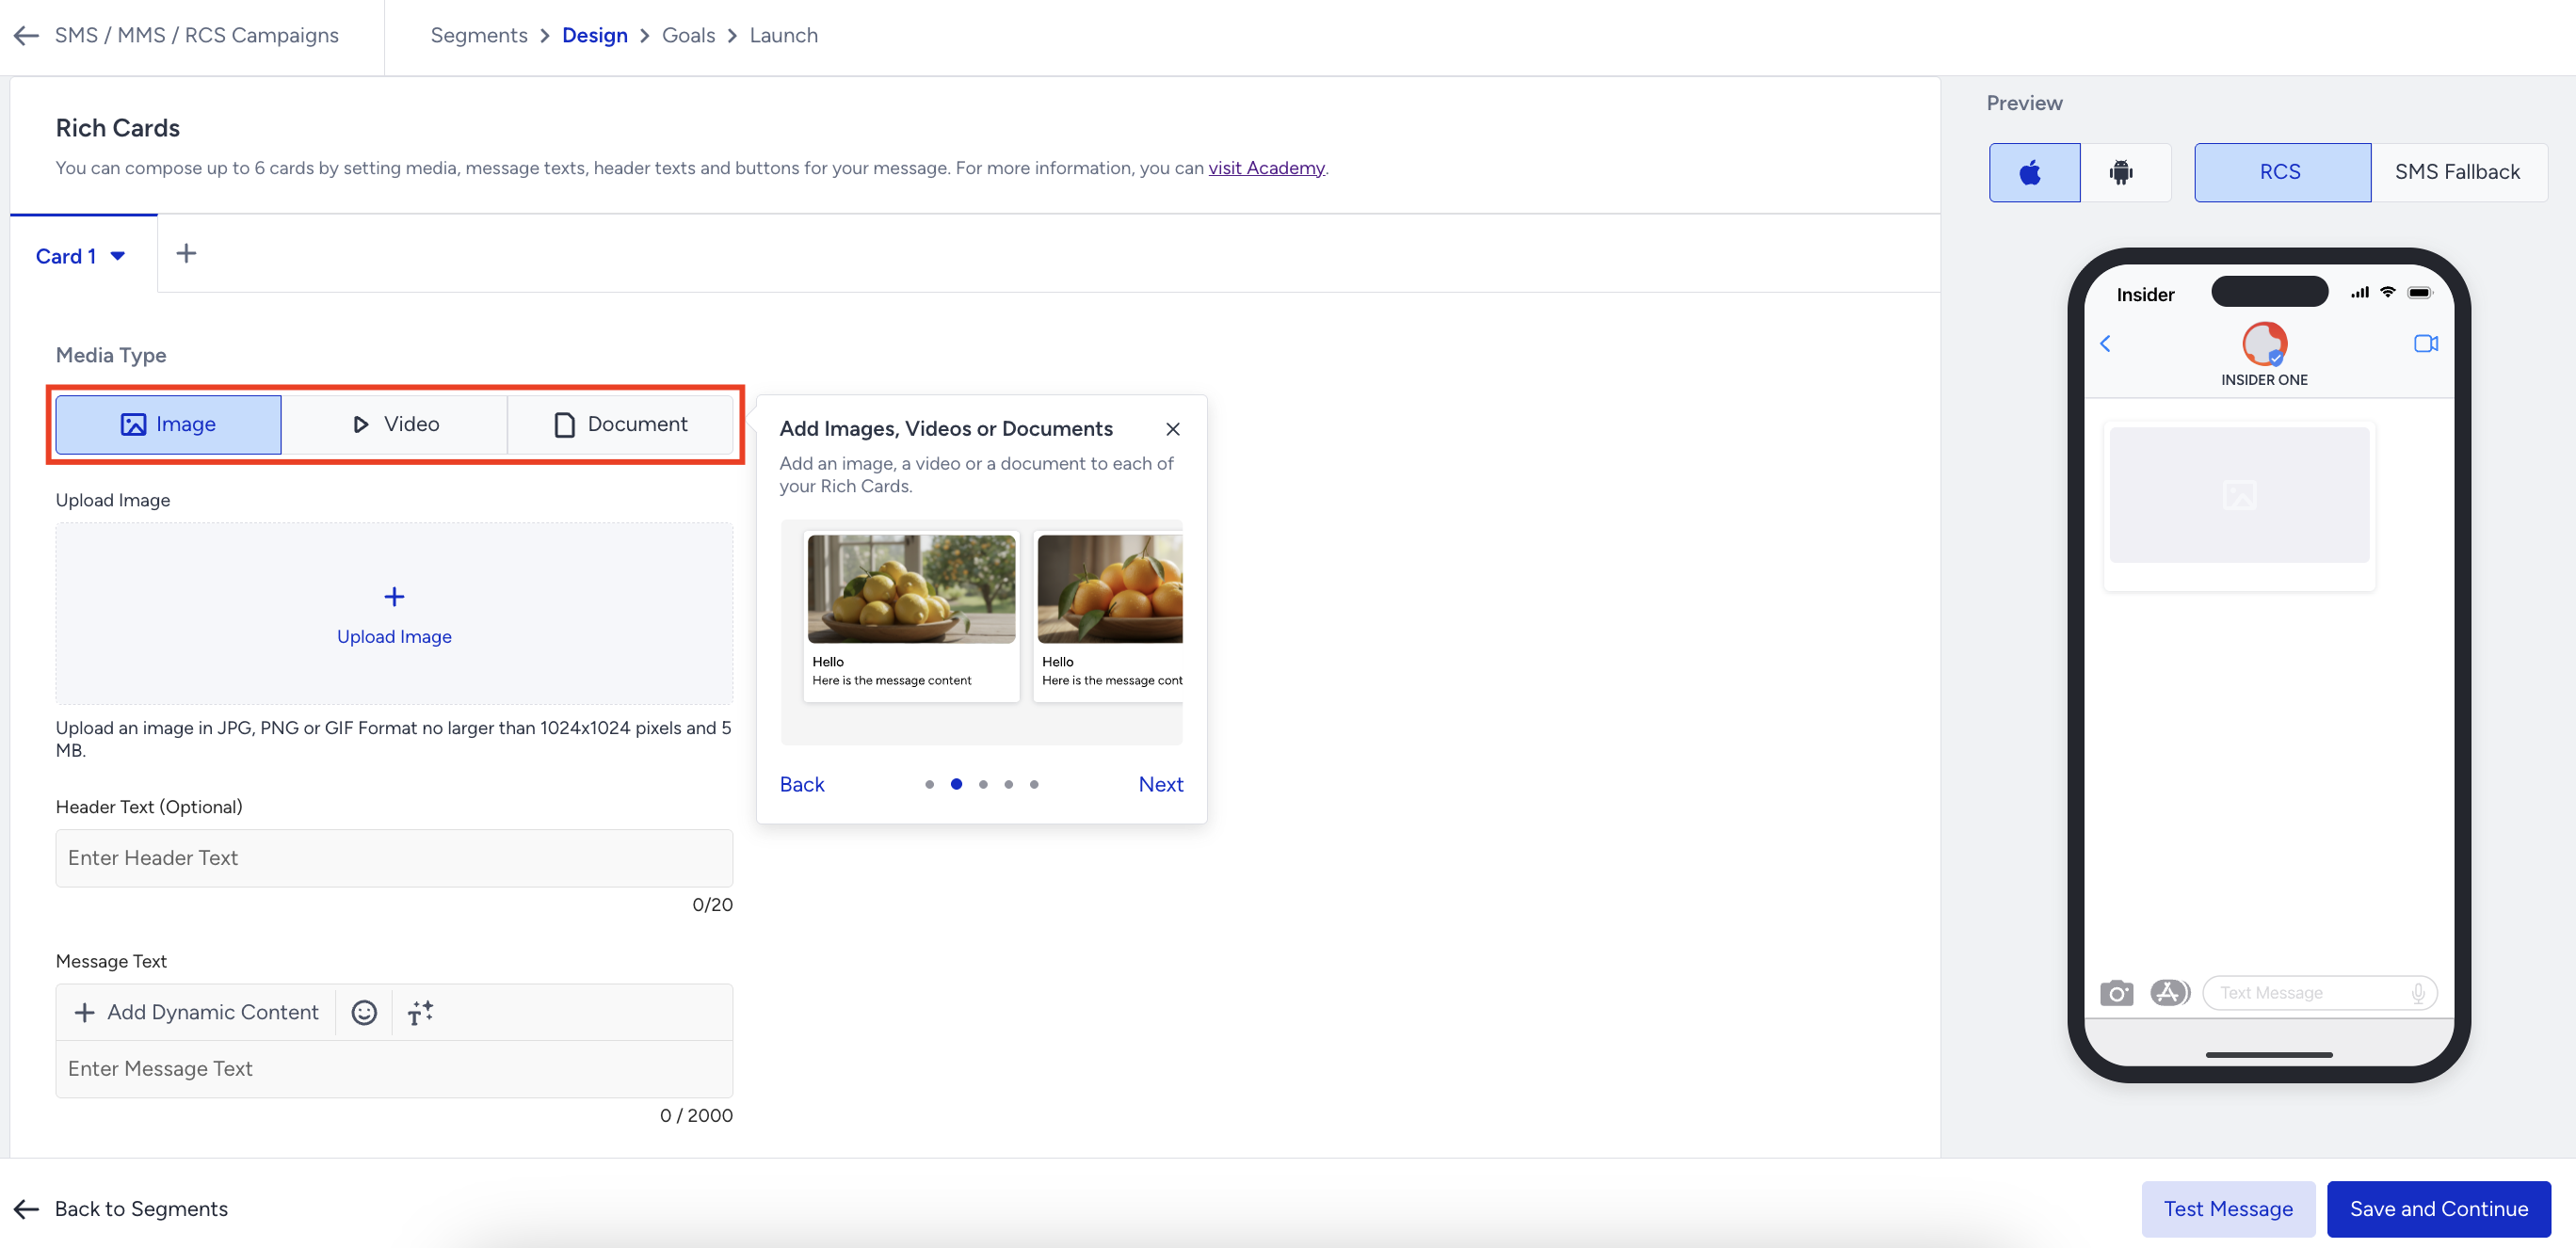
Upload the media file and compose your message text.
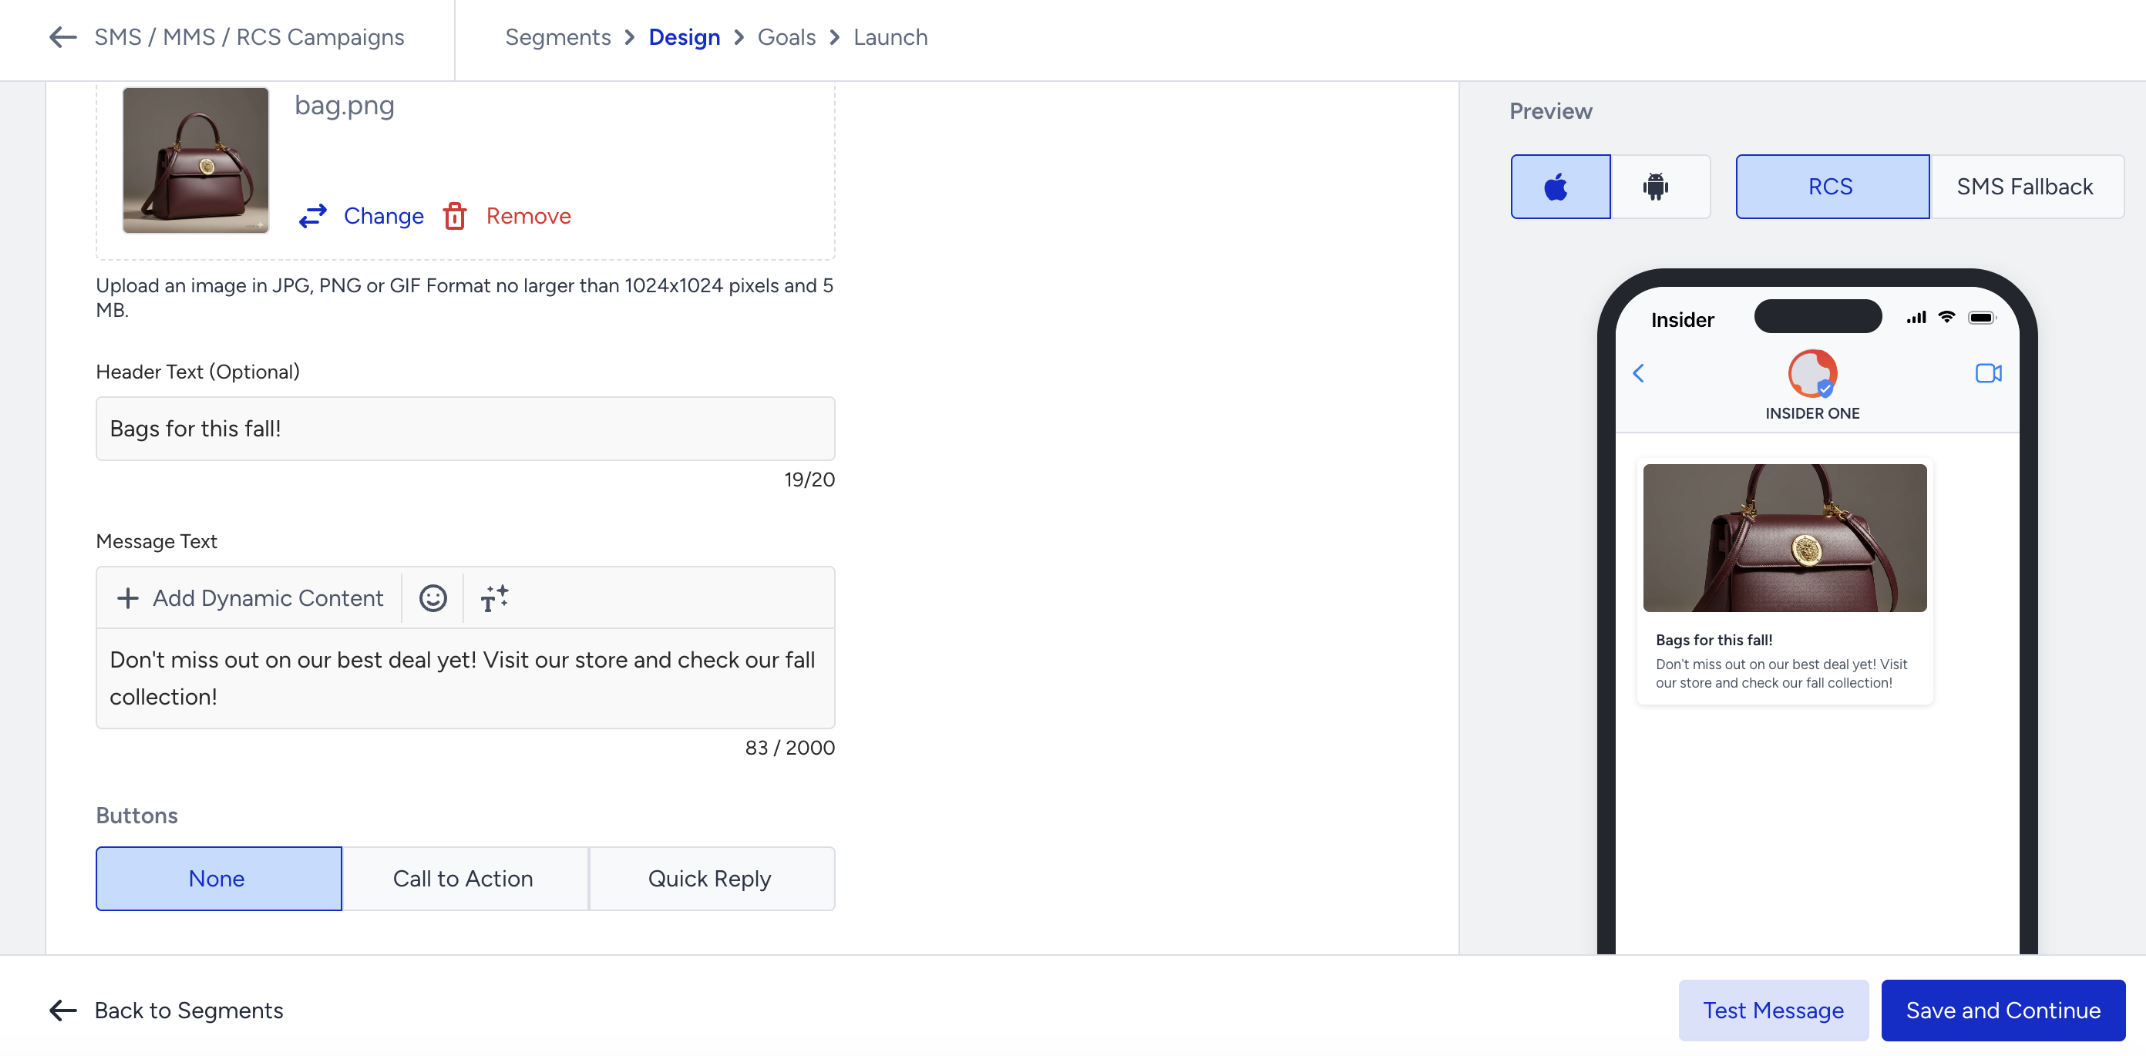
Header text is optional.
You can add up to 6 rich cards and create a carousel.
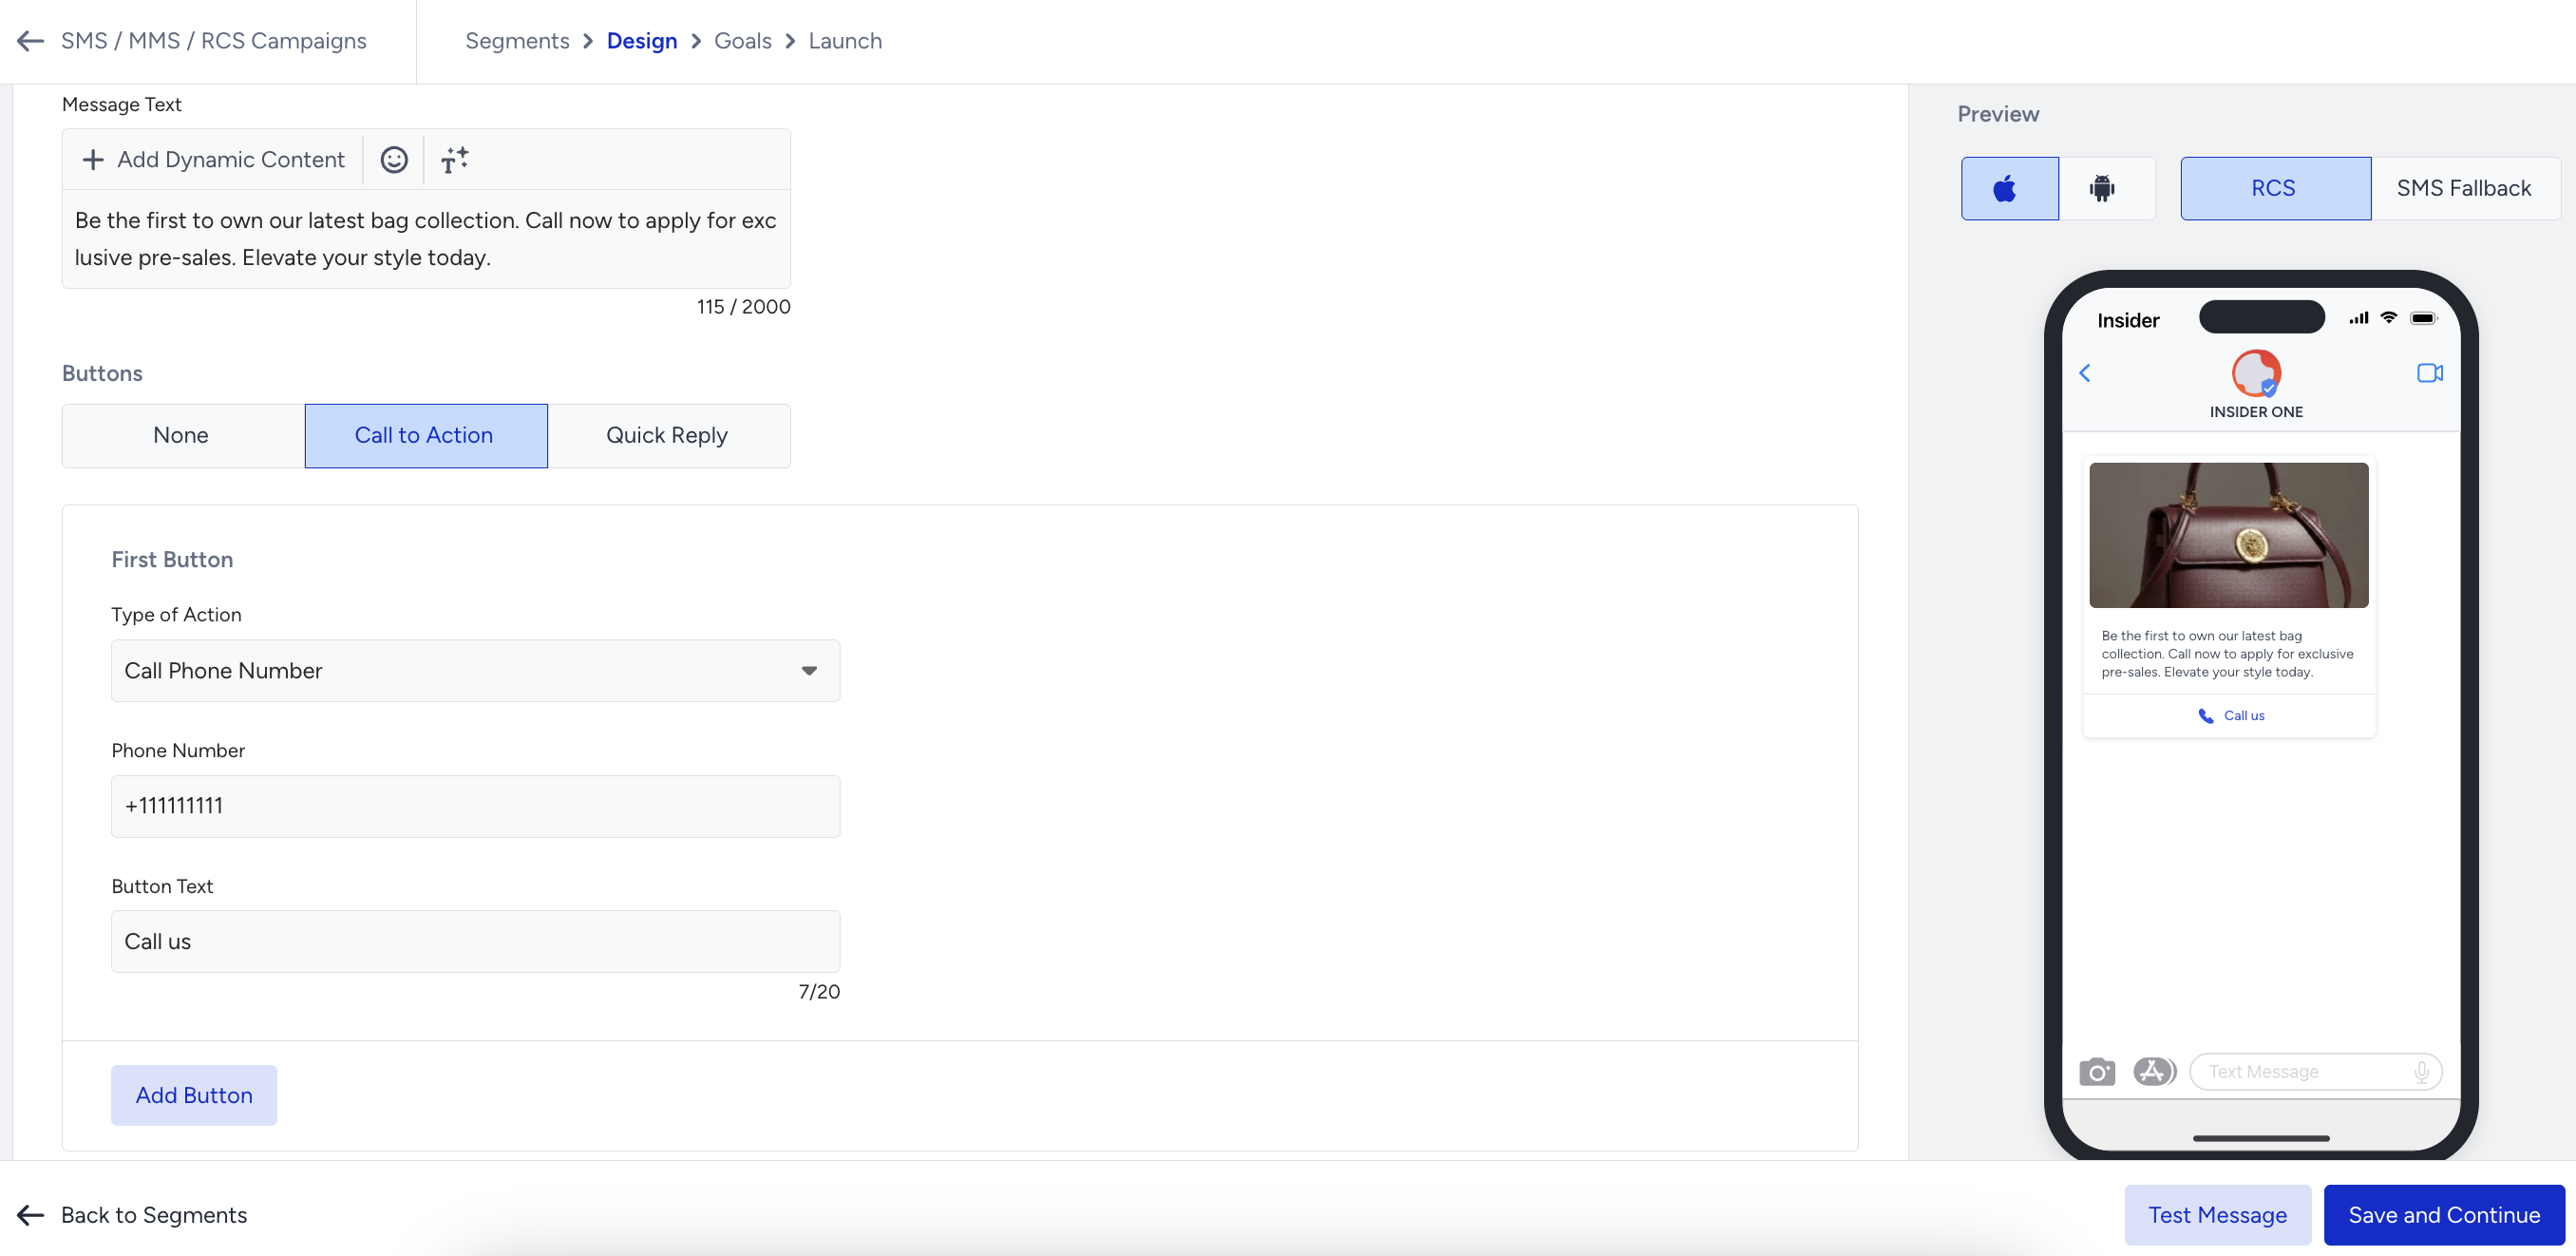
You can enhance your Single (Media) RCS messages with interactive buttons that allow recipients to take action directly from the message.
To add buttons to your Single (Media) RCS message, select one of the following options in the Buttons field.
Call to Action
Quick Reply
Under Call to Action, you can add the Visit Website and Call Phone Number options.
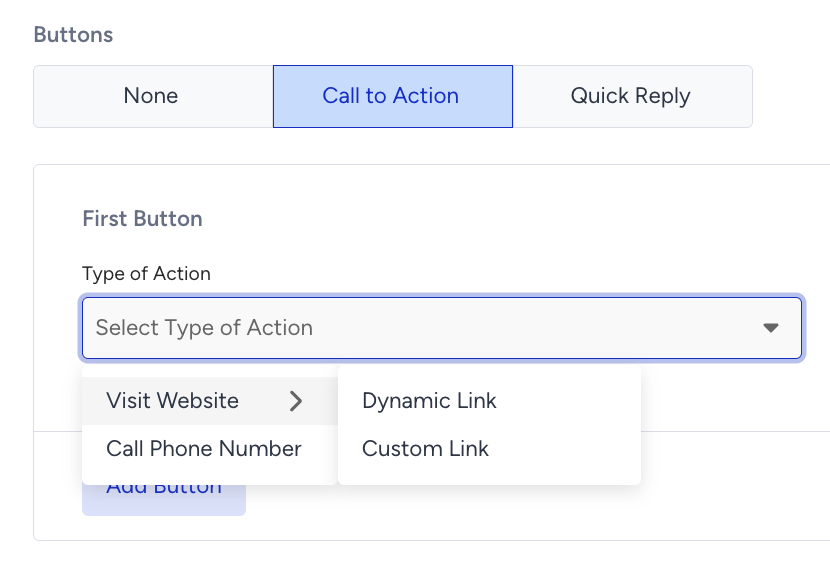
Visit Website provides two link configuration options:
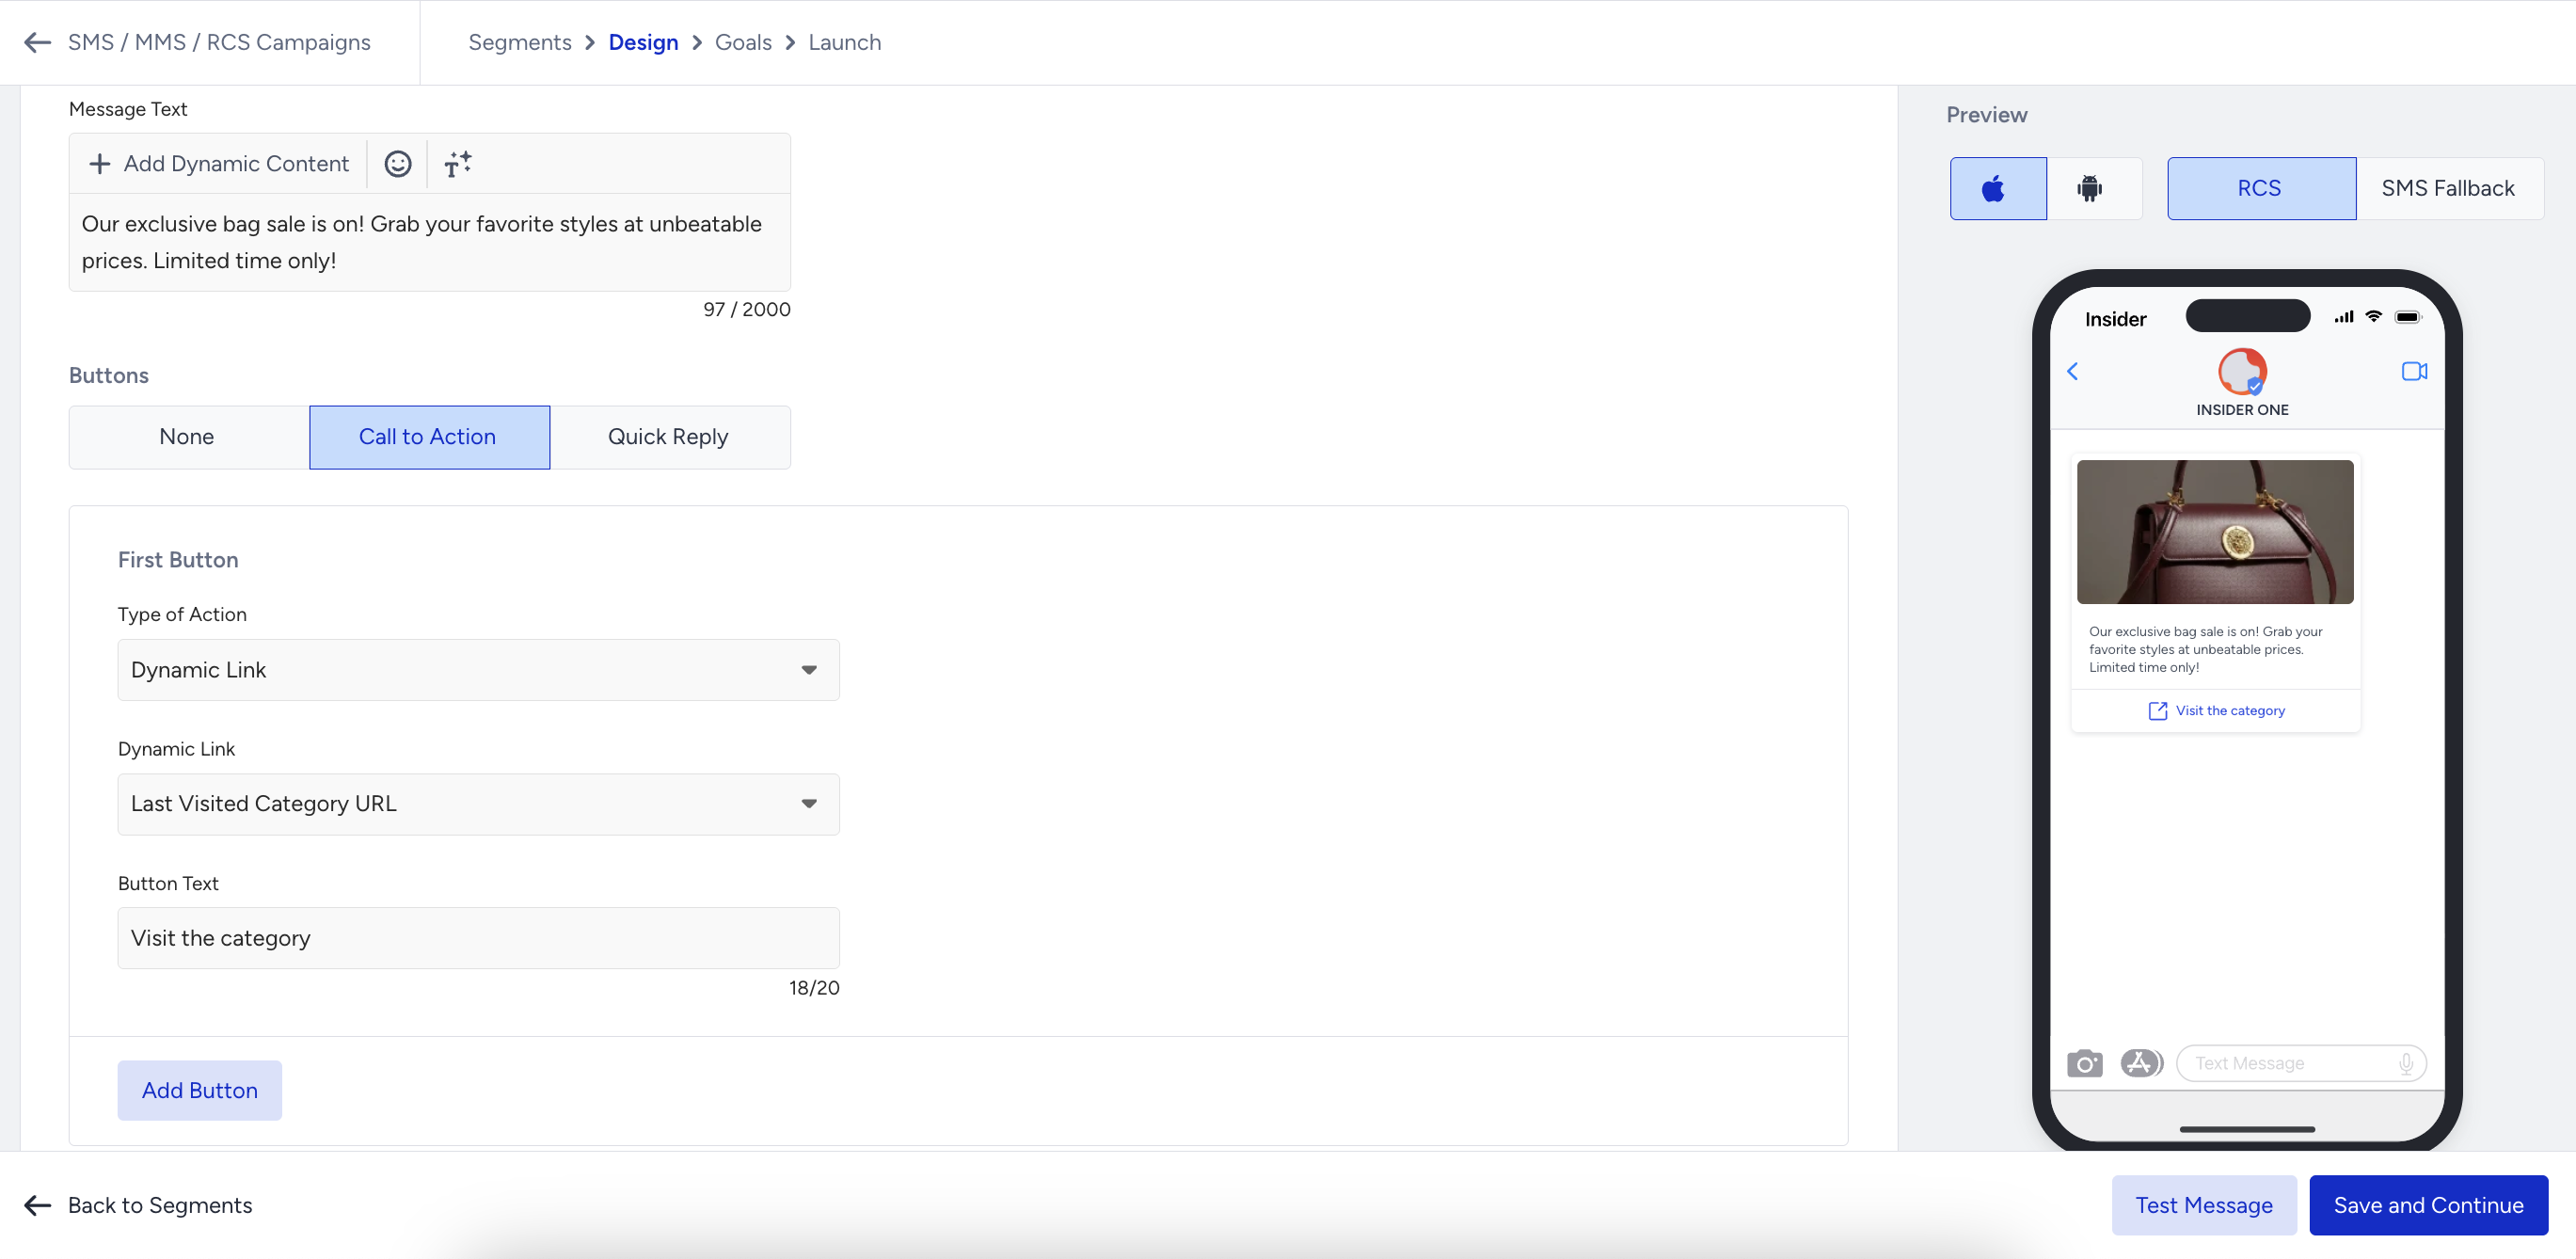
Dynamic Link allows you to dynamically add the destination URL using an attribute.
Custom Link allows you to assign a specific URL to the button. Use an unshortened URL to enable link performance tracking.

Call Phone Number option lets you add a phone number that customers can call directly from the button.
Quick replies enable you to configure quick reply buttons and their reply texts. When a recipient selects a quick reply button, the defined reply text is sent as their response. You can configure one response message for each quick reply.

The reply text will appear as shown in the example below.

Rich card specifications
Images: maximum resolution 1024 × 1024 px, maximum file size 5 MB. Supported formats: JPEG, JPG, PNG, GIF.
Videos: maximum file size 16 MB. Supported format: MP4.
Documents: supported format PDF. Due to regional limitations, documents can’t be embedded in rich cards and are sent as standalone messages.
Header: maximum 20 characters.
Message body: maximum 2000 characters.
Maximum 4 quick replies and 4 call-to-action buttons per card.
Maximum 6 rich cards per carousel.
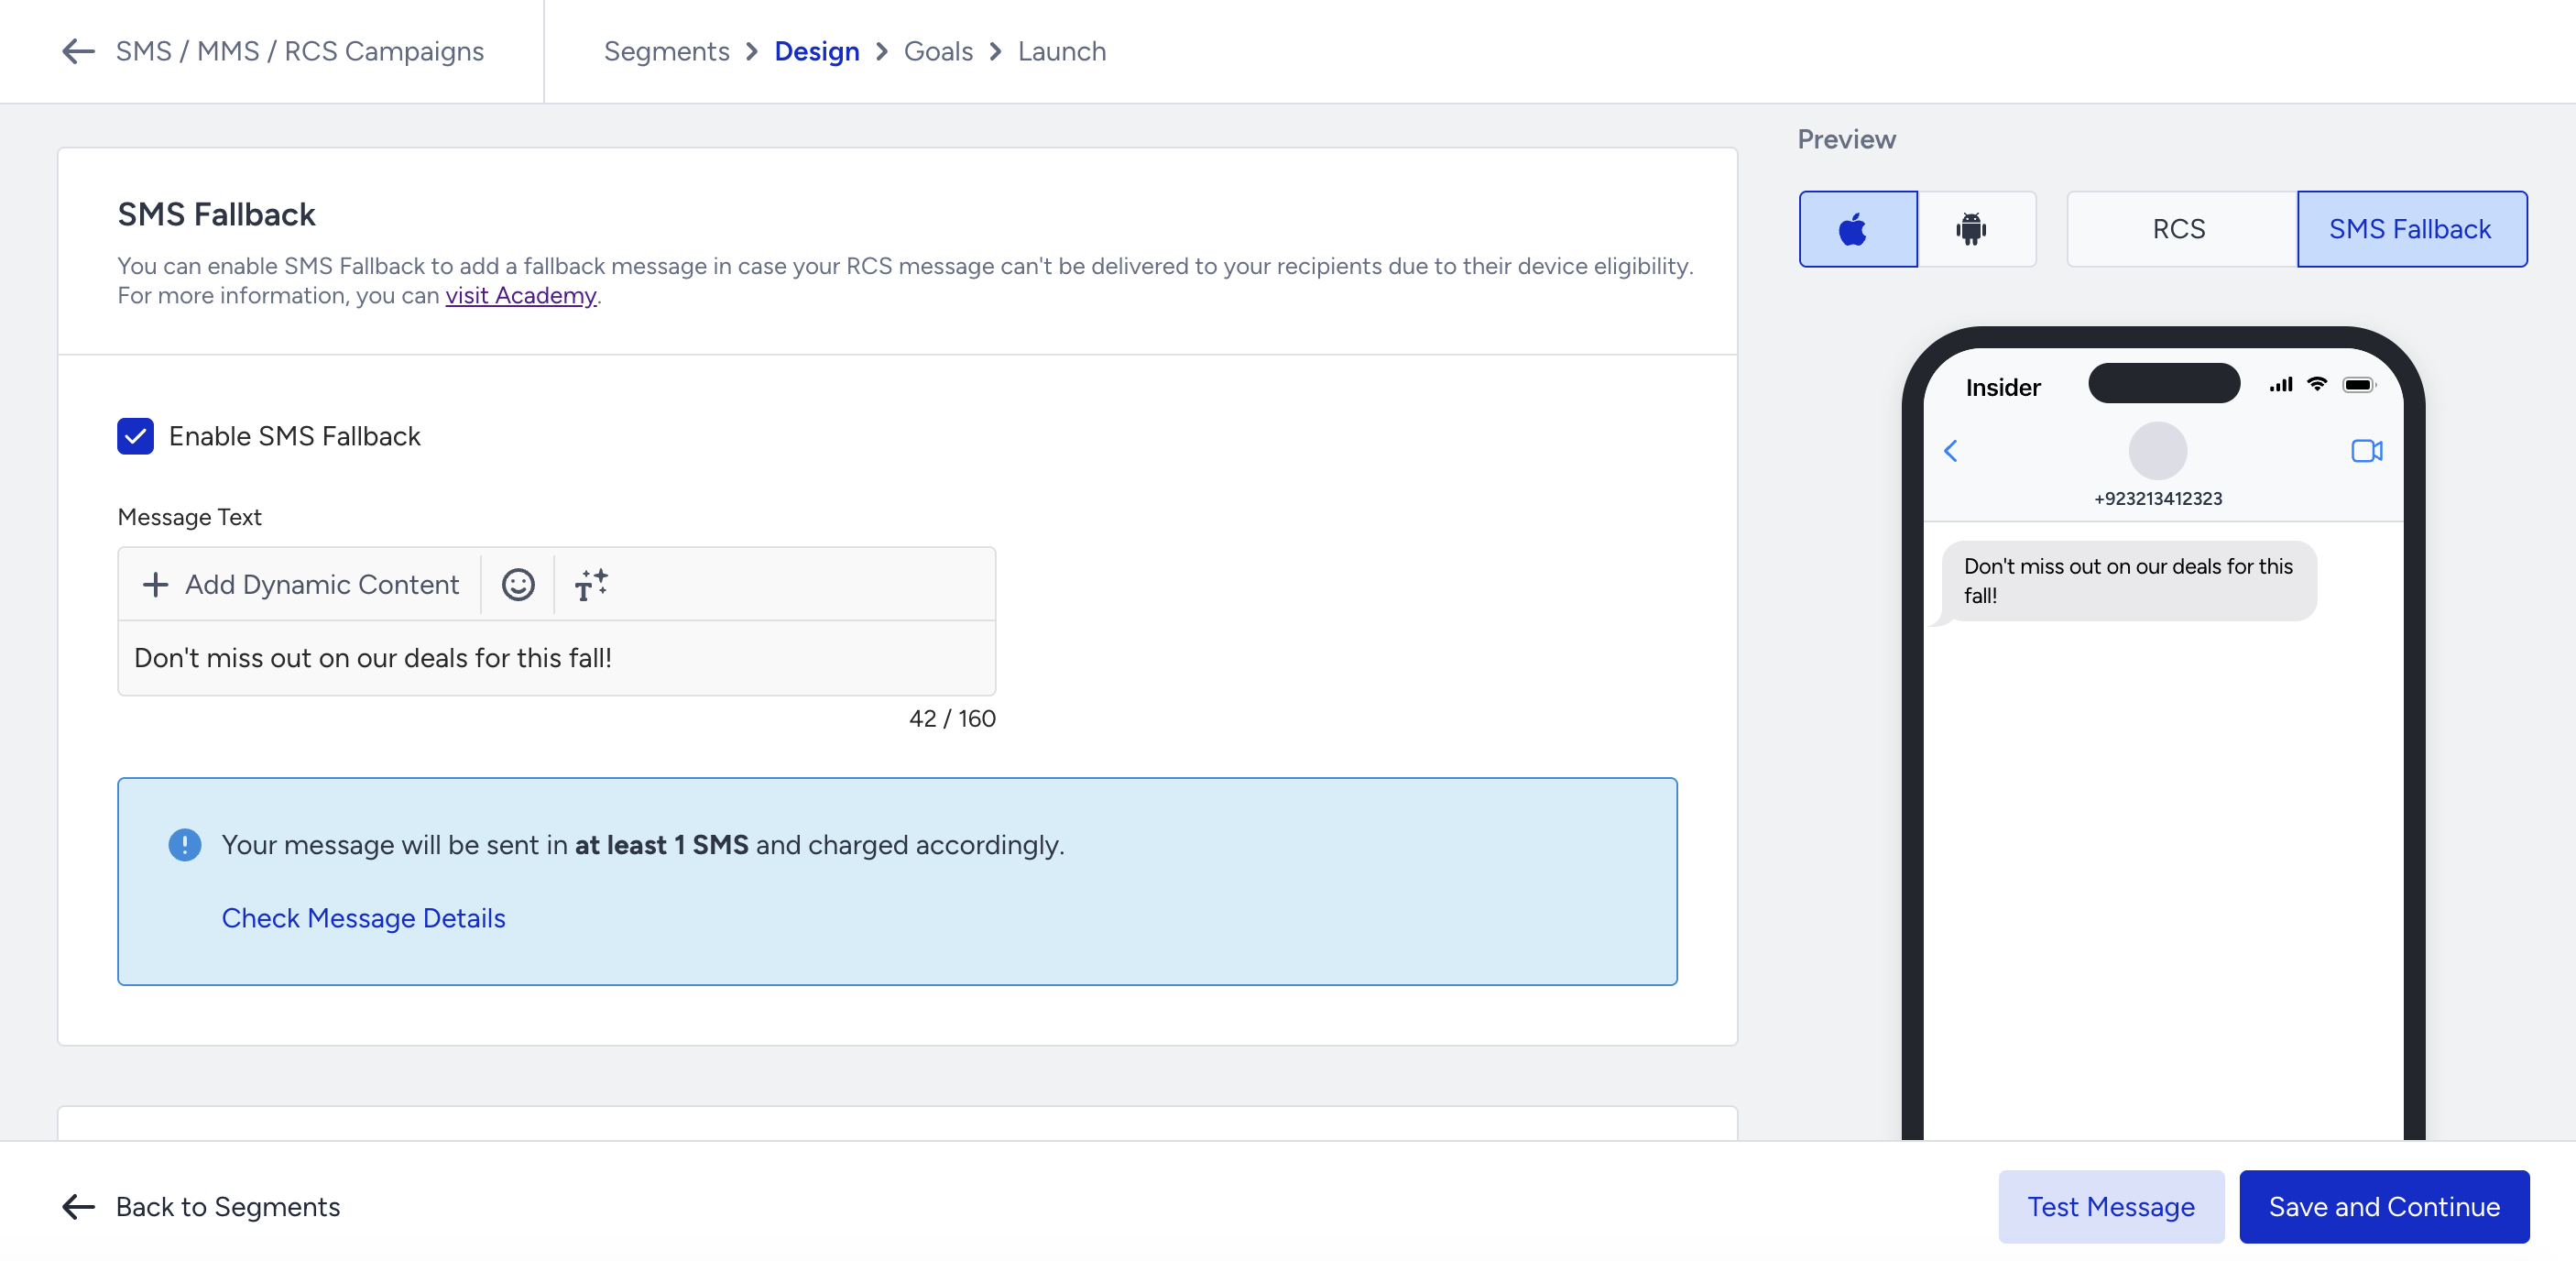
SMS Fallback
After composing your RCS message, you can enable SMS Fallback to ensure message delivery if recipients are not eligible to receive RCS messages. Insider One recommends enabling this option to maintain message reach.
To enable SMS fallback, select the Enable SMS fallback checkbox and enter a text-only SMS message. If the RCS message can’t be delivered due to device eligibility, the SMS message is sent instead.
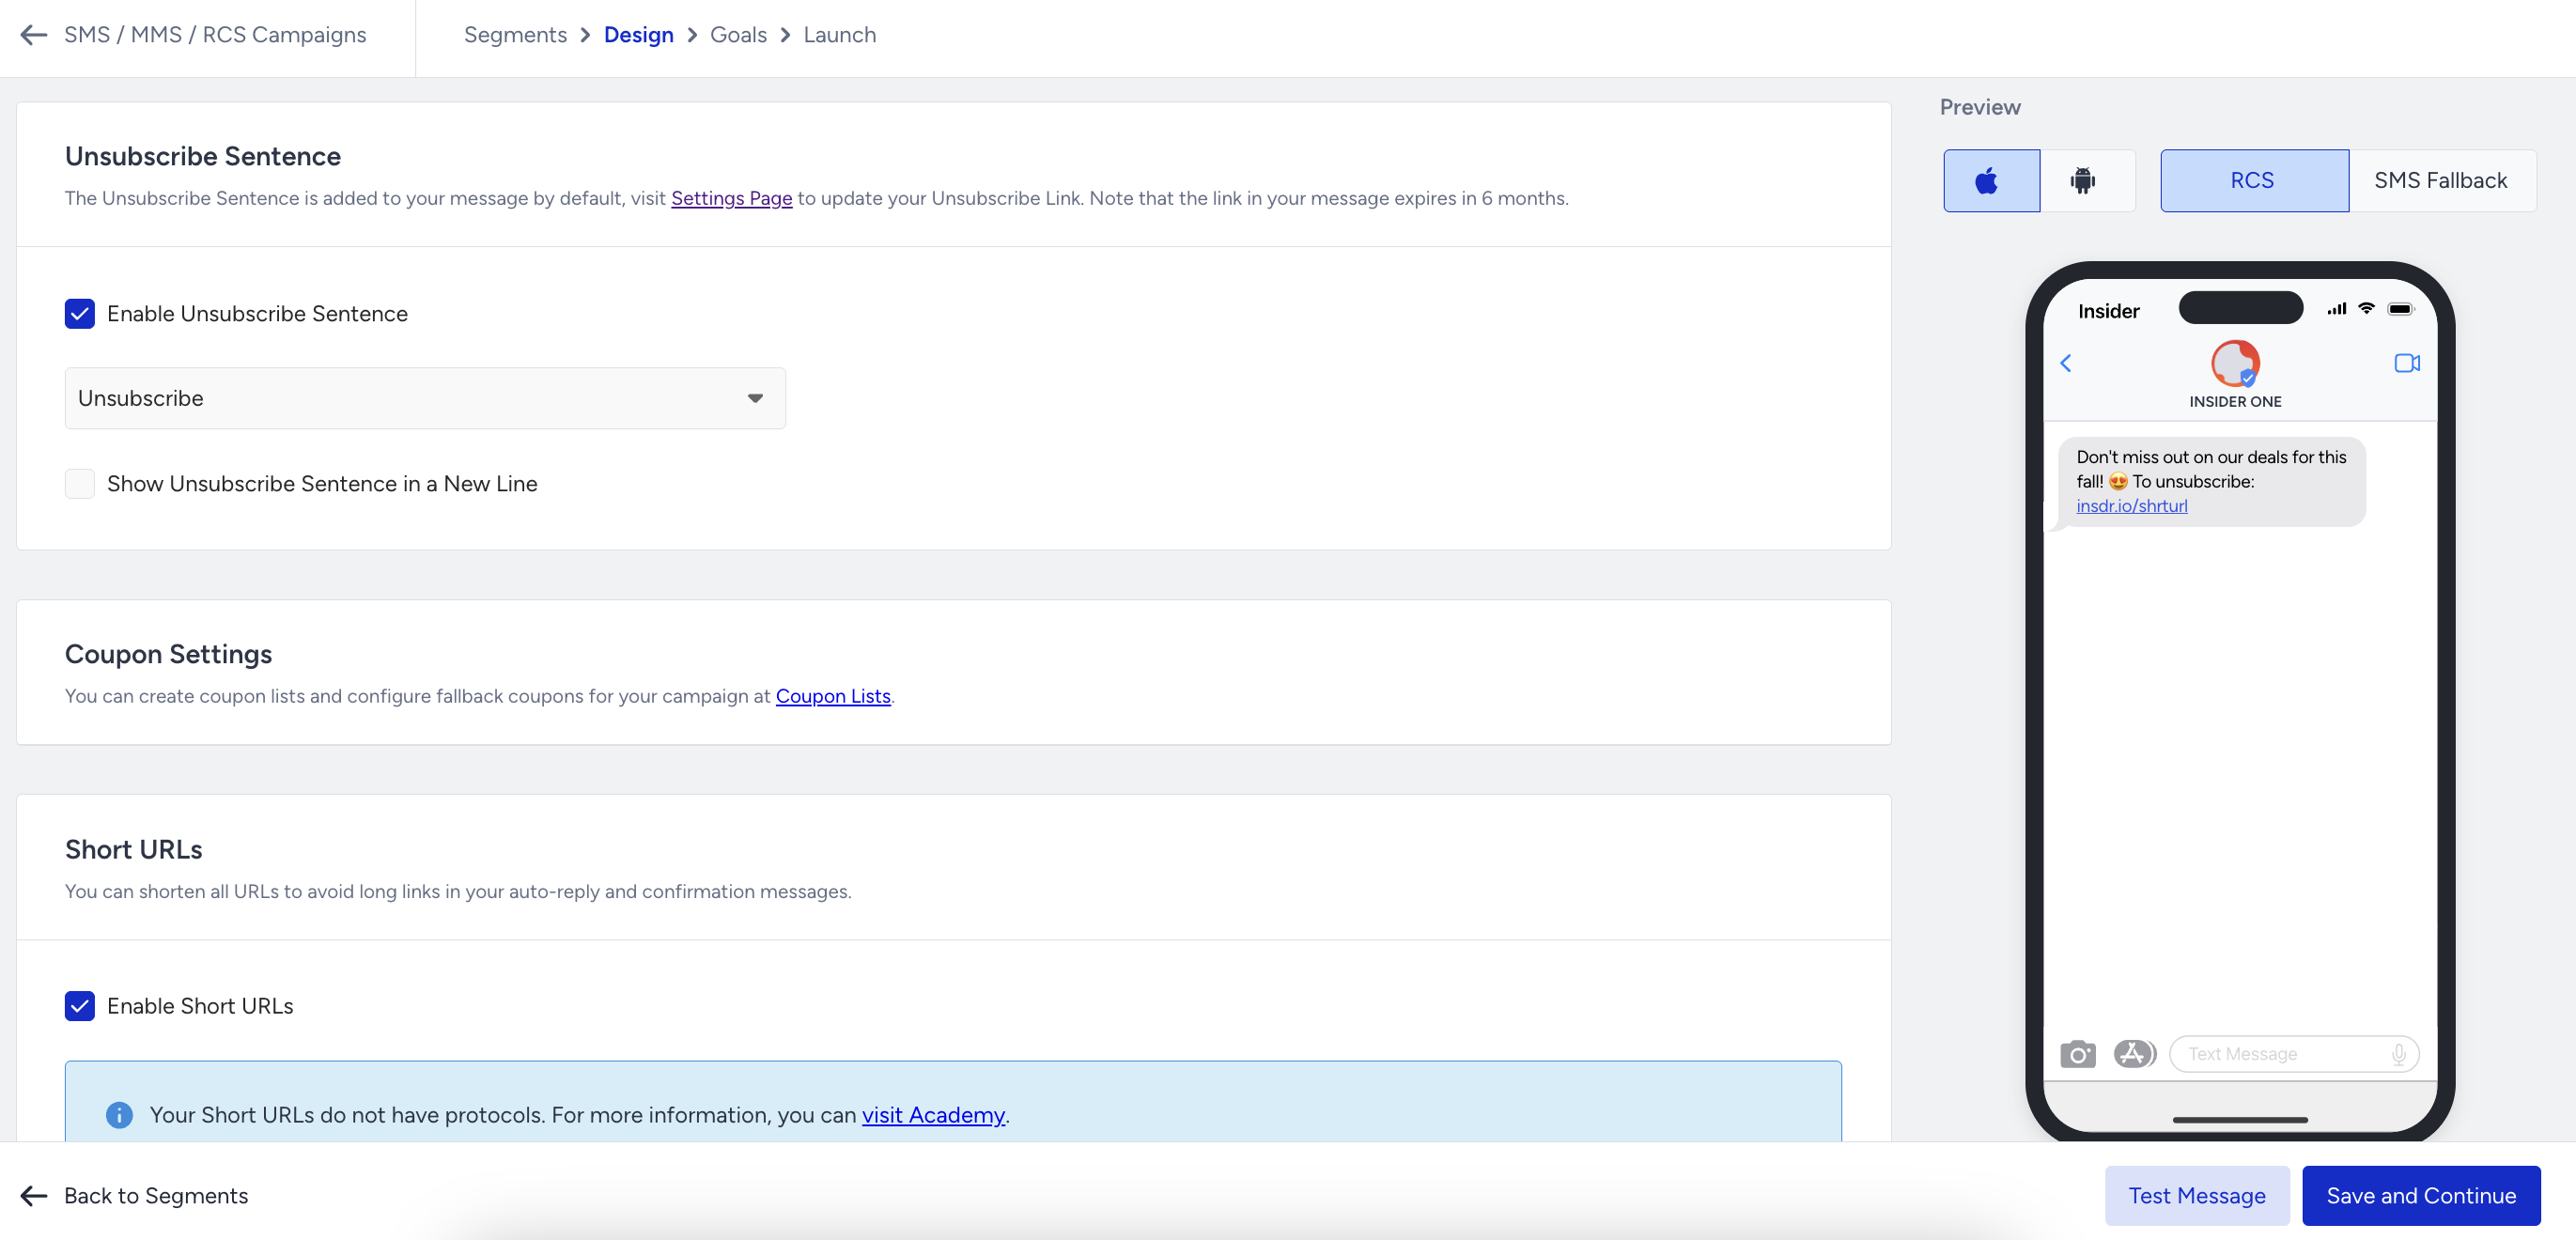
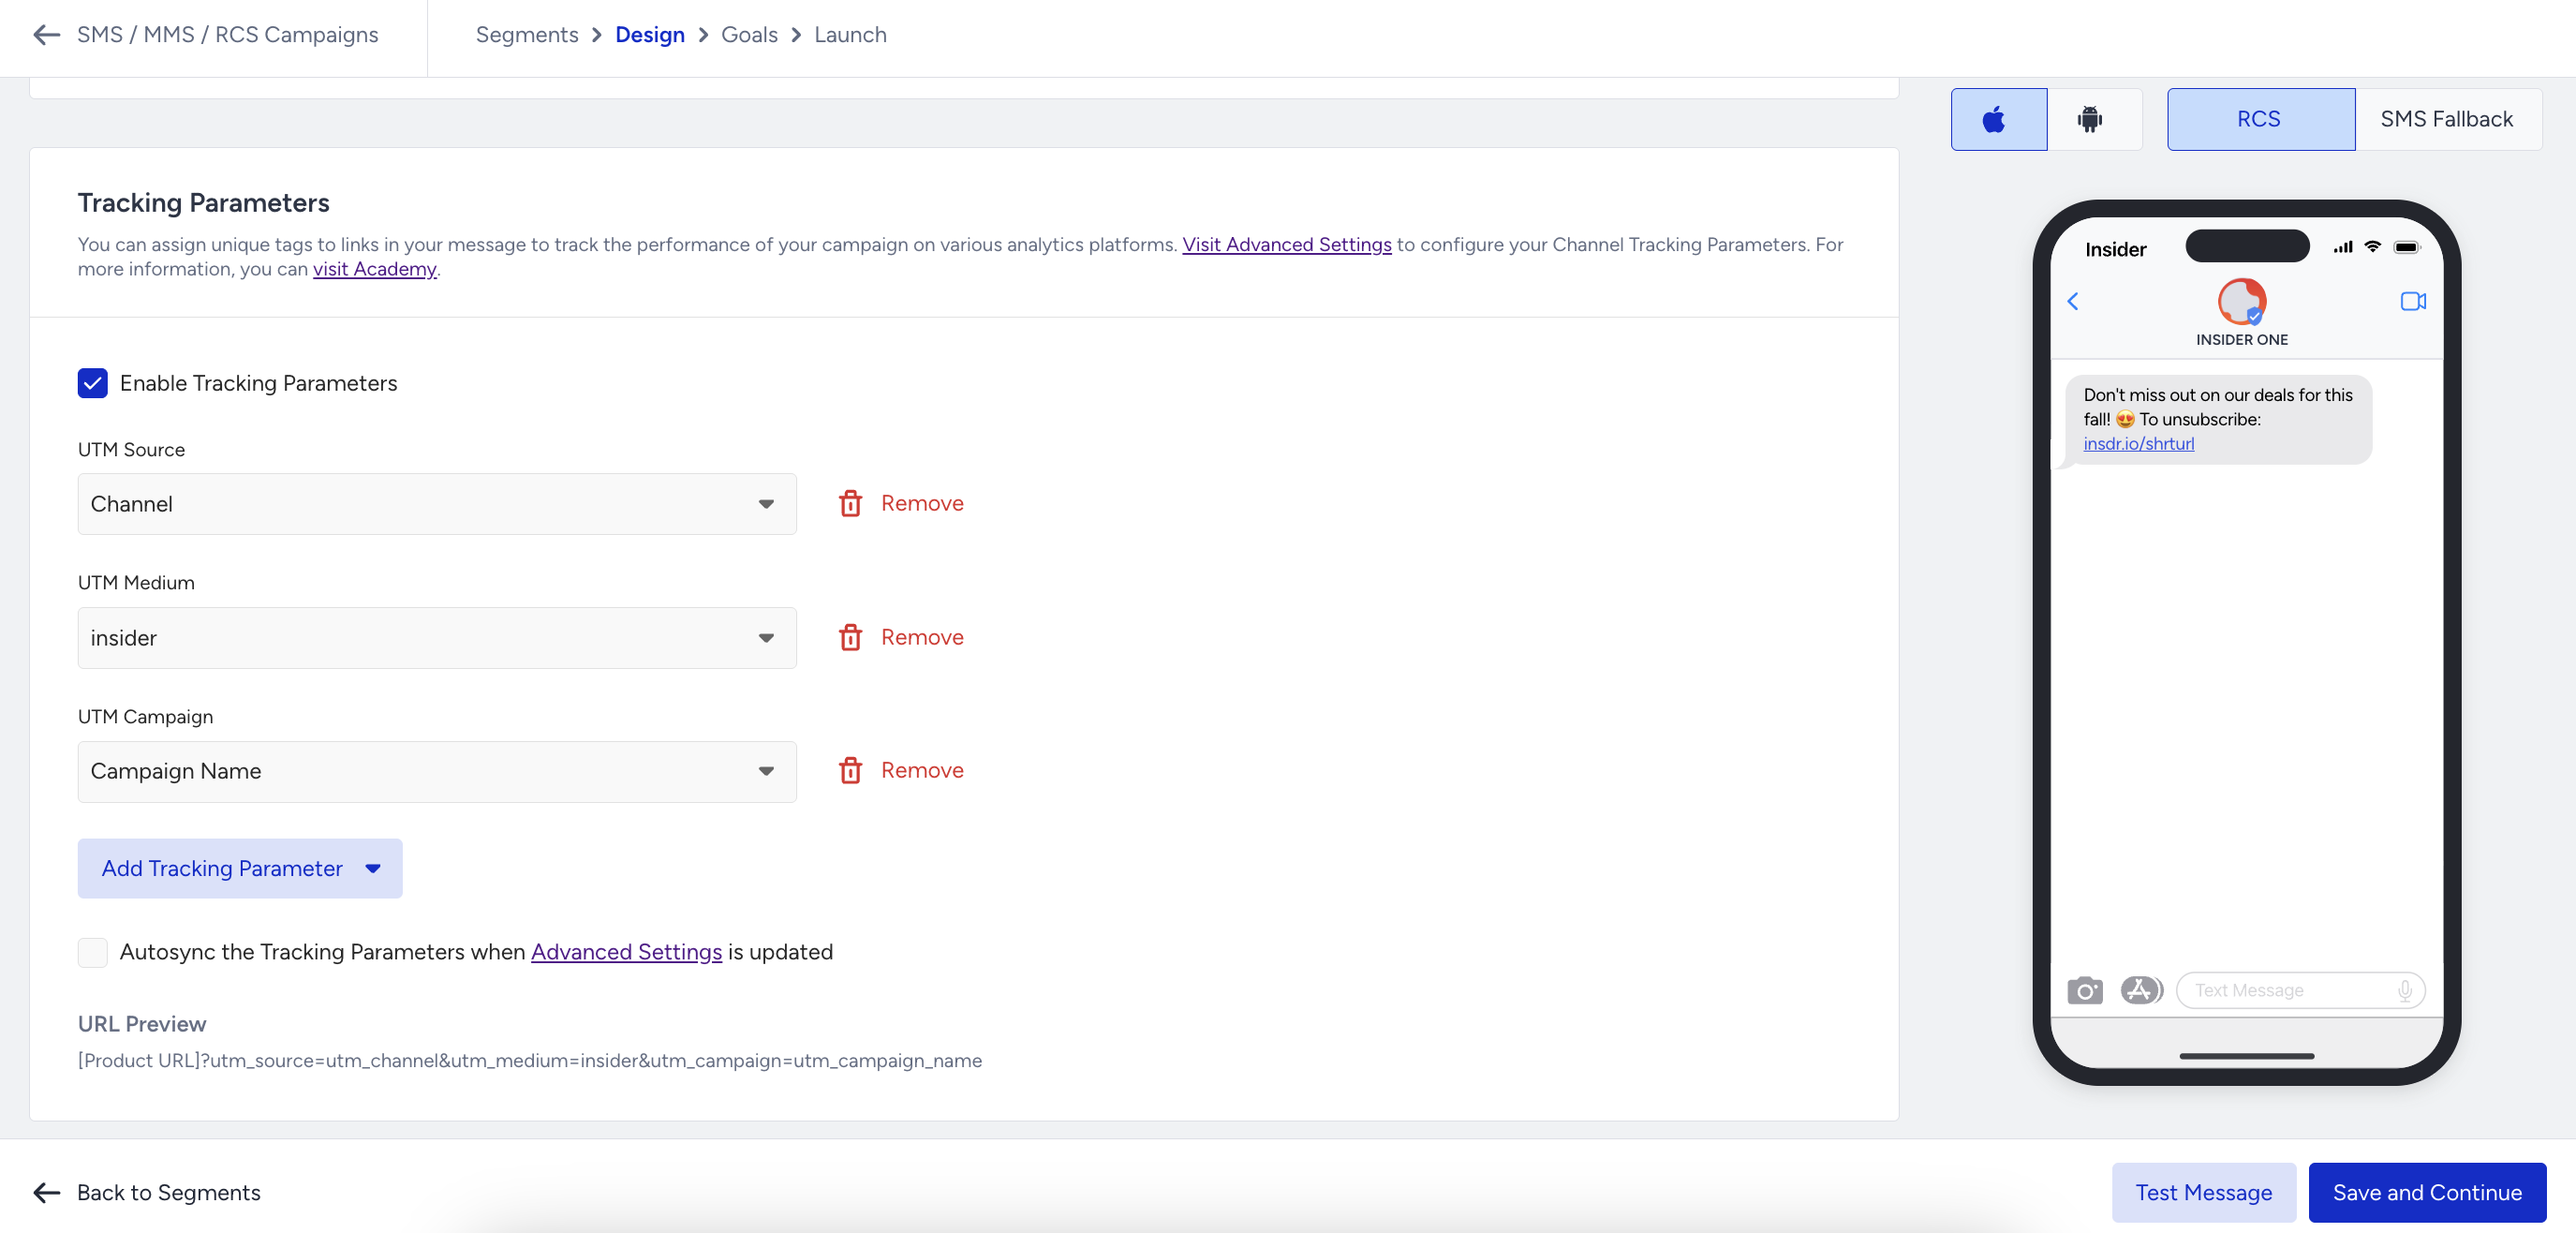
After configuring SMS fallback, you can also adjust additional message settings such as the unsubscription sentence, URL shortening, and tracking parameters.
When you select the Enable Unsubscribe Sentence checkbox, the unsubscription sentence you defined in SMS Settings is added to your message. Selecting the Show Unsubscription Sentence in a New Line checkbox displays it as a separate line at the end of the message.
Note that the unsubscription sentence is included in the character limit, too.
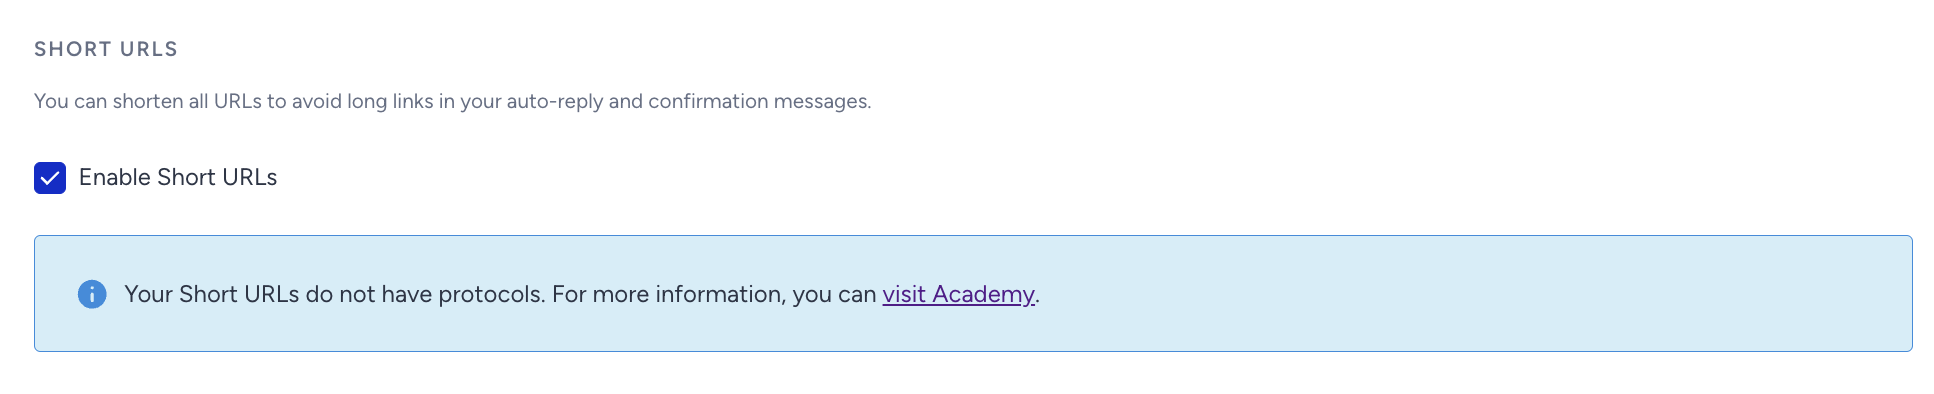
You can also shorten your URL. It will help you decrease the character count of your messages and prevent sending your messages in more than one part.
You can assign unique tags to the links in your message to track campaign performance across various analytics platforms. Refer to Advanced Settings to configure your Channel Tracking Parameters.
Set your goals
Configure your goals to track the performance of your campaign. The default selected goal is Purchases.
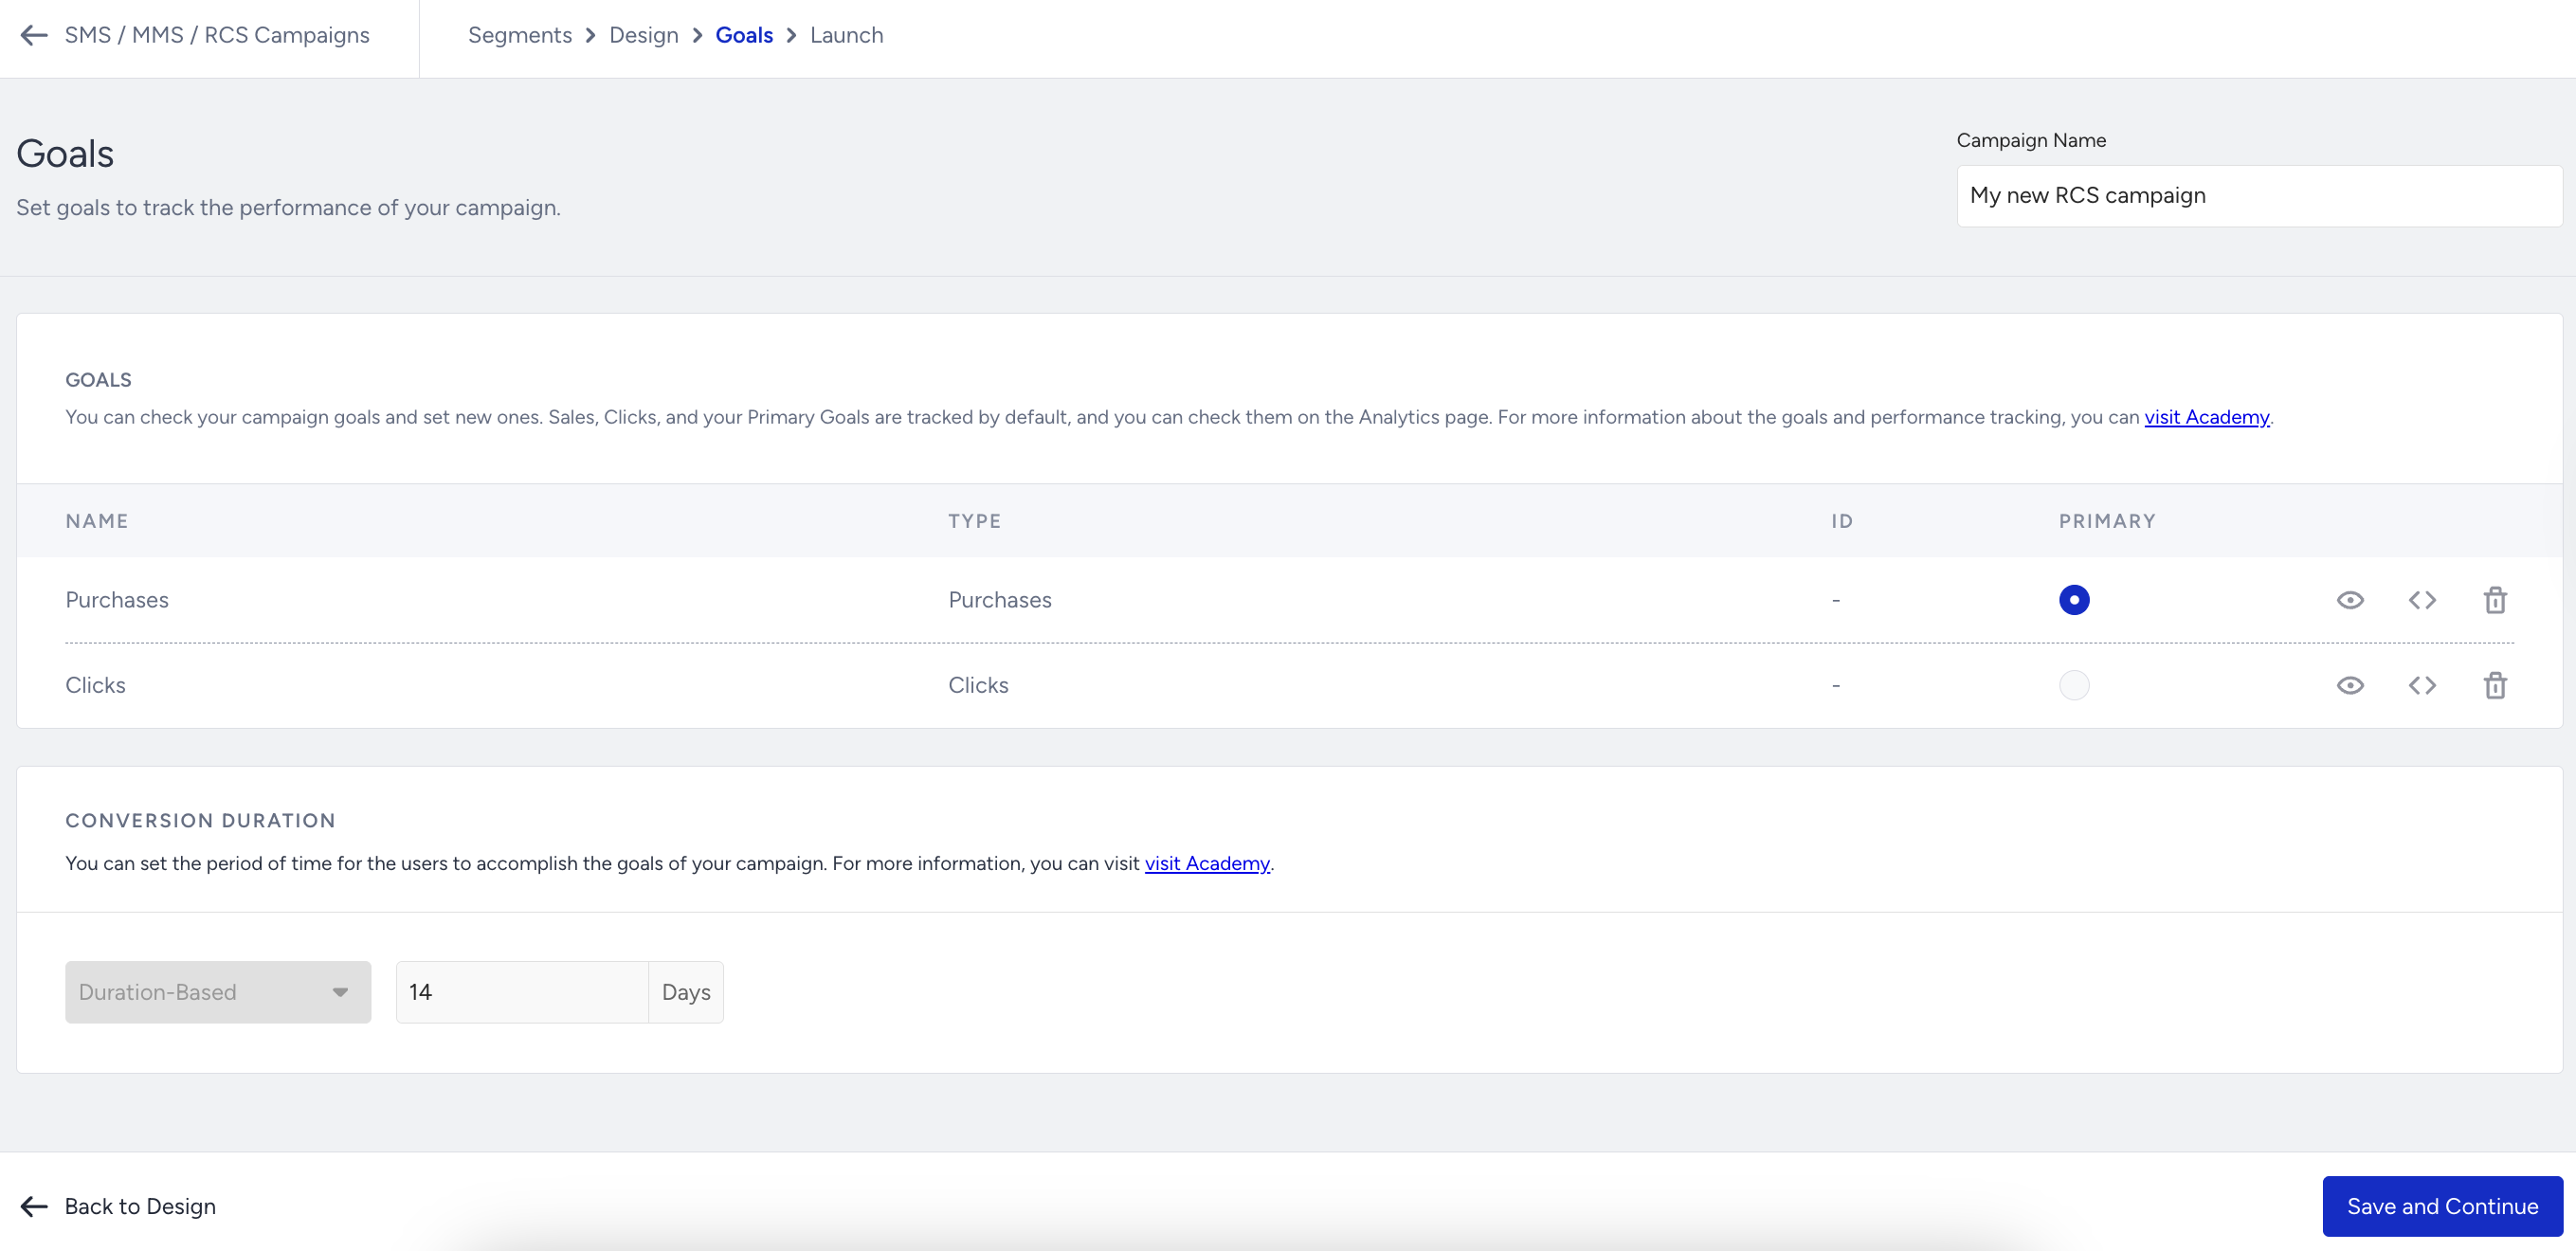
Goal Conversion Duration is the interval that starts after a user clicks a campaign for the first time. During that time interval you set, when your goal is achieved, the campaign will be logged as a conversion.
Launch your RCS campaign
Before launching your campaign, Insider One recommends testing it to ensure everything works as expected.
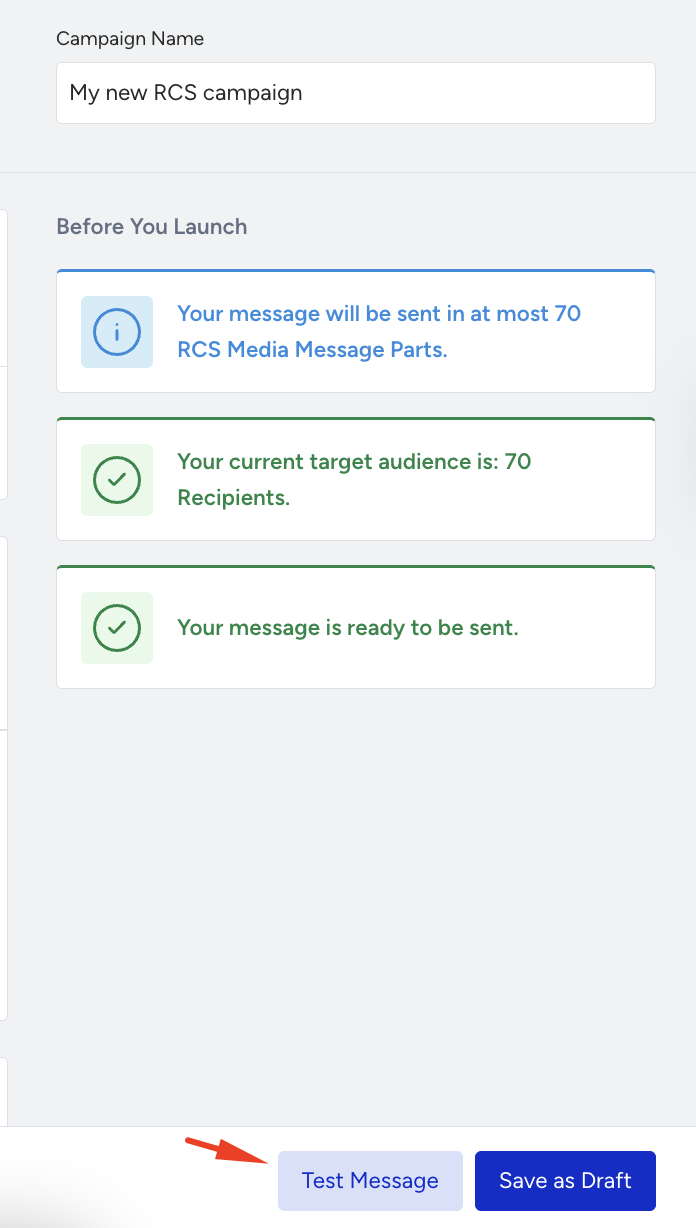
On the right side of the screen, you can view an information area that displays the total number of recipients and the send status of your message.
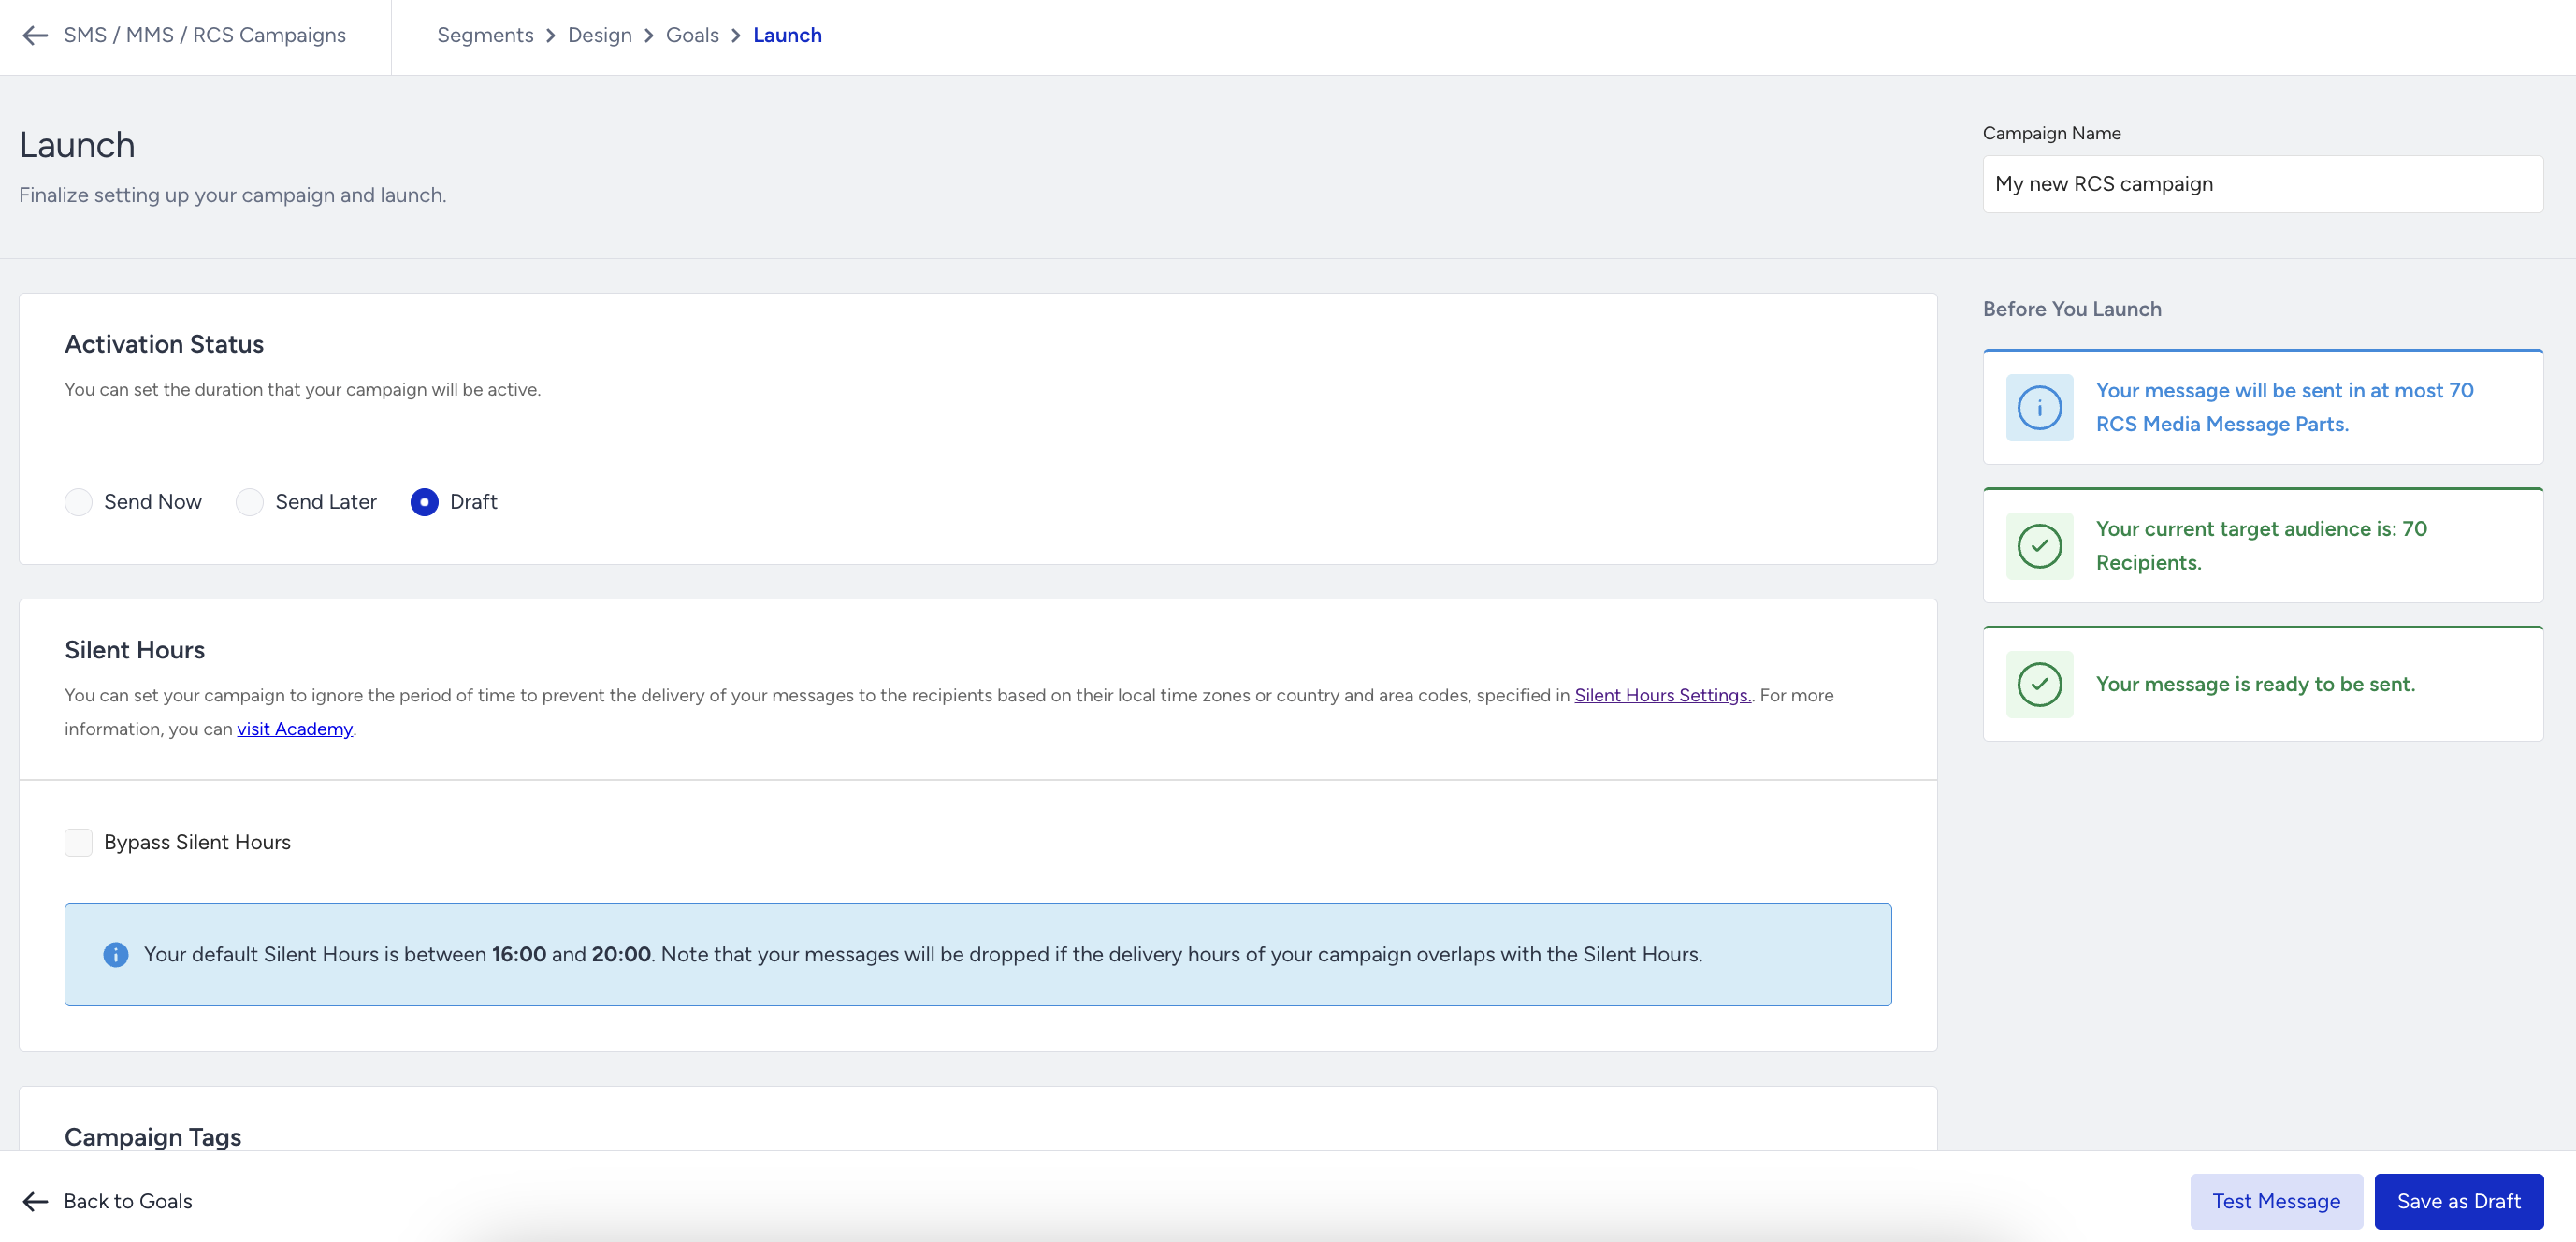
You can see whether the Silent Hours is enabled, which helps your RCS messages reach users at more appropriate times of the day.
You can assign or create tags for your campaign to find it more easily later.
Once you complete the rest of your campaign, it is ready to go. You can launch your campaign now, at a later date, or you can save it as a draft.