To be able to use the Double Opt-In feature,
Navigate to Inone Settings > Email Settings and scroll down to the Double Opt-in section.
Check the Enable Double Opt-in settings box. When you enable it, the Double Opt-in option will be required for all emails you send.
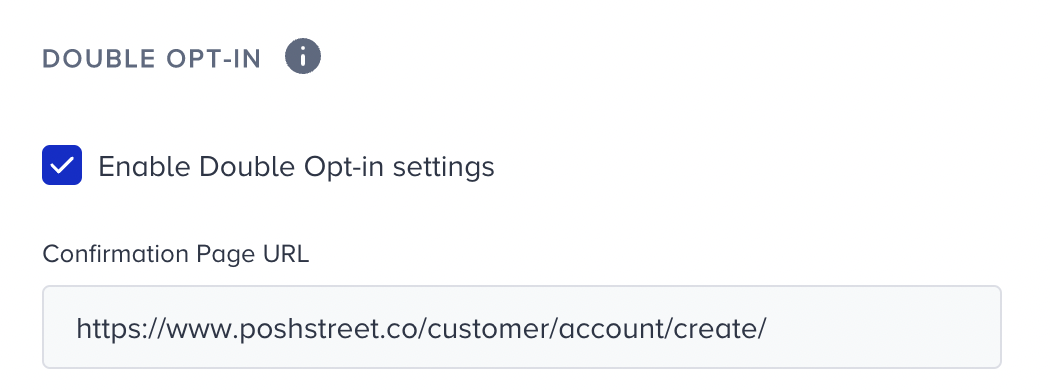
After marking the checkbox, you need to add a confirmation page URL. This is the page where a user confirms Double Opt-In. The URL can be any link from your website or a dedicated landing page designed for the Double Opt-In confirmation.
Once you've added the Double Opt-In Tag to your email content, clicking the tag in the email will automatically redirect the user to the confirmation page URL you specified in the Architect Double Opt-In Journey. This action also marks the user as double-opted-in in the system. So, the confirmation page URL you provide in the journey setup is precisely the one triggered when the user clicks the button tied to the Double Opt-In Tag.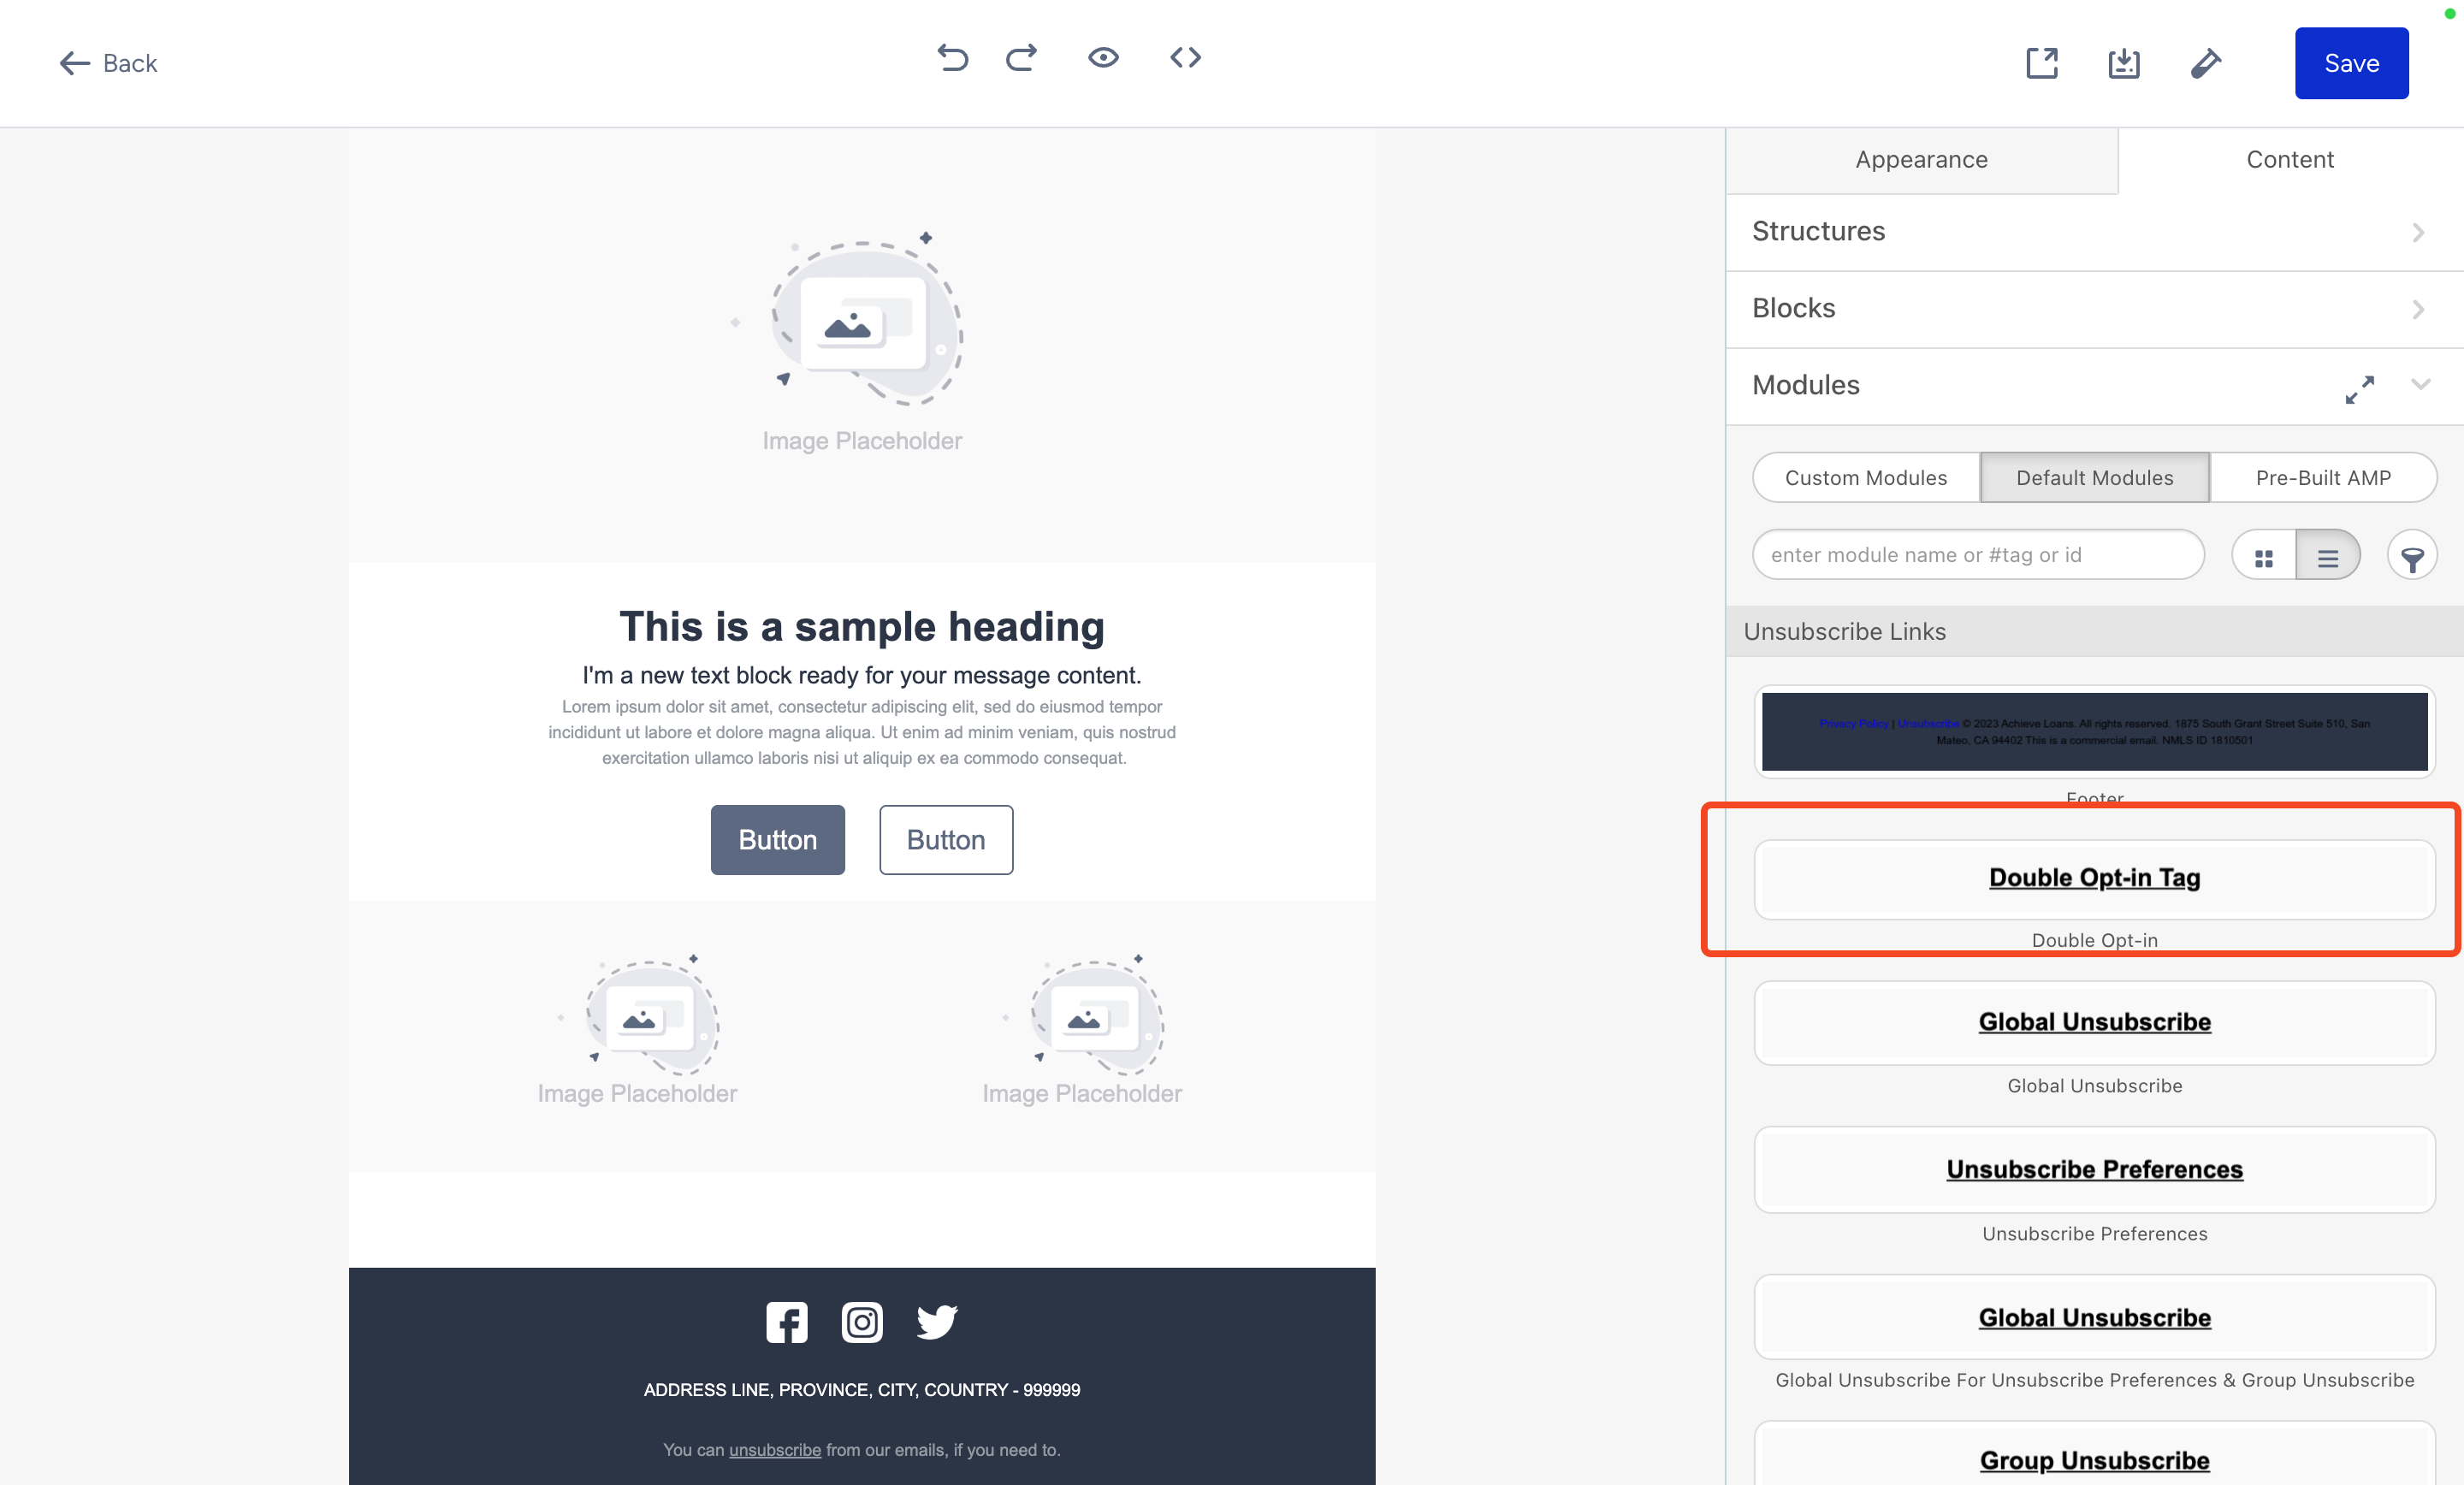
We highly recommend you reserve a special page for this confirmation URL as follows: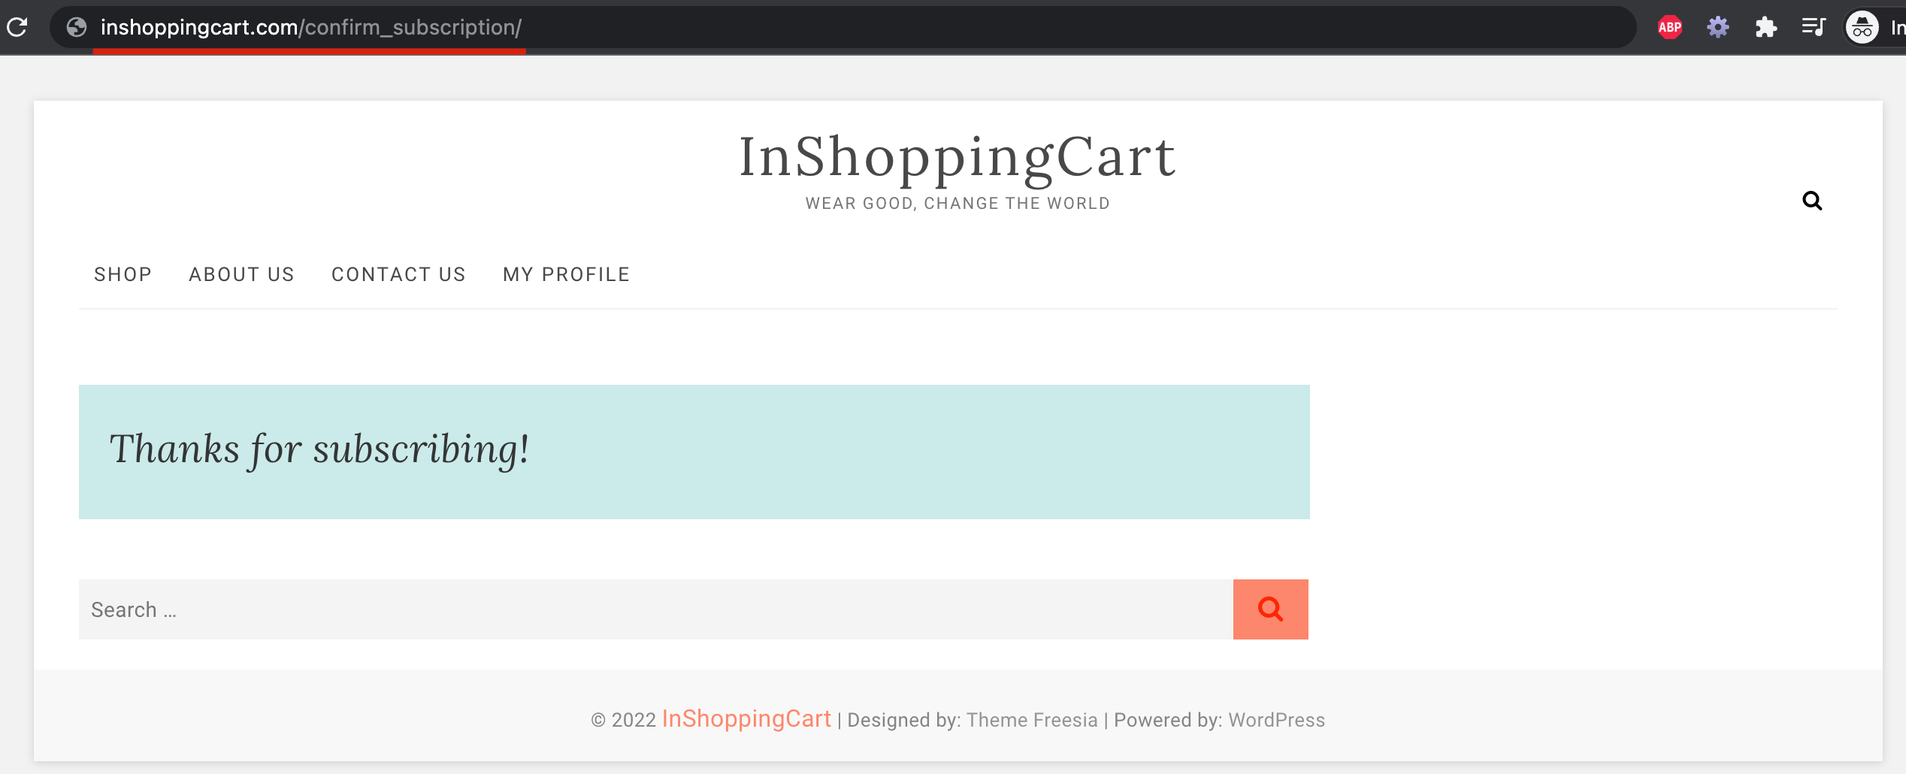
If you don't want to create such a page, you can create your alternative confirmation page scenario by creating a pop-up on your website via an OnSite campaign and greeting your double-opt-in users. You can state that page’s URL in the Confirmation Page URL section.
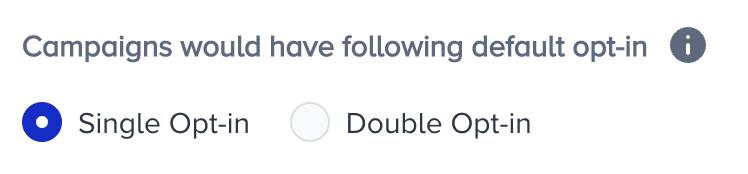
If you select Single Opt-in, only the single-opted-in users will receive emails; meanwhile, the Double Opt-in button selection will only let you send your campaigns to double-opted-in users.