Once you create your Unsubscribe Pages, you can add them to your email campaigns while designing them in the Drag & Drop Editor.
This guide explains how to:
To use custom unsubscribe pages, you need to create all the steps needed for the respective page type before adding the block to your email:
Global Unsubscribe: Global Unsubscribe page, Global Unsubscribe Confirmation page, and Resubscribe page
Subscription Preferences Center: Subscription Preferences Center page and Subscription Preferences Confirmation page
It is recommended not to modify the unsubscribe, resubscribe, and submit buttons to preserve their built-in functions.
Add Unsubscribe Pages
To add the unsubscribe pages to your emails:
1. Go to the Design step of your email campaign and open the Drag & Drop Editor.
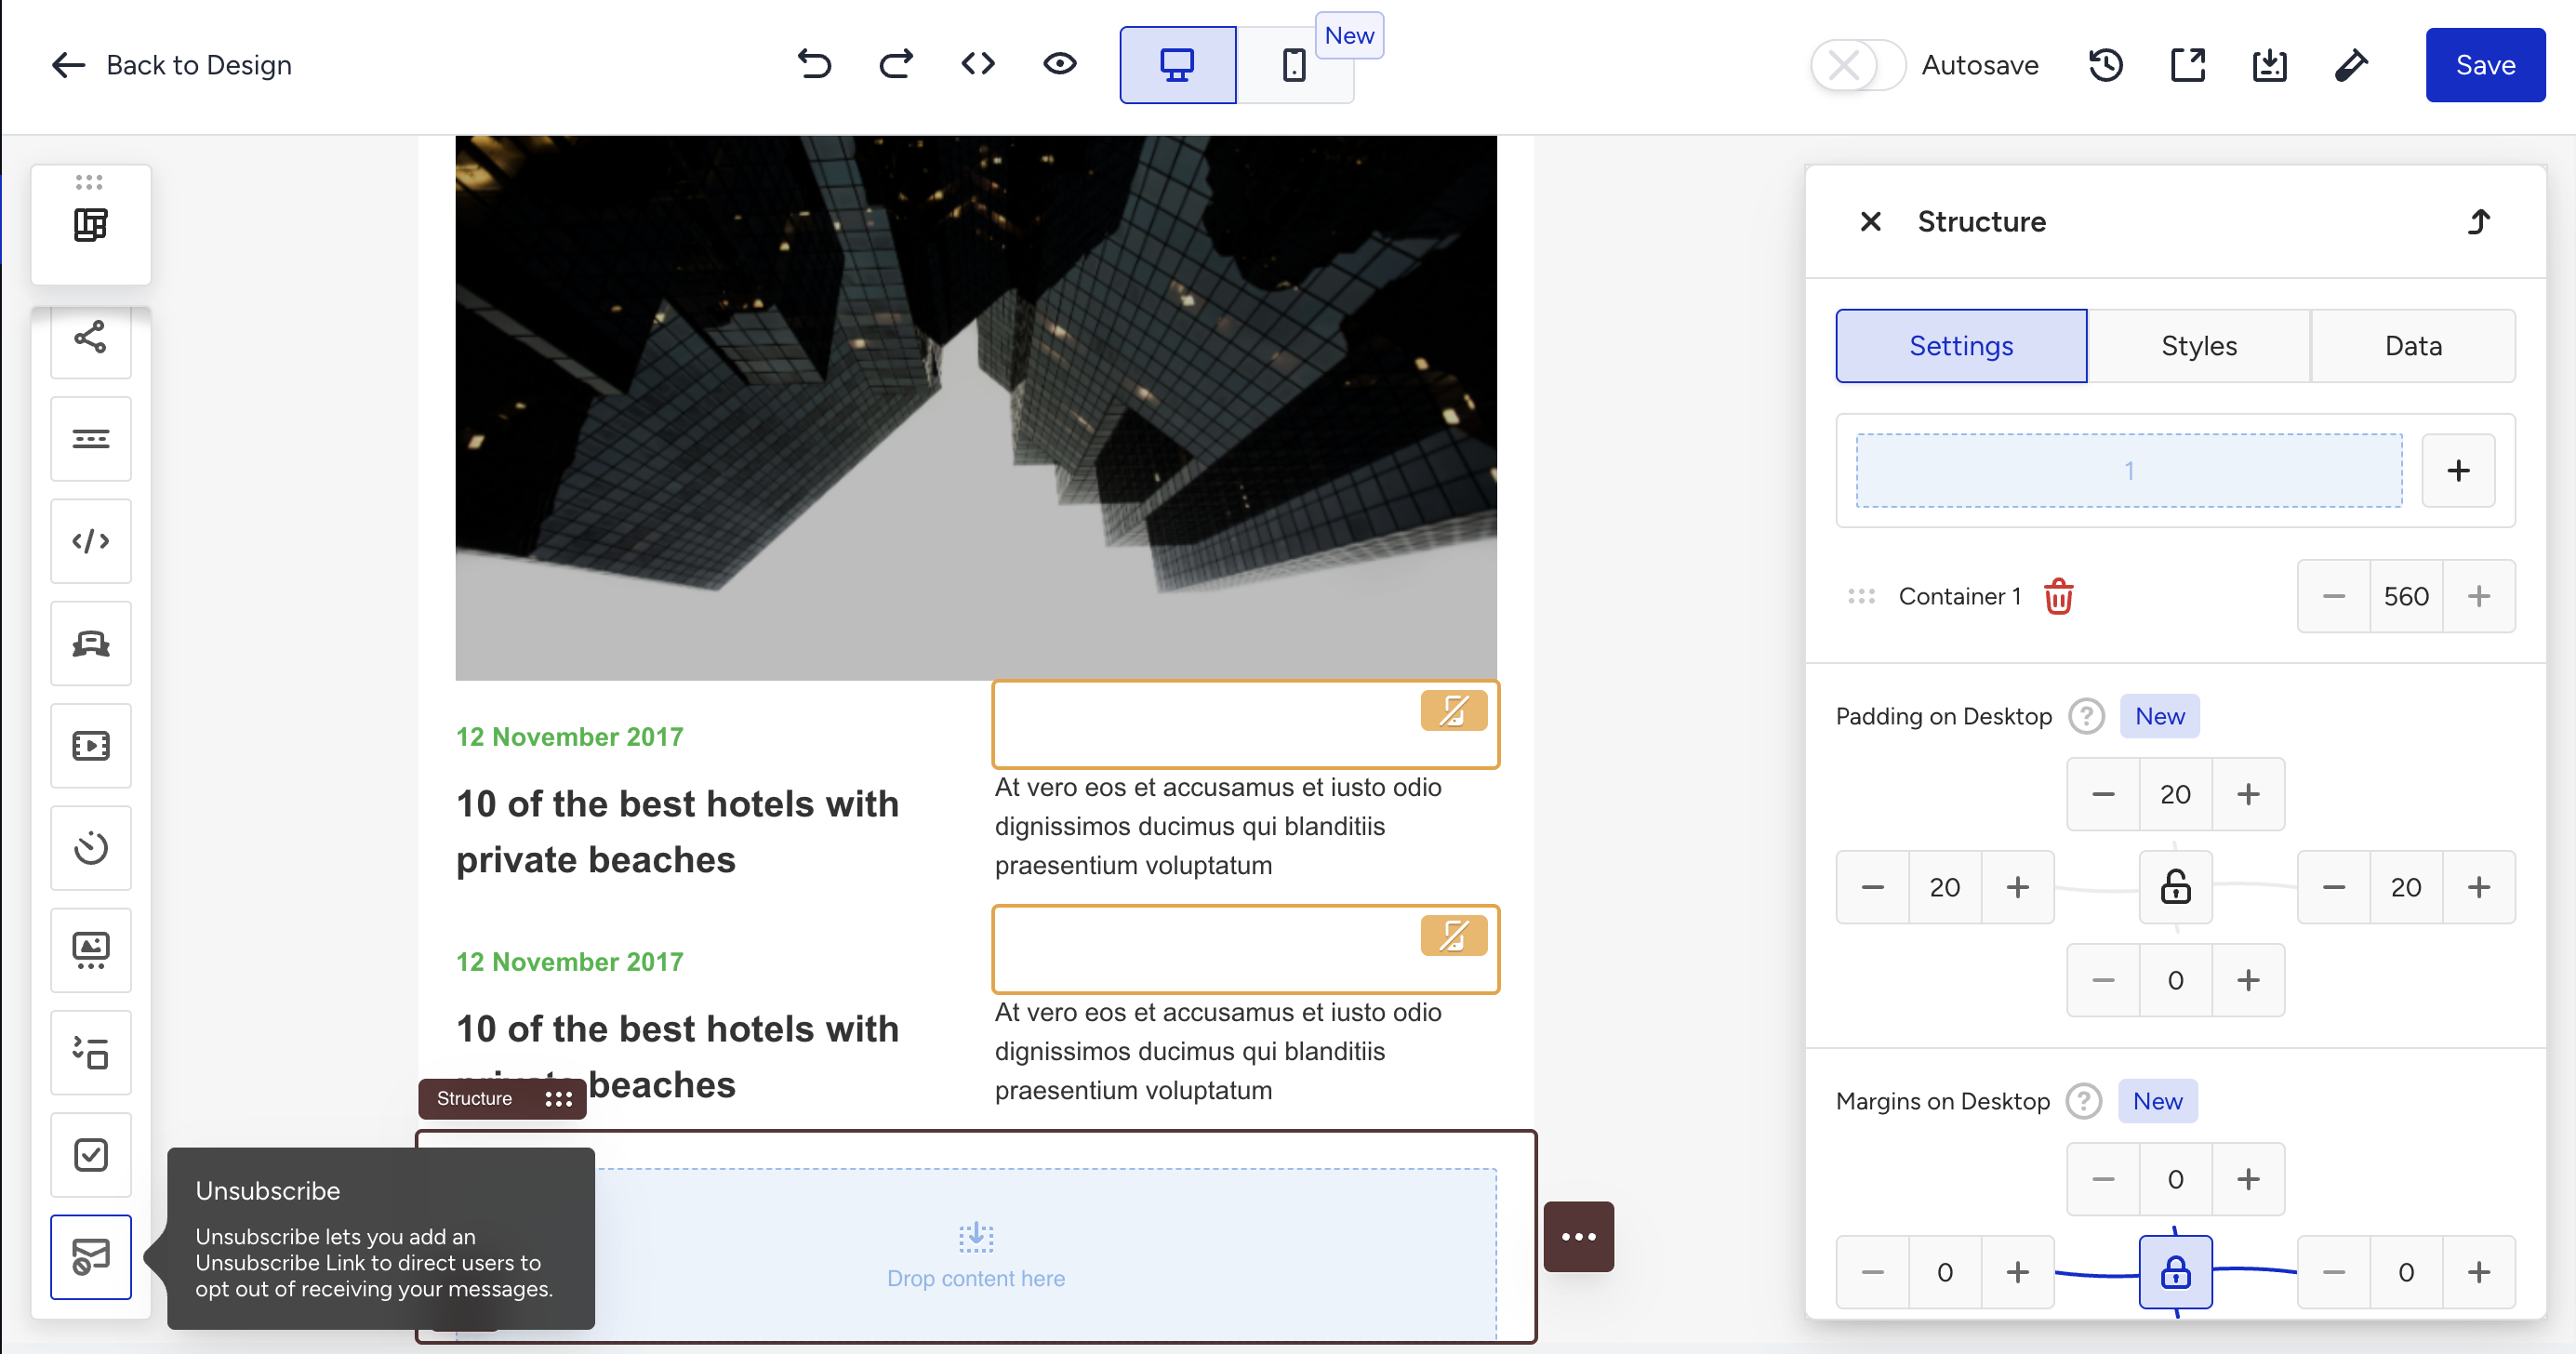
2. From the left panel, drag the Unsubscribe block and drop it onto your email canvas. As soon as you drop the block, a Select Unsubscribe Page panel opens on the right side. You must complete the page selection before the block is fully placed in your email.
Your content goes here If you close this panel without completing the selection, the block will not be configured. You will receive a "No Unsubscribe Template selected" error when launching the campaign.
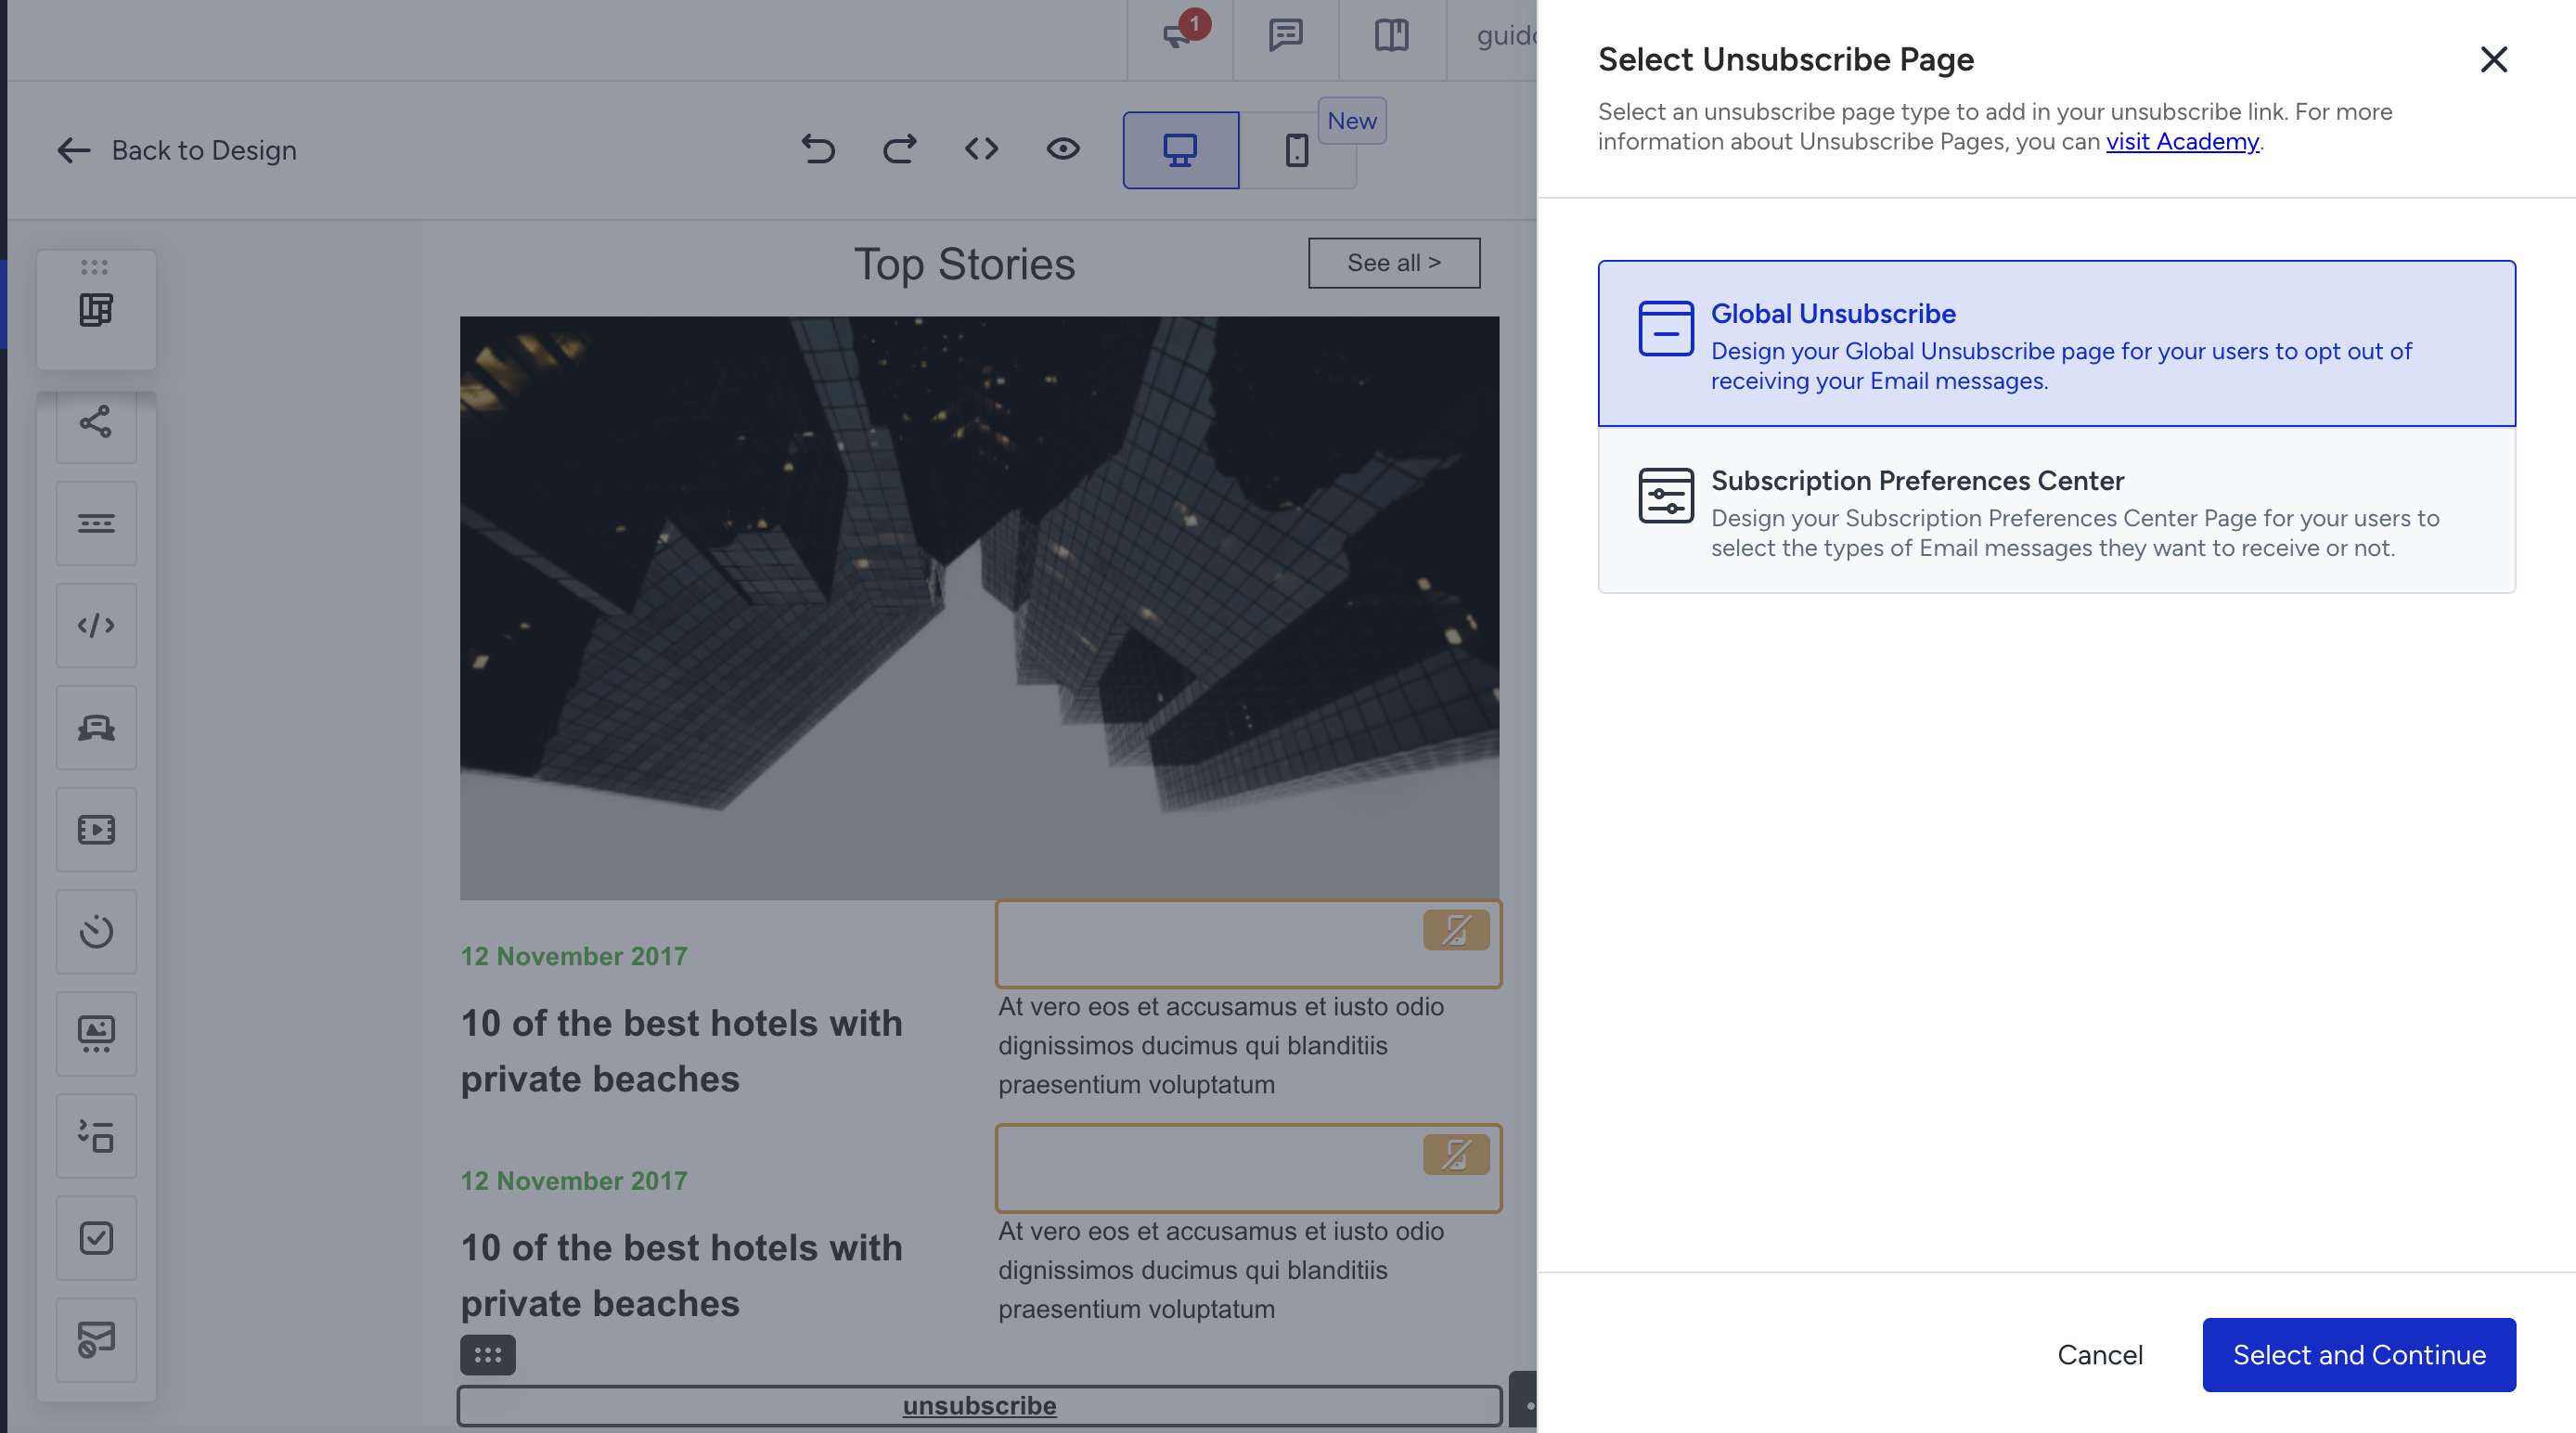
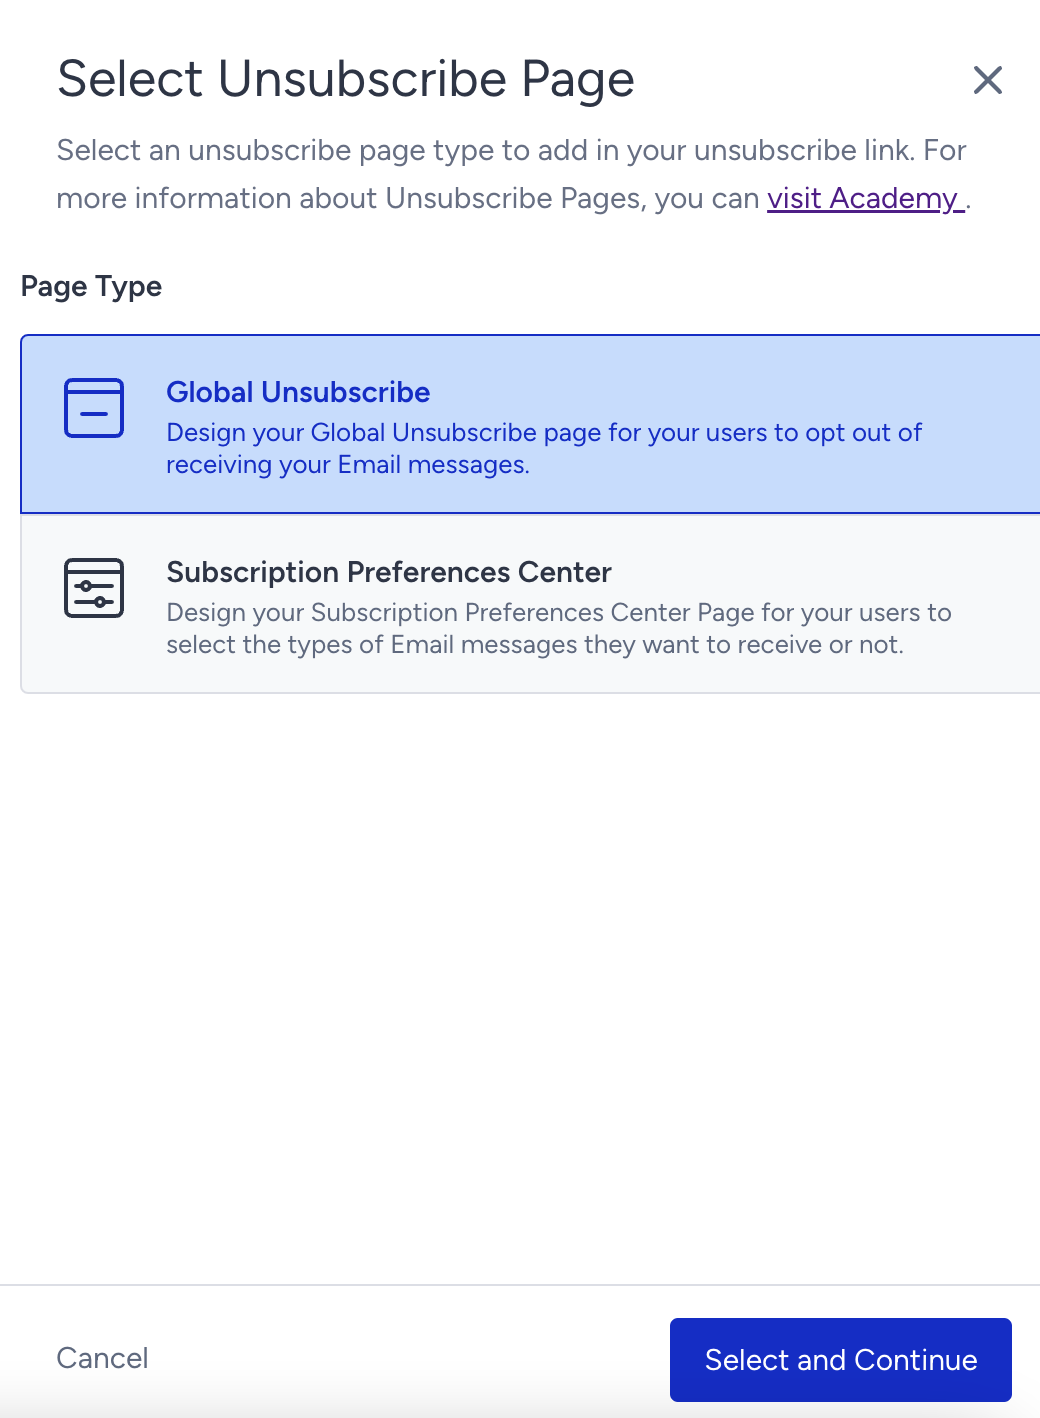
3. Select the page type you want to use and click the Select and Continue button:
The Global Unsubscribe directs users to opt out of all your email messages.
The Subscription Preferences Center allows users to choose which types of email messages they want to receive.
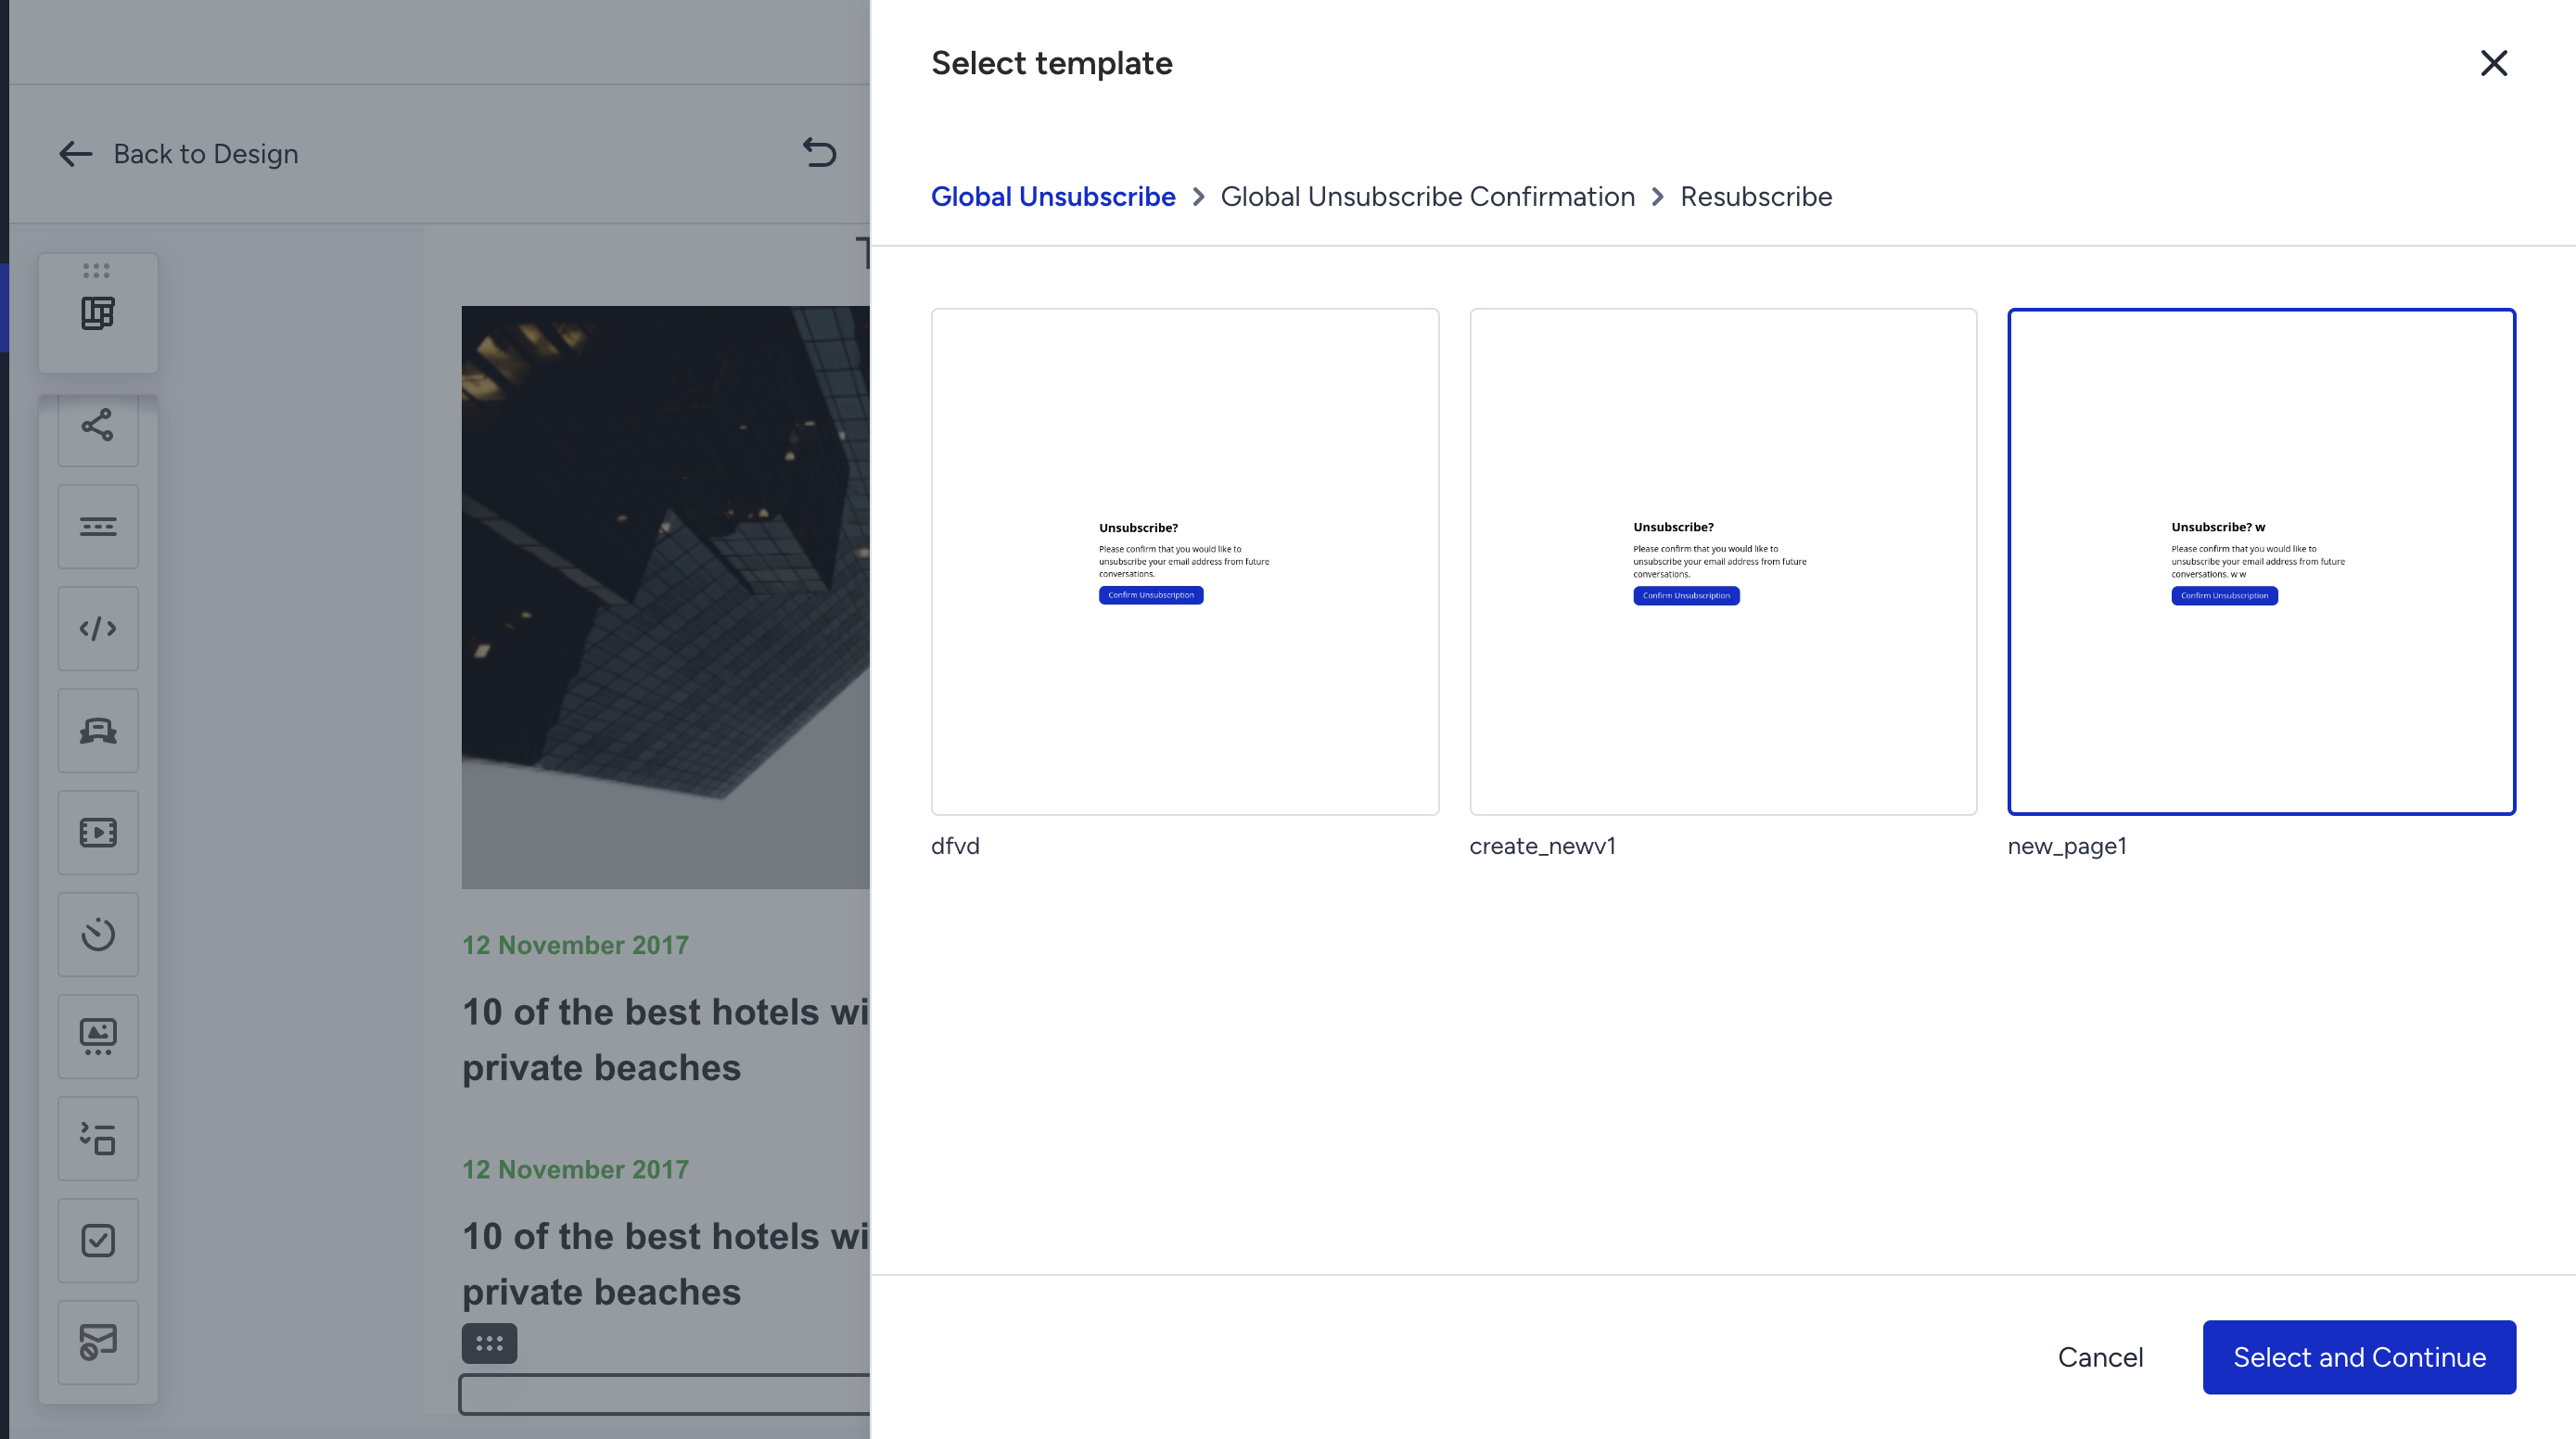
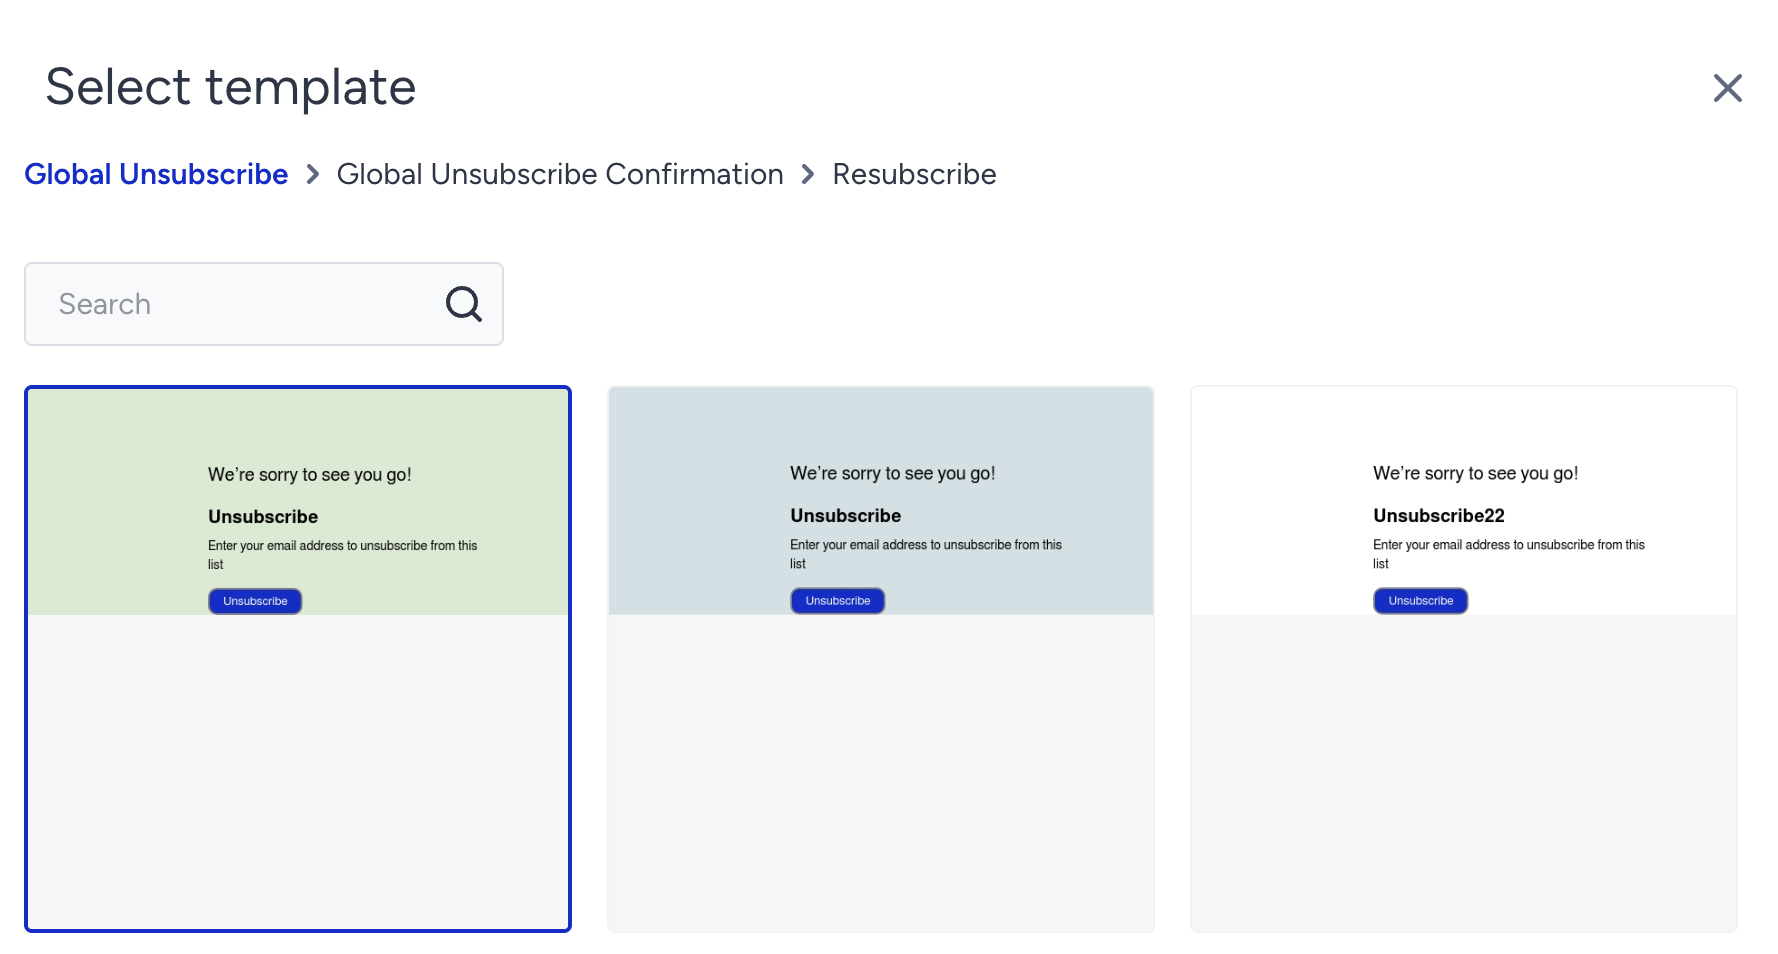
A Select template drawer opens with a breadcrumb at the top showing all the steps you need to complete.
4. Select a template for the first page type shown in the breadcrumb and click the Select and Continue button.
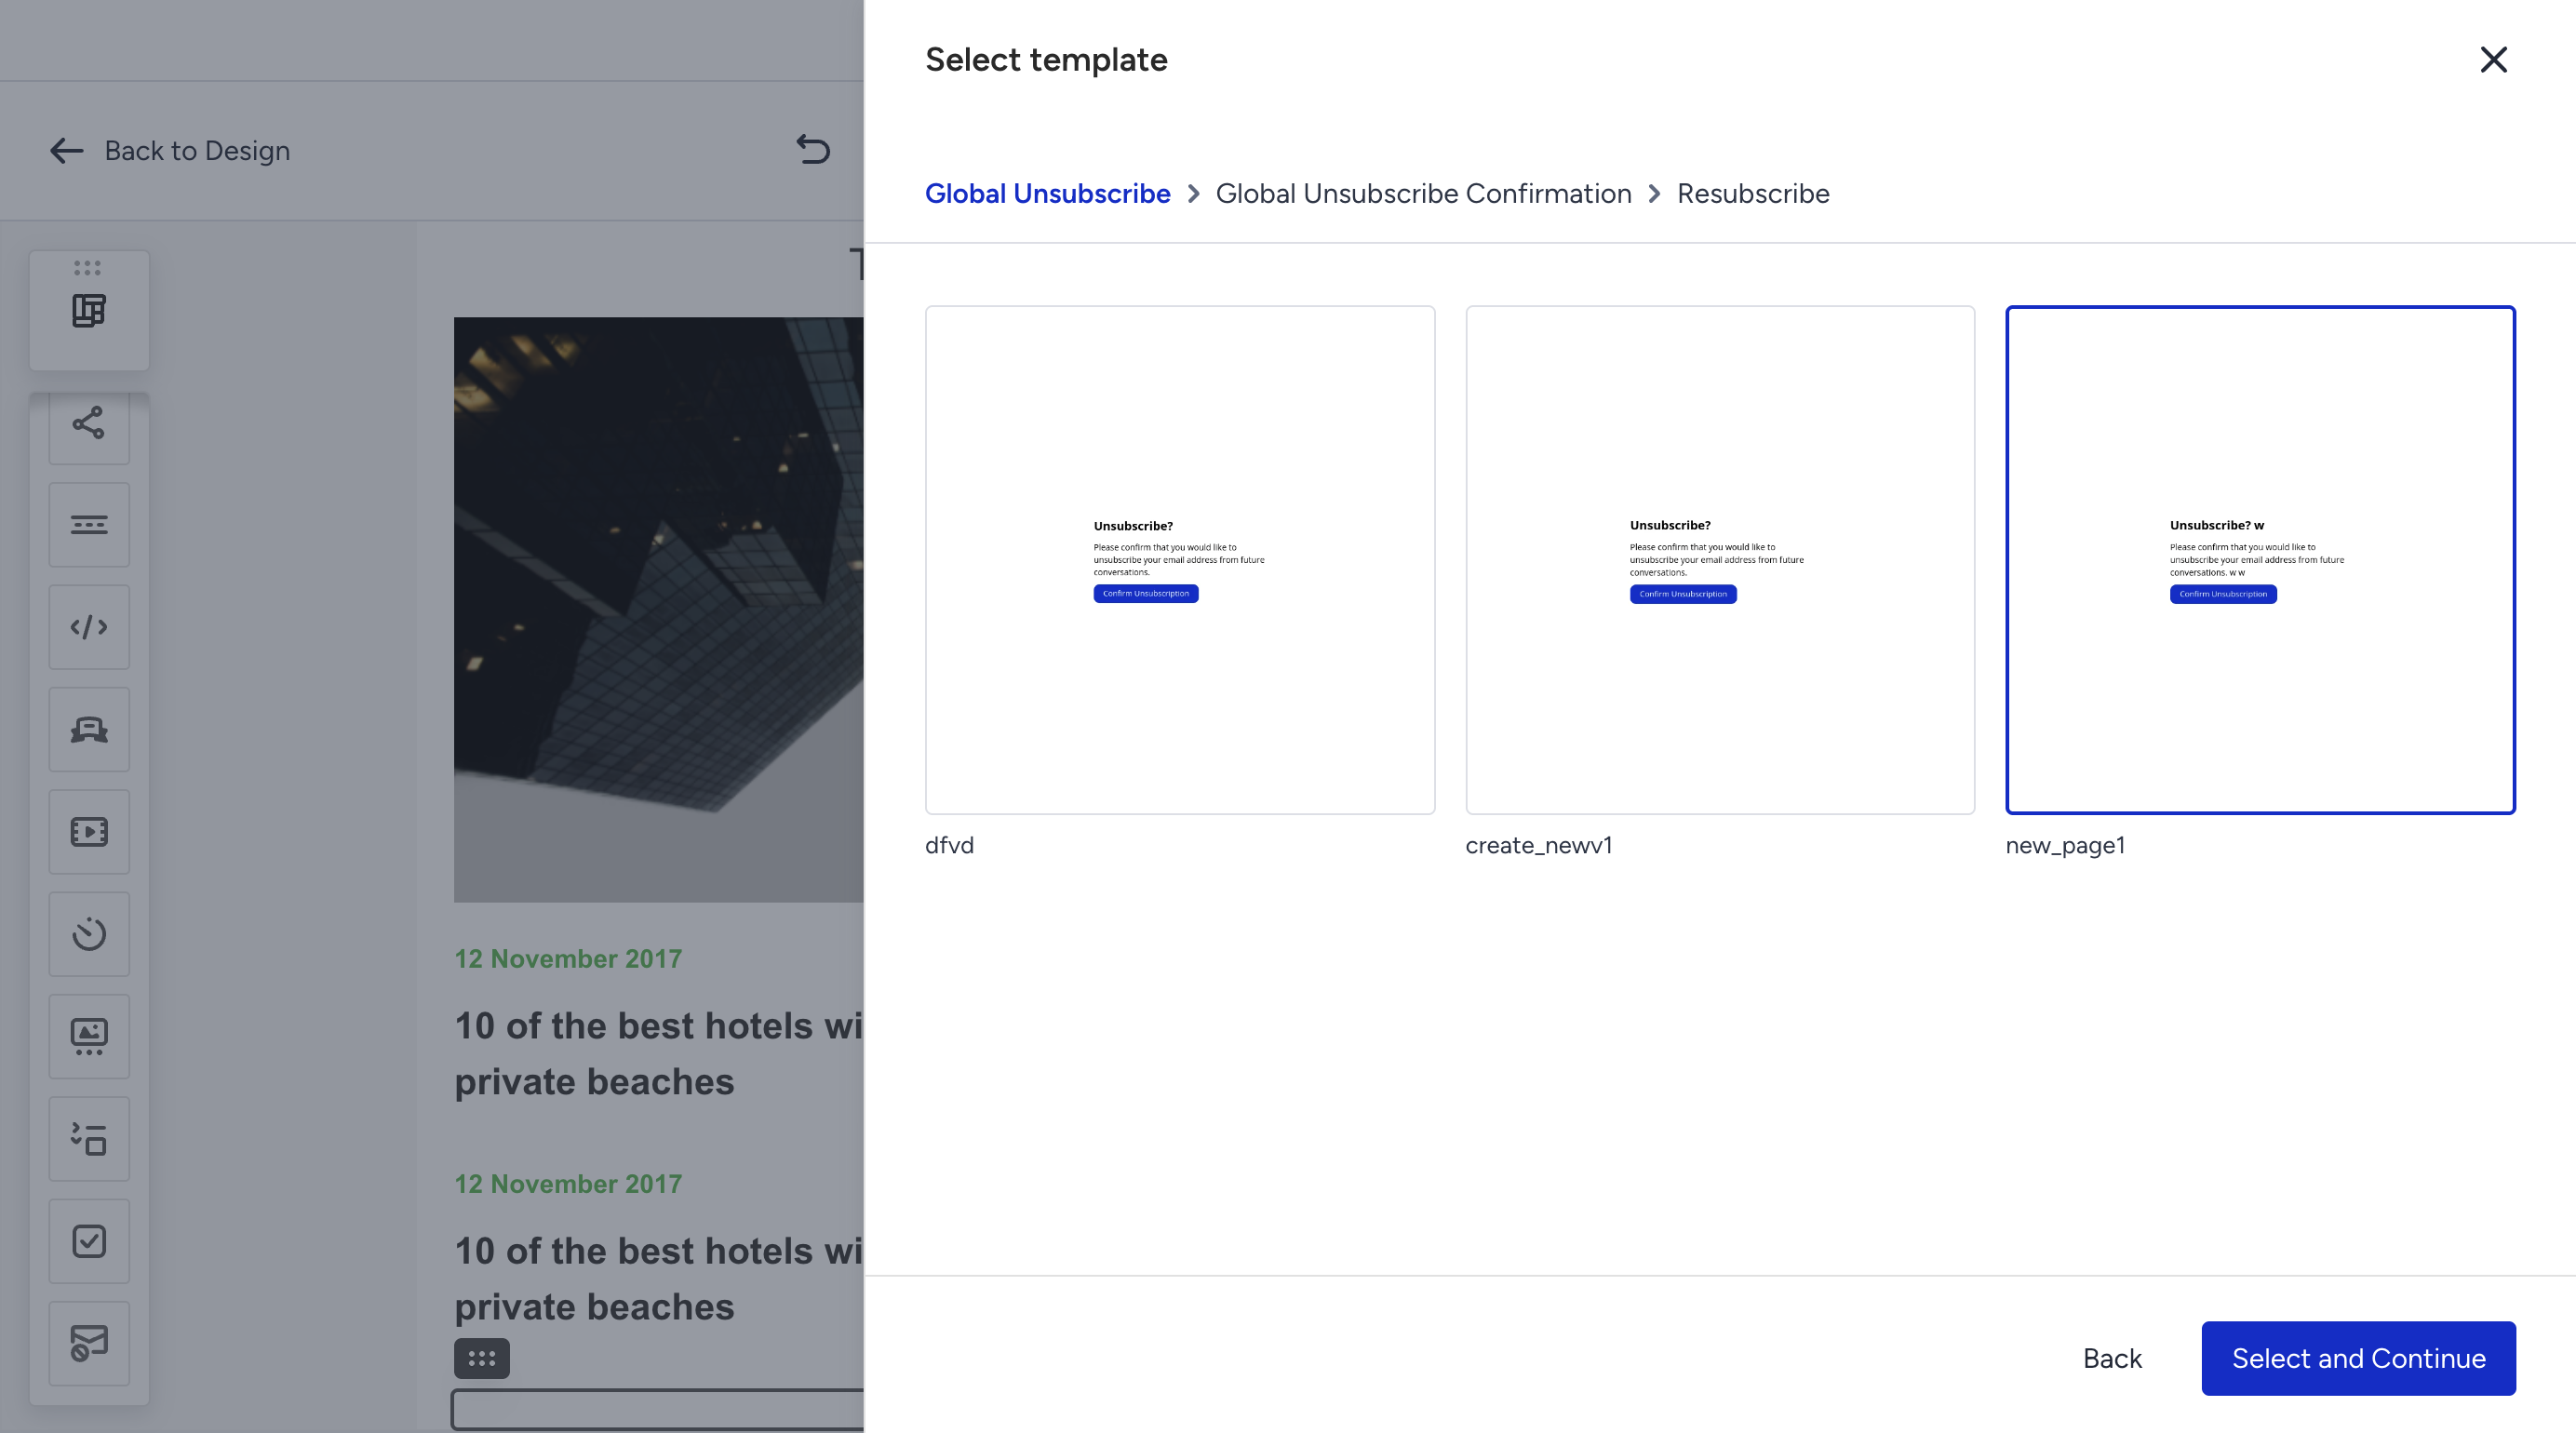
5. Follow the breadcrumb navigation to select a template for each remaining page type, clicking the Select and Continue button after each step.
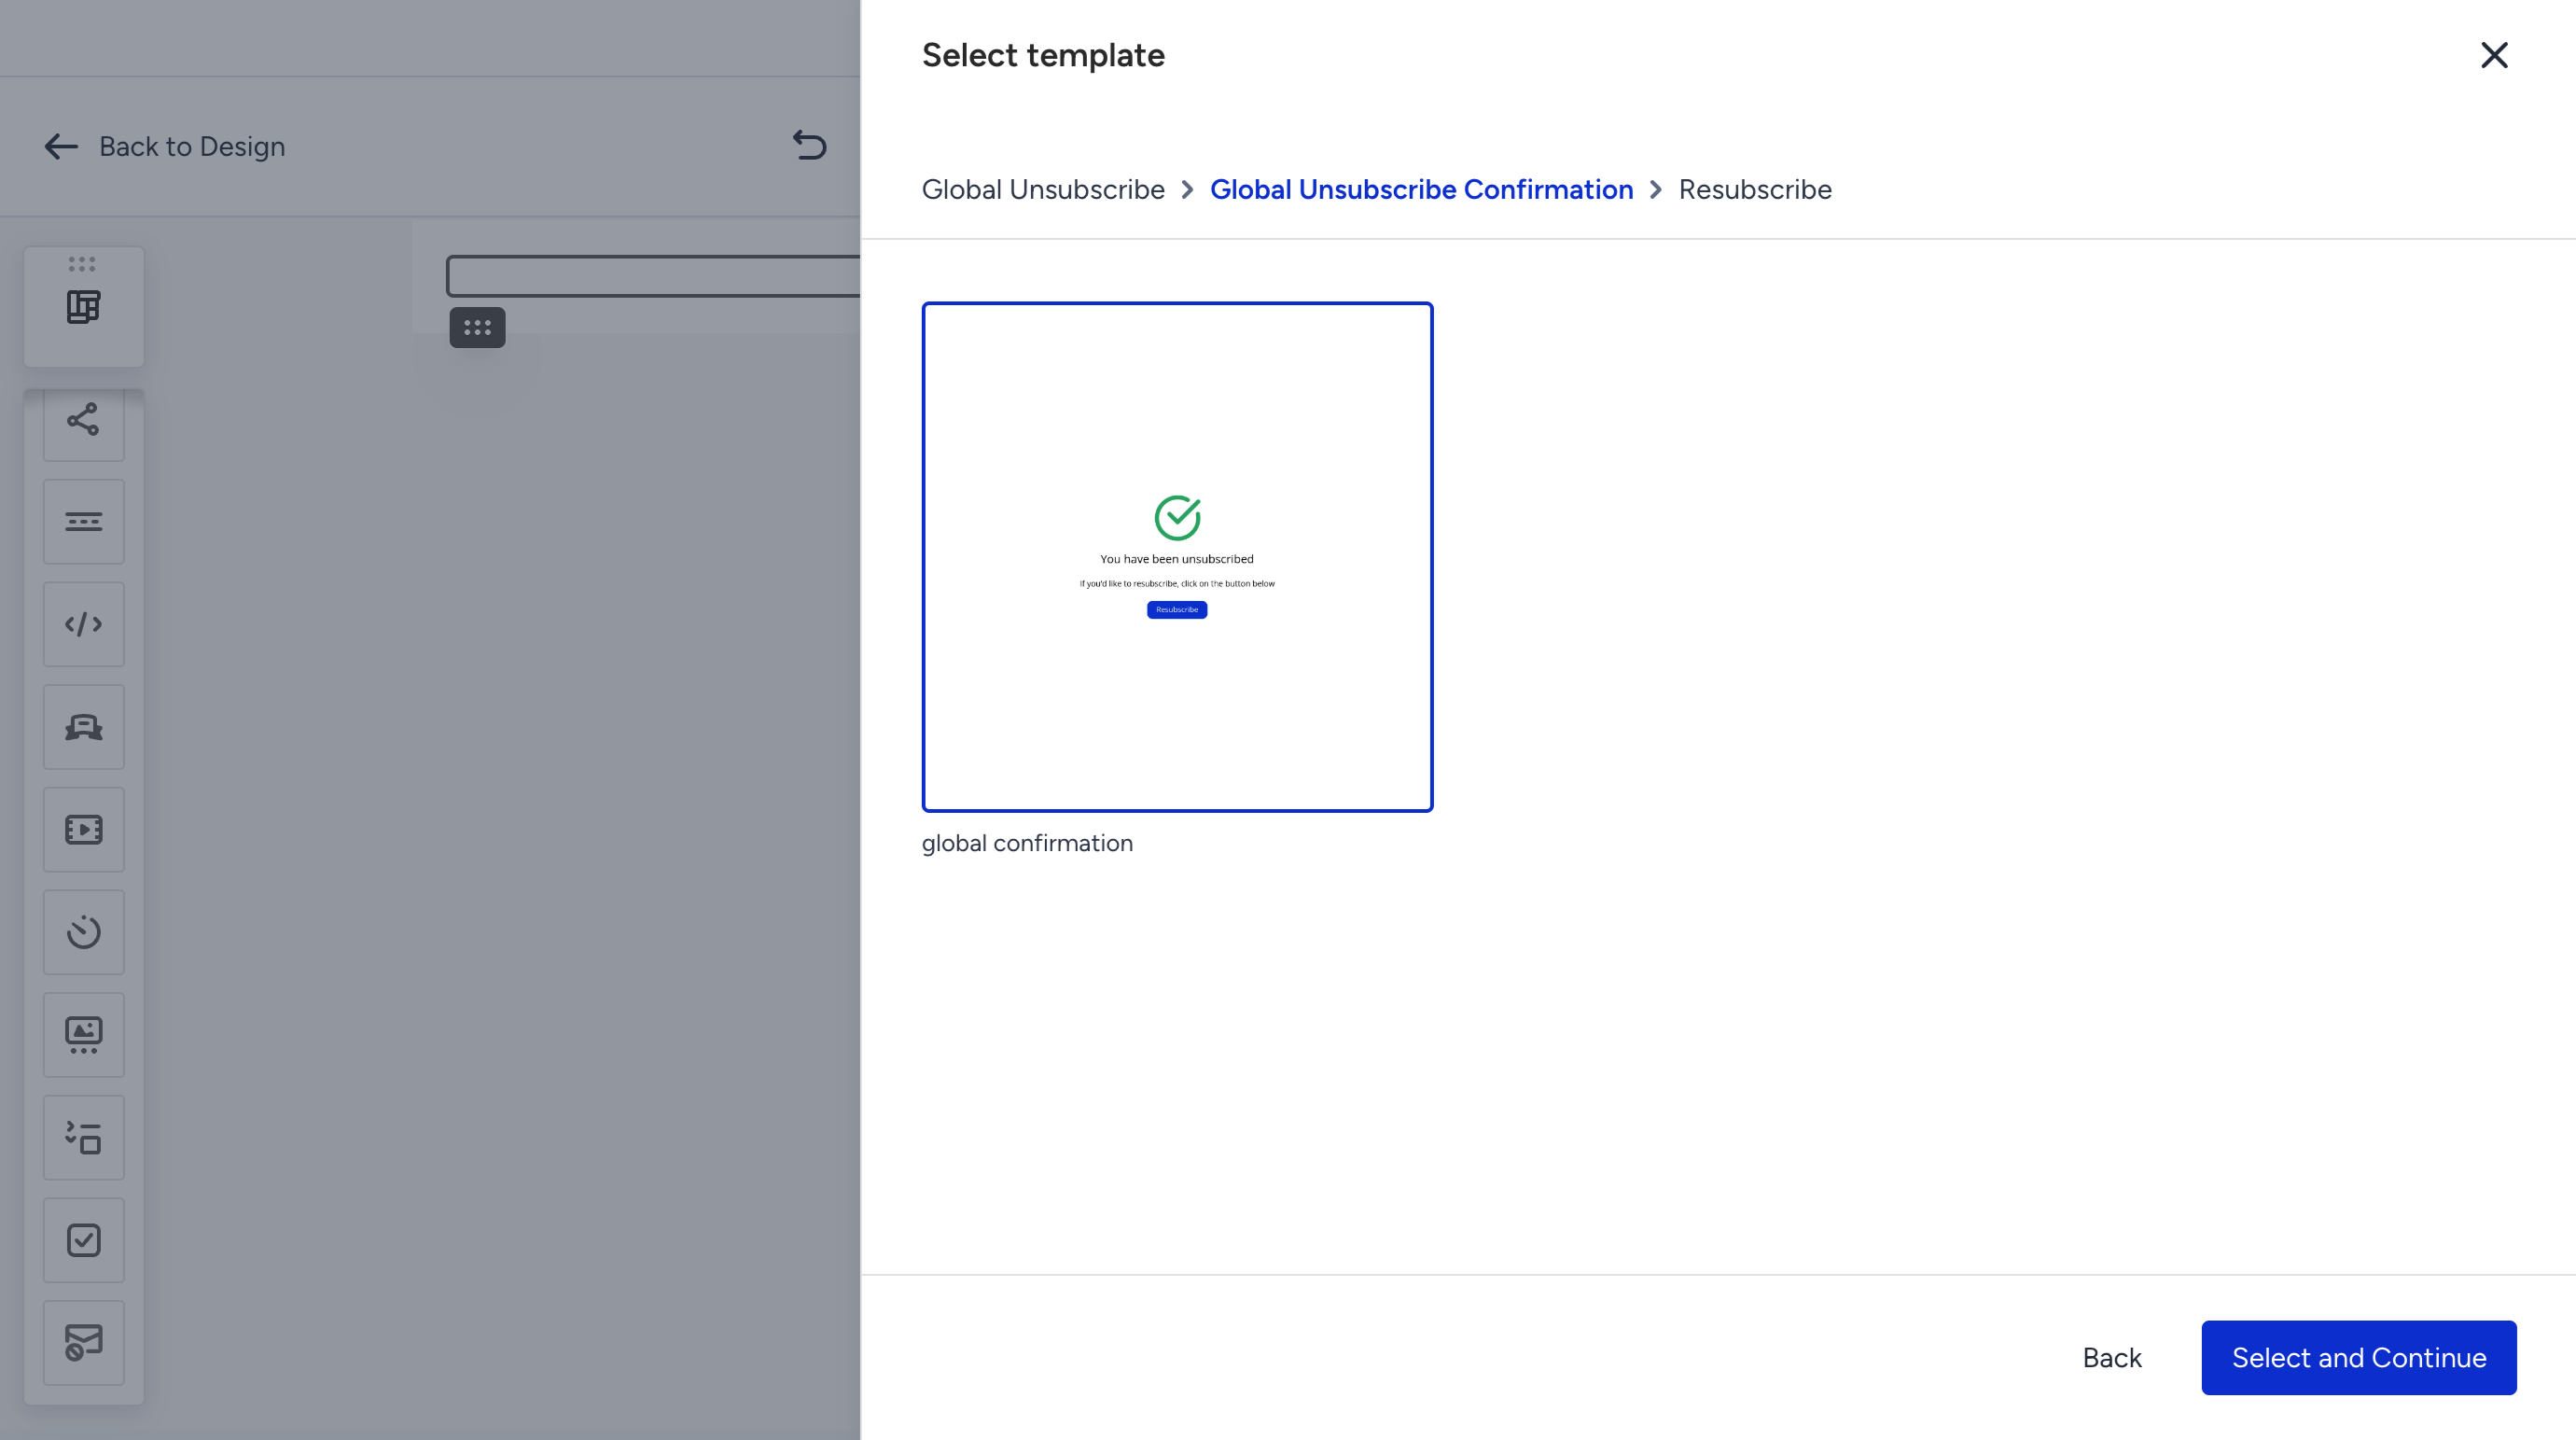
6. On the final step, select a template and click the Apply button.
.png)
The unsubscribe block is now placed in your email. You can customize its font, color, and position using the settings in the right panel.
To edit the text in the unsubscribe block, click into it and type over the existing text. Do not select all and delete removing all content can break the block's internal structure and cause the template selection to be lost.
If a recipient who has already unsubscribed clicks the global unsubscribe link again, they will see the Global Unsubscribe Confirmation page with a Resubscribe button instead of the unsubscribe option.
Add Custom Unsubscribe Pages in the HTML Editor
To add custom unsubscribe pages to your email, you create via HTML Editor:
1. Go to the Design step of your email.
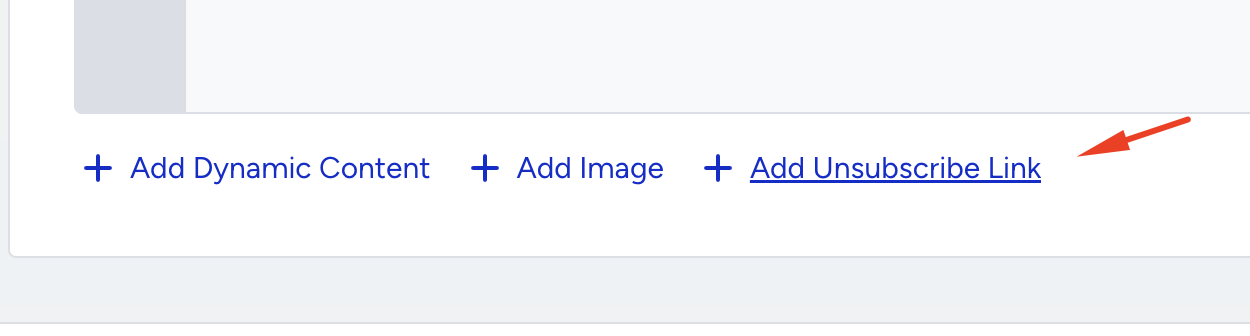
2. Click the Add Unsubscribe Link button at the bottom of the page.
3. Select the page type and click the Select and Continue button.
4. Select a template and click the Select and Continue button.
5. Select the confirmation template and click the Select and Continue button.
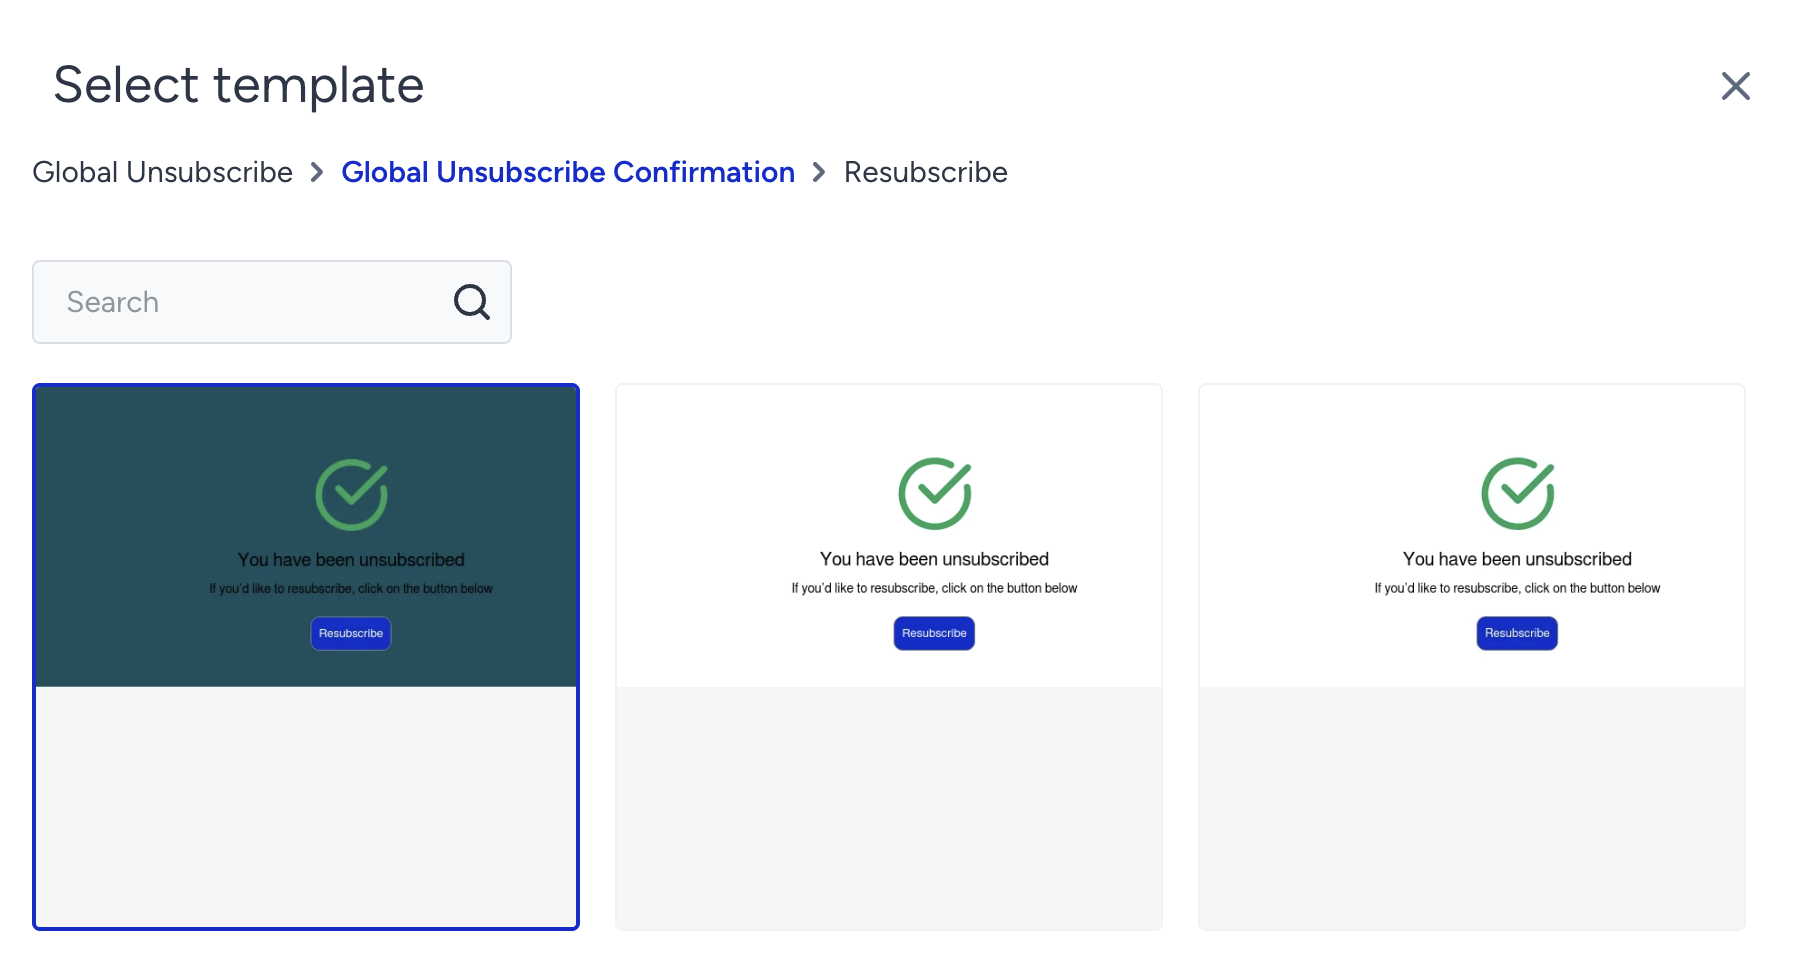
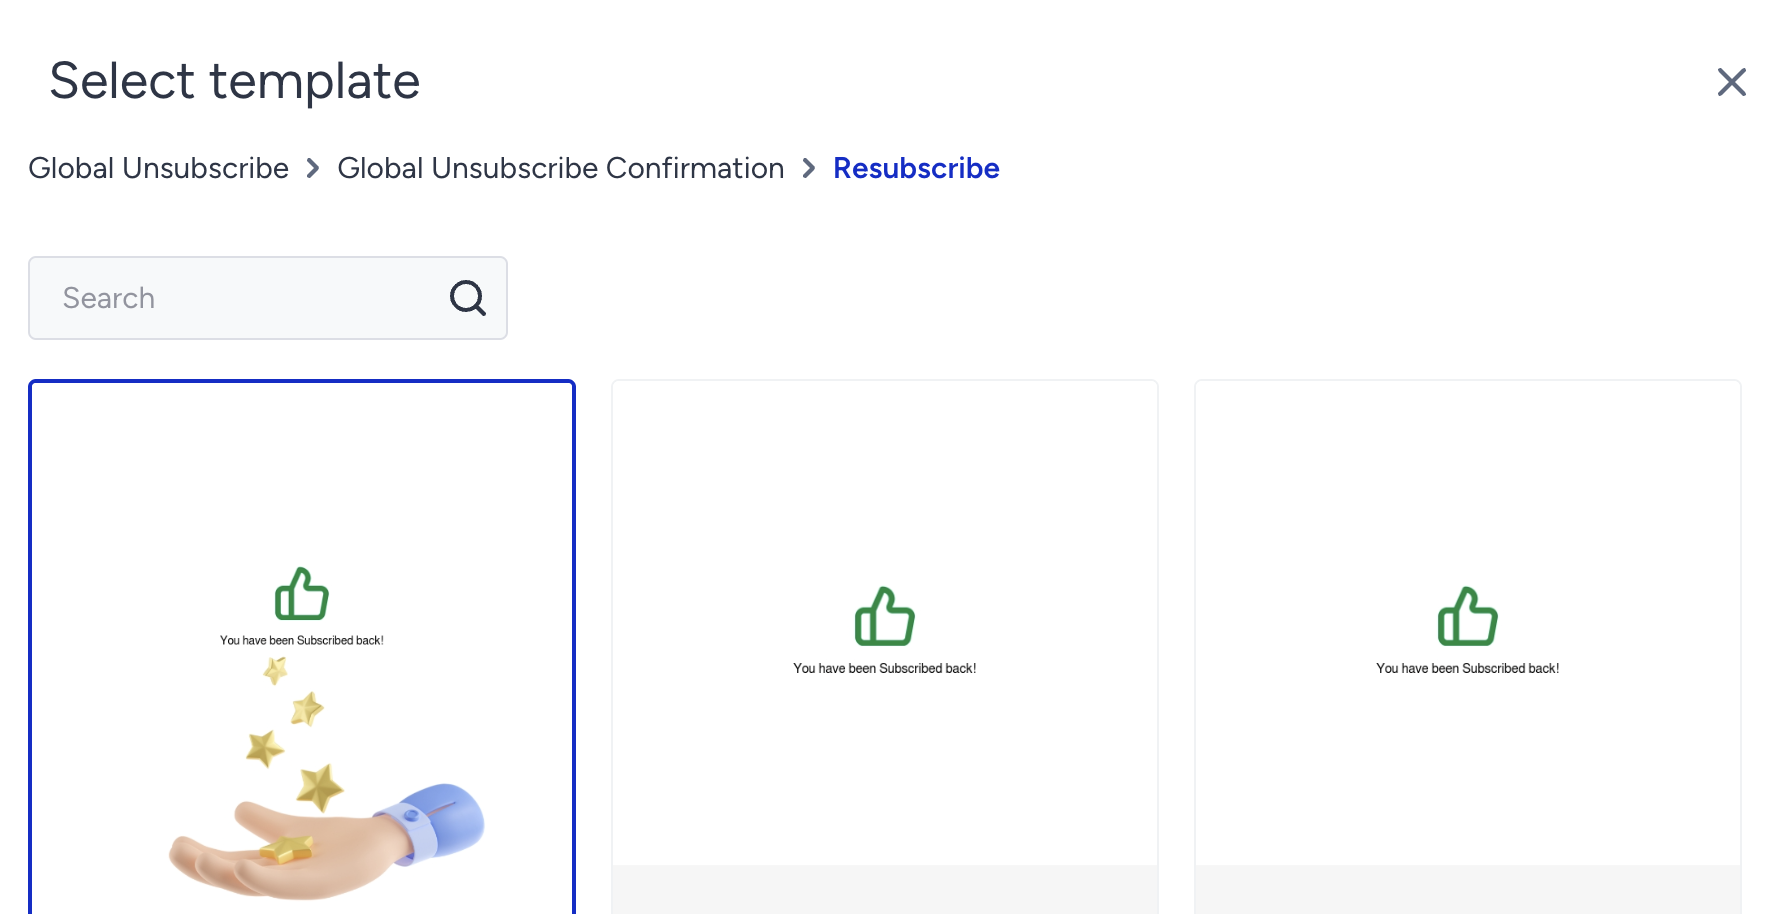
6. Select the resubscribe page and click the Apply button.
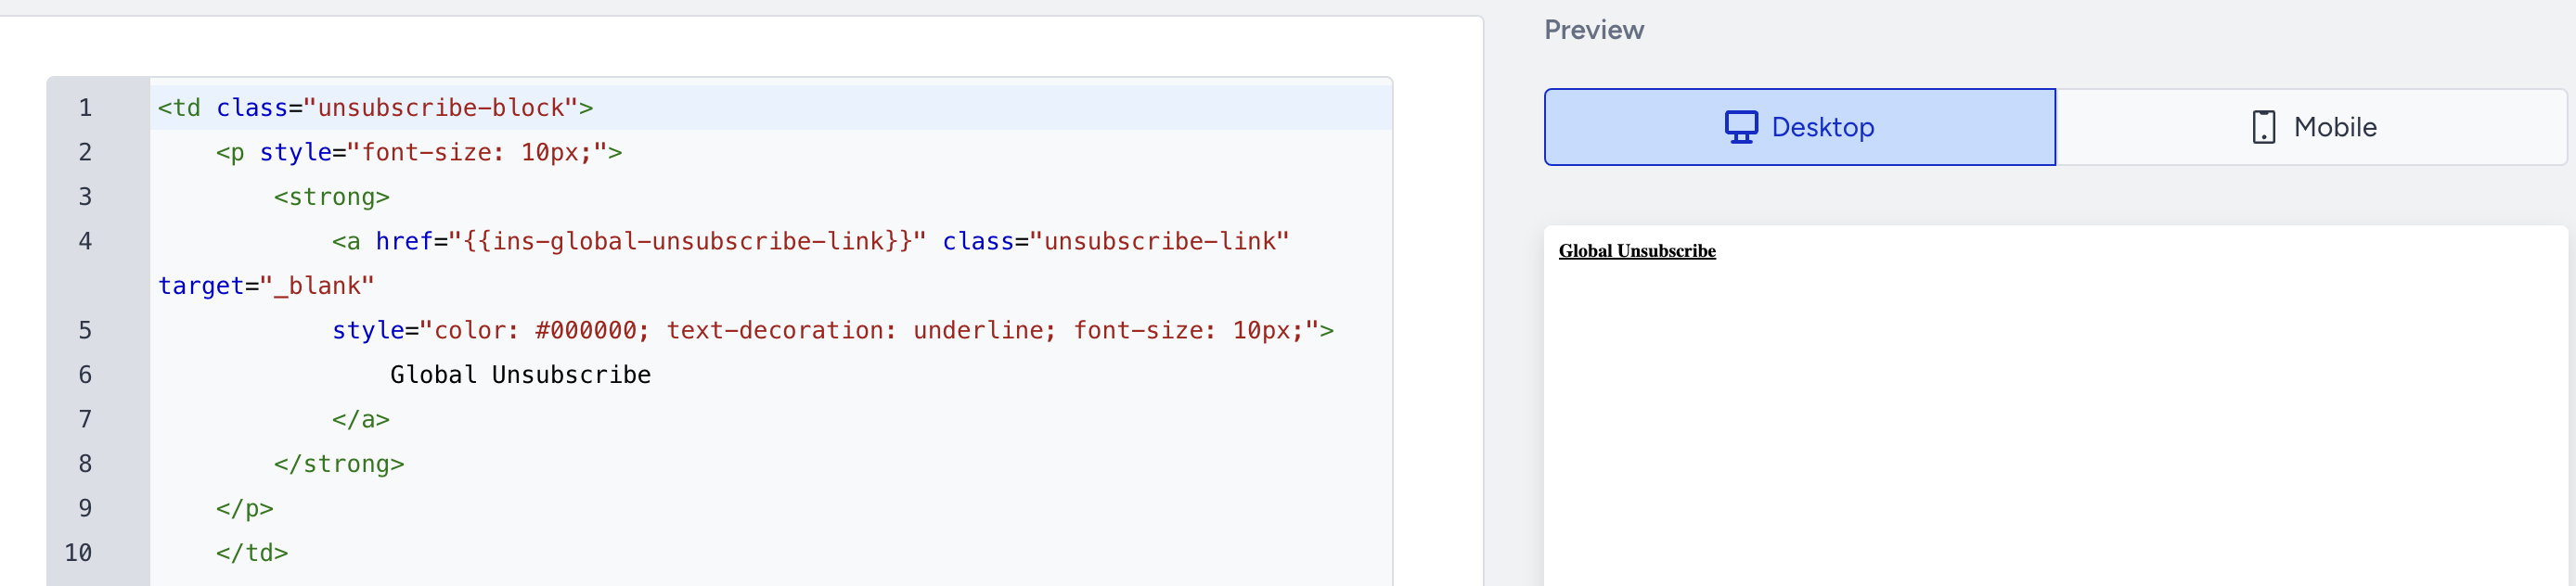
Once the unsubscribe page is added, you will see it in your HTML and the preview.
Change the selected Unsubscribe Page
If you want to use a different template after the block has already been configured:
1. Click on the unsubscribe block in your email canvas to select it.
2. In the right-side settings panel, click the Select Template button.
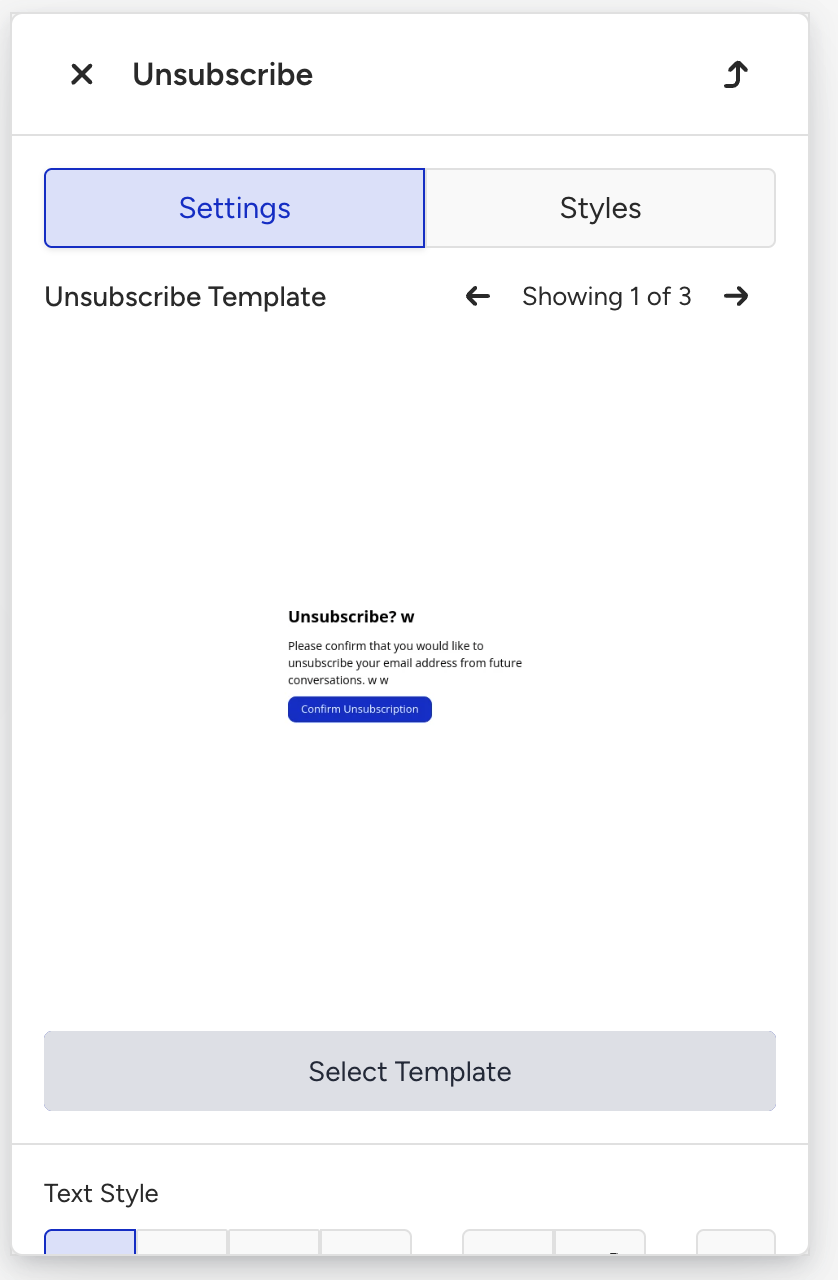
The Select template drawer opens.
3. Follow the breadcrumb navigation to select new templates for each page type, then click the Apply button.