Goals help you track your campaign's performance. Tracking relevant metrics helps you strategize your campaign.
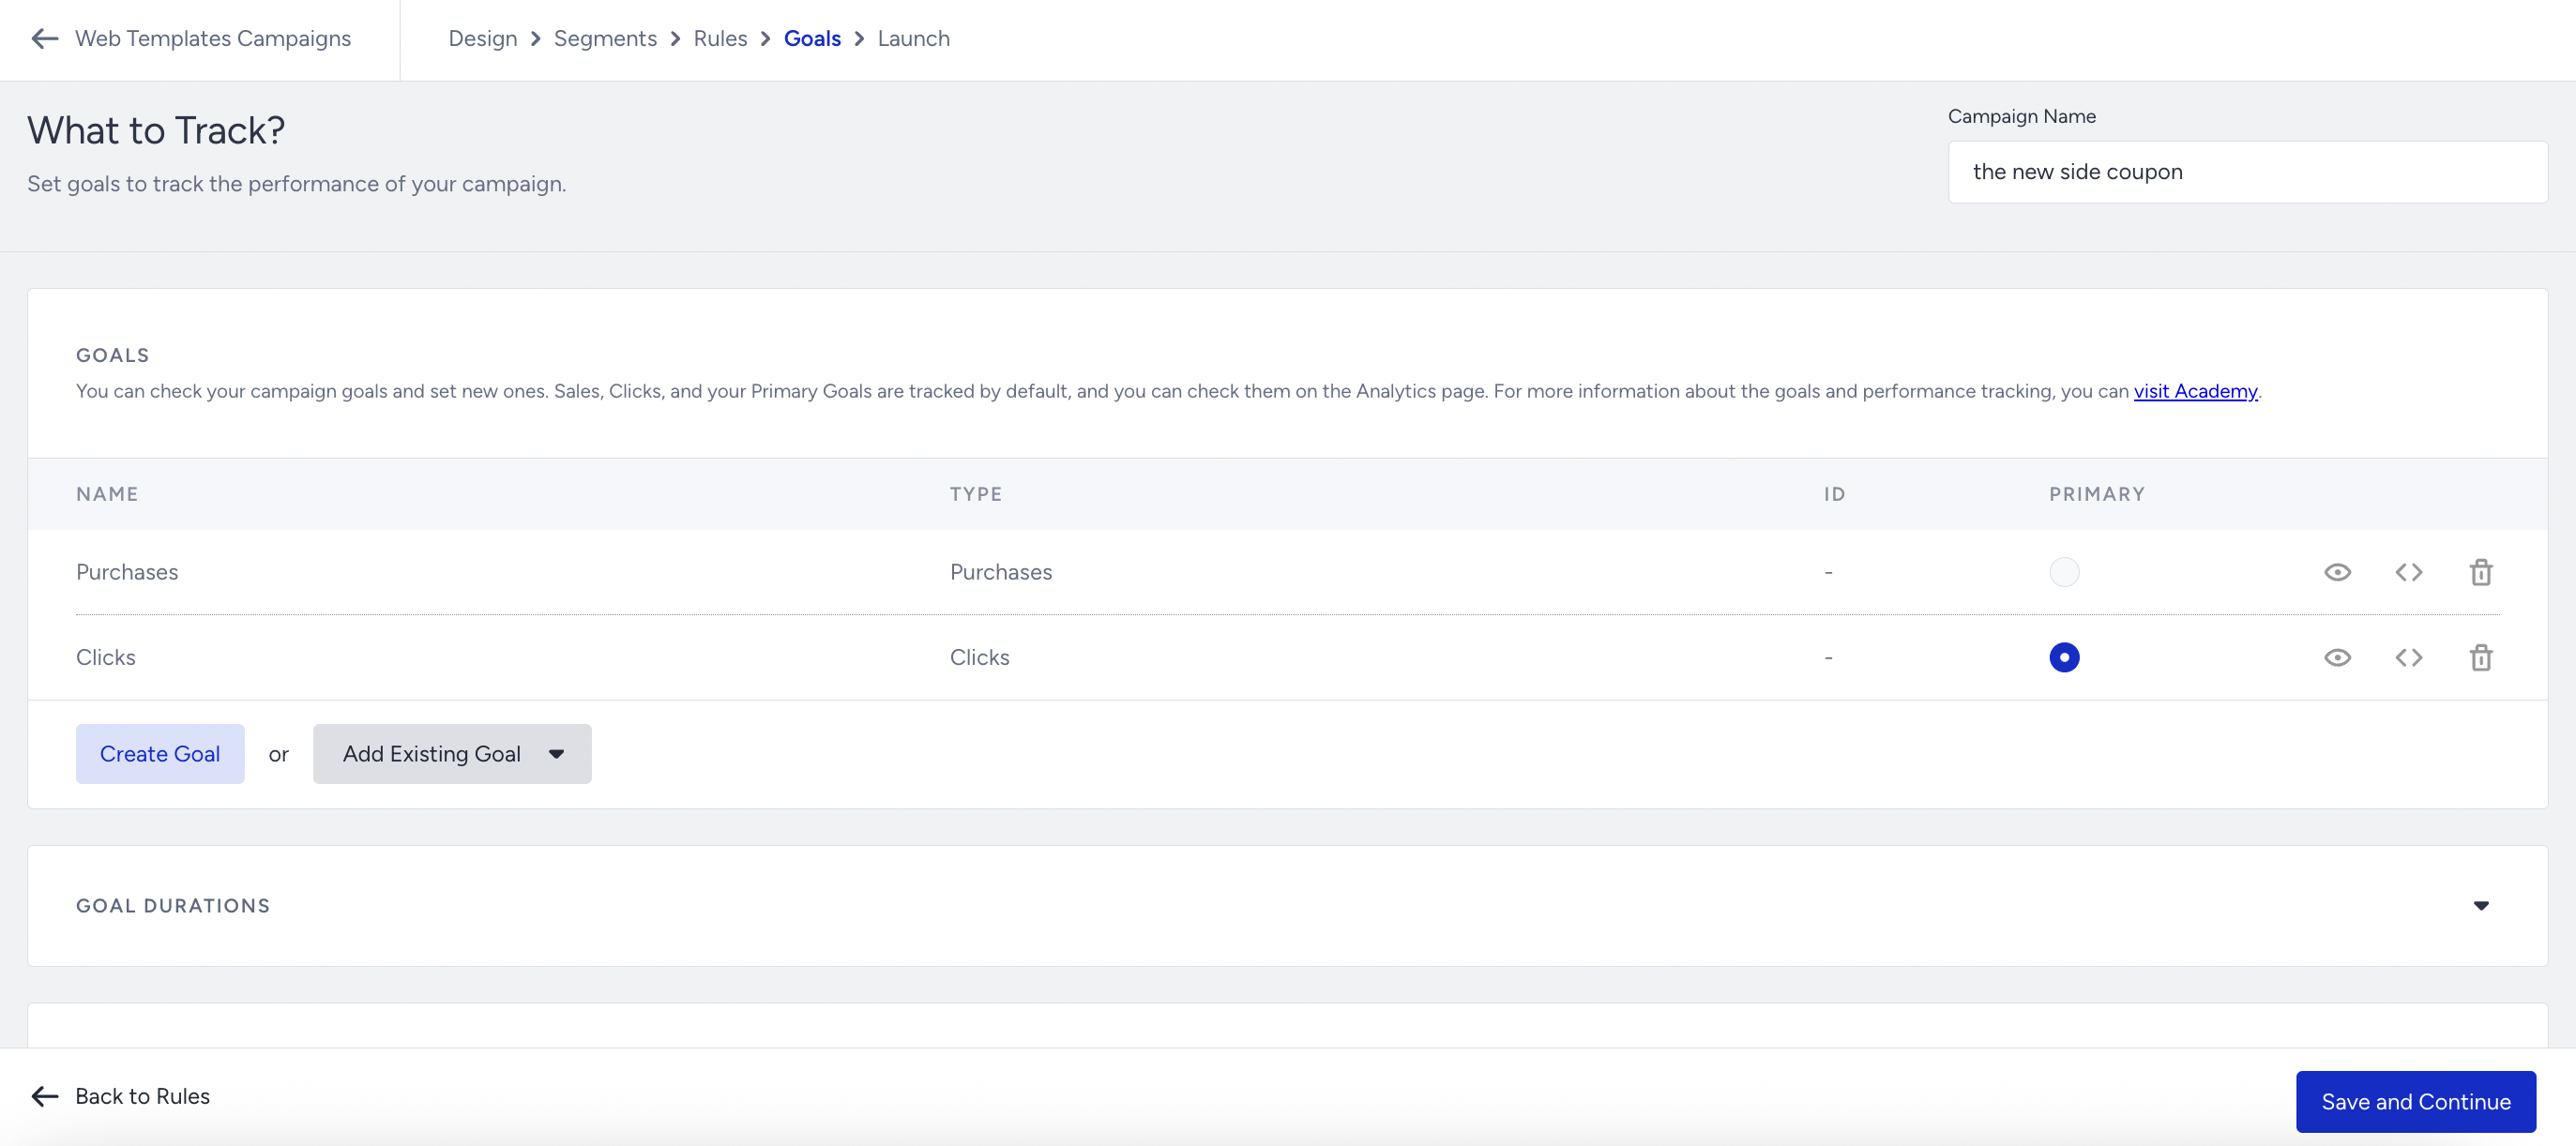
You can keep the default goals or create a new goal using the available goal types, following the guide to add a new goal.
In addition to the default goals, you can add custom goals to your campaign:
Custom Standard goals track what a user does on your website, for example, viewing a page, clicking an element, or adding a product to the cart. These goals are measured on the user's browser.
Custom Event Goals track an event that already flows into your Unified Customer Database (UCD), for example, item_added_to_cart or purchase.
Add a Custom Goal
Add a new custom goal
You can add a standard custom goal either by creating a new one or by reusing an existing goal from another campaign. Event Goals are always created on the campaign you are working on.
.png)
Click Create Goal to open the goal configuration panel.
Set a name for your goal.
Select one goal you want to track from the available Goal Types:
Standard: Pageviews, Clicks, Rules, Product Success, Product Category Success, Bounce, and Add to Cart.
Event: Event Goal.
Fill in the required fields for the selected goal type.
For standard goals, select a Rule Match Type. The available options depend on the goal type selected:
True / False: Used for Rules, Product Success, and Product Category Success goals. Select True to count the goal when the condition is met, False to count it when the condition is not met.
Contains / Simple / Exact: Used for Pageviews goals. Contains targets a URL parameter, Simple targets the beginning of the URL, and Exact targets the full URL string.
Add an existing custom goal
If the goal you need has already been created for another campaign, you can reuse it instead of creating a new one.
Click Add Existing Goal to open the dropdown.
Search for and select the goal you want to add.
Custom Event Goals are not listed in the Add Existing Goal dropdown. You need to recreate these goals for each campaign.
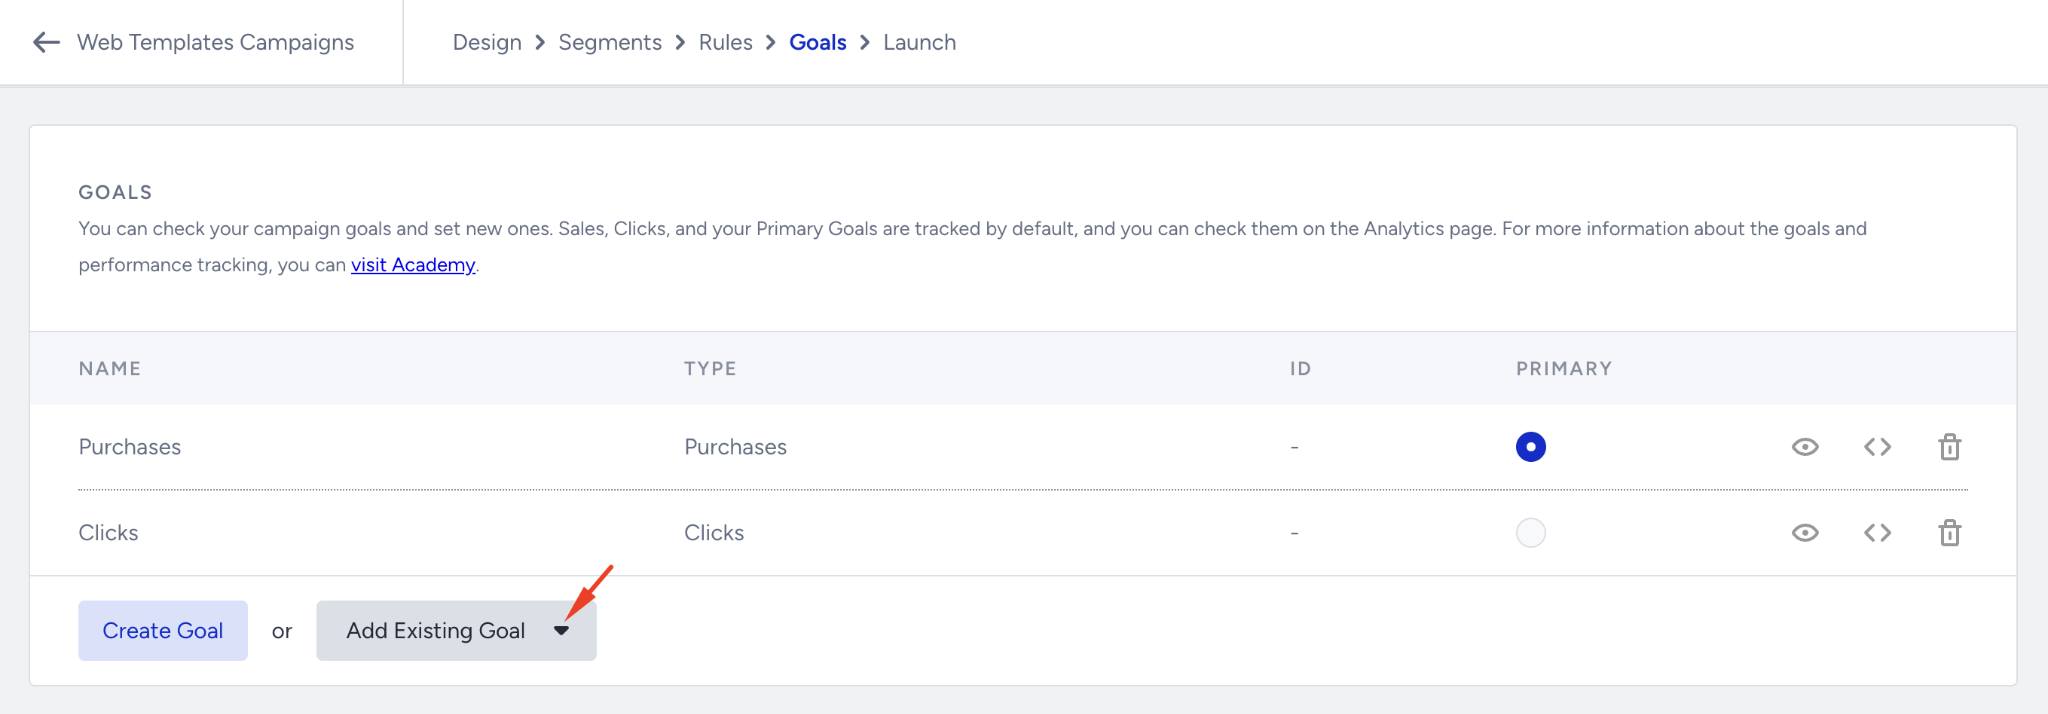
When you add the same goal to multiple campaigns, conversions are tracked independently for each campaign. Adding an existing goal to a new campaign does not affect the original campaign's conversion data.
To find all of your Custom Goals, navigate to Components > Onsite Goals > Goals page.
Goal Durations
You can also access Goal Durations from this page. Goal Durations help you configure when a user is assigned a variant of a campaign, for how long conversions are logged for a campaign, and when a user will see a campaign after they join or close it.
.png)
Goal Durations are grouped into two sets:
Re-eligibility: Controls how long the impression log will be valid and how long a variant stays suppressed after the user views, clicks, or closes it.
Conversion: Controls how long after the first impression a conversion is attributed to the campaign.
If your campaign has at least one Event Goal, two additional settings appear under Conversion:
Click-Through Conversion Duration: How long after a user clicks your campaign the event is still attributed to it.
View-Through Conversion Duration: How long after a user views your campaign the event is still attributed to it.
These two settings are hidden when the campaign has no Event Goals.
Total Impressions and Clicks
In the campaign analytics, you can display the number of Total Impressions per view instead of Session-Based Impressions once per session. Note that this change will also affect other related campaign metrics.
