After you complete the integration process, you can start creating WhatsApp messages in your journeys following the steps below.
1. Add WhatsApp channel on canvas
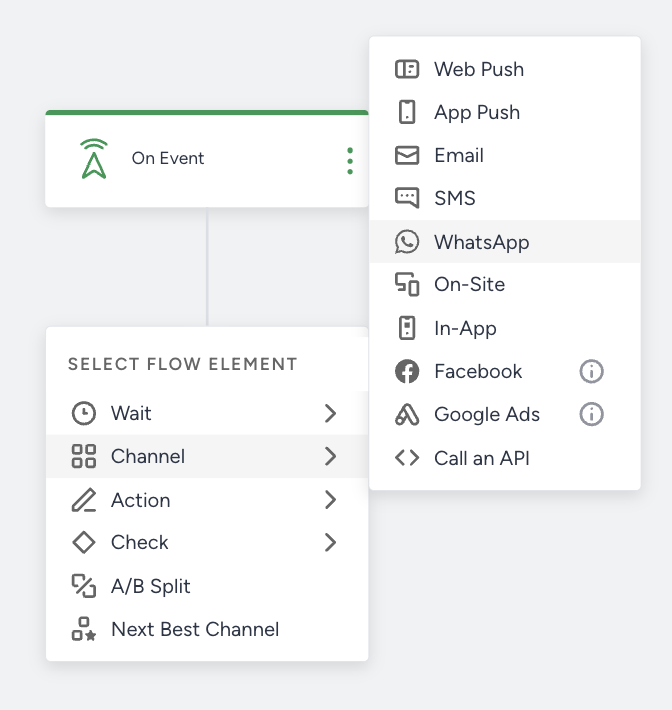
- Click the Add button on the path you want to add the channel on your journey.
- Click Channel > WhatsApp.
 You can manage multiple phone numbers under the same WhatsApp Business Account (WABA) from a single Inone panel. If the panel account you are using has more than one WhatsApp Business account registered in the WhatsApp settings, you can see and select the account you want to use in that WhatsApp channel element.
2. Compose message content
The message creation steps vary depending on your selected template (business standard or carousel). Both templates support promotional and conversational marketing use cases.
Select a pre-approved template to send messages to your users, and use template variables as dynamic content on your template if there is any template variable registered.
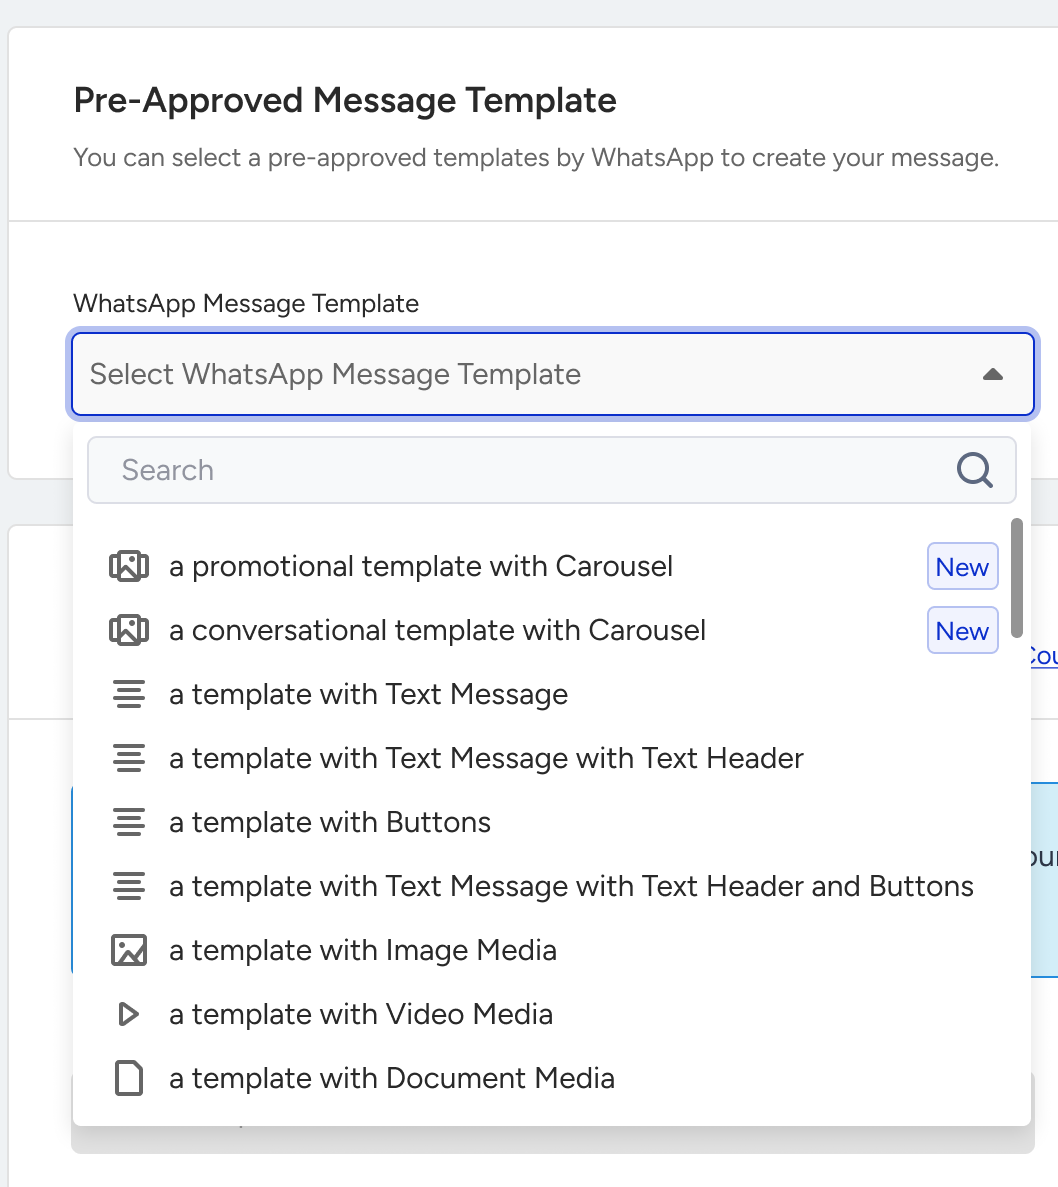
You can select a business standard or carousel template.
2.1. Business standard template
You can select Message with Only Text with template variables as dynamic content.
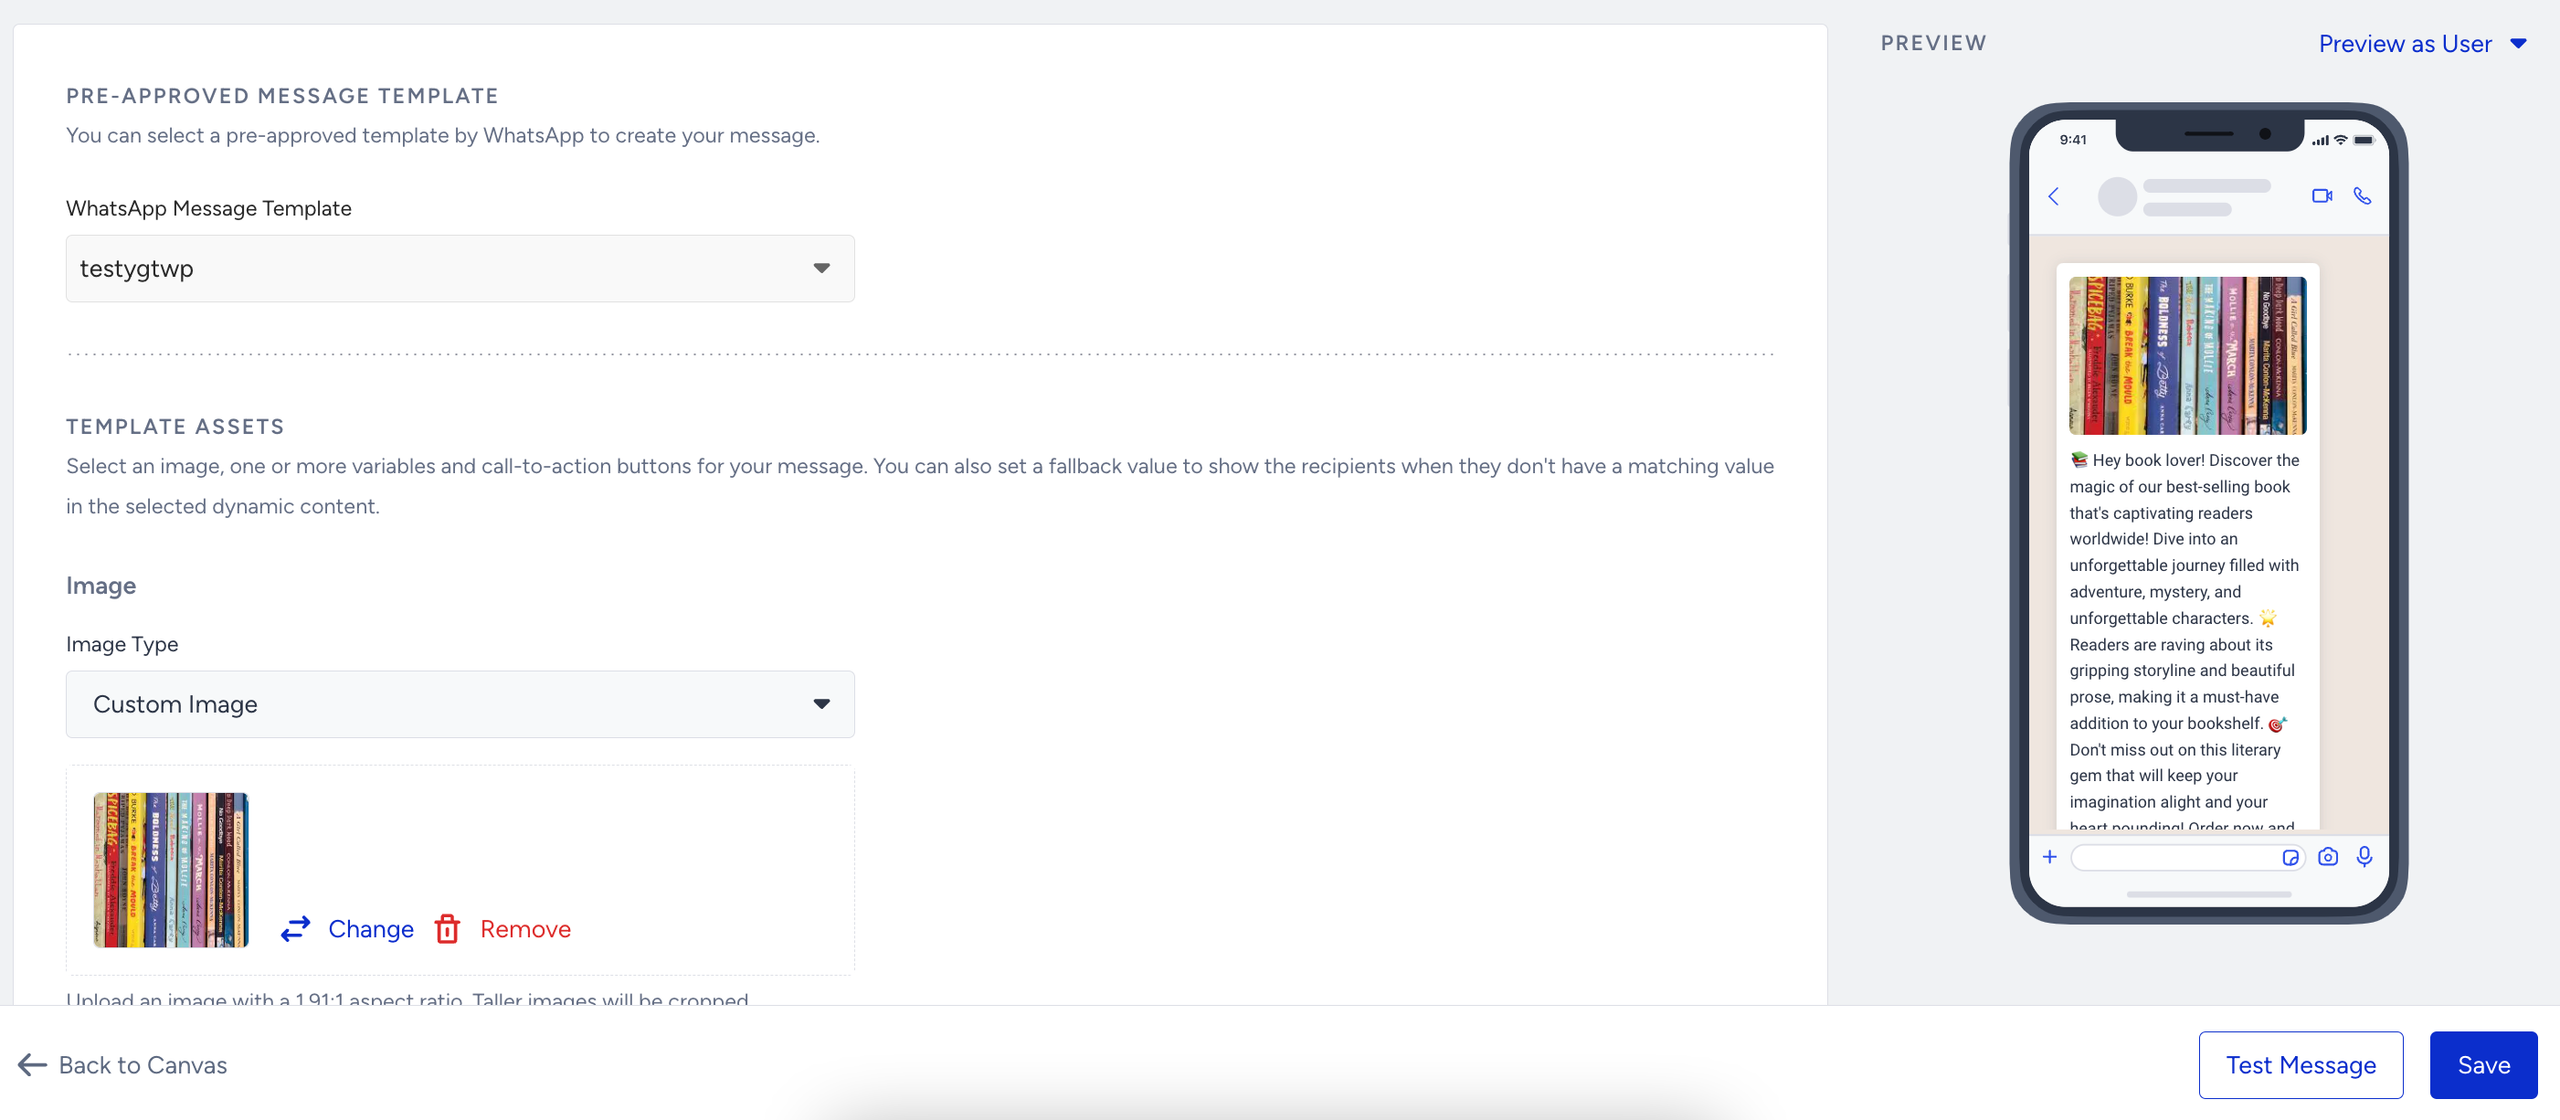
You can select Message with Image and Text from the templates and upload a custom image or select a dynamic image for your template. You can also add template variables as dynamic content.
Or, you can select Message with Media Header/and Buttons from the templates and upload a custom media. You can also add template variables as dynamic content.
2.2. Carousel template
You can have various use cases with a carousel template.
For example, you can display a series of products with images and direct purchase links to drive sales and reduce cart abandonment. The first card can display a high-resolution image of a product, describing the product as "Our best-selling summer dress is back in stock! Made from breathable linen for all-day comfort. Price: $79.99" with Shop Now and Add to Cart buttons. The second card can display a clear image of a matching accessory, like sandals or a handbag, describing the product as "Pair your new dress with our Classic Leather Sandals. They're stylish and incredibly comfortable. Price: $45.00" with Shop Now and Add to Cart buttons.
You can also promote different travel packages with appealing images, like tropical getaways and European adventures, and call-to-action buttons, like Explore Package and Book Now to explore or book them directly.
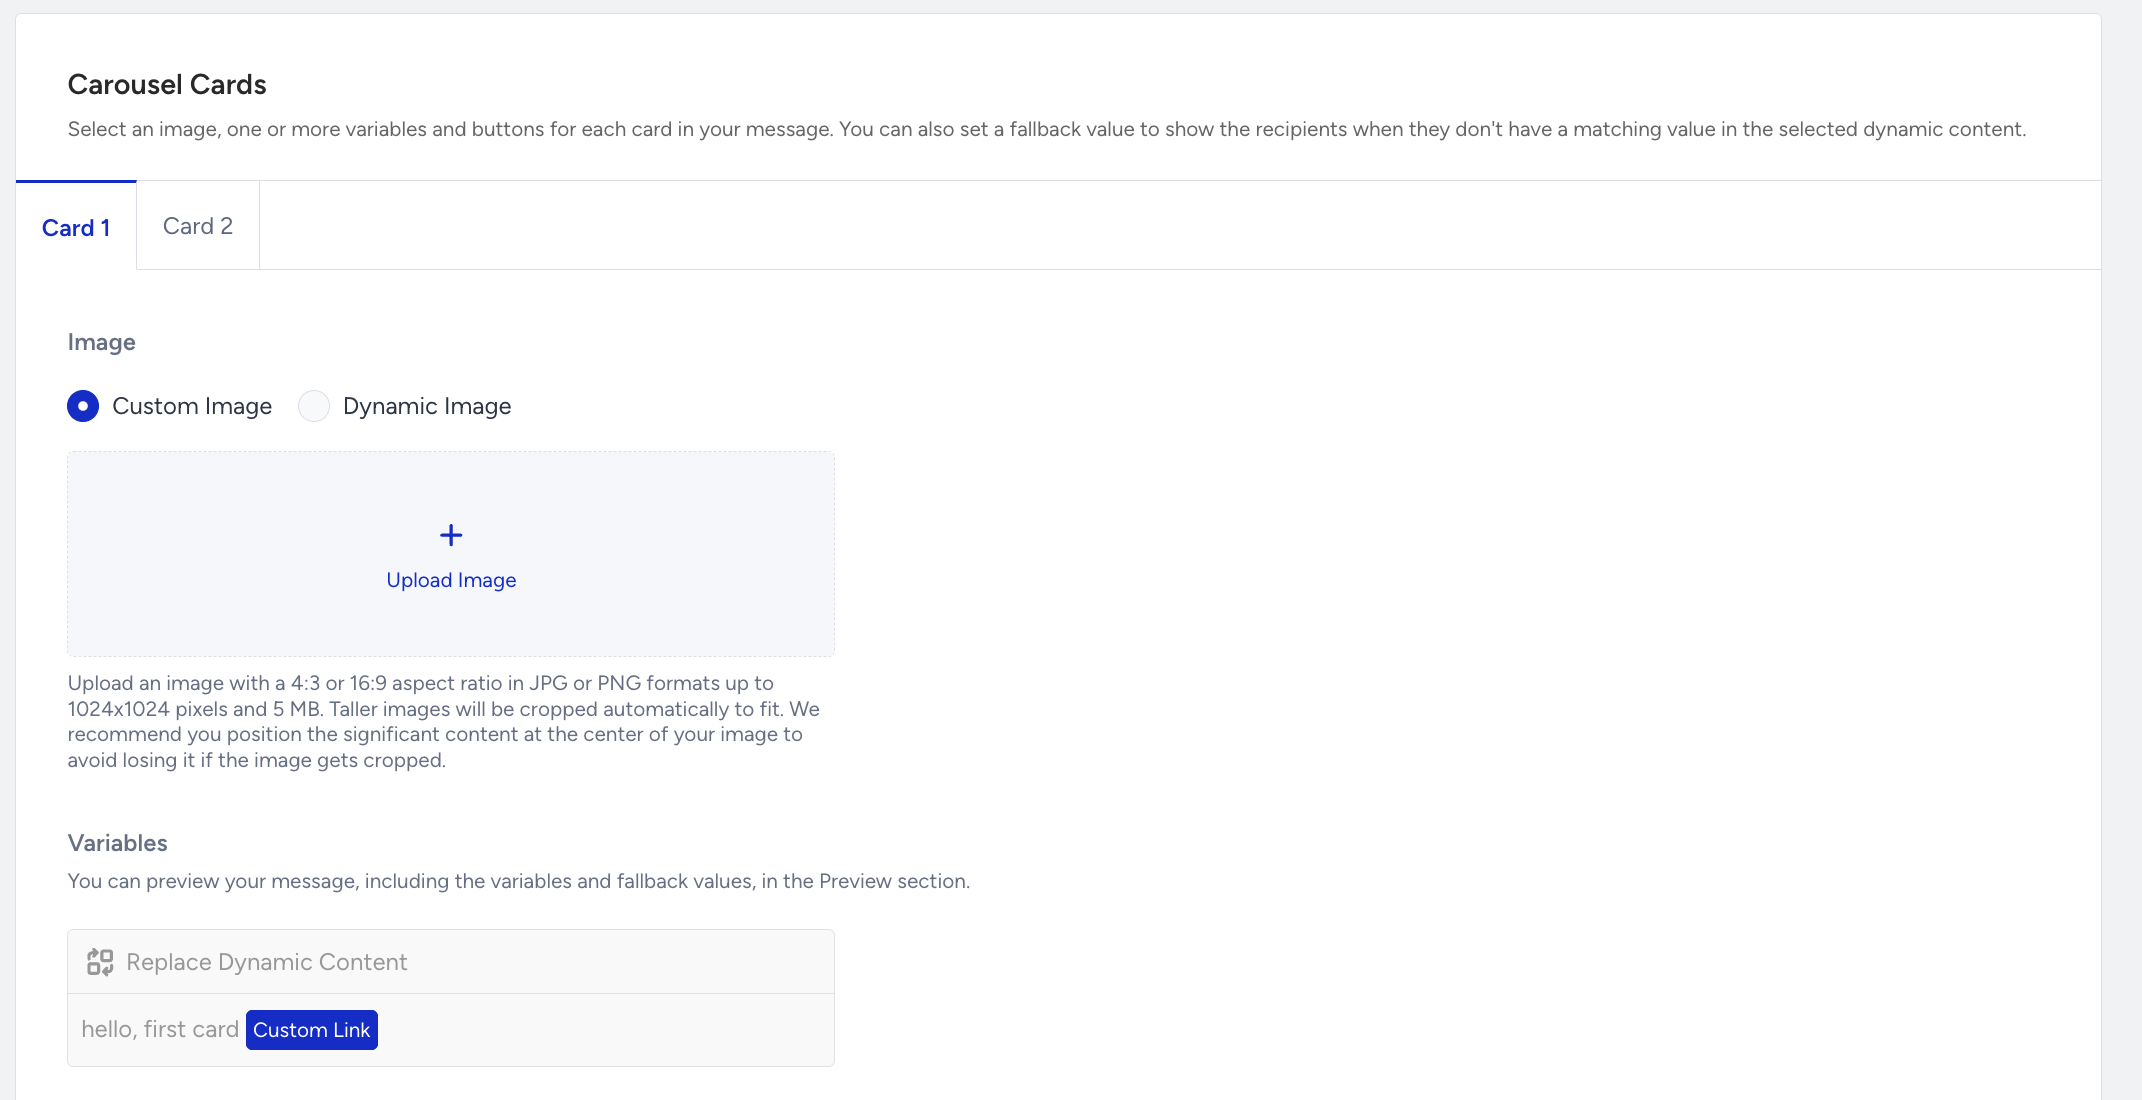
Select a carousel template from the dropdown menu of pre-approved message templates.

You can add a message and buttons to your carousel template.
The message header will stay the same for each carousel card.
You can select Image or Video for the message while creating the template. The media type selections made on the first card will be applied to all the other cards. If Custom Image is selected for the first card, other cards will have the Custom Image as well.
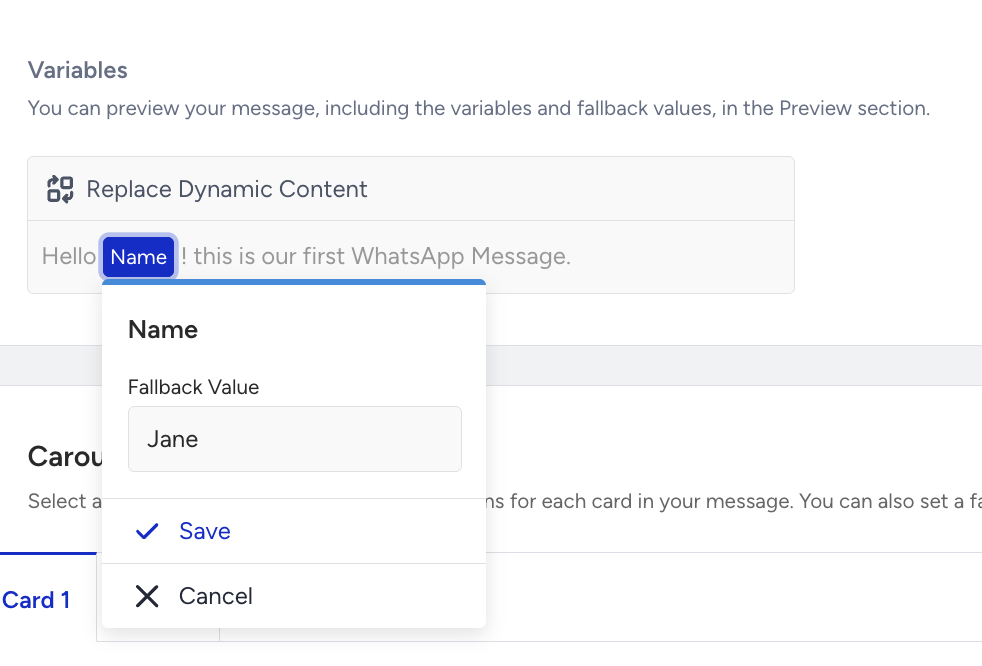
Assigning fallback values
You can assign fallback values to the variables you selected for your template on both message types (promotional and conversational). After you select a variable, enter the fallback value for your users who do not have a value for the variable.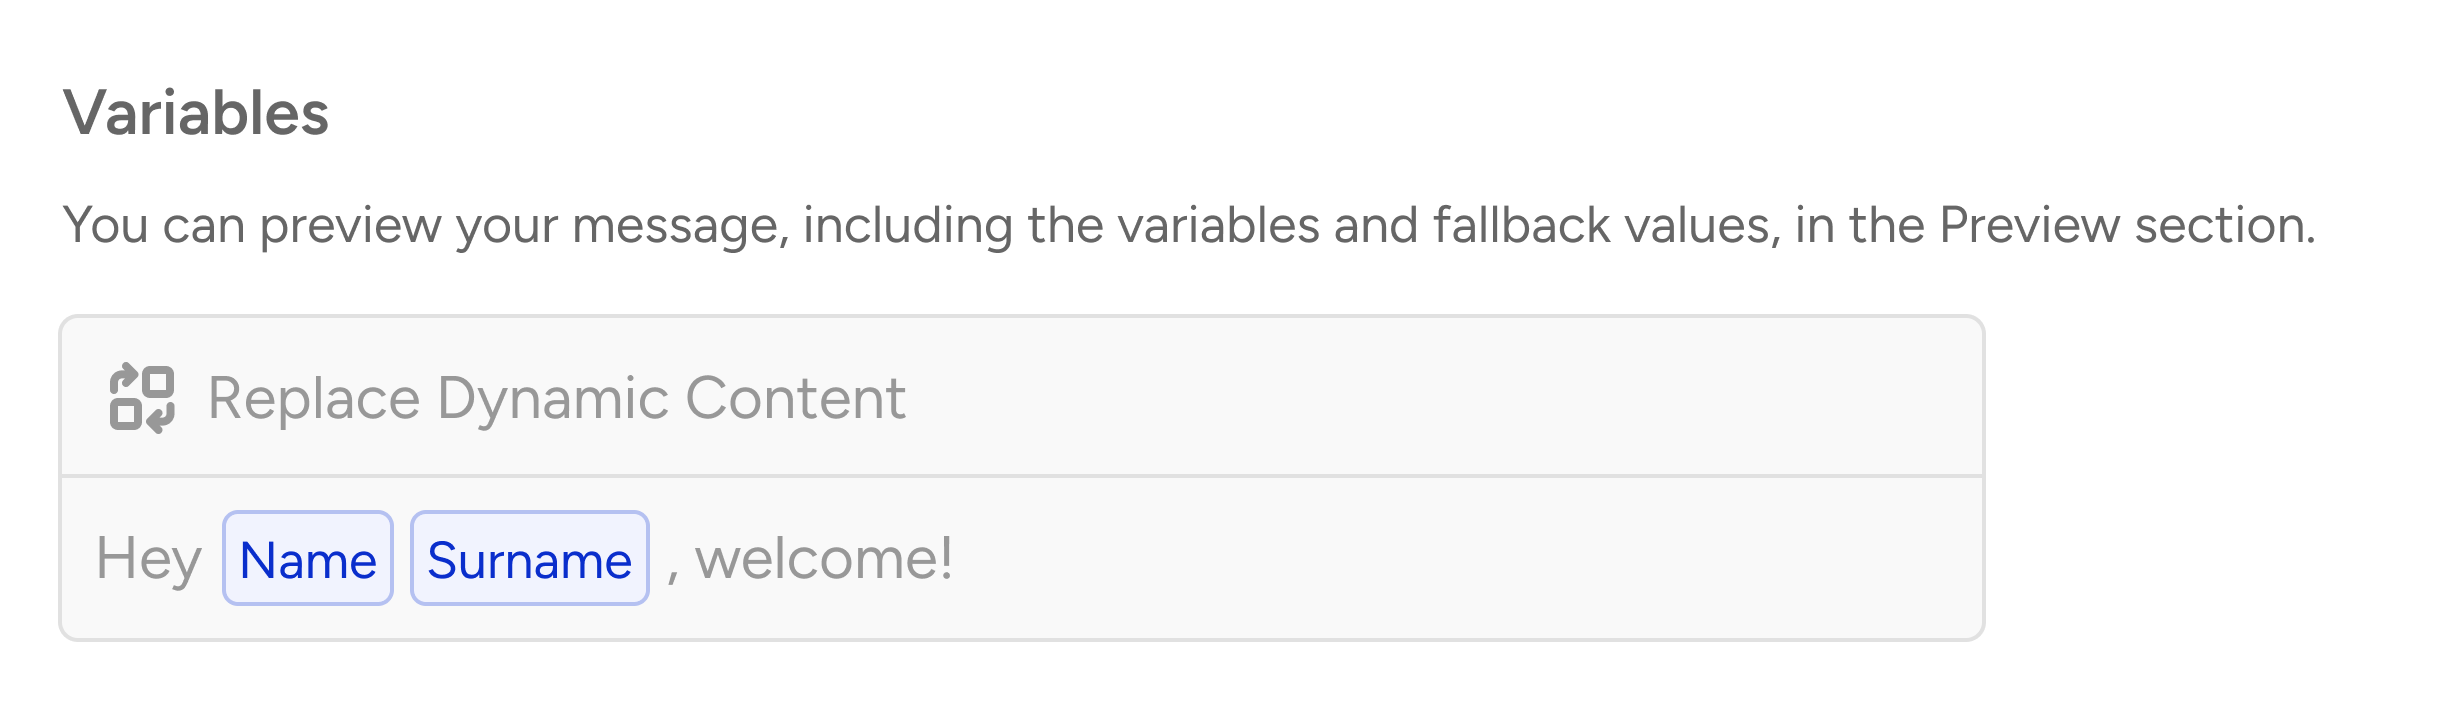 You can assign a fallback file for your Dynamic Image you selected for your template on both message types (promotional and conversational). After you select a Dynamic Image, upload the fallback image for users who do not have a value for the variable.
For conversational messages, you can use the pre-approved template to send messages to your users and use template variables as dynamic content on your template if there is any template variable that is registered..png)
You can select Messages with Buttons from templates, with template variables as dynamic content. You can also assign fallback values to your template variables.
Or, you can select Messages with Buttons and Images from templates and upload a custom image, or select a dynamic image for your template. You can also add template variables as dynamic content.
Or, you can select Message with Media Header and Buttons from templates and upload a custom media. You can also add template variables as dynamic content.
Response messages
Add text or images to your response messages. To personalize your message, you can use default/custom user attributes, event parameters, and coupon codes in your content.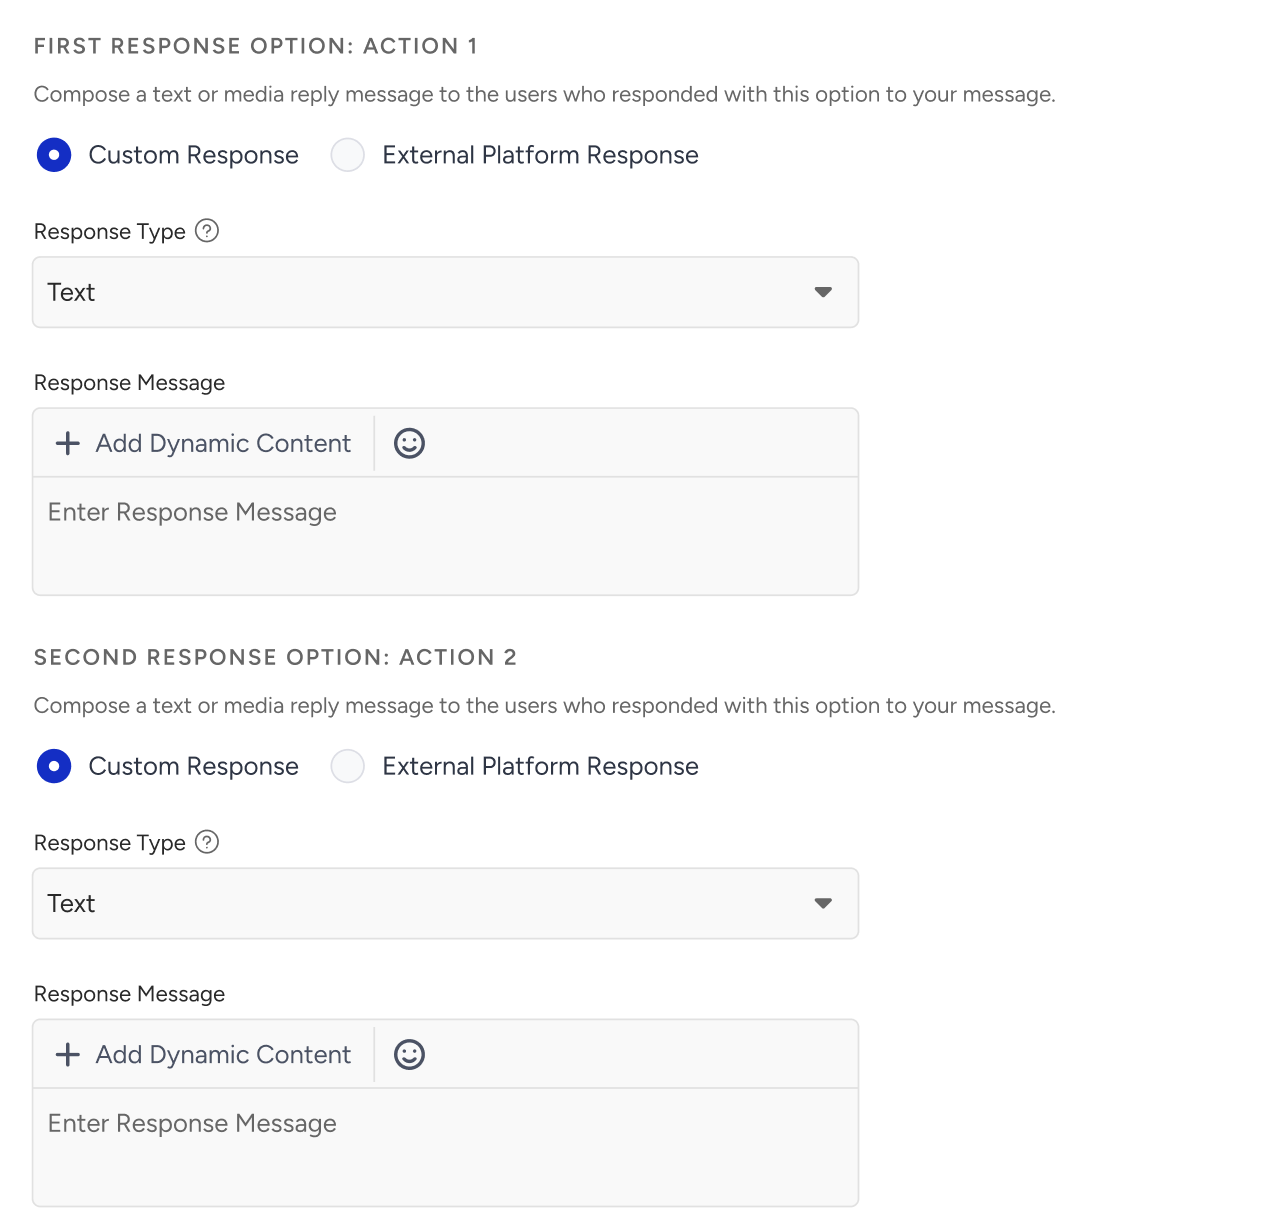

Make sure you use an external platform to send your response message in Architect, otherwise, your recipients will not get a response.
For users who do not have a value for the dynamic content, you can add a fallback value as an alternative.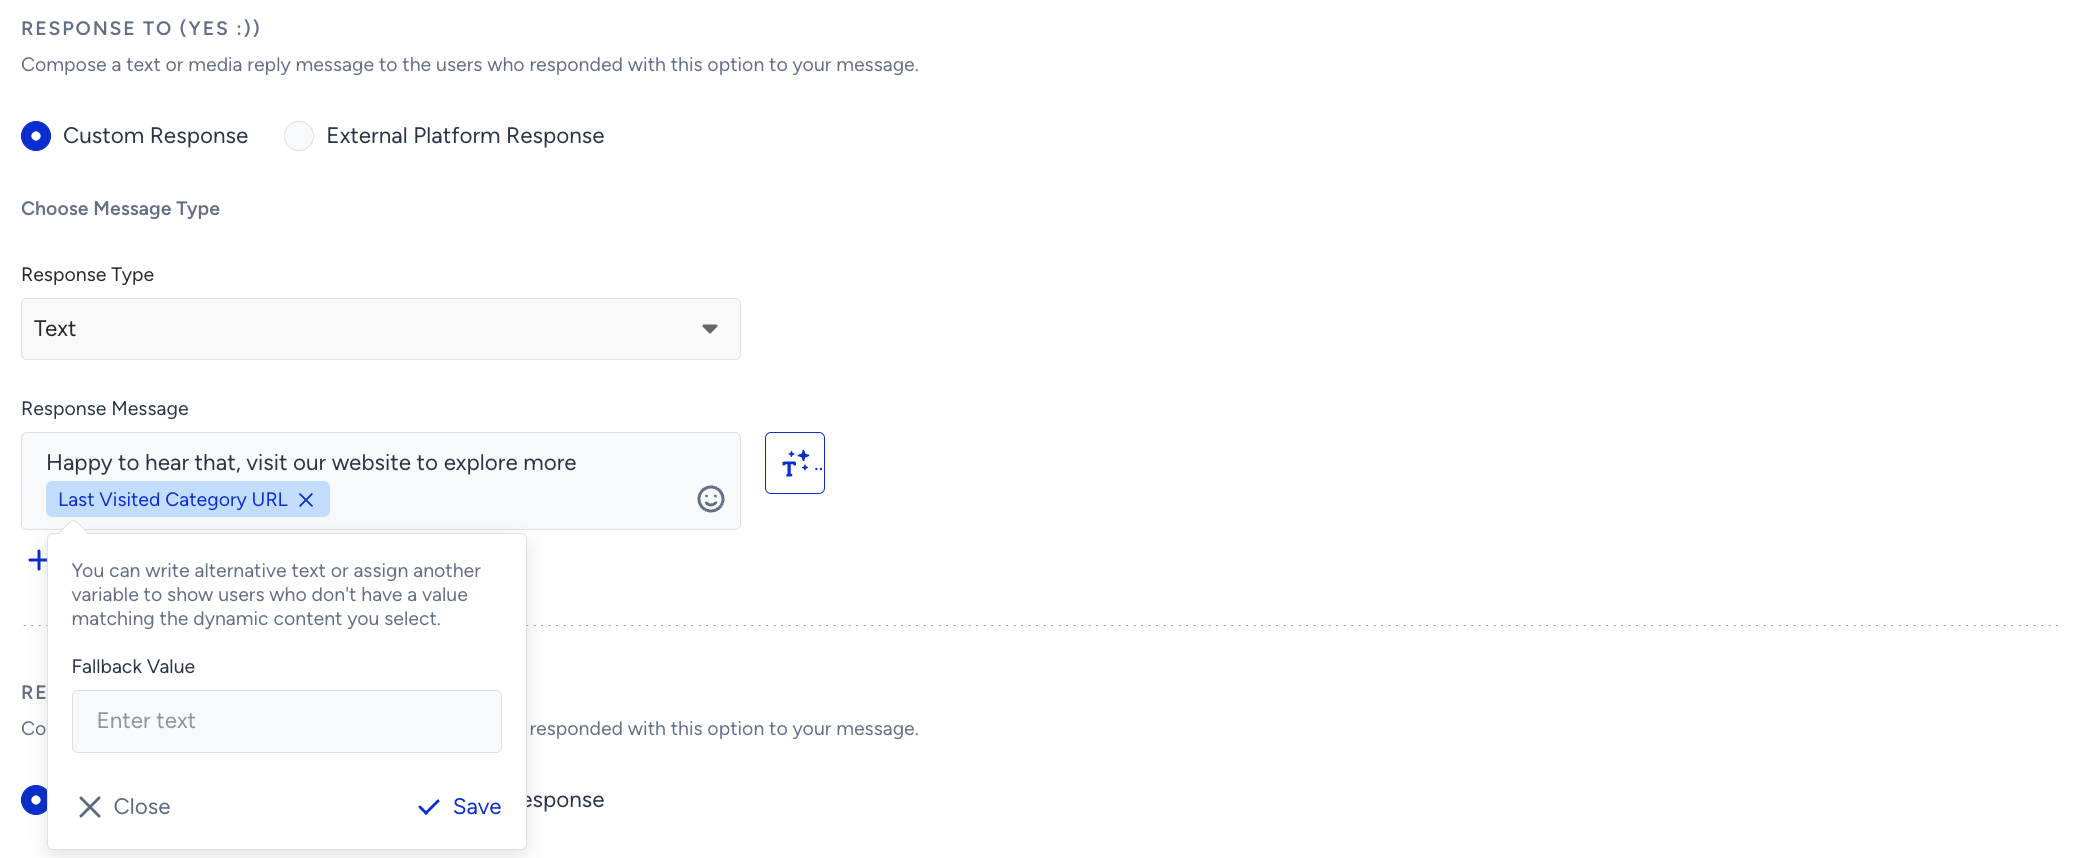
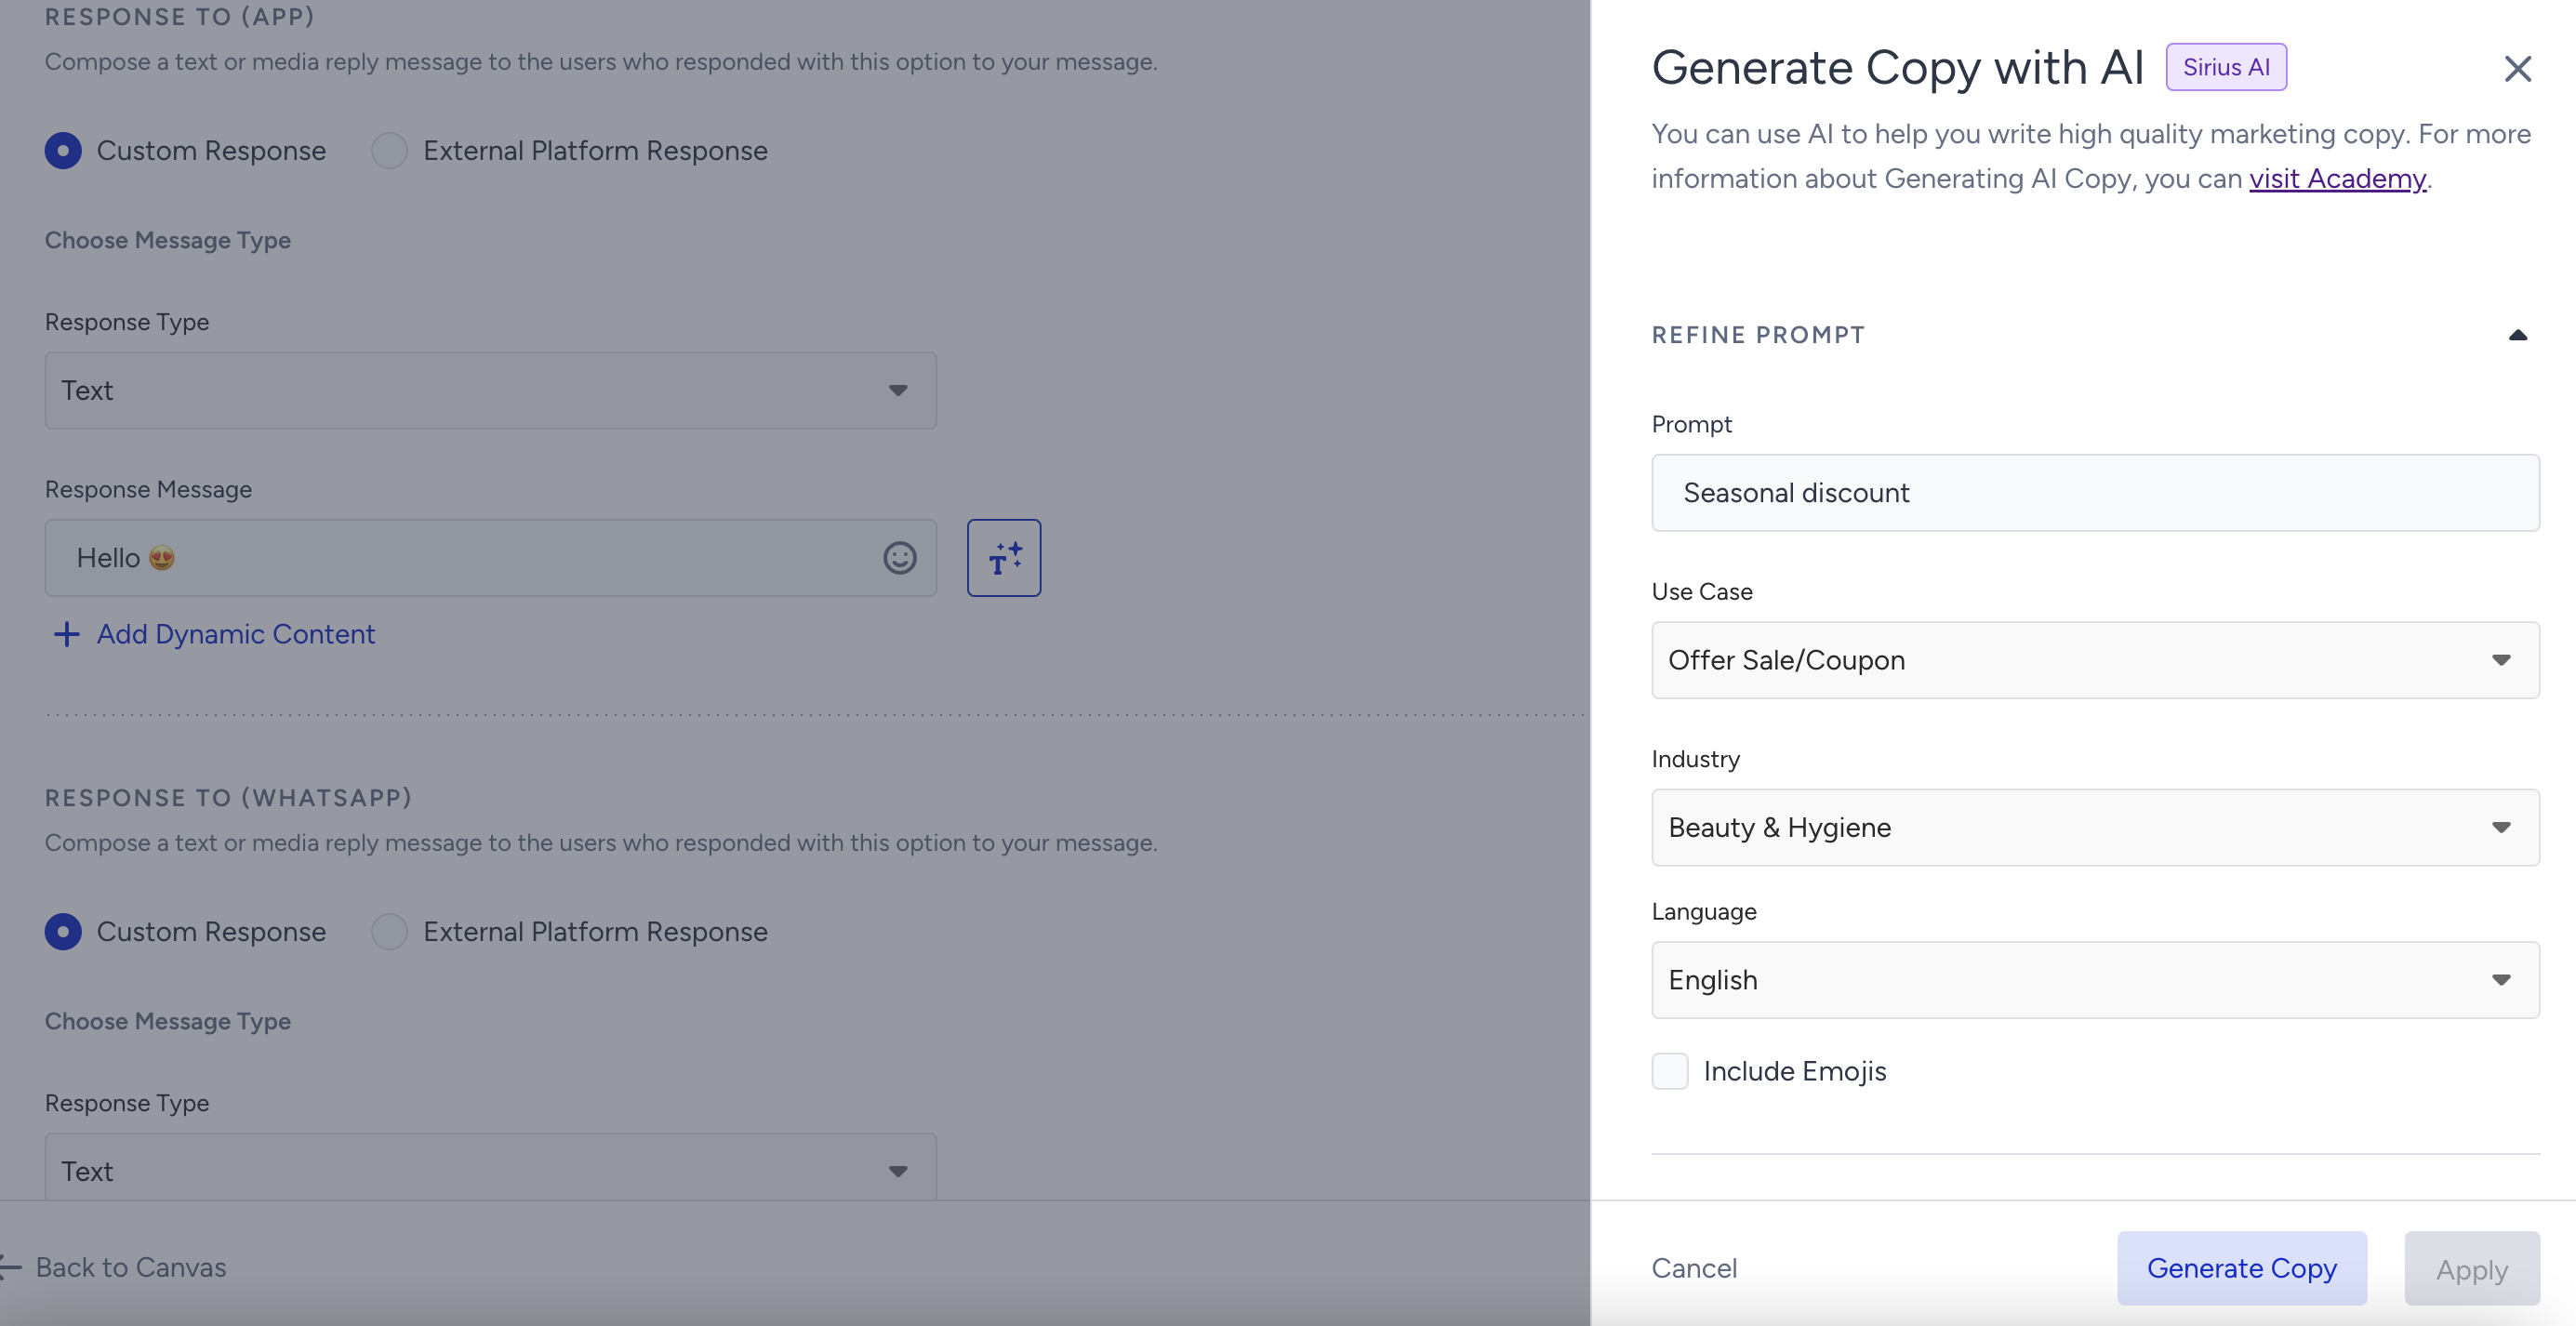
If you want to be inspired or need assistance when creating your response message content, you can always use the Generate Text option.

To use an AI-generated text:
1. Click the Generate Text button to see the side modal.
2. Enter a prompt you want to generate the text about.
3. The language option will be the default selected language of your panel.
4. Select your industry and use case to define the context for the text to be generated.
5. Click the Generate Copy button.
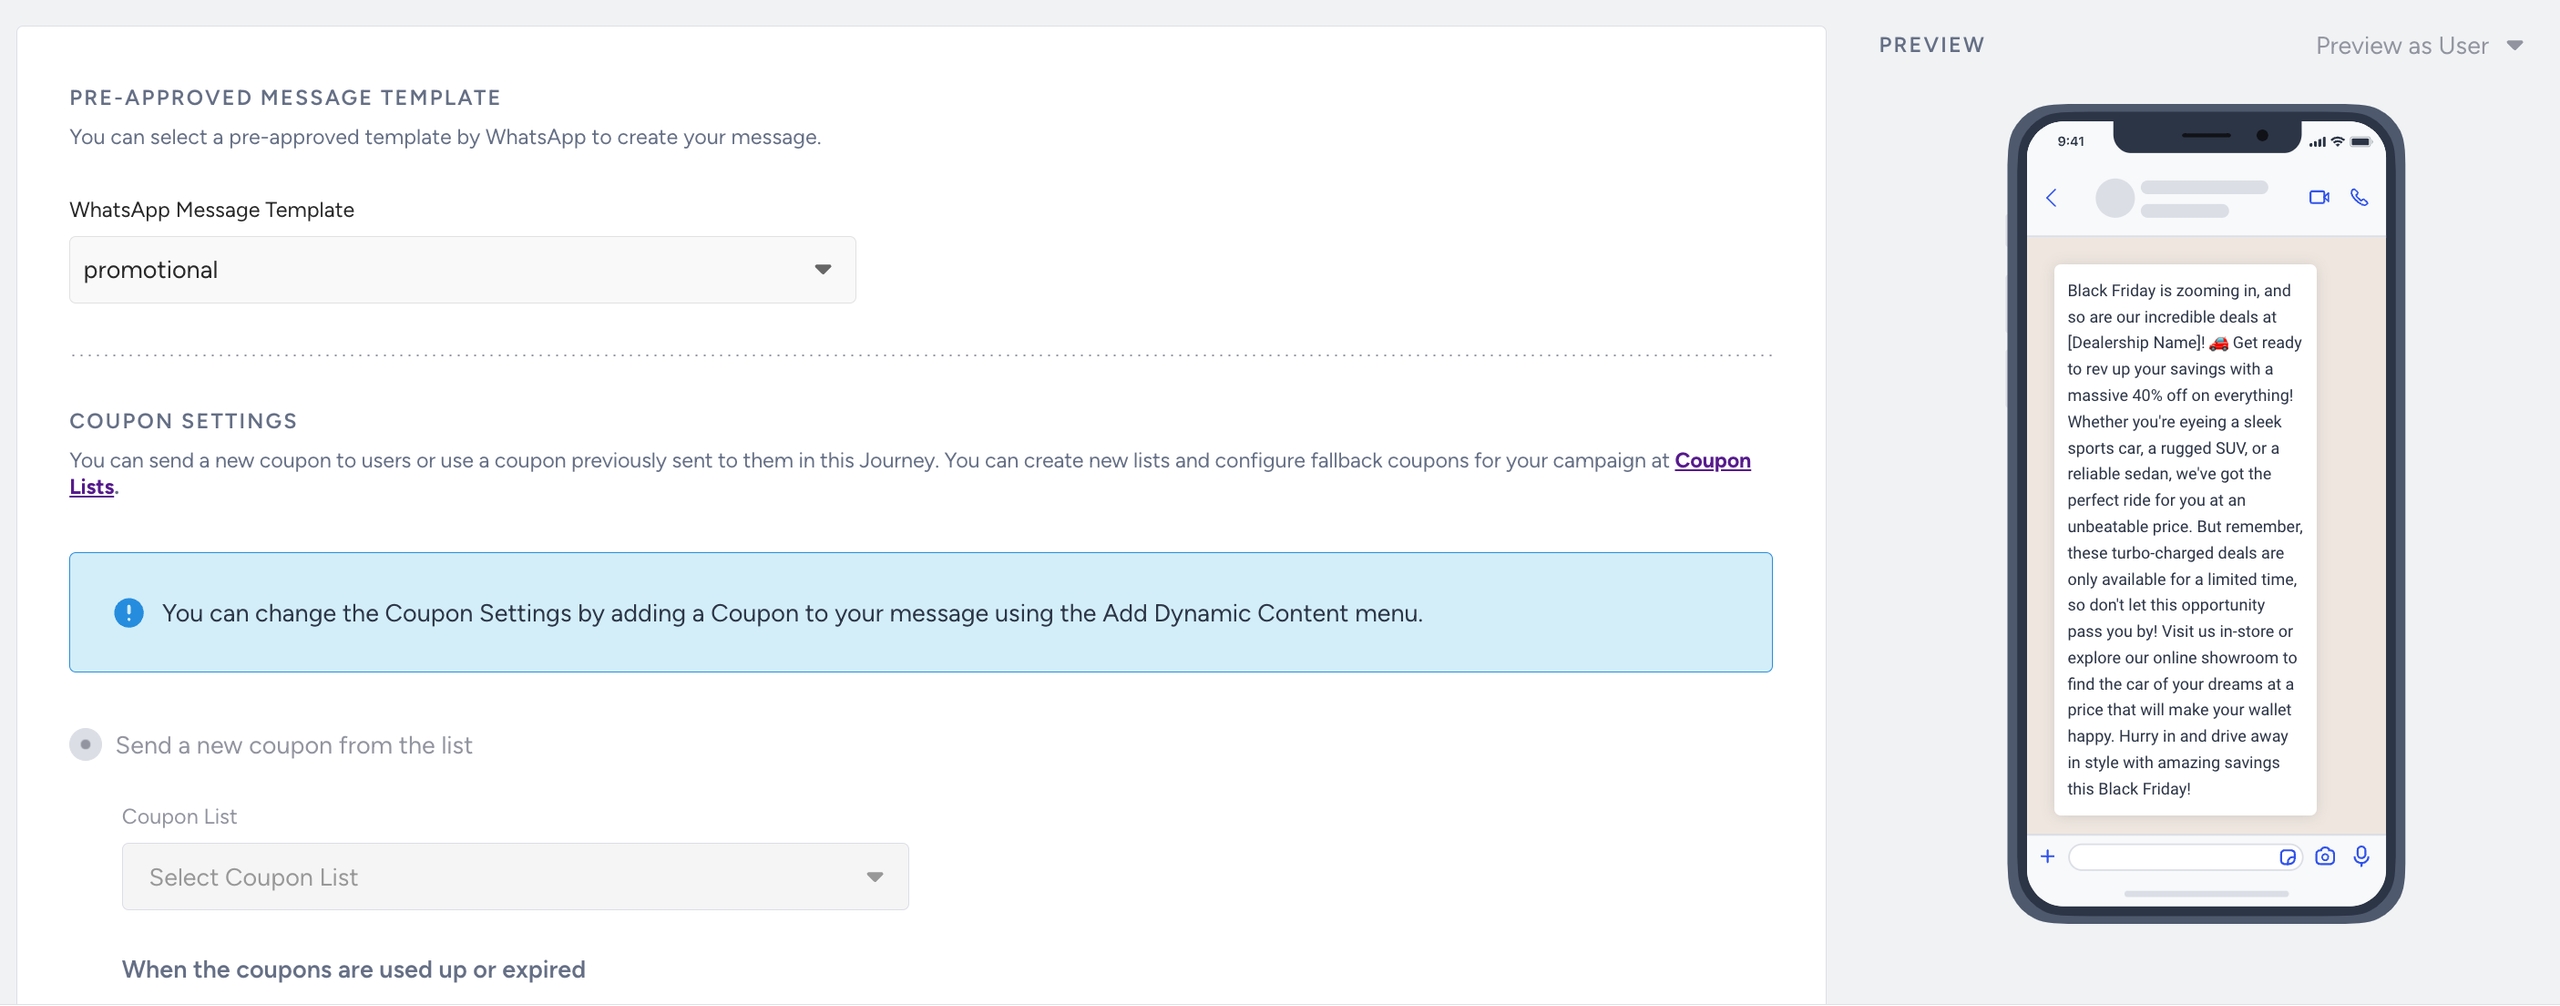
You can add coupon codes to the content by uploading a coupon list beforehand. You can send a new coupon or previously assigned one.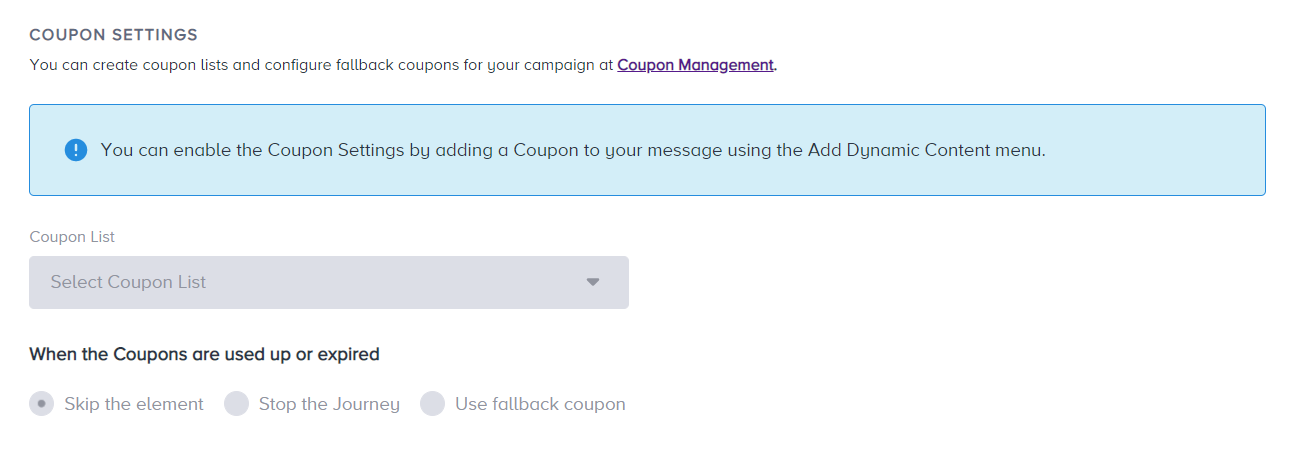
You can also set coupon reminders for your coupon lists. Refer to Coupon Usage Reminder for further details.
Using CTA buttons
In this step, you can also use templates with CTA buttons to increase CTR for your messages.
.png)
Your templates can contain a maximum of 2 CTA buttons. One of them is the “Visit website” and the other one is “Call phone number”.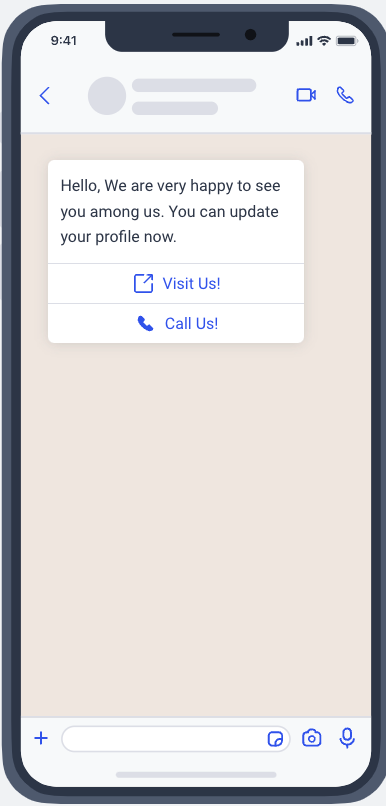
You cannot edit the phone number on Insider One's InOne panel. If you want to change it, contact the Insider One team. For the “visit website” CTA button, you can use both dynamic URL and custom URL.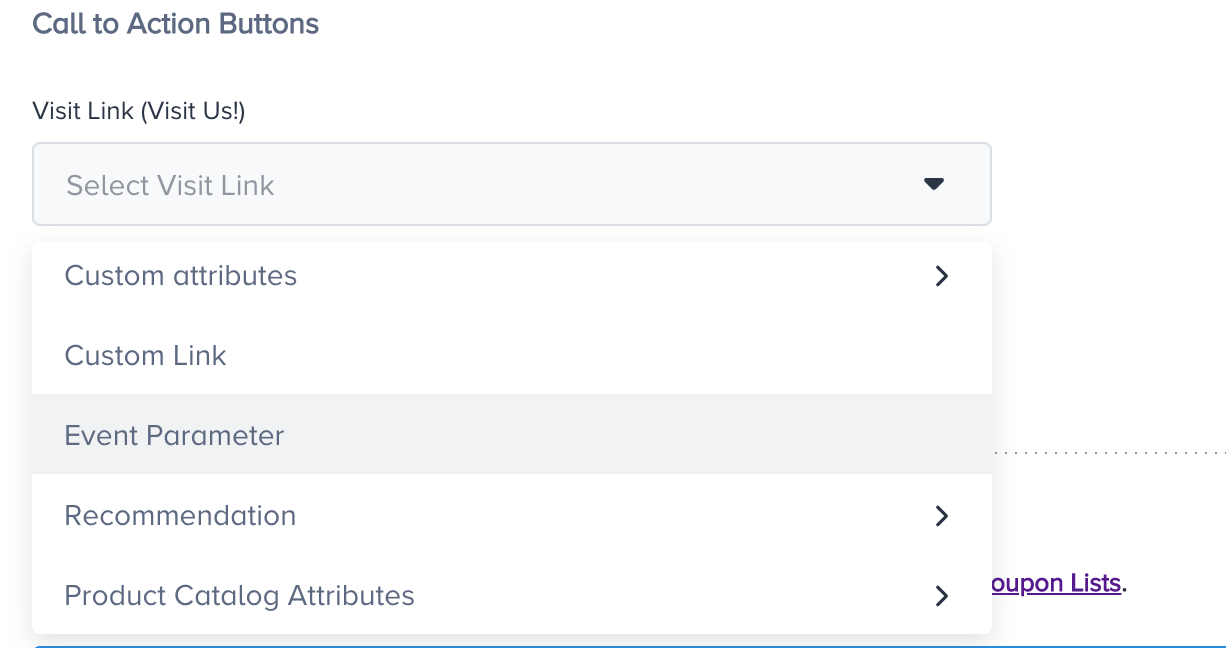
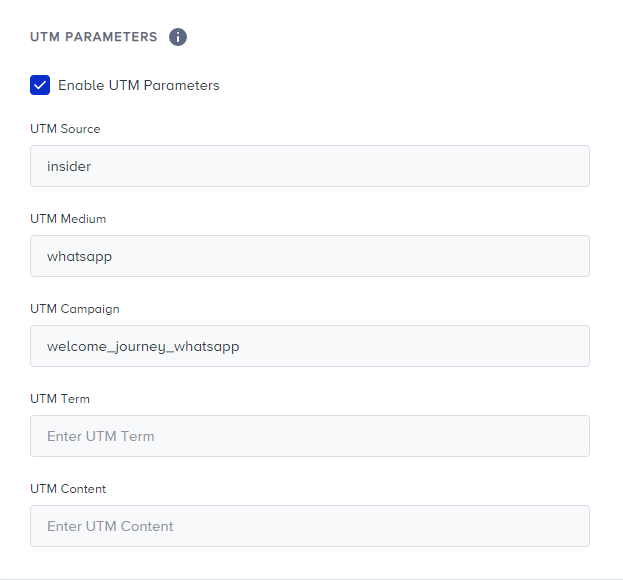
3. Configure UTM settings
Define your UTM parameters to track users' actions on your WhatsApp messages. UTM source, medium, and campaign are required fields and are automatically filled. If needed, you can also fill out the UTM term and content fields.
If you do not want to use UTM parameters or you already have added them manually to your message, you can uncheck the Enable UTM Parameters box.
4. Preview the content
You may preview your content for both Business Standard and Carousel templates with Promotional Message and Conversational Message.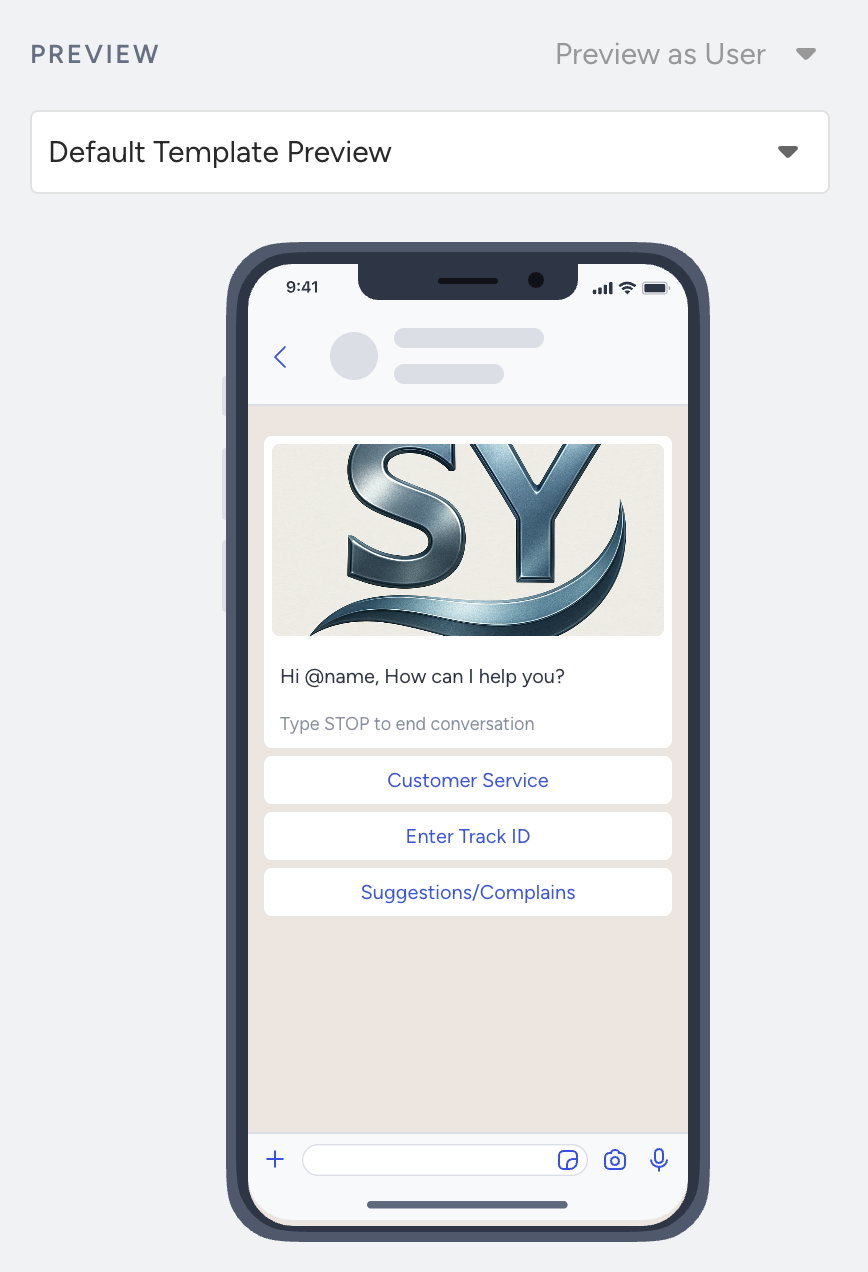
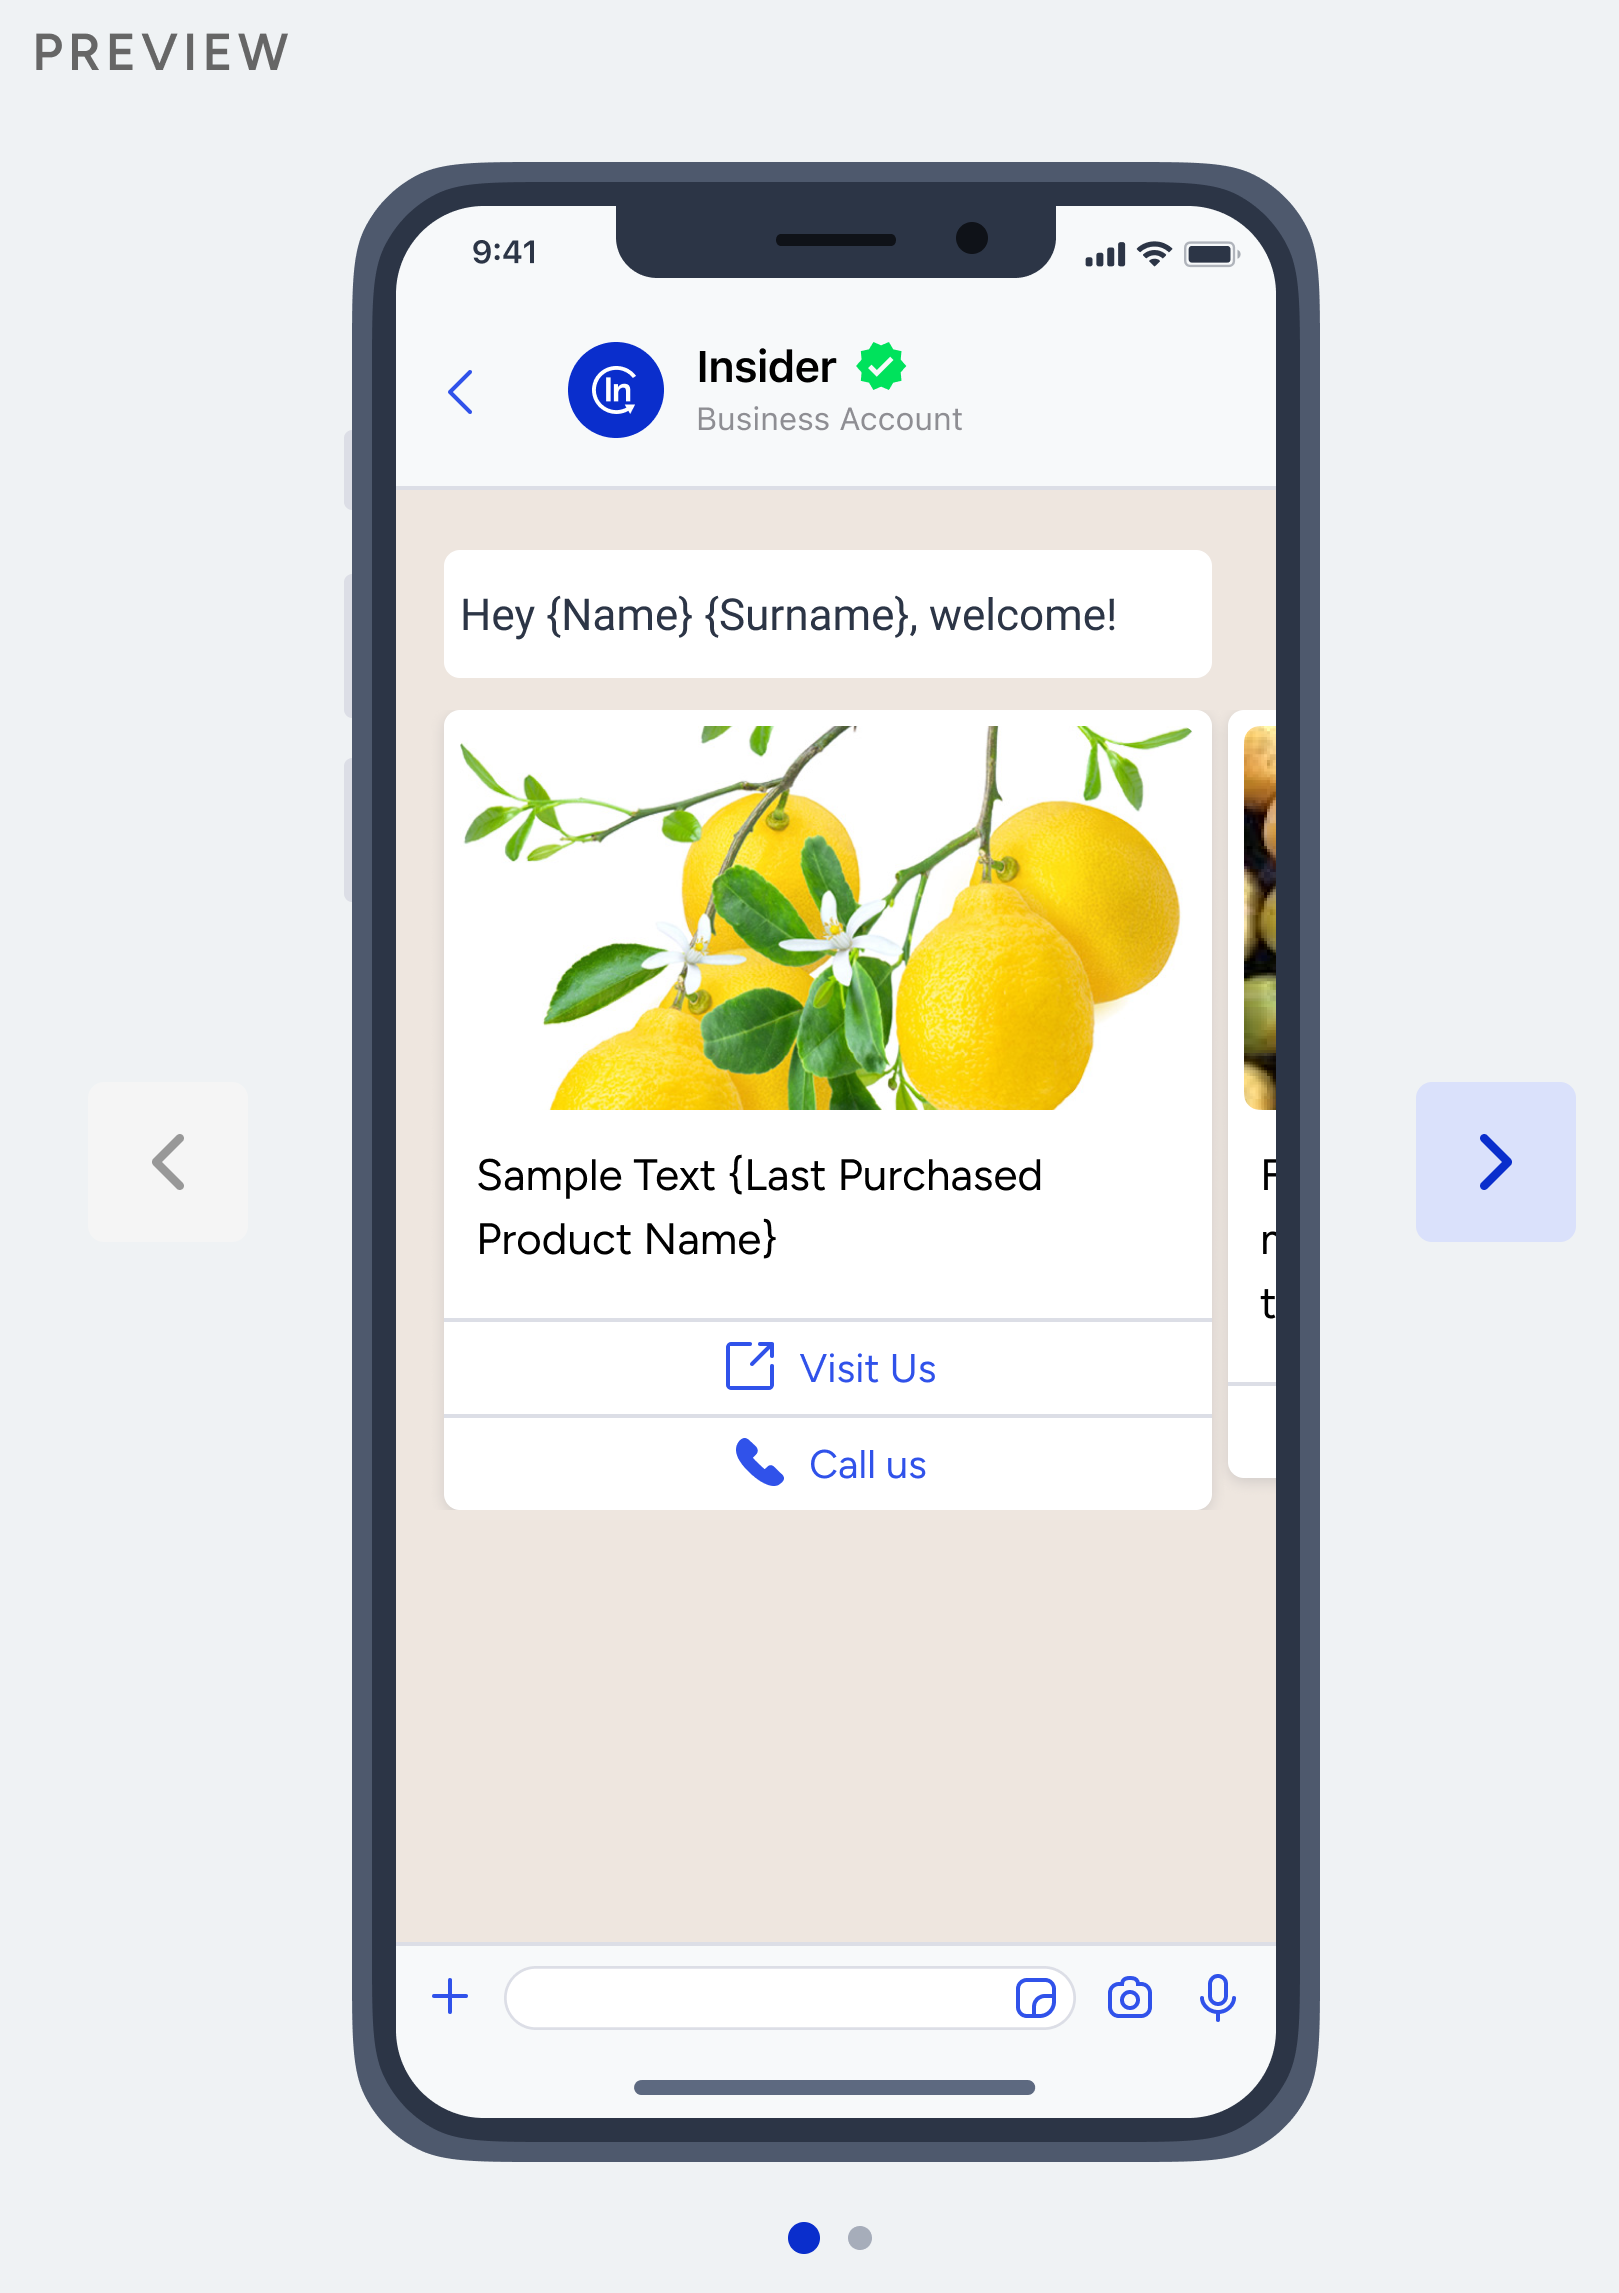
For the Promotional Message type, you can see the pre-registered template in the Preview section placed on the right side of the WhatsApp page.
.png)
For the Conversational Message type, you can see the pre-registered template, reply messages of the first response, second response, third response, and other responses by changing the selection on the Preview section placed on the right side of the WhatsApp page. For all these responses, you will see the header as exactly the same as the input texts in the buttons.
The First Response Option Preview will display the conversation of the positive response message.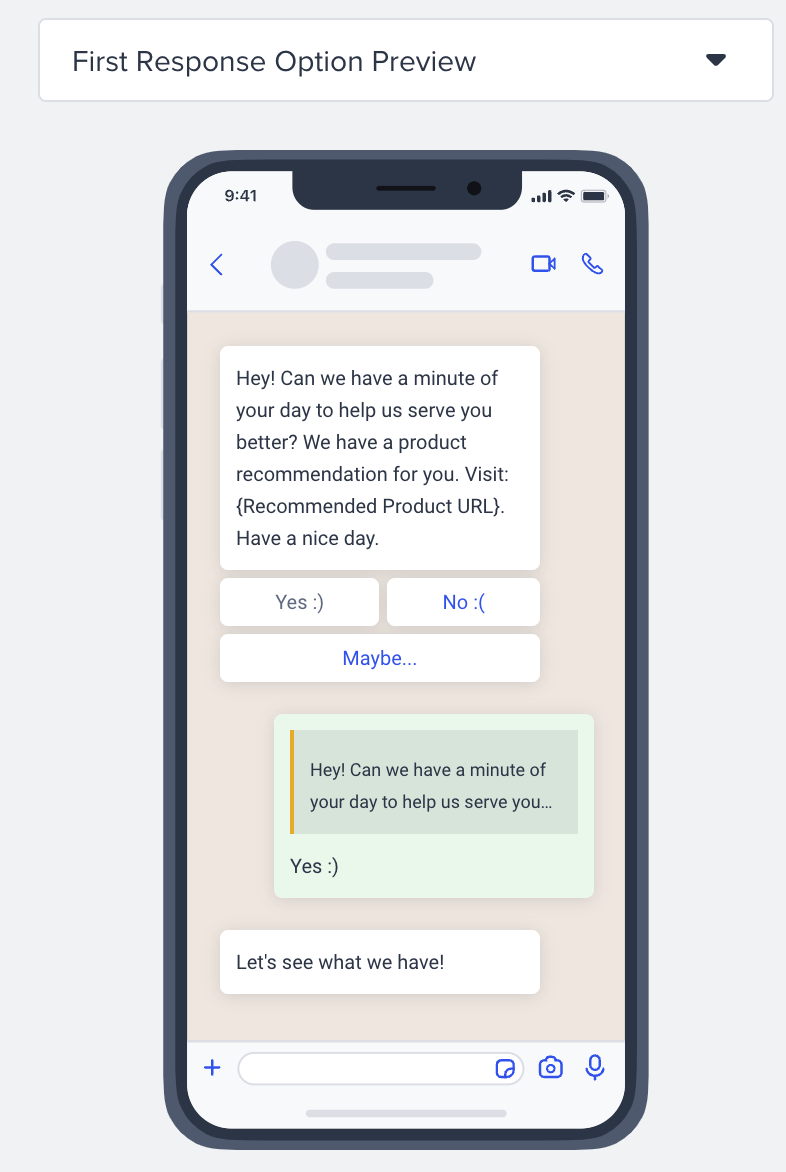
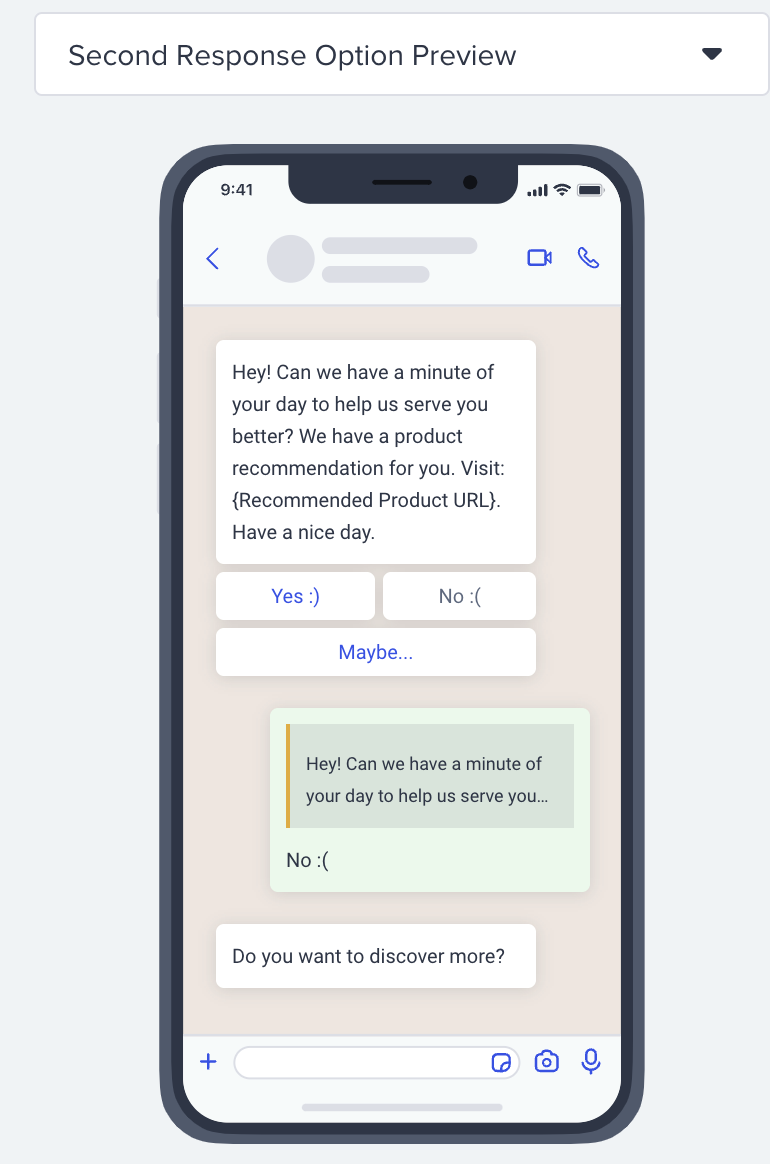
The Second Response Option Preview will display the conversation of the negative response message.
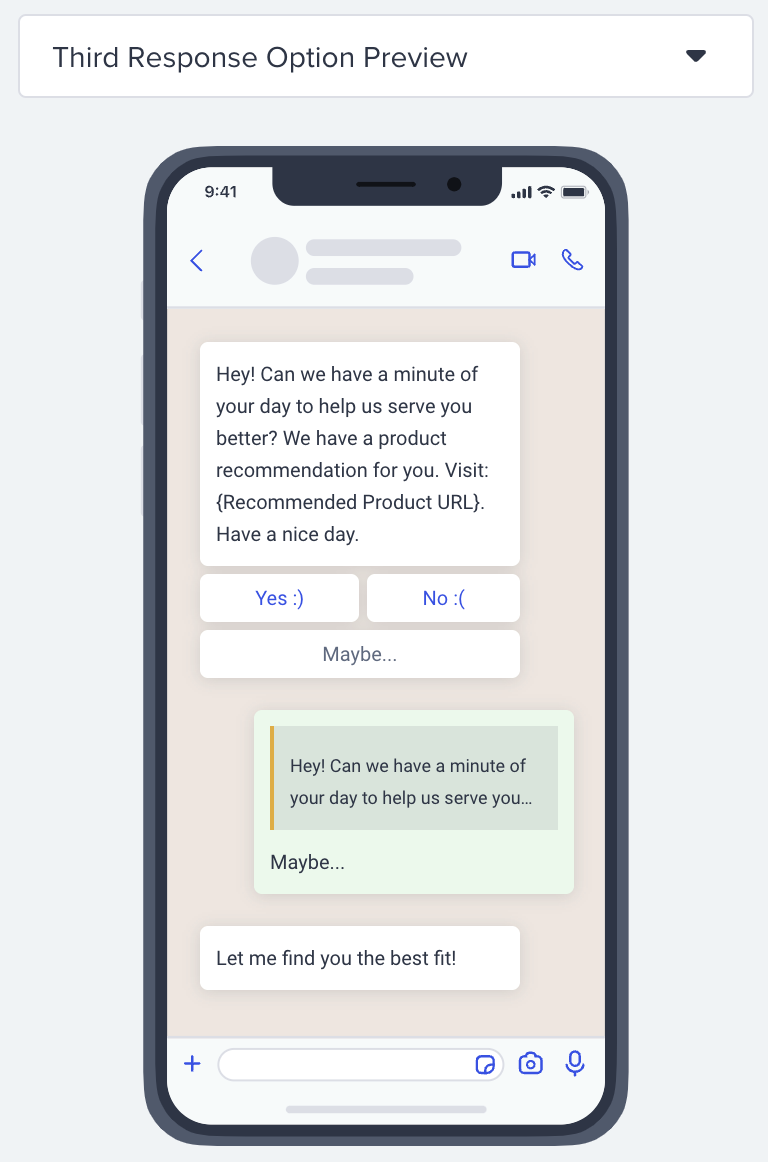
The Third Response Option Preview will display the conversation of the negative response message.
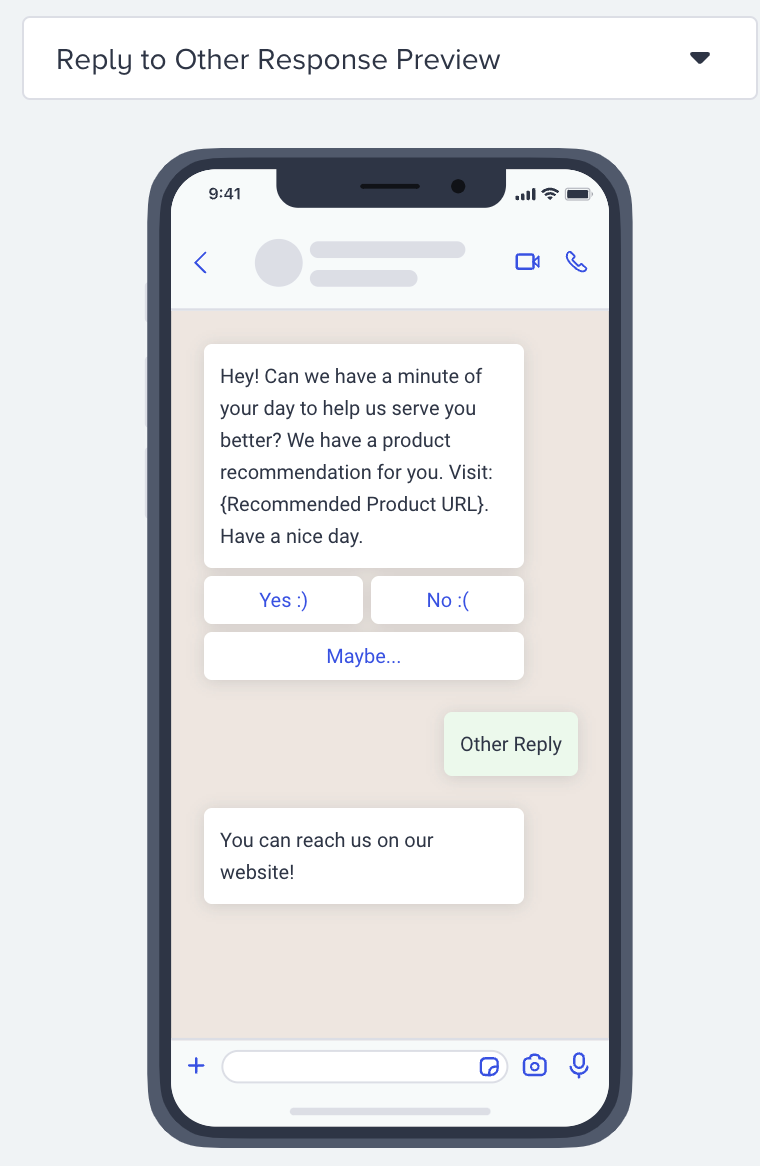
The Reply to Other Response Preview will display the conversation of the other response message.
5. Enable send time optimization
You can optimize the time to deliver your messages to the end-users. It helps you engage your users more effectively and draw their attention when they are most likely to interact with your messages.

If you set Channel Global Frequency Capping before, when you enable Send Time Optimization, Bypass Channel Frequency Capping will be automatically enabled.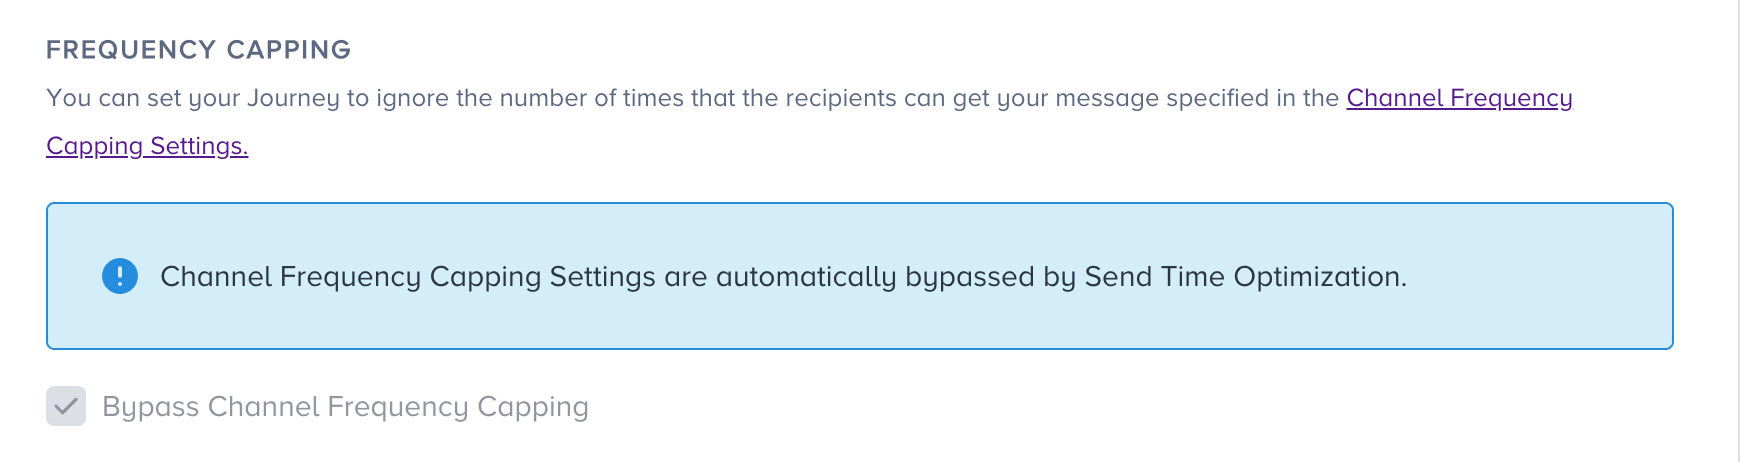
6. Bypass Channel Frequency Capping
Insider provides sending WhatsApp messages out from the single WhatsApp campaigns as well as from Architect. Since the risk of getting too many messages is getting higher for the subscribers, it might lead unsubscribing from your brand. With the WhatsApp Frequency Capping, you can limit the number of messages a user can receive in a specified period such as sending a maximum of 5 messages to a user in one day.
Architect enables you to bypass the WhatsApp Channel Frequency Capping if you have configured any.
Journeys are for real-time cases and they require users to receive notifications based on their actions. Therefore, you may want to override the channel frequency capping you set for your WhatsApp.

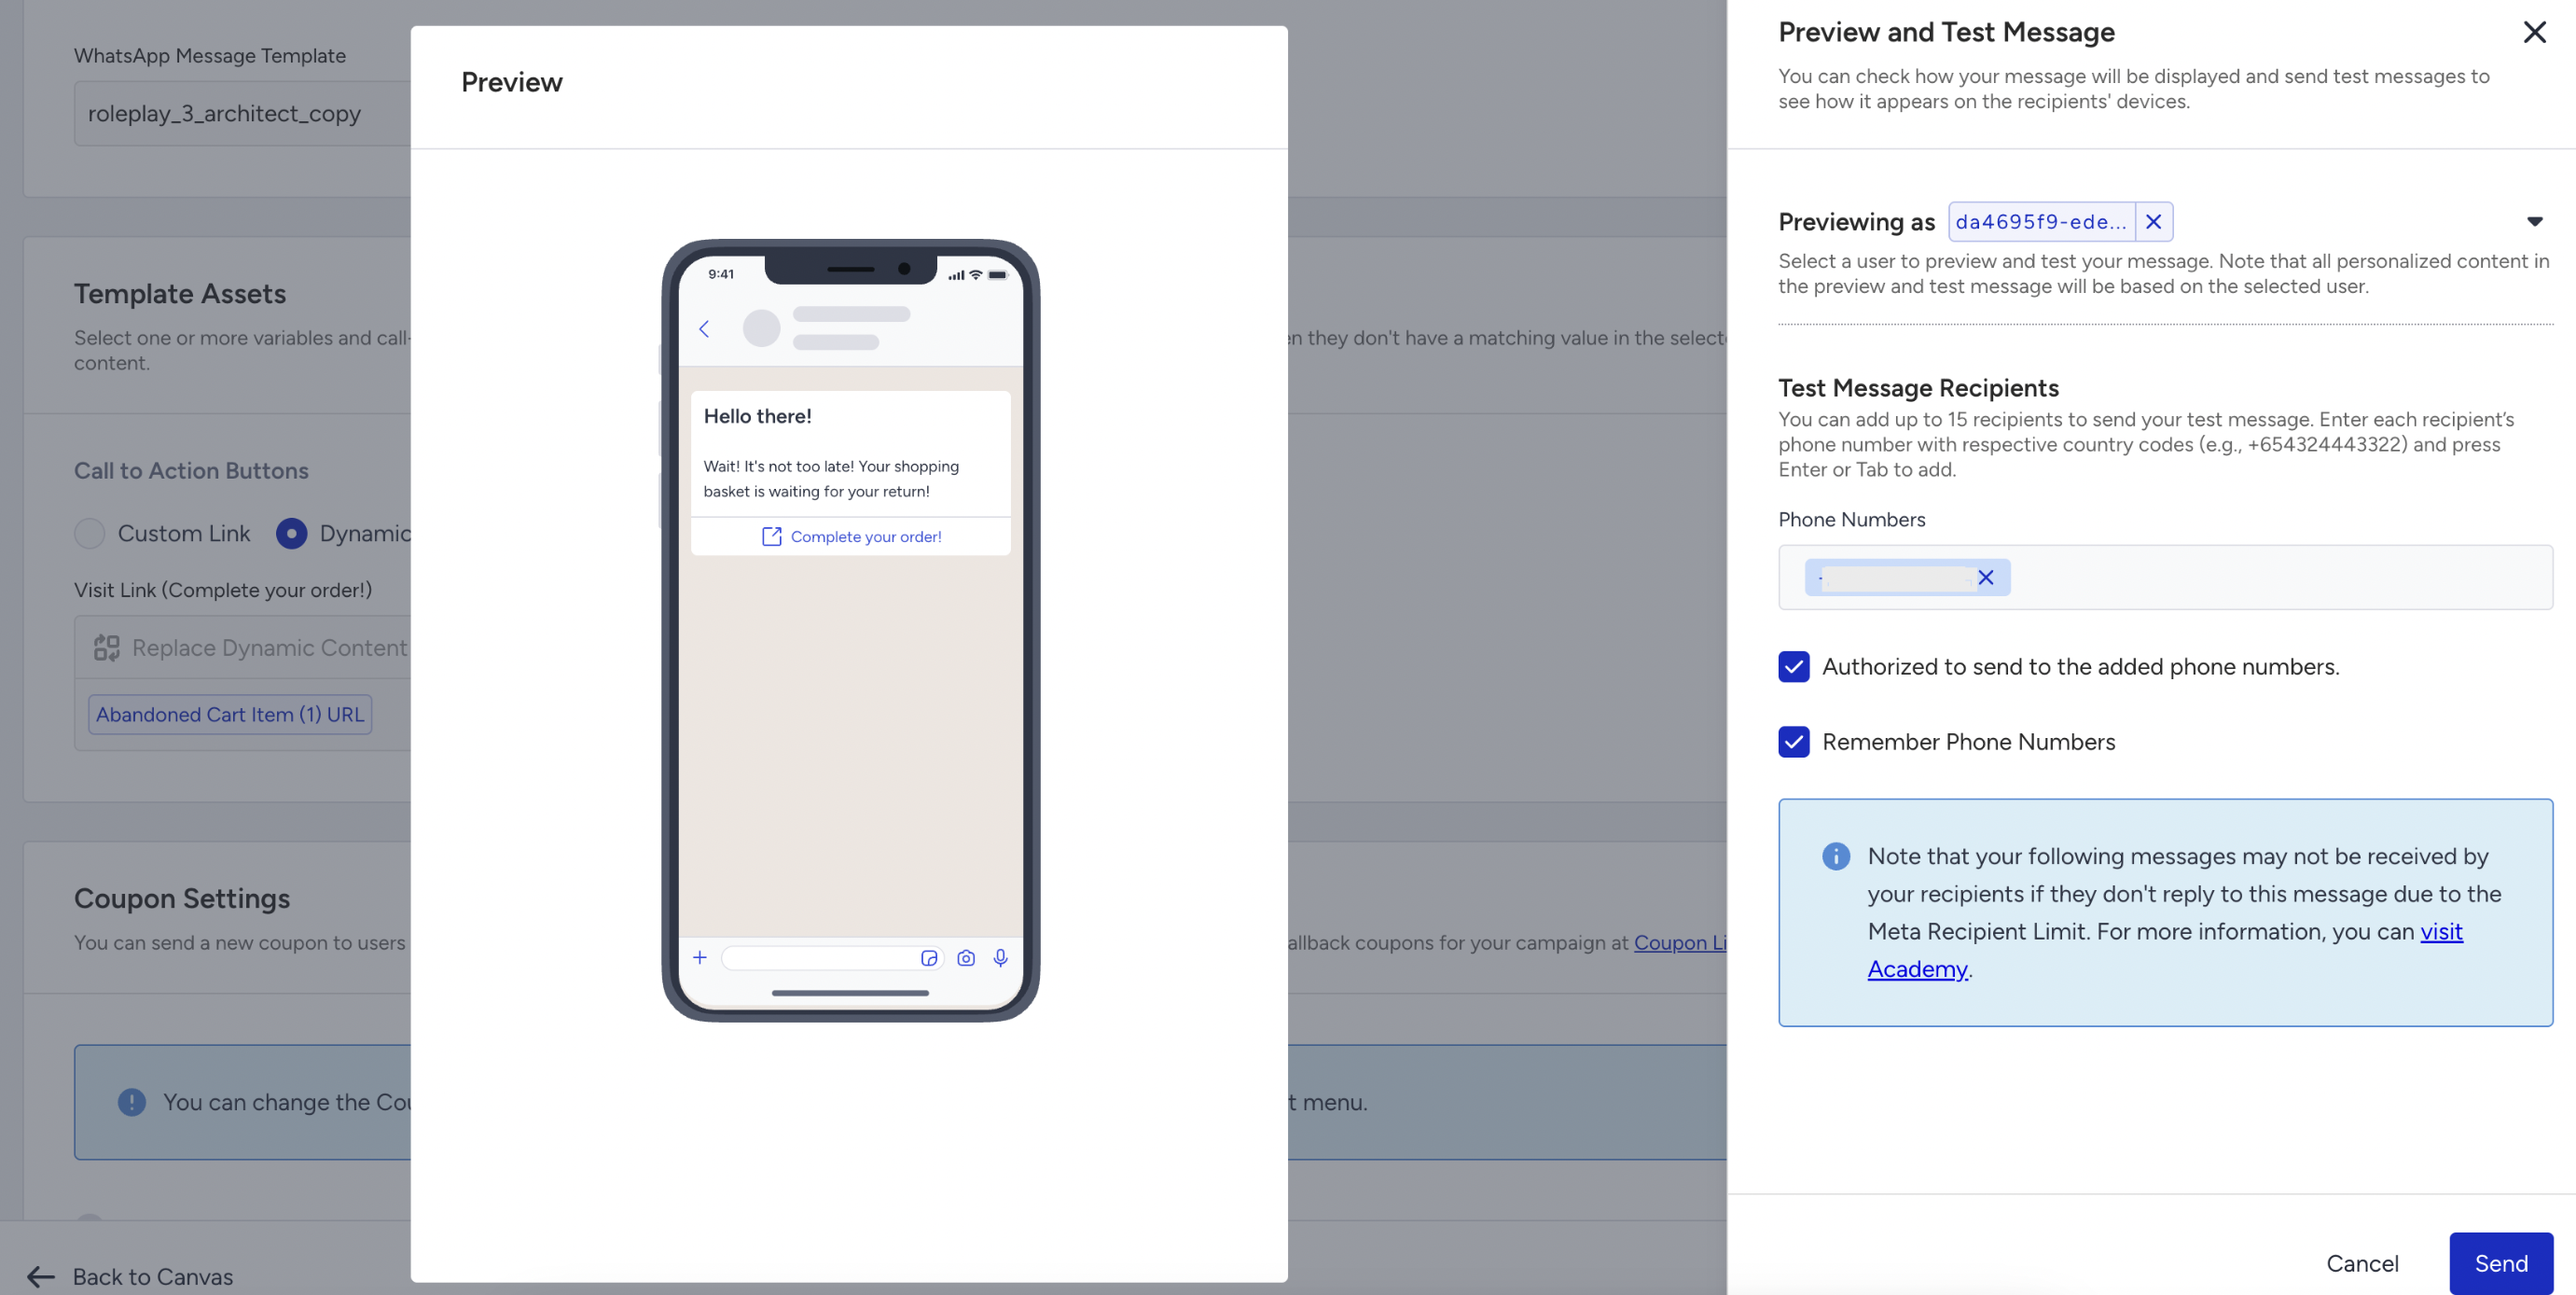
7. Preview as a user and test your message
Before sending out a WhatsApp message to your users, you should always test it to see how your sender address, subject line, pre-header, and design look.
You can preview your email as a user and send it to your device by clicking the Preview and Test Message button at the bottom-right corner of the page. This allows you to see how your message will appear to end users while your journey is live.
When previewing your message as a user, clicking the Send button delivers the message exactly as the user would receive it, with dynamic content replaced by real values. If no specific user is selected for preview, dynamic content is populated using the test device owner’s values, provided they exist.
8. Set time out
When users receive conversational messages on their WhatsApp, the expected behavior is to click a button or respond to the message. In case they do not interact with the message, you can keep these users on hold for a specified duration and decide the next step if they still do not interact with it:
- Proceed to the next step: Users will proceed to the next element. If there is no next element, they will complete the journey.
- Drop from the journey: Users will drop from the journey and be counted as dropped.

9. Enable URL shortener
To shorten the URLs in your message, check the Enable Short URLs box.

10. Rename Channel Name
Channel Name is generated by default based on journey name and channel type. You can rename it at the top right corner if you want to give it a different name..png)
11. Save WhatsApp Element
After configuring WhatsApp settings, you can save the page.
Live Actions & User Interactions
Live Actions
You can keep users in the flow until they have clicked or replied to the message. To use this live-action, you can select “On Reply” or “On Click” actions right after the WhatsApp element. The default action is “On Send”. You do not need to set any if you do not want to use this feature.
The user will remain in the journey unless they reply or click the WhatsApp message for the timeout period you set in the channel, or you change the journey status to passive.
In case you have more than one link in your message, the users proceed to the next step if they click any of them.

In this case, set the Live Action to “On Reply.” This ensures that users proceed to the next element immediately after replying to your message.
In the Timeout section on the inner page, set the duration to 2 hours and select the timeout action as “Proceed to the next step.” This configuration waits up to 2 hours for a reply; if no reply is received within that time, the user automatically continues their journey.
User Interactions
After the WhatsApp element, you can take another action and branch your flow based on user interactions on the WhatsApp message after a while.