Suggested readings: AMP for Emails, AMP Registration Form, AMP Accordion for Emails, AMP Form for Emails
You can build AMP carousels without opening the HTML code editor. Each carousel slide shows recipients your products from different angles or the newest items from your collection. And each slide, when clicked, takes recipients to the corresponding pages on your website. This is a good way to enliven your emails, interact better with your audience, and make them more functional.
With the AMP-carousel:
- You do not need to add any AMP HTML code elements to the email header.
- No coding skills required, you use an already prepared element.
- You can save time. Simply insert the links to your images into this content module!
- For every image in your AMP carousel, you can set links that take readers to the corresponding pages on your website.
This guide answers the following questions with detailed instructions:
- How can I build the AMP carousel?
- How can I build the AMP carousel with description and buttons?
- How can I preview the AMP carousel?
Build AMP Carousel

To create an email with the AMP Carousel as above, follow these steps:
1. Drag the AMP-carousel block into the HTML email template you are working with.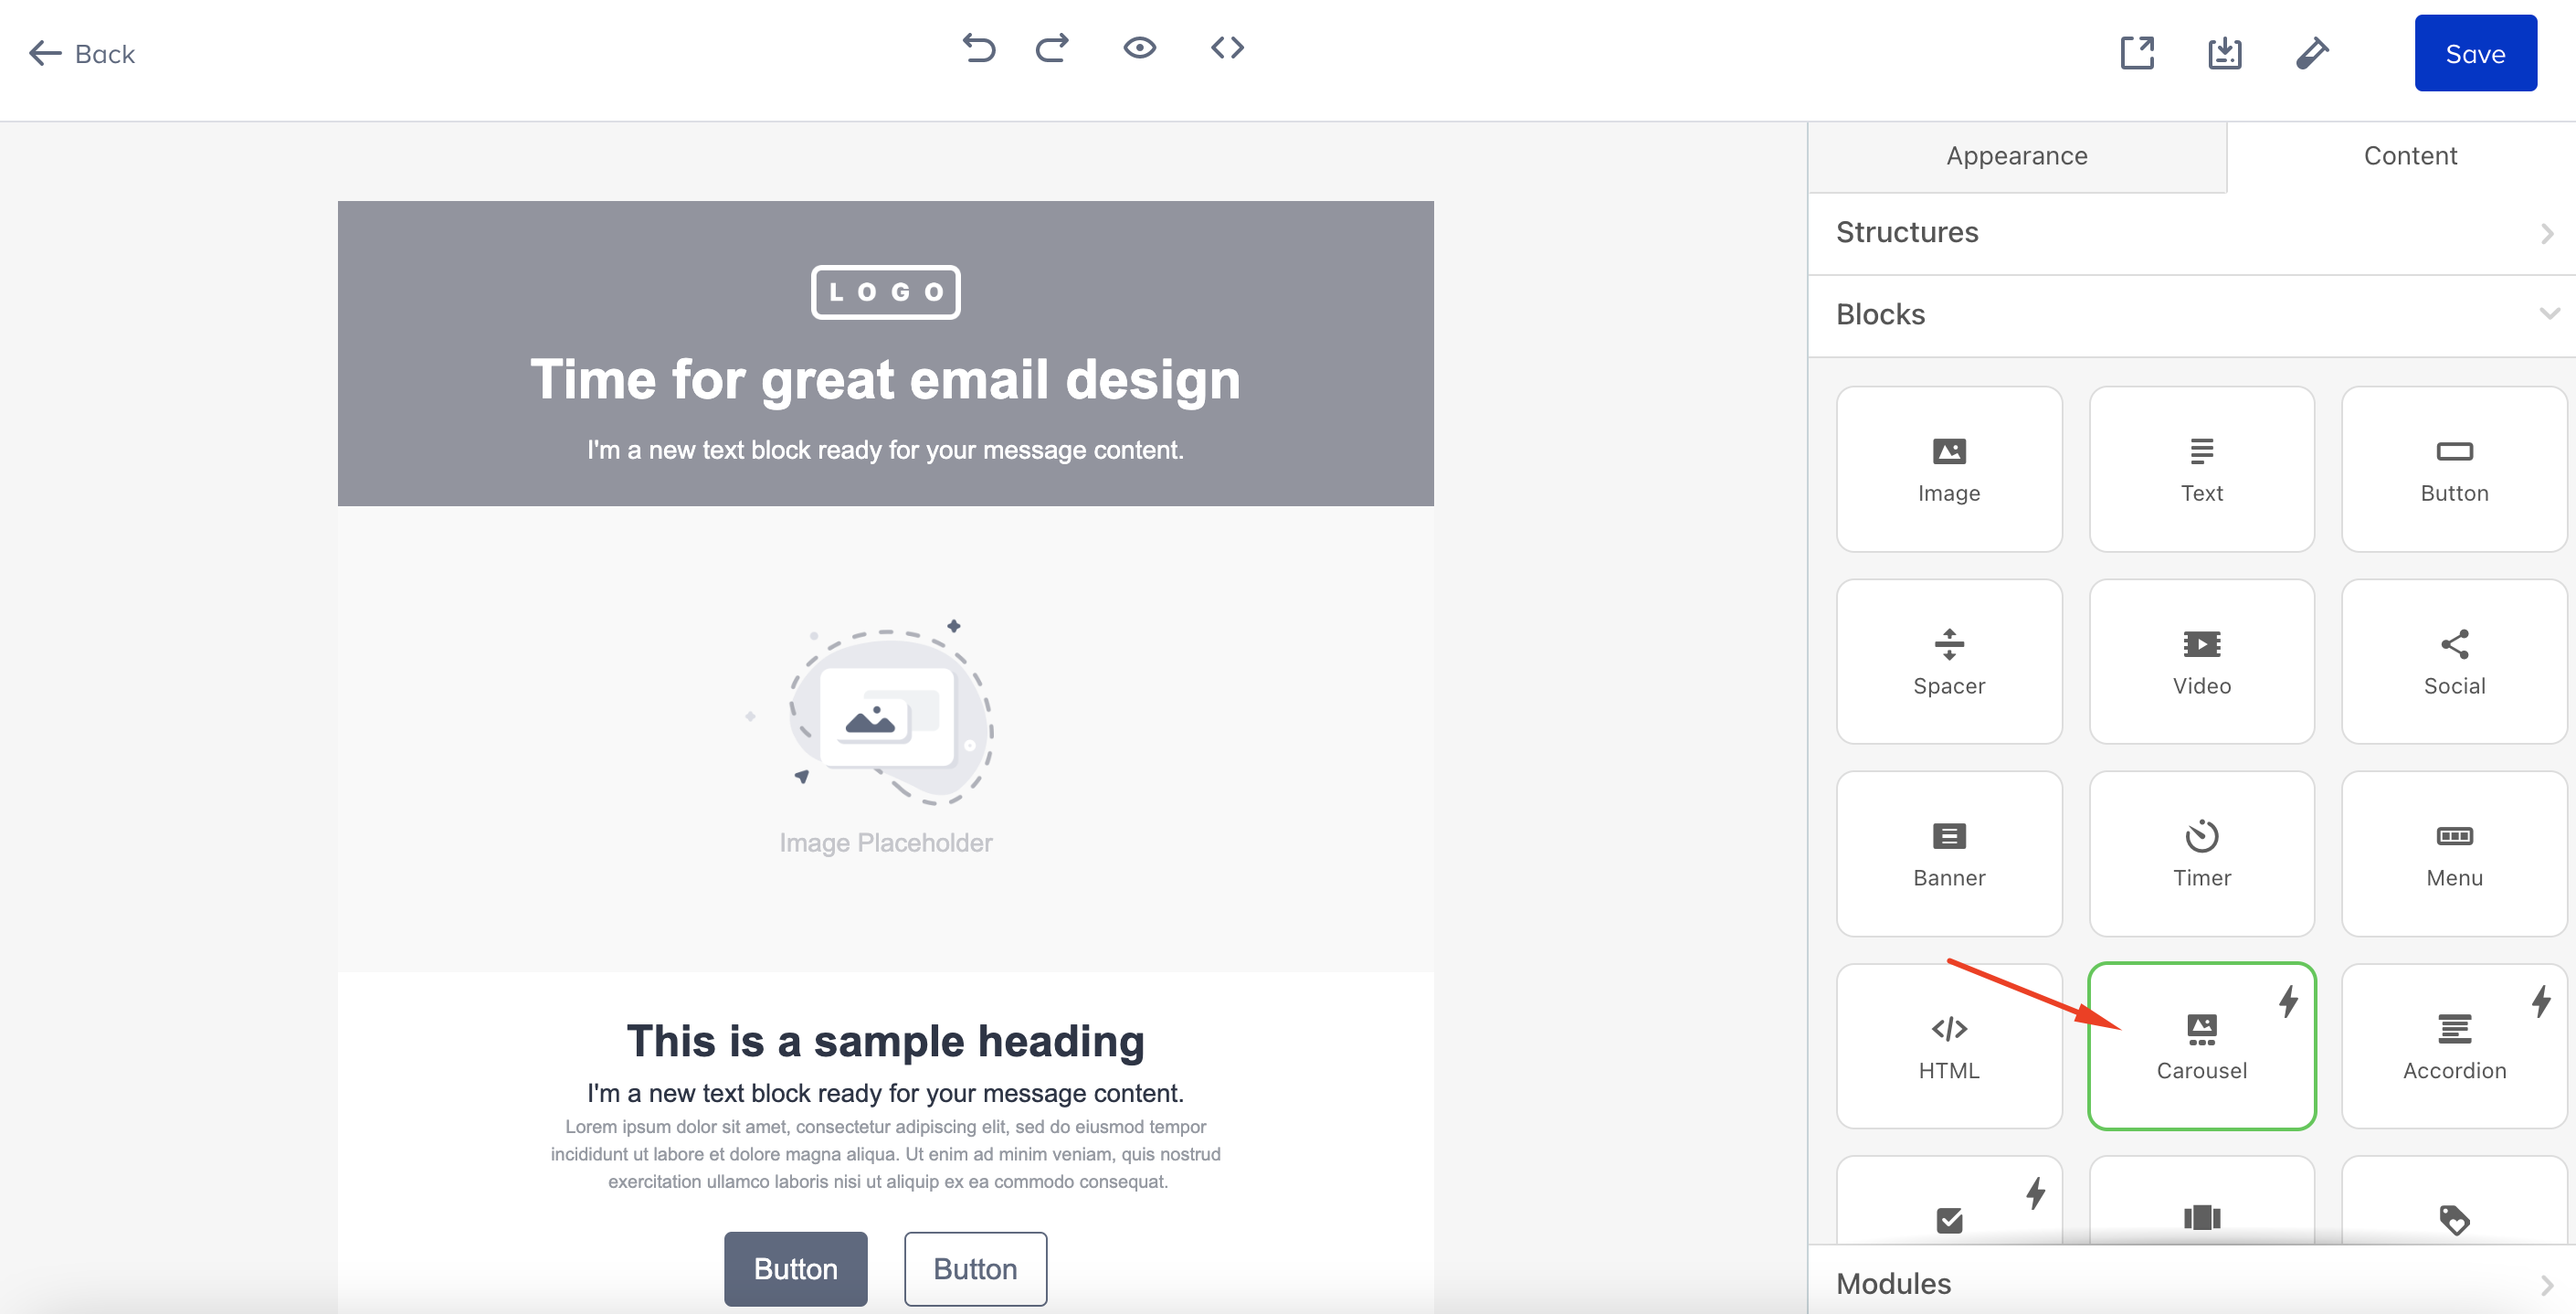
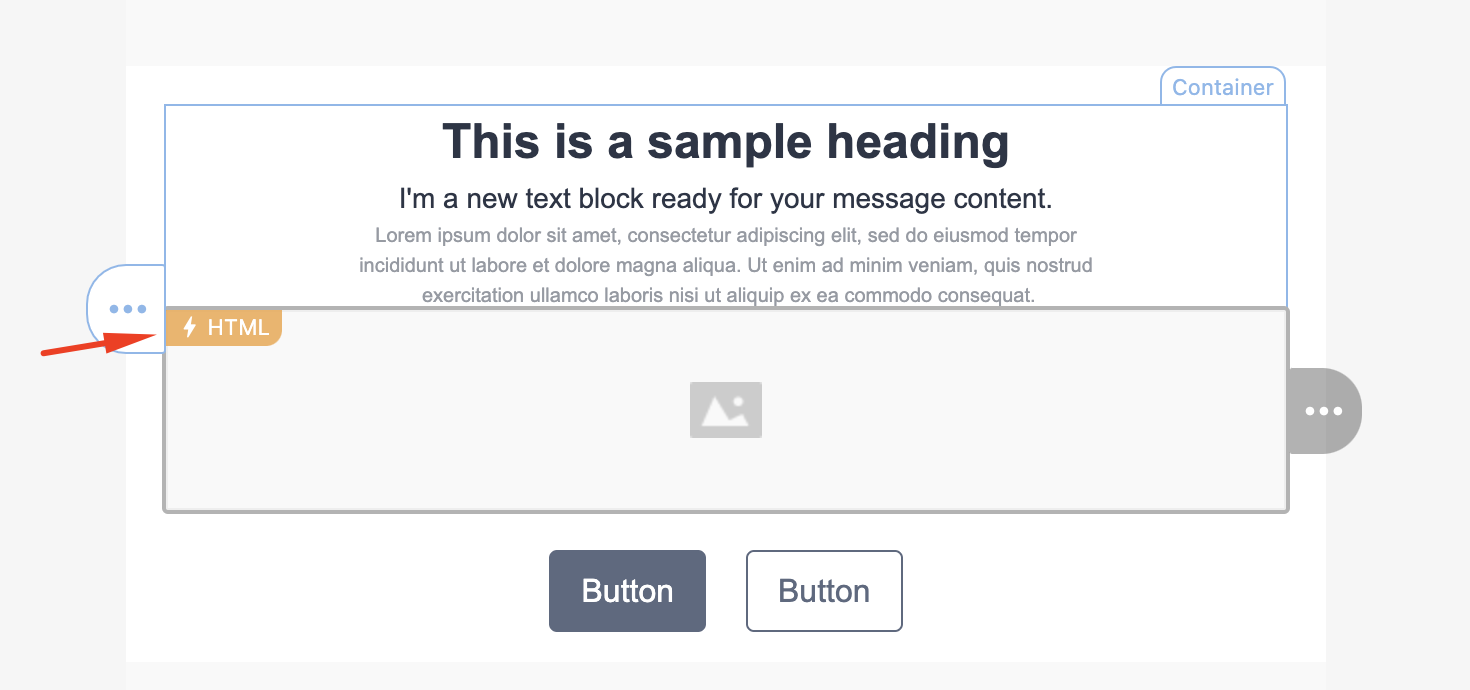
2. You will see that this element will have the “⚡HTML” sign near it. This means, this element will be shown in AMP emails only and will be hidden in email clients that do not support AMP.
3. Upload image 1 for your slide and enter an ALT text. Then paste a link to the respective product item.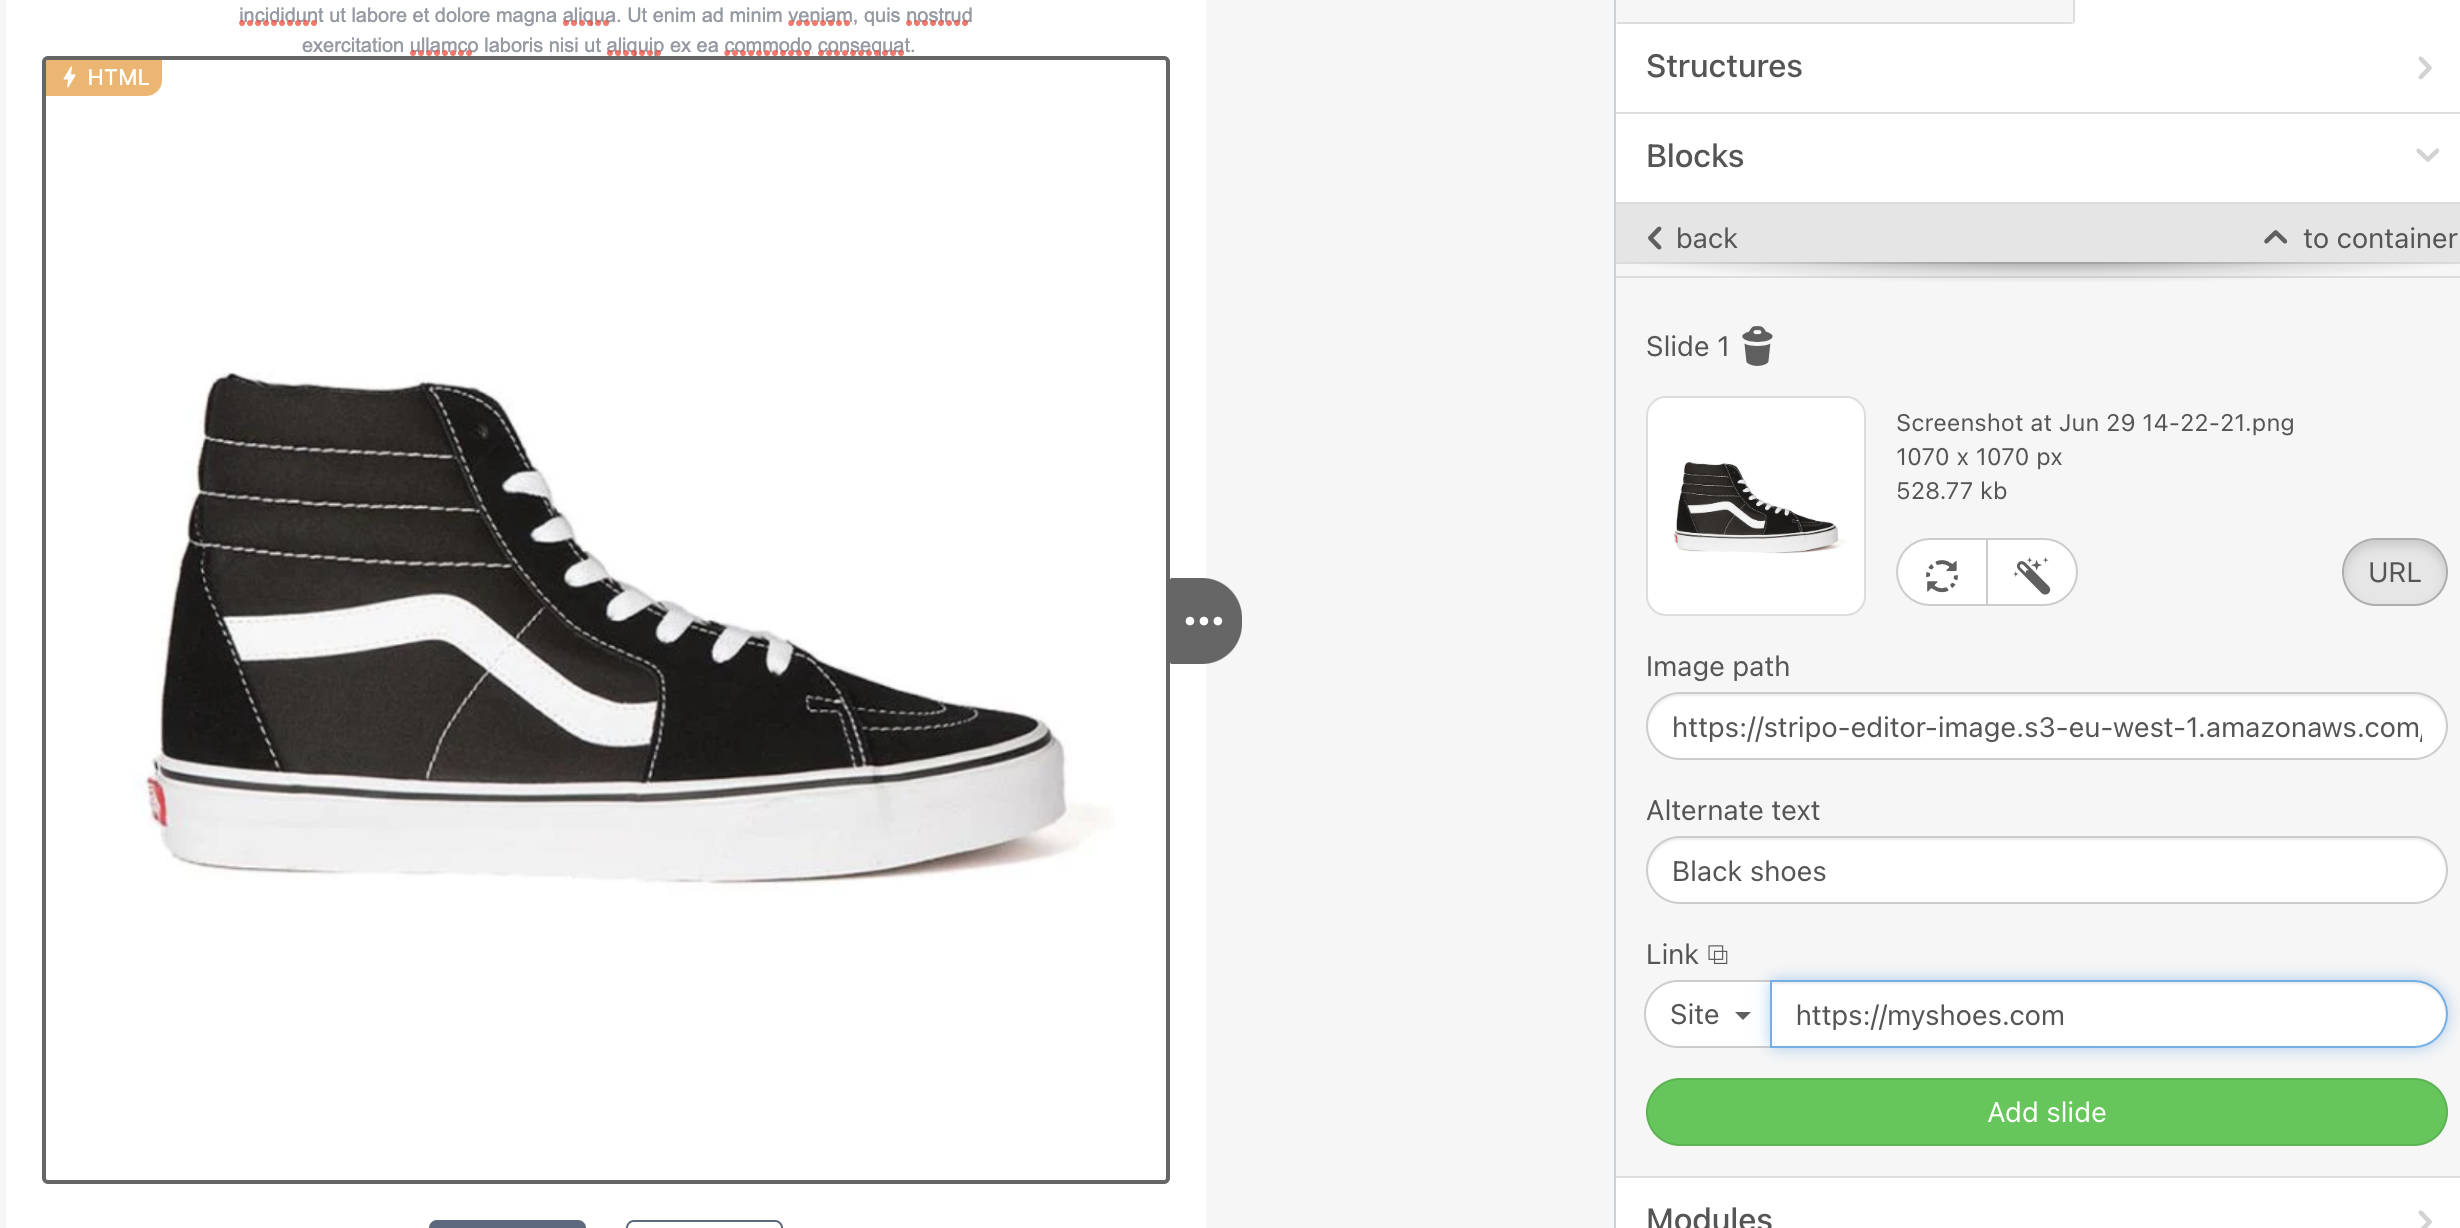
4. Click the Add slide button.
5. Apply the same to the other images that you upload.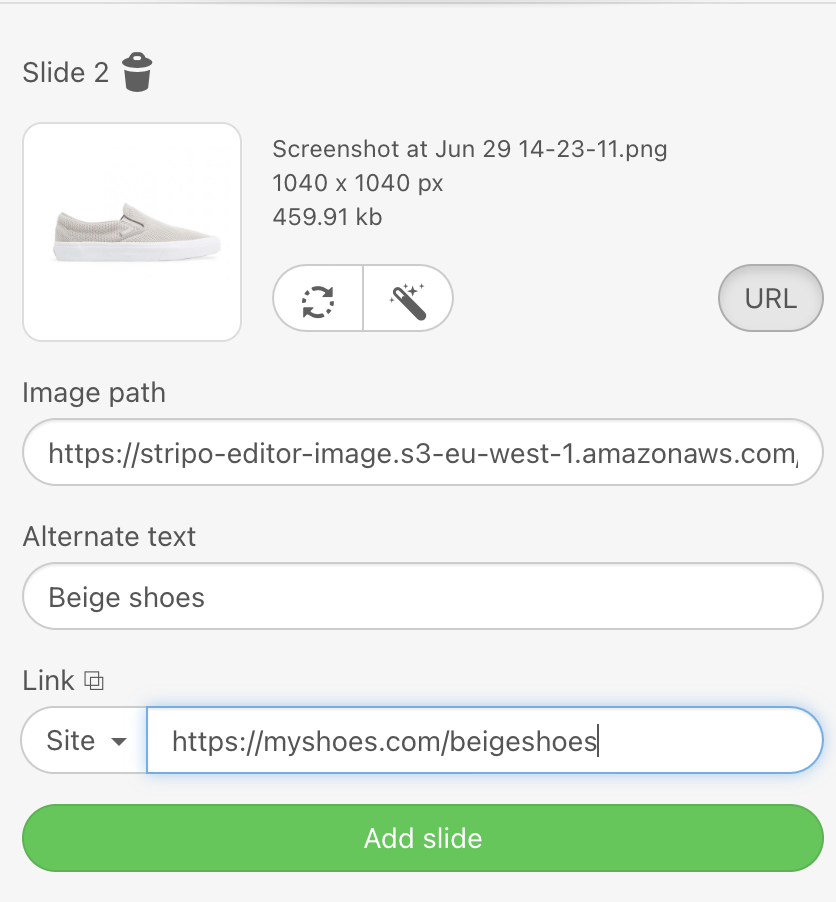
6. Double-click it to see the settings. You can enable/display Autoplay and Loop features to automatically show the images in each slide in a loop. If you want to show little preview images, toggle the Display Preview.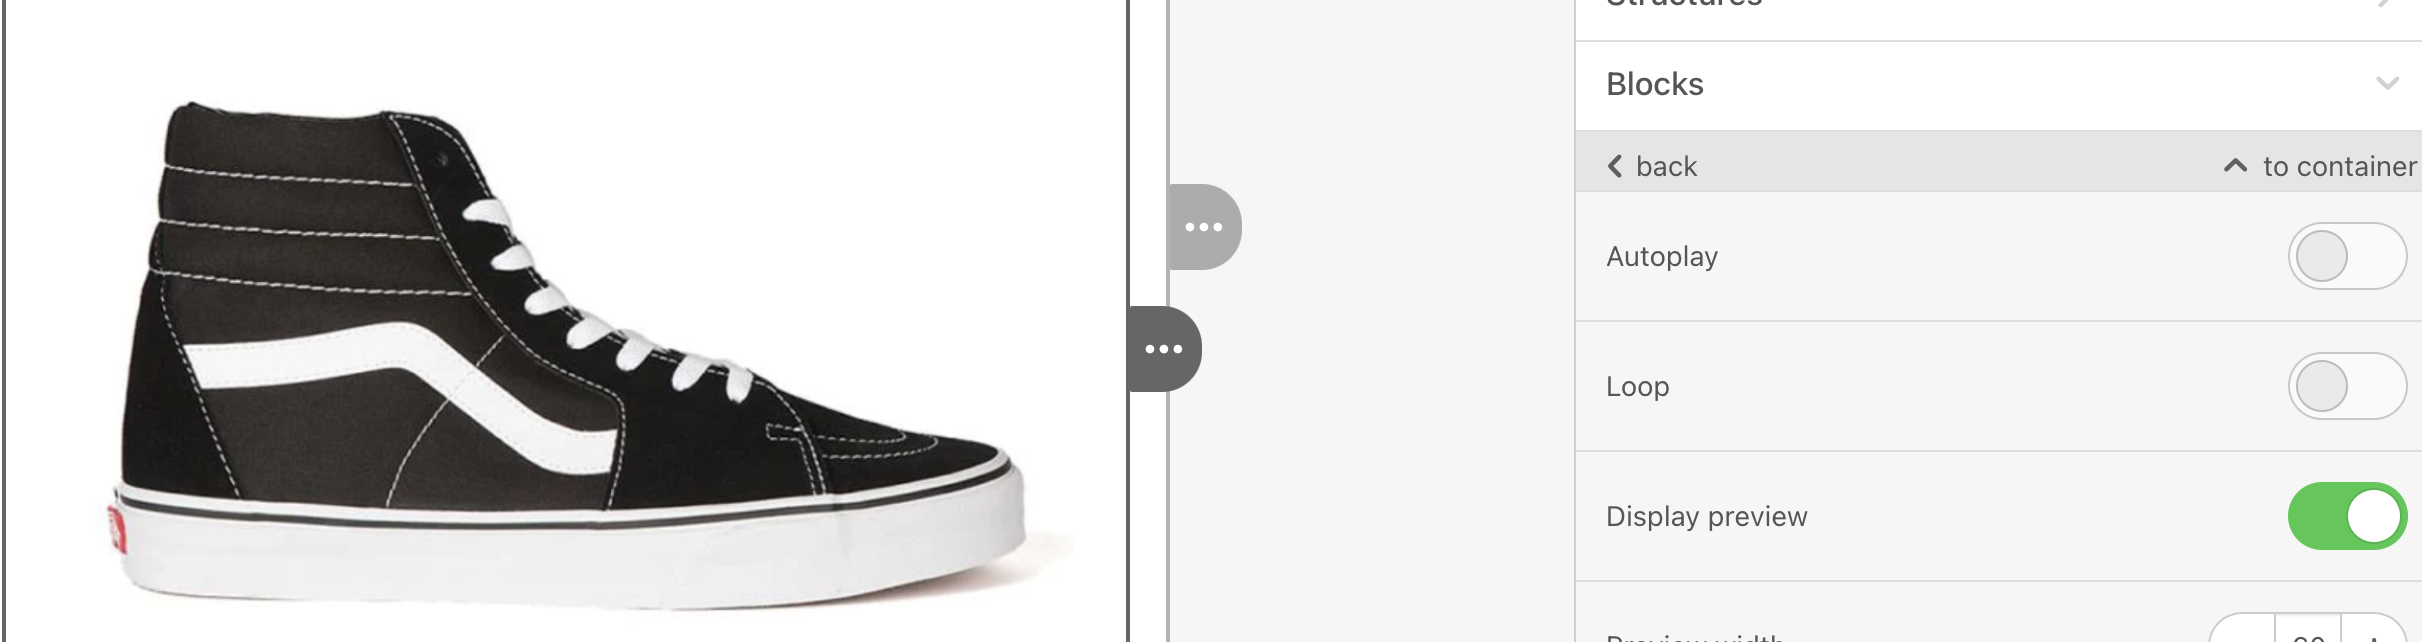
7. Set the width for these preview images.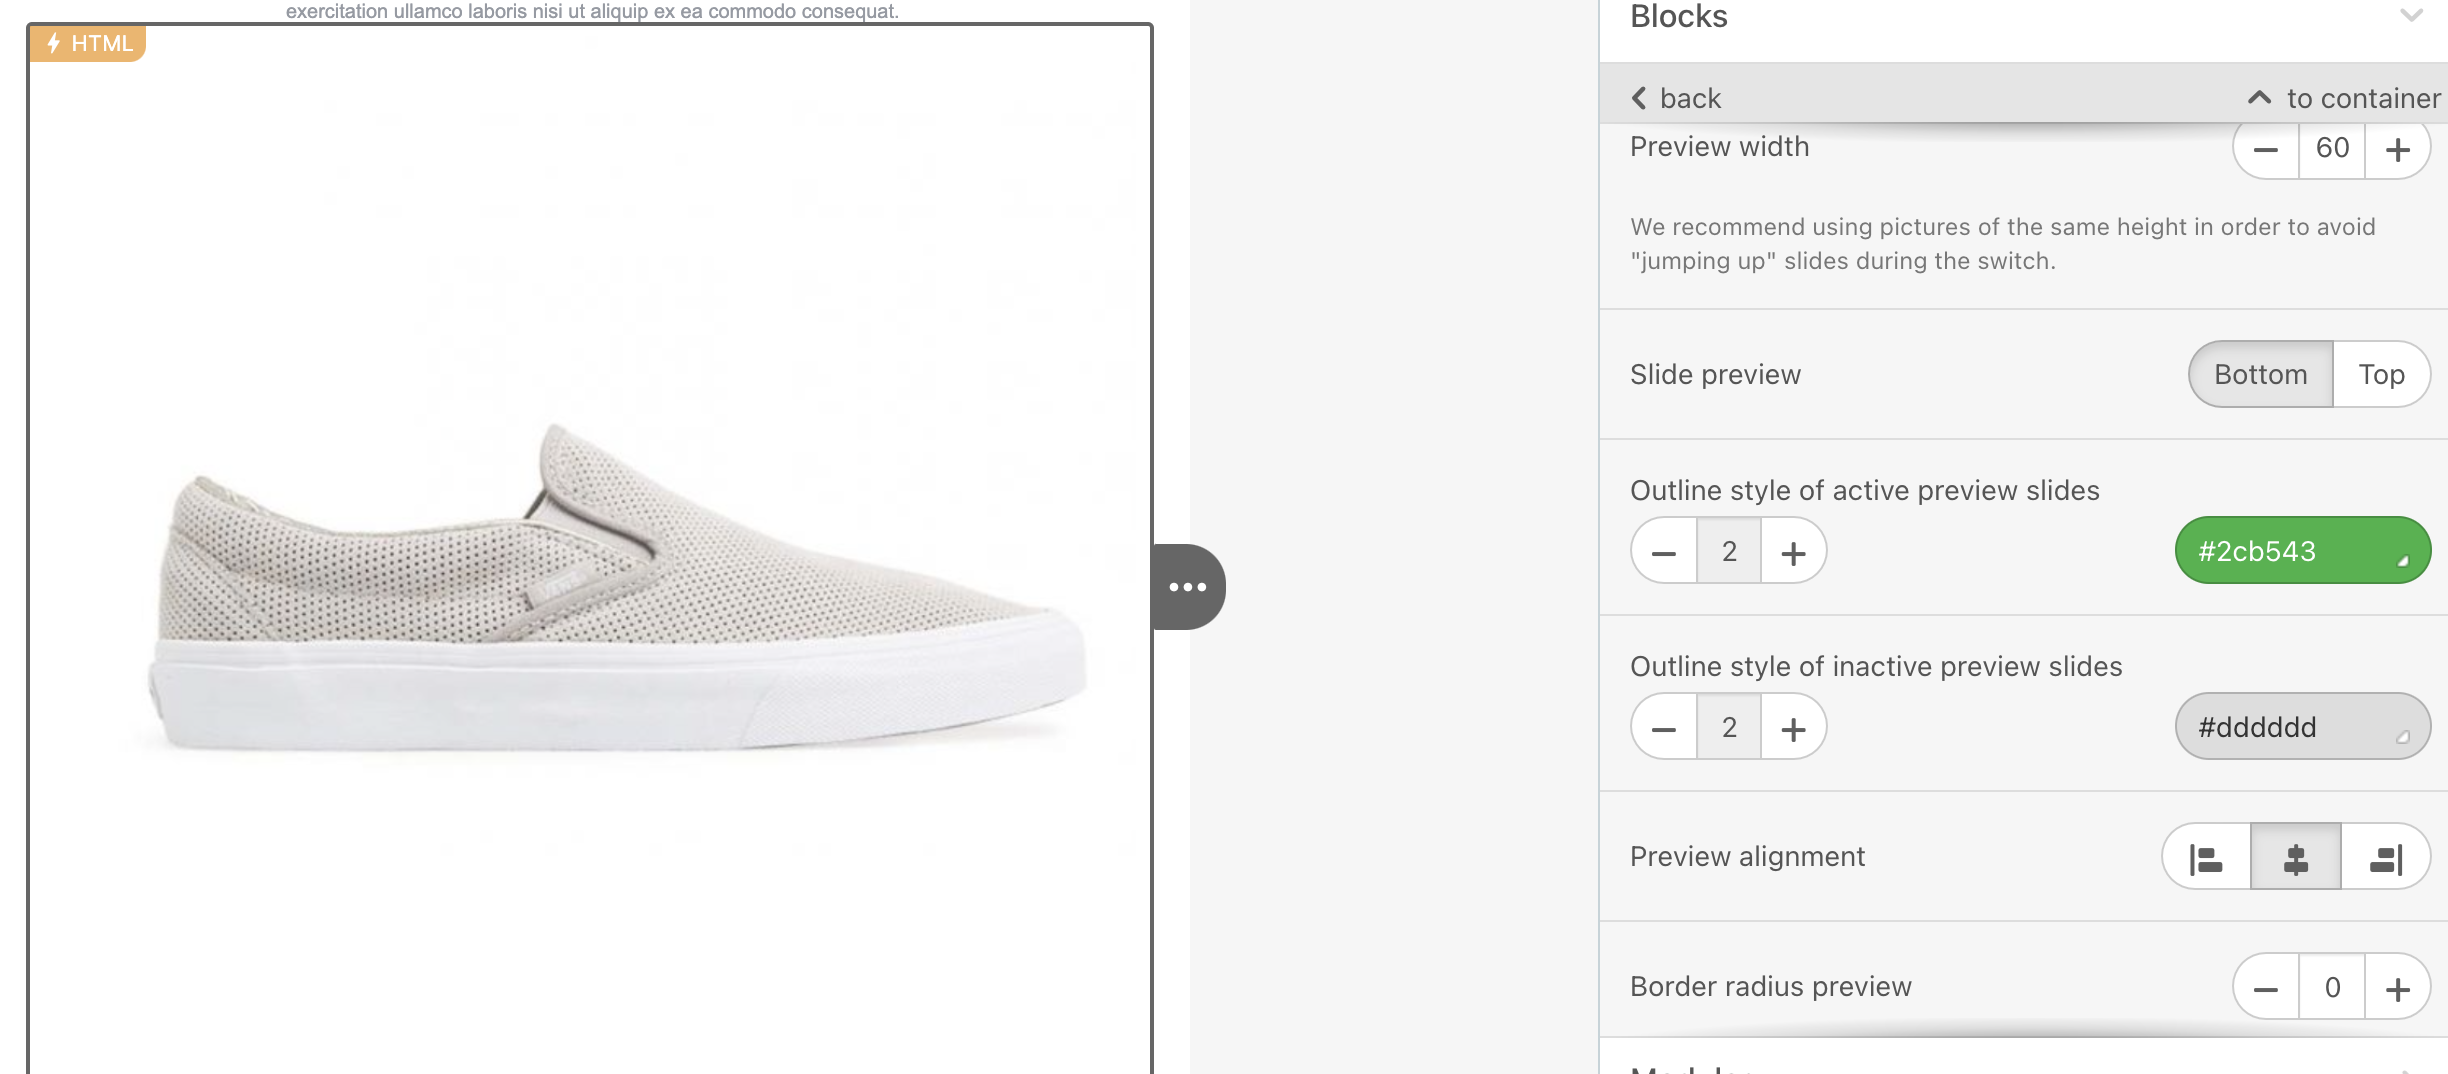
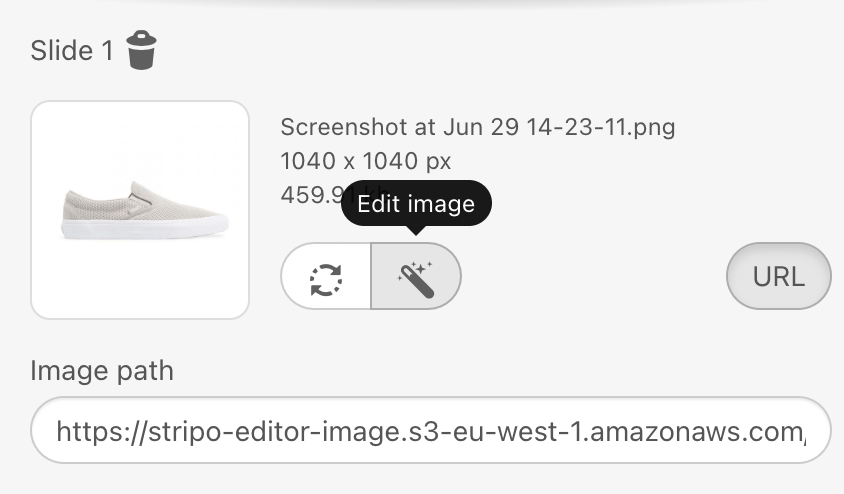
8. Check if the sizes of all images match. If they do not, click the Edit image button to crop them with the photo editor.
Build AMP carousel with description and buttons
So, first of all, you need to build a regular AMP carousel as described in the paragraph above. Now, let's proceed to the design of the slides:
Writing copy over images
1. Once you upload an image, open the photo editor.
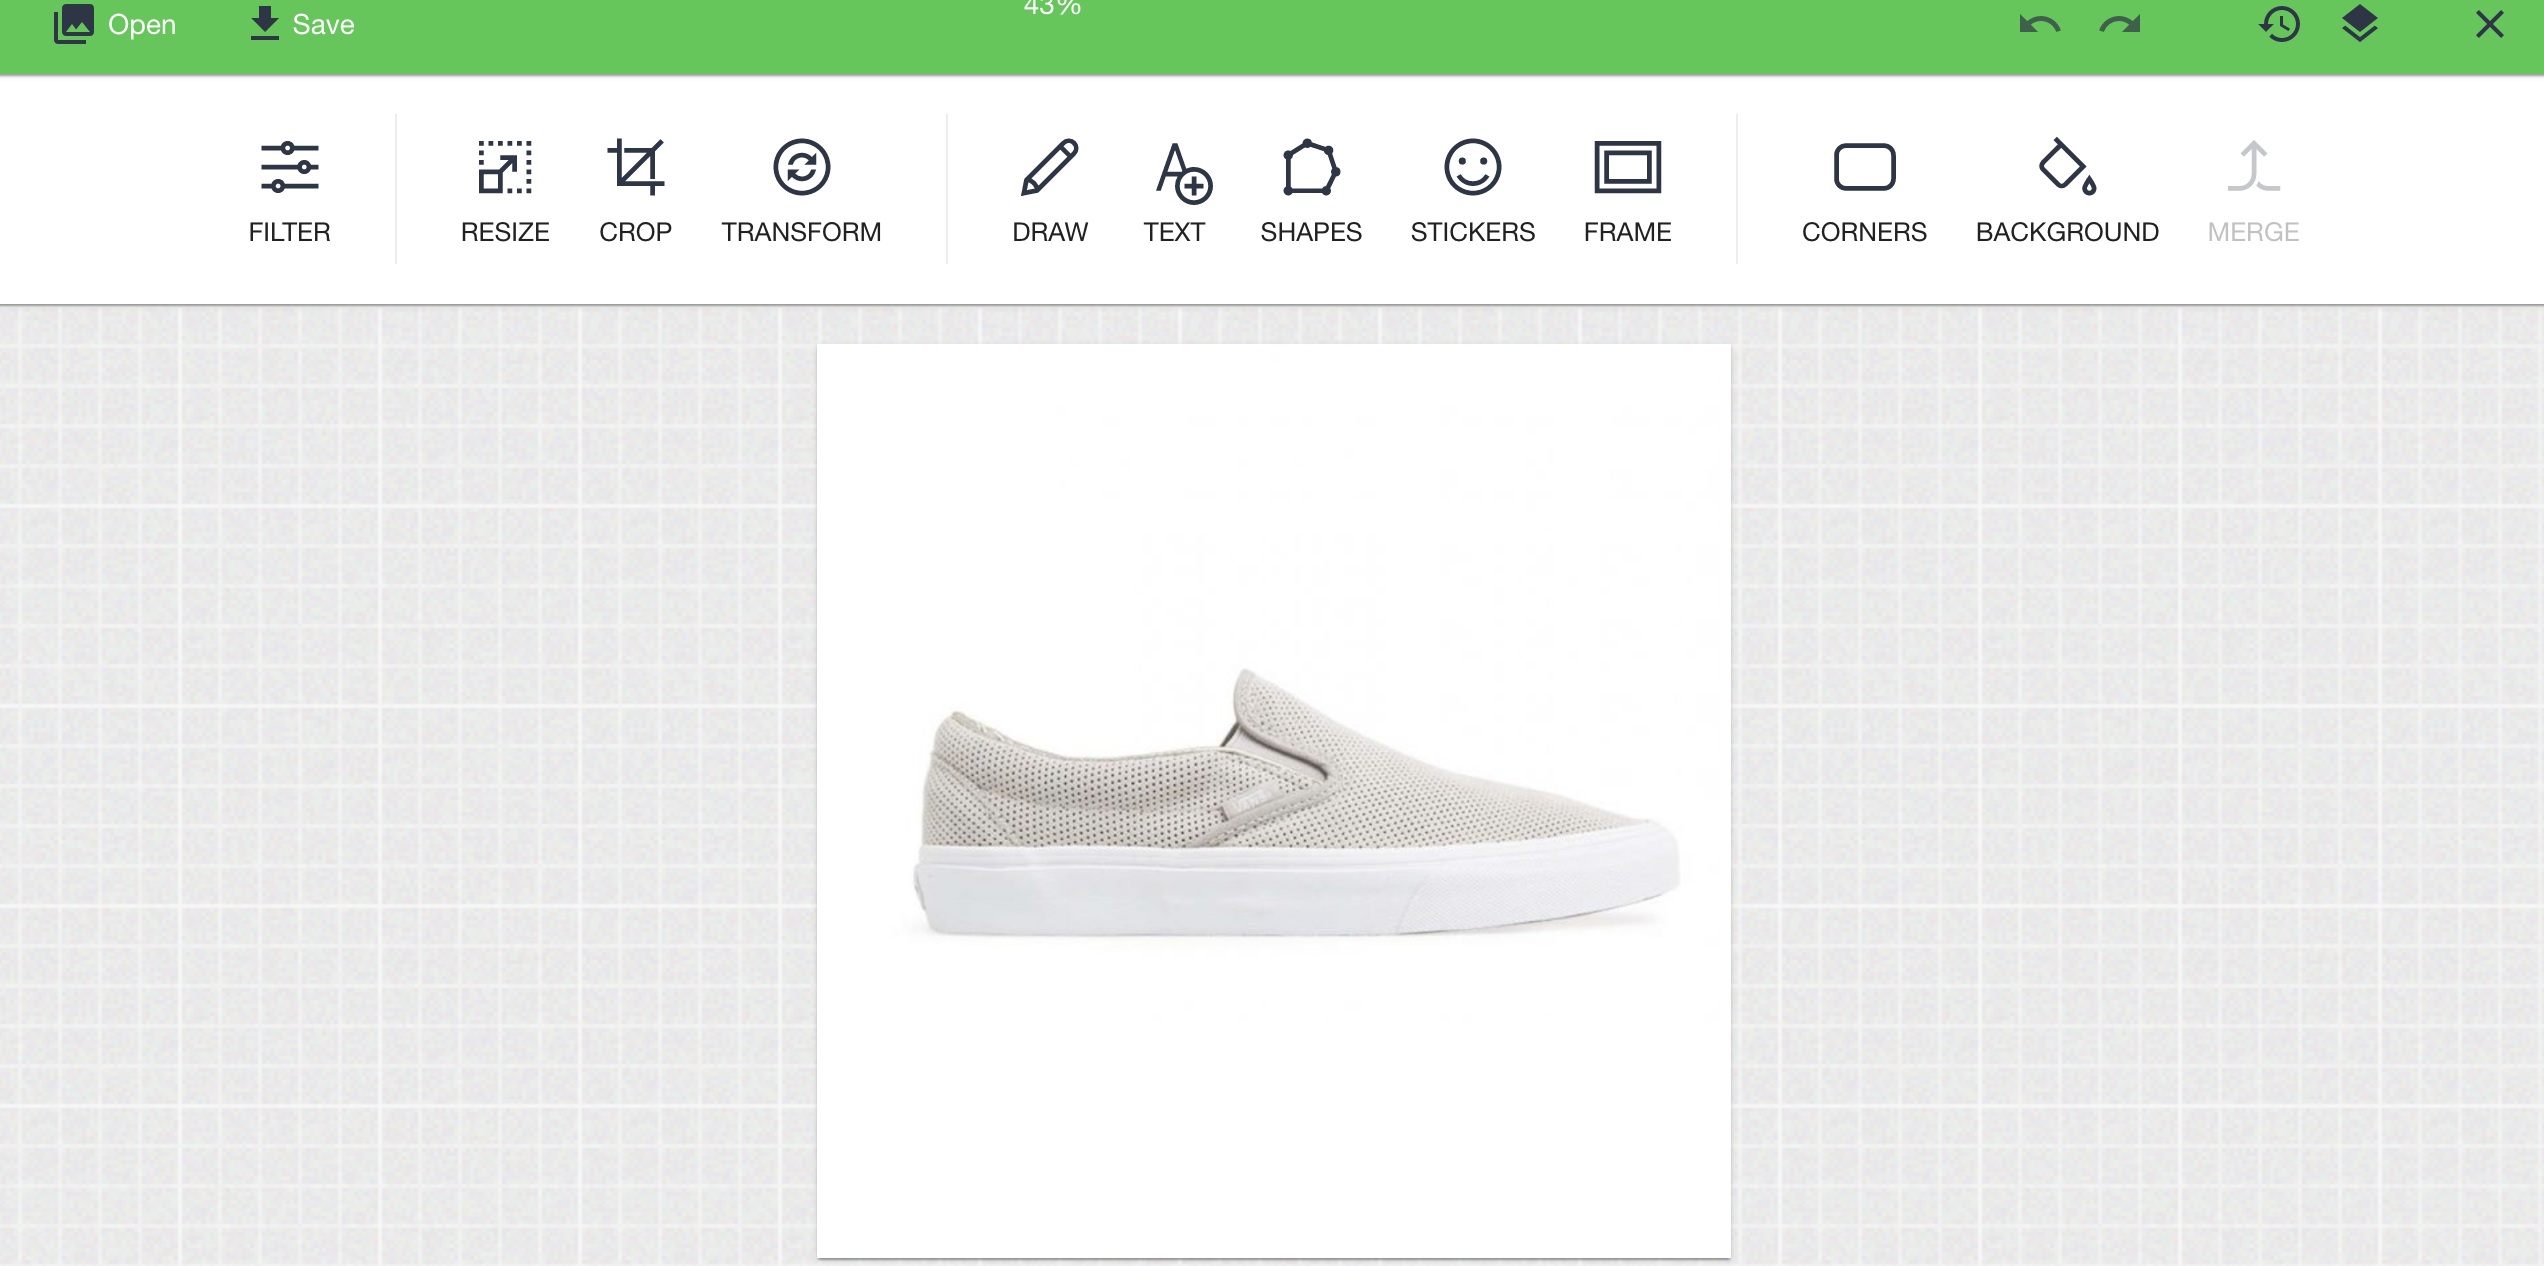
2. In the settings panel of the photo editor, choose the TEXT option to place copy over your images. The editor offers about 1000 fonts;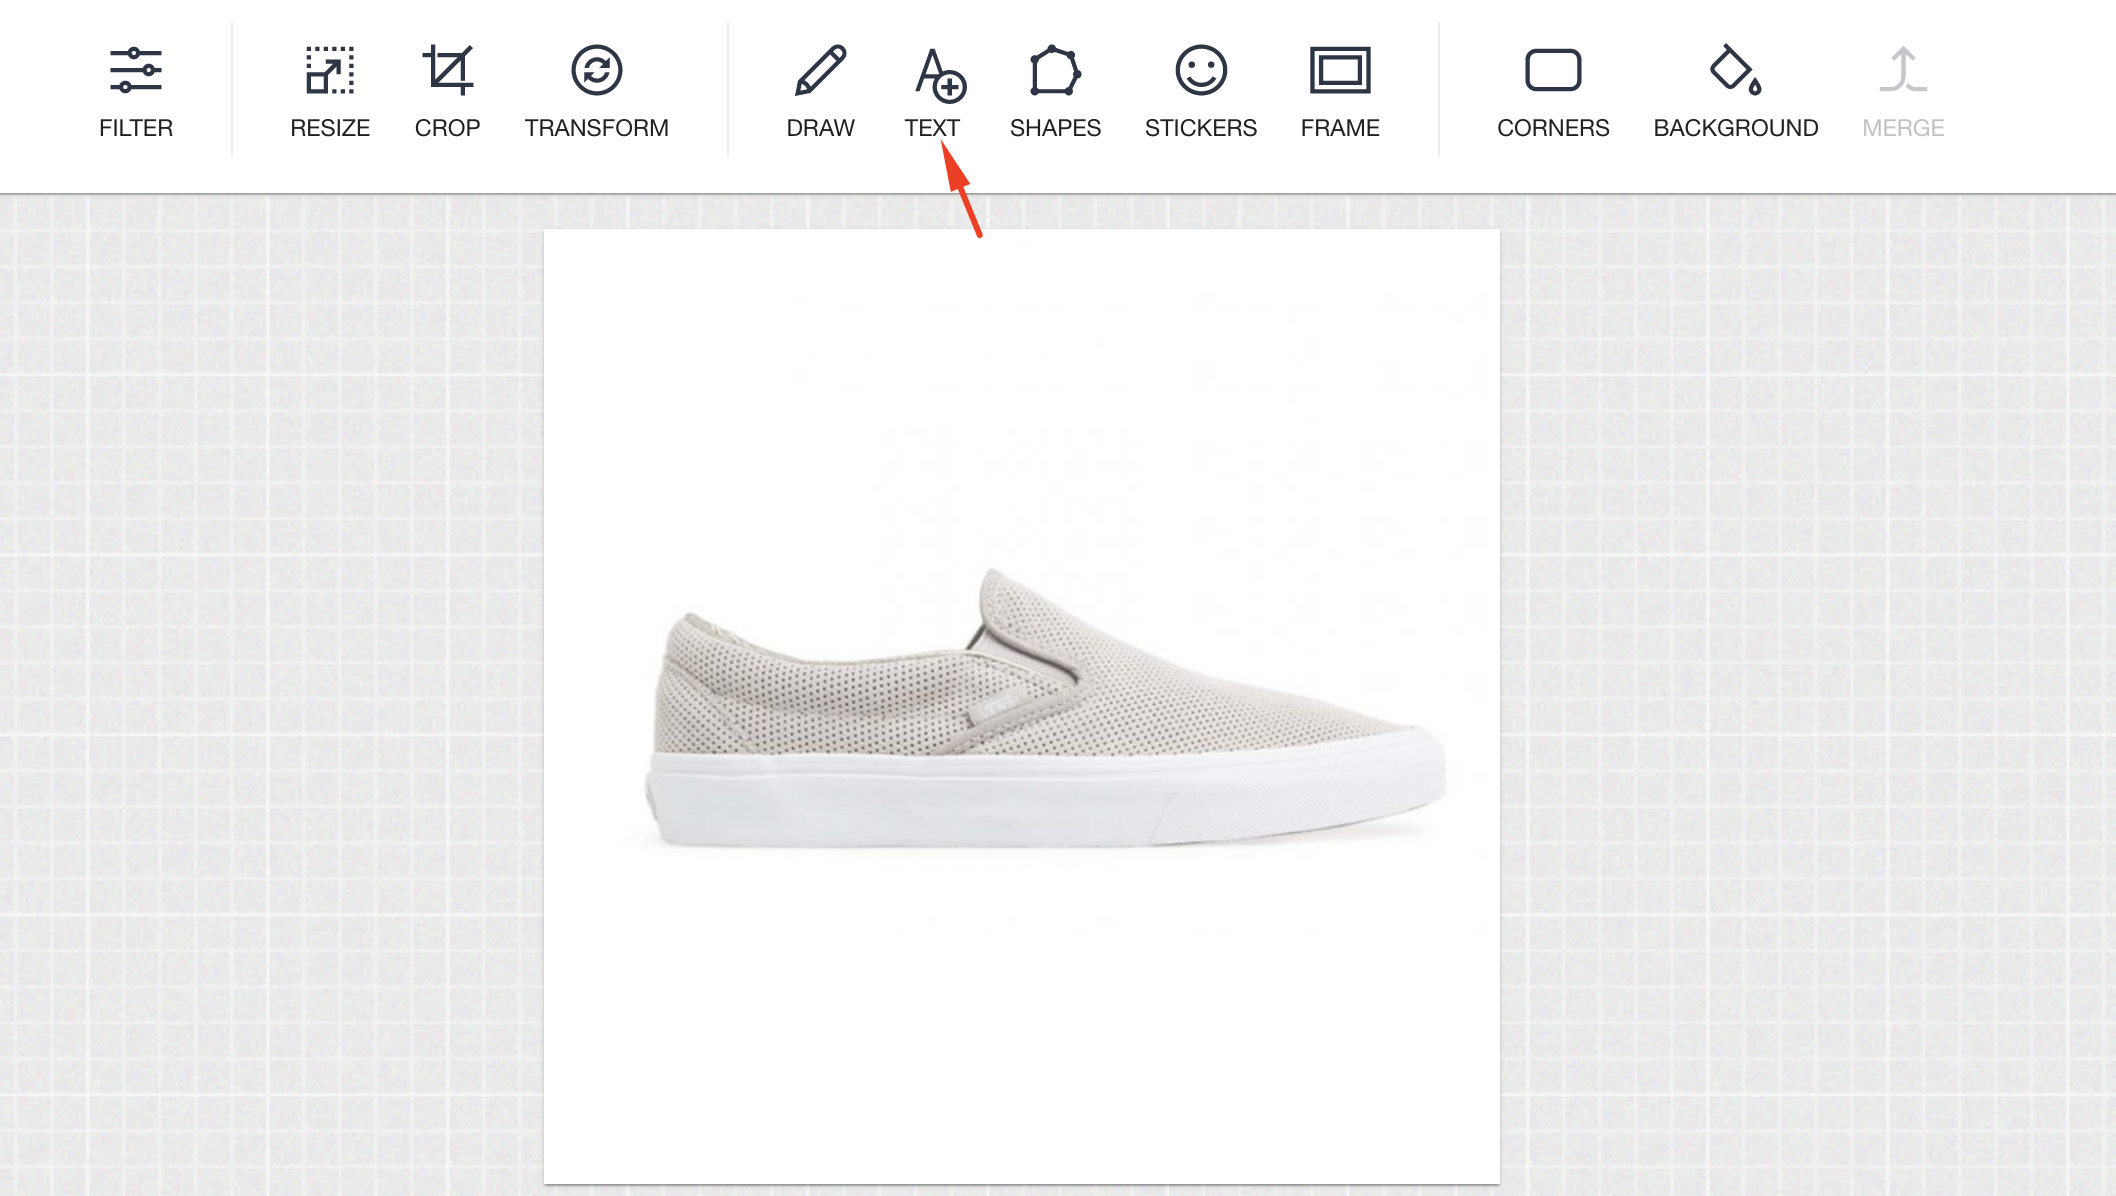
3. Choose the font type and color. In the top right corner of the editor, click the Apply button to save these parameters.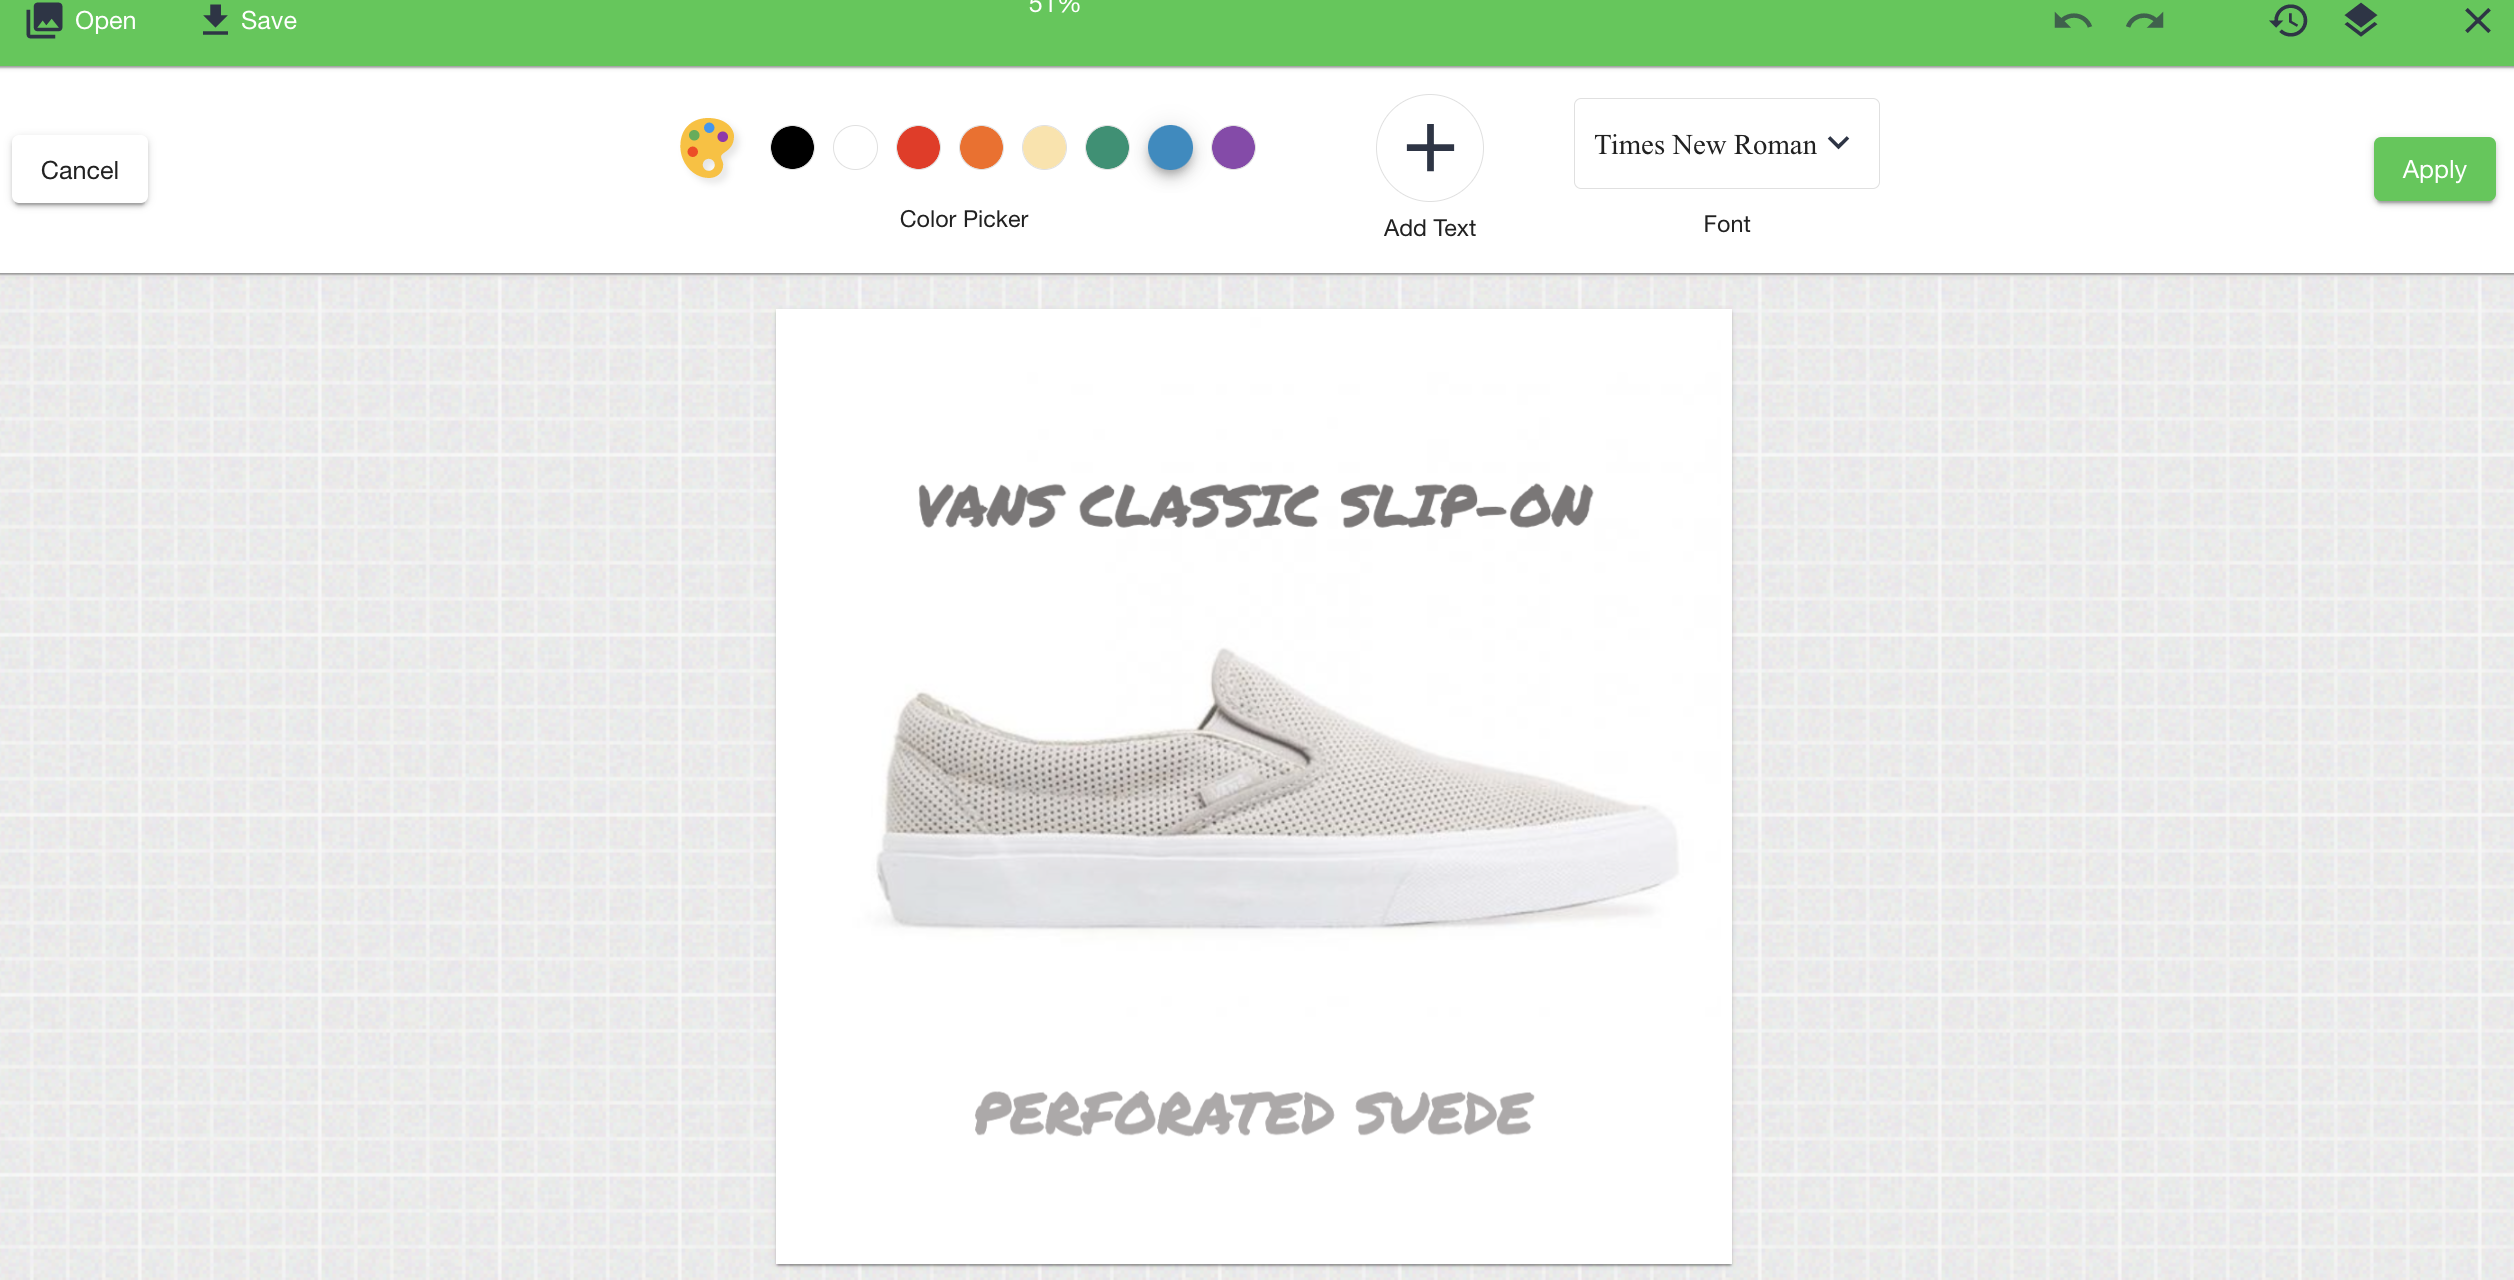
Placing a CTA button over your images
First of all, you need to prepare this button. The image format should be SVG or any other with a transparent background.
1. In the top left corner of the settings panel, click the Open button.
2. Select the Overlay Image option.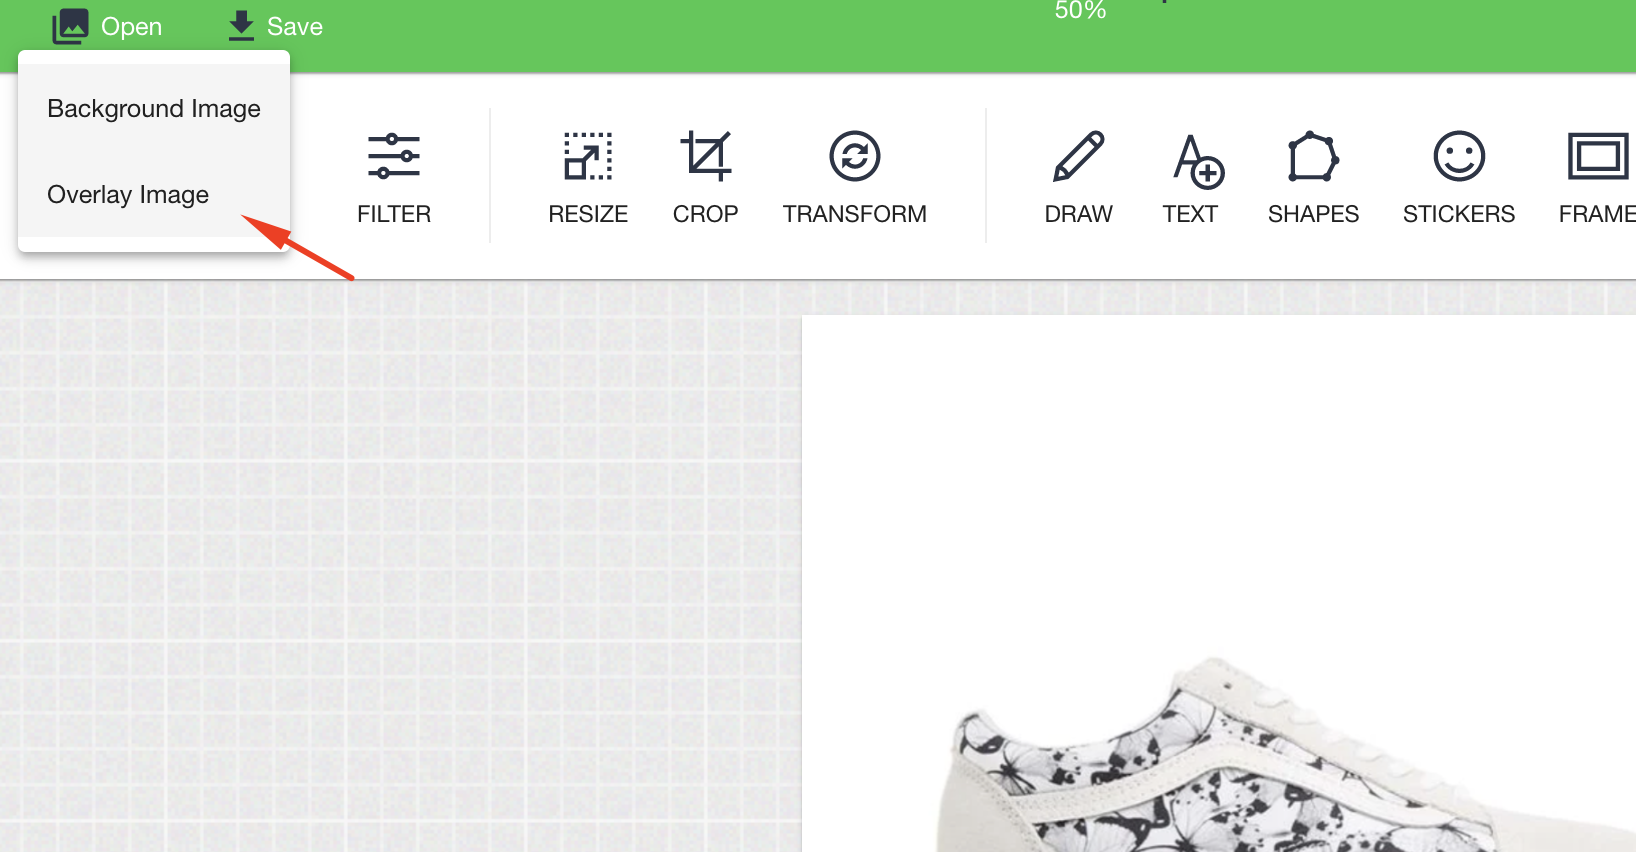
3. Upload your button image, and place it exactly where you want to see it in your slide.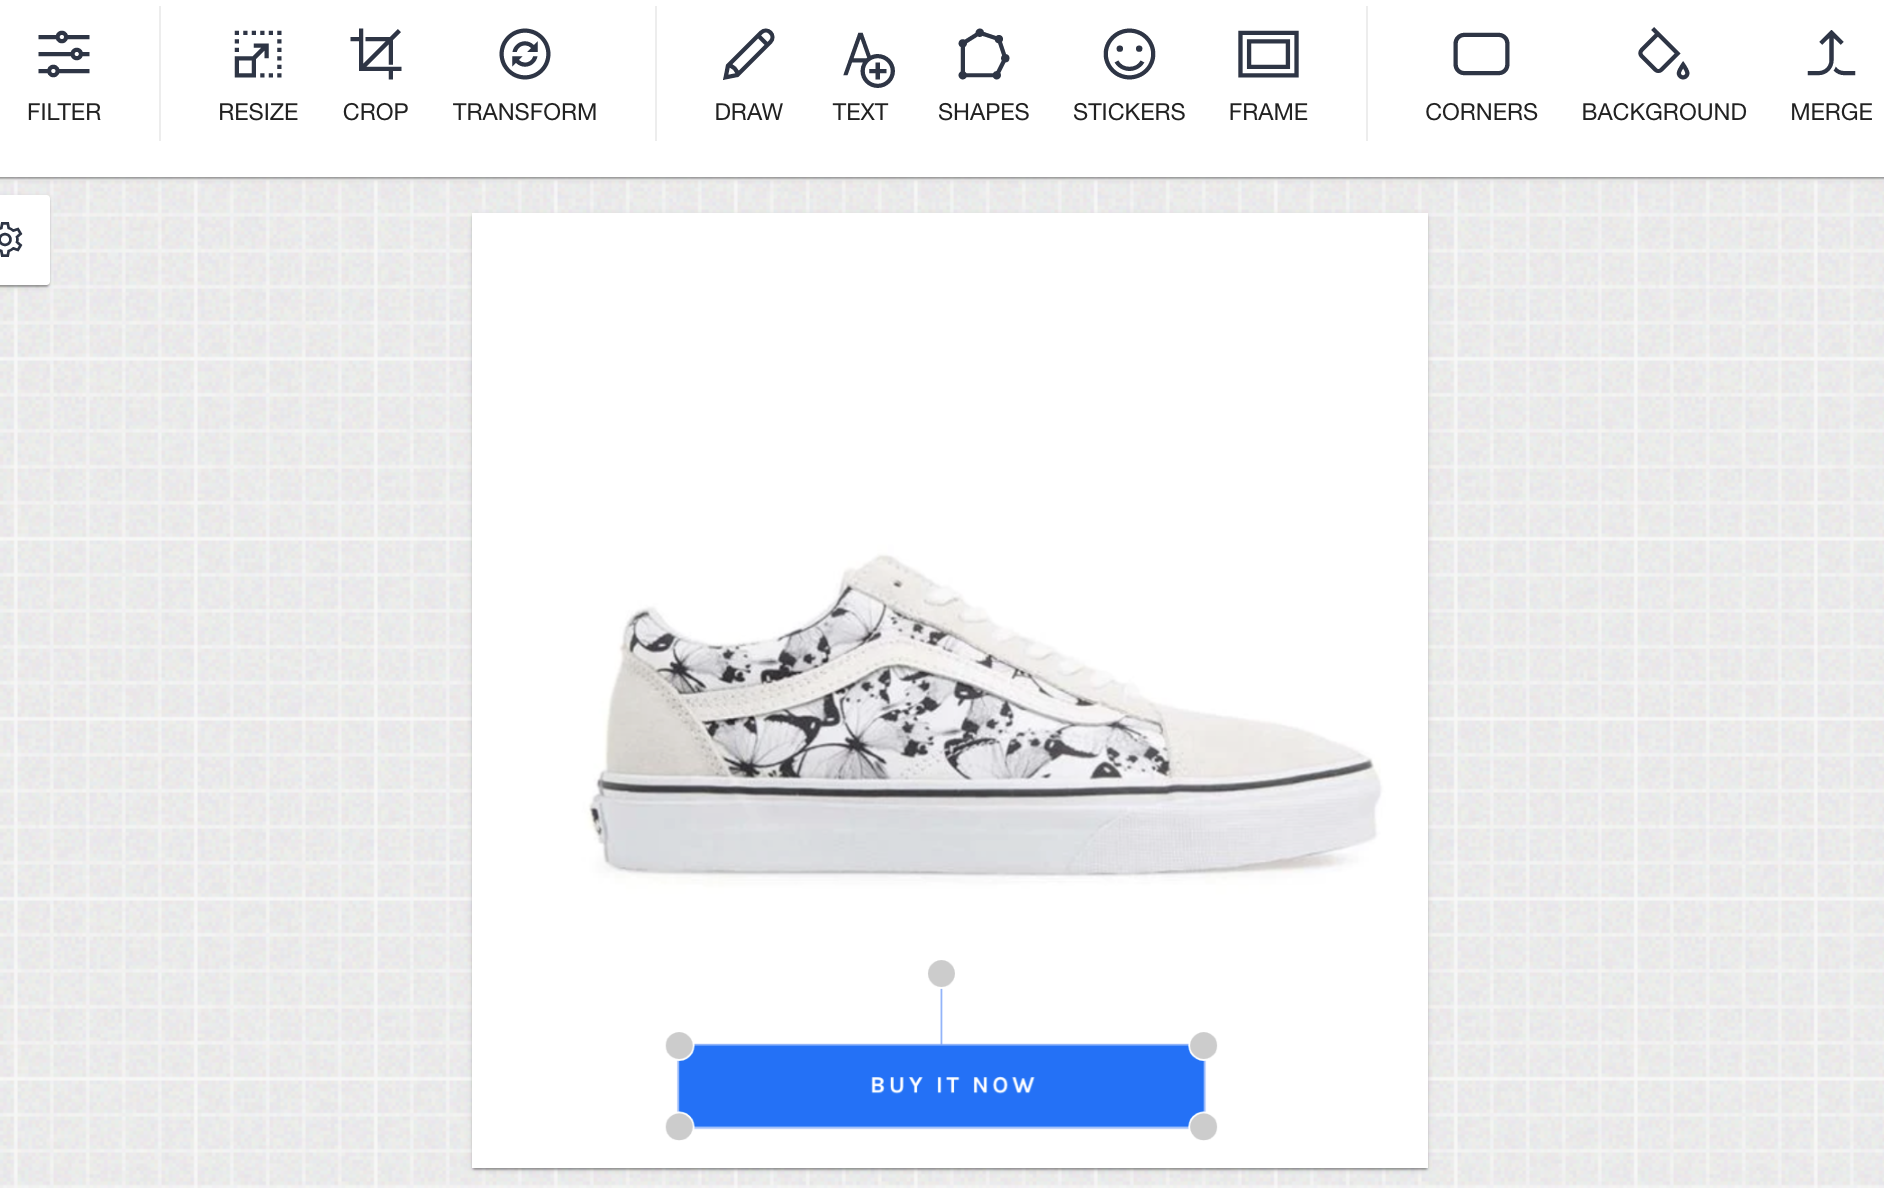 4. Set sizes, and click the Save button to save the changes you have made to the slide.
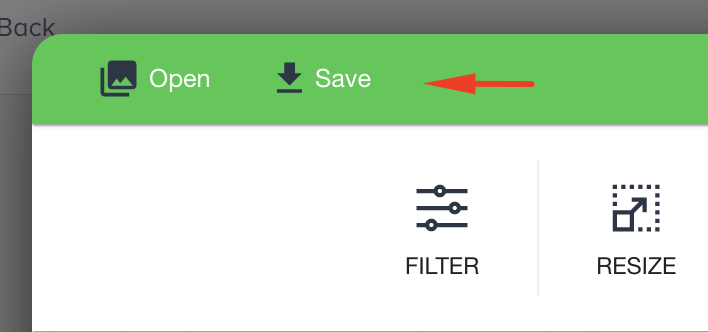
Preview AMP carousel
To preview your AMP email, you should get your sender whitelisted with Google. Once you complete designing your email, you can send a test message to your email address with the Test Message button on the Design or Launch step.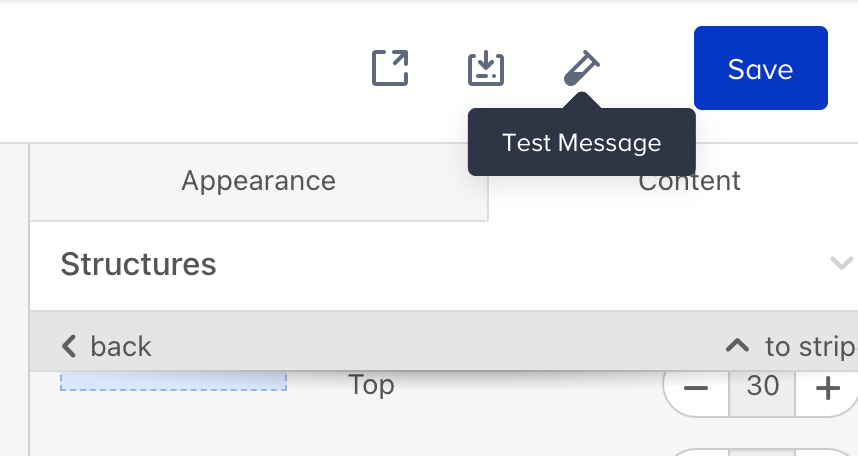

Keep in mind
To make sure that your recipients see your AMP emails, you need to:
- Get whitelisted with Google.
- Fix any bugs that occur. The editor shows if you have any in emails and even recommends how to fix them.
- You have fallbacks for those customers whose email clients do not support AMP for emails.
- Make sure your ESP/CRM can send AMP emails.
- Keep in mind that only Gmail (both web and mobile apps across all OSs) and Mail.ru currently support rendering AMP emails. Yahoo will join the list soon.
- AMP emails lose their AMP components when forwarded.