The AI Agents Settings page lets you configure reusable API Endpoints for the API Call Actions of your Support and Shopping Agents, and customize the Product Details Widget for Shopping Agents.
To access AI Agents Settings page, navigate to InOne > Agent One > AI Agents and click Settings.
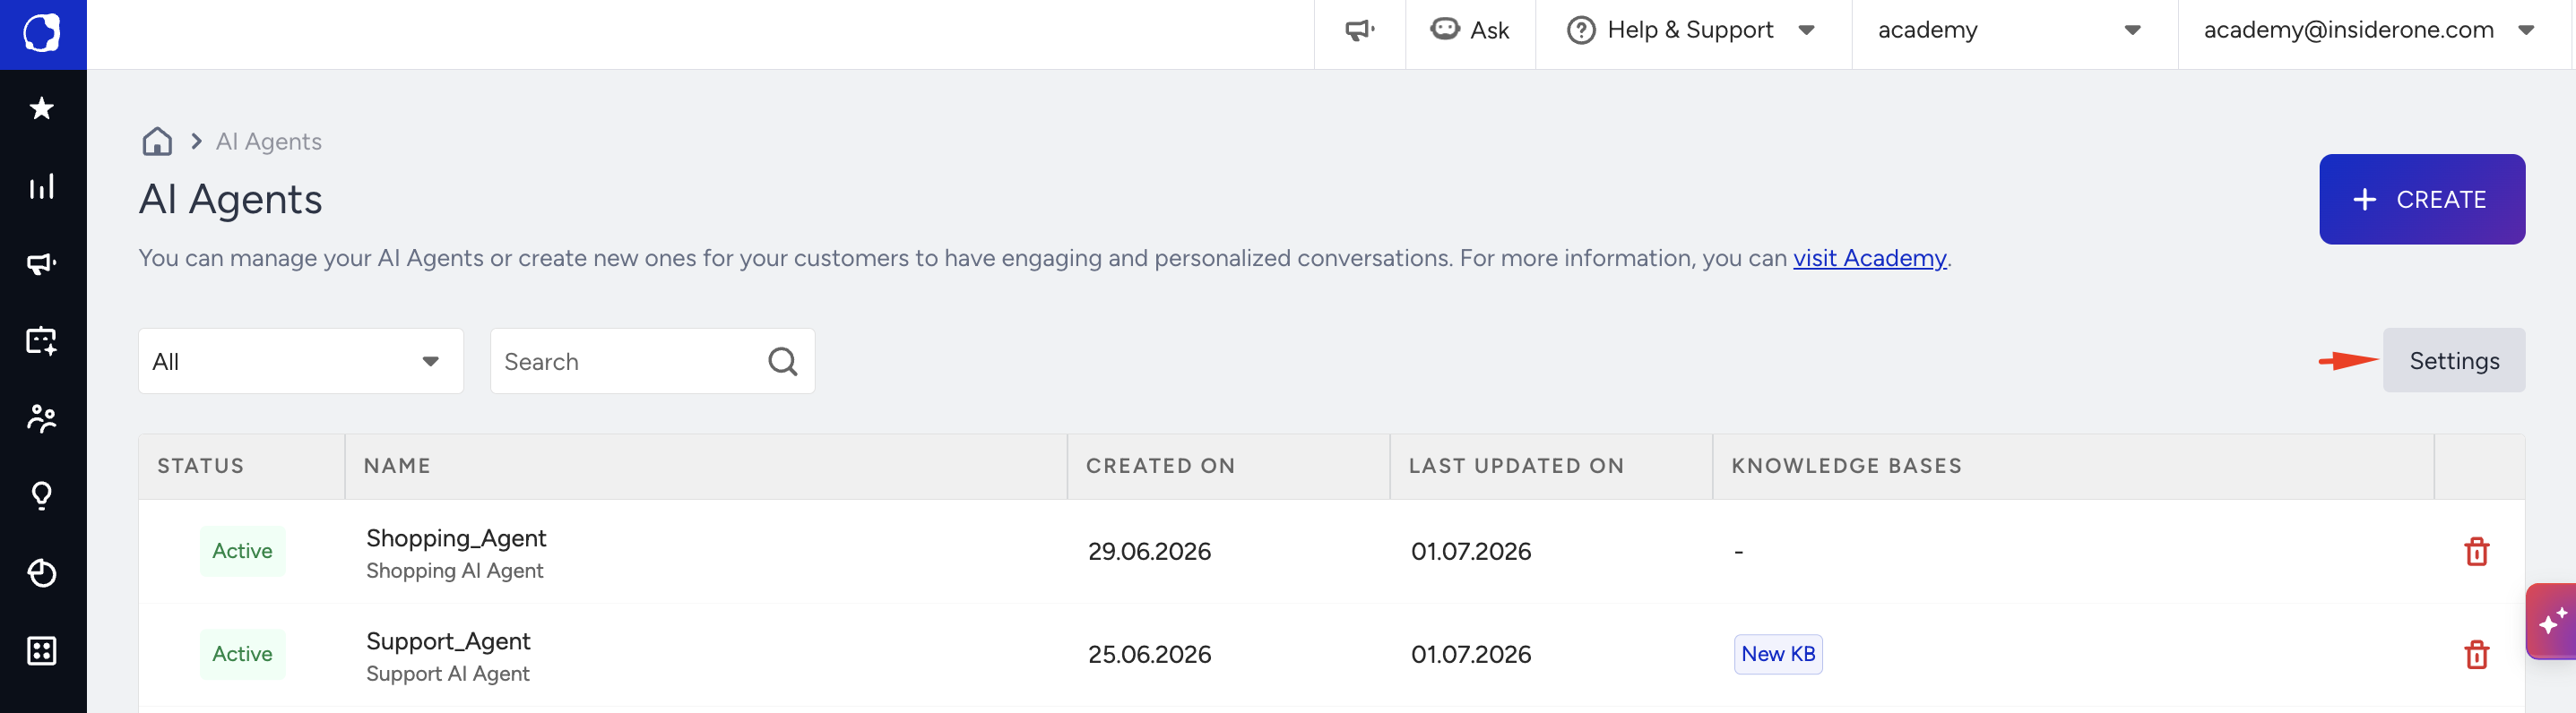
In the Settings page, you will see two tabs:
API Endpoints
API Endpoints let you centrally manage the base URLs and authentication headers used by your AI Agents when calling external services. Once configured, you can reuse them across the API Call Actions of all your agents. Values you mark as sensitive information, such as API keys and tokens, are stored securely and displayed as masked values throughout the platform.
Admin users create, edit, delete, and test API Endpoints; other users can view the list, with sensitive values masked and management actions disabled.
API Endpoints are defined per account and shared by all your AI Agents (Support and Shopping Agents).
To define an endpoint, click Create API Endpoint.
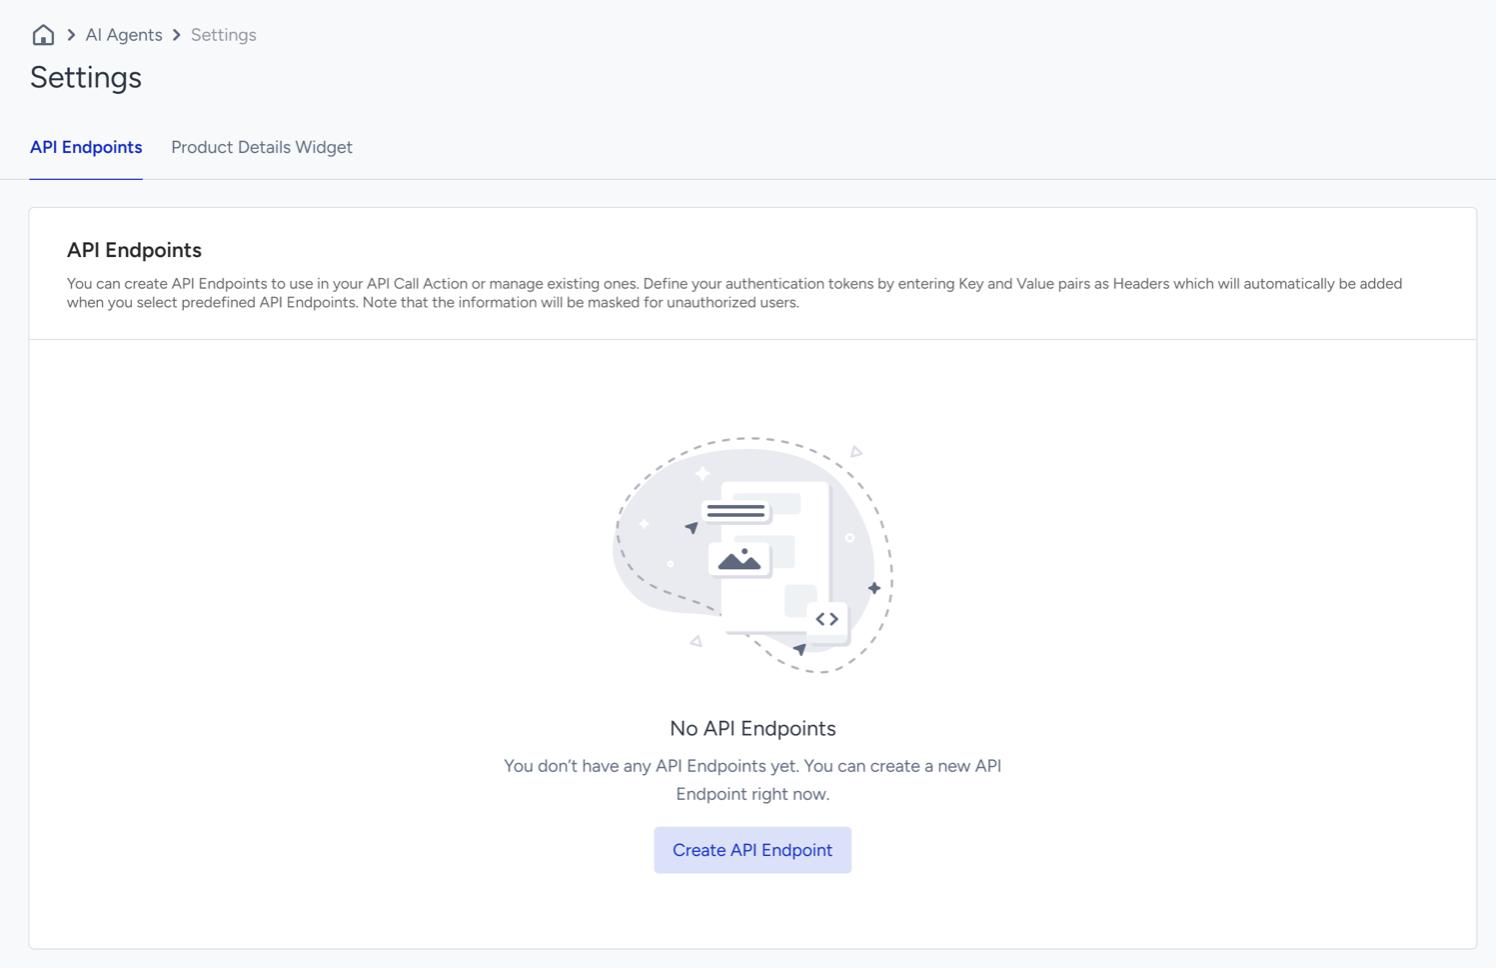
Name your API Endpoint and enter its API Endpoint URL.
The endpoint name is used only within the platform. The API Endpoint URL should contain only the base URL (for example,
https://api.yourcompany.com). Add paths and dynamic parameters later in the API Call Action.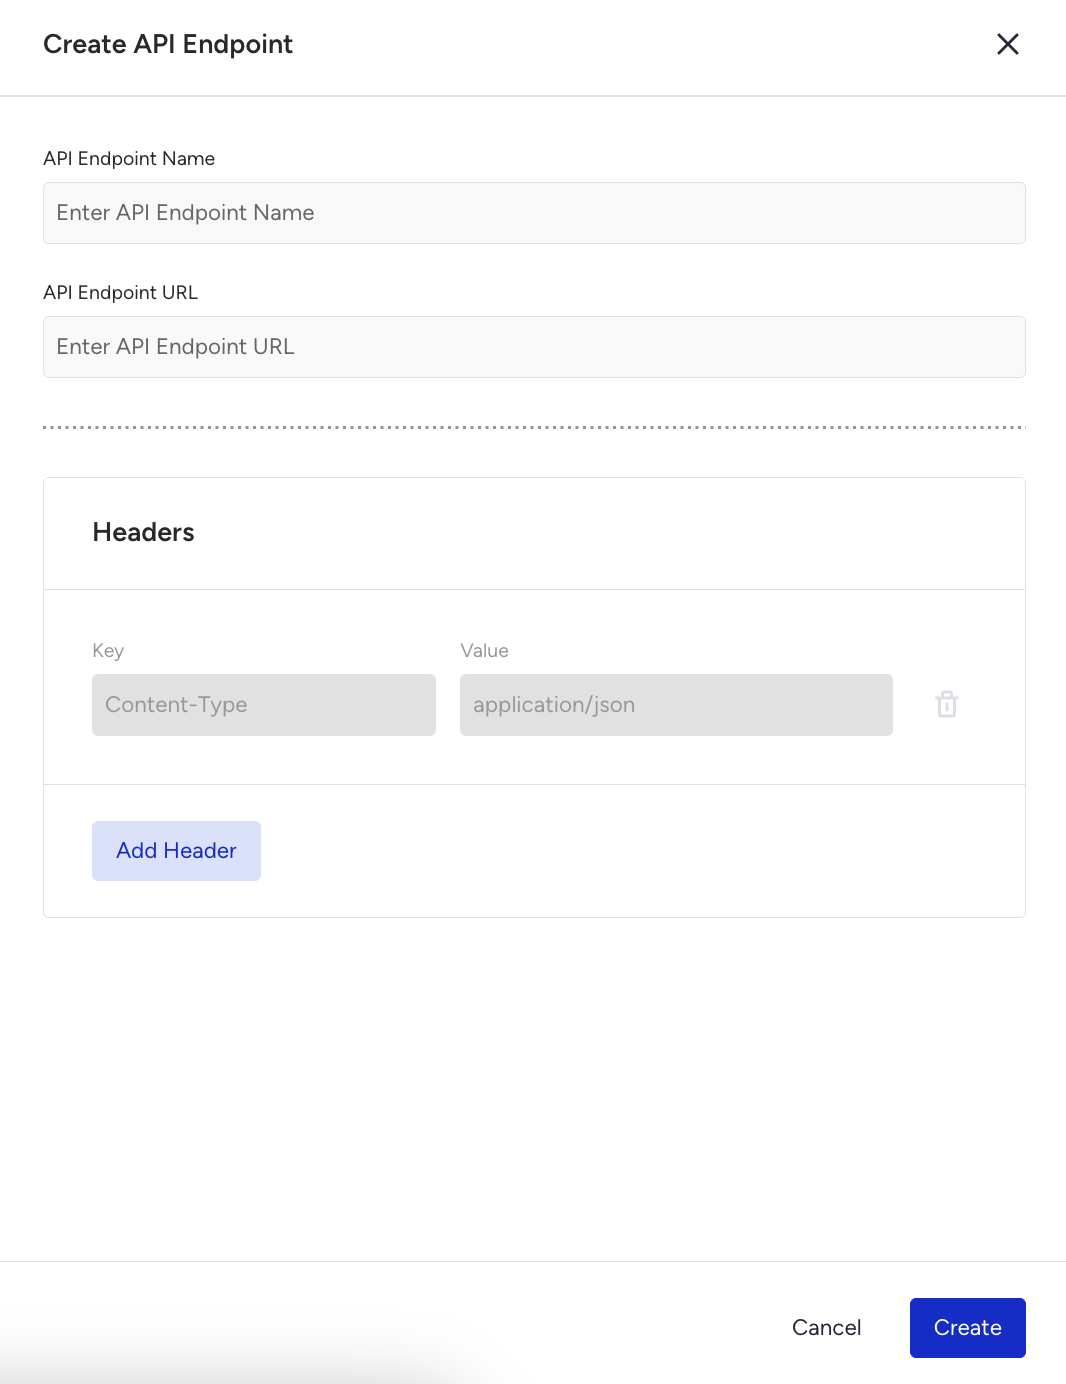
Click Add Header to add more rows. Headers include Key-value pairs sent with every request that uses this endpoint, typically authentication credentials such as
Authorization: Bearer <token>or an api-key.Content-Type: application/jsonis included by default.Select Mark as Sensitive Information for each header that contains a credential or other sensitive value. Marked values are displayed masked and can't be viewed in full again on the platform; to change one, re-enter the value.
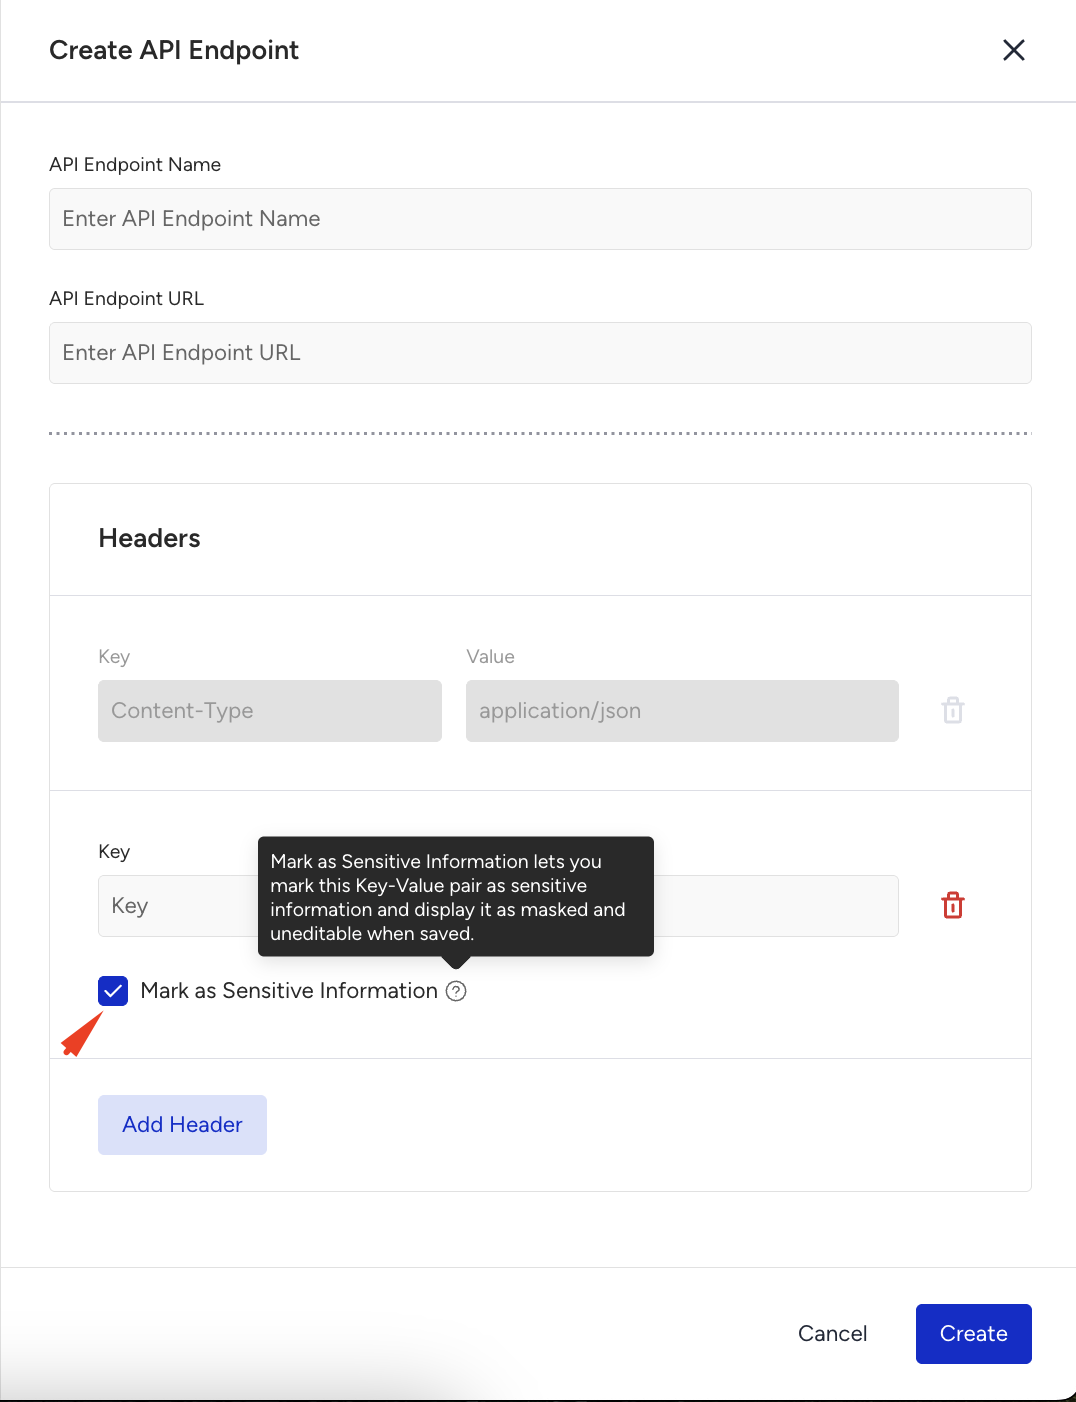
Click the Create button.
If one or more header values aren't marked as sensitive information, a confirmation asks you to verify that these values will remain visible before the endpoint is created.
Sensitive values are masked for every user on the platform once saved; they are only used when your agent sends the actual request.
Once you create the endpoint, you can perform these actions:
See Endpoint details
Click See Details on an endpoint to review its URL and headers; sensitive values stay masked, and the AI Agent Details table, which lists the AI Agents and the API Call Actions using this endpoint, with links to each agent. 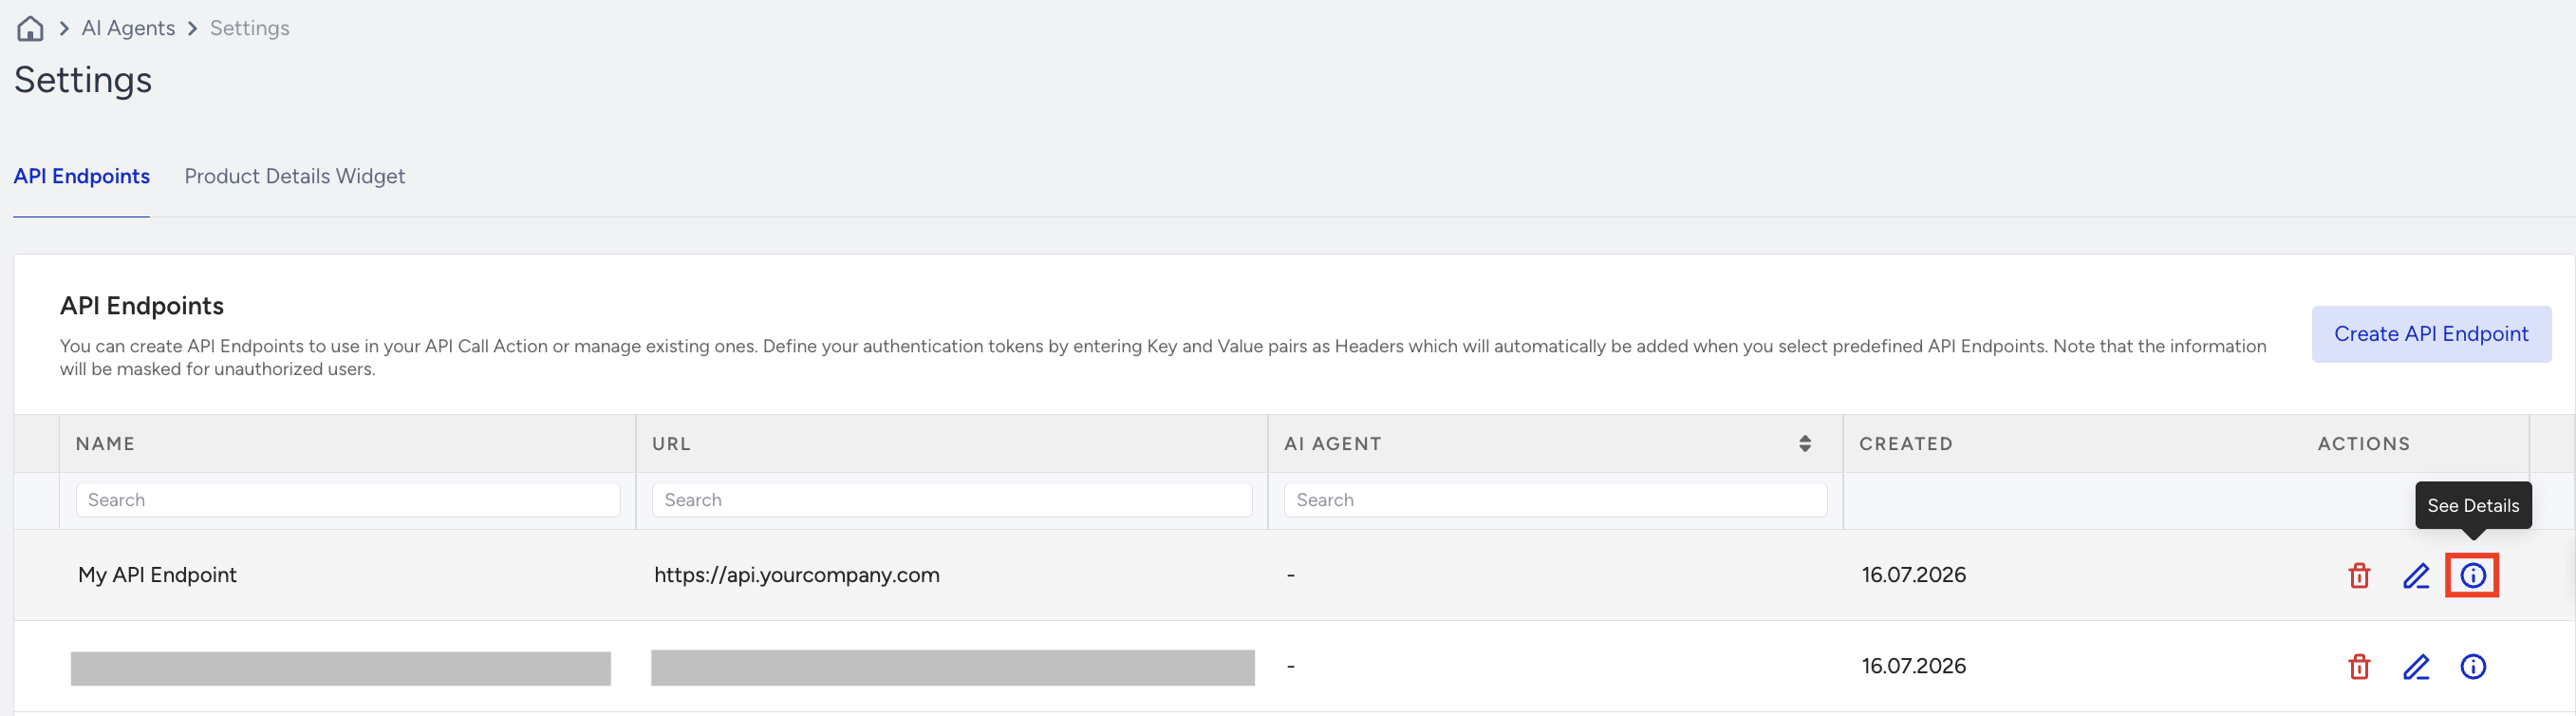
Edit an API Endpoint
Click Edit on an endpoint to update its name, URL, and headers. Masked values remain masked while editing; re-enter a value to replace it or to change its sensitivity. 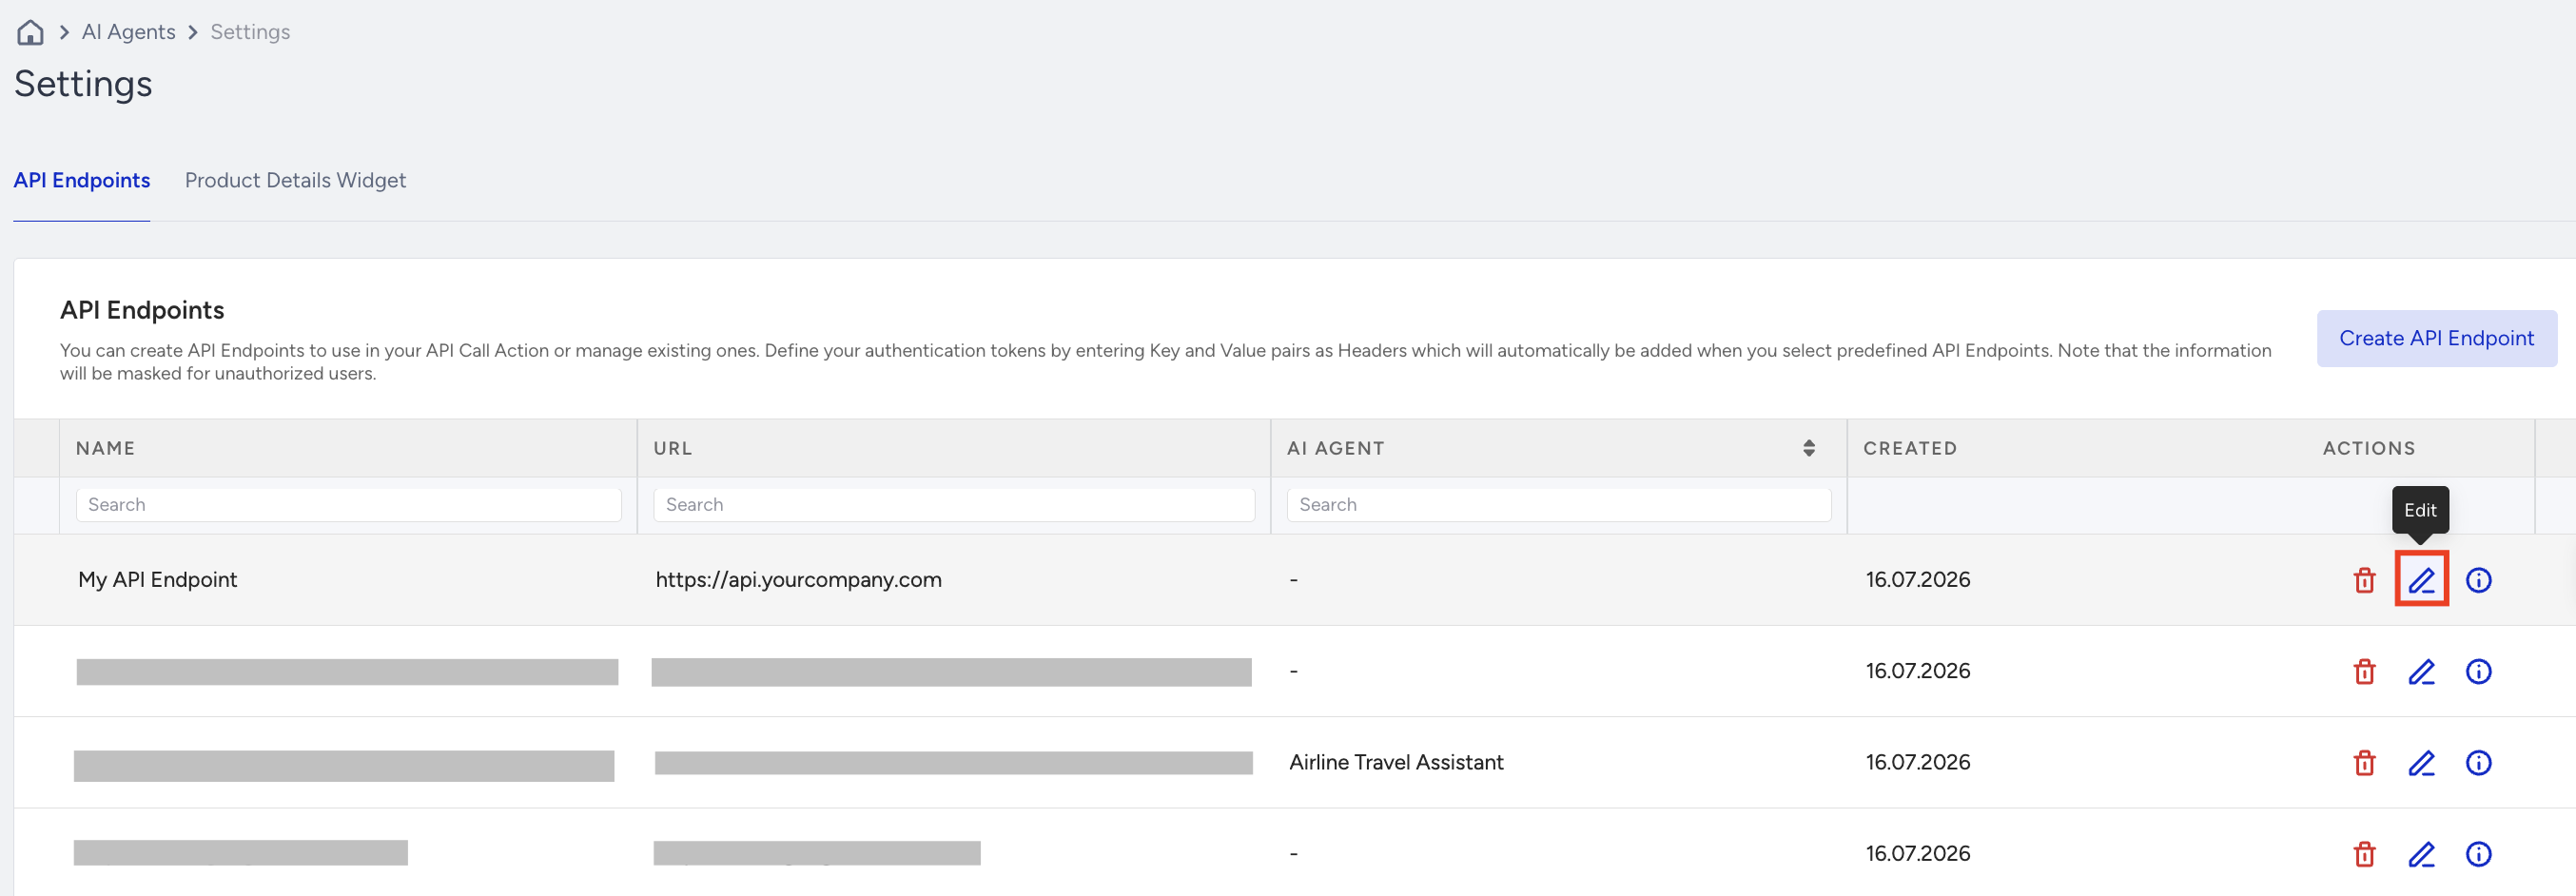
Delete an API Endpoint
Click Delete on an endpoint. Deleting is permanent and can't be undone. API Endpoints used by AI Agents in Active status can't be deleted; update the API Call Action of those agents to use a different endpoint first. The delete panel lists the agents using the endpoint so you can check them before you proceed. 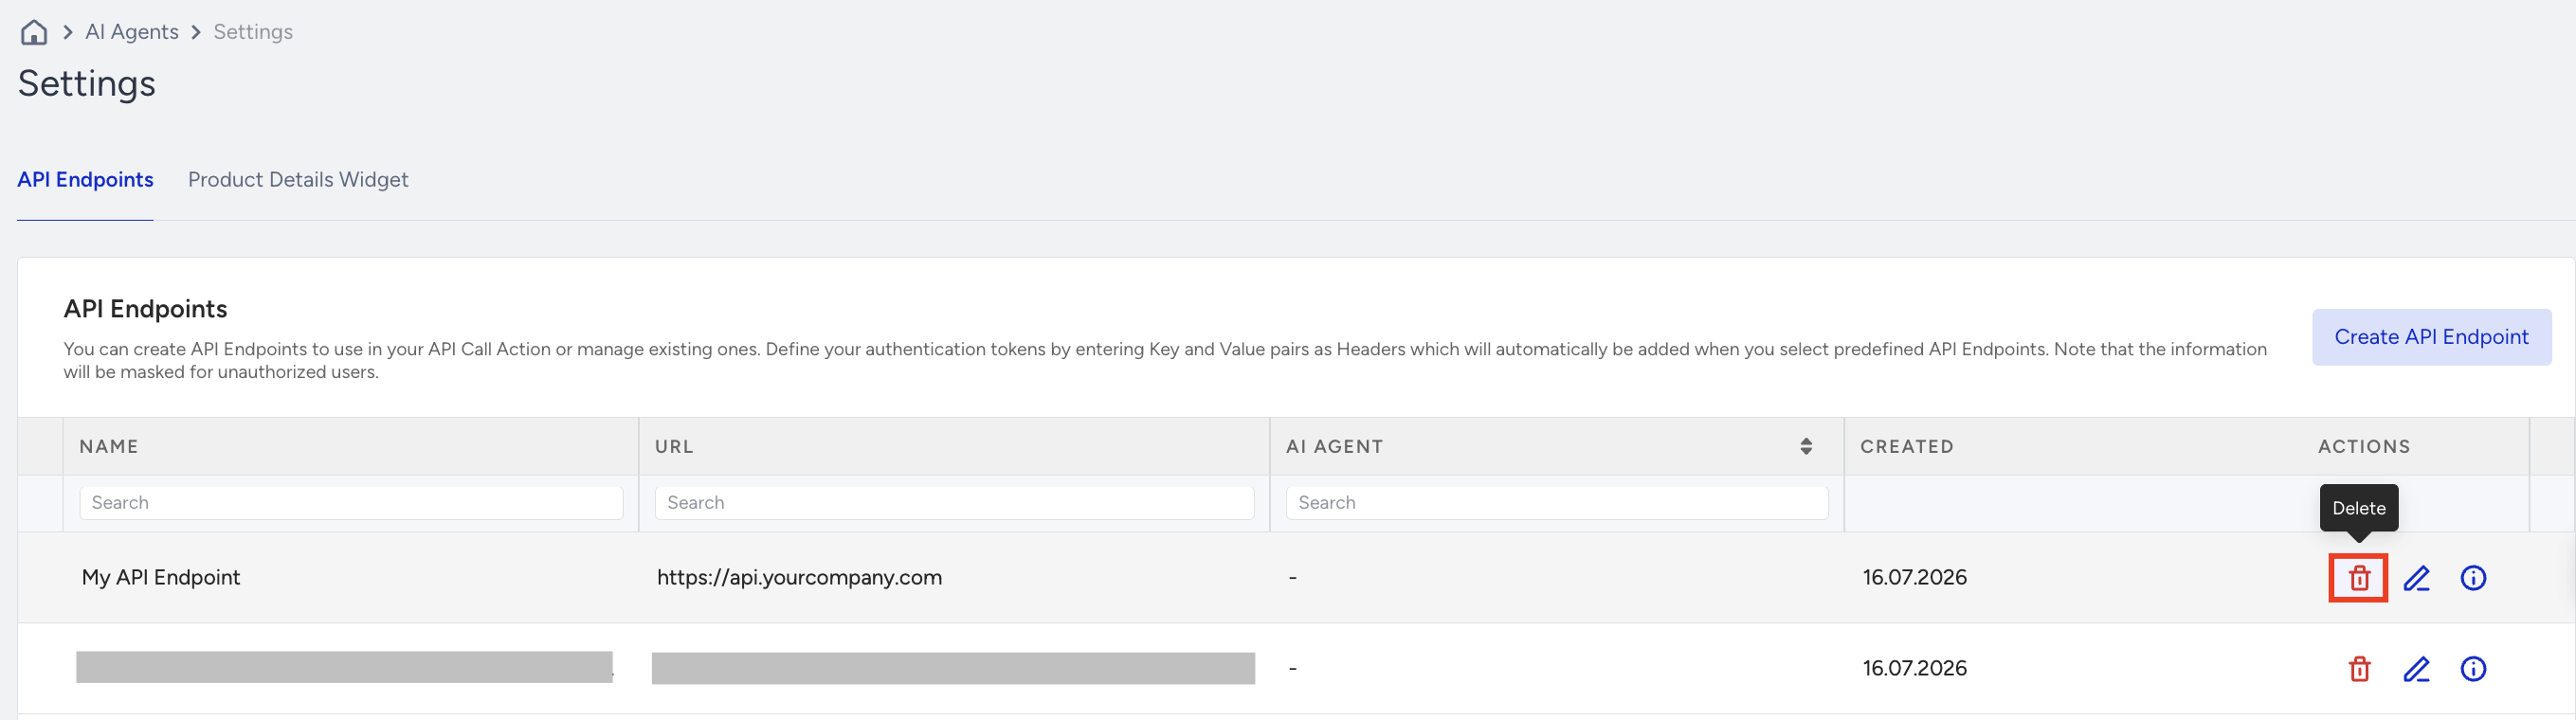
Product Details Widget
The Product Details Widget tab lets you configure how product recommendations are presented to customers in your Shopping Agent.
The Product Details Widget is a Shopping Agent feature and is unvailable for Support Agents.
Only users with the Admin or Editor role can configure these settings.
Enable Product Details Widget: Turns the Product Details Widget on or off for the selected agent. When enabled, the agent can display product information in a dedicated widget during conversations.
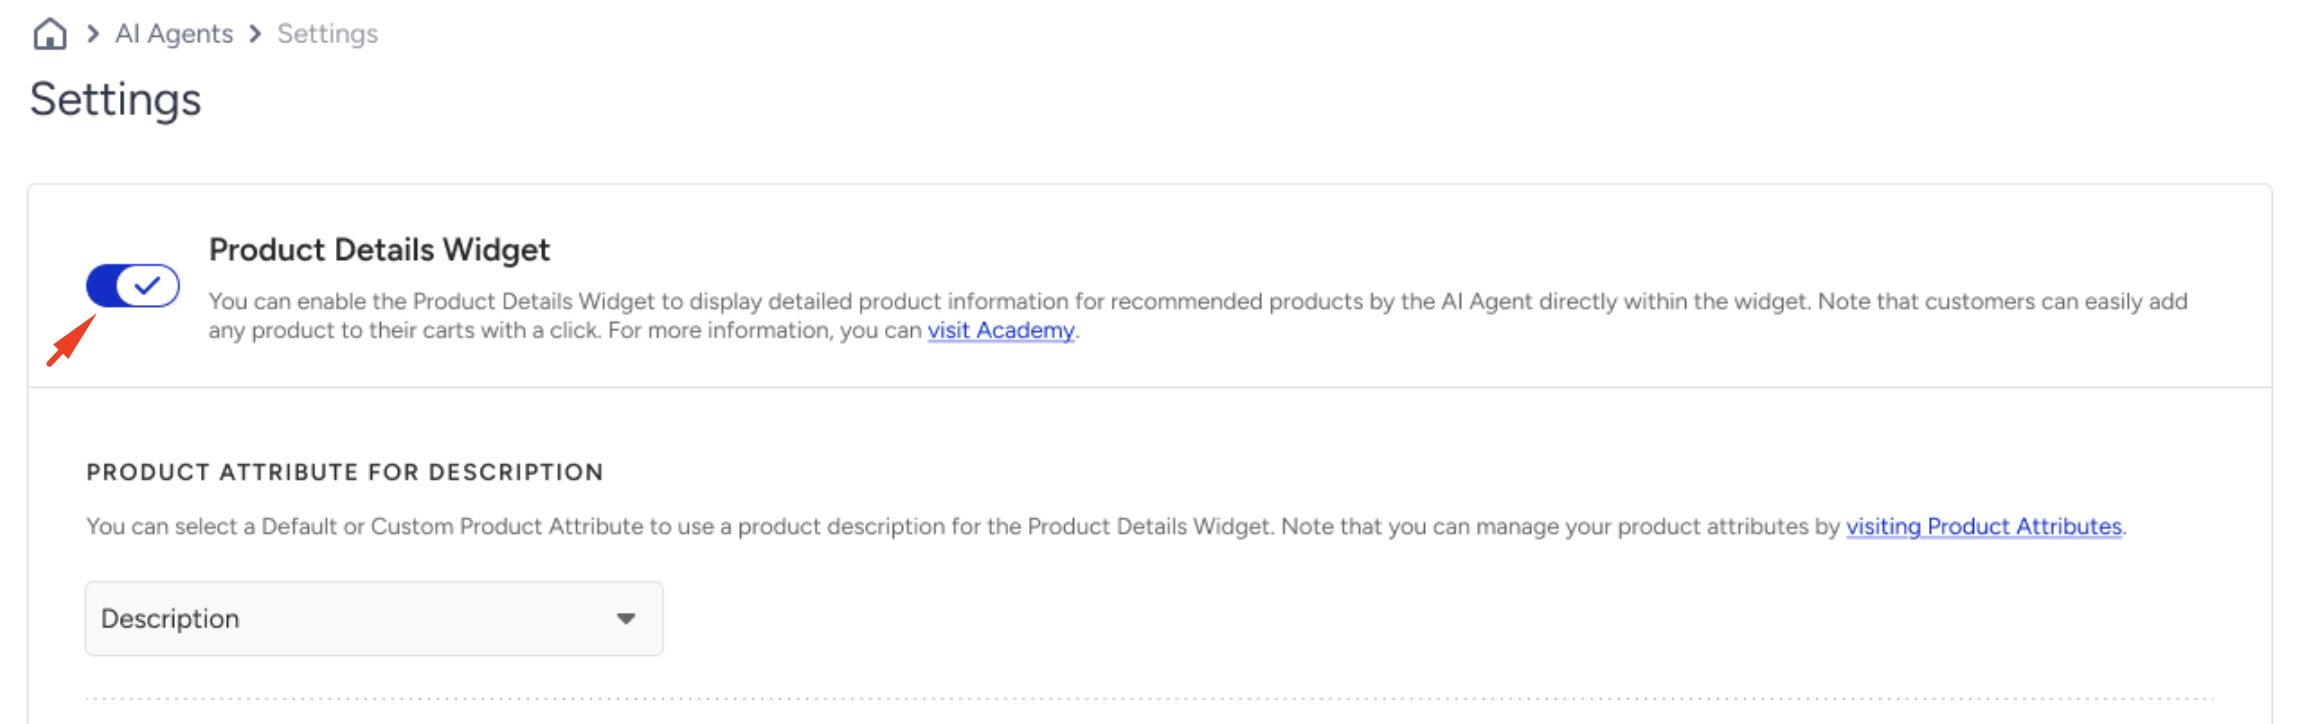
Product Attribute for Description: Selects the product attribute used as the description within the widget. By default, the predefined description field is used, but you can choose a custom product attribute if your catalog stores descriptions elsewhere.
Product Attribute Mapping: Defines which product attributes are displayed in the widget and how they are labeled. You can select attributes such as price, size, or material, and assign customer-friendly labels regardless of the original attribute names in your catalog.
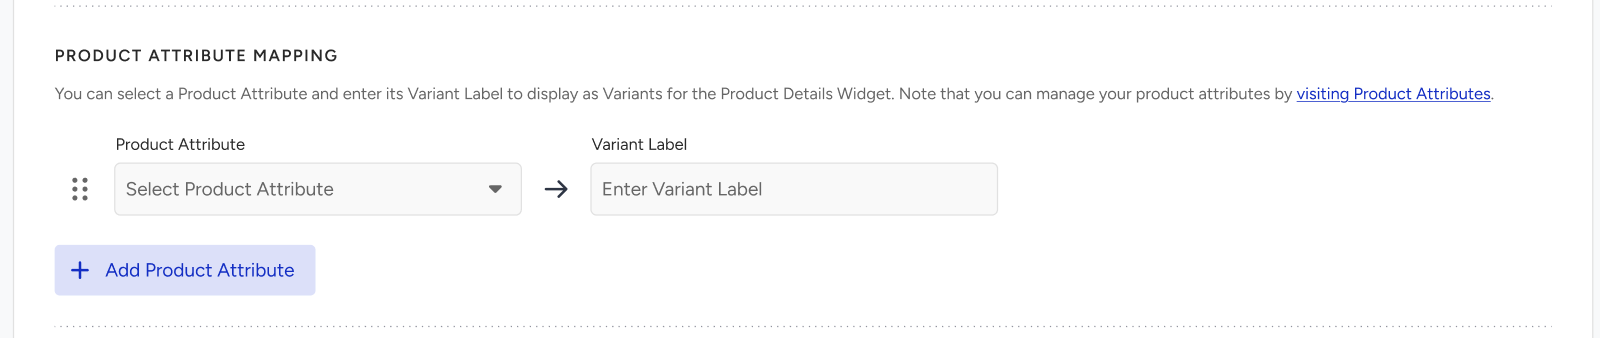
For example, the catalog attribute
size123can be displayed asSize. Customers see the mapped label instead of the original attribute name.
Widget text customization
The following fields let you customize the text displayed in the Product Details Widget to match your brand and preferred language.
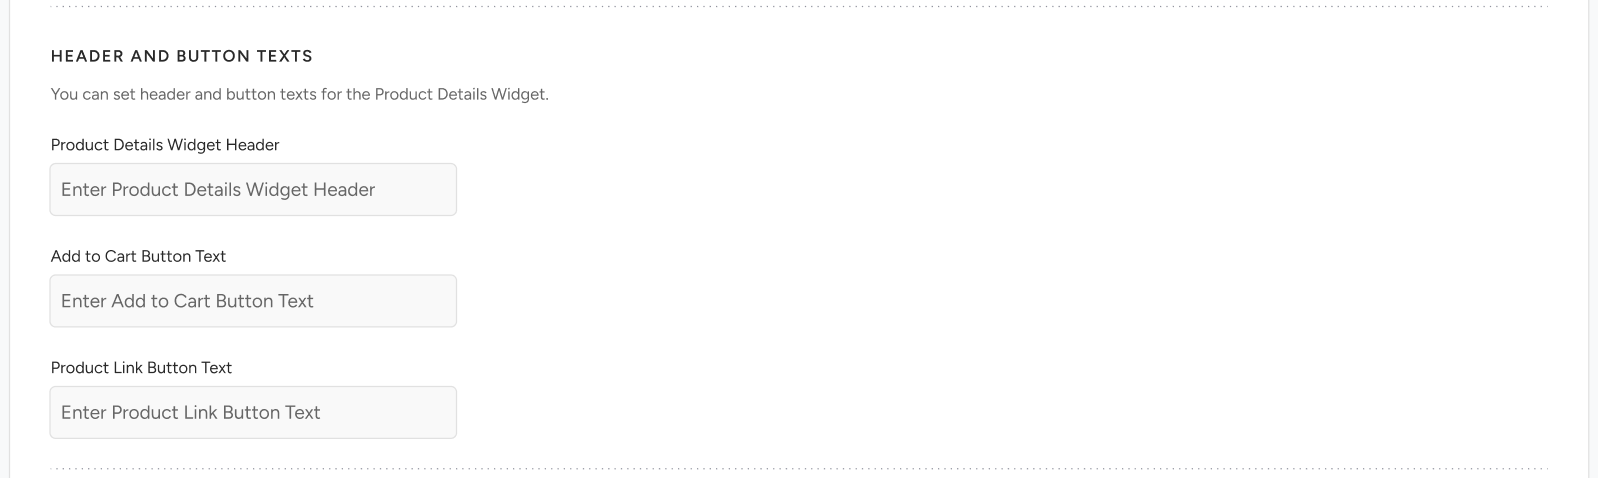
Product Details Widget Header: Specifies the title displayed at the top of the widget.
Add to Cart Button Text: Specifies the label displayed on the Add to Cart button.
Product Link Button Text: Specifies the label displayed on the button that directs customers to the product page.
Translation
If you support multiple languages, you can enable automatic translation for the Product Details Widget. A Translate button appears within the widget, allowing customers to view its content in their preferred language. 
Translation applies to:
Product descriptions
Attribute labels
Button text
Widget headers
All other visible text within the widget
After configuring the widget, click Save to apply your changes.