You can create your Smart Recommender campaigns with your widget. In this campaign type, you use ready-made templates and apply customizations to the template on the Insider’s InOne panel during the campaign creation process.
To start creating your Smart Recommender campaign, navigate to Experience > Discover > Web Smart Recommender.
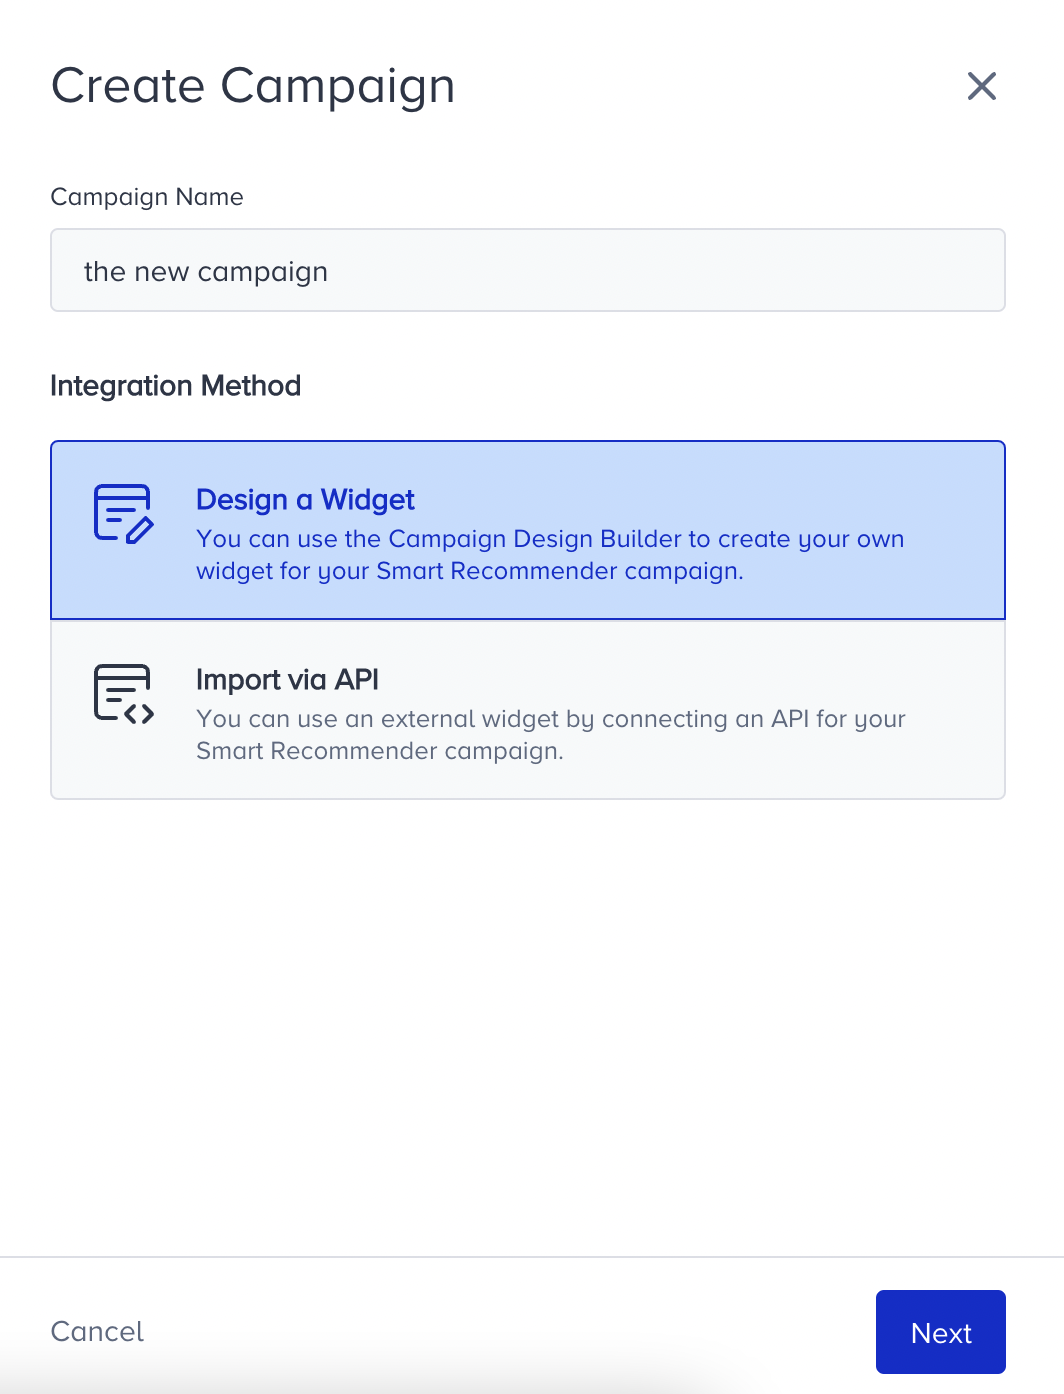
- Click the Create button on the main page. Then, select the Integration method and name your campaign.
- Select the platform and page type where you want to add your widget. Then, click the Next button.Your title goes hereIf you have not configured your page links before, make sure to complete the configuration before selecting a page type.

- Configure your segmentsfor a narrowed-down audience. The available segmentation options are:
- Predictive Segments
- Purchasing Behavior
- Visiting Behavior
- First-Party Segments
- OnSite Campaign History
- Onsite Segment
- CRM Attributes
- RFM
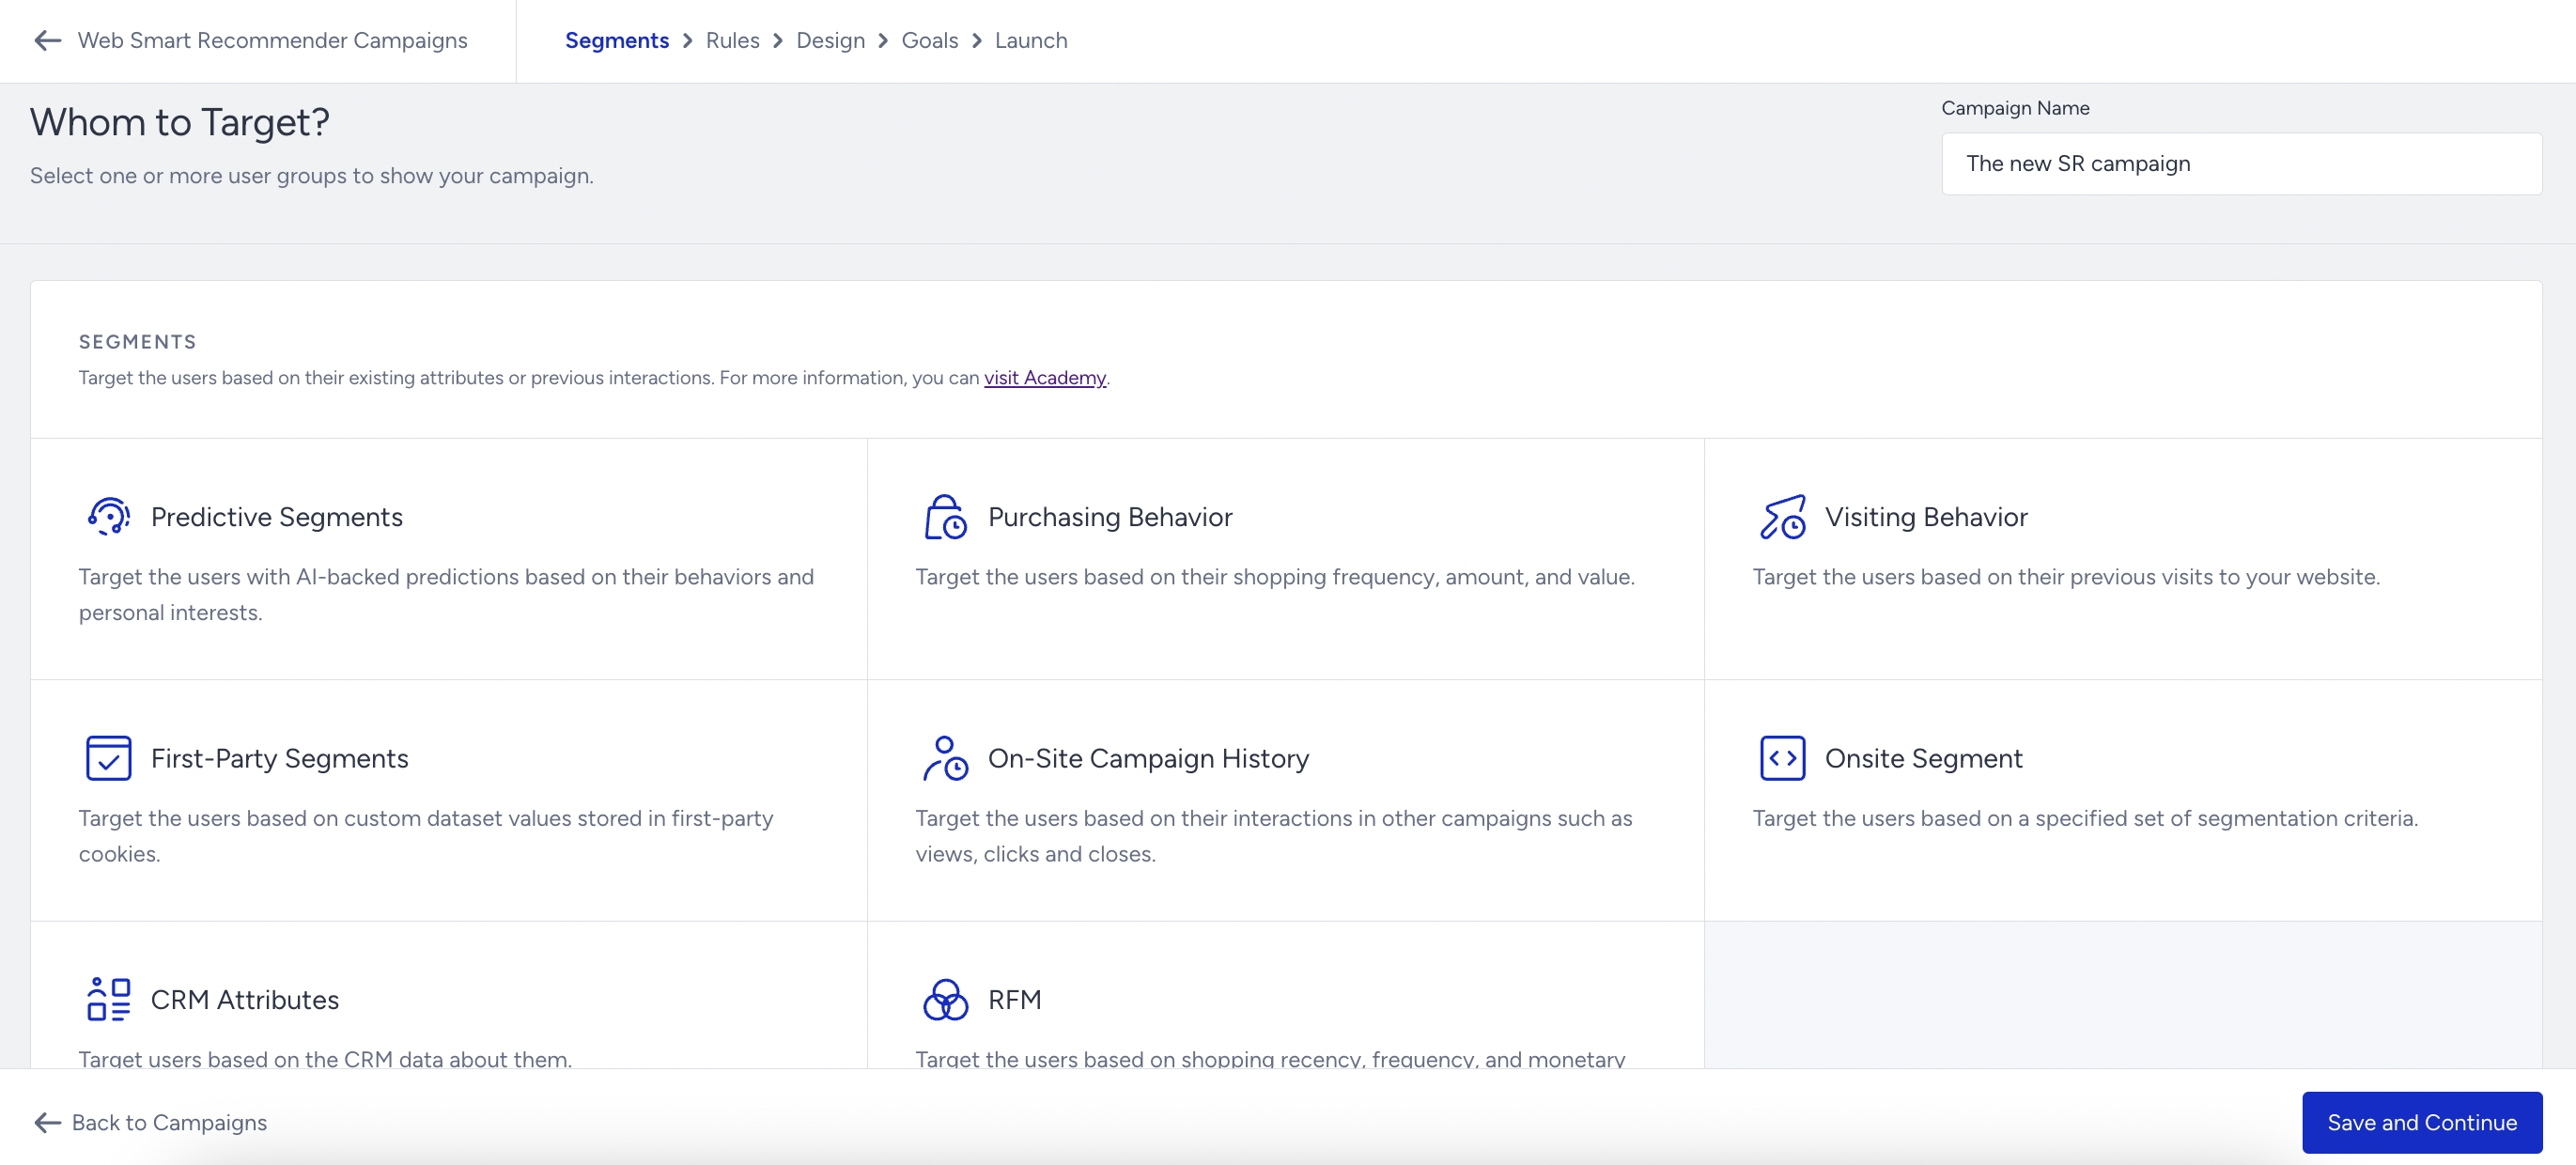 If you do not apply segmentation, your campaign will be delivered to all available users.
- In the Rules step, the page type you select at the beginning is selected by default. You can also add rules to start showing your campaign:
- Page Rules
- Page Behavior
- Weather Rules
- Browser Storage Rules
- User Rules
- Custom Rules
- Data Layers
- Website Trigger
- Traffic Source
- Purchasing Behavior
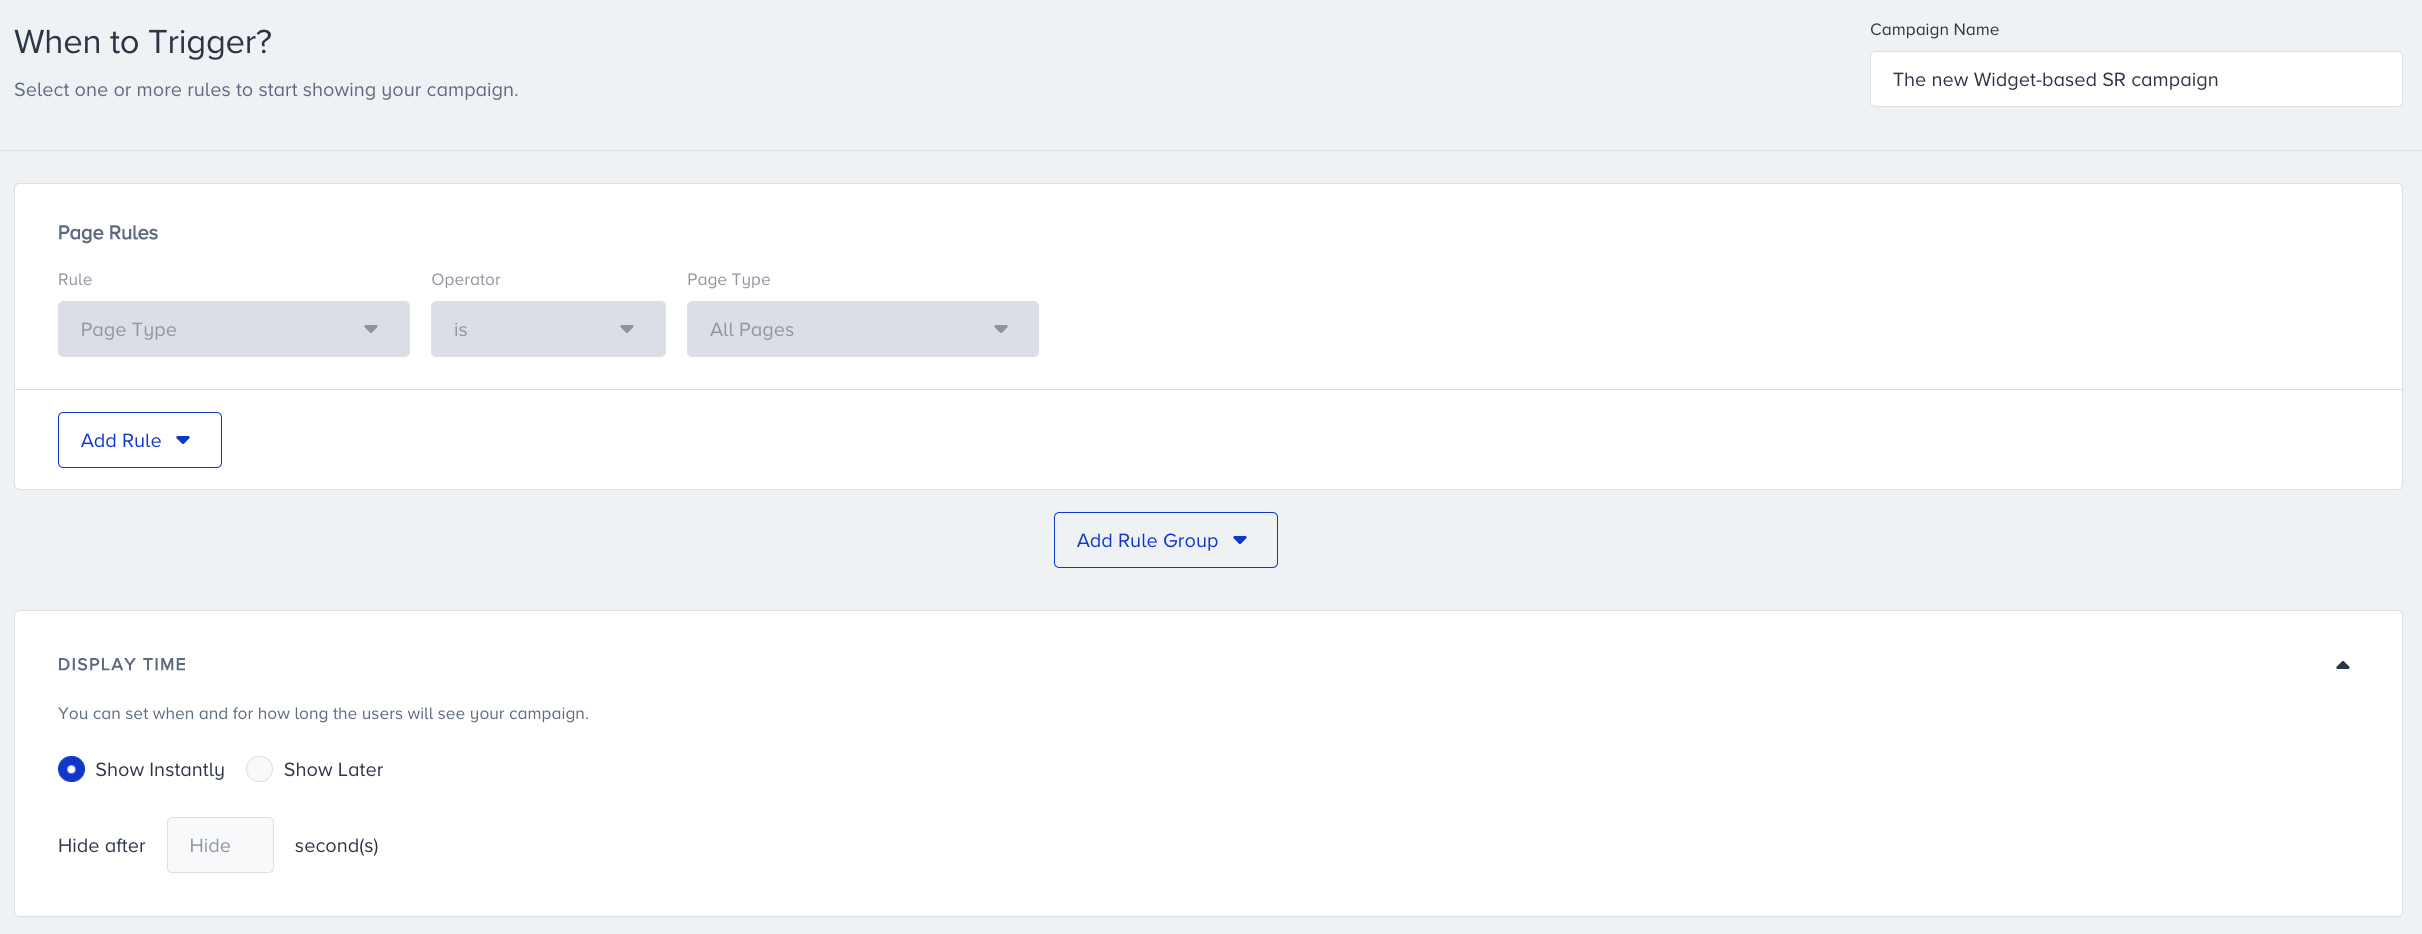 You can also configure Display Time to set when and how long the users will see your campaign.
- Proceed with the Design step and click Add a new variant. First, select the Recommendation Strategy you have configured to tailor the recommendation experience.
- Click the Create Design button. The panel will direct you to the platform where you can design and customize your Smart Recommender widget.For further details, refer to Anatomy of a Widget-based Smart Recommender.
- After you finalize designing the widget, decide on the traffic allocation of your variant(s) to get and track the results of your campaign:
- If you have one variant and want to show it to every user, then set it as 100%.
- If you want to compare it with a control group, allocate 100 between your variant and the control group.
- If you have multiple variants and want to have a control group, too, then allocate them accordingly.
- Configure your goals to track your campaign's performance. Purchases are selected by default. You can also create a new goal or choose from the existing ones.
 Under the Goal Durations, you can set the period of time for the users to accomplish the goals of your campaign.
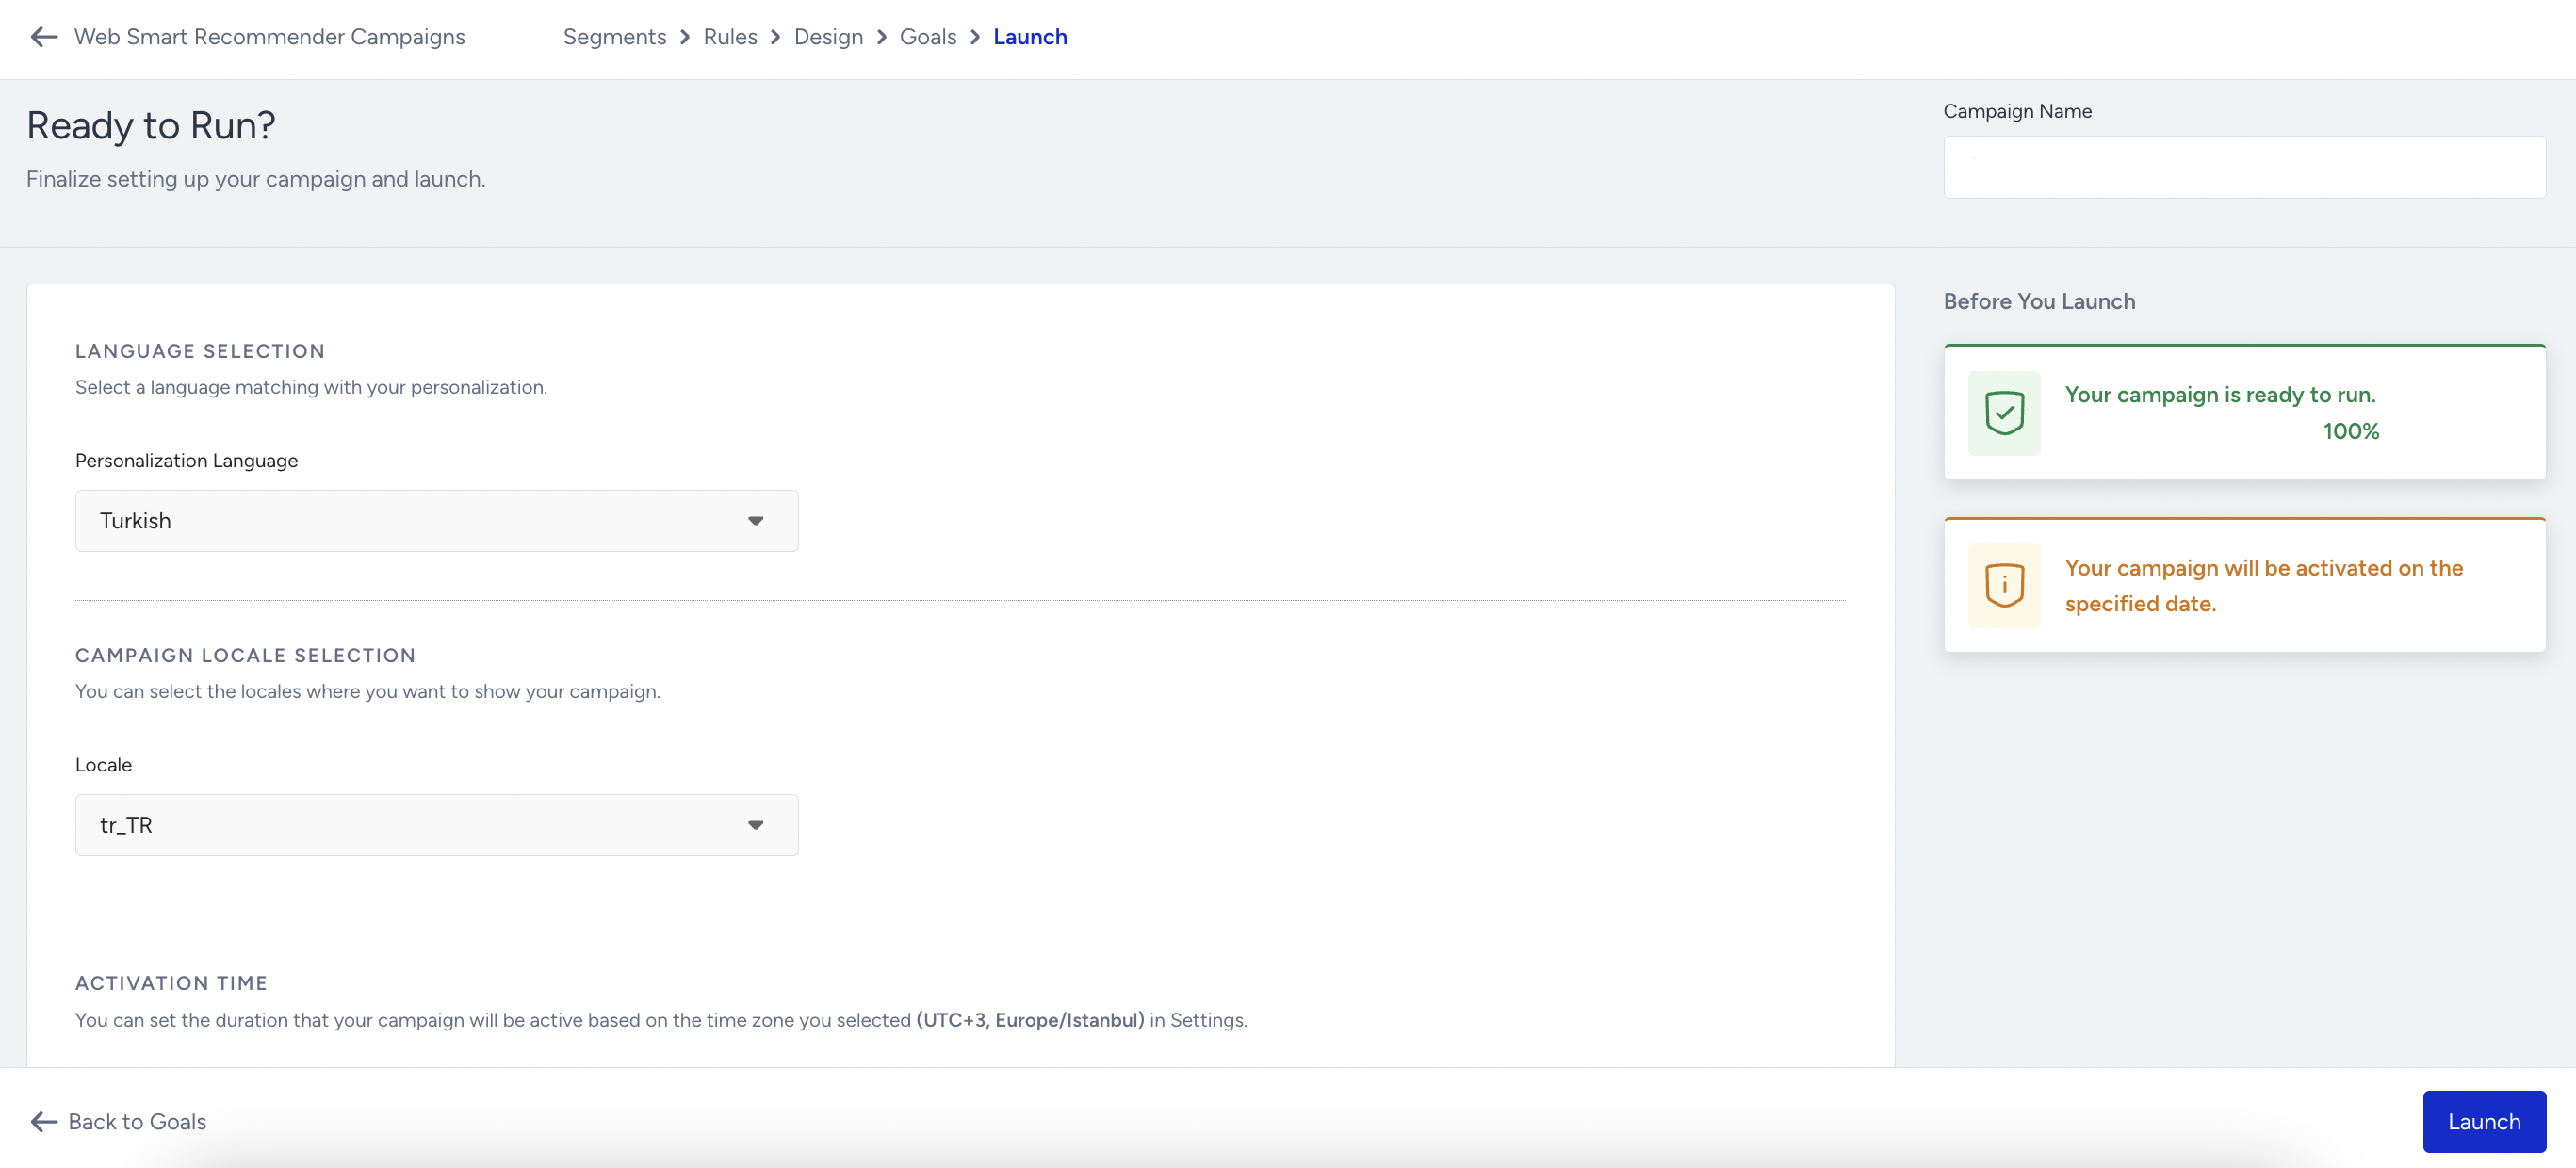
 - On the Launch step, select the language matching your personalization, and configure your locale and store selection, activation time, display settings, and advanced settings as applicable.
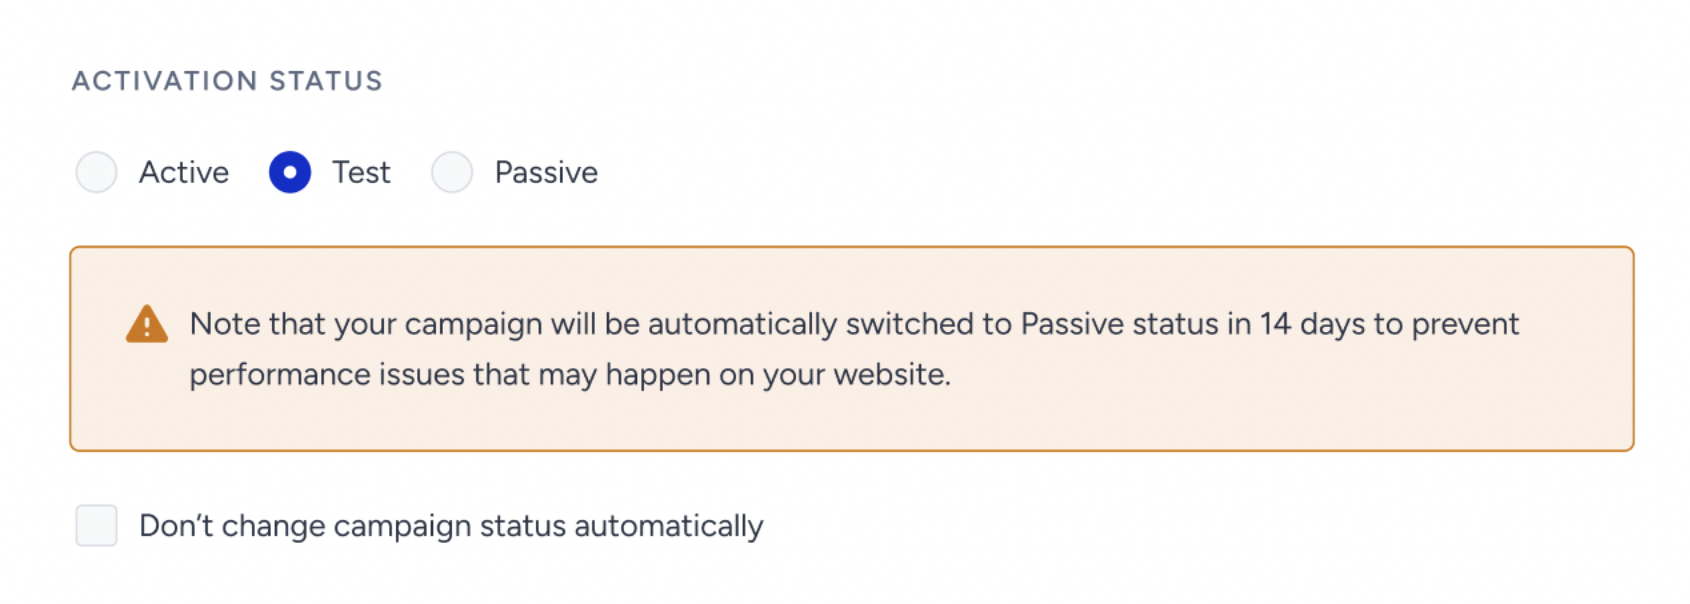
- Based on your needs, save your campaign in the Active, Test, or Passive status. We highly suggest you test your campaign before you launch it. When you see that your campaign functions as you have configured it, change its status to Active and click the Launch button.
As of February 19th, 2025, Test campaigns will be automatically deactivated after 14 days if their status is not updated. To prevent this, you can select the appropriate option in the Launch step.
This change applies only to newly created campaigns. Existing campaigns will not be affected.
- When selecting the Test status in the Launch step, a warning message will indicate that the campaign will be deactivated in 14 days.
- To disable automatic deactivation, simply check the box below the warning.
- For campaigns that remain in Test status beyond 14 days, an informational message will appear in the Details Modal on the listing page.