Integration Settings hosts integration-related activities. To navigate to this page, click your username > Settings > Inone Settings.
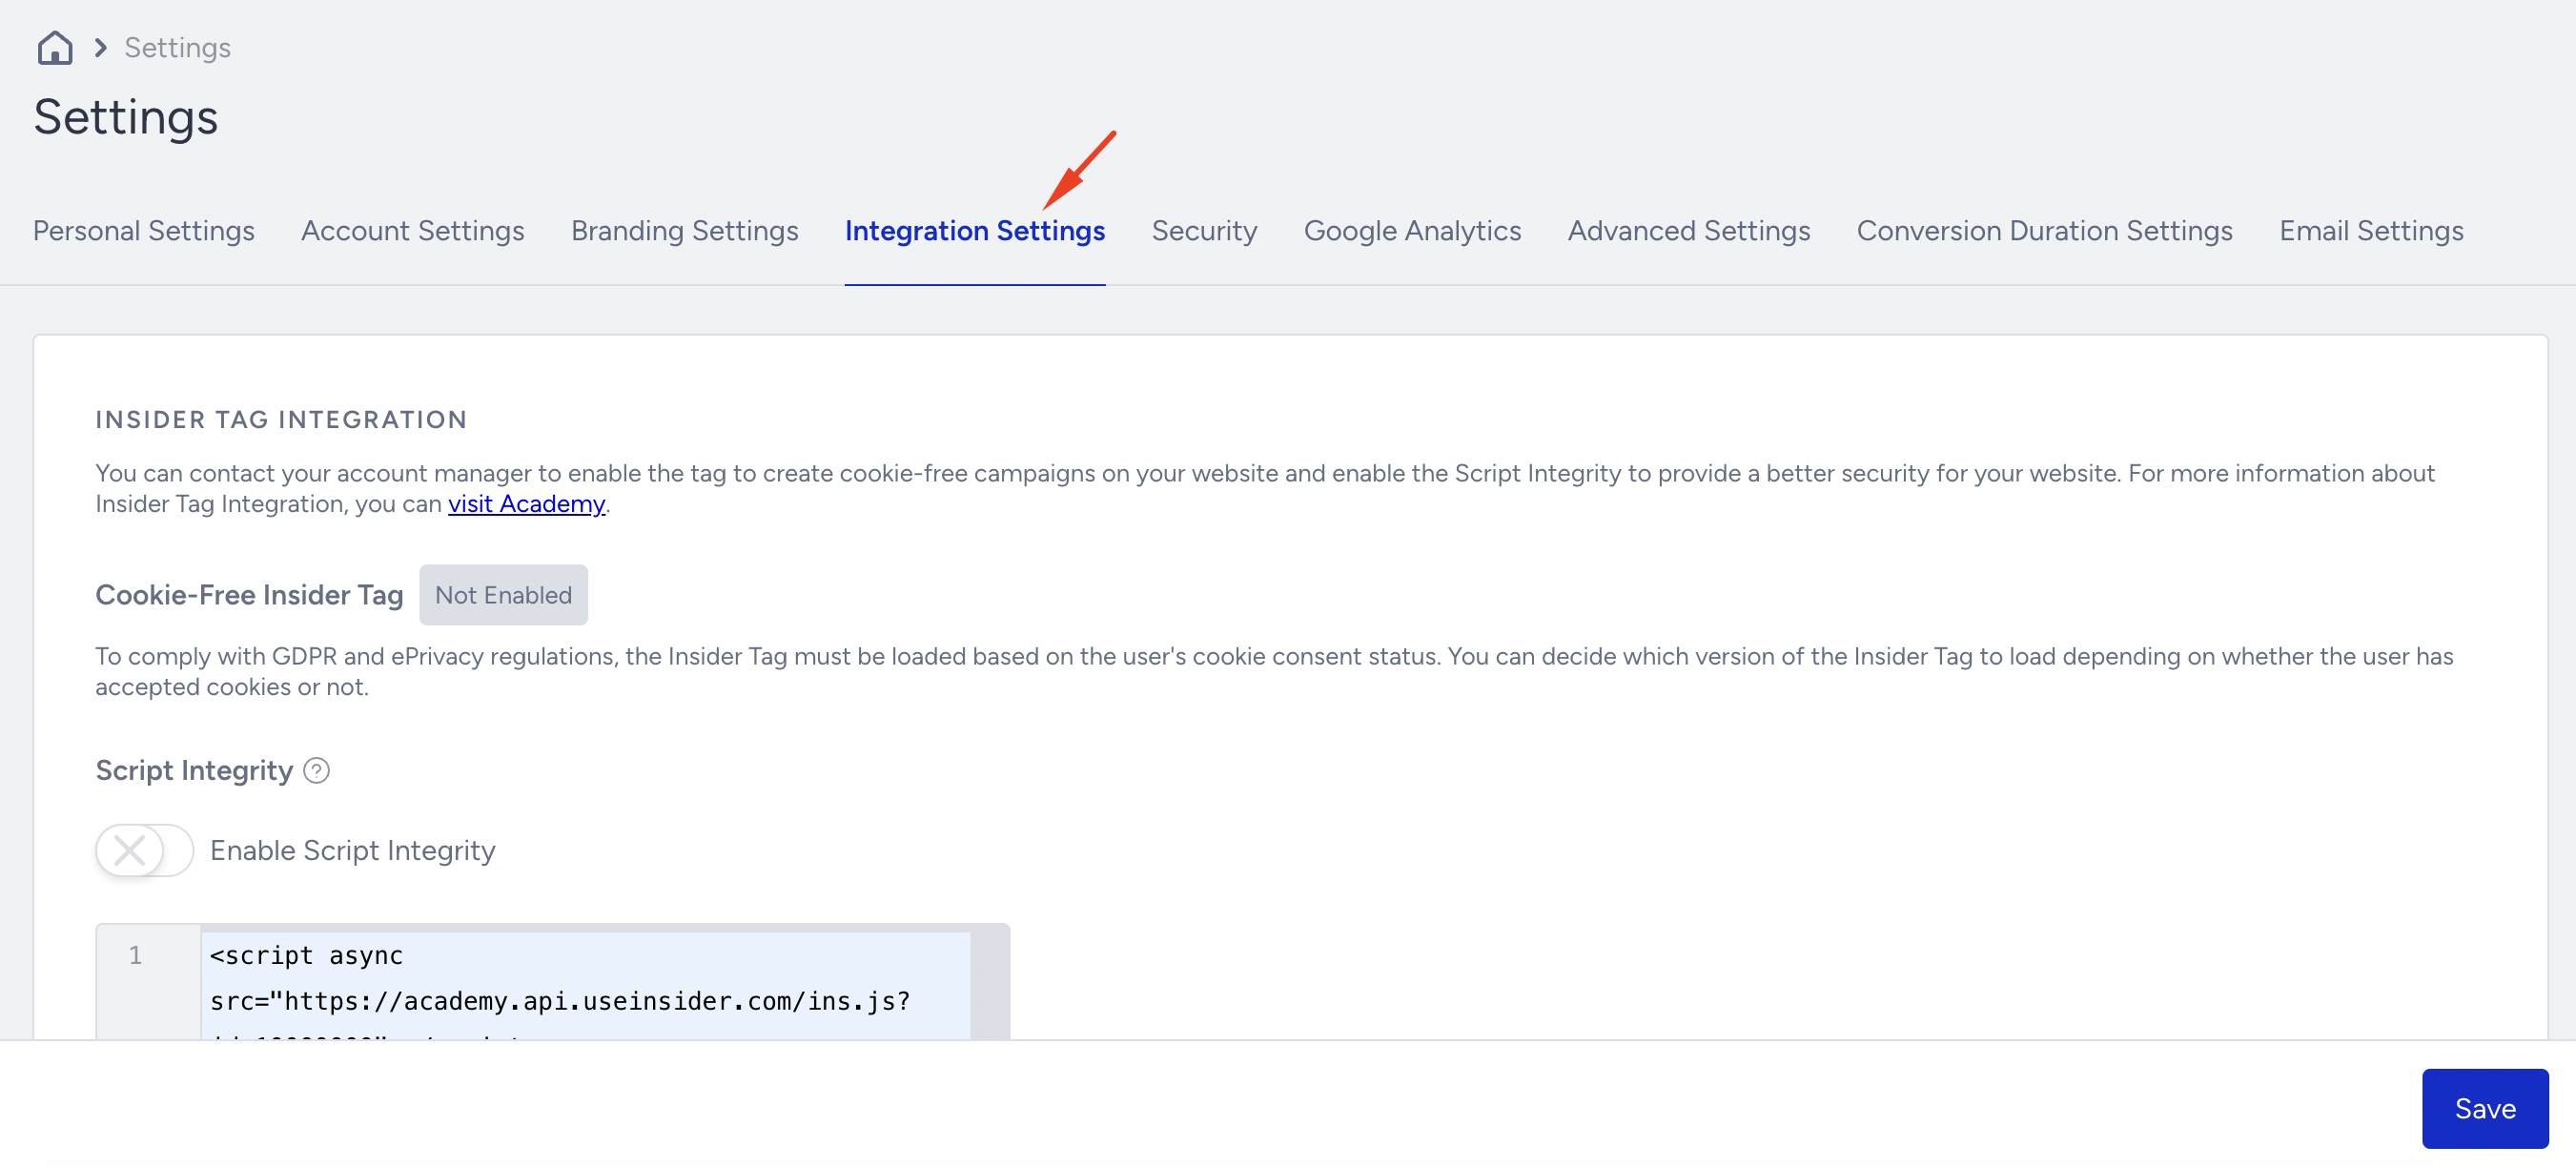
Insider Tag Integration
Under this section, you can see the script you need to integrate for Insider Tag Integration. You can click Copy Code to get the code for your account.
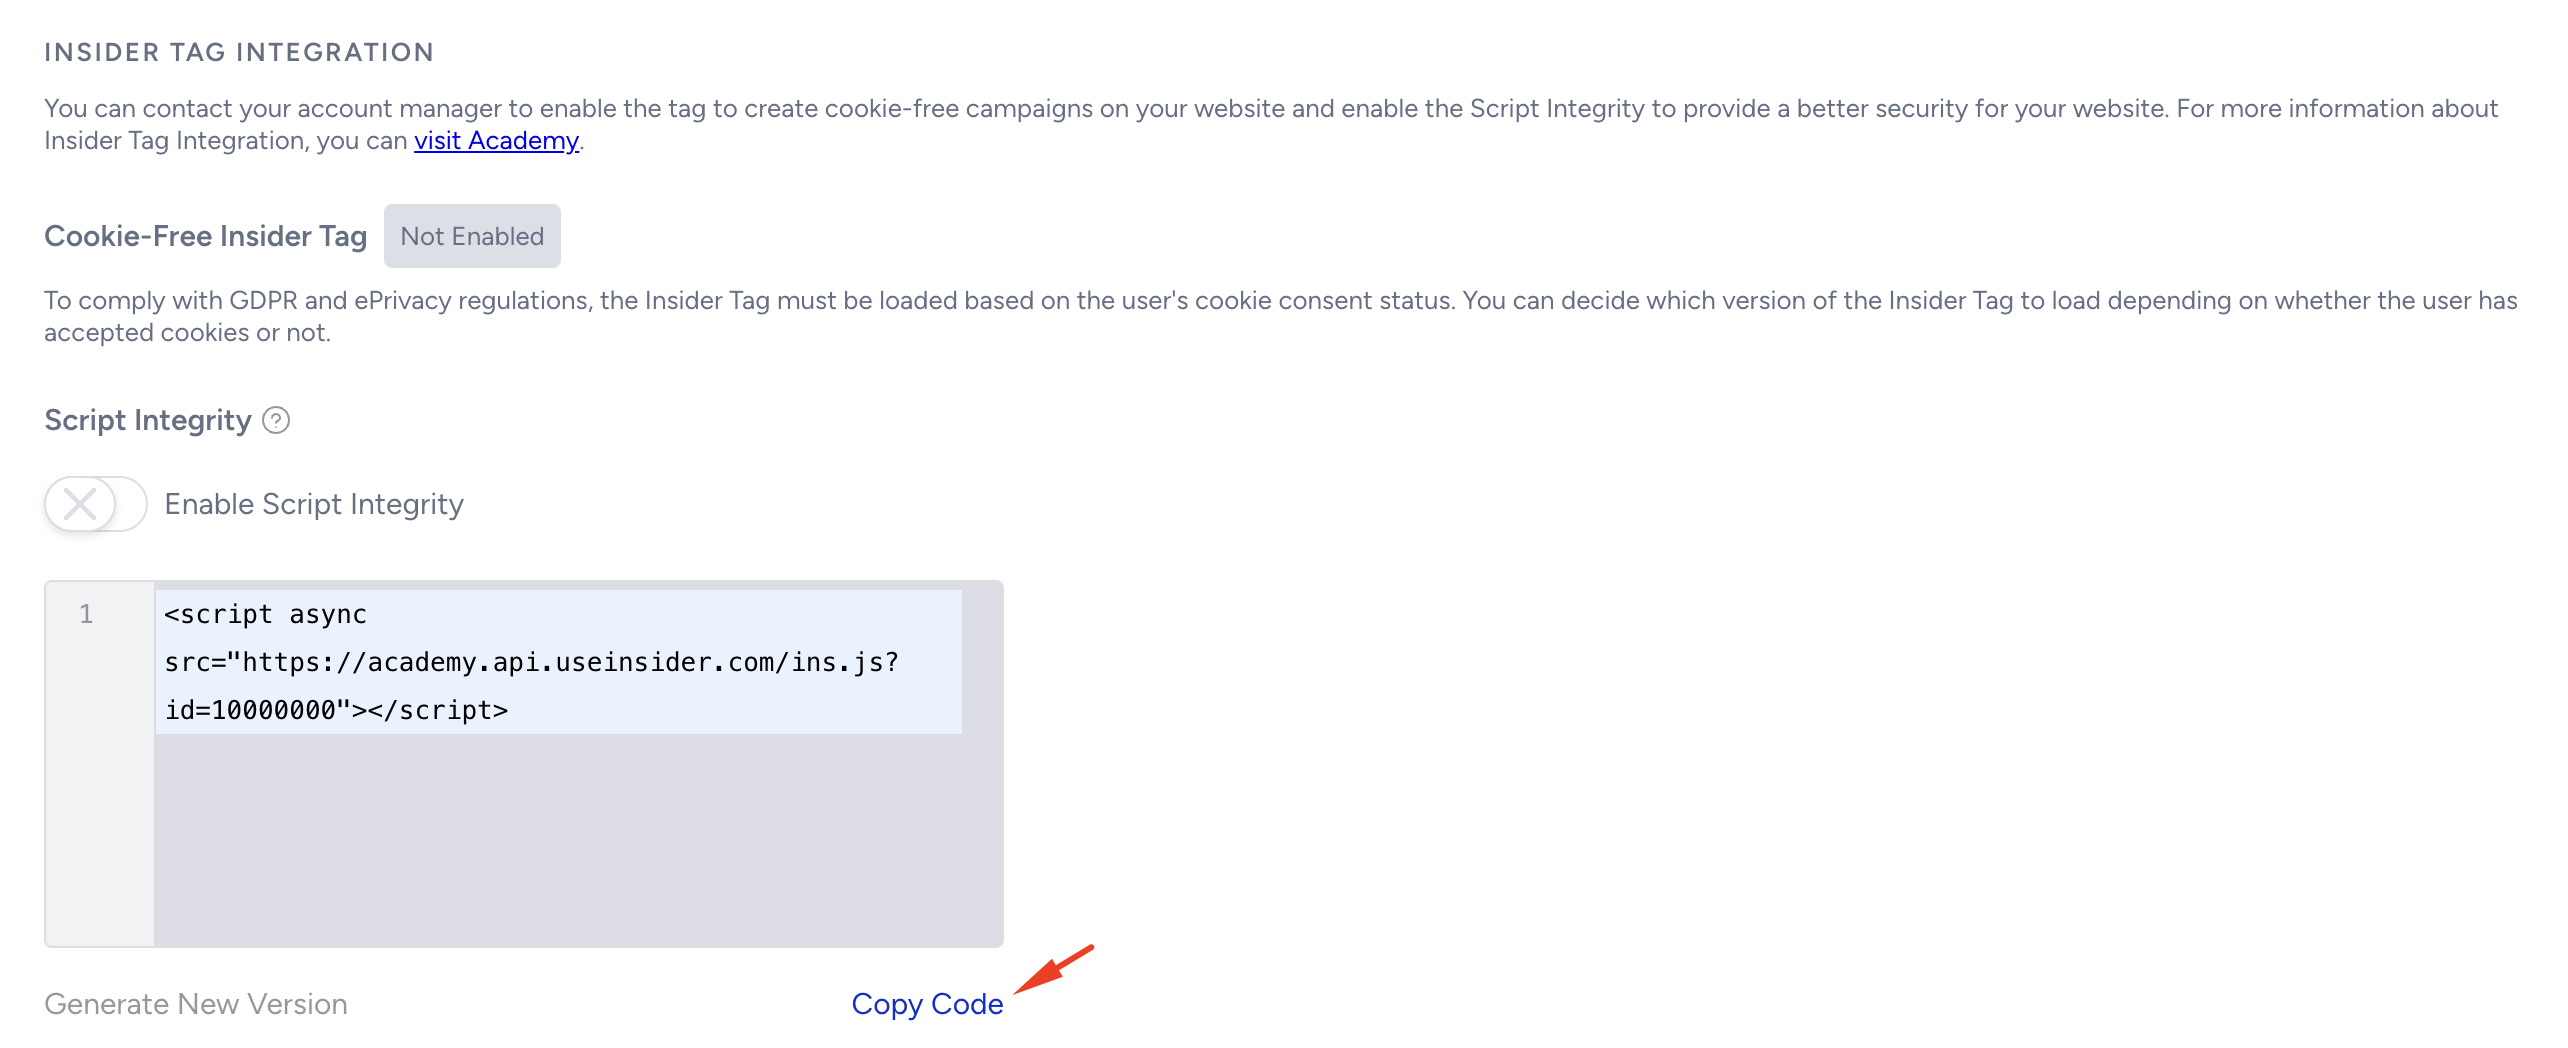
Script Integrity
Script Integrity is a feature that helps you use the Insider Tag more reliably and under greater control.
When enabled, it generates a protected version of the integration code (tag). You can create and manage different versions of this code and easily copy a safer, approved version to your website.
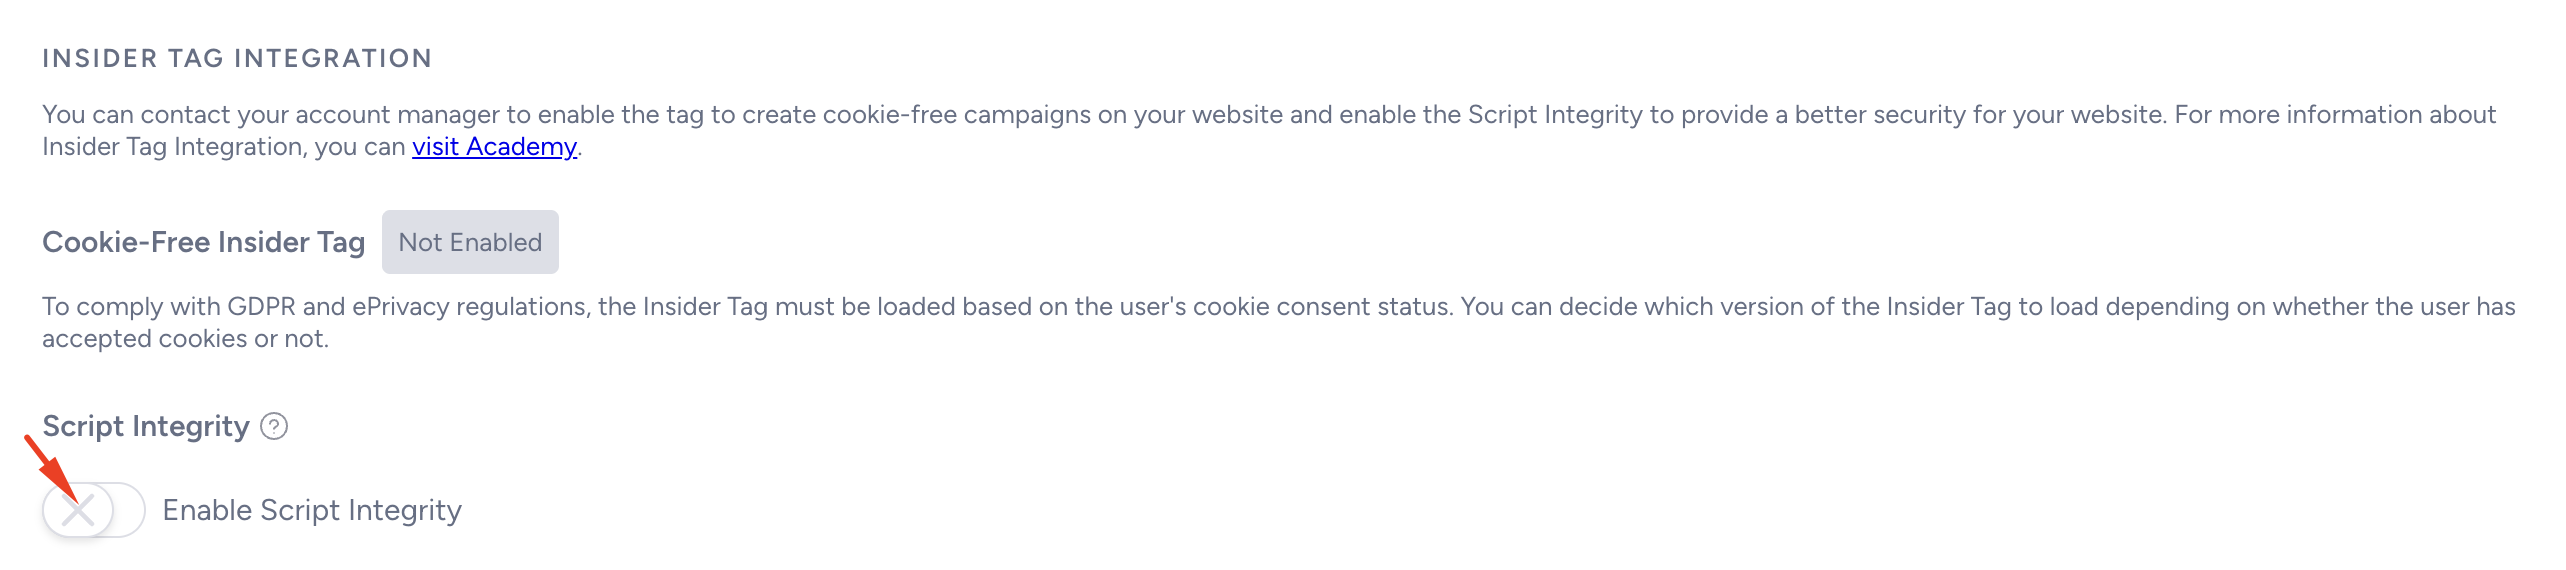
To enable Script Integrity,
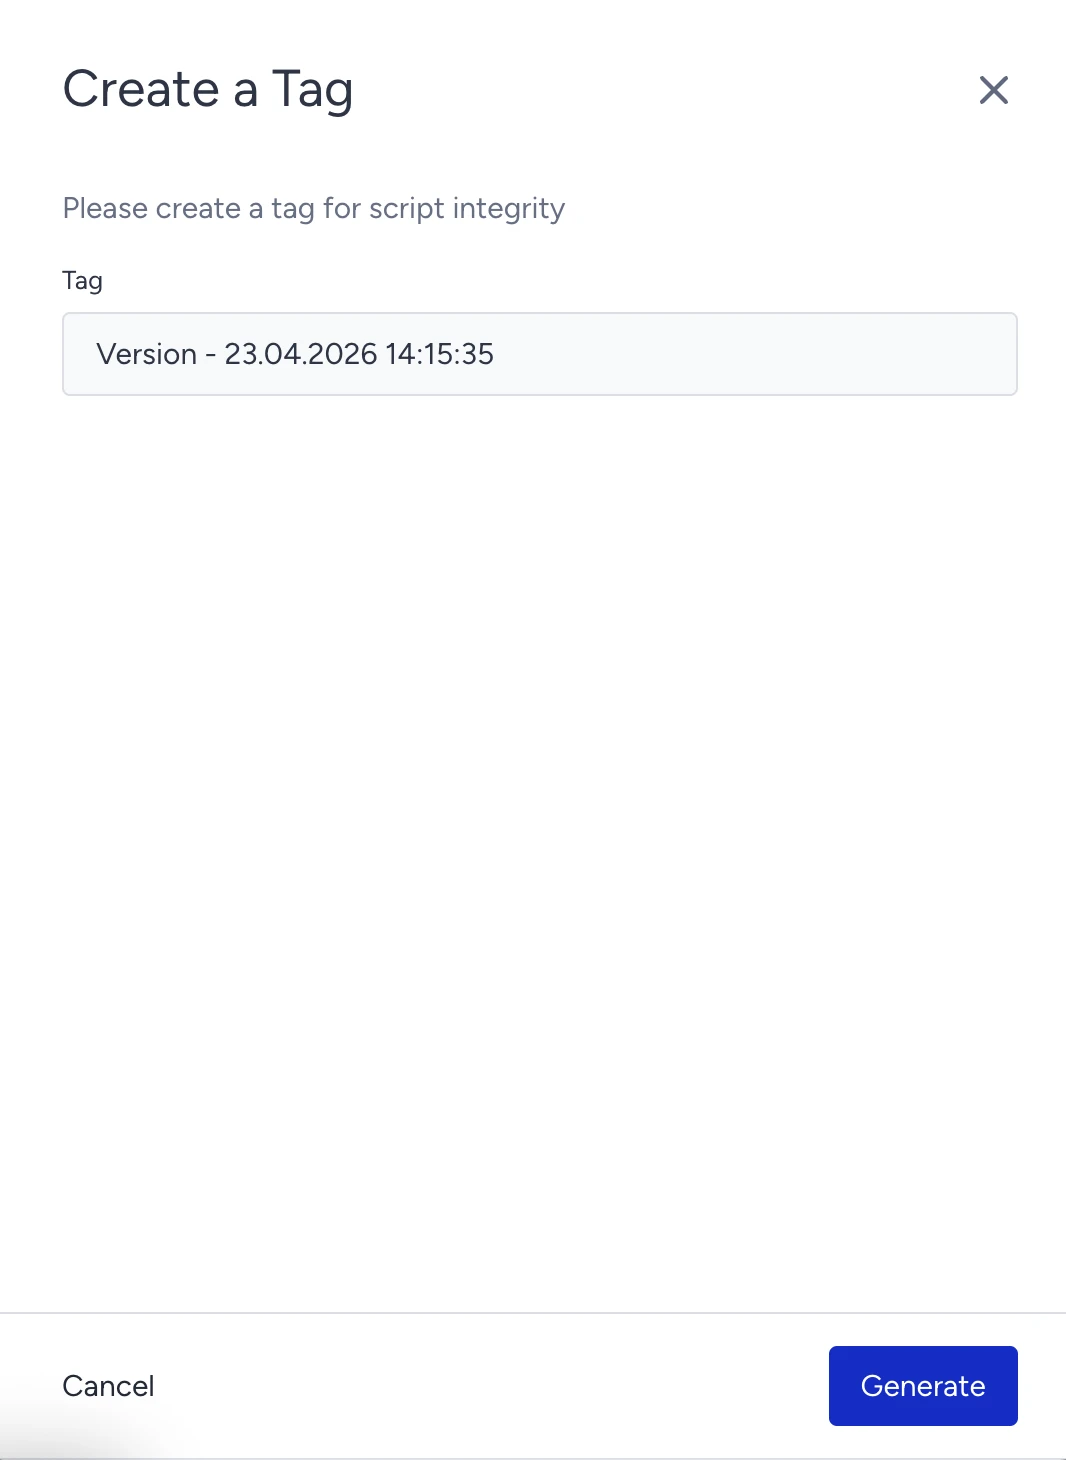
Activate the “Enable Script Integrity” toggle.
Once activated, a drawer will appear. You can rename the tag if needed. Click Generate to create the first version of the tag.
After generation, the first version of the tag will be displayed.
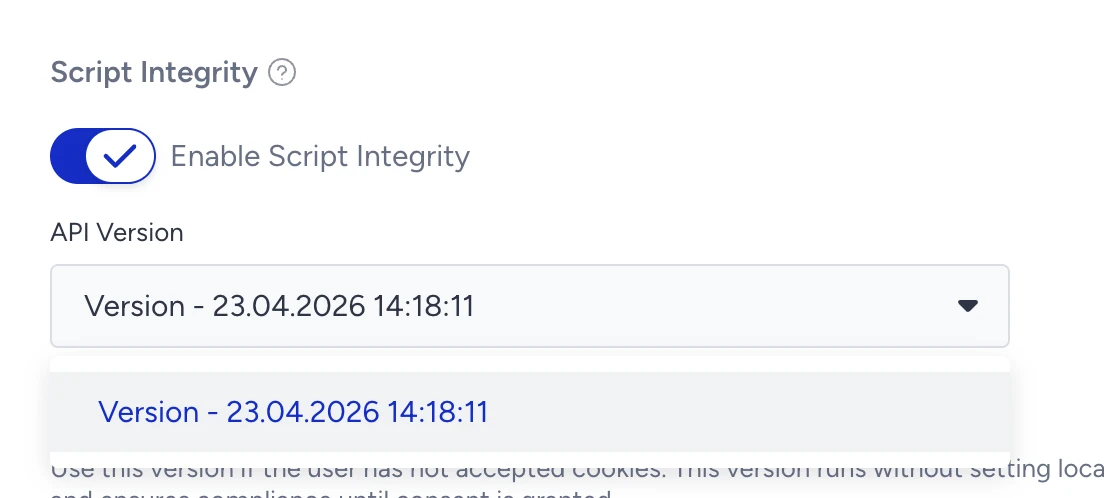
Copy the tag and add it to your website.
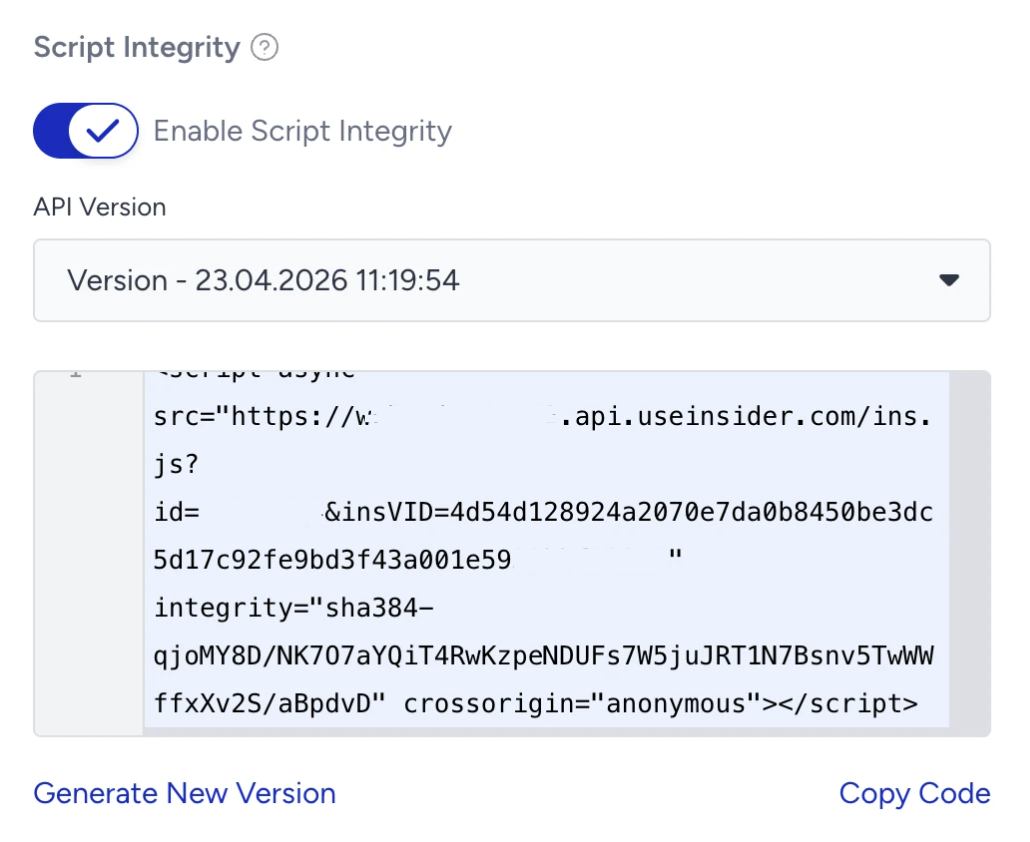
When you want to update the tag, click Generate New Version and replace the existing one on your website.
When Script Integrity is enabled, the standard Generate flow on the Insider panel does not apply. The Insider Tag on your website remains static and will not update automatically under any circumstances.
Whenever you make a change to your setup, such as creating or updating a campaign, you must manually generate a new tag version from the Script Integrity page and update it on your website.
Integrations
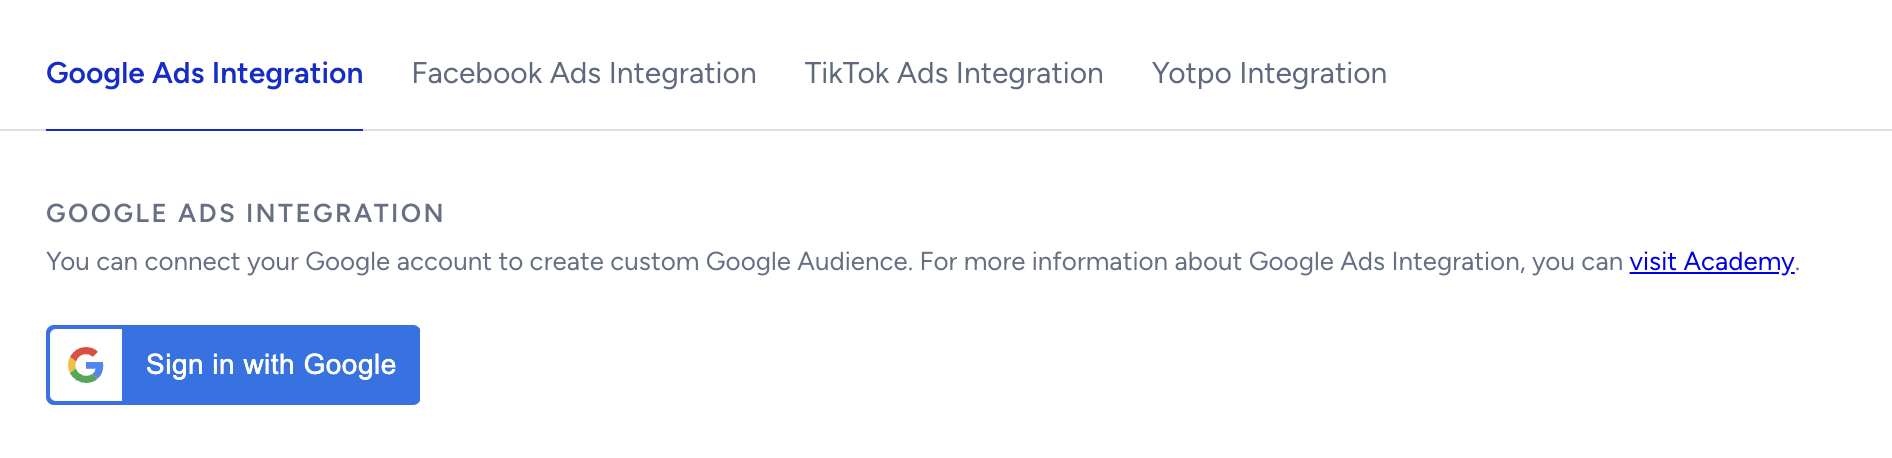
Google Ads, Facebook Ads, TikTok Ads, and Yotpo Integrations
You can connect your Google Ads, TikTok Ads, and Facebook Ads accounts to create custom audiences. For Yotpo, you will be redirected to the External Platform Integrations page. You can also select the matching attribute to identify your users and route them to the appropriate remarketing channel.
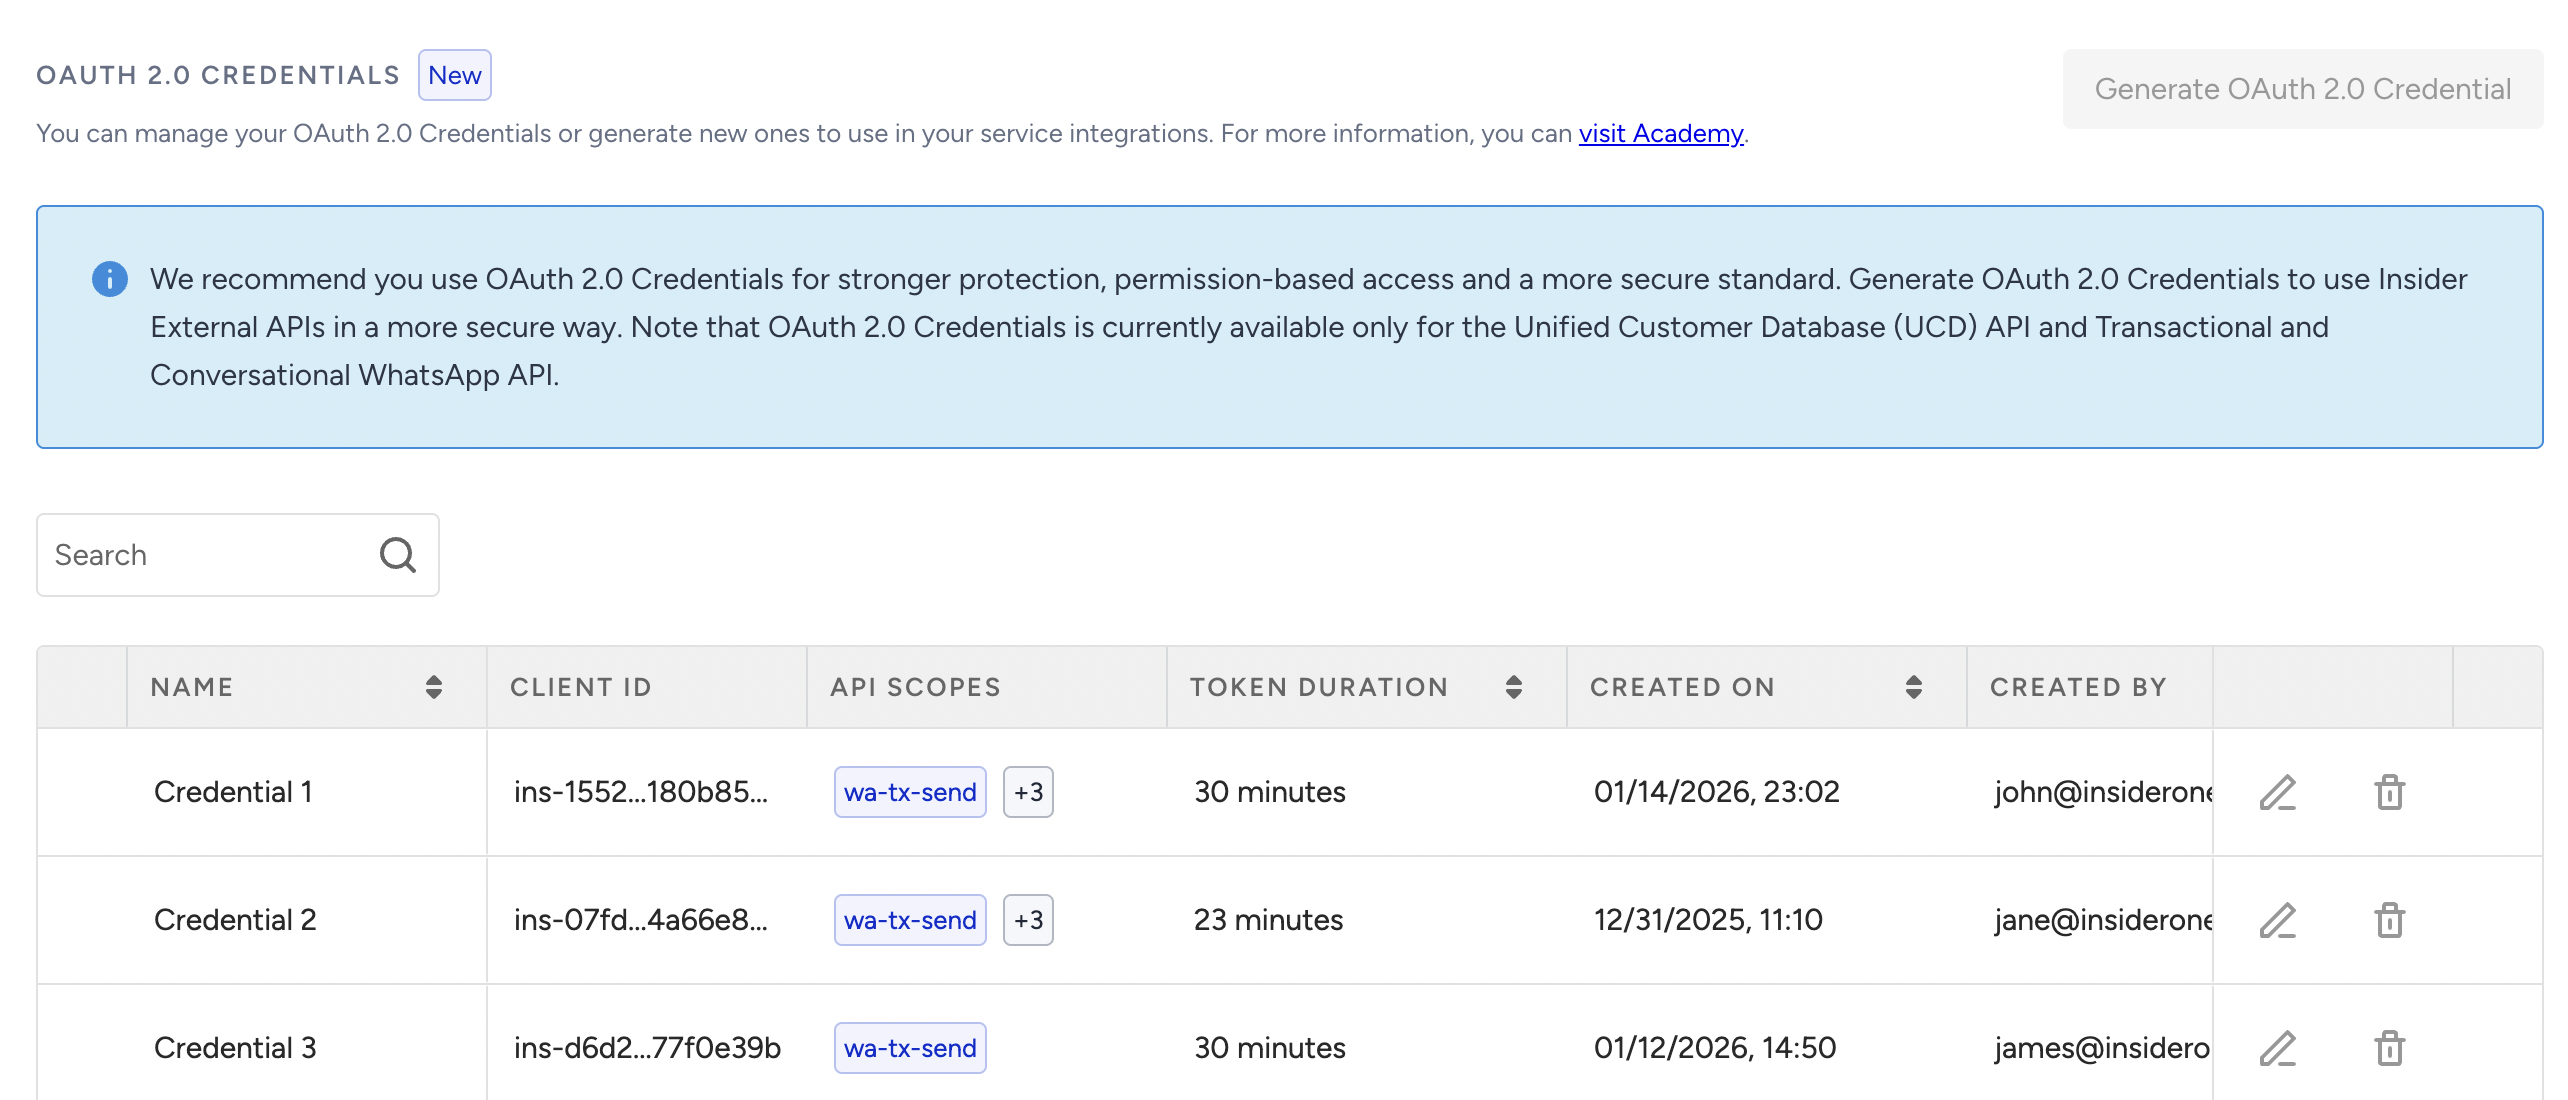
OAuth 2.0 Credentials
You can manage your OAuth 2.0 credentials or create new ones to use in your service integrations. For further details, refer to the OAuth 2.0 Credentials article.
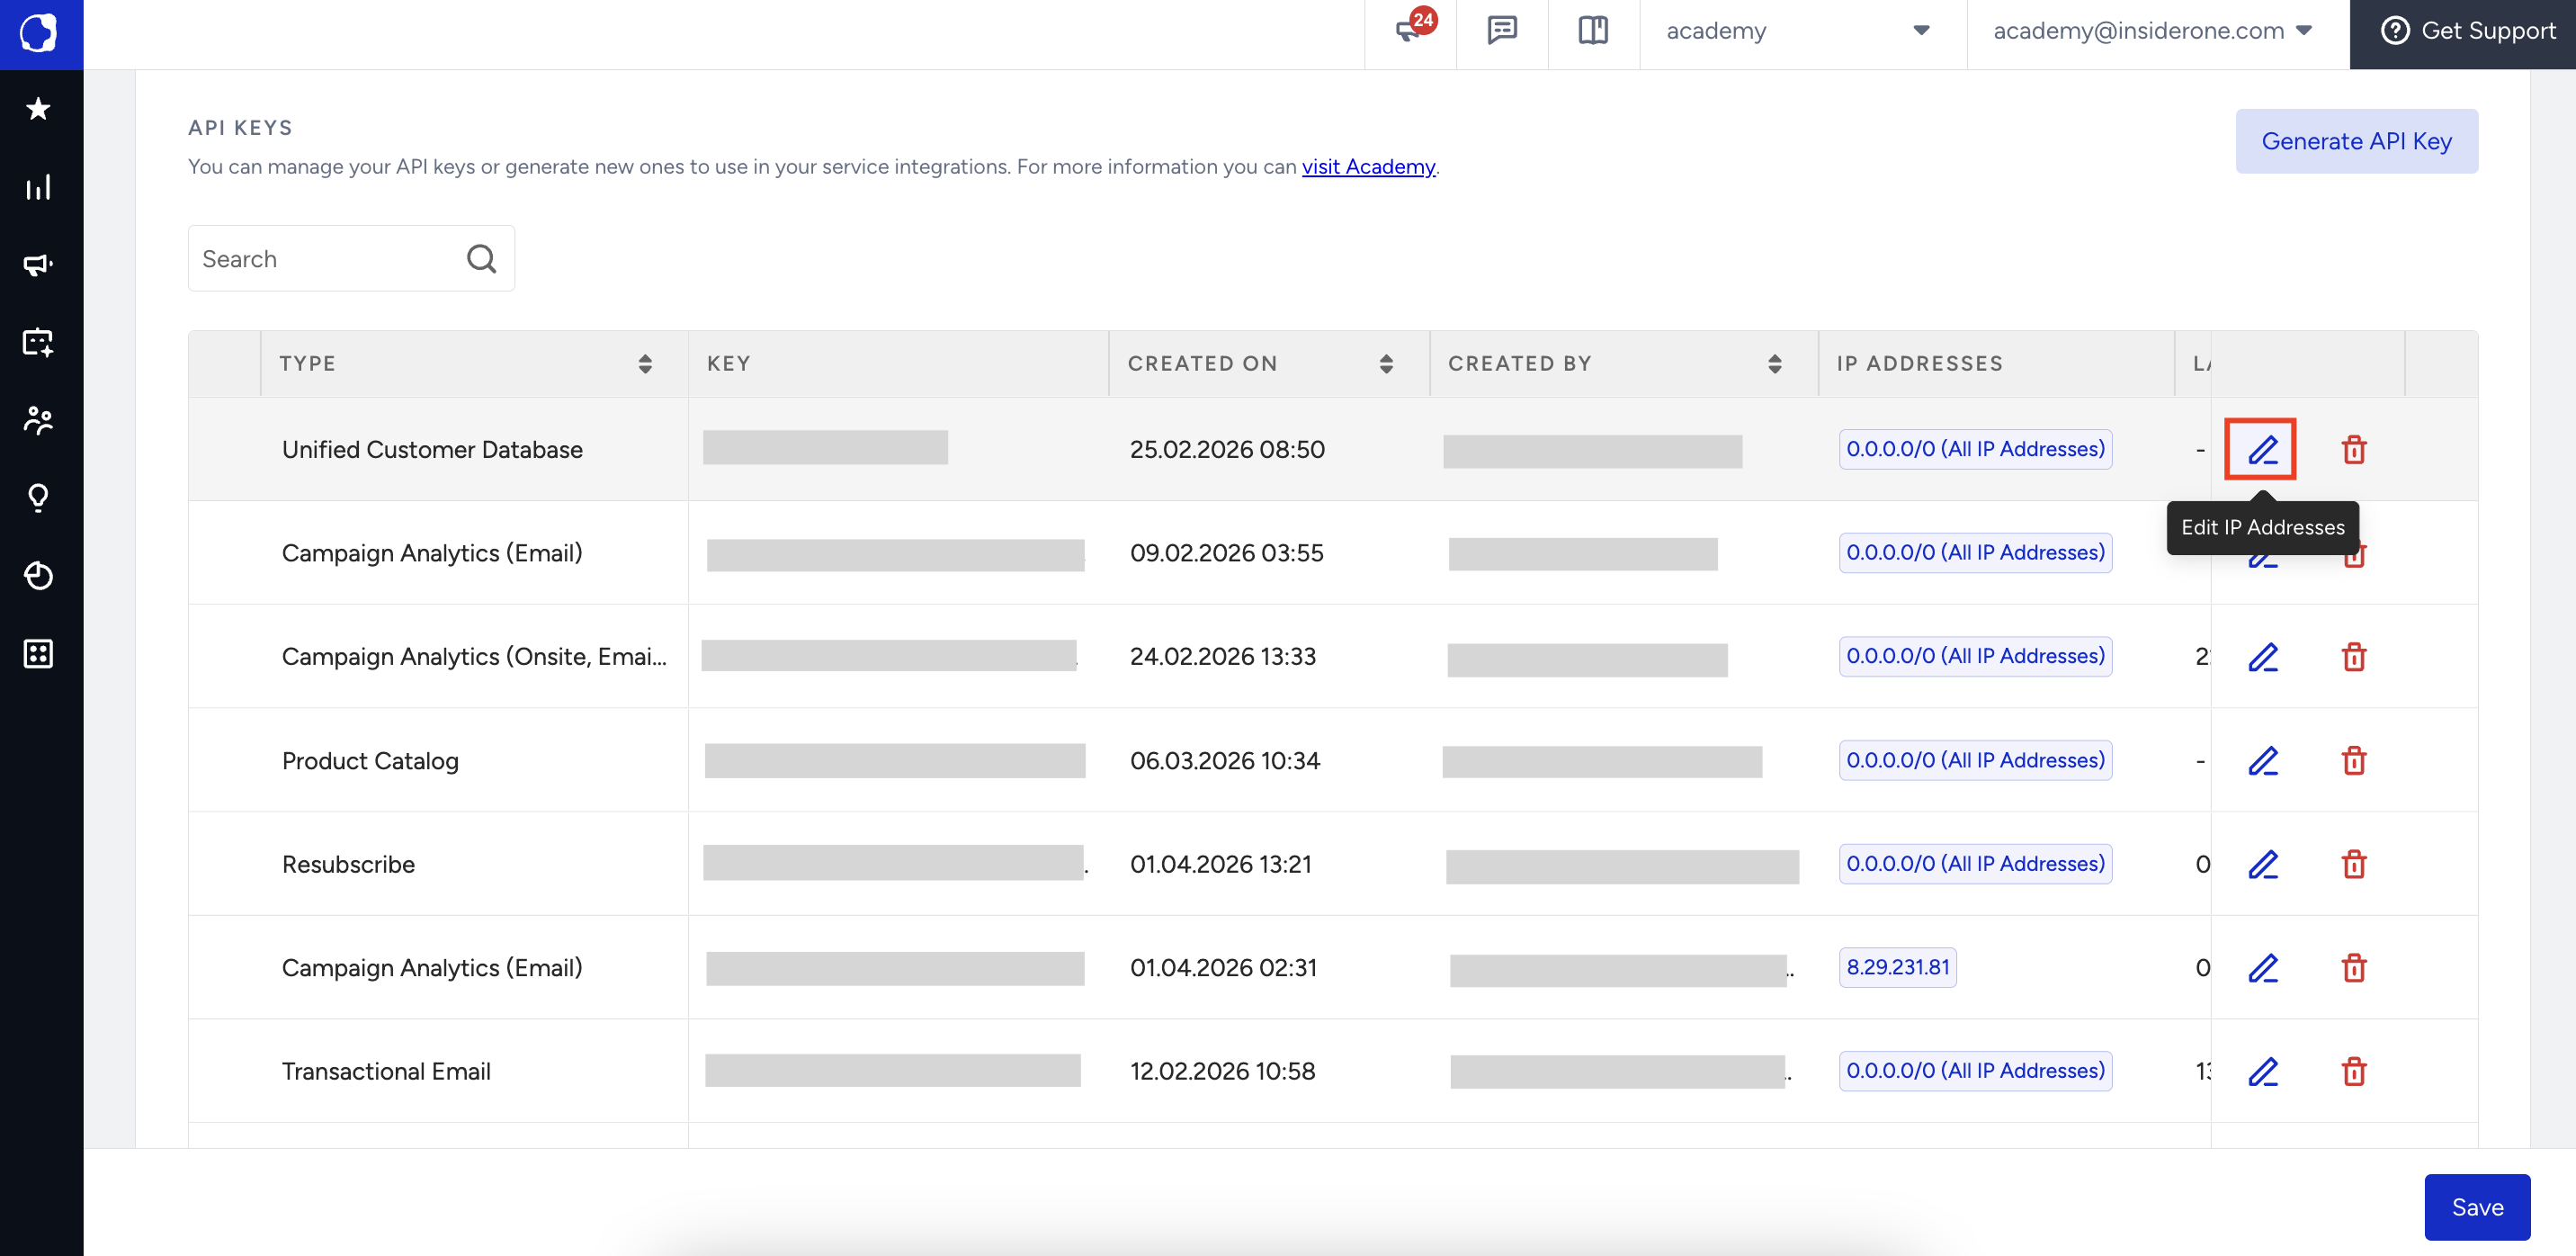
API Keys
You can manage your API keys or generate new ones for your service integrations. For further information, refer to the Generate API Key article.
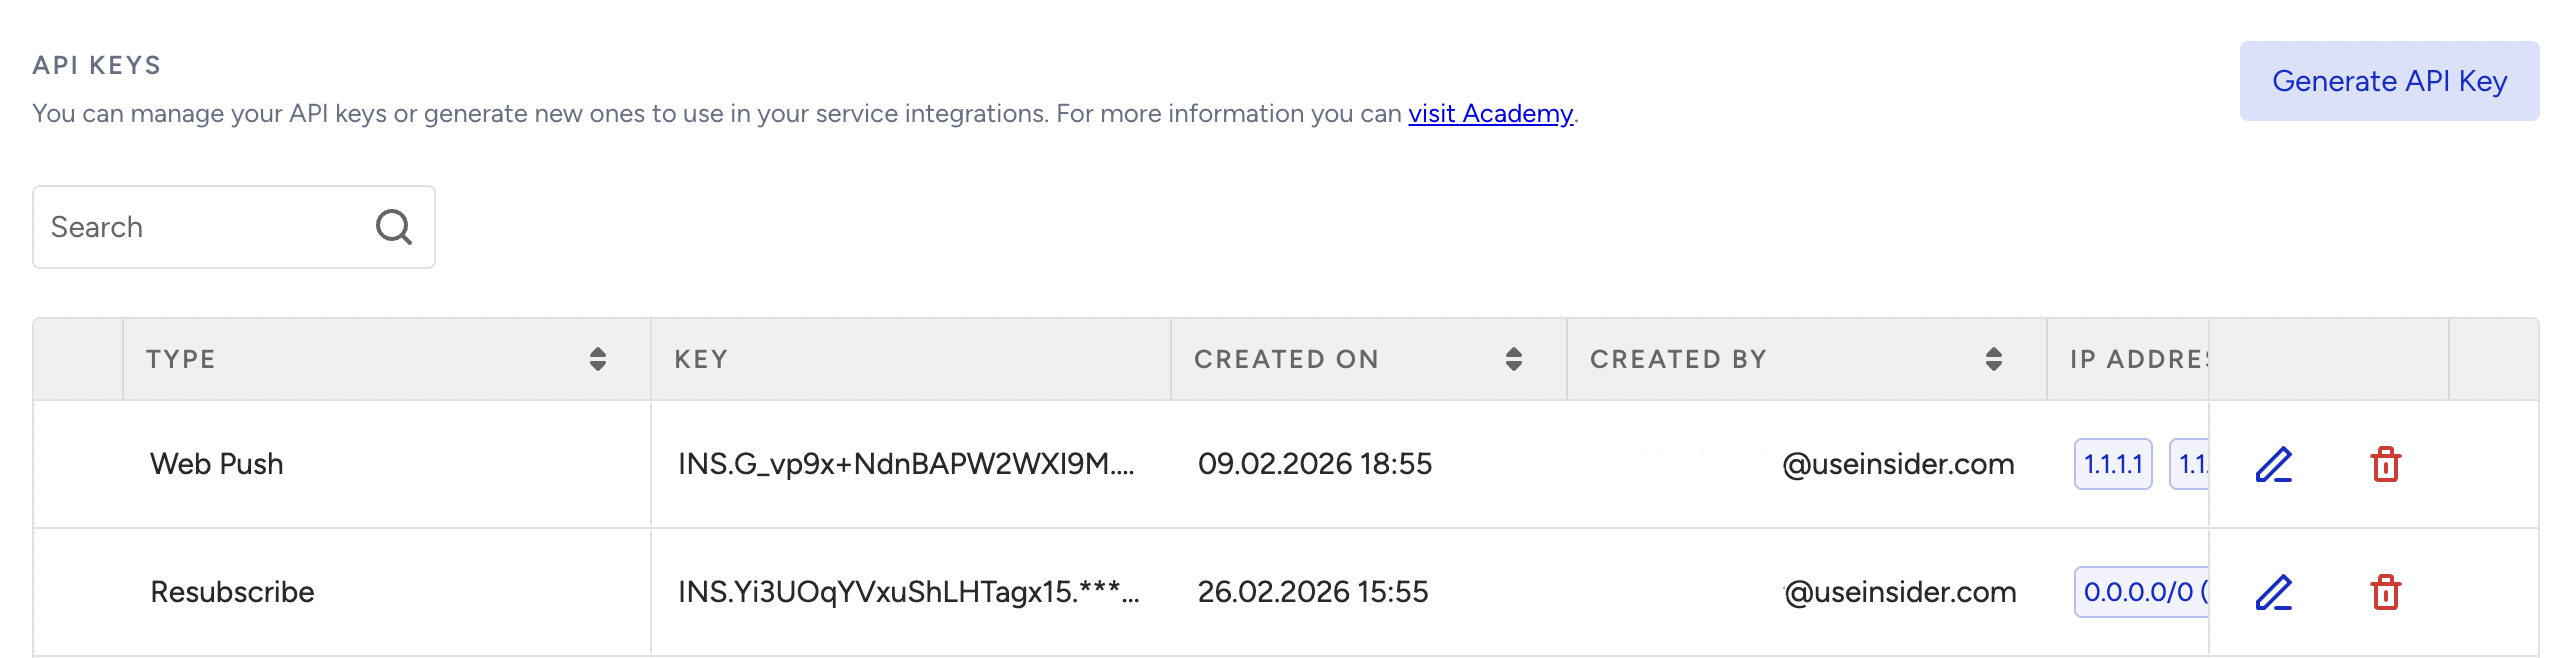
You can either authorize only trusted IP addresses or Classless Inter-Domain Routing (CIDR) ranges or allow access from all IP addresses.
Applying IP Restriction is a simple way to strengthen API access security without changing your overall integration flow.
IP Restriction is currently available for supported API key types such as Email, Mobile App, SMS, Web Push, WhatsApp, UCD, Campaign Analytics, Global Unsubscribe, Resubscribe, Product Catalog, Smart Recommender, Eureka Search, Verify API, Business Event Trigger, and Transactional Architect.
Configure IP authorization for new API keys
When you create a new API key for a supported API, you configure IP authorization during key generation.
By default, Trusted IP authorization is selected. If you keep this option, you must add at least one IP address or a CIDR range before generating the key.
If you prefer to allow unrestricted access, switch to All IP addresses.
Navigate to InOne > Settings > Integration Settings > API Keys.
Select Generate API Key.
After selecting your API Key type, you will see the IP Address Authorization step.
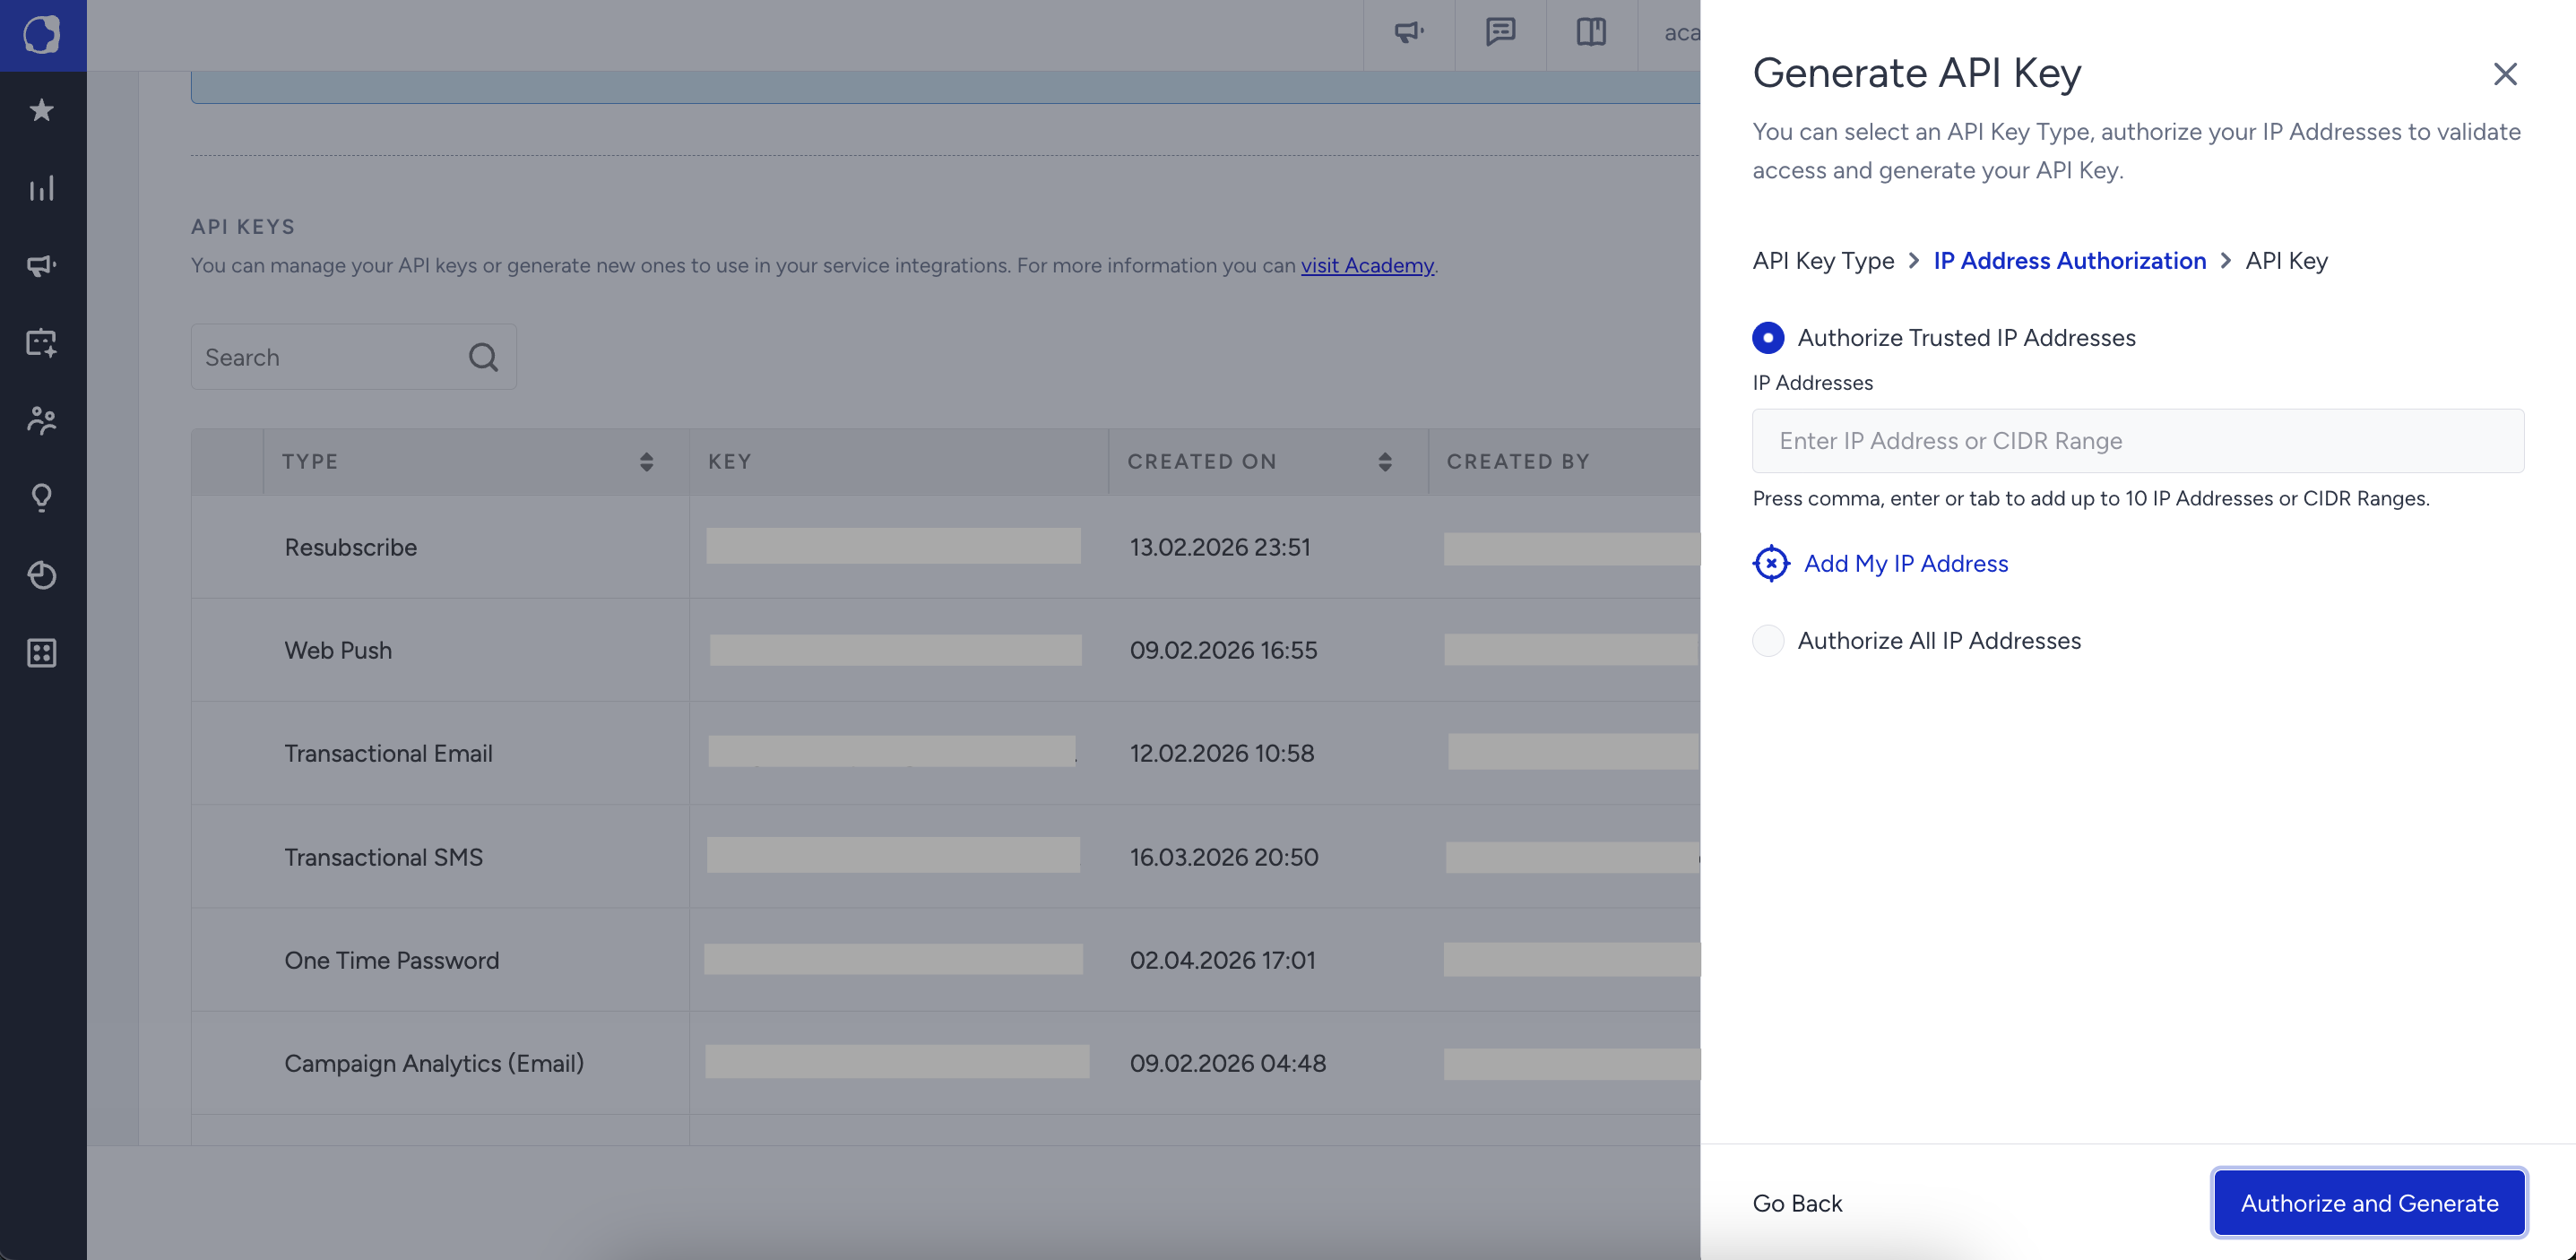
In this step, choose one of the following:
Add individual IP addresses
Add IP Groups
Select All IP addresses to allow unrestricted access
Only users with the Administrator role can perform this action.
Configure IP authorization for existing API keys
If no IP restriction is configured for an existing API key, it continues to work as is. All IP addresses remain authorized until you update the configuration.
To improve security, review your existing API keys and restrict access to trusted IP addresses where possible.
To update IP restrictions, users with the Administrator role can click the Edit IP Addresses button on an existing API key and add IP addresses or IP Groups.