Suggested readings: Geofence App Push, Use Cases for Geofence App Push
Geofence push campaigns are automated campaigns that are triggered by the user’s current location. A geofence is a tracked area on a map defined by a given radius. If a user enters or exits the tracked geofence, a push notification will be sent.
We suggest always creating a geofence and measuring the location's performance before creating a campaign.
To create a geofence:
1. Navigate to Components > Geofence.
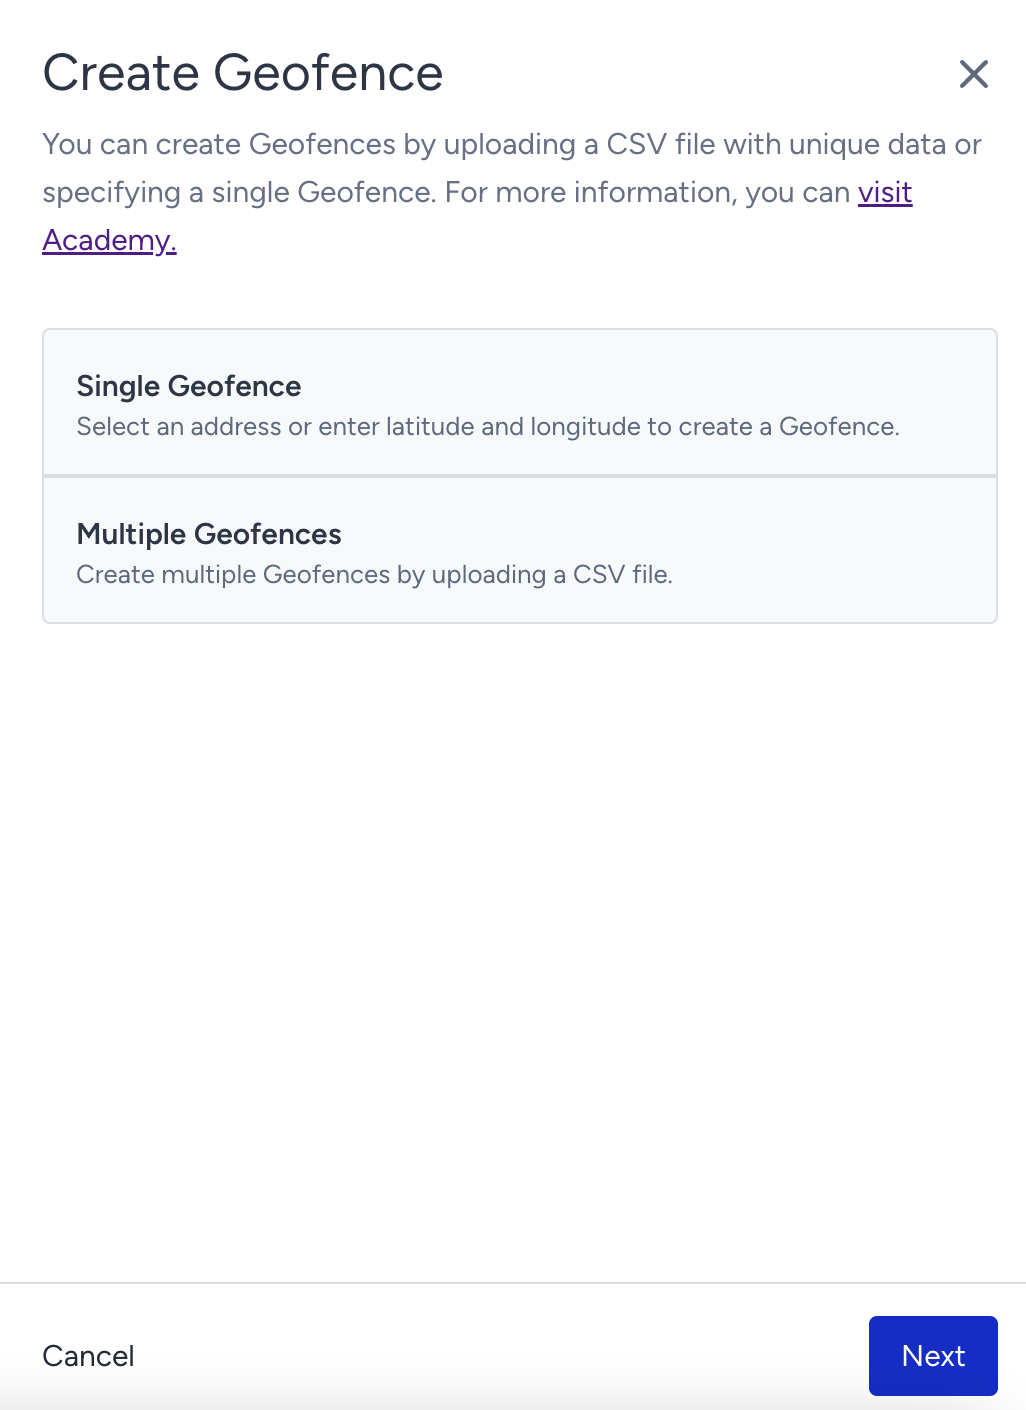
2. Click the Create button on the geofence listing page and choose Single Geofence or Multiple Geofences.
Single geofence
To create a single geofence:
1. Enter a name that is easy to remember.
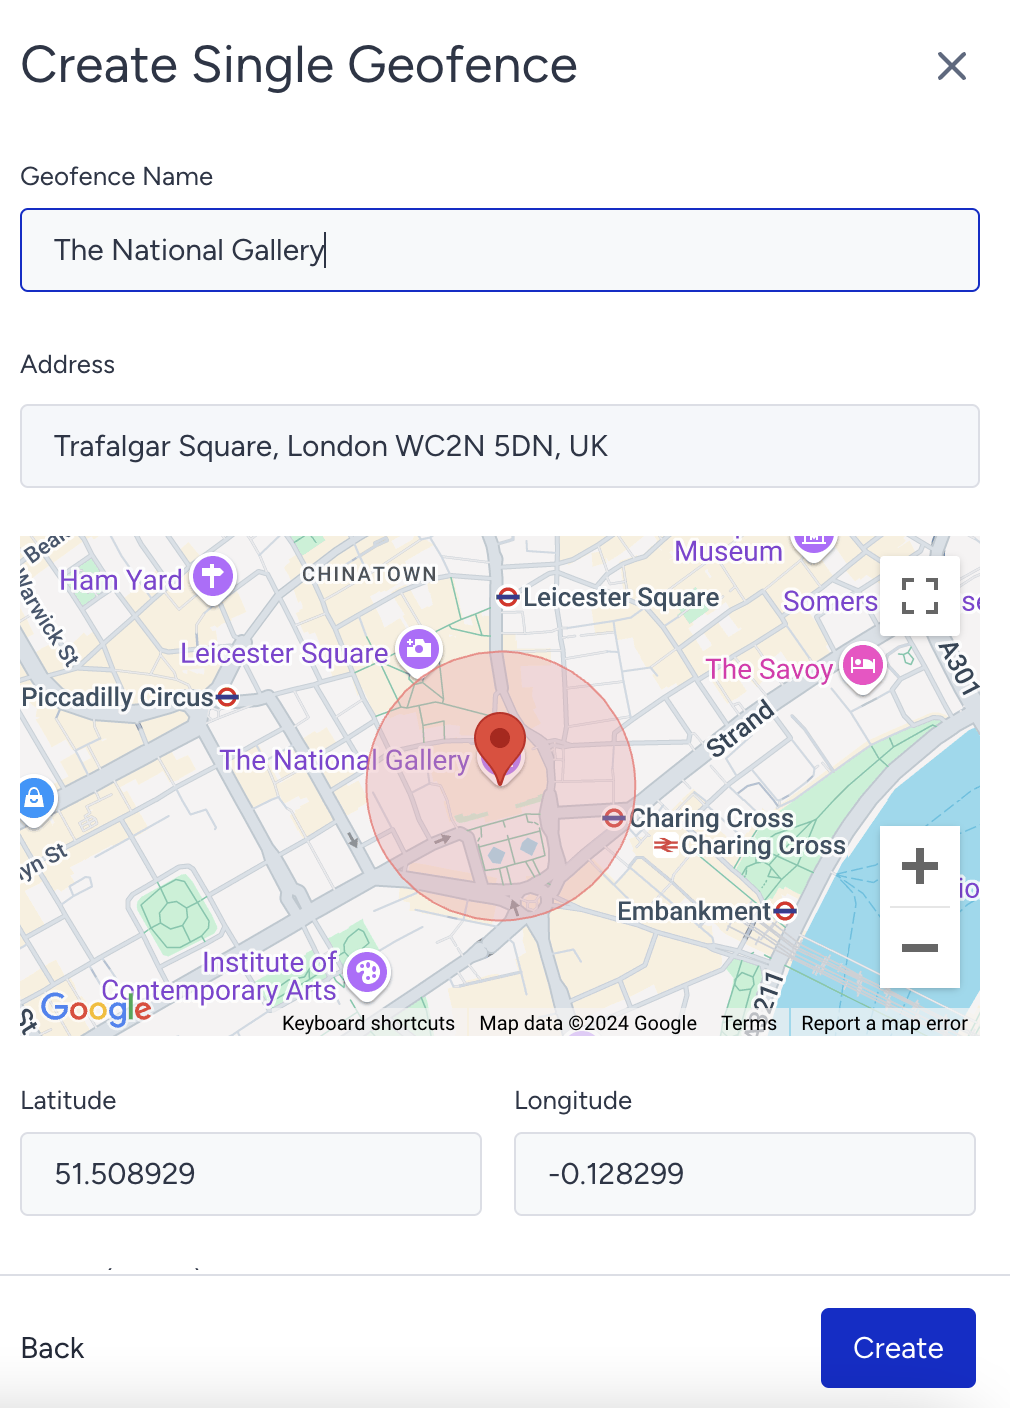
2. Find the location you want to set a geofence. You can create a geofence in a few ways:
- Searching for the address in the top bar
- Clicking anywhere on the map to move the pointer
- Providing longitude and latitude
3. Set the radius (in meters) from the pointer and click the Save button.
When creating a geofence campaign, you need to set up campaign triggers and specify when to send notifications. After setting these triggers and specifications, you can select Enter or Exit.
Please note that location services should be enabled and in high accuracy mode on the users’ phones. On iOS, this means WiFi should be enabled as well.
Multiple geofences
To upload multiple geofences at once:
1. Click the + (plus) button to upload a CSV file of geofences.
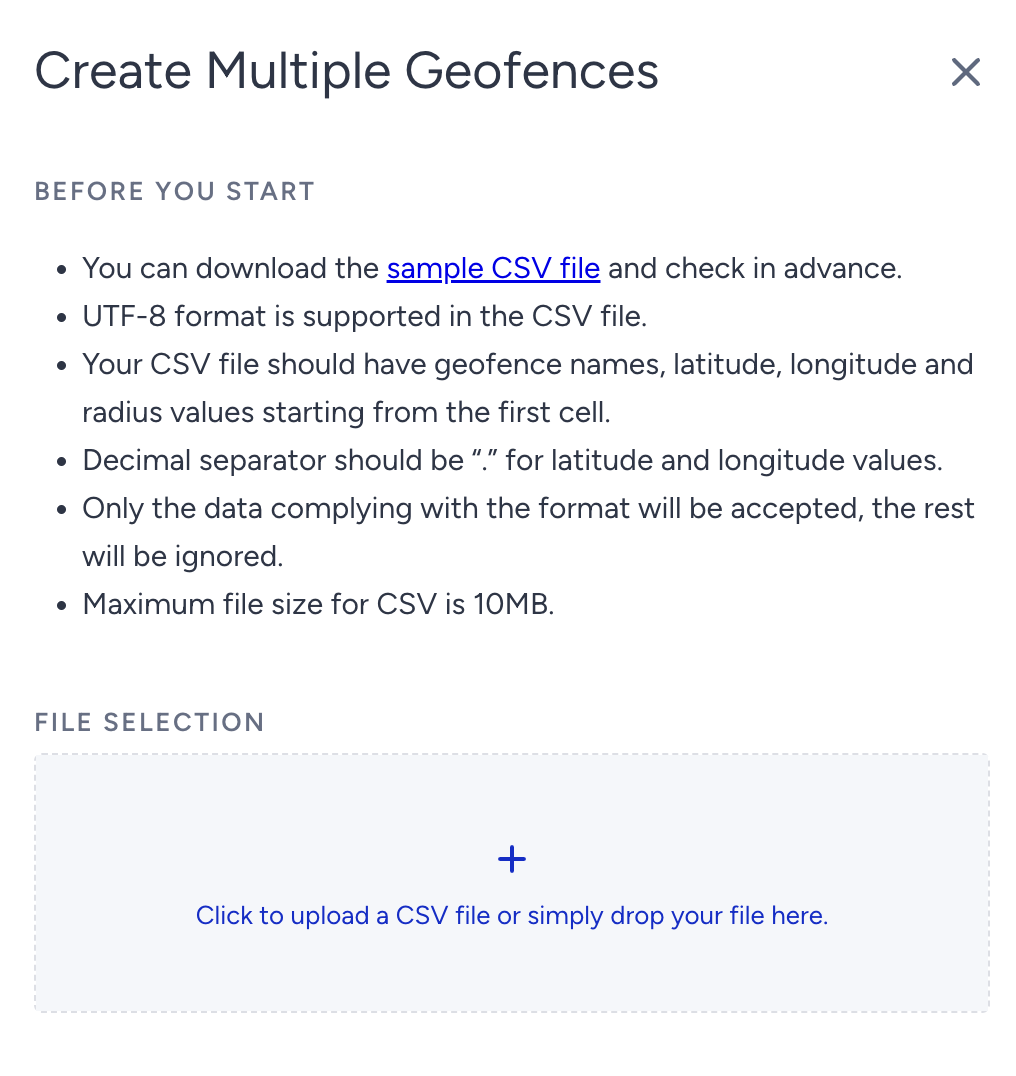
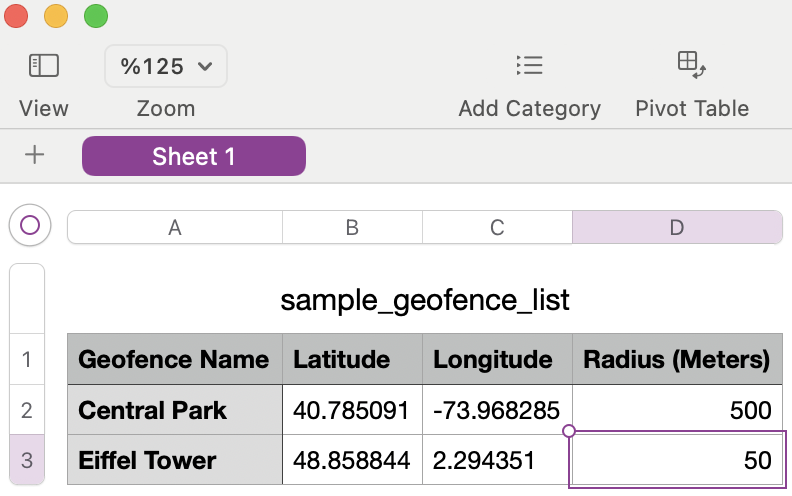
You can download the following sample file to see the format you should follow.
2. Once you upload it, click the Create button.