Native Opt-in uses the browser’s built-in permission prompt and is only available for websites served over HTTPS.
While you select your preferred opt-in type (Native or Custom) during onboarding, you can update its settings at any time from the Web Push Settings page.
To configure your Native opt‑in flow on the Web Push Settings page:
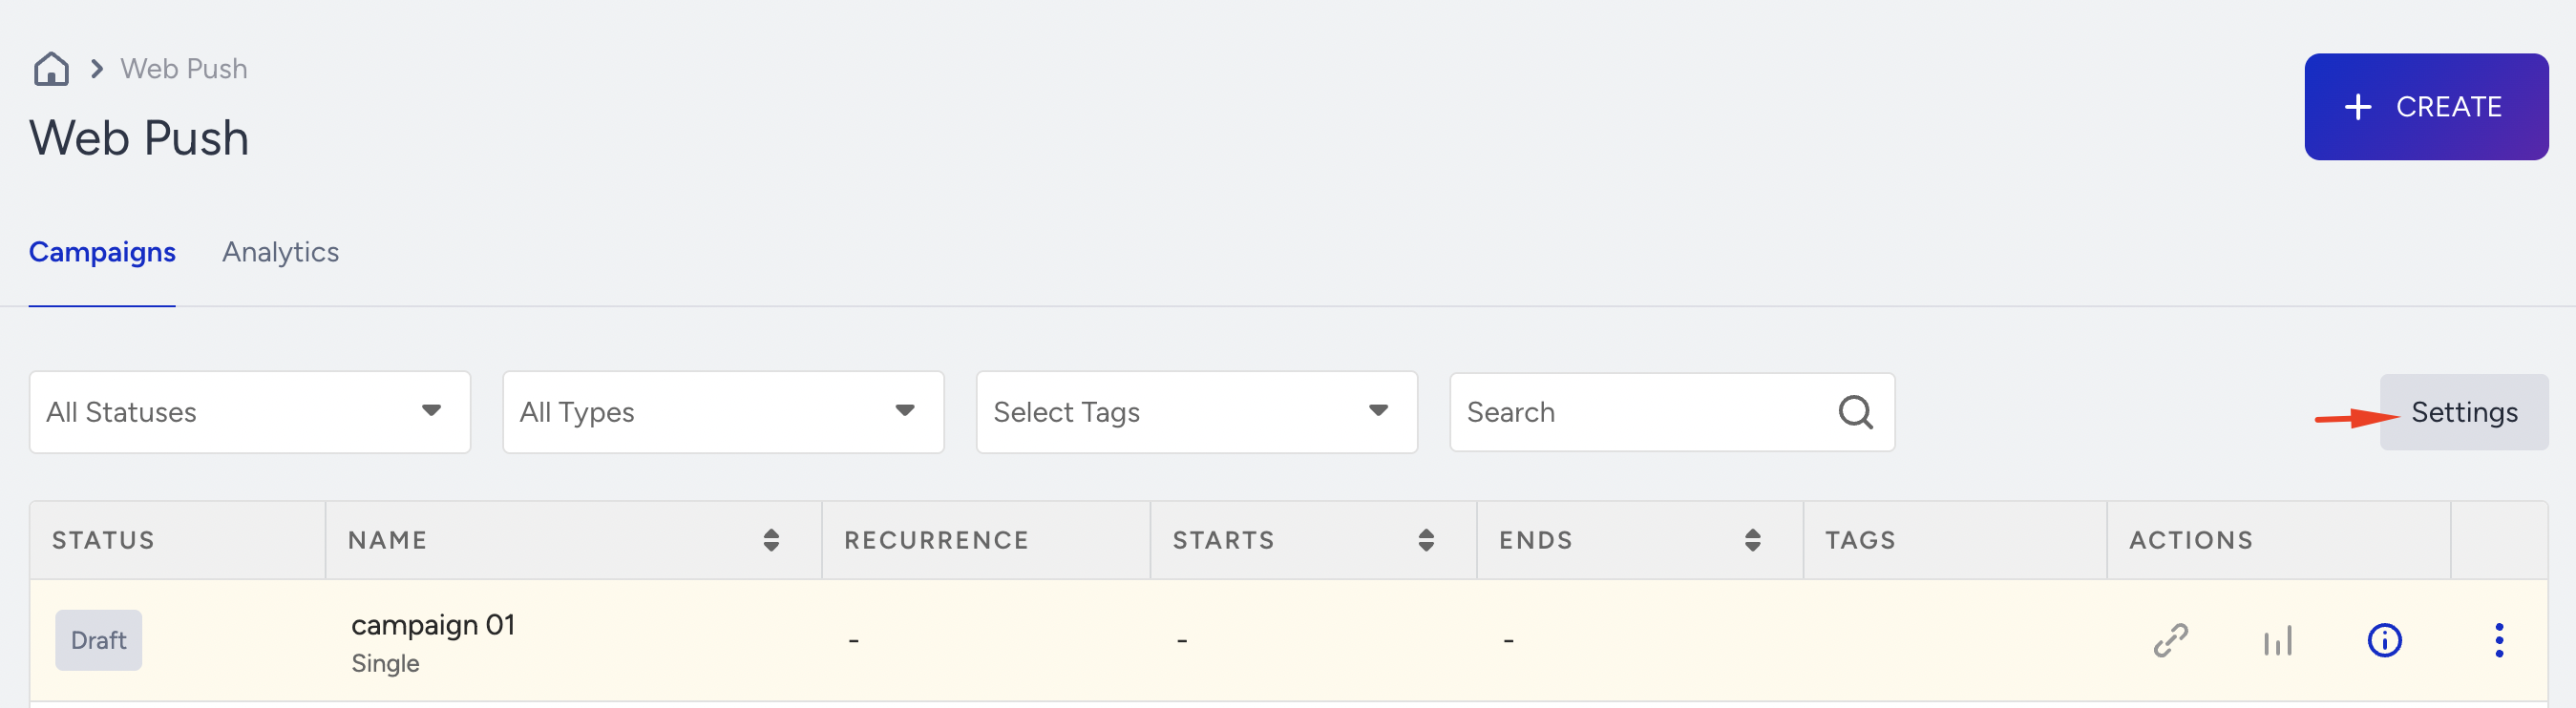
Navigate to Web Push > Settings.
Under the Setup Settings tab, enable the Activate Opt-in toggle and choose the Native Opt-in type to configure its settings further.
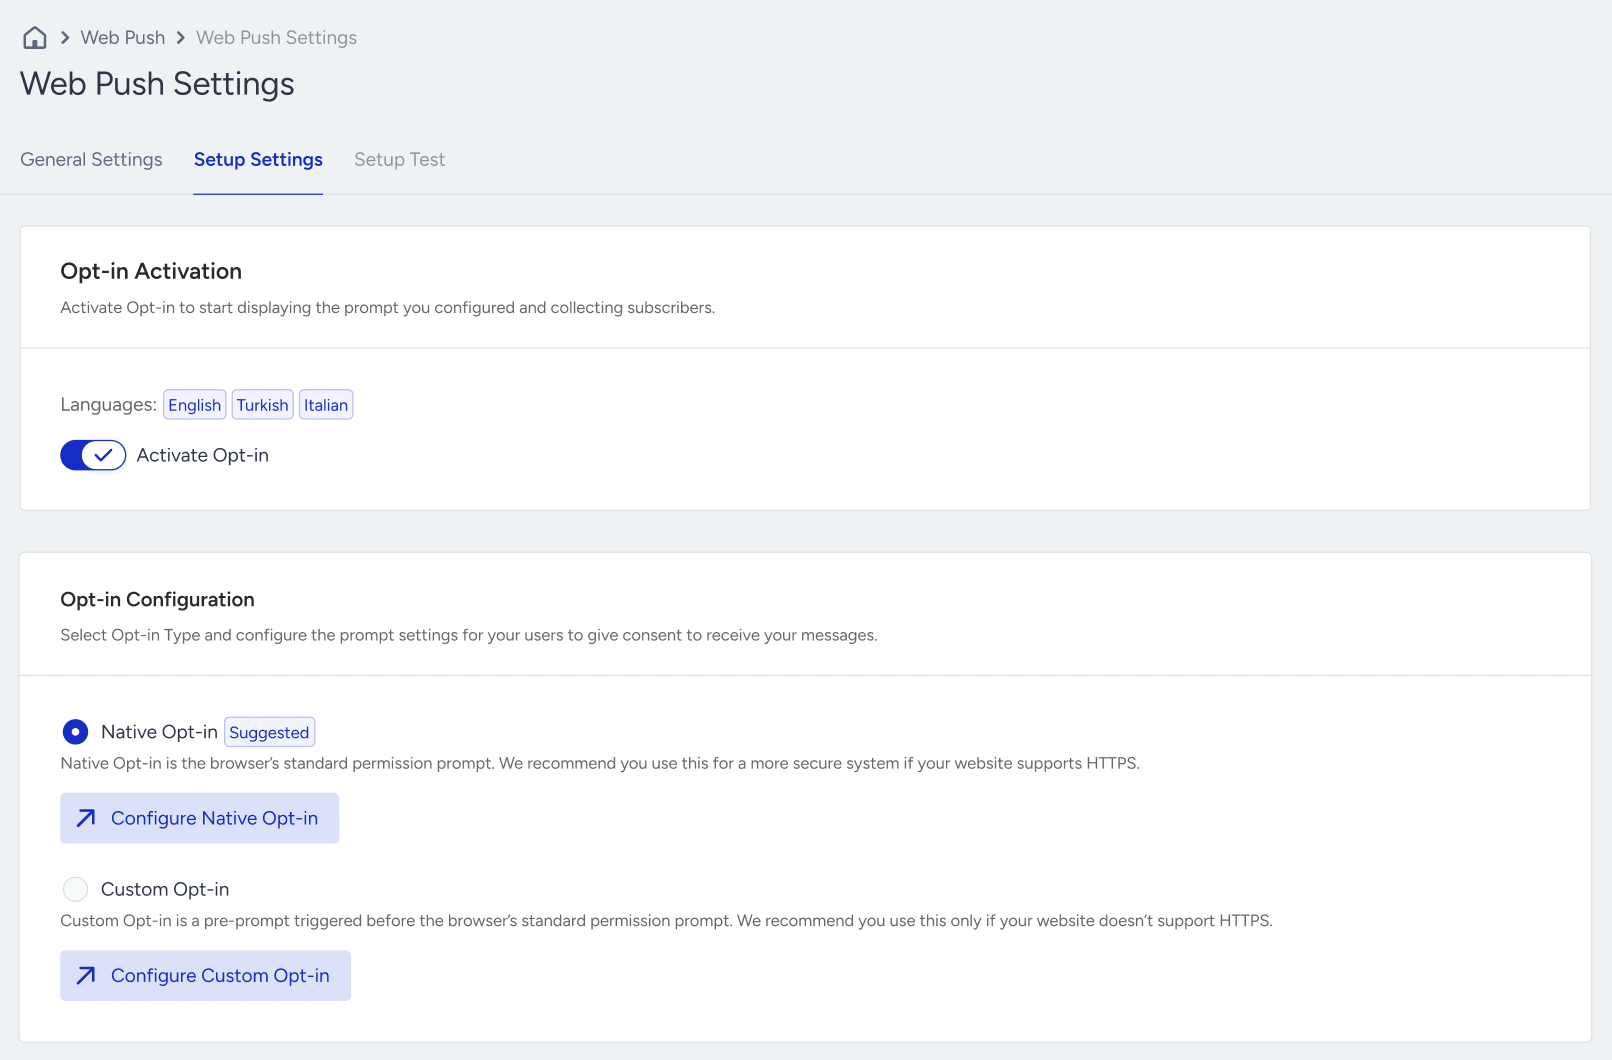
Click the Configure Native Opt-in button to proceed.
You should have completed Web Push Channel Setup first to activate the opt-in.
General Settings
The General Settings tab includes the opt-in trigger, display settings, custom rule, and token auto-generation configurations for the Native Opt-in. 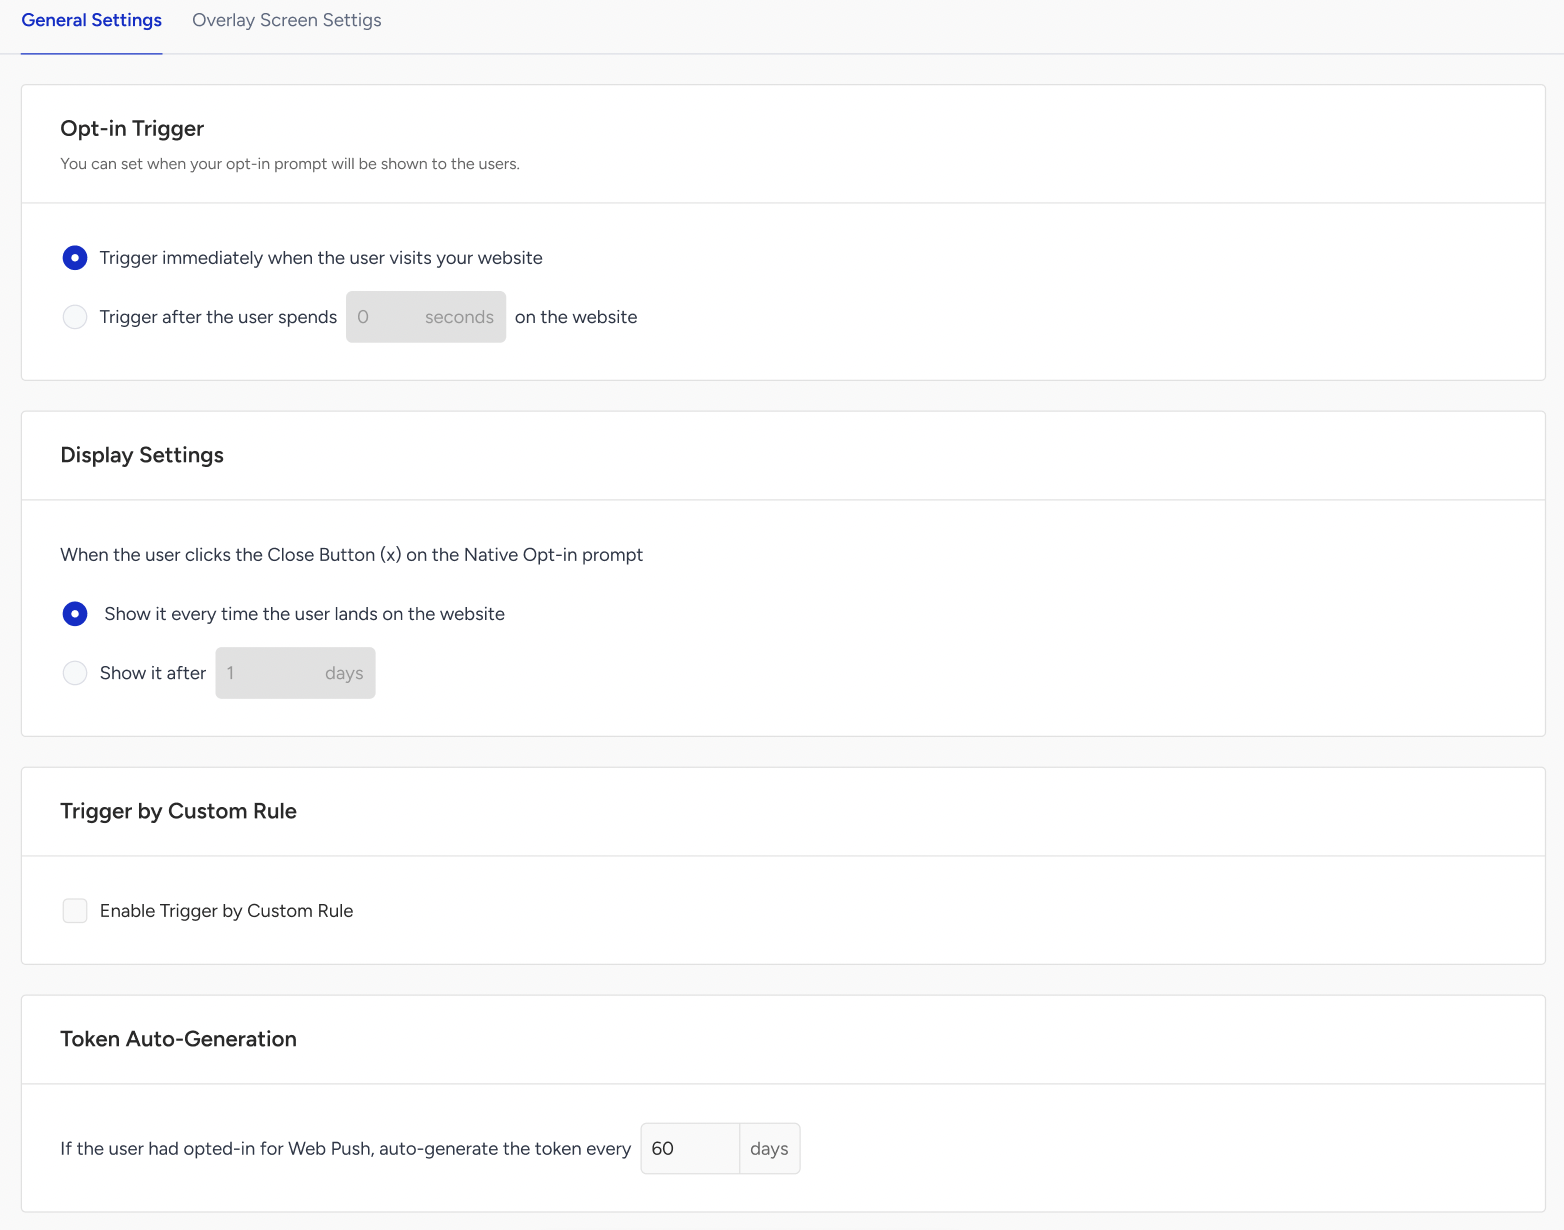
Opt-in Trigger
Opt-in Trigger allows you to set when your opt-in prompt will be shown to your users.
Display Settings
Display Settings allow you to configure the timing for displaying the Native permission screen again when a user clicks the close button.
Trigger by Custom Rule
Trigger by Custom Rule enables setting a custom rule to show the native opt-in to users. After checking the Enable Trigger by Custom Rule option and selecting a rule from the dropdown, you can set a custom rule for the native opt-in. For example, if you don’t want the prompt to appear on specific pages, you can configure it here.
If you cannot see the opt-in easily on your website, you should check whether you have set a custom rule for the native opt-in.
Token Auto-Generation
Token Auto-Generation helps generate tokens within a specified time. This setting determines how long after users subscribe, their tokens will be regenerated when they revisit the site. For example, if it's set to 60 days, the token will be regenerated on the 61st day when the user revisits the site.
Overlay Screen Settings
You can set an overlay and overlay message for the Native Opt-in under the Overlay Screen Settings tab.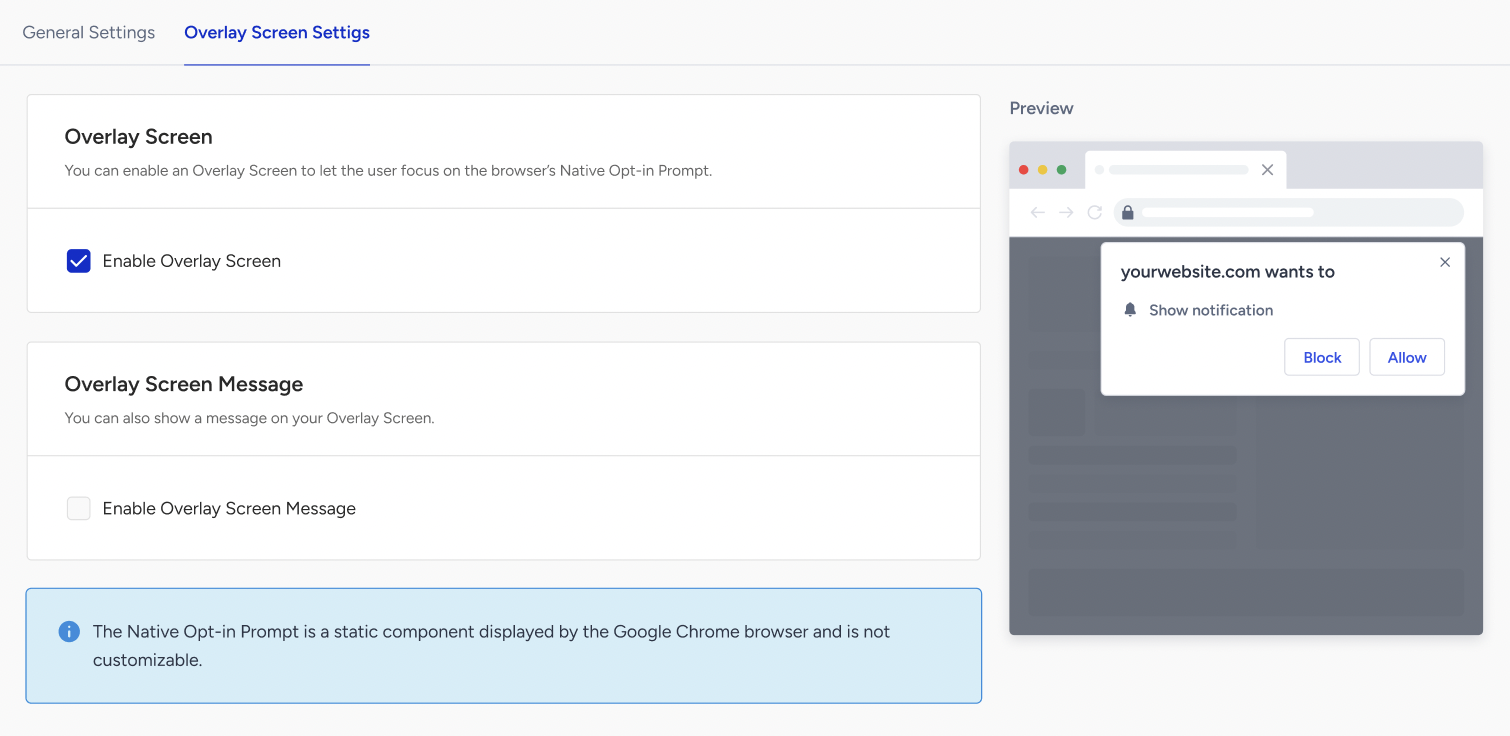
If you select the Enable Overlay Screen Message checkbox, you can display a message on your overlay for users. Additionally, you can add overlay messages in different languages.
Under the Preview part, you can see the design of your native opt-in.
If the user clicks the Allow button on the permission screen, they will automatically be added to your website's Web Push notification subscribers. If they click the Block button, the opt-in screen will disappear and never be shown again.