Modules help you create email campaigns faster. Save elements that don't change often, such as the logo, header, menu, and contact information, as modules, so you can reuse them in your other email campaigns.
You can save a stripe, a structure, or a container as a module. Saved modules appear in the Modules tab of the editor.
Transferred modules use the Appearance settings of the email you add them to, so they can look different from the old editor (e.g., button sizes and colors). To keep a module's original look, set up its styles once in the new editor and update the module with Keep module styles turned on. For details, see Keep module styles.
This article covers the following topics:
Save a module
To save an element as a module:
Create your email design as usual, along with the element you want to save.
Hover over the stripe, structure, or container and click the Save as module icon.
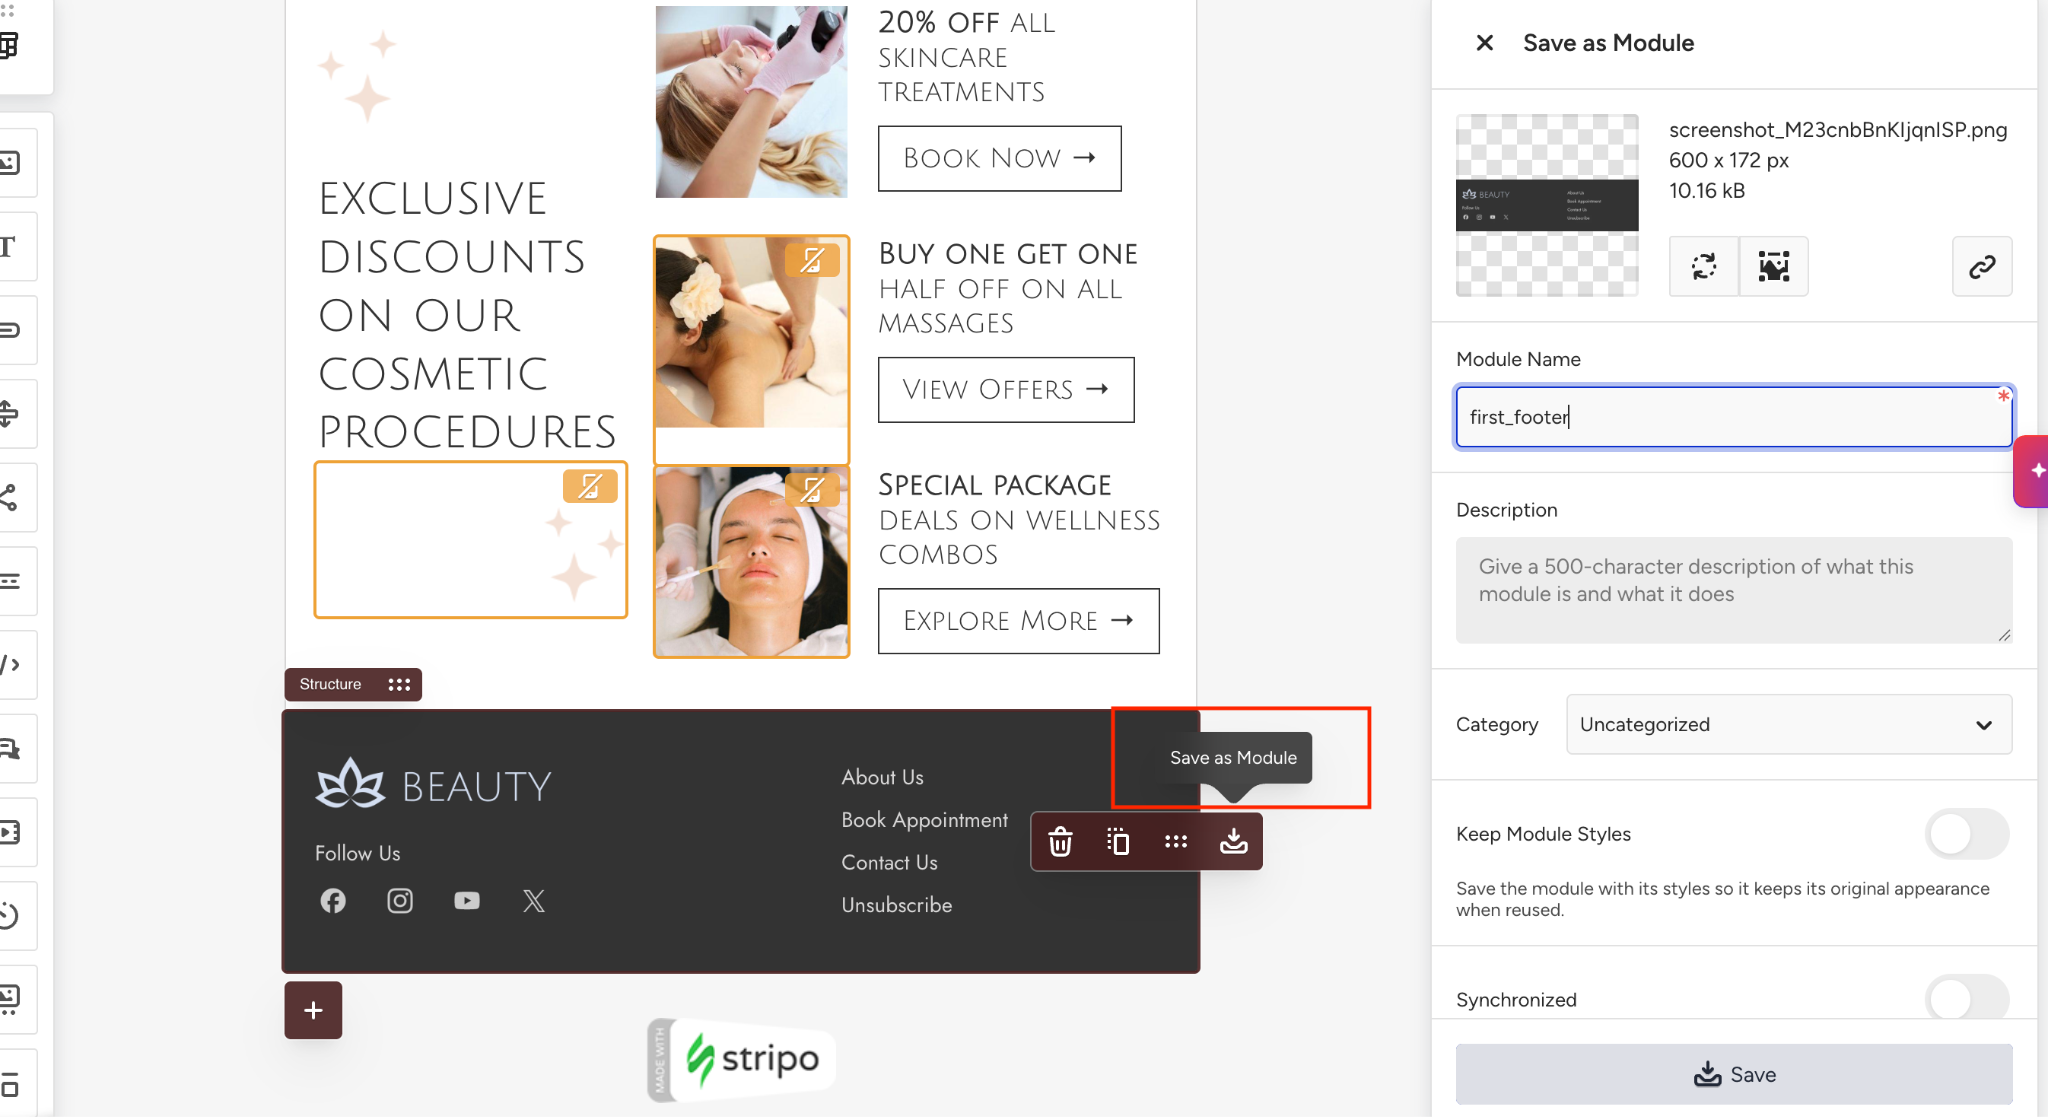
In the Settings panel, enter a name for your module. Optionally, add a description so your team knows what the module contains.
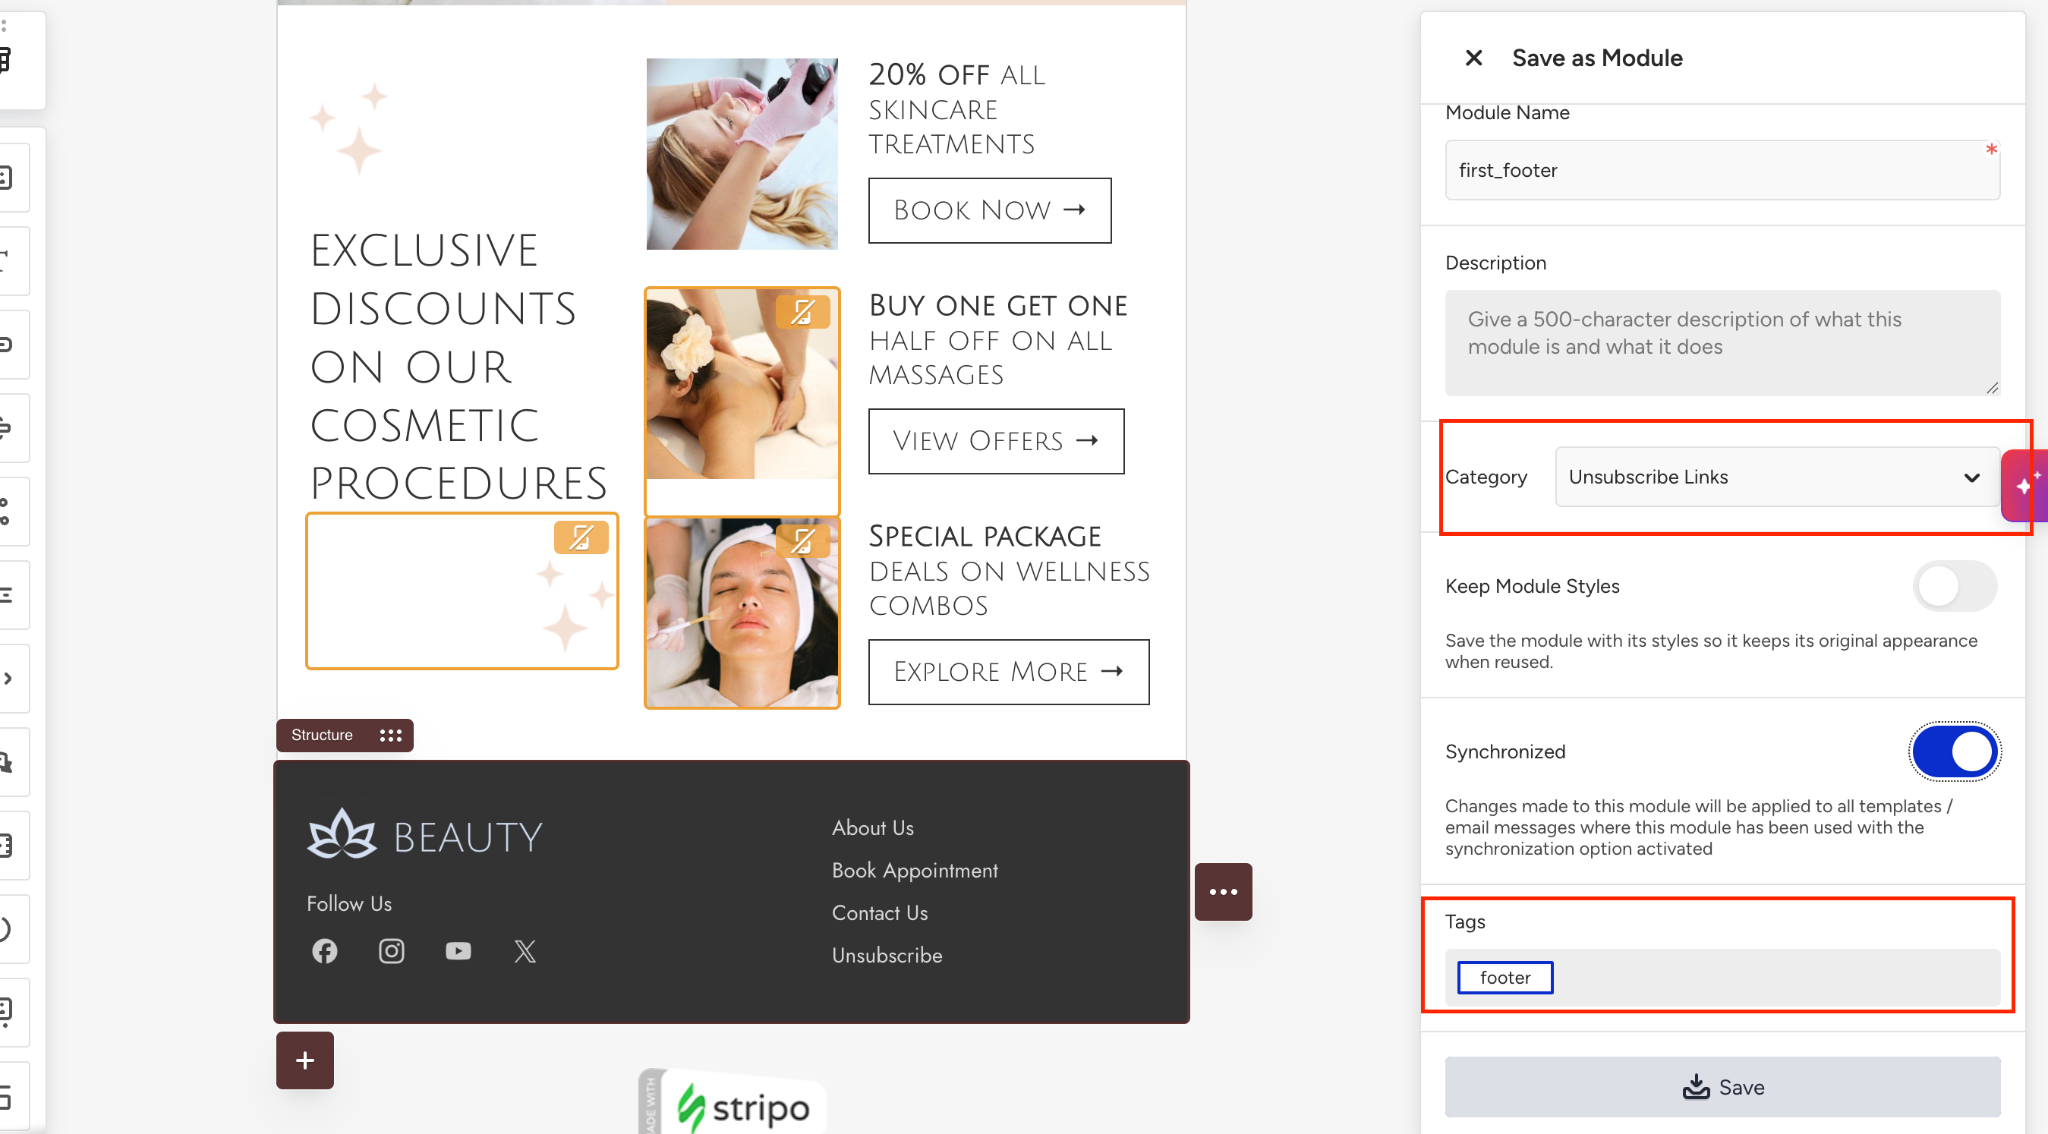
Select a category and add tags to find the module later.
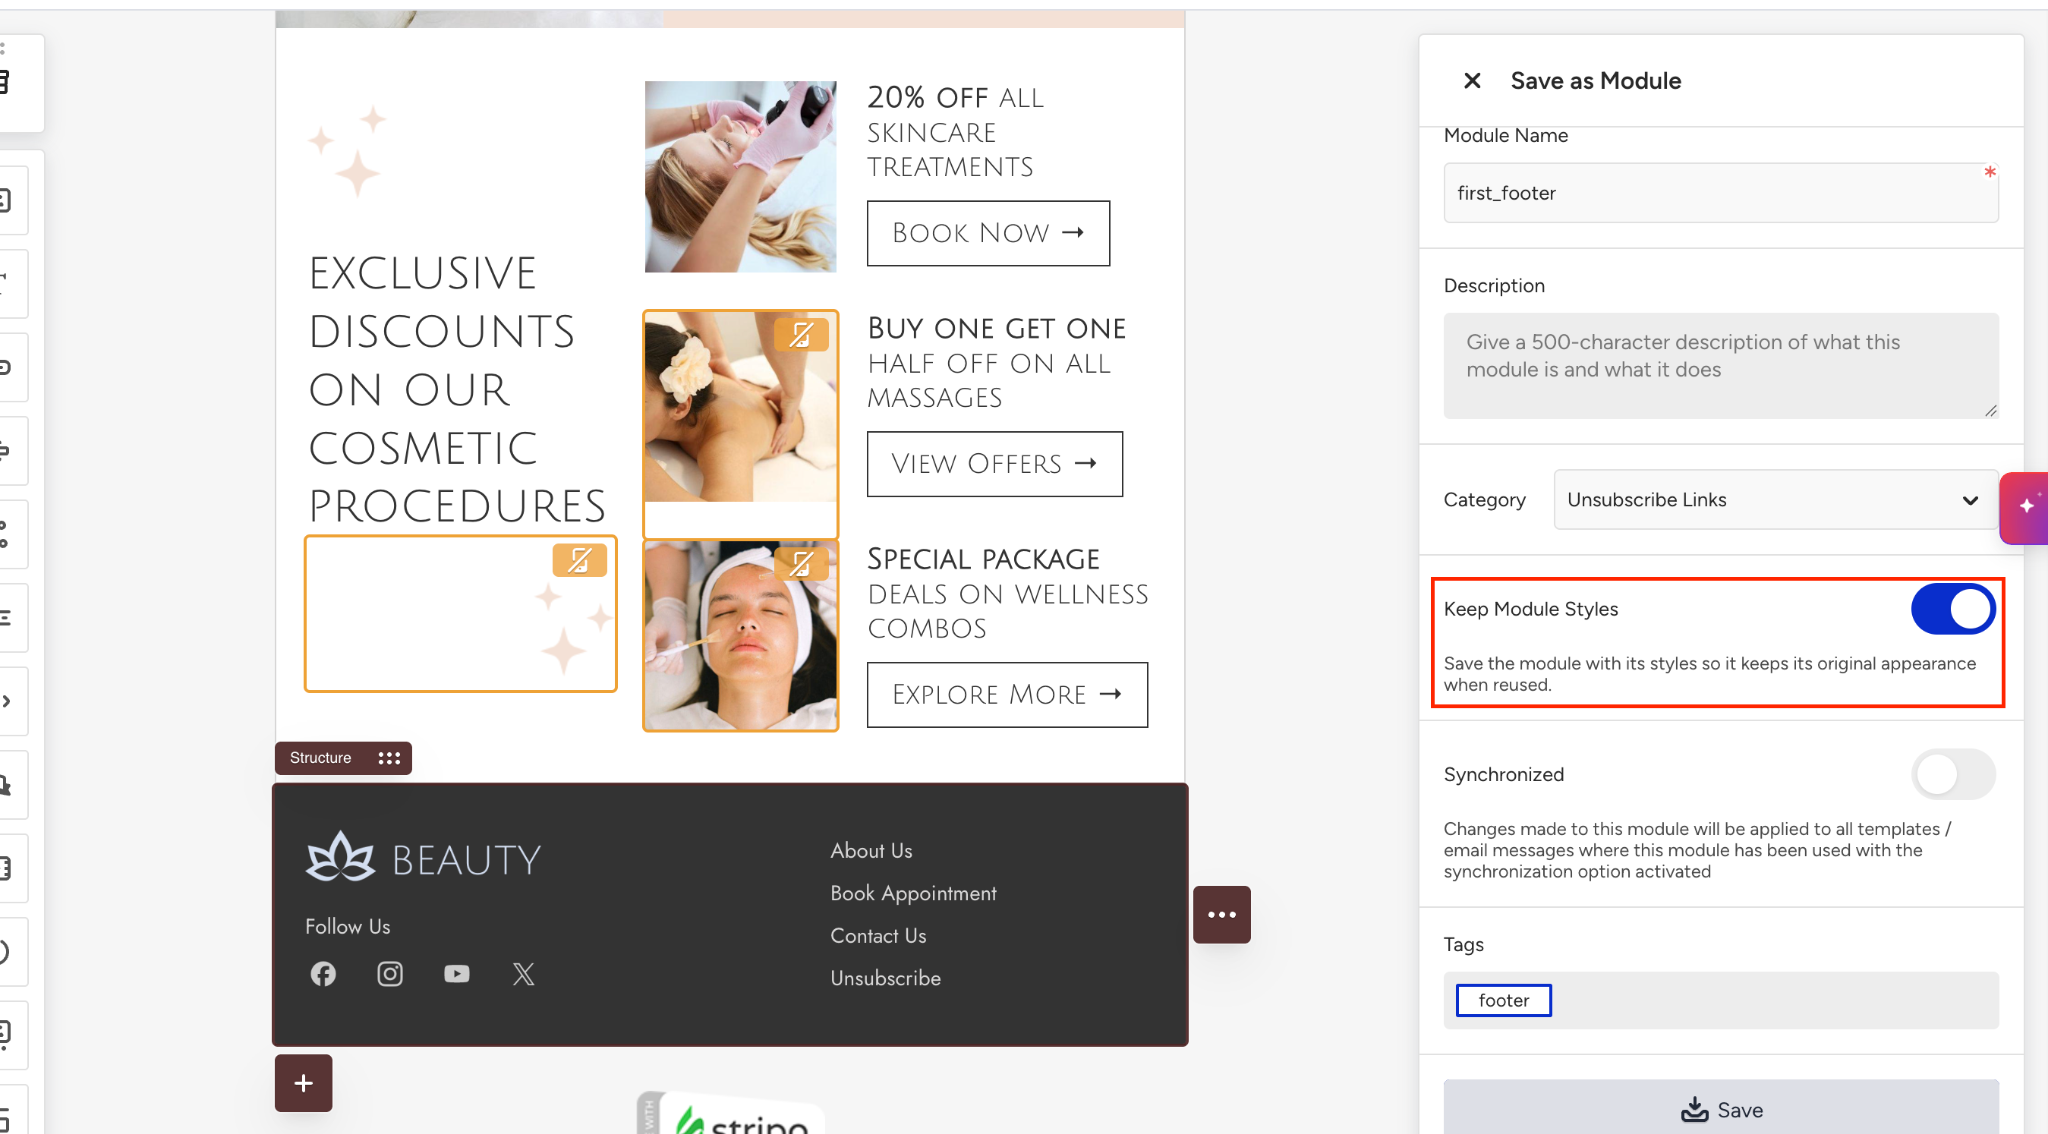
Turn on Keep Module Styles if the module should keep its original look in every email. For details, see Keep module styles.
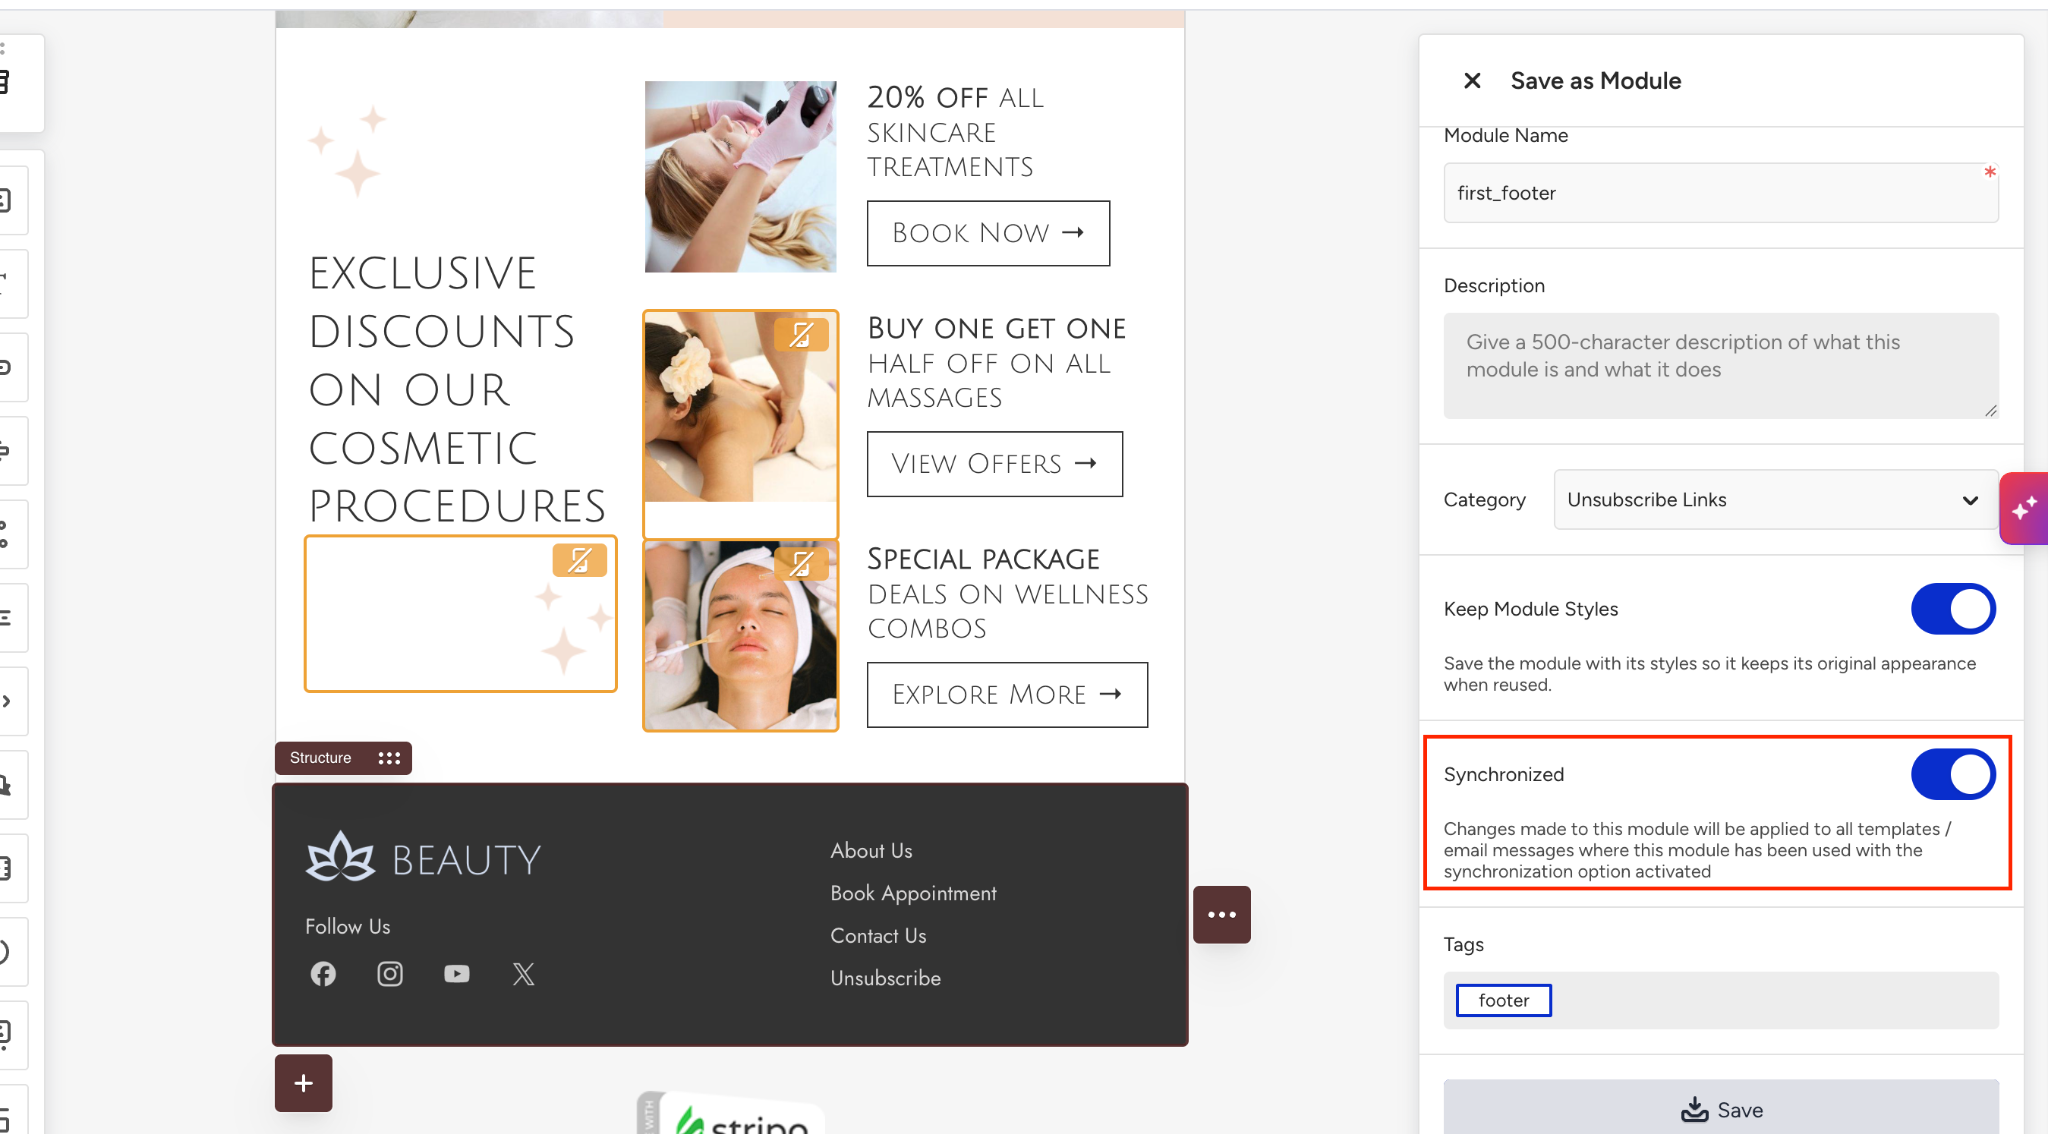
Turn on Synchronized if changes to the module should apply to every email that uses it. For details, see Synchronize email modules.
Click the Save button.
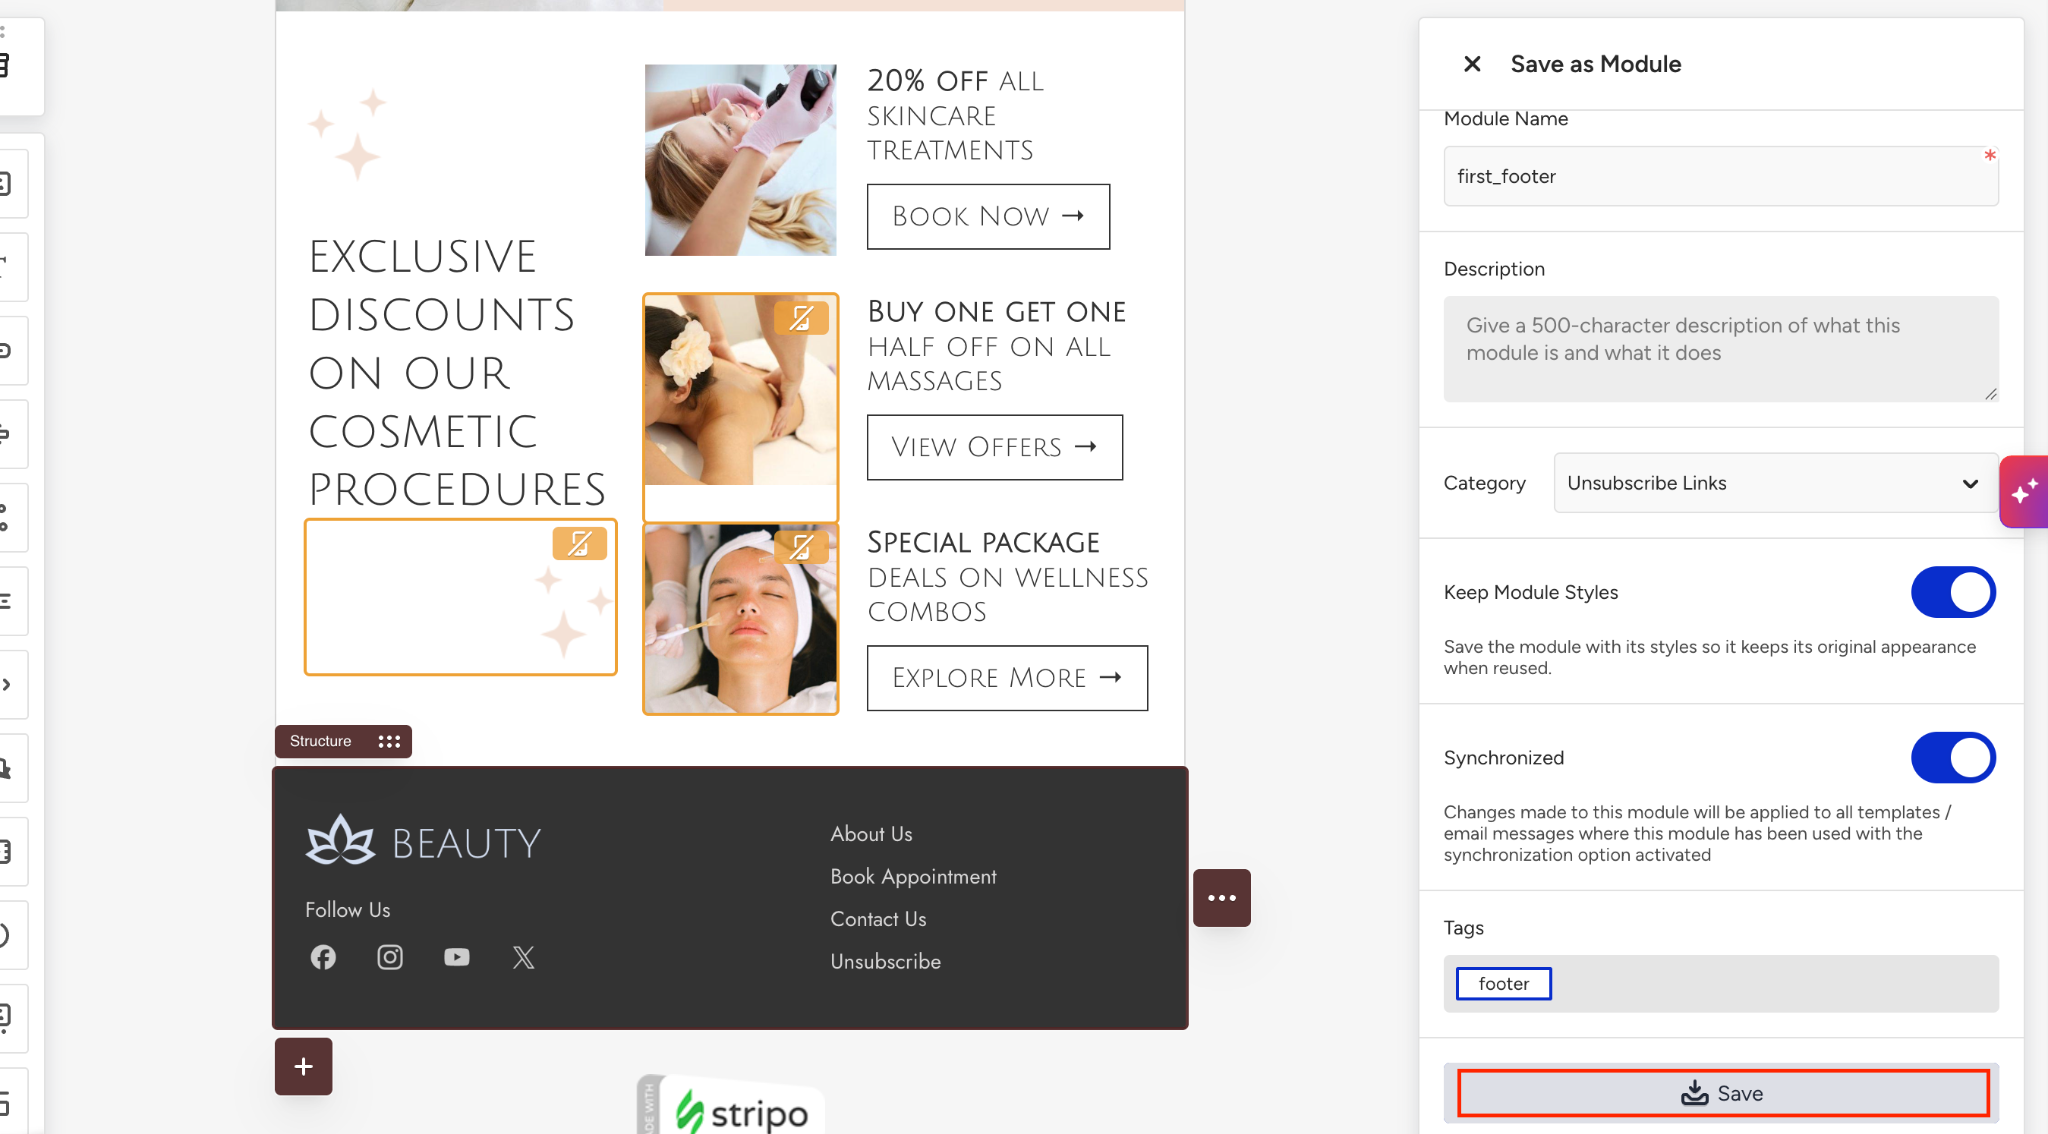
Use a saved module
To add a saved module to an email:
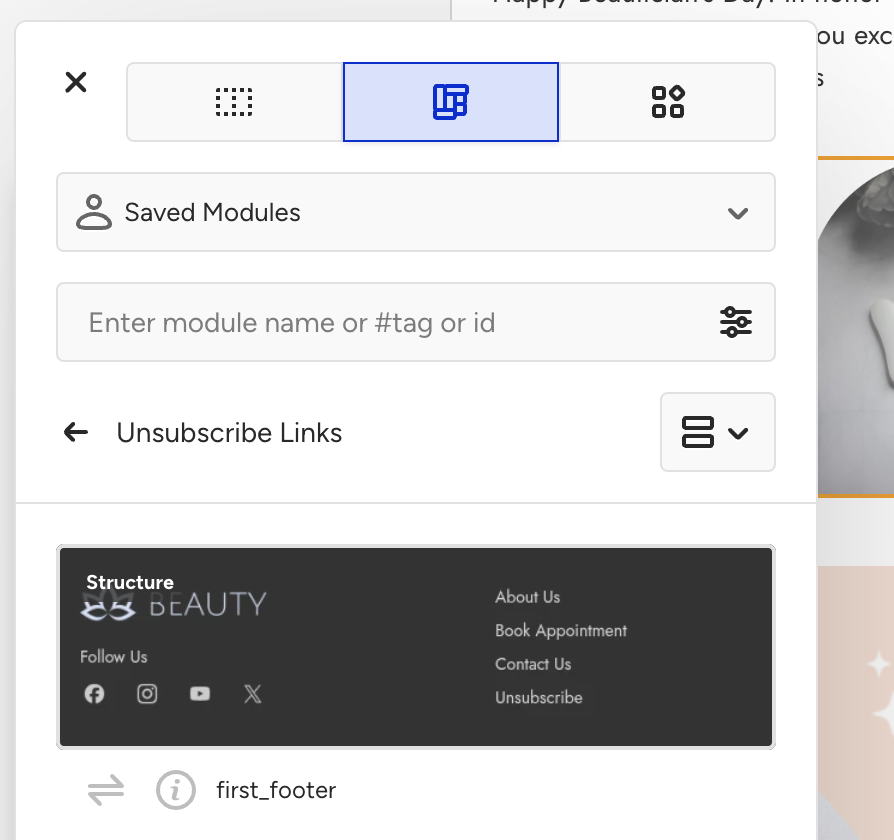
Open the email in the editor and go to the Modules tab.
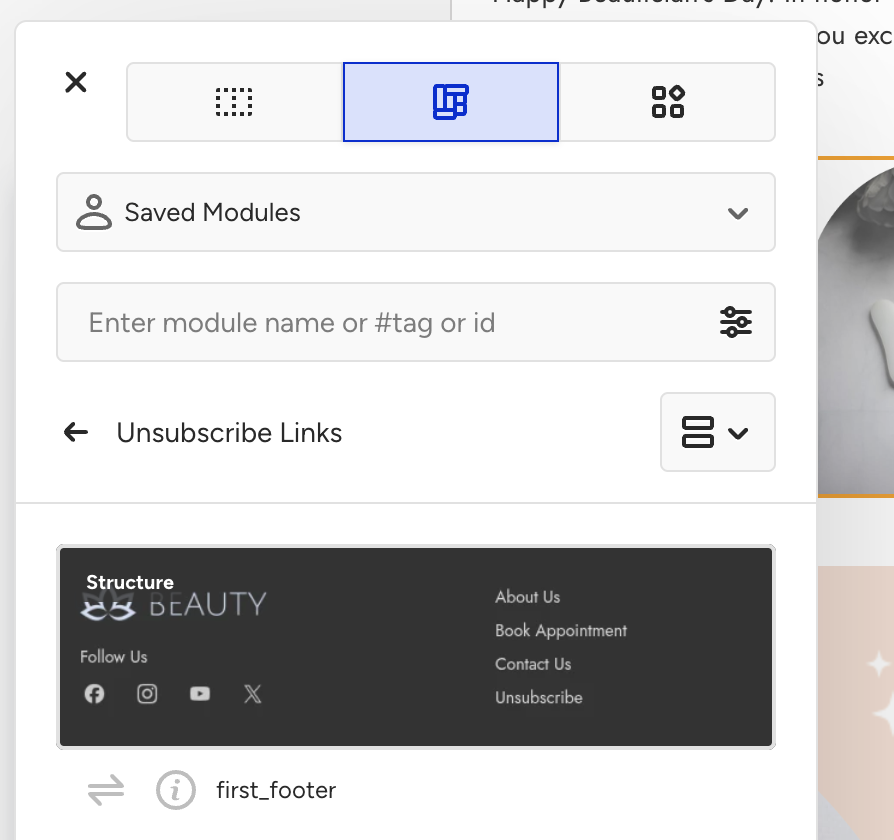
Find your module. You can search by name or tag, filter by category, and switch between grid and list views.
Drag the module into the email.
If the module is synchronized and you change it, choose whether the change applies only to this module or to every email that uses it.
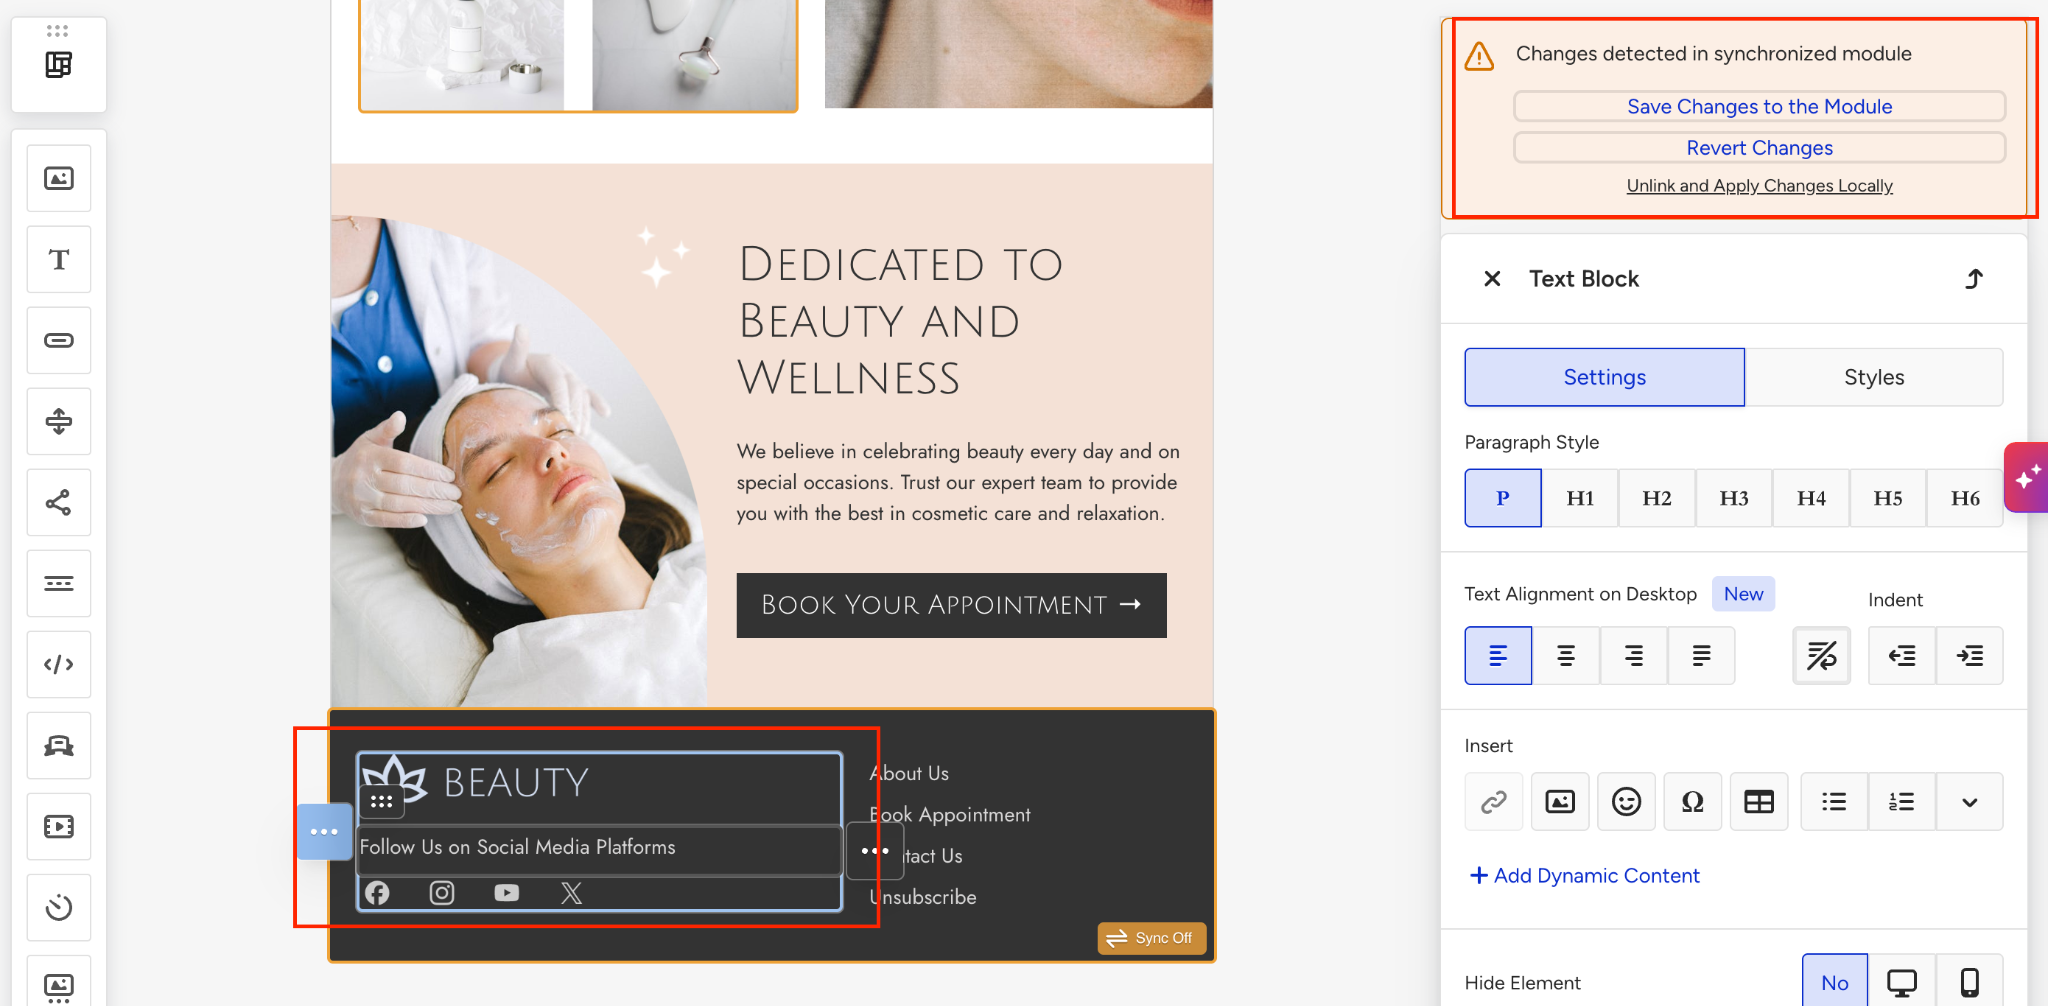
Keep module styles
Keep module styles decides whether a module keeps its own look or adapts to the email you add it to.
When it is:
Off: The module adapts to the Appearance settings of that email, such as fonts, text colors, and button styles.
On: The module keeps the look it had when you saved it. The Appearance settings of the email you saved it from are written into the module itself.
Leave it off for modules that should match each campaign's branding. Turn it on for modules that must look the same everywhere, such as a legal footer or a brand header.
Keep the look of an existing module
To make an existing module keep its look:
Add the module to an email in the new editor.
Adjust the module's styles until it looks the way you want.
Select the module, turn on Keep module styles in the Settings panel, and click Update.
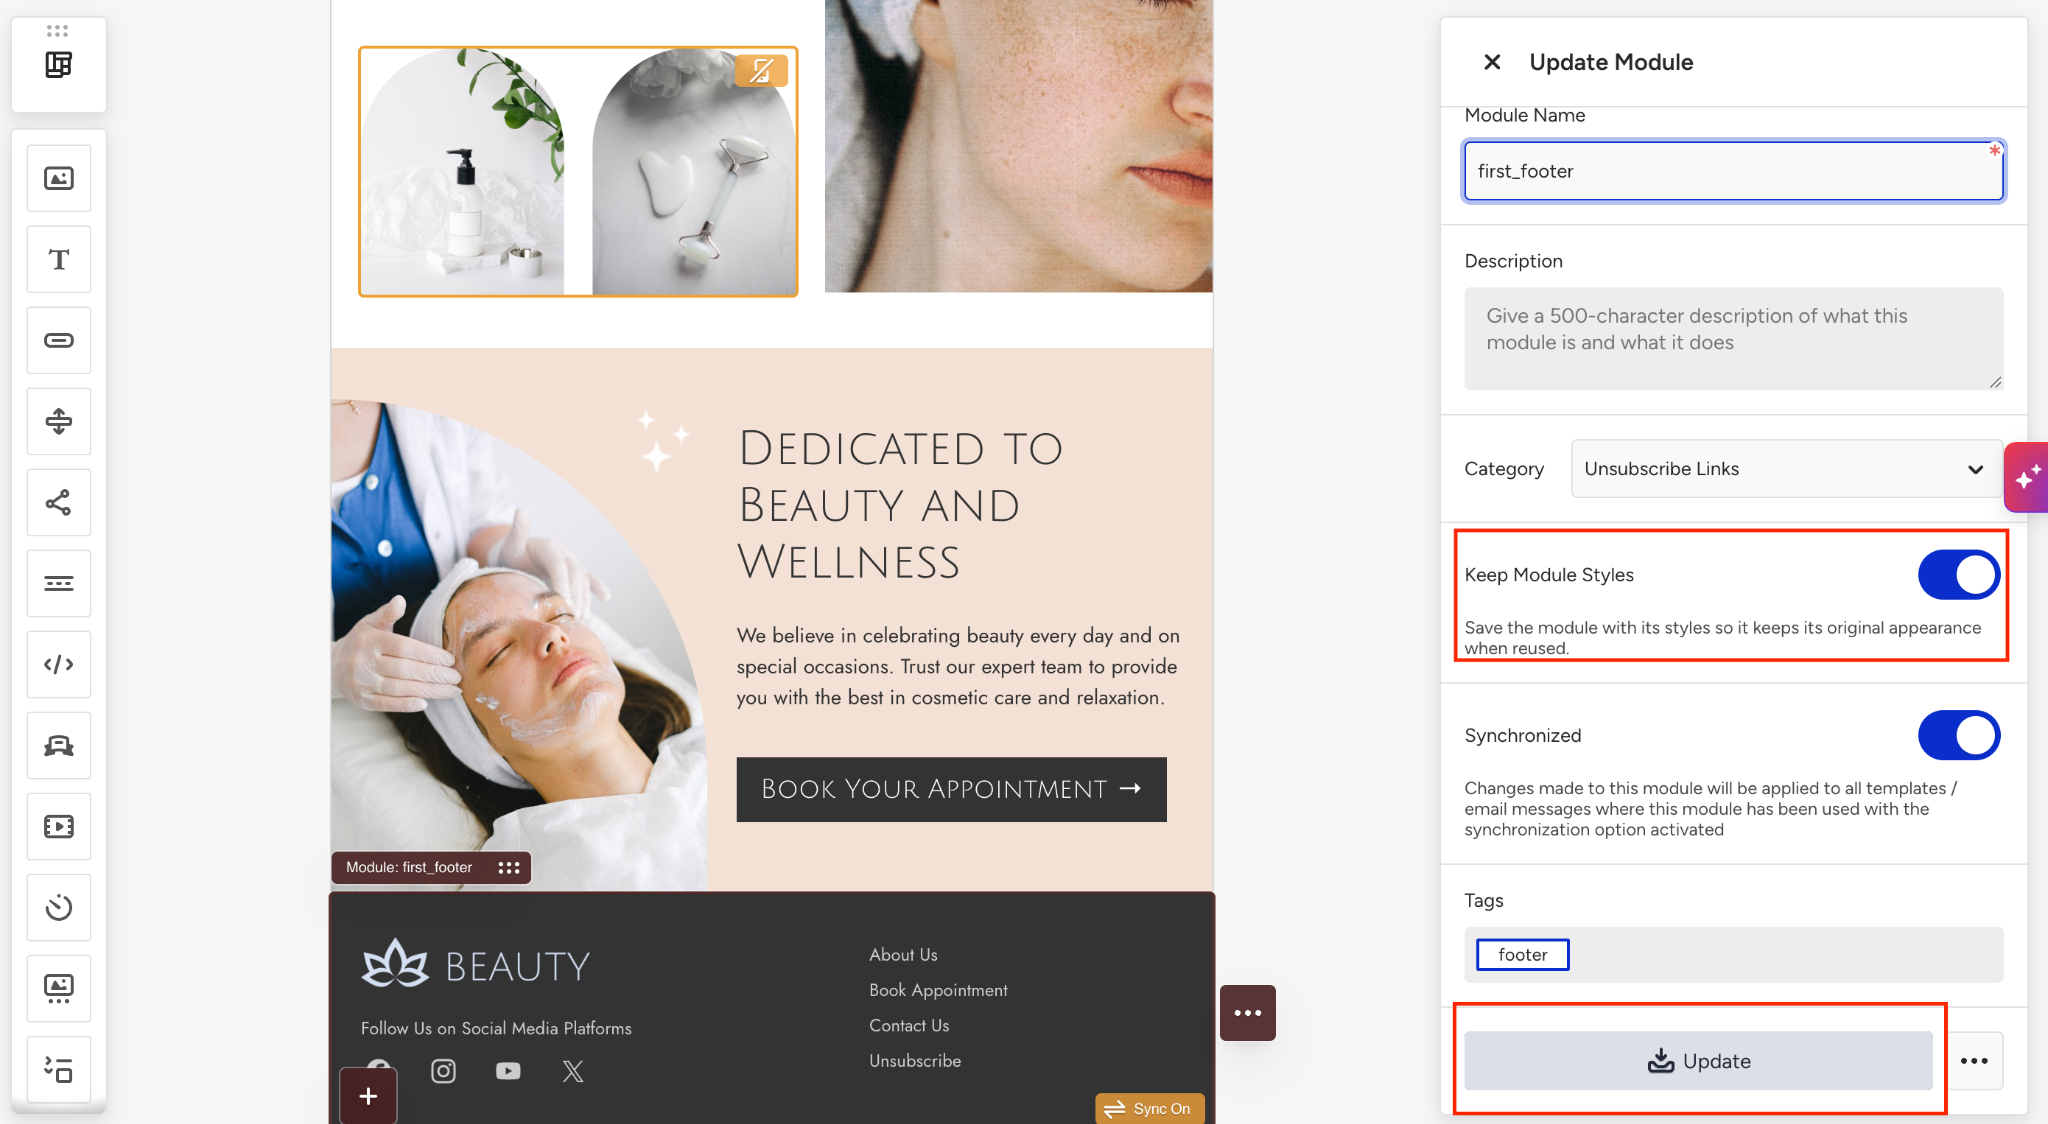
From then on, the module keeps this look in every email you add it to.
Edit, update, and delete modules
Open the menu on a module in the Modules tab to edit or delete it. When you edit a module, you can change its name, description, category, tags, preview image, and the Keep module styles setting.
Updating a module changes the saved version in your library. Emails that already contain the module keep their current version unless the module is synchronized. To apply changes to every email that uses a module, see Synchronize email modules.
Modules let you save the parts of an email that rarely change and reuse them across campaigns. Use Keep module styles to control whether a module keeps its own look or adapts to each email. Next, set up synchronization if you want module changes to reach every email that uses it.