You should create a ticket to Insider's Operational Excellence Team to enable this feature for your panel.
Synchronized Modules help you edit and update all your email templates at once with ease. Whenever you make a change to a synchronizable module within just one template, these changes automatically get applied to all other templates where you use this module.
An online store uses about 50 emails on average including welcome series, abandoned carts, user retention emails, etc. to maintain proper communication with its customers. For example, if this store changes the URL of their Facebook page or their company logo, such a change should be applied to all 50 emails and it requires a lot of work. This is a stop factor that prevents email marketers from updating or redesigning their emails.
With Synchronized Modules, you can apply your changes automatically without any need to edit or update each template manually. You can save elements that normally do not require changes from campaign to campaign as synchronized modules, such as your headers, signatures, footers, and diverse modules that contain any contact information, etc.
This guide explains the following concepts:
Use cases
Adjust your emails immediately in line with your company updates:
- If your company undergoes rebranding, including changes to the logo and colors, you can easily update blocks such as the header and footer within the module.
- Update company information in your emails when there are changes to the company's location or contact details.
- If there are changes to social media or website URLs, you can quickly update the corresponding social buttons with just one click.
Add a customized touch to your promotional emails:
- You can easily customize banners with your product images and logos for seasons, special days, and more.
- You can adjust your brand colors to align with special occasions such as Christmas or Mother's Day.
- You can tailor your offers for special days, modifying the offer period and information accordingly.
Check the sections below for example usage.
Save elements as synchronized modules
To save your elements as synchronized modules:
- Create your email design as usual, along with the module you want to save.
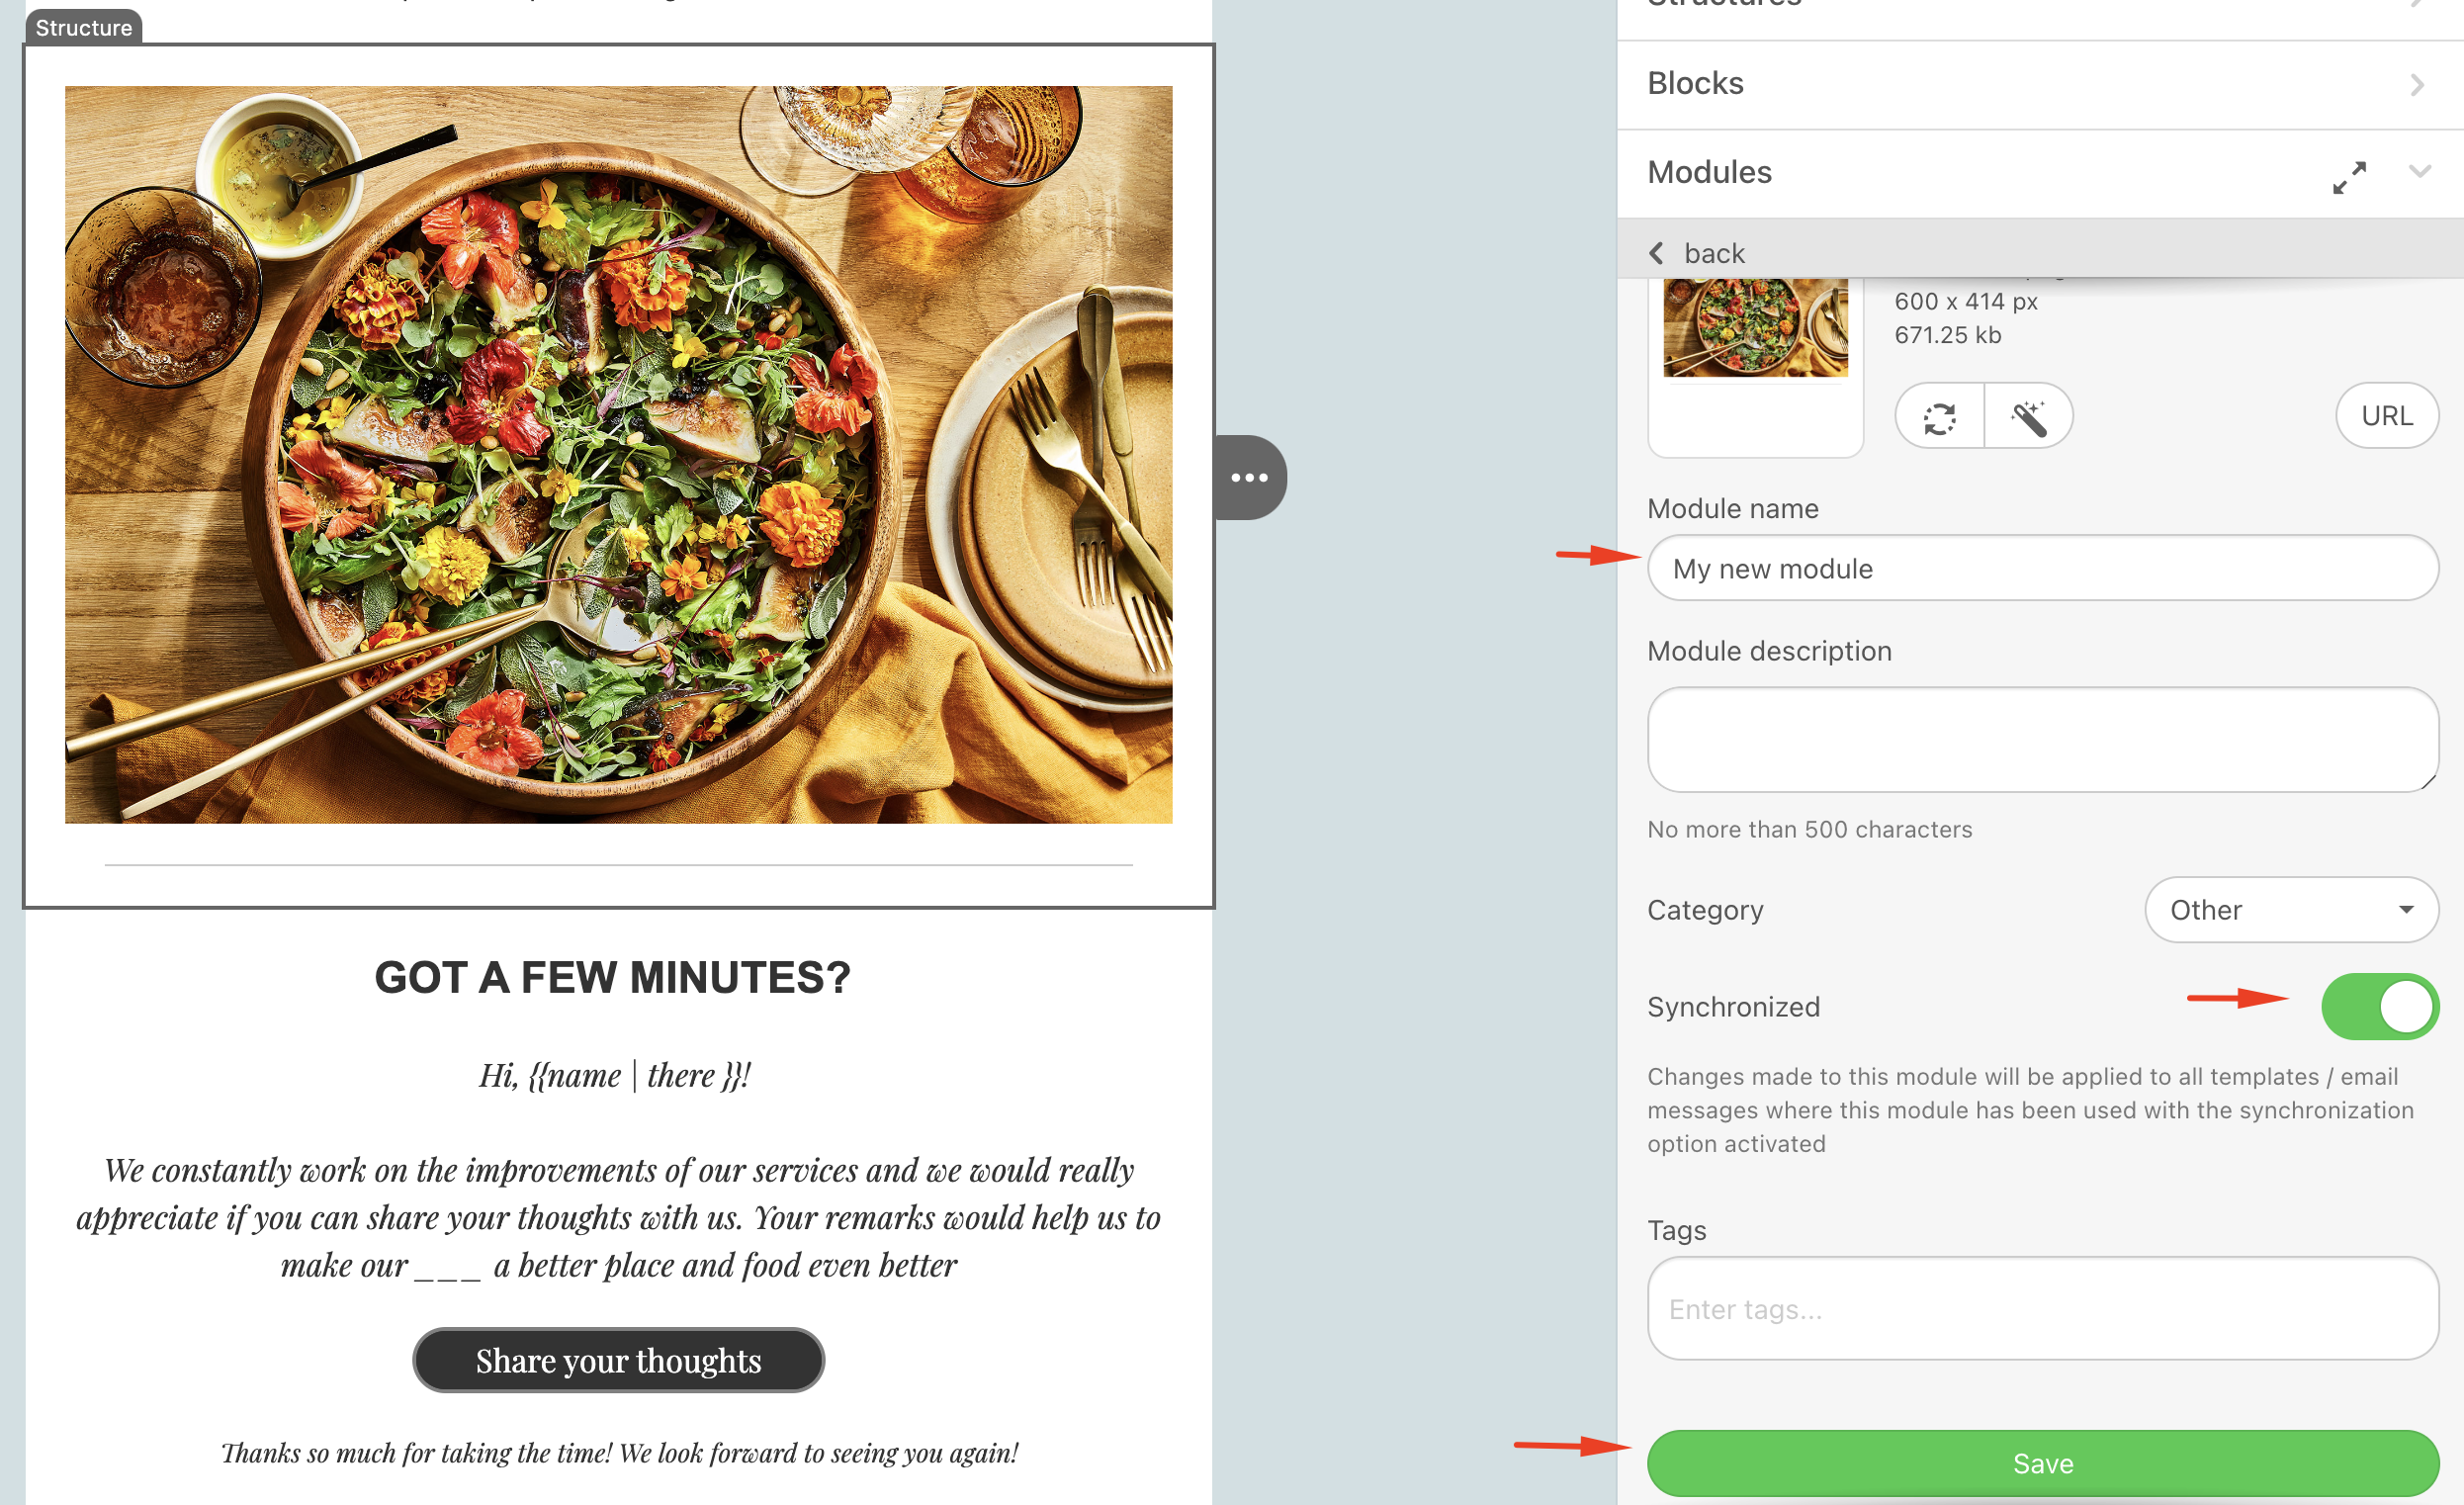
- Click the Save as module icon to save your element to your content library.

- In the Settings panel, enter a name for your module, toggle the Synchronized button, and click the Save button.
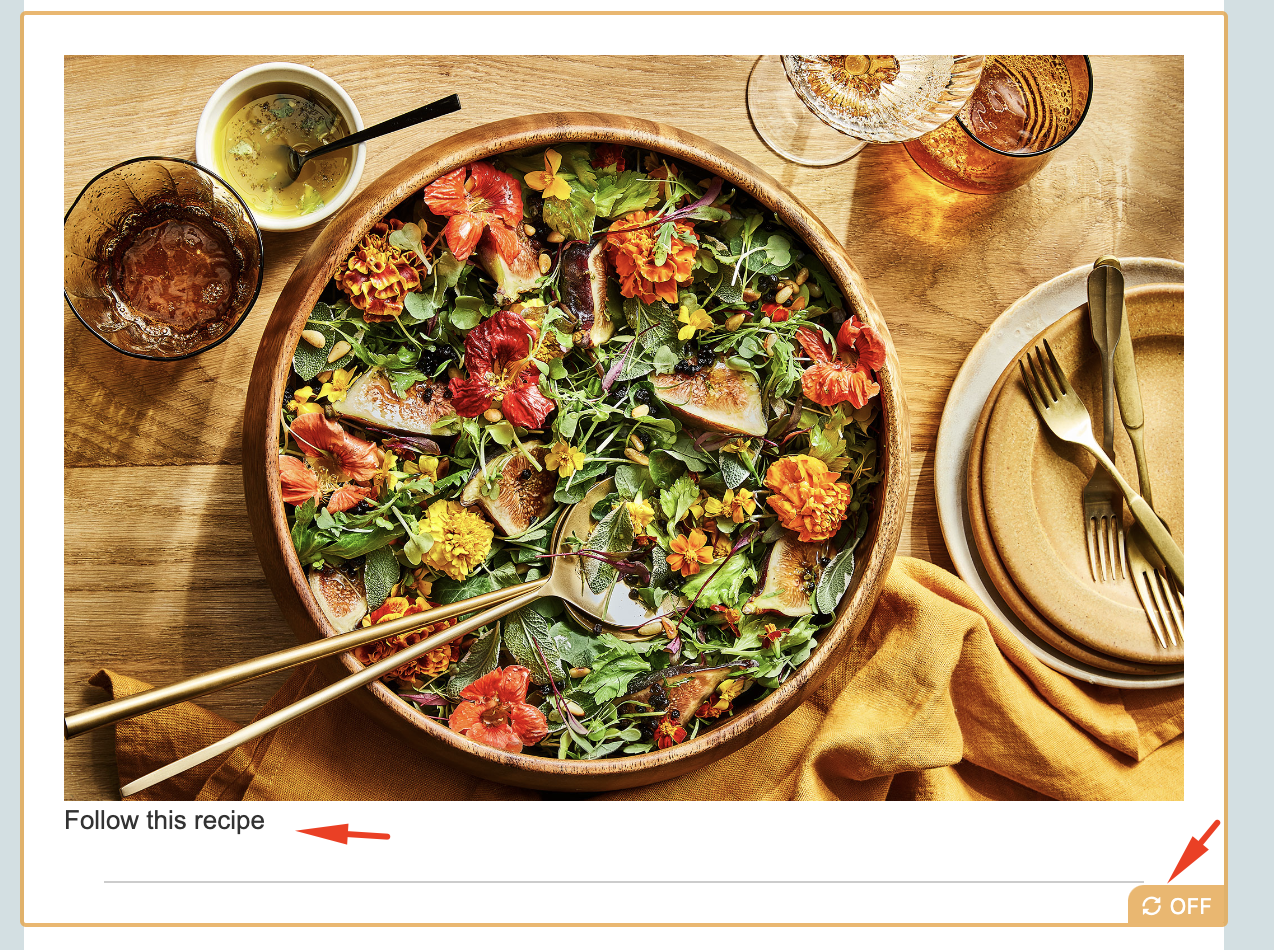
 Once your module is saved, an OFF symbol will appear on the template. This means that you created a synchronizable module, but the synchronization is not activated yet.
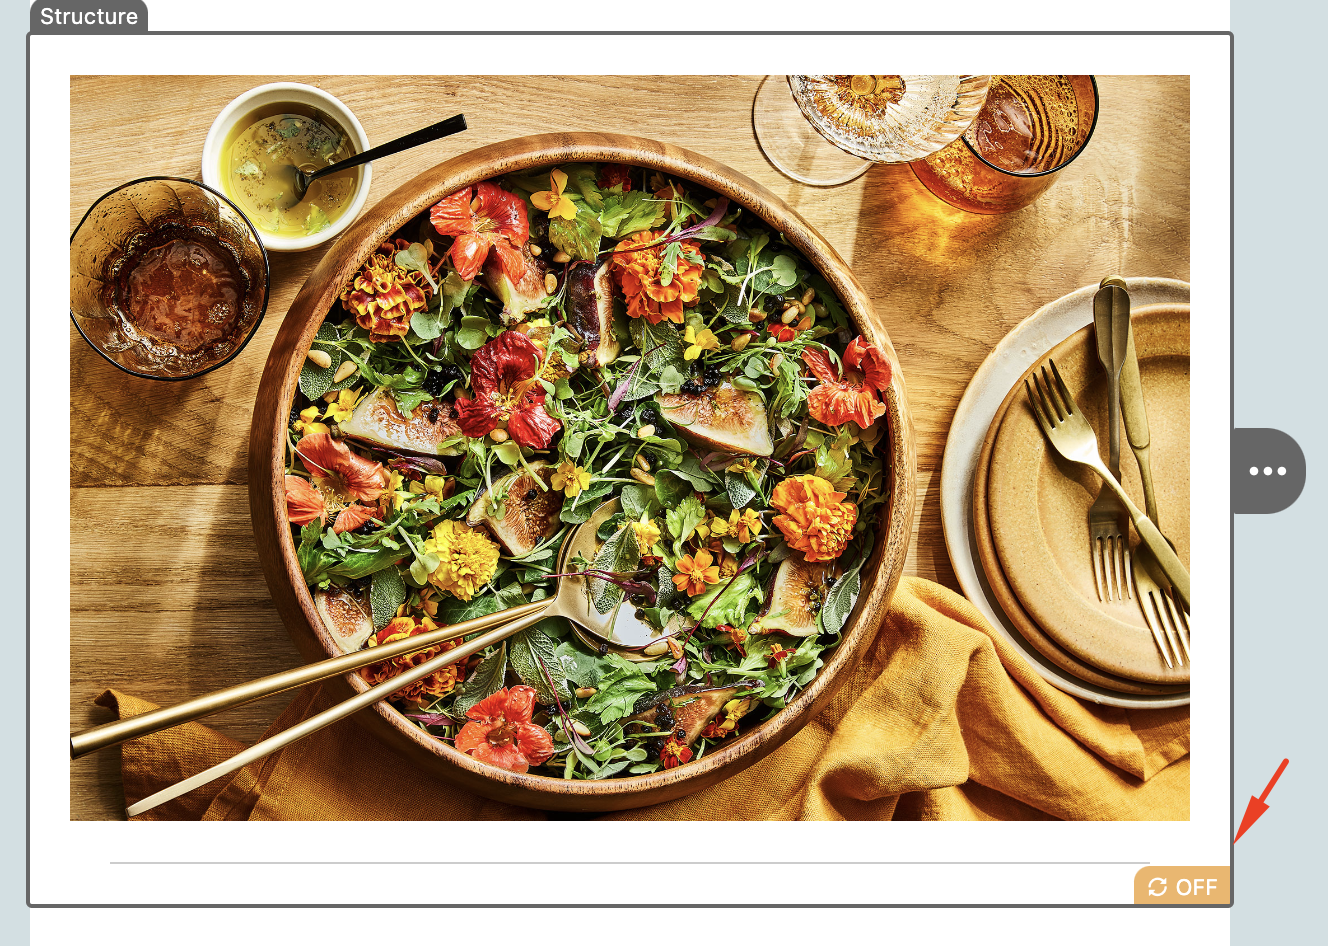
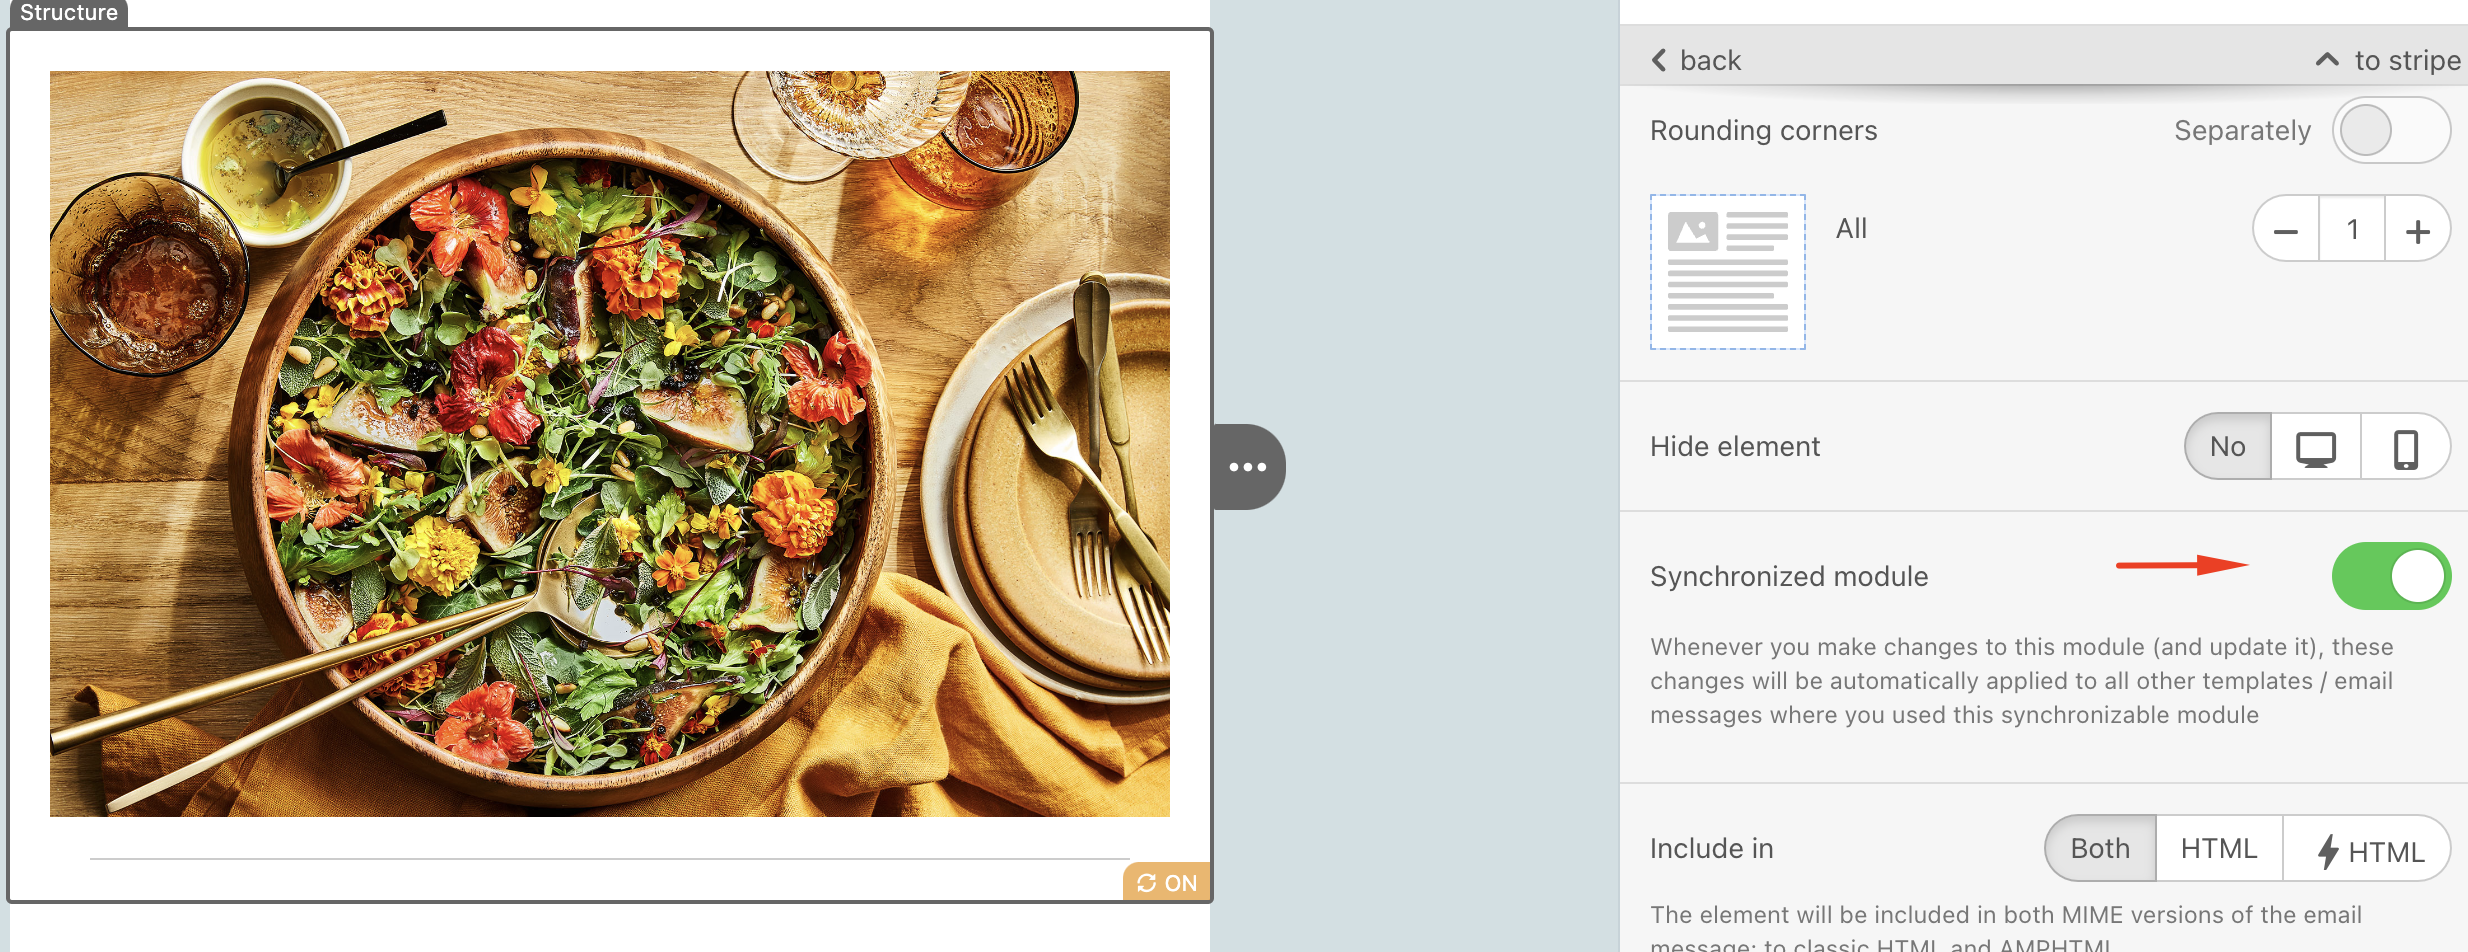
- To activate it, click the OFF symbol to toggle the Synchronized module button in the Settings panel. The OFF symbol will be updated to ON.
Below, you can also see the steps combined.
Edit and update your modules
After adding this module to any of your templates, you should update it when you edit a piece of information in it.
To edit and update your modules:
- Open any email template that uses this module, then click the module. Edit your module as you like. The following example is a Text block added to the module. The OFF symbol will appear on the content module again. Click this symbol to activate it.
- In the Settings panel, you will be asked to update your module. Click the Update module button to save the current changes to your module and apply them to all templates that use it.
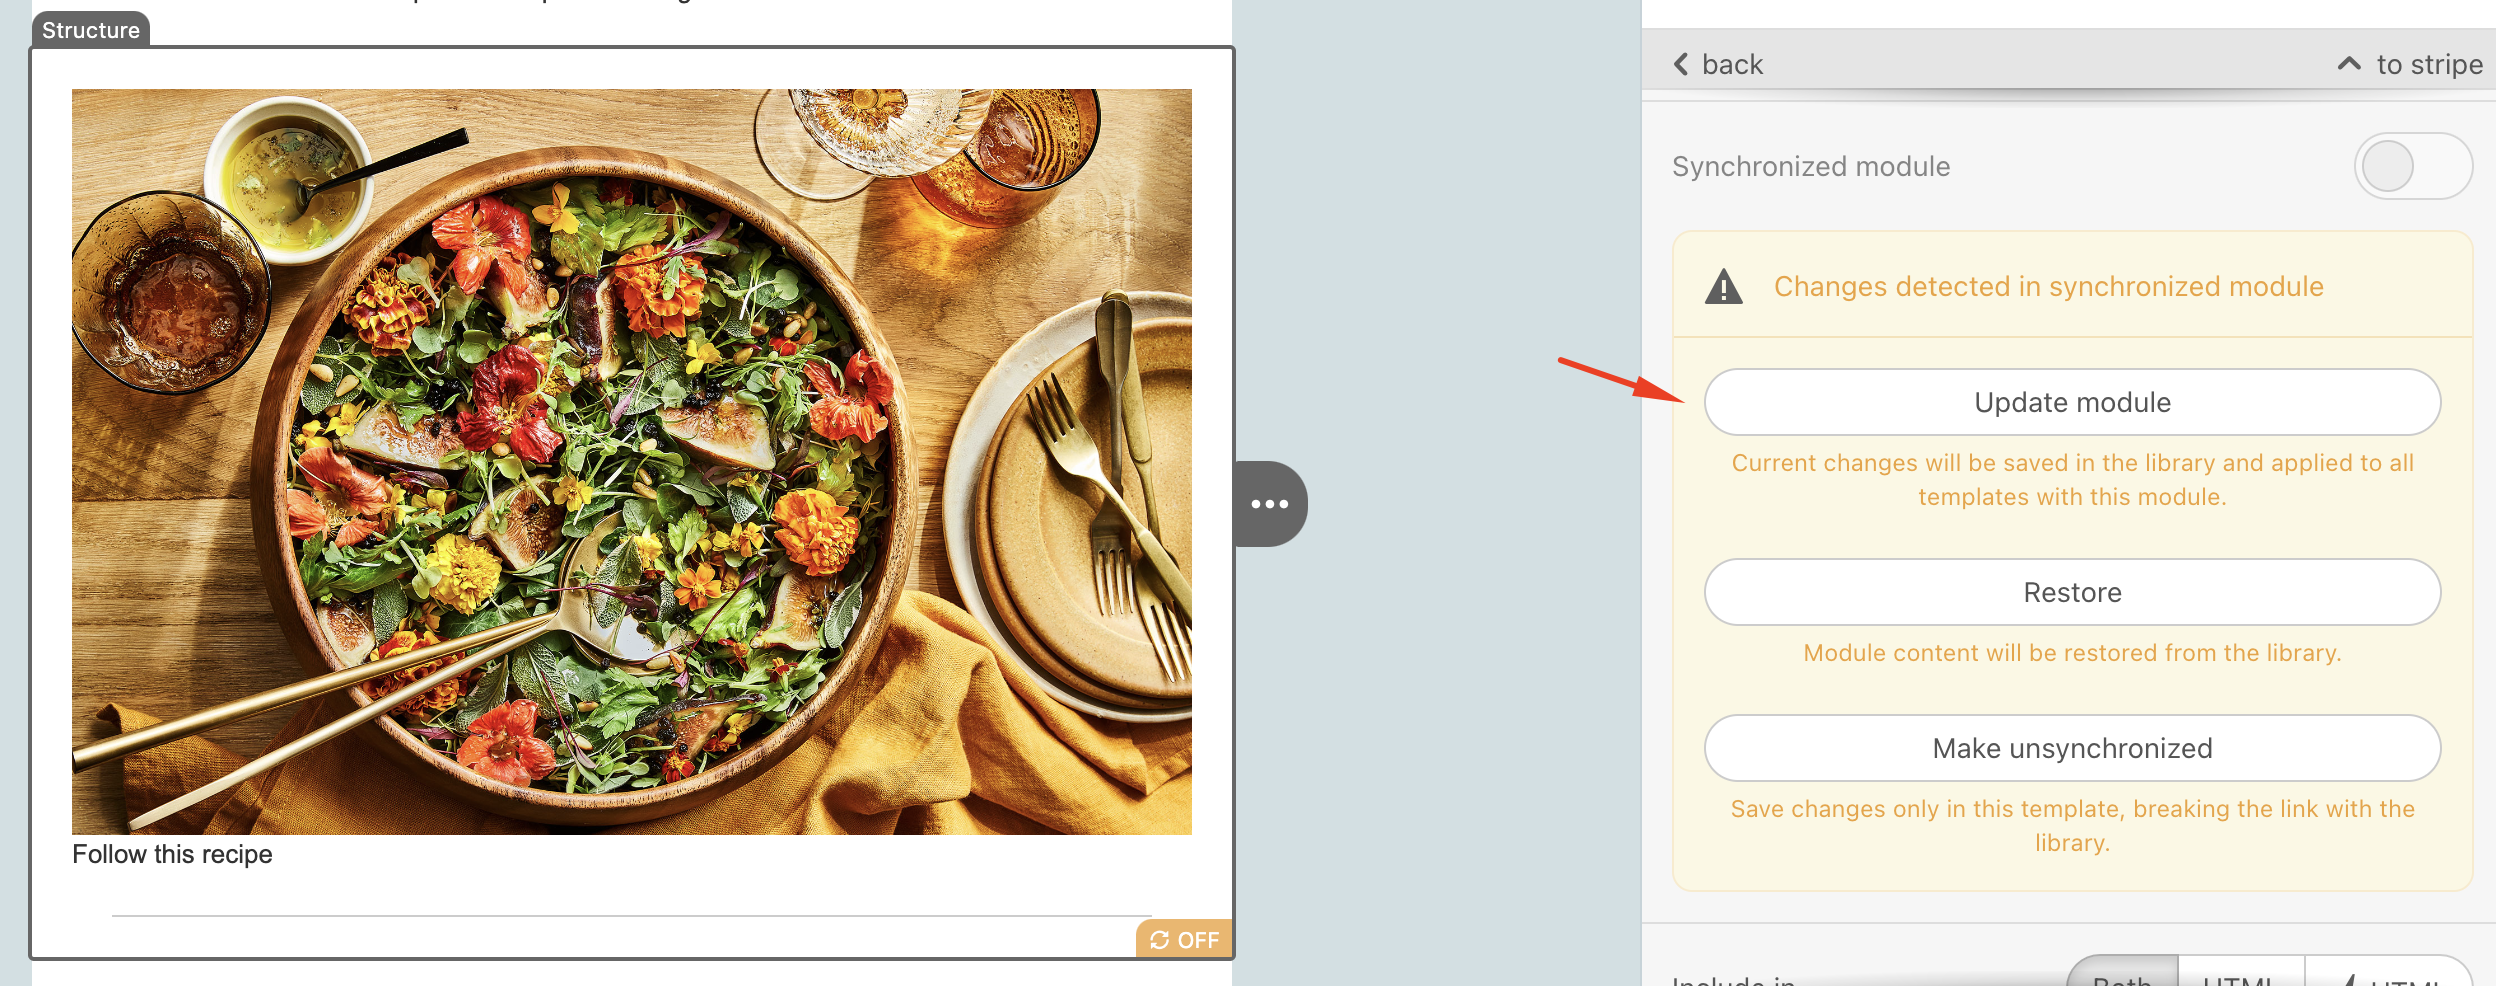
You can also restore the module content from the library, or make it unsynchronized to break the link with the library and save your changes only in this template.
The display conditions feature is not supported when the synchronized module is on.