The Accessibility Checker helps you find and fix accessibility issues in your email design without leaving the Drag & Drop Editor in Insider One. It flags problems such as missing image alt text, low color contrast, and email structure issues, so your content stays readable for everyone.
You can also preview your email without images and with color vision filters. This lets you see how recipients with different needs experience your message.
To use the Accessibility Test, you need an email campaign that uses the Drag & Drop editor.
This article covers the following topics:
To open the Accessibility Checker, follow these steps:
In the InOne panel, open your email campaign, go to the Design step, and select the Drag & Drop editor.
In the editor top bar, click the More actions icon (three dots) and select Accessibility Test under ACTIONS. Alternatively, click the Accessibility icon in the top bar.
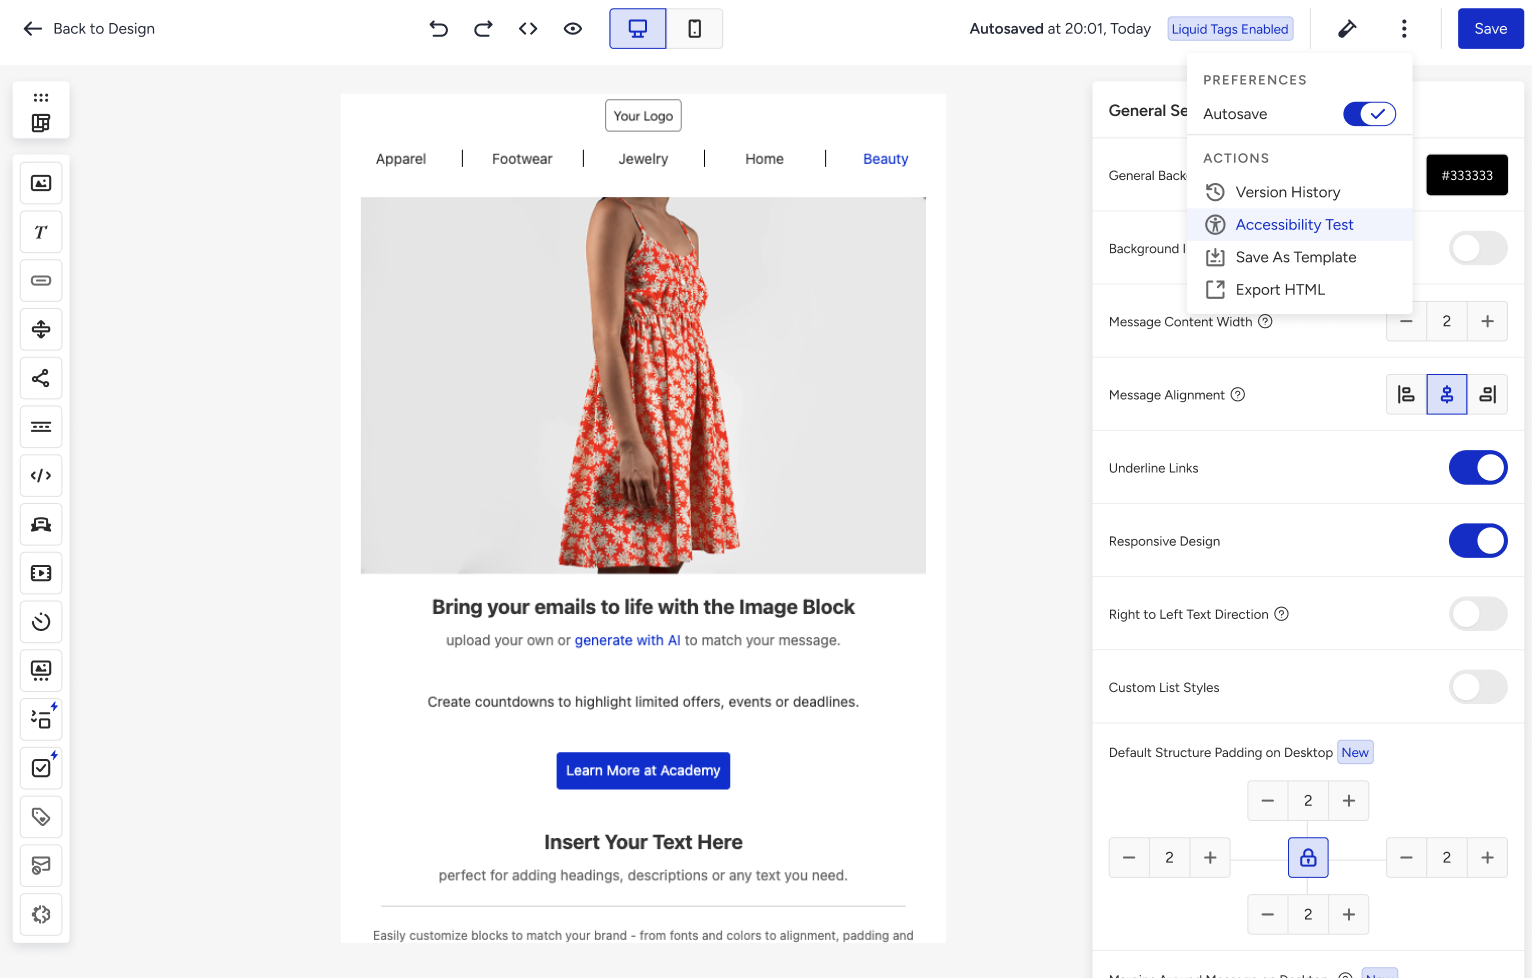
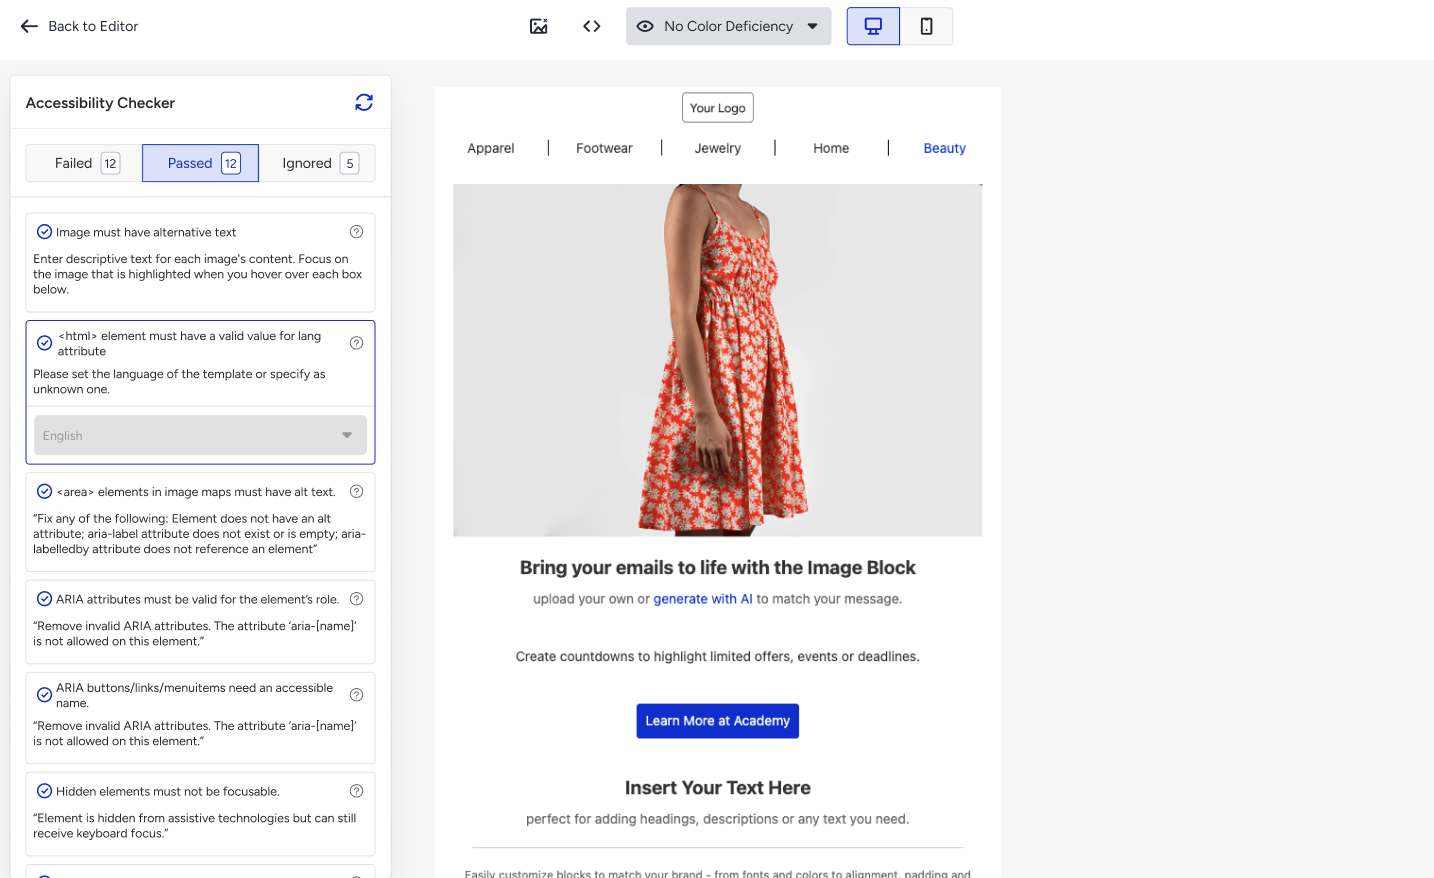
The editor switches to accessibility mode, and the Accessibility Checker panel opens on the right side of the page.
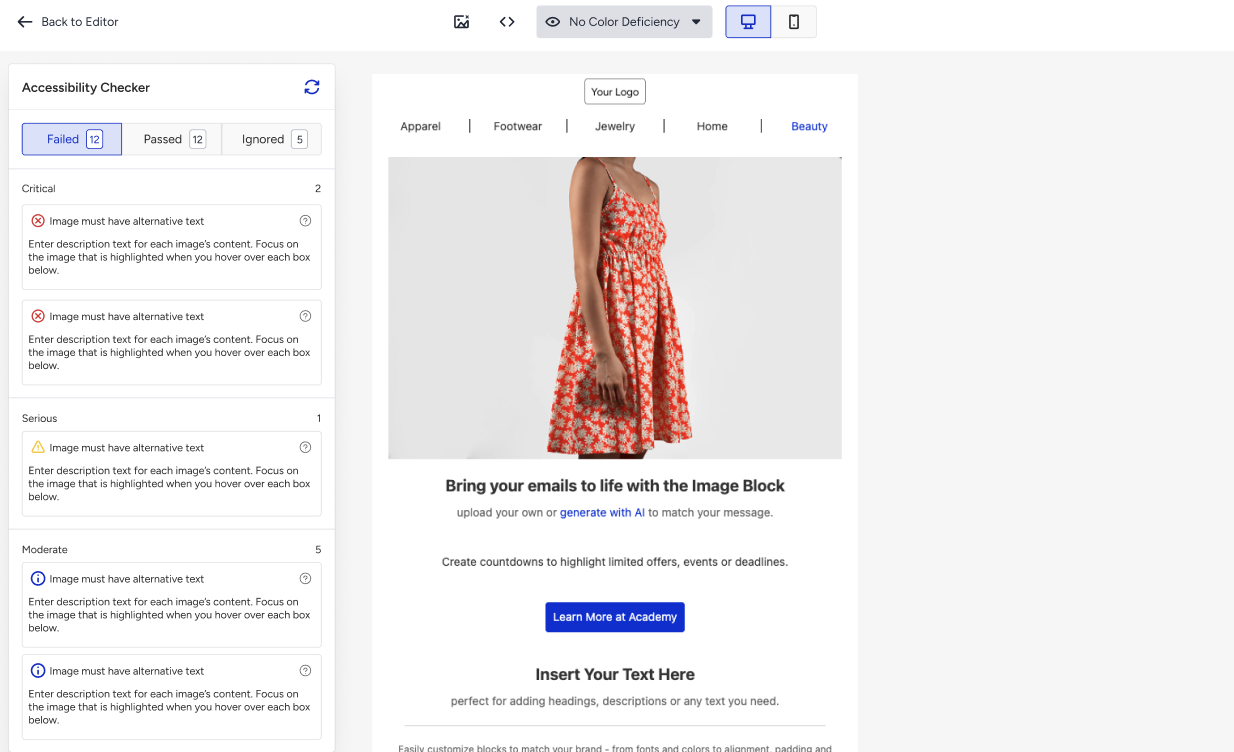
In accessibility mode, the top bar shows only the controls you need to review your email:
No-images icon: Hides the images in the preview.
HTML editor button: Gives you access to the HTML editor.
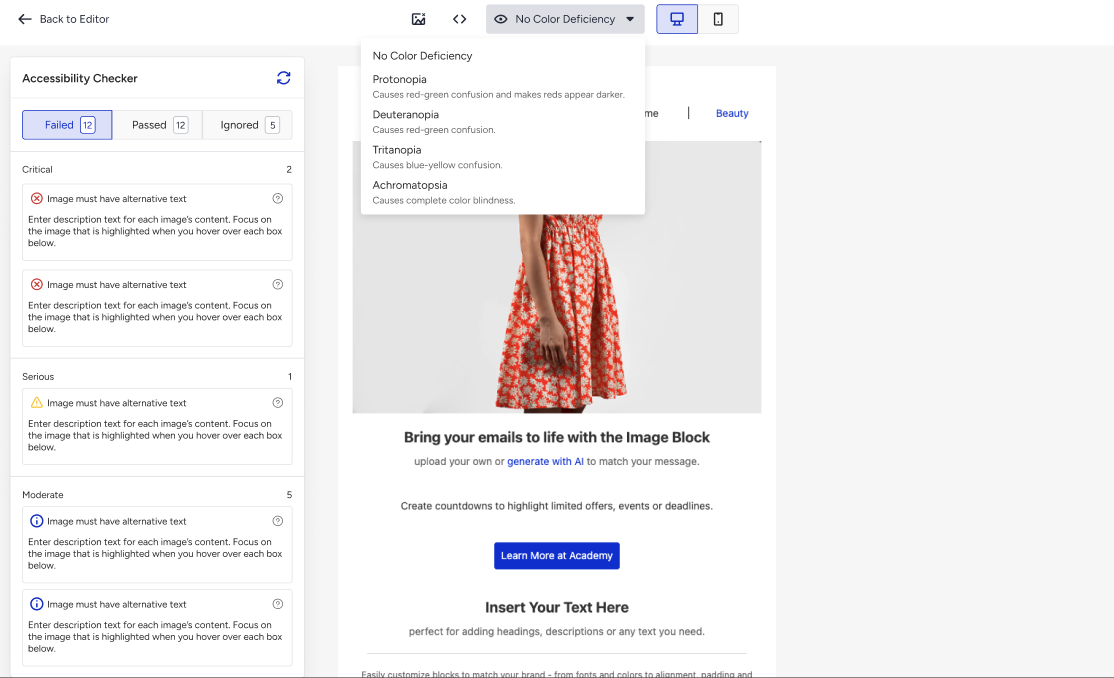
Color vision dropdown: Applies a color vision filter to the preview.
Desktop and mobile toggle: Switches the preview between desktop and mobile views.
Other controls, such as undo, redo, Save, and the More actions menu, stay hidden until you exit accessibility mode.
Review issues
The Accessibility Checker groups your email checks into three tabs. Each tab shows how many items it contains.
Failed: The issues to review. Each issue includes an edit area to fix it.
Passed: Checks your email meets. These items are read-only, and their fields appear disabled.
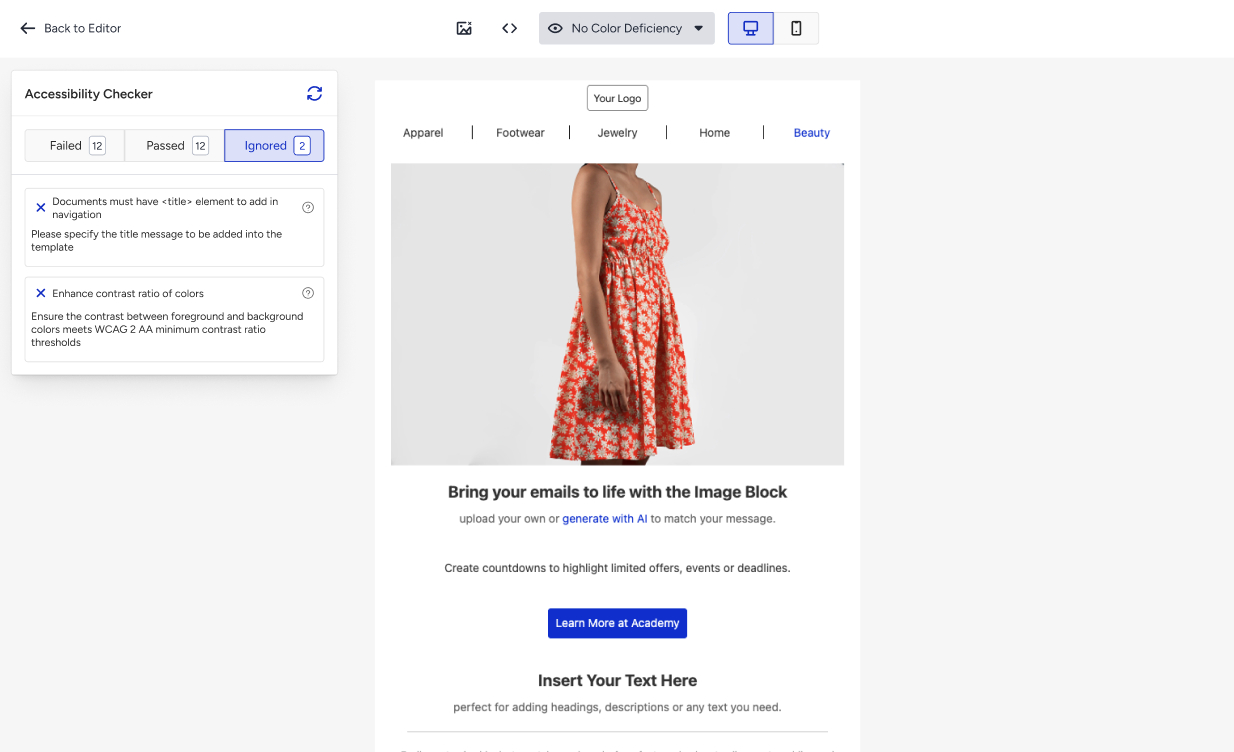
Ignored: The issues you chose to ignore. Each item shows an Unignore button.
When a tab has no items, it shows an empty state. The checks cover areas such as image alt text, color contrast, and email structure.
Fix failed issues
Go to the Failed tab.
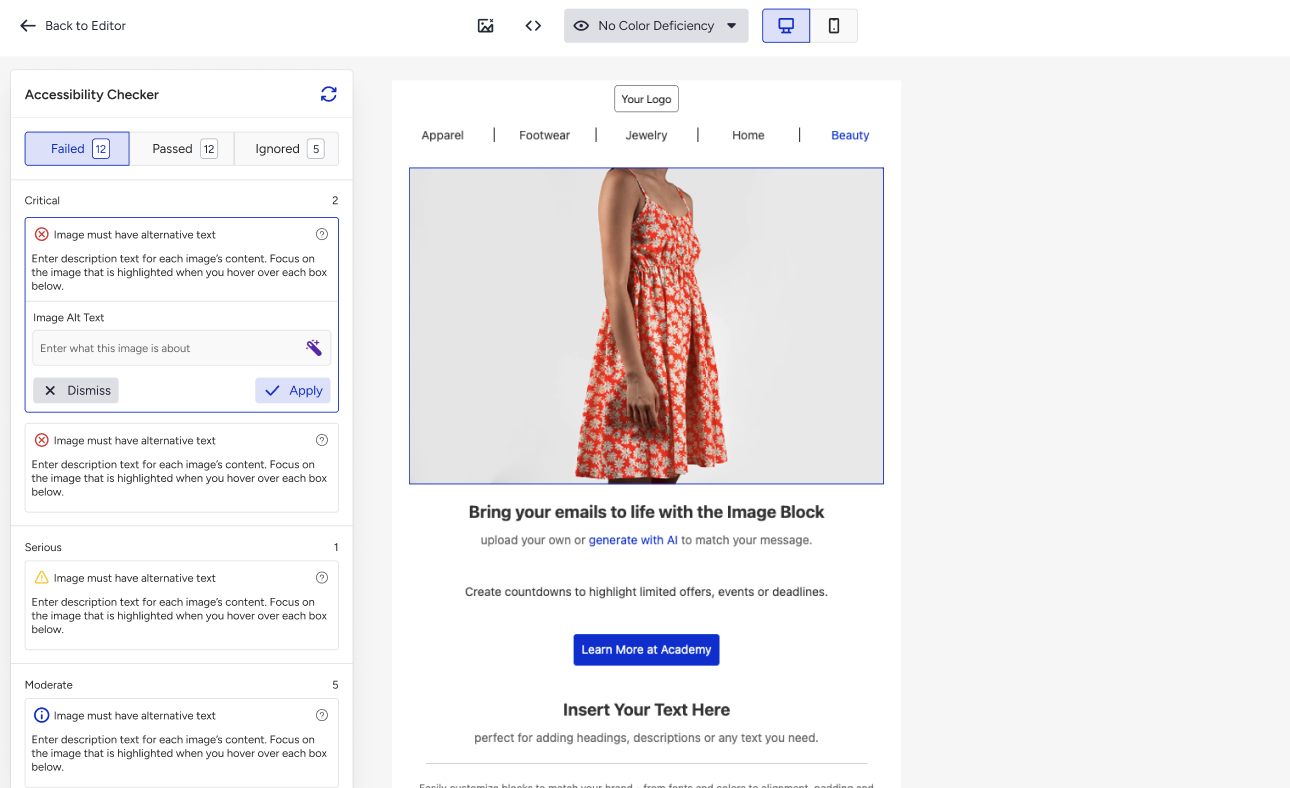
Find the issue and update its value in the edit area. The control depends on the issue type:
Alt text issues: A text field where you enter an image description.
Color contrast issues: Color selectors for the affected colors, with the contrast ratio shown next to the color swatches.
Other issue types: A dropdown or another input that matches the issue.
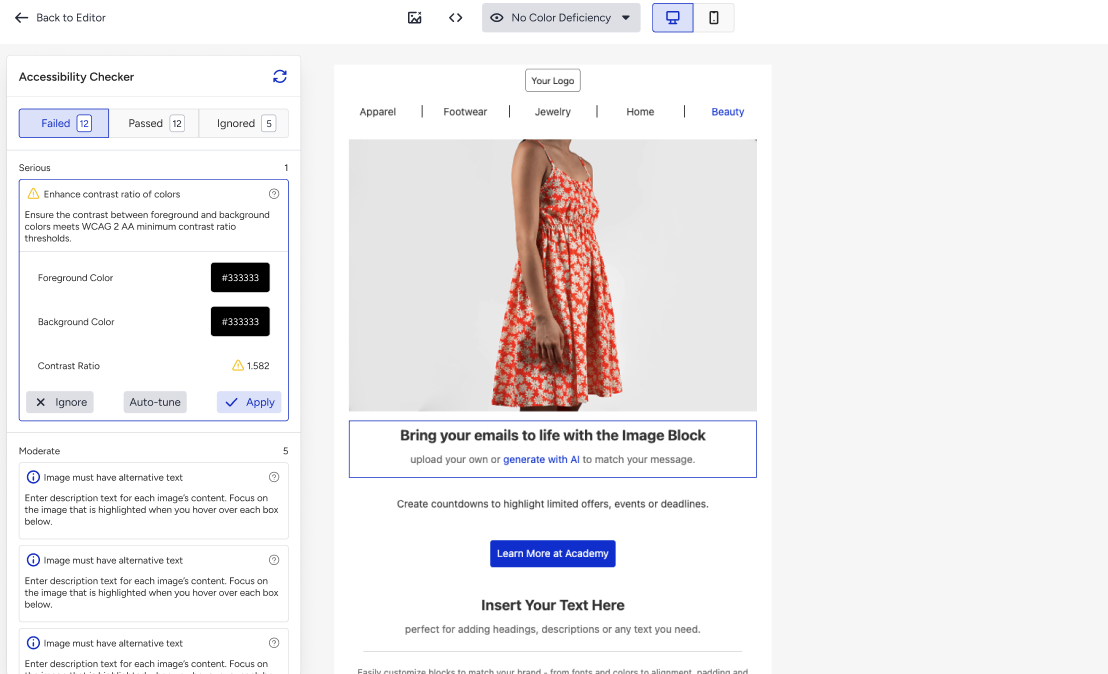
Changes you make in the edit area apply to your email design. To read more about a check, click the info link on the issue.
Ignore and unignore issues
If an issue does not apply to your email, you can move it out of the Failed tab.
In the Failed tab, click Ignore on the issue. The issue moves to the Ignored tab.
To bring an issue back, go to the Ignored tab and click Unignore. The issue moves back to the Failed tab.
Preview your email without images
Click the no-images icon in the top bar to hide the images in your email preview. Use it to check that your content stays understandable when images do not load.
Simulate color vision deficiencies
Click the color vision dropdown in the top bar.
Select an option to apply its filter to the preview. Each option includes a short description:
No color deficiency
Protanopia: Causes red-green confusion and makes reds appear darker.
Deuteranopia: Causes red-green confusion.
Tritanopia: Causes blue-yellow confusion.
Achromatopsia: Causes complete color blindness.
Color vision filters and hidden images affect the preview only. They do not change your email content.
Click Back to Editor in the top bar. The editor returns to the standard view with all top bar controls.
Good to know
The Accessibility Checker does not change your email automatically. Your design changes only when you update a value in the Failed tab.
The checker helps you catch common issues, but it does not replace a full accessibility review, such as testing your email with a screen reader.
For accessibility practices for emails sent to EU recipients, see Accessibility Practices for EU Customers under the European Accessibility Act for Email Channel (EAA).
The Accessibility Checker lets you review your email for alt text, color contrast, and structure issues, fix them in place, and preview the result without images or with color vision filters. Open your email in the Drag & Drop Editor, switch to accessibility mode, and work through the Failed tab before you send.