You can follow these steps to use the Wait for Attribute option in your Wait element:
1. Click the + (plus) button to select a flow element. Select Wait > Wait for Attribute.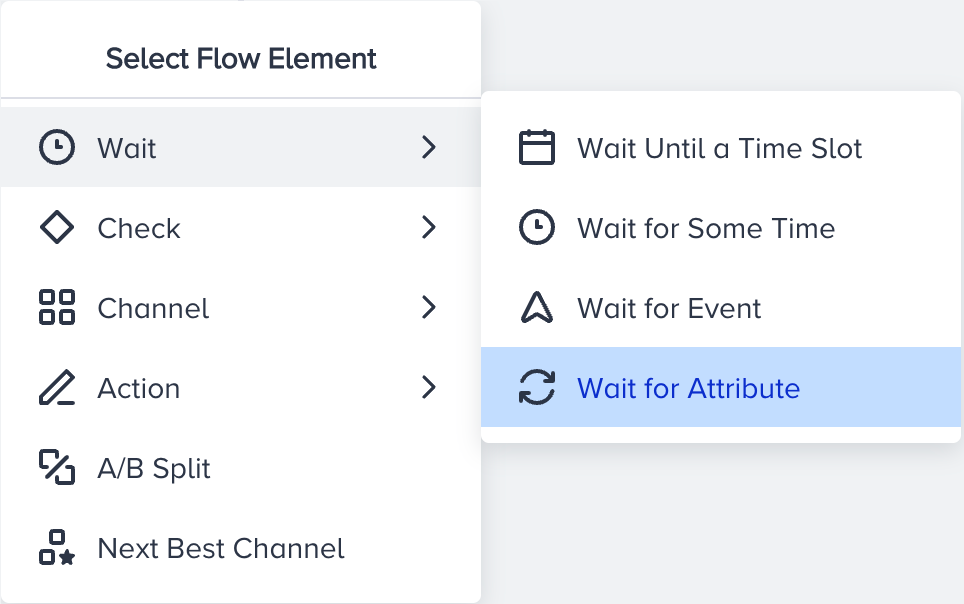
2. Click the Wait element to configure it.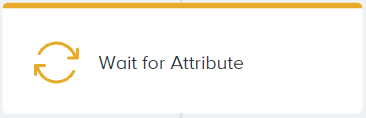
3. Choose the desired default or custom attribute(s).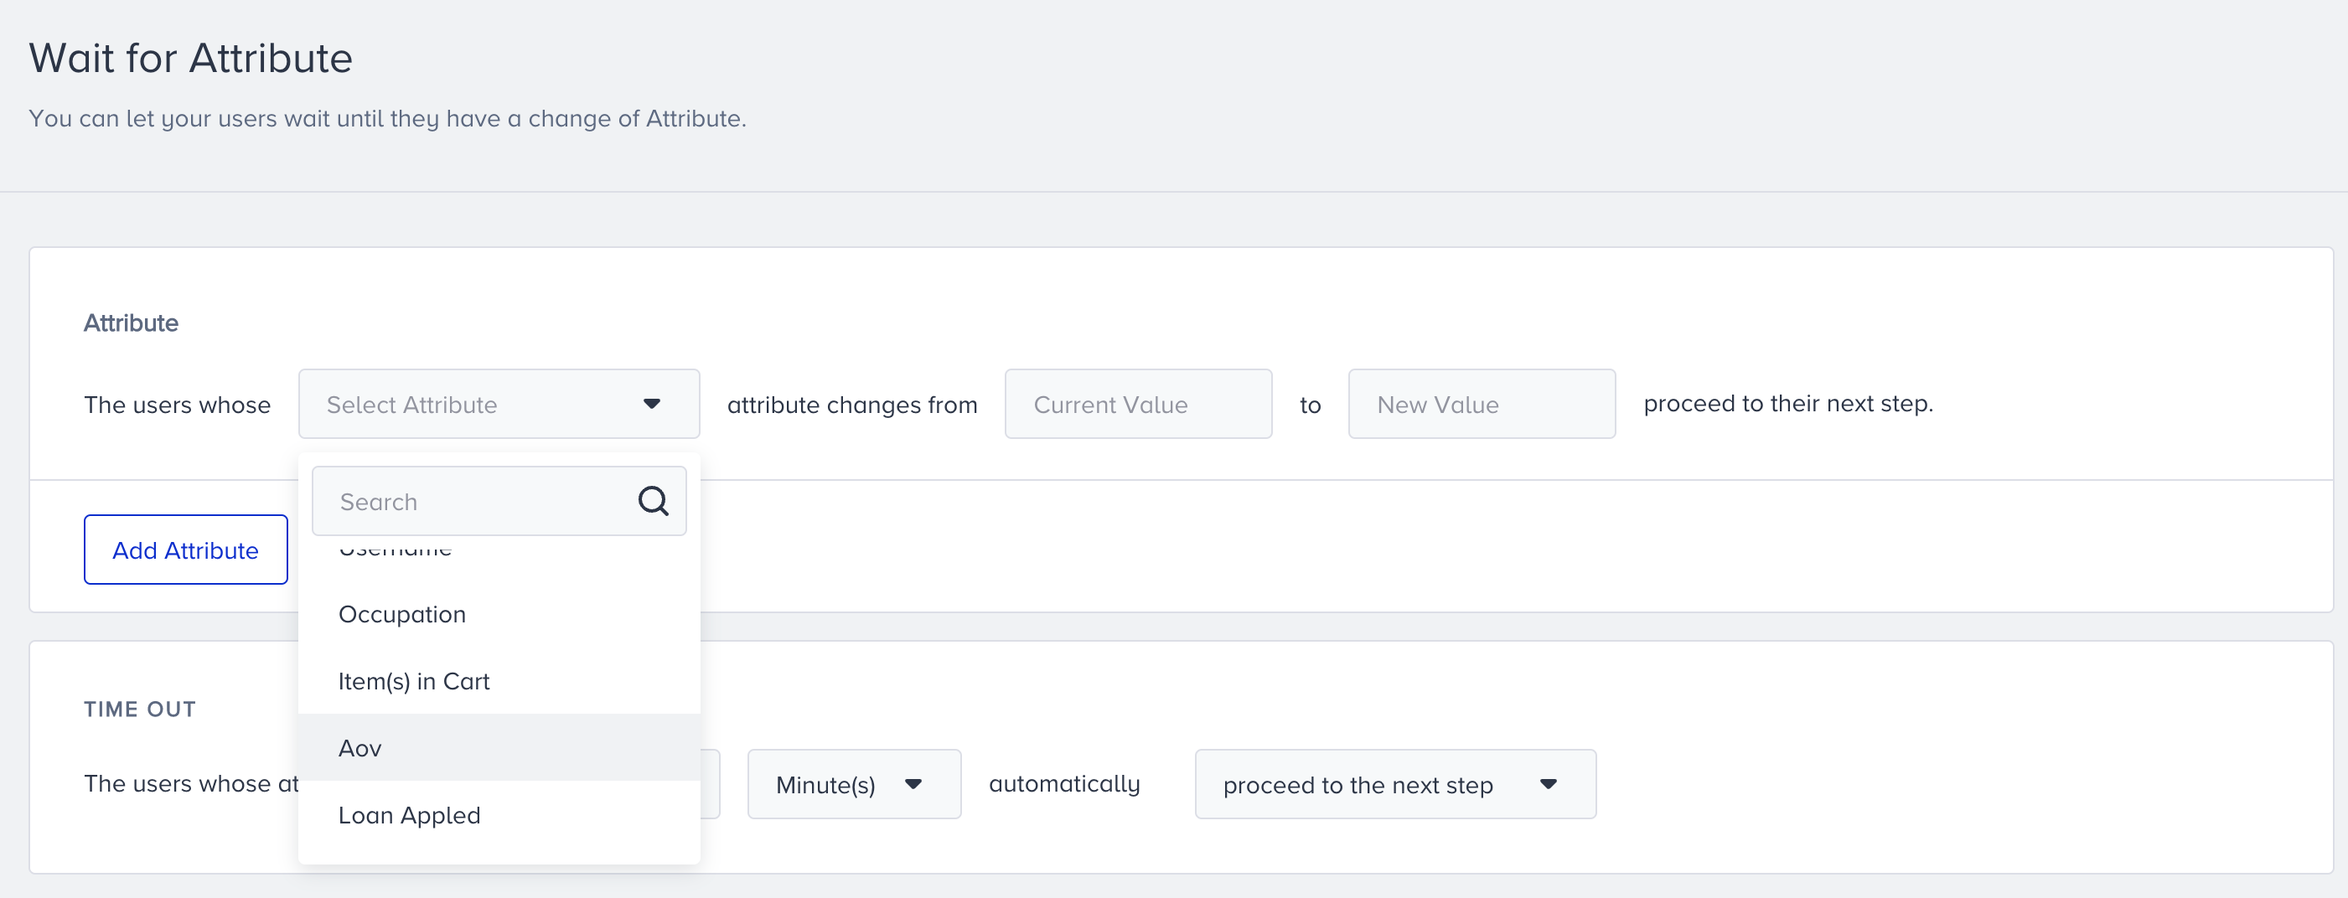
You cannot add an identical attribute as a second attribute.
You can choose up to 3 attributes.
4. Specify a time-out duration for one of the following actions:
Proceed to the next step
Drop from the journey

5. Click the Save button to save your changes and go back to the canvas.
Live Stats
After you launch your journey, you can see On Hold, Proceeded (Time Out), or Dropped (Time Out) figures on the Wait for Attribute element on the canvas.
On Hold: Displays the number of users who wait until their specified attribute value takes the new specified value or the old value changes to the new value.
Proceeded (Time Out): Displays the number of users who proceeded to the next step without an attribute change.
Dropped (Time Out): Displays the number of users who are dropped from the journey without an attribute change.
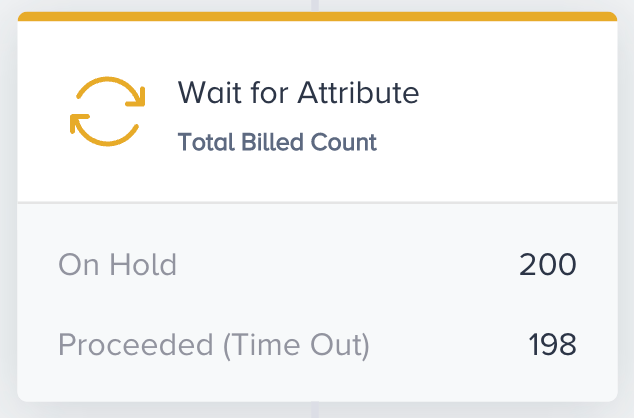
Proceeded (Time Out) and Dropped (Time Out) cannot be shown simultaneously. It displays the selected metric within the element.