Web Push notifications are an effective tool for engaging users, even when they’re not actively visiting your website. To start using the Web Push product, you need to configure the settings on the Insider Onboarding Center page.
Before the Web Push integration
When you visit the Web Push listing page before completing the settings in the Insider Onboarding Center, you are redirected to the Web Push Channel Page. To proceed, click the Go to Web Push Channel Setup button to access the Insider Onboarding Center, or navigate to Components > Insider Onboarding Center.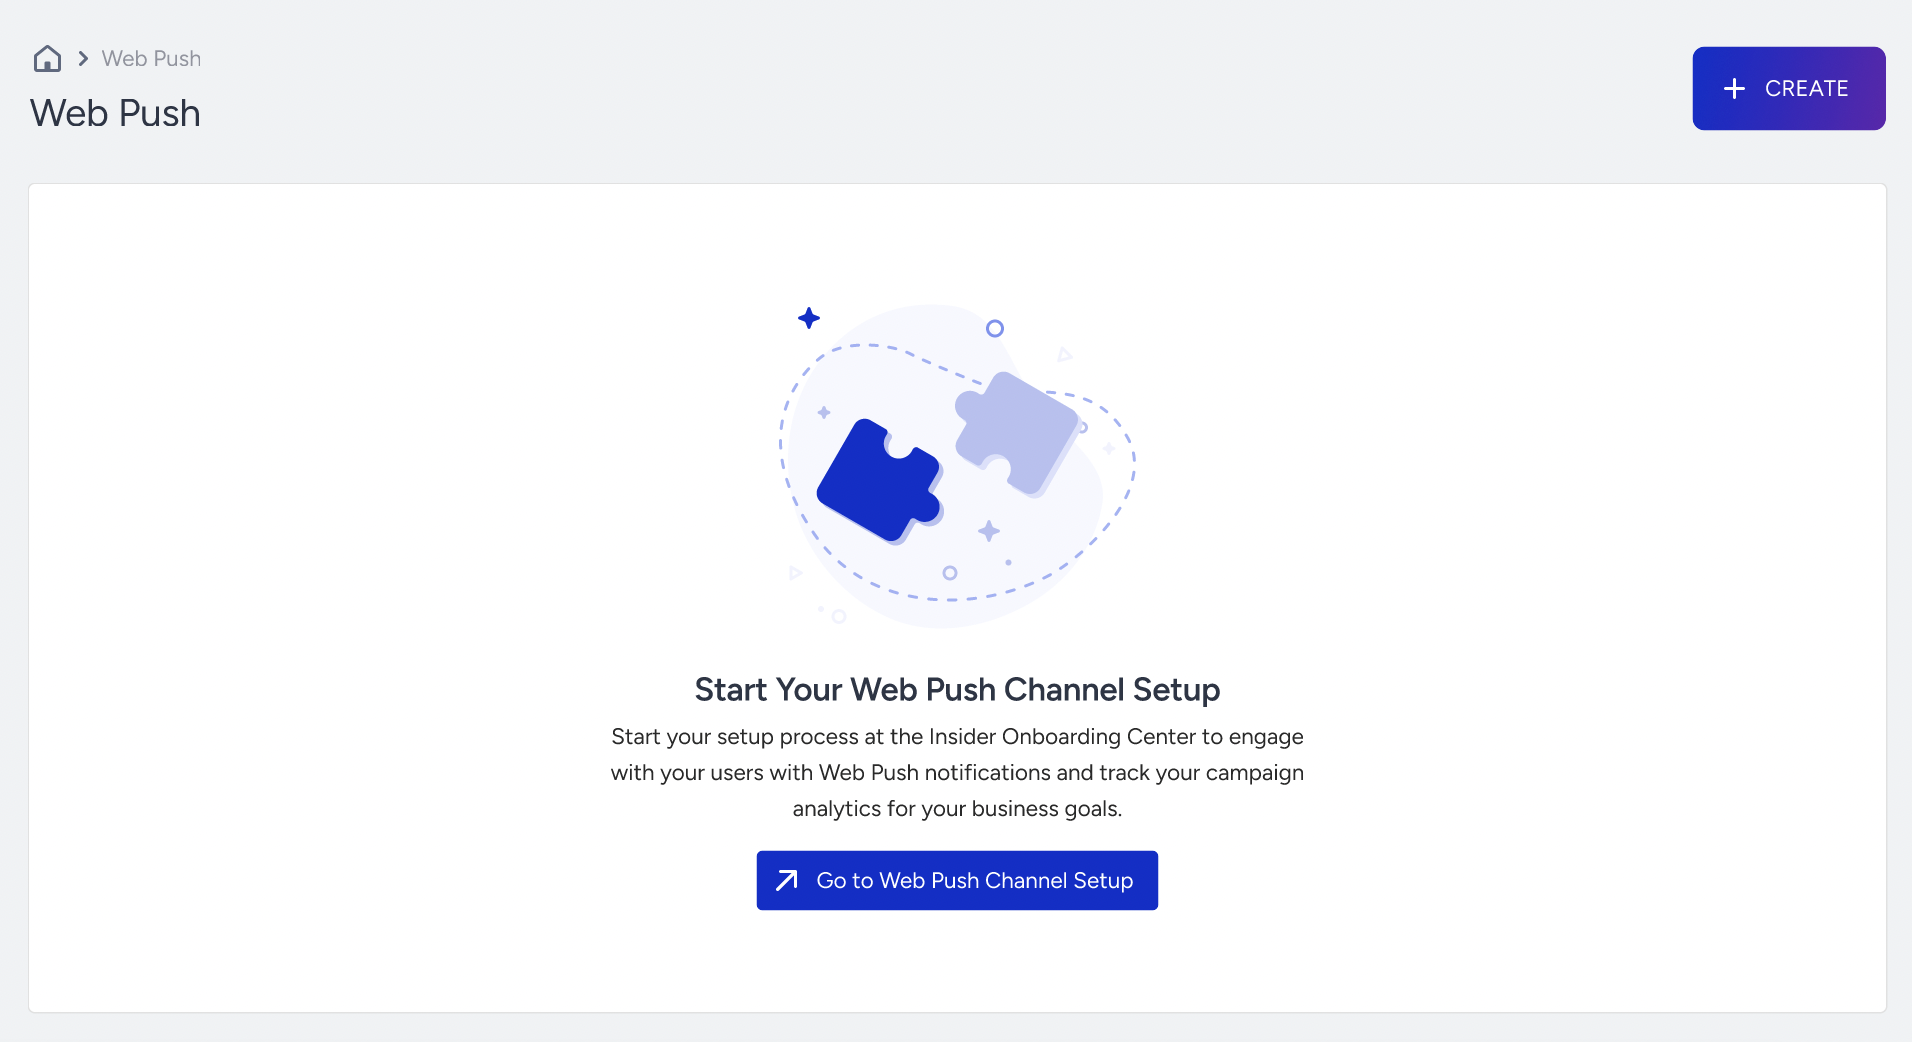
You also see that the Create button is enabled. While your configuration step is in progress, you can still create Web Push campaigns and save them in Draft status. When you complete the integration, you can launch your campaigns.
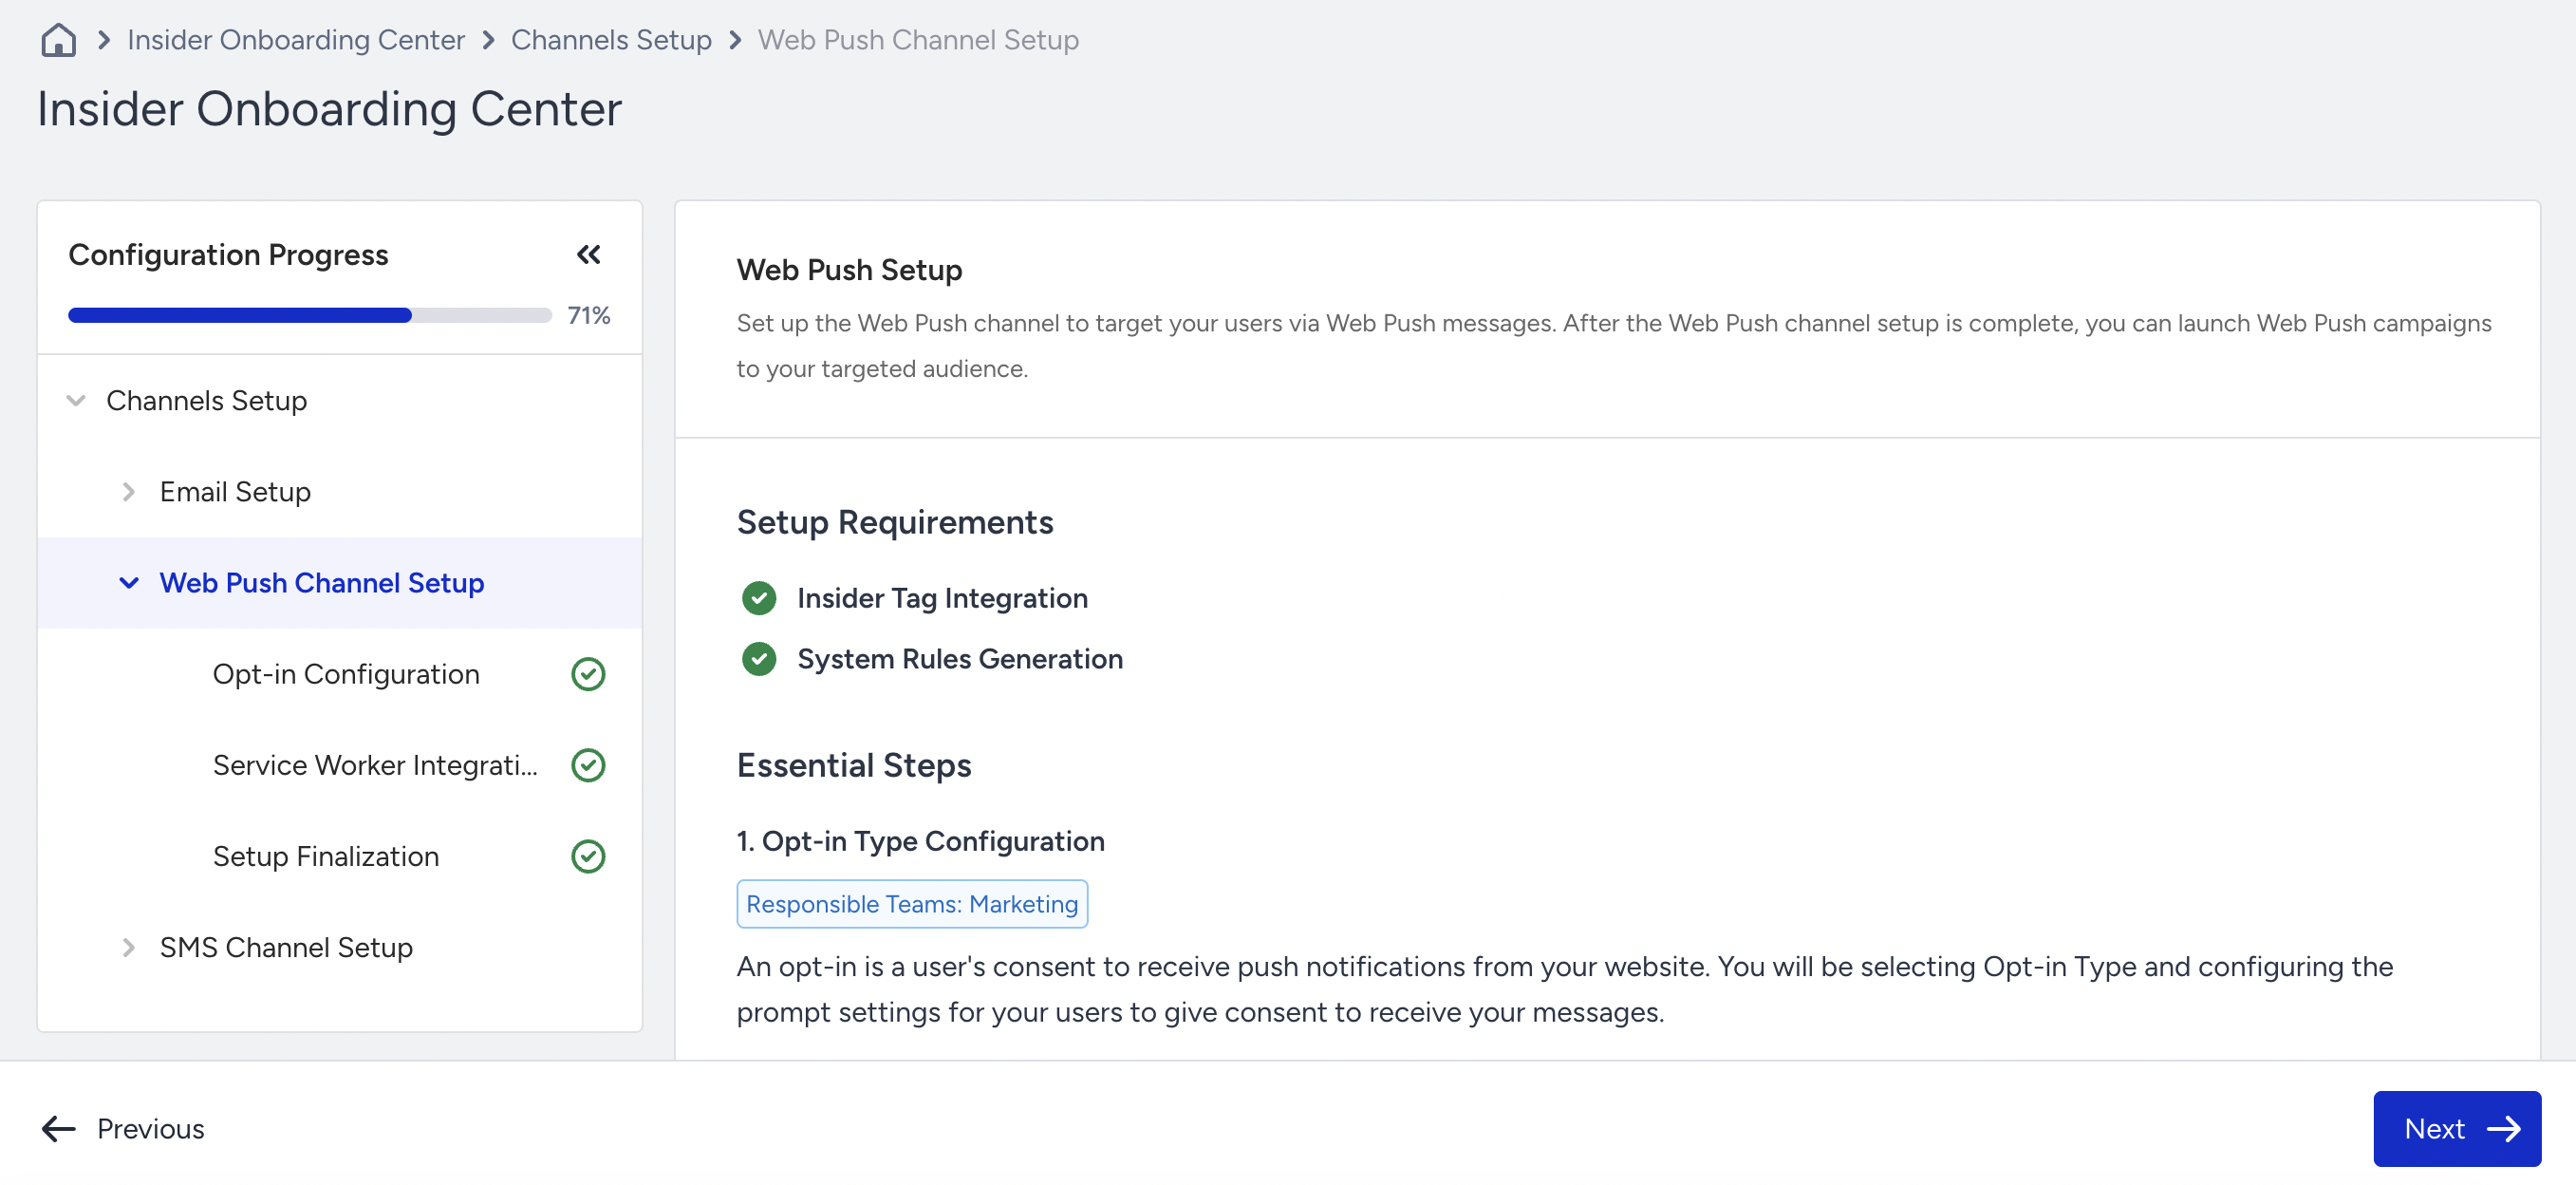
You need to have configured the Channel Setup Prerequisites before you start with Web Push configurations.
Opt-in Configuration
To receive consent from your users to send them Web Push notifications, select the opt-in type and configure it.
Native Opt-in
Native Opt-in refers to the browser's standard permission prompt. If your website supports HTTPS, you can use Native Opt-in, the browser's native prompt. This allows you to collect tokens under your own domain.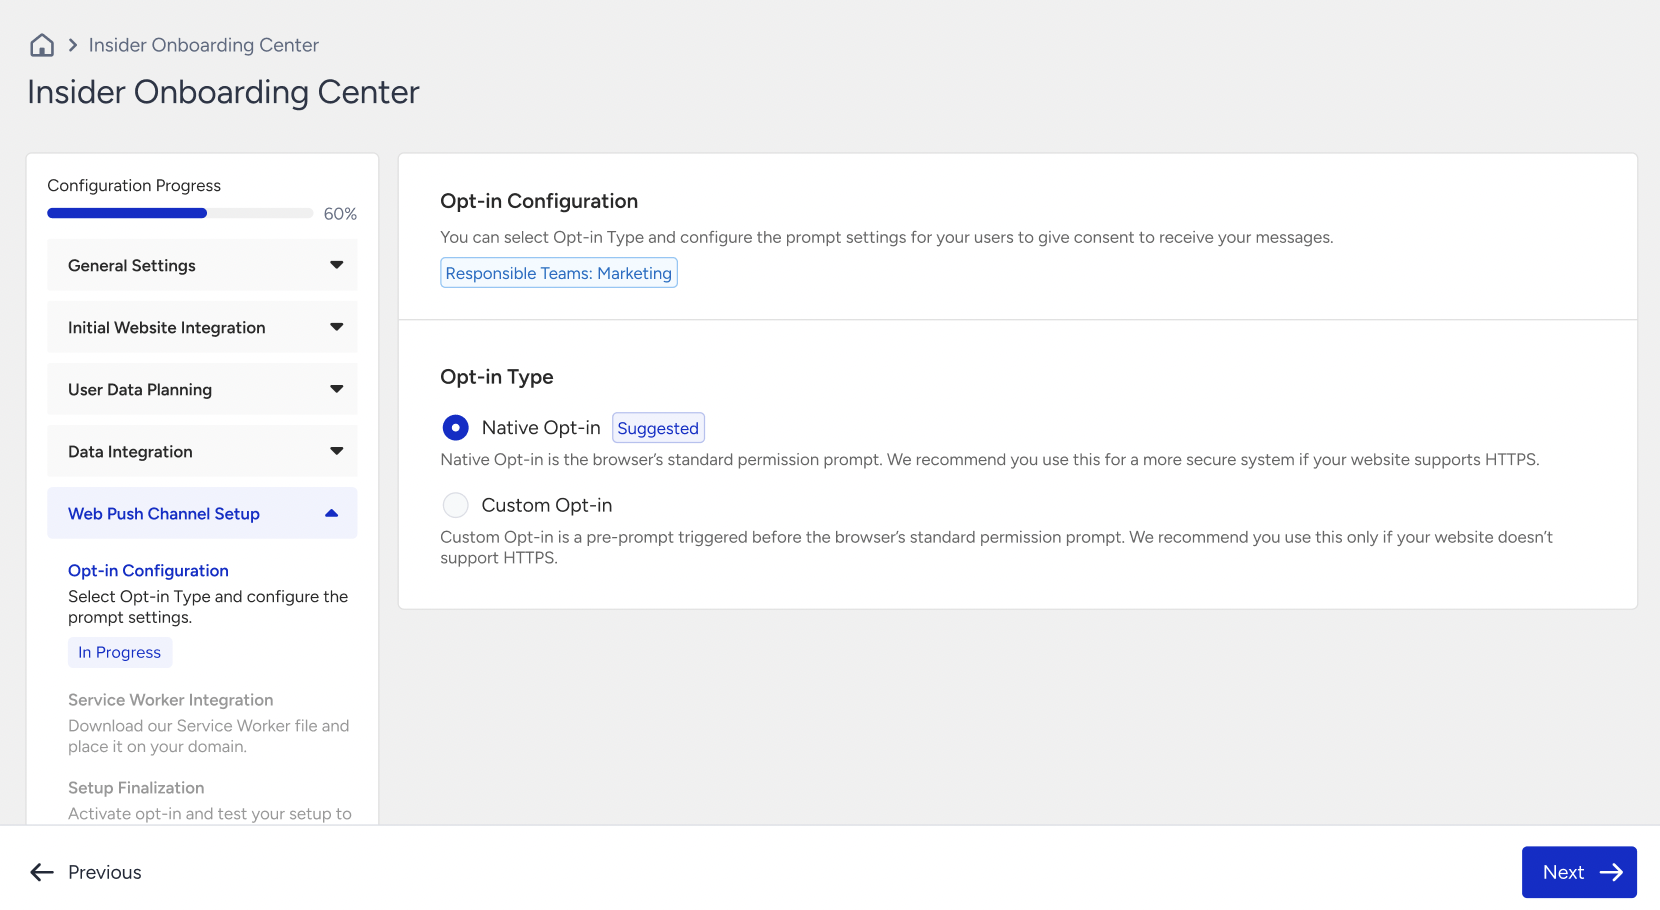
After you select the Native Opt-in option, click the Next button to proceed.
Custom Opt-in
Custom Opt-in is a pre-prompt that appears before the browser's standard permission prompt. We recommend using this option if your website does not support HTTPS.
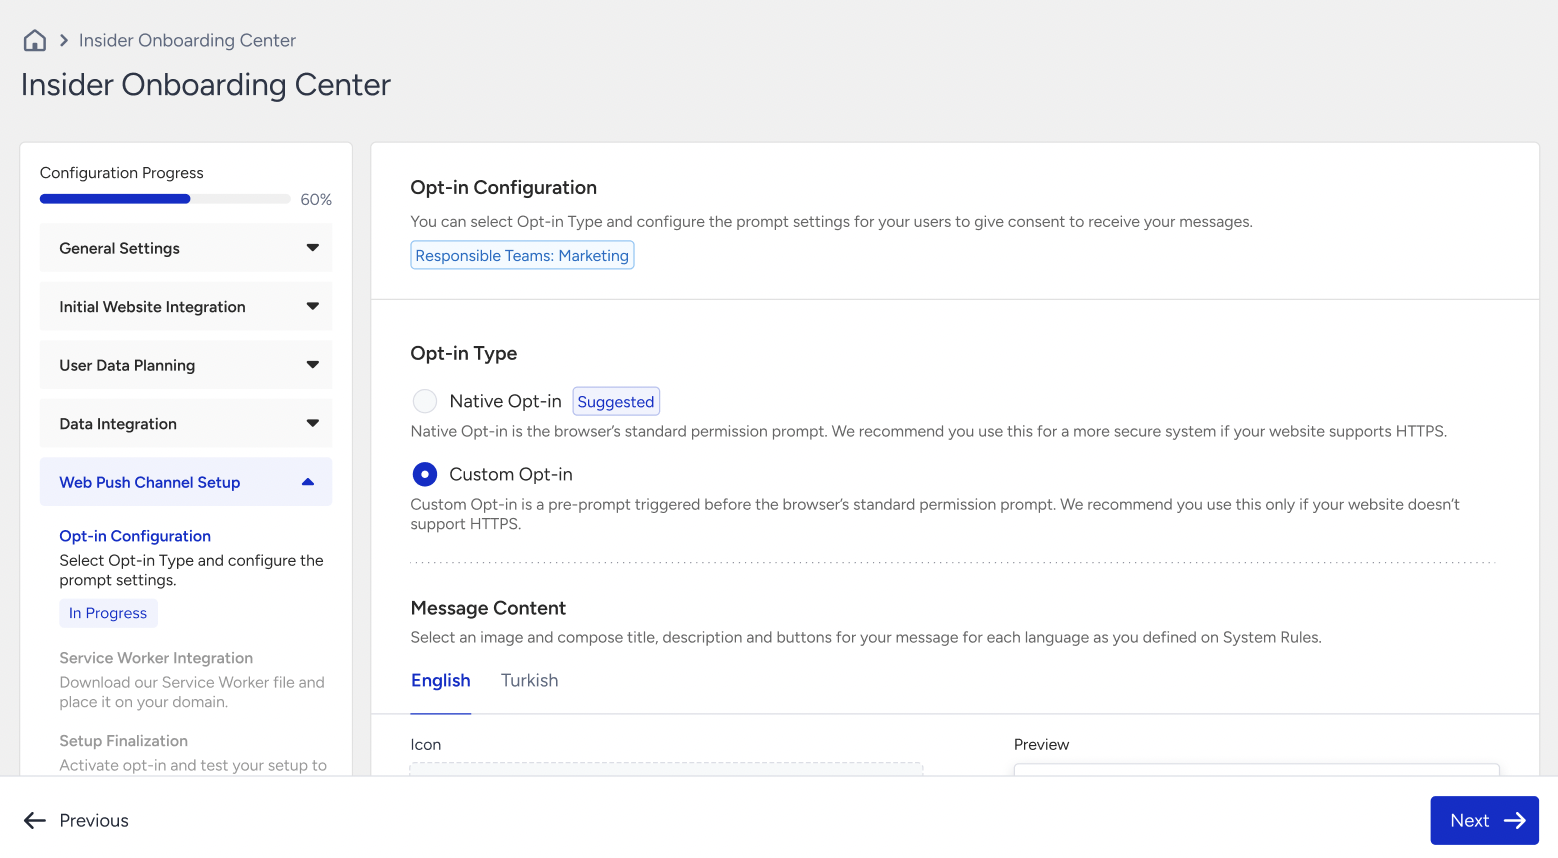
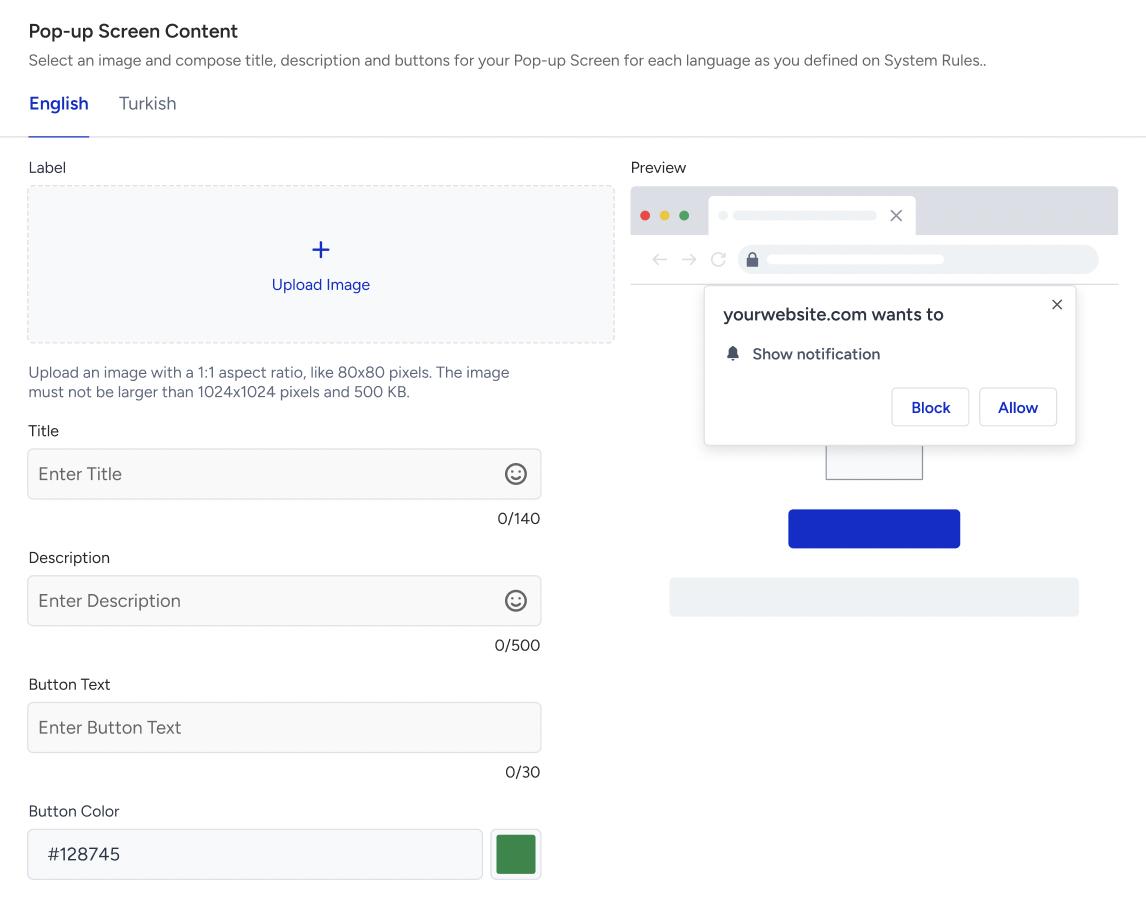
When you select the Custom Opt-in option, you can proceed with designing the message and pop-up screen content. Make sure to complete the fields for all the languages you’ve defined under System Rules, as your opt-in prompt will be sent in those languages.
Click the Next button to proceed.
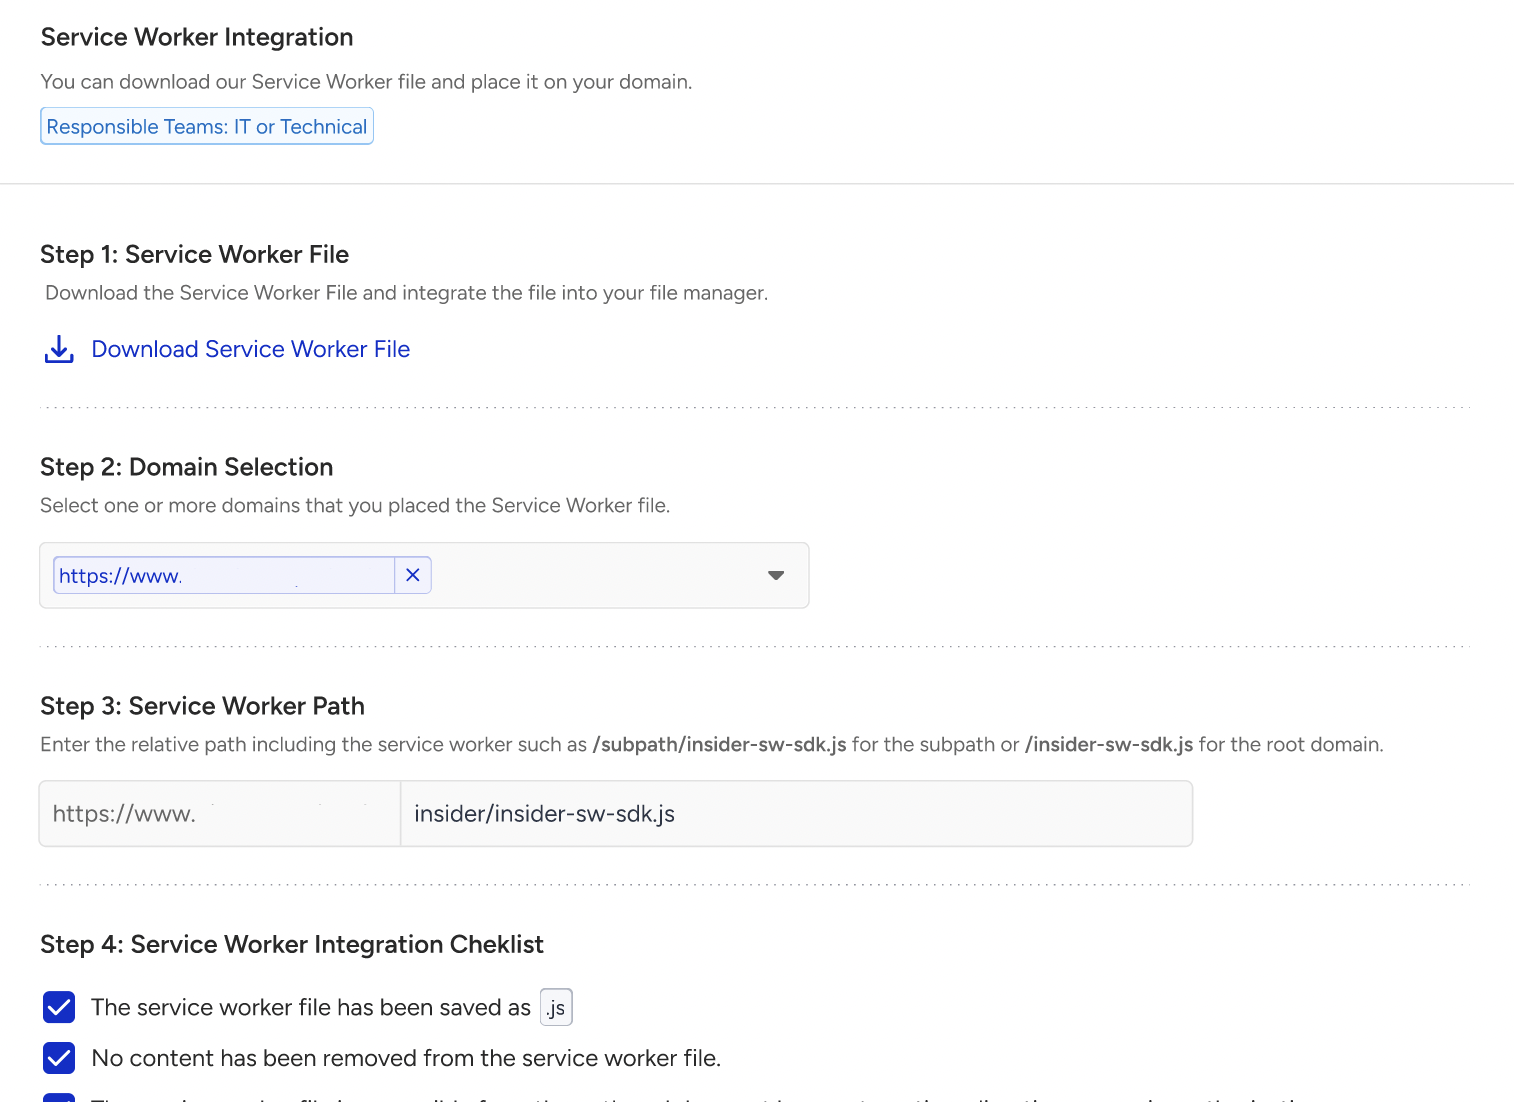
Service Worker Integration
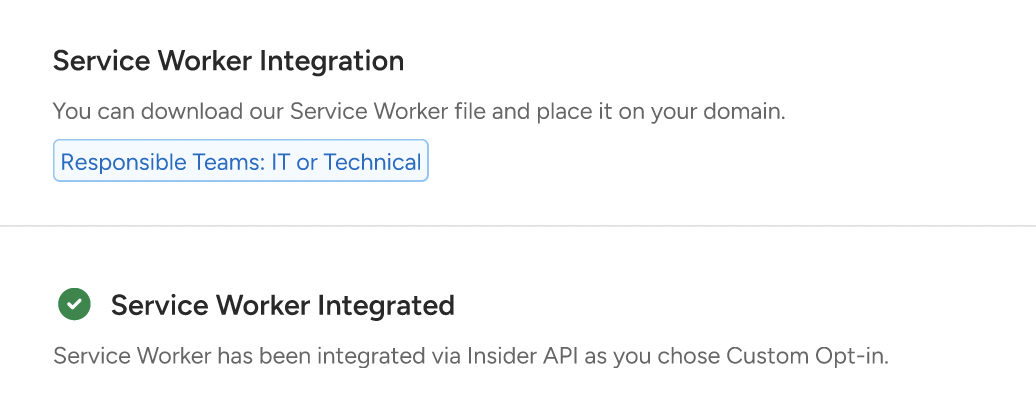
If your opt-in type is Native Opt-in, you continue with the Service Worker integration.
Single Domain
To integrate the Service Worker when you have a single domain, 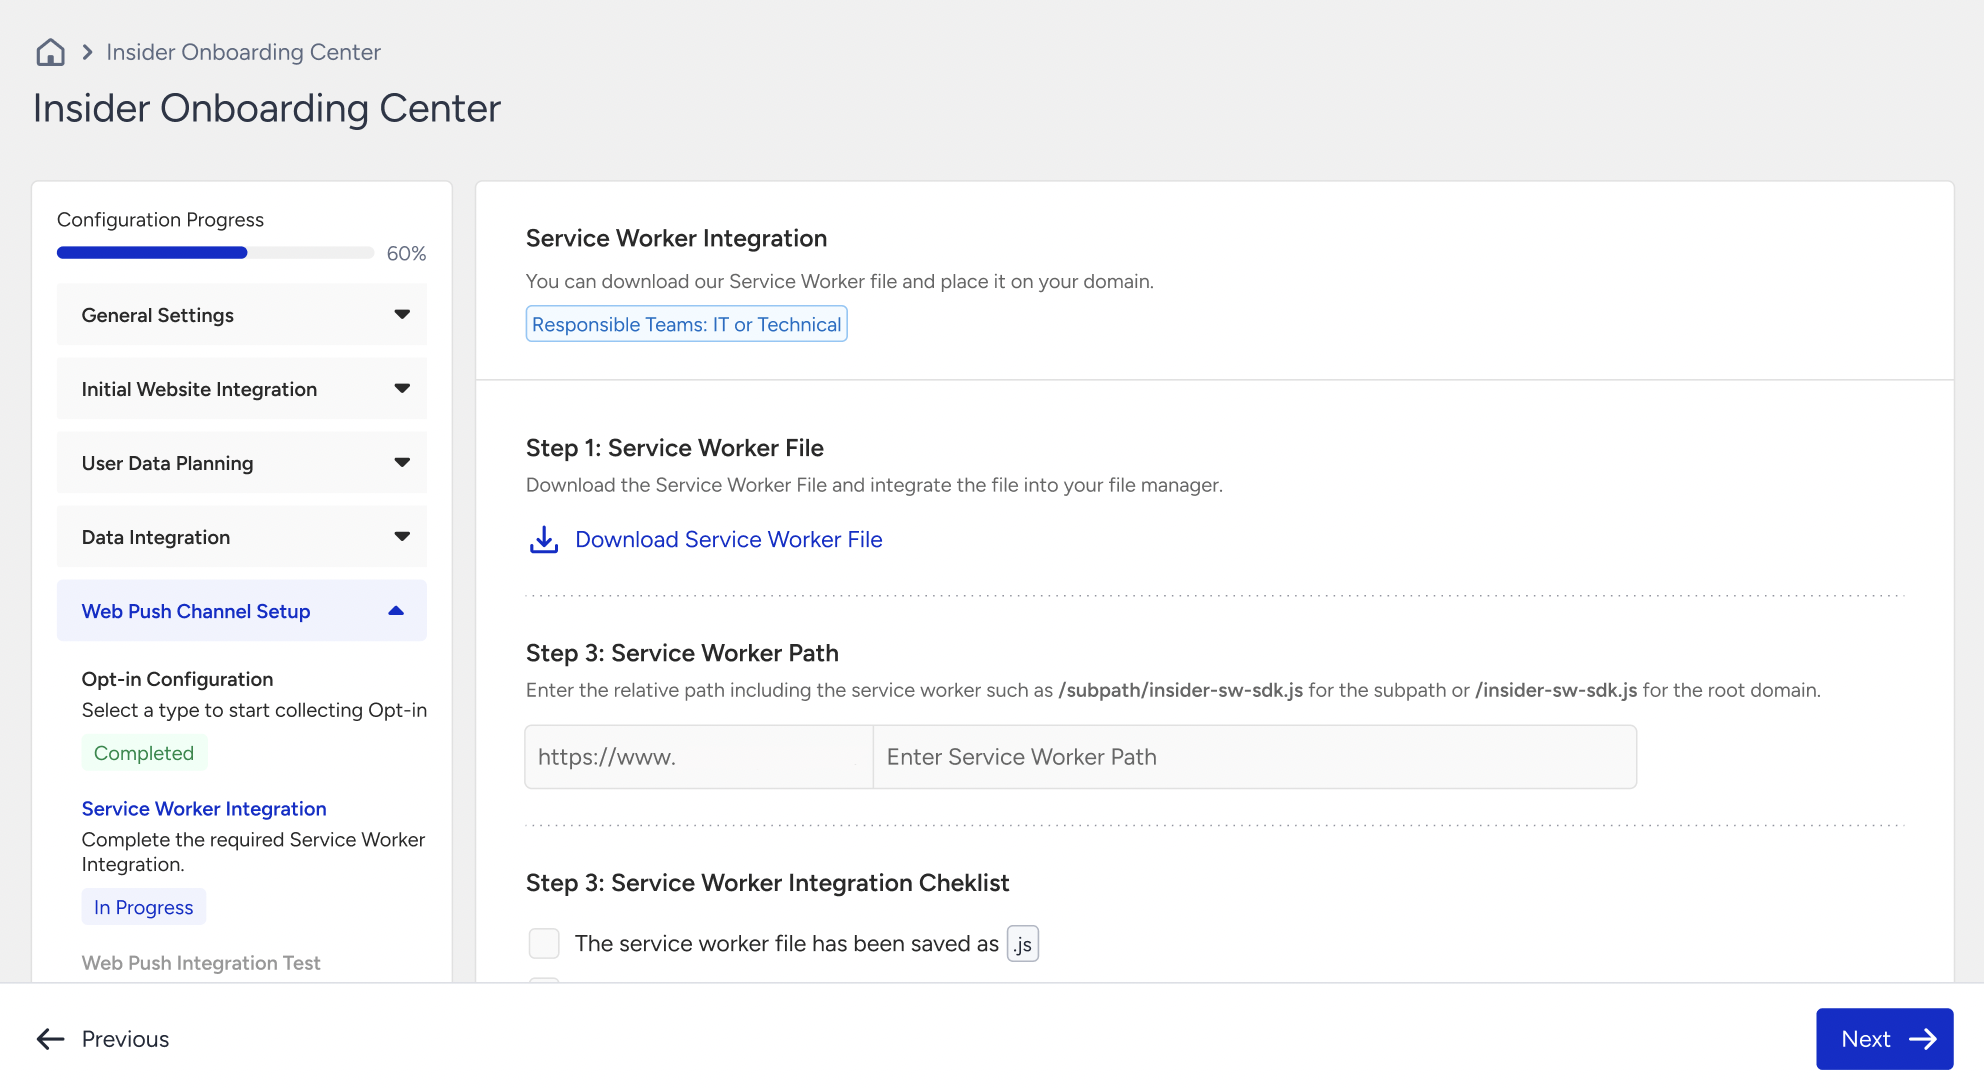
- Download the Service Worker File and integrate it into your file manager. We recommend proceeding with this file to avoid potential errors.
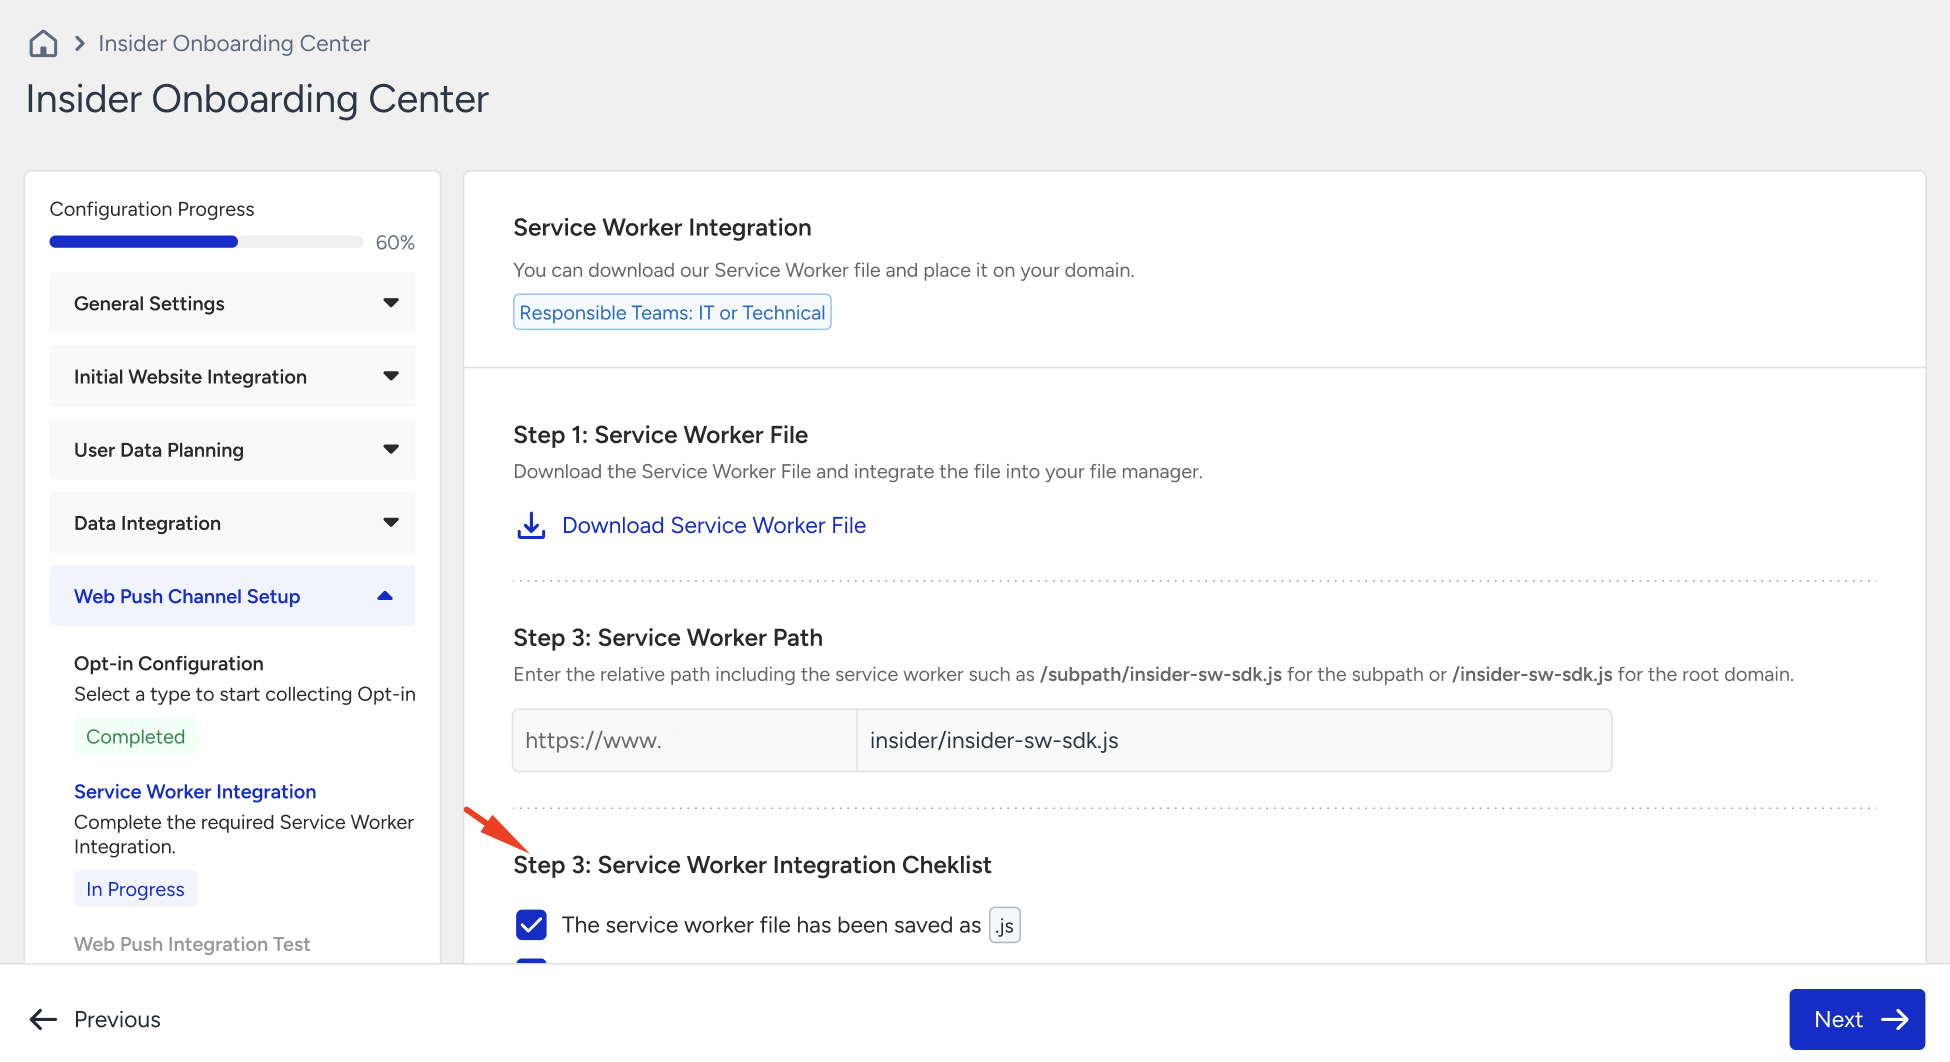
- Enter the Service Worker Path for the subpath or the root domain.
- When you have entered all the necessary information, use the checklist to verify that all configurations are complete. Then, click the Next button to finalize the setup.
Multiple Domains
- To integrate the Service Worker when you have multiple domains,
- Download the Service Worker File and integrate it into your file manager. We recommend proceeding with this file to avoid potential errors.
- Select the domains that you add to your Service Worker file.
- Enter the Service Worker Path for the subpath or the root domain. Remember to add the Service Worker to the same path for all the domains.
- When you have entered all the necessary information, use the checklist to verify that all configurations are complete. Then, click the Next button to finalize the setup.
Setup Finalization
You can activate the opt-in and test/confirm your setup to finalize the Web Push integration.
Native Opt-in
To finalize your setup and test it, first activate the opt-in. Then, you will see that the Start Test button is enabled.
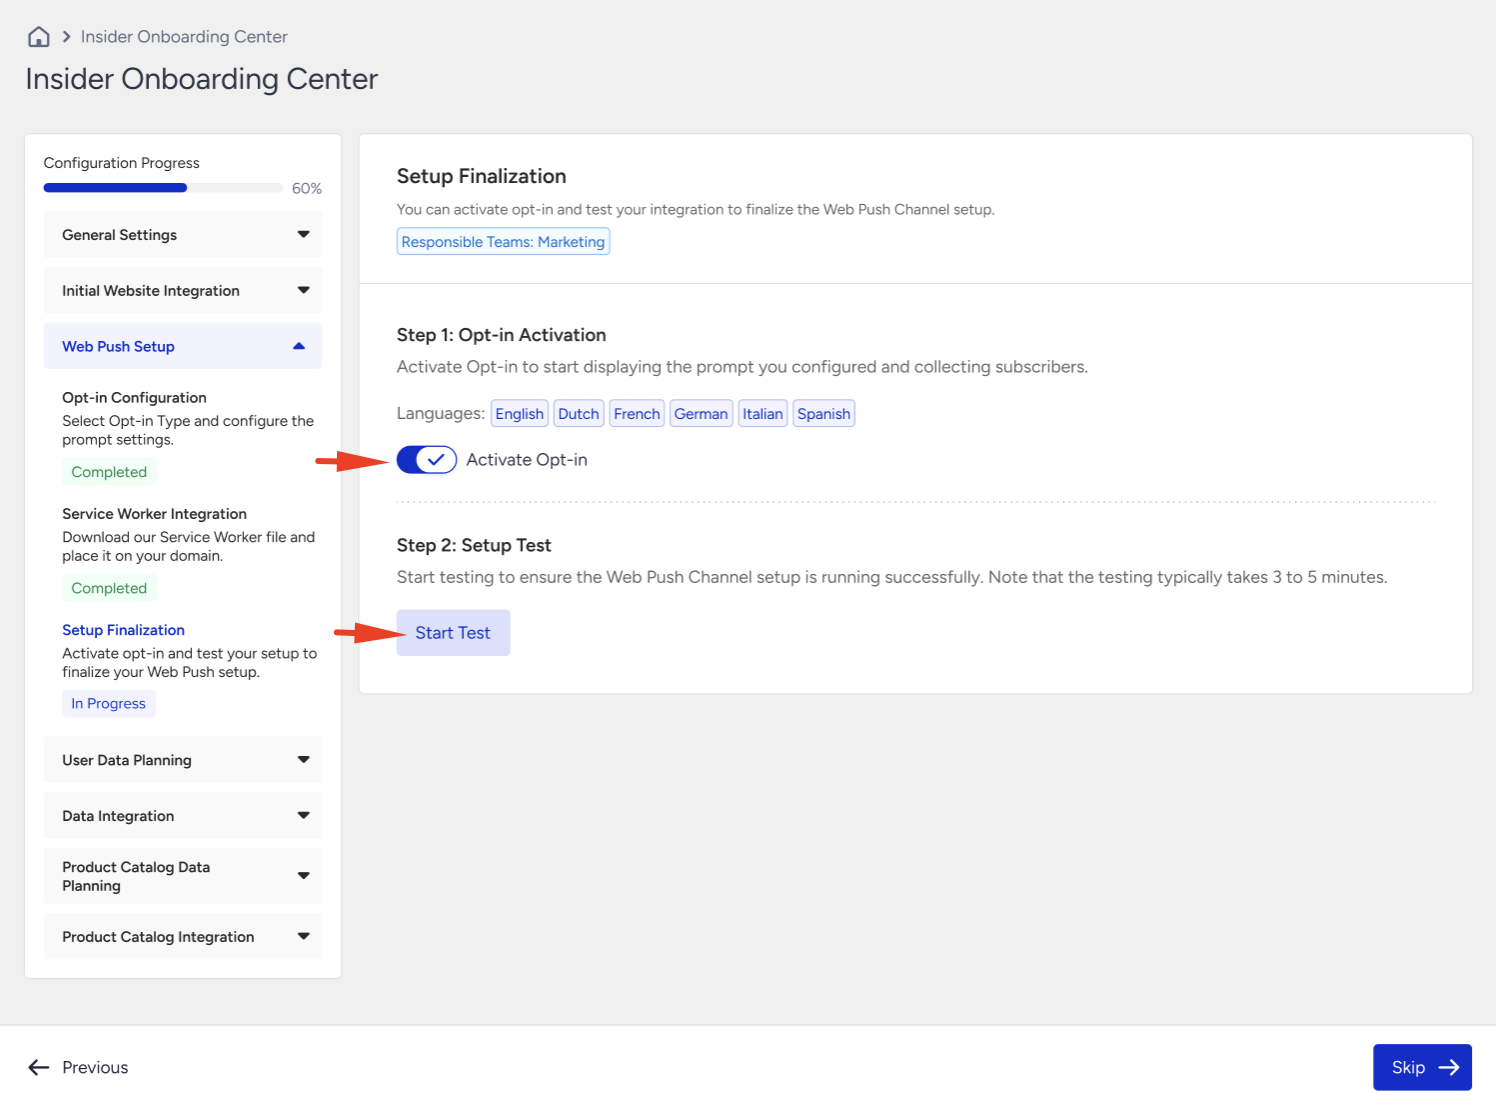
Testing your setup might take up to three minutes. During testing, the Setup Settings page is disabled, so you cannot change any configuration until testing ends.
If you add multiple domains, you see the setup status for each one. If your setup fails, a warning box will appear under each domain, guiding you through the error and explaining how to resolve it.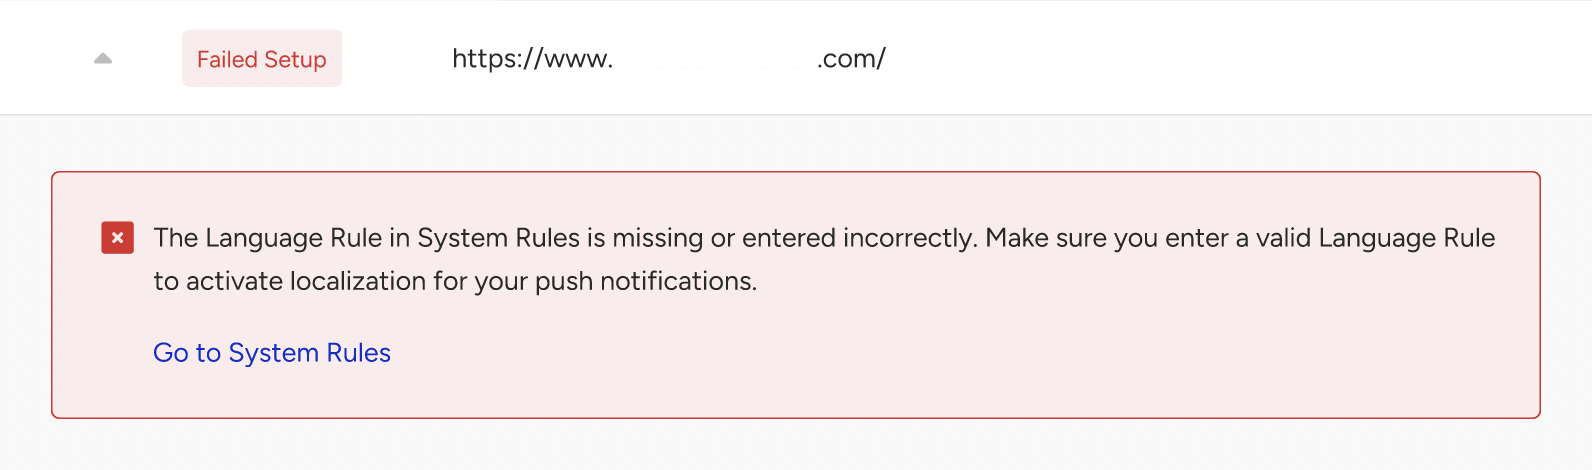
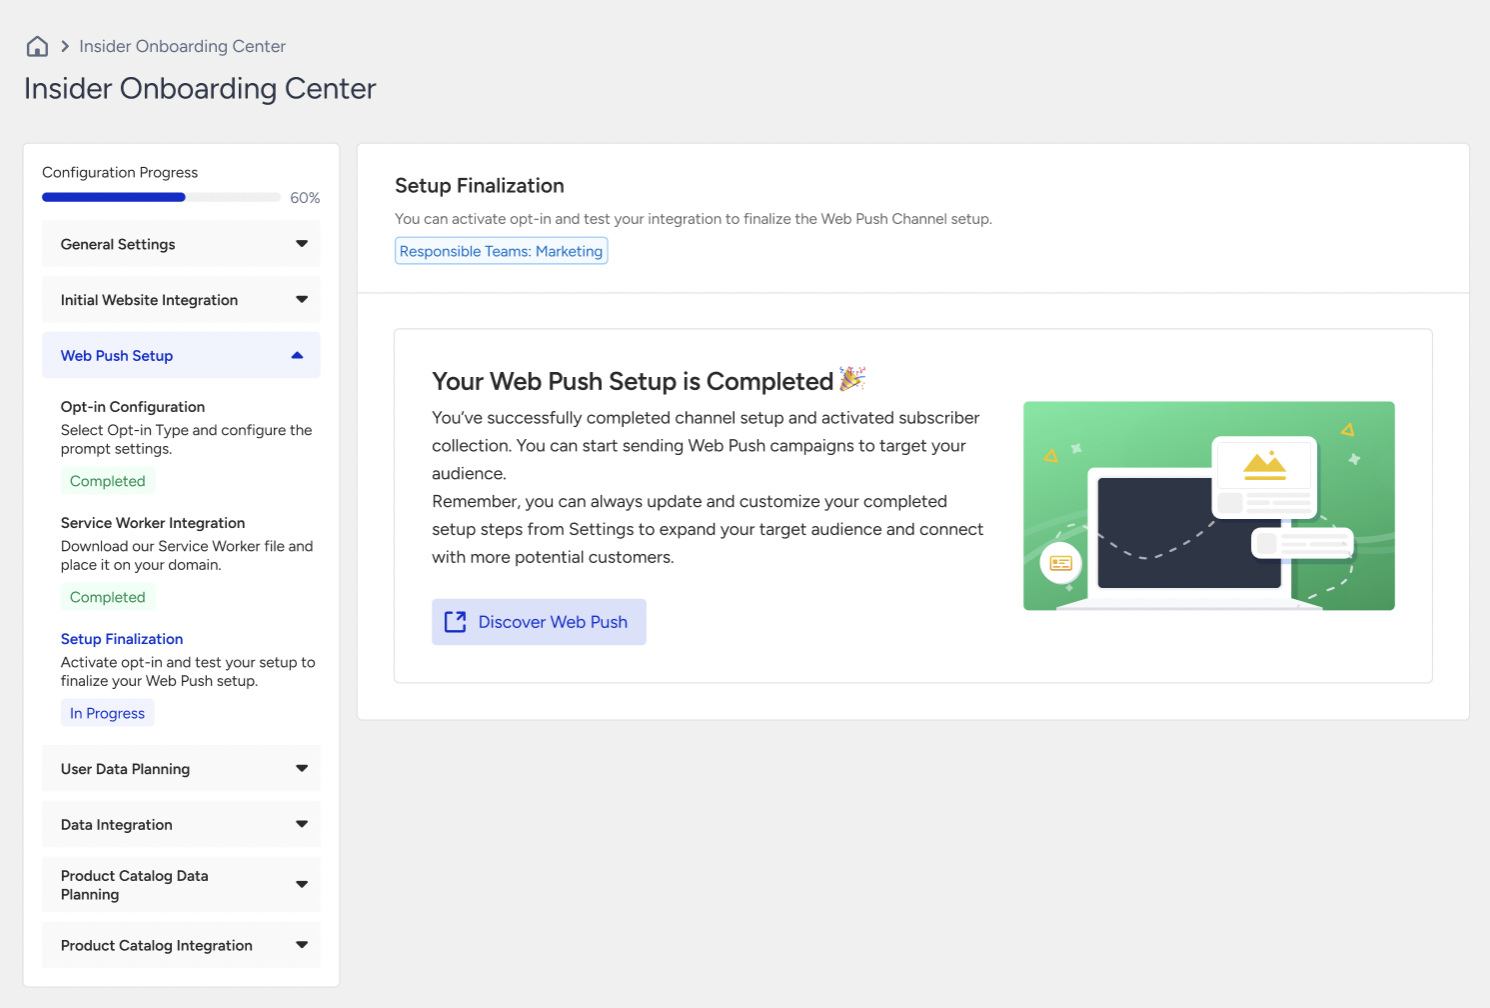
After you fix the error, you can retest your setup. When you complete the setup, you can start launching Web Push campaigns.
List of Errors
The errors you might face while testing your Native Opt-in or Service Worker integration are:
| Problem | Solution |
|---|---|
| The Language Rule in System Rules is missing or incorrectly configured. | Ensure that the Language Rule exists among System Rules and is appropriately configured. Check your System Rules. |
| The SSL certificate of your website is missing or invalid. | Ensure that the SSL certificate exists and is up to date. If you wish to continue without an SSL certificate, select 'Custom' as your opt-in type. Check your Opt-in Configuration settings. |
| The Service Worker file is unreachable. | Ensure that the Service Worker is installed on your website and that the path is specified correctly. Check your Service Worker Integration. |
| The Service Worker file has been placed in an inaccessible path. | Ensure that the Service Worker is placed on a public path and that the path is specified correctly. Check your Service Worker Integration. |
| The Service Worker file has been placed in an automatically redirected path, preventing the script from loading due to a browser security block. | Ensure the Service Worker is located in a path without redirections for proper loading, and that you have specified the path correctly. Check your Service Worker Integration. |
| The Service Worker content is different from what was intended or has been corrupted. | Make sure the content calls importScripts ("https://api.useinsider.com/sw.js") |
| The Service Worker content type, as sent by the server, does not match the expected type. | Make sure the server is serving application/javascript for the JavaScript file. |
| The Service Worker file fails to provide the correct response due to a server error. | Check the server configuration. |
| A JavaScript file is deleting Local Storage keys. | Review and modify the JavaScript file to prevent this issue and make sure that Local Storage remains intact. |
Custom Opt-in
To finalize and confirm your setup, first activate the opt-in. Then, the Confirm Setup button will be enabled.

Since the type is Custom Opt-in, you need to test the integration manually. After applying the steps, click the Confirm Setup button.
You can start launching Web Push campaigns once you have completed the setup.