You can follow these steps to use the Wait until a Time Slot option in your Wait element:
- Click the + (plus) button to select "Wait" on the dropdown.
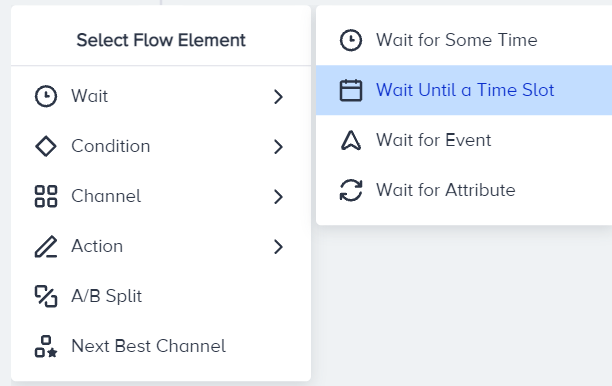
- Select the "Wait until a time slot" option.
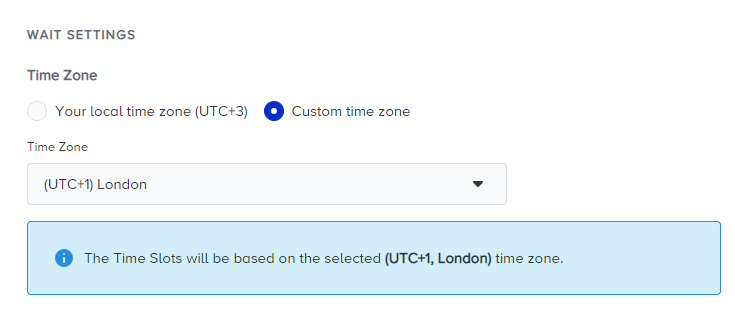
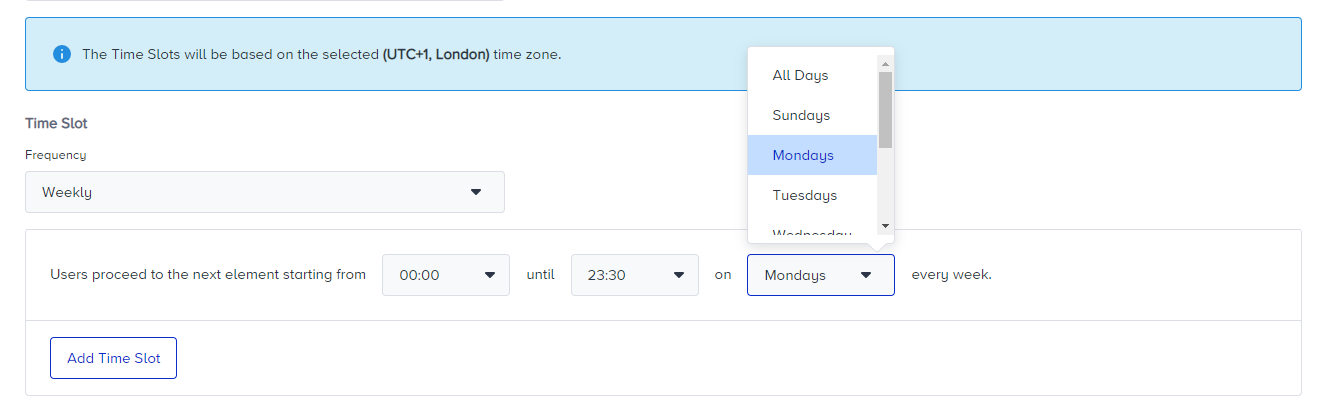
- Select the time zone option. You can select “Your local timezone” or “Custom time zone” option. You don’t need to configure the time slot based on your selected timezone as it will be automatically adjusted
- Select the frequency. You can add days of the week or days of the month based on your selection.
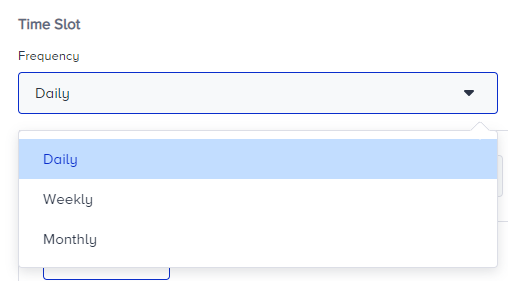
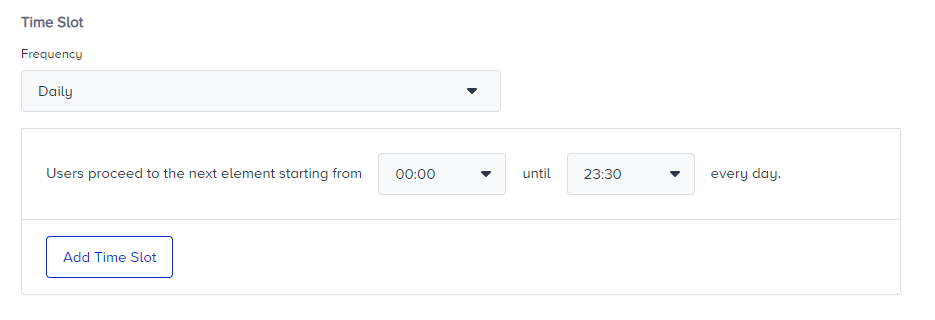
- If you want to use the Daily frequency, specify the time slot.
- If you want to use the Weekly or Monthly frequency, choose the day(s) you want your users to proceed.
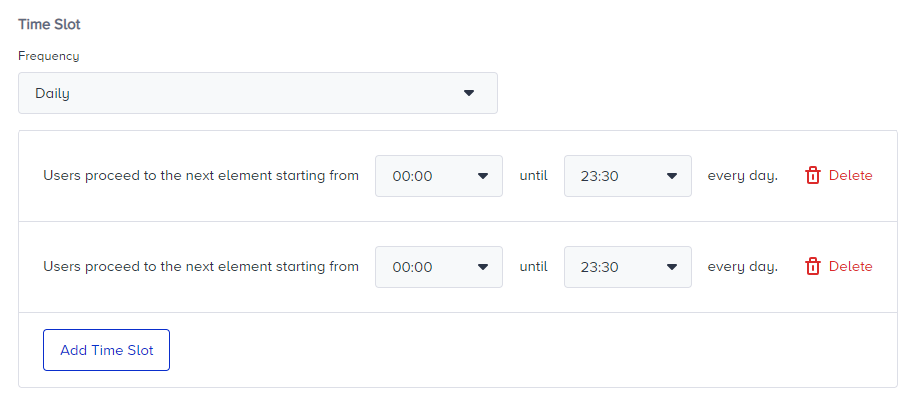
- Add other time slots if needed.
- Save this step and go back to the canvas to continue designing your journey.
your title goes here
"Wait" elements become editable after you turn your journey status to "Passive". If you change the status to Passive to change the wait time slot, only new users will proceed in the flow according to the new wait time slot once you re-launch your journey.