The Launch step allows you to configure when to display your campaign to the eligible users.
.png)
Activation Status
You can save or launch your campaign on the following status options:
- Draft: You can keep editing your campaign.
- Send Now: This status sends the message to the selected user segment at the current date and time.
- Send Later: This status helps you schedule your campaign to be sent at a future date and time.
- Pause: This status helps you pause your running campaigns.
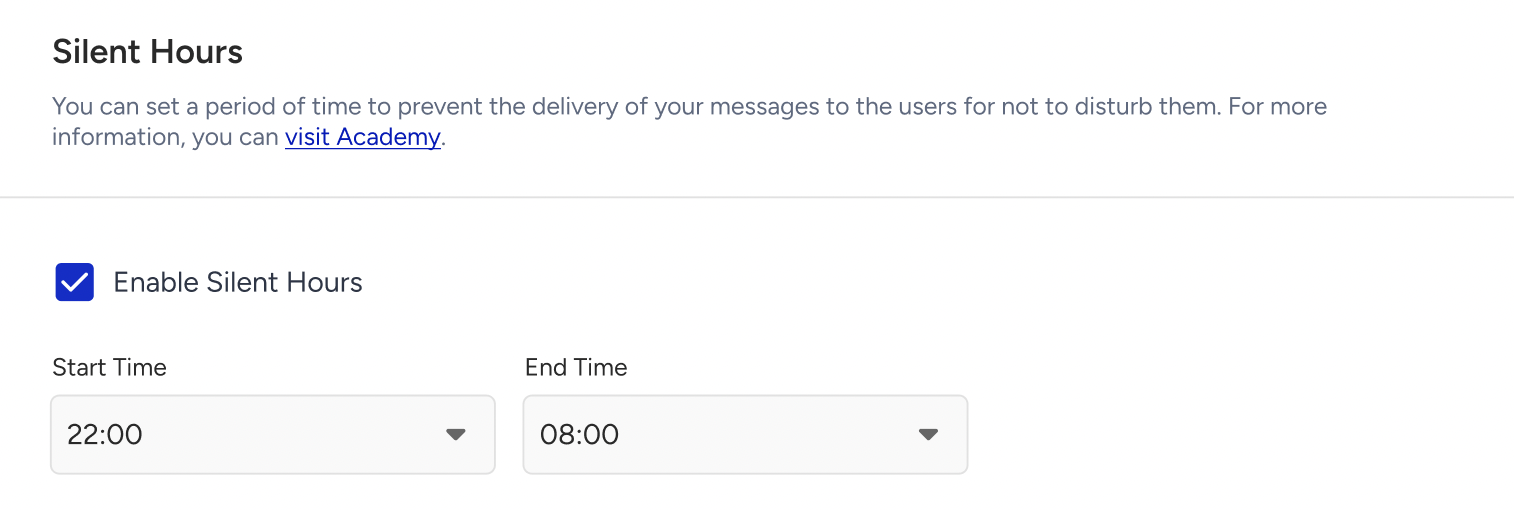
Silent Hours
You can set a period of time to prevent the delivery of your messages to the users to not disturb them.
Send Time Optimization
Send Time Optimization (STO) collects historical information about push notifications or campaign opens and saves it per user. Then it calculates the best time in the day of the week and hour of the day at which push notifications should be sent. That time has the highest probability for the push notifications to be opened by the end user. It functions based on a predictive/machine learning algorithm that calculates the time of the highest probability per device/user to open a push notification.
You can send your app pushes to your users at the most appropriate time of the day based on their engagement data
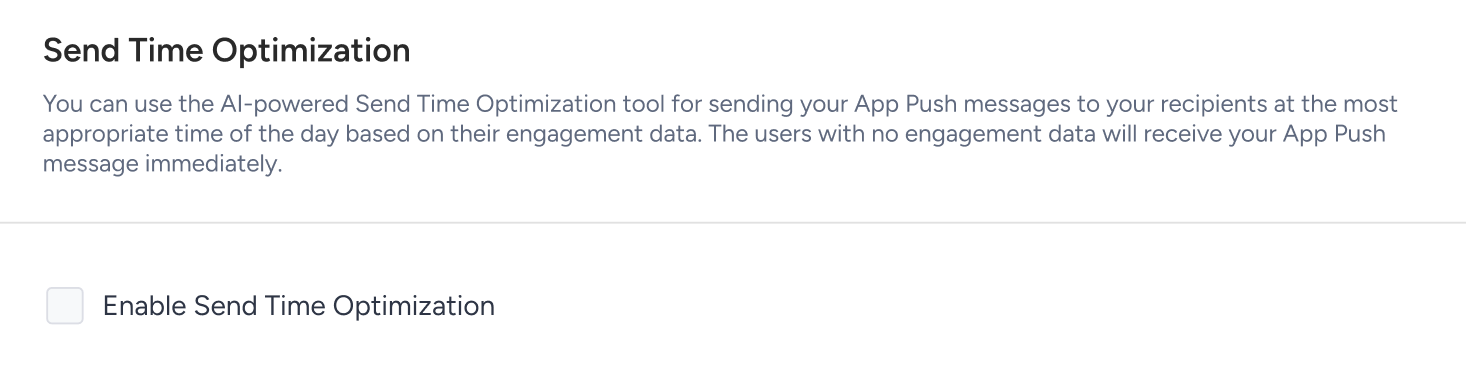
If the user is not available during the selected time, the push is delivered to the users at the time that it is scheduled.
For example, when you schedule your push notification for 3:00 pm and enable the Send Time Optimization (STO) with a 3-hour window, STO divides this window into three one-hour segments as 3:00 pm, 4:00 pm, and 5:00 pm, and groups users based on their historical engagement data. It analyzes which of these hours has the highest user count with the highest engagement probability. If most users are active at 4:00 pm, the push will be delivered then. If a user isn’t available at their predicted time, the push will still be sent at the scheduled time.
For example, if you set a campaign to be sent at 3:30 pm with a 3-hour STO window, the algorithm will choose between 4:00 pm, 5:00 pm, and 6:00 pm based on the engagement data.
Time-to-Live
Time to Live sets the duration during which the message should be kept. In any case, the device is offline or temporarily unreachable, users will not receive the push notification once the given time period is over.
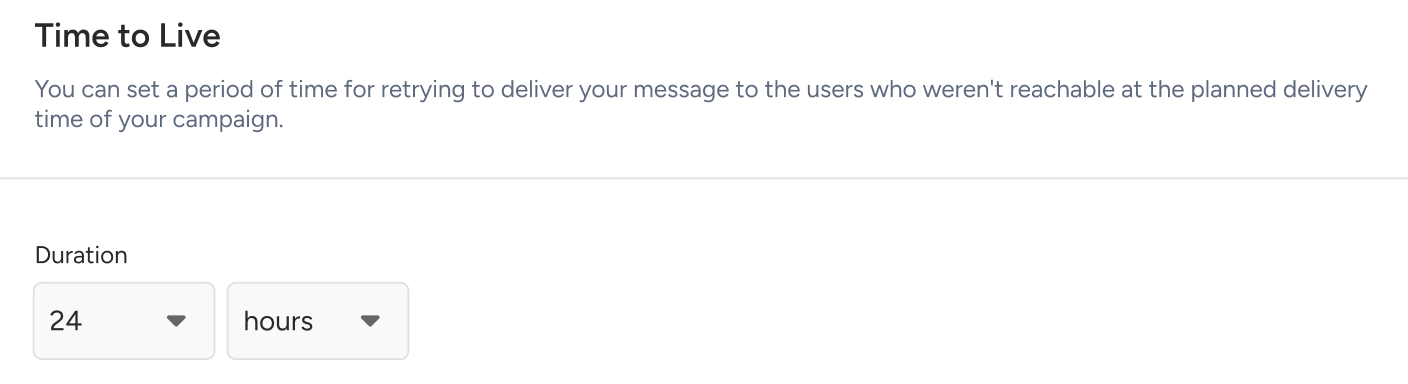
You can set Time to Live in days, hours, or minutes.
App Template Campaign Integration
You can connect your app pushes to the app templates to display them when your users interact with the app pushes. You need to select the campaign you have created before and assign its variants to the variants of your push campaign. In any case that there is only one variation in either, you will only select the campaign itself.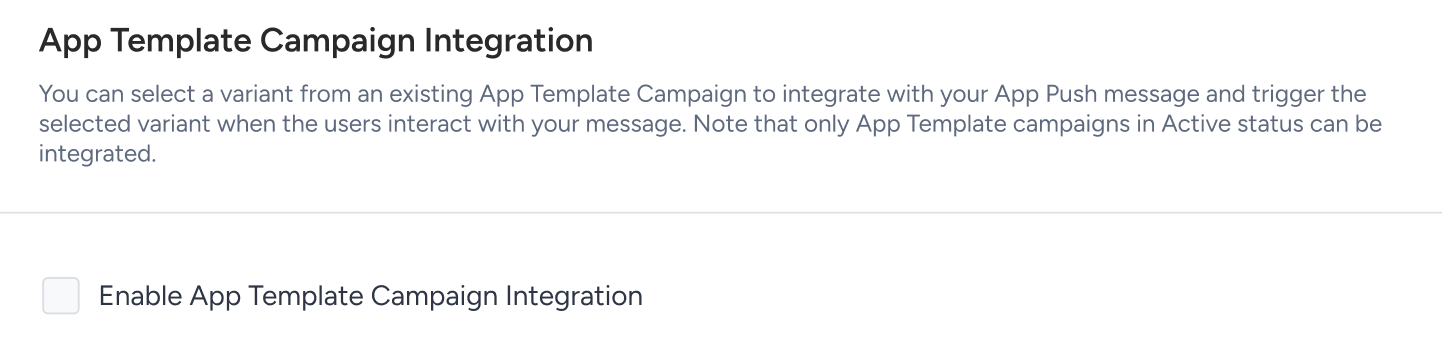
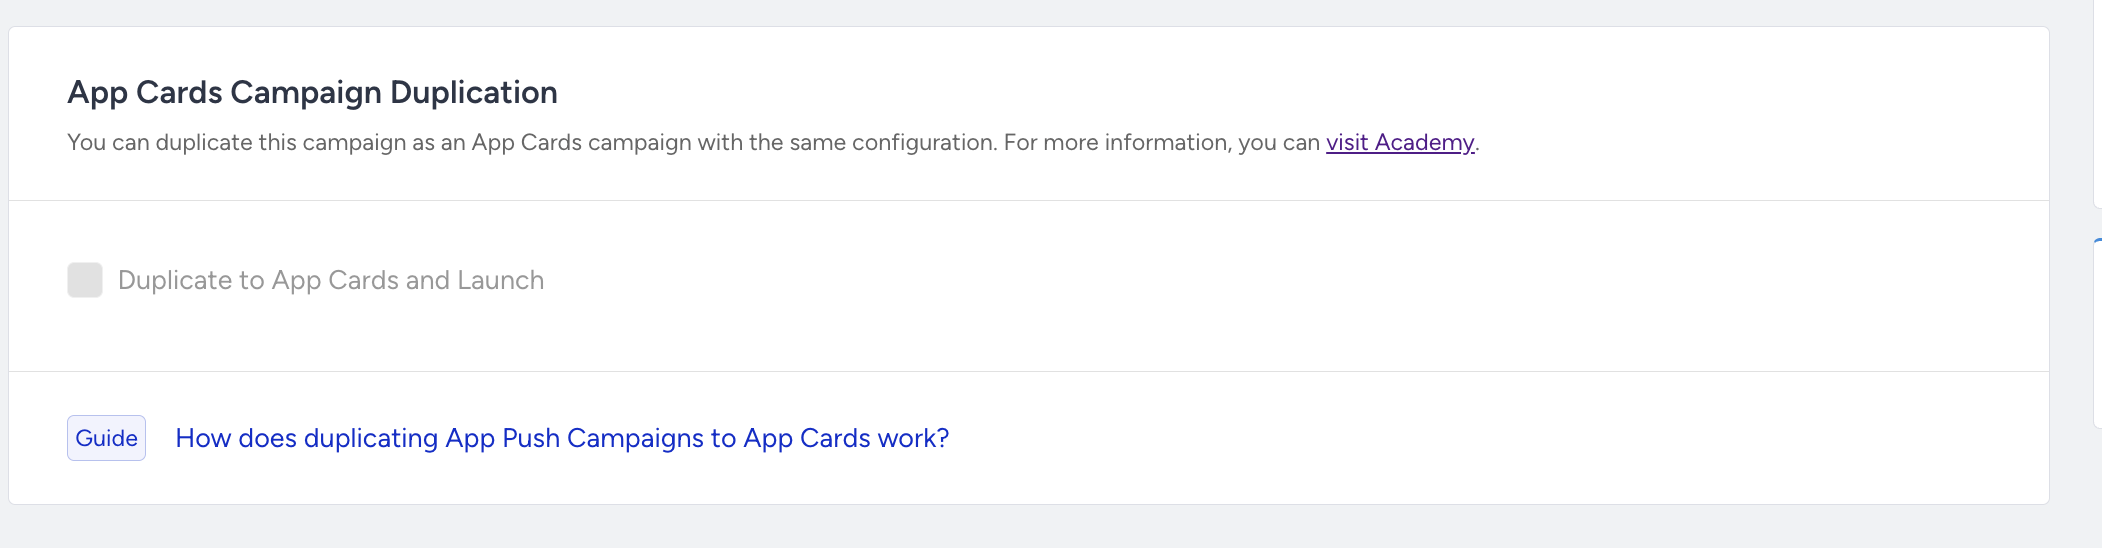
App Cards Campaign Duplication
When you create a Single App Push and check the Duplicate to App Cards and Launch box, the system automatically creates an App Cards campaign with the same name and activates it at the same time as the App Push campaign. This eliminates the need to create a separate App Cards campaign from scratch to deliver the same content in the app's inbox/message center. With a single checkbox, the campaign is published to both channels simultaneously.
Supported campaign types
This feature is available only for Single App Push campaigns when the Activation Status is set to Send Now or Send Later.
If the campaign status is Draft or Pause, the section is disabled. However, the selected checkbox state is preserved and restored automatically when the activation status is changed back to Send Now or Send Later.
The following campaign types are not supported:
Conversion
Cart Reminder
Geofence
Recurring App Push
What is duplicated?
The generated App Cards campaign automatically inherits the configuration of the source App Push campaign.
Campaign name: The App Cards campaign uses the same name as the App Push campaign.
Content: The push notification's Message Title, Message Description, and images are used as the App Cards content. For Carousel and Slider layouts, only the first card is copied to the App Cards campaign.
Variants: All A/B variants and their distribution percentages are inherited from the App Push campaign. Any personalization implemented with Liquid Syntax also works the same way in the App Cards campaign.
Segment, Goals, and Launch settings: These configurations are automatically copied.
Push-specific prefilters, such as the push opt-in requirement, are not applied to the App Cards campaign. Since users do not need to opt in to receive App Cards, the same segment may result in a larger target audience. This difference is displayed to the user in the campaign form.
In the Control Group Configuration section, you can also choose which App Cards variant is shown to users in the campaign's control group.
App Cards delivery is independent of push notification delivery. Even if a user has disabled push notifications, they can still receive the App Card, and an impression is recorded in App Cards analytics.
Duration (card visibility)
Because App Cards campaigns require a visibility duration, it must be configured in this section.
Show the message for X Days: The card remains visible for 1 to 90 days after delivery to the user.
Show the message until: The card remains visible until the selected date and time. The specified date and time must be later than the campaign's activation time.
Frequency Capping
You can bypass the channel frequency capping to ignore the number of times that your recipients can get your messages.
Message Throttling
You can bypass the configured message throttling for your campaign.
Notification Preferences
You can manage your iOS threads and Android channels.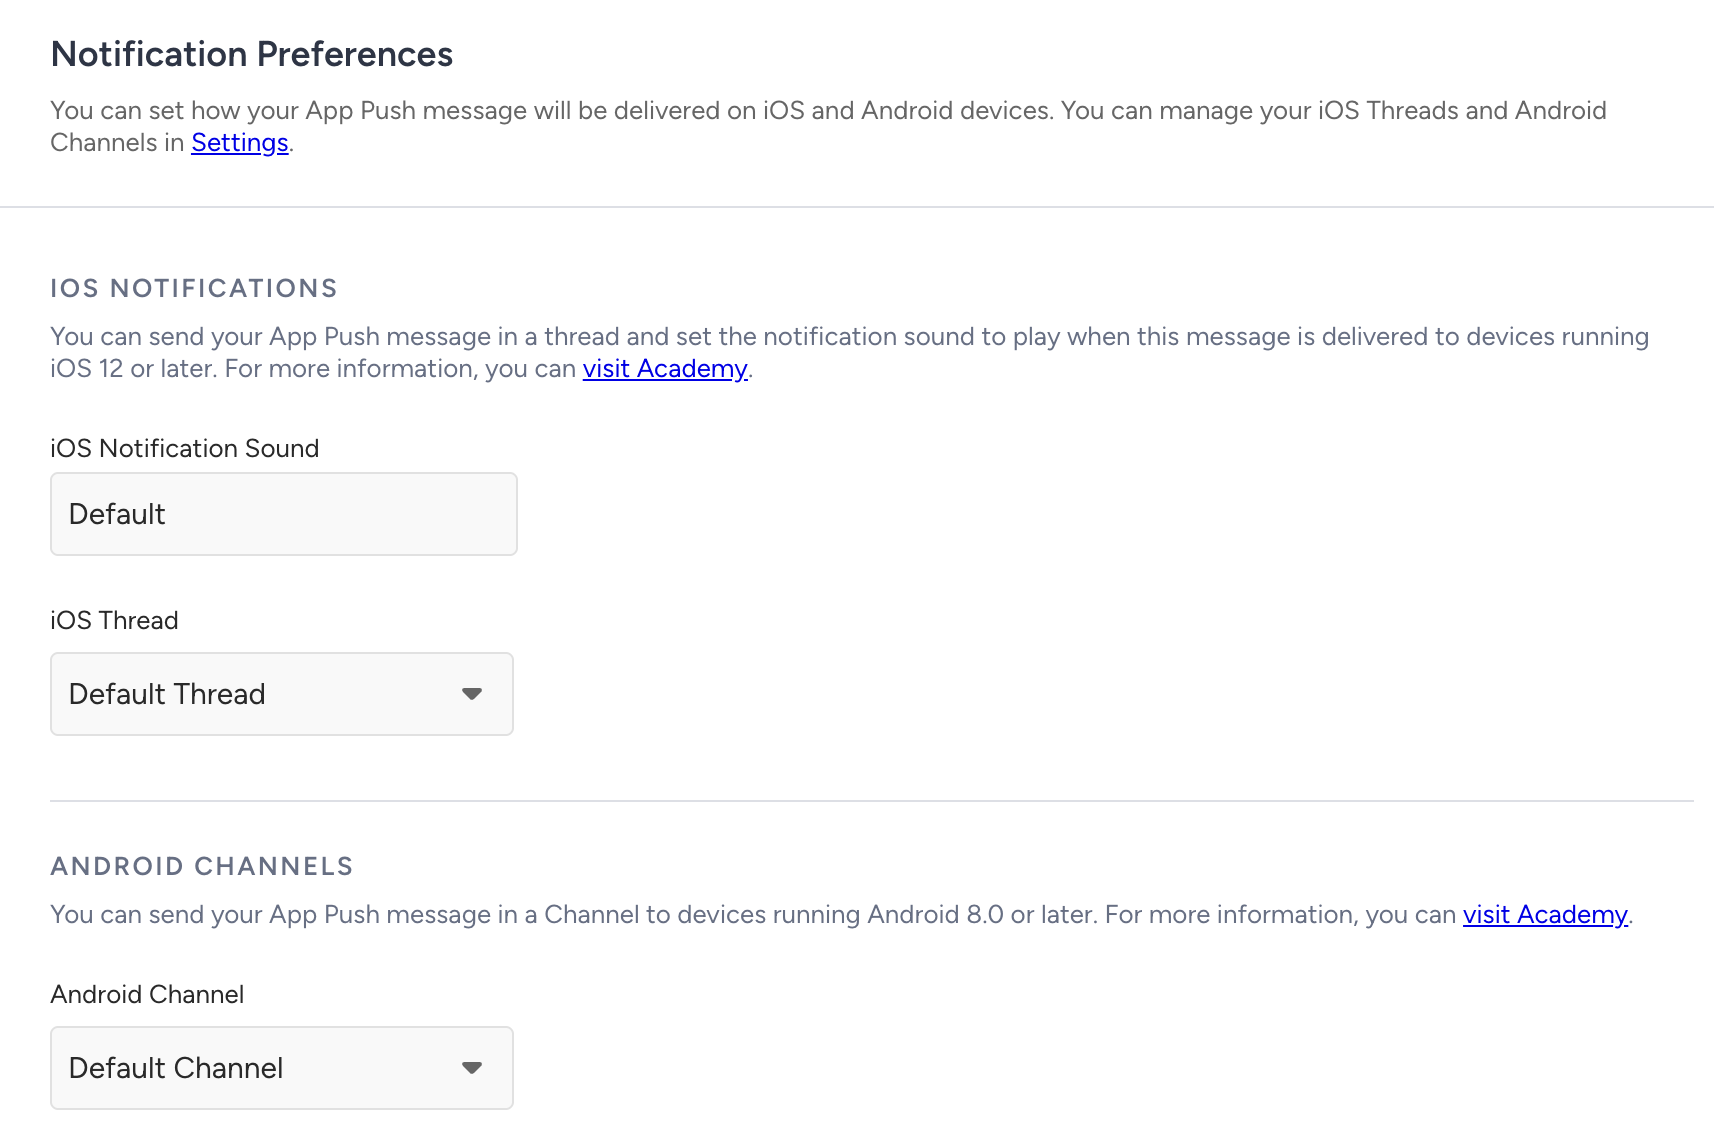
iOS 12+ Notifications
You can enter the sound file name for the respective OS. The sound file needs to be in the application.
The file name in your project and the respective app push should be the same.
As for the threads, they enable you to send your notifications in different groups. You can easily select the respective thread for your push notification from the previously created threads.
This iOS 12 feature allows apps to determine how push notifications should be grouped. What this means is that you can choose to group notifications with the help of a "thread-id" (the numeric-identifier used by iOS12). This way you can send multiple notifications to a user, and group them with the same identifier when displaying them to them based on their potential impact on conversion rate and user engagement.
For example, you may want to send cart abandonment pushes and want them to stand out separately at the top as they are high value generating push notifications. Refer to What iOS 12 Notifications Change for App Marketers for further examples on grouping app notifications.

Android Channels
Android channels can be created under Application Settings > Android Channels. An Android channel is required to send notifications to Android version 8 and higher (Oreo).
Please select the respective channel for your push notification.