This guide aims to explain how you can connect to Google Dialogflow. To connect to Google Dialogflow, follow the steps below:
To connect to Google Dialogflow, you must have a Google Dialogflow account. Go to Dialogflow's website to create an account.
After you create your account, go to the Console.
Click the Create Agent button in the left menu. If you already have other agents, click the Agent name, scroll to the bottom, and click the Create new agent button.
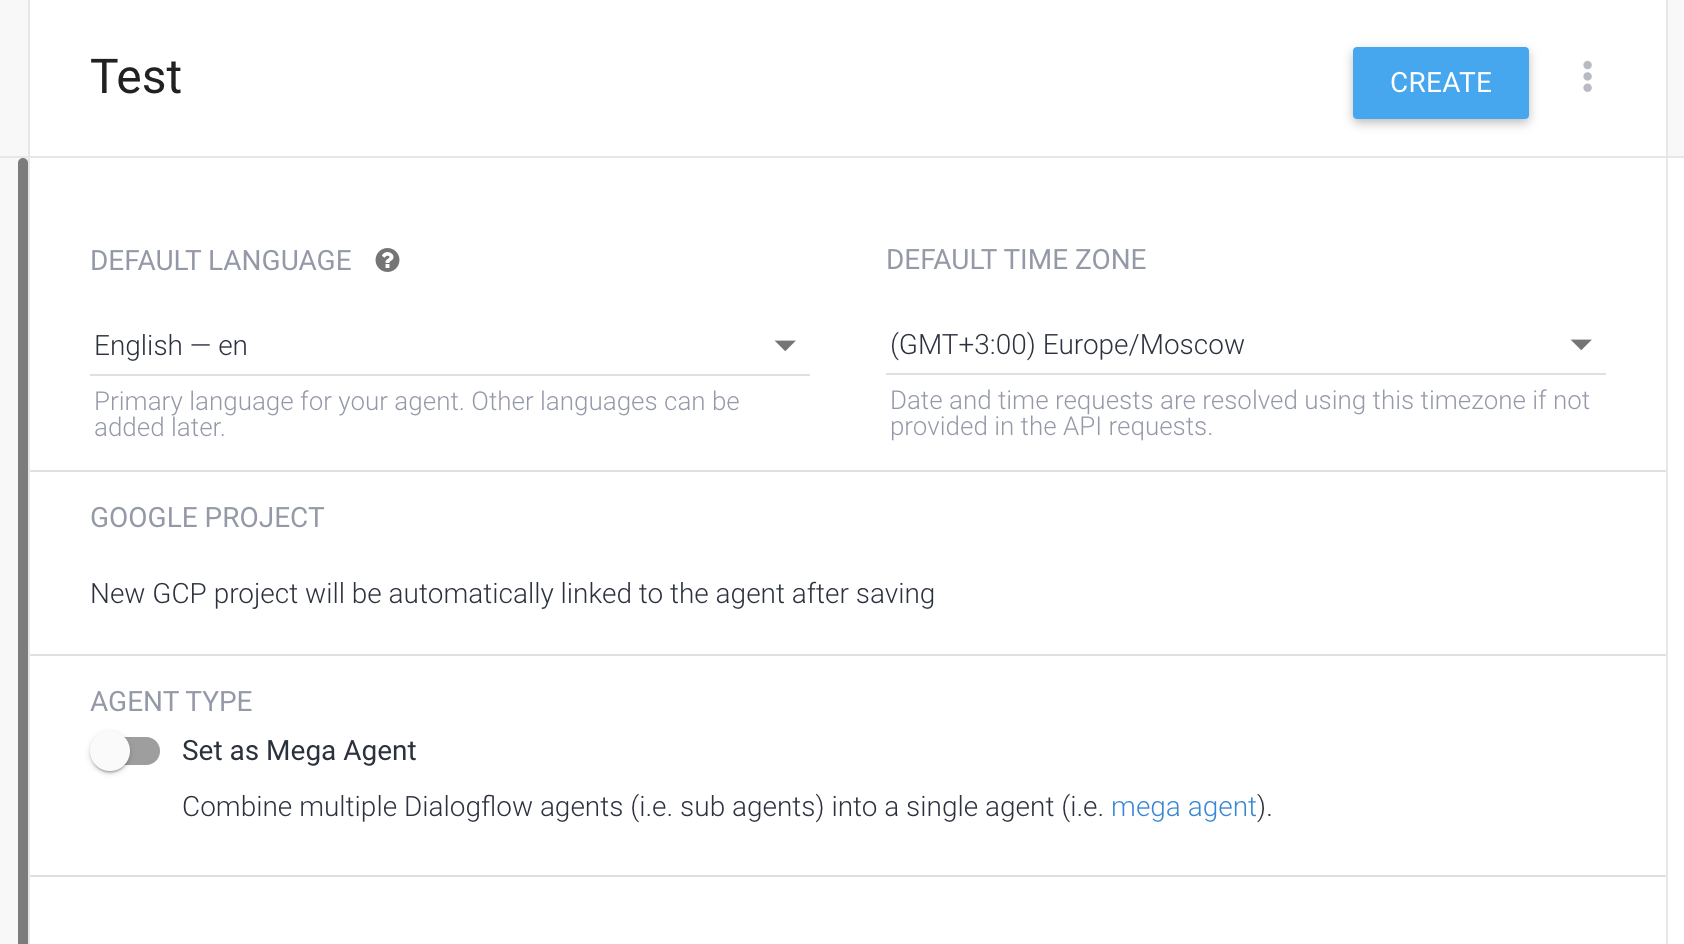
Enter your agent's name and default language and click the Create button.
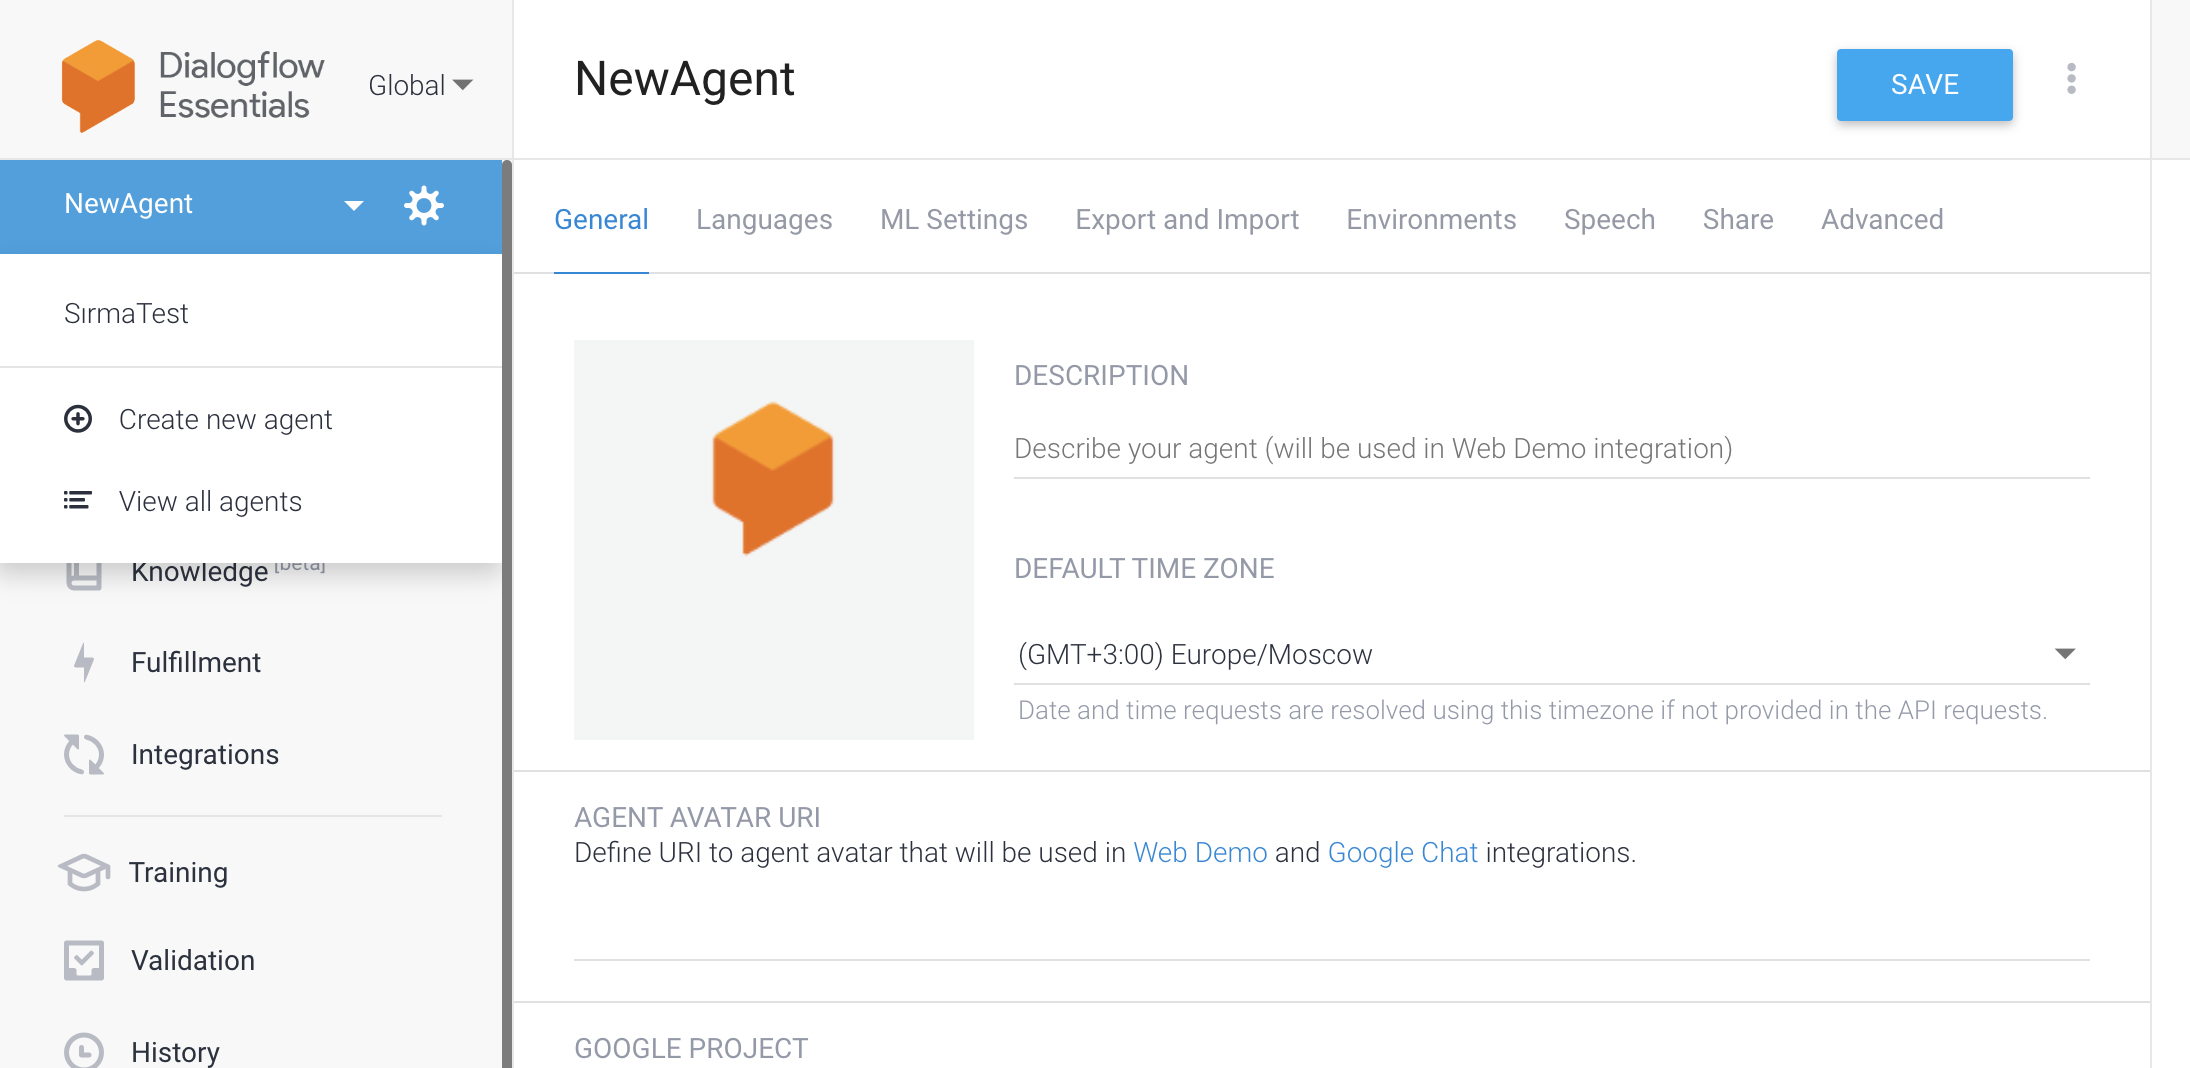
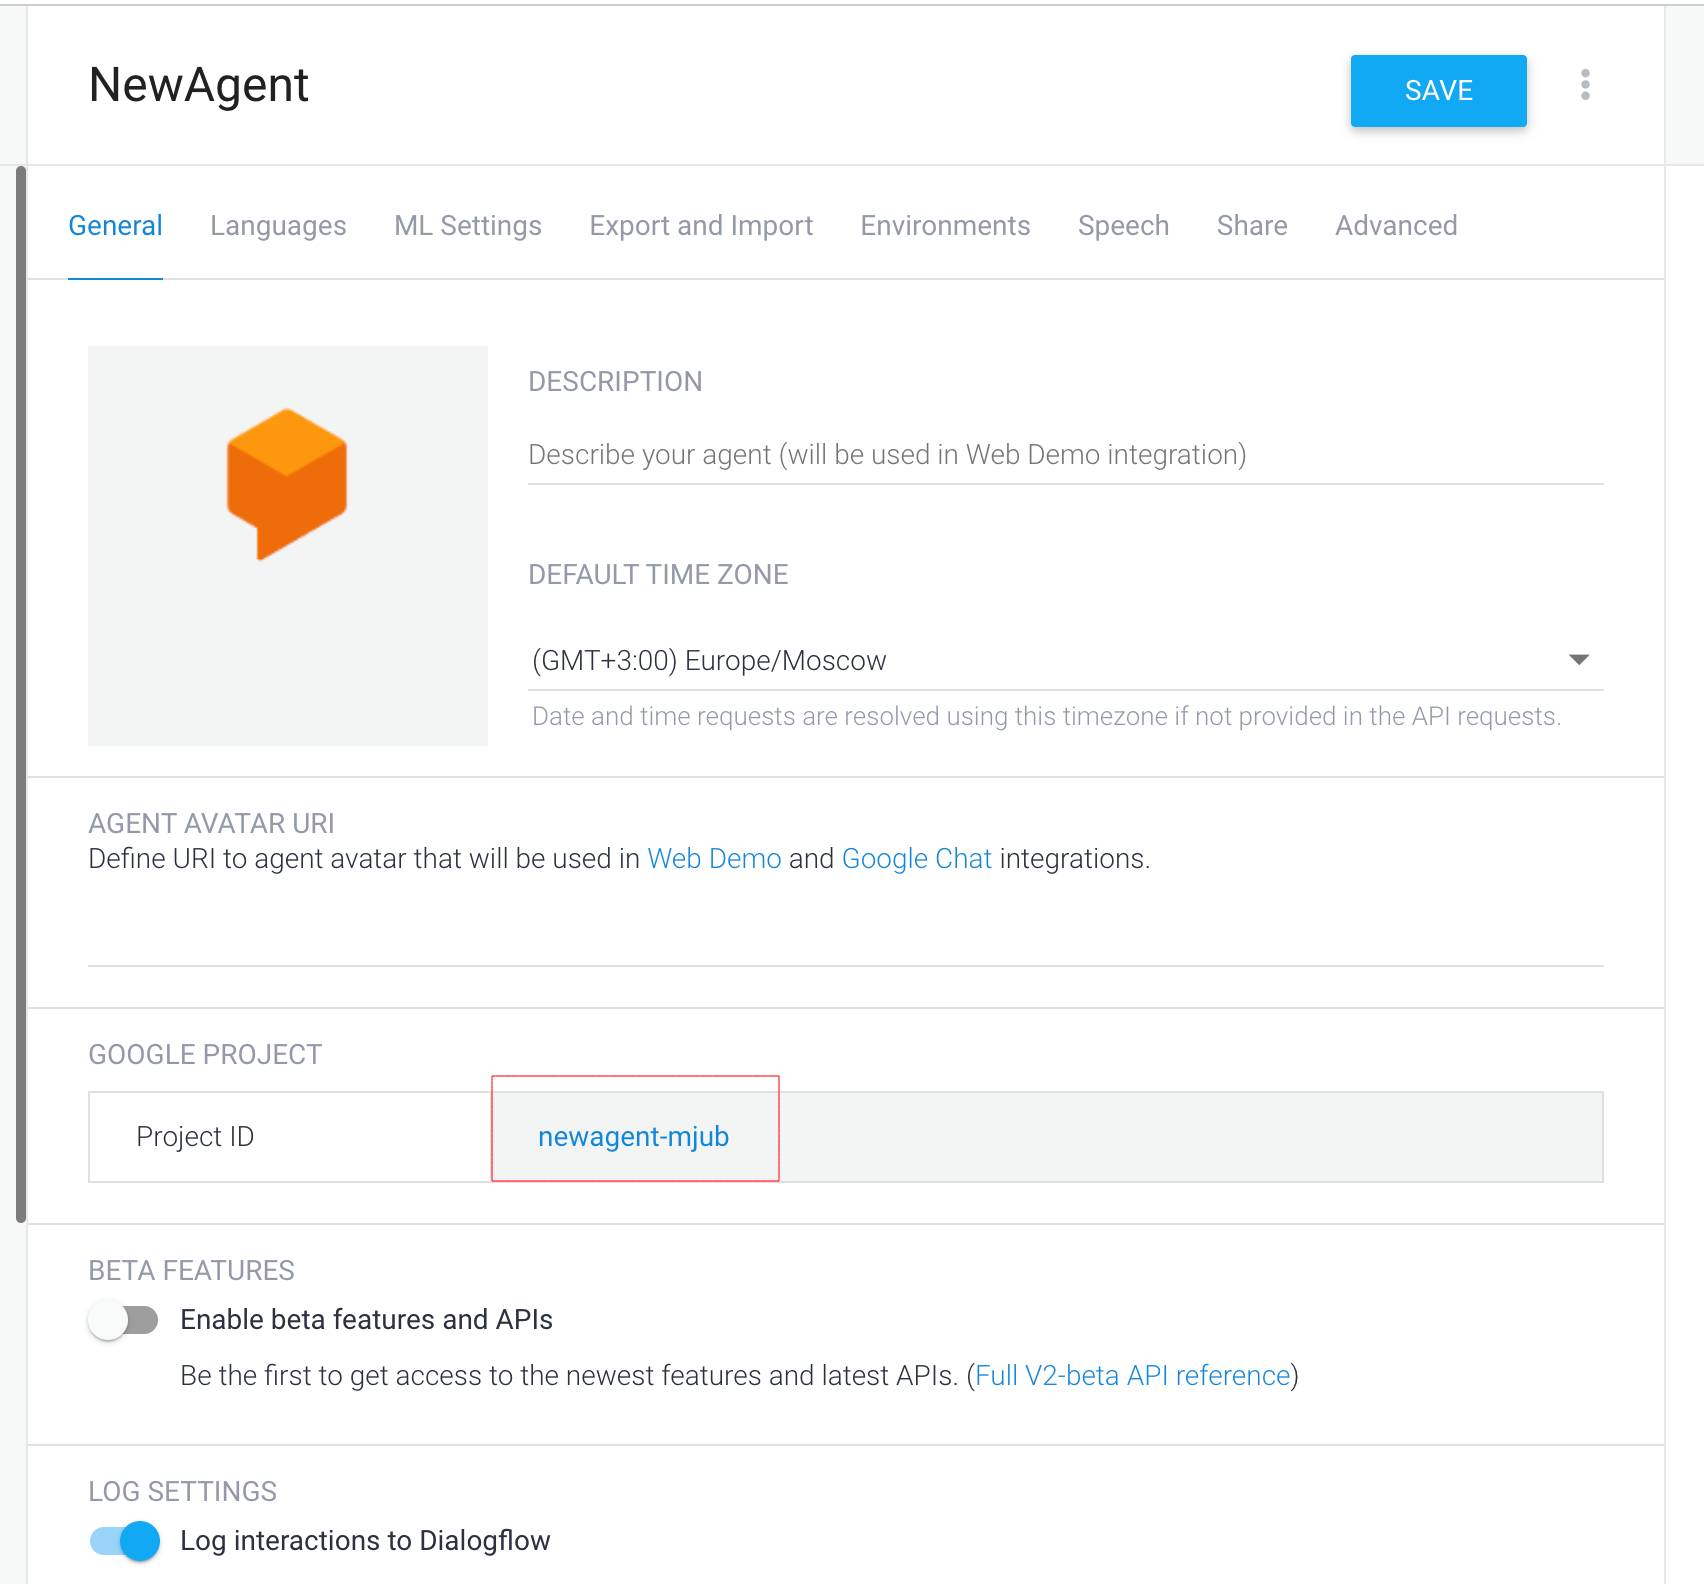
After creating an agent, click the button next to its name to enter the Settings. You will find the Project ID information of the project that was created under the title of Google Project in the General tab. You will use this information in MindBehind.
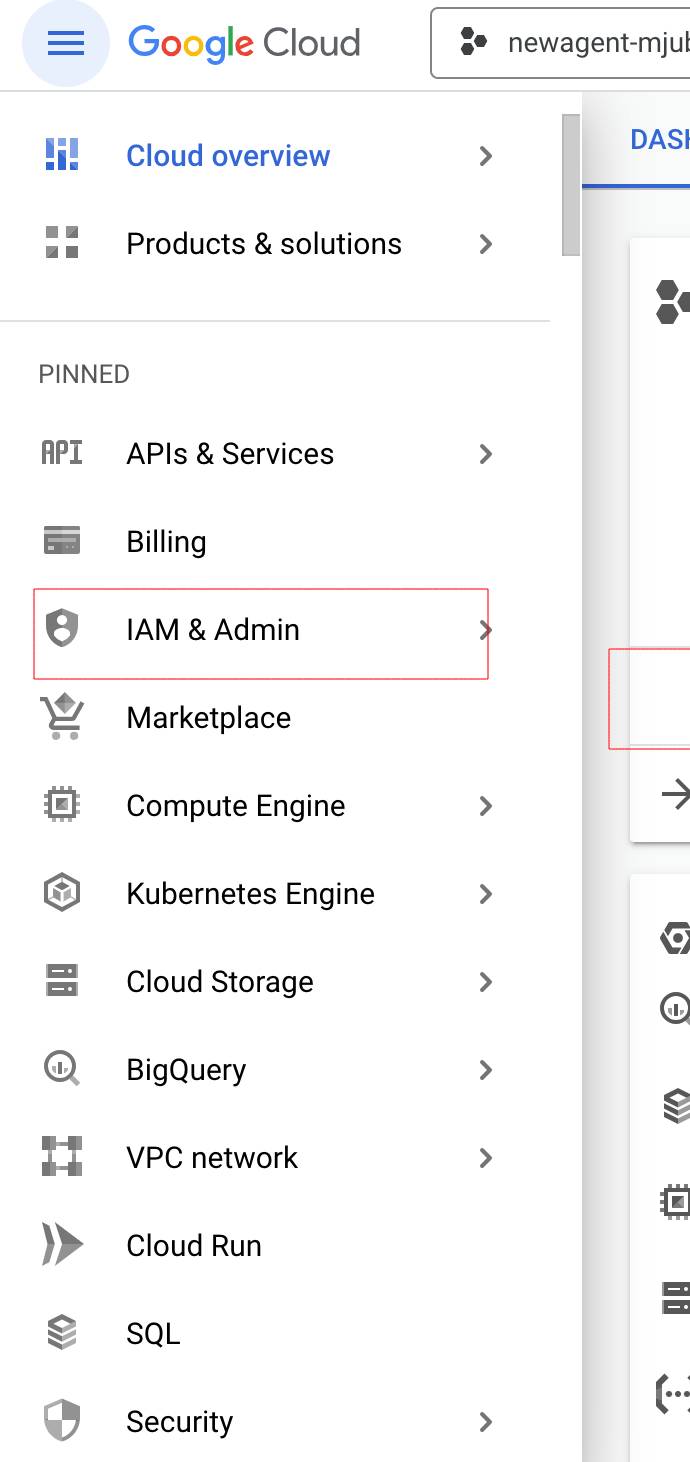
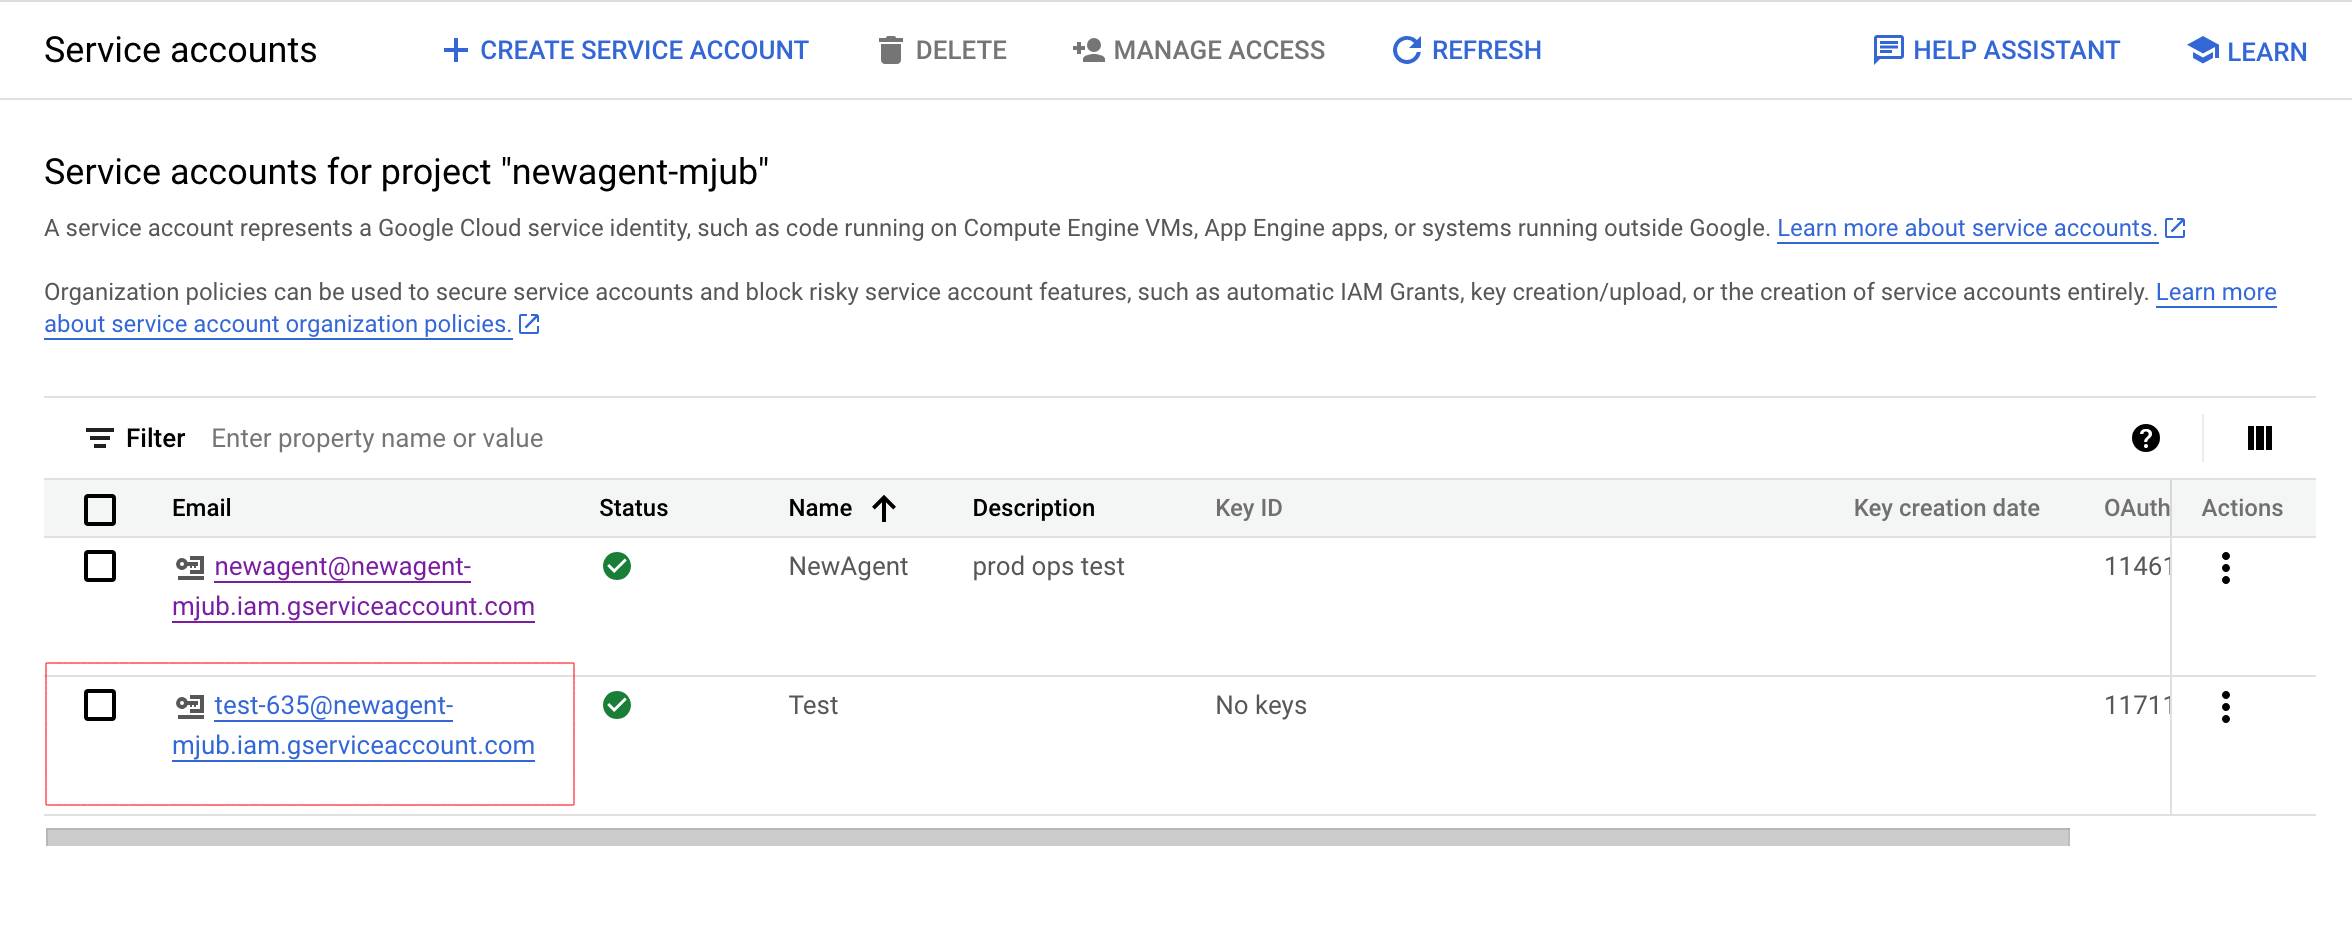
Go to Google Cloud Console and navigate to the IAM & Admin tab. Click on the Service Accounts.
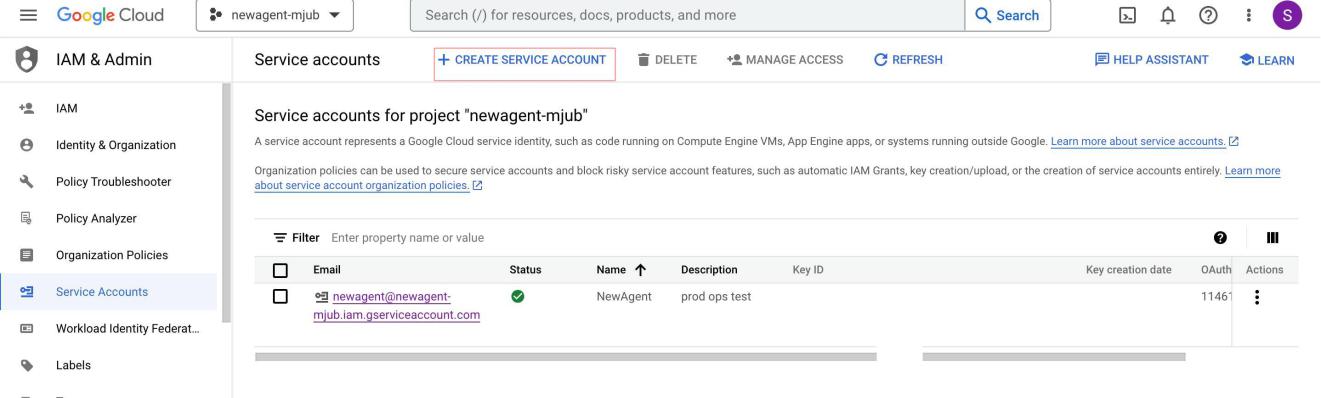
Click the Select a Project button and then select All from the dropdown menu. Find your project and click on it.
On the next page, click the Create Service Account option.
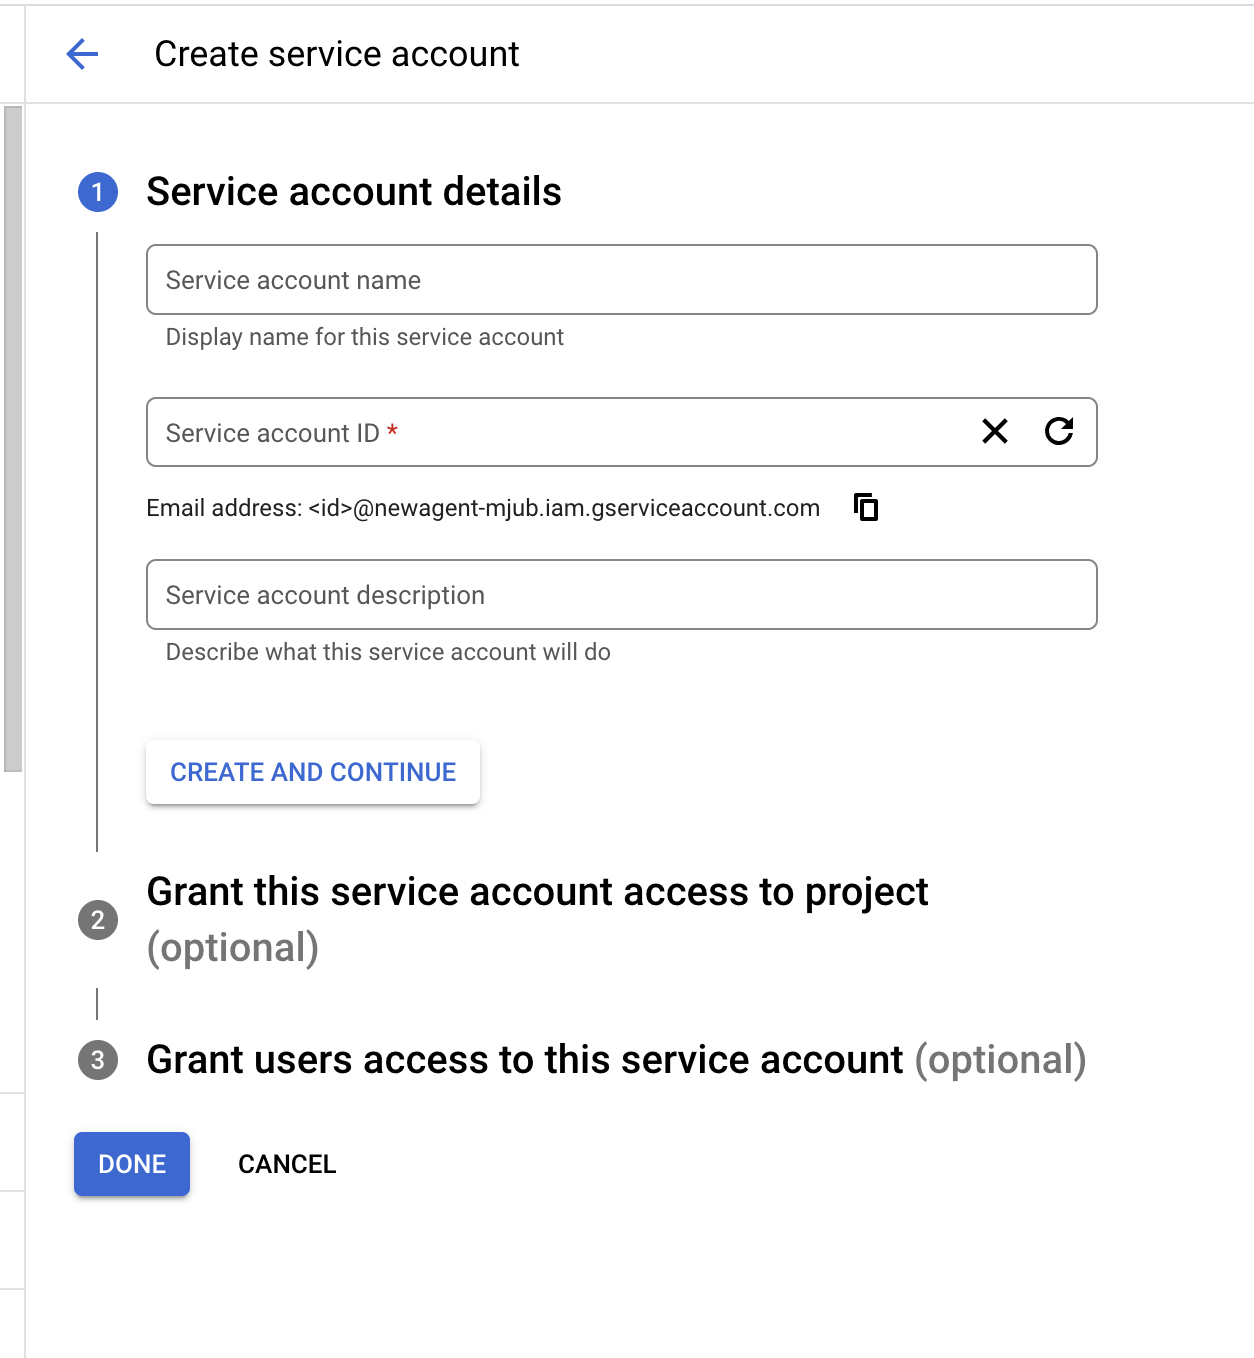
Name your account and click the Create and Continue button.
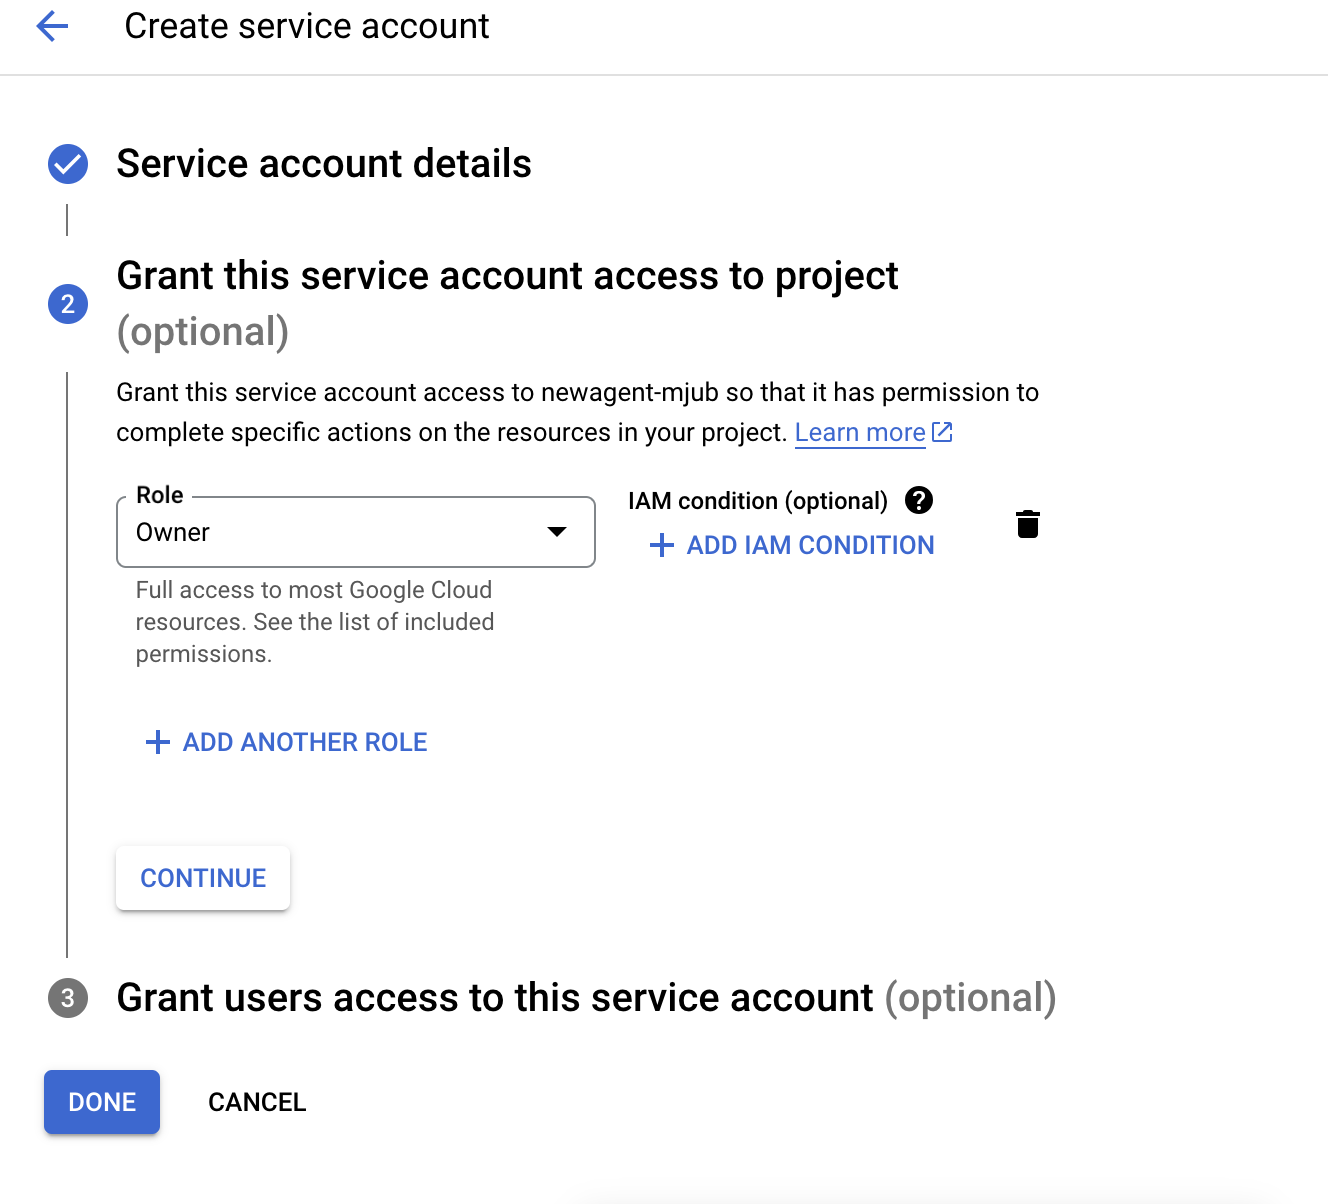
In the second step, select a role for your account. Navigate to Basic and click the Owner button. Click the Continue button once it's done. In the third step, click the Done button.
Now, you will be able to see the account you created below. Click on it to continue.
On the next page, navigate to the Keys tab.
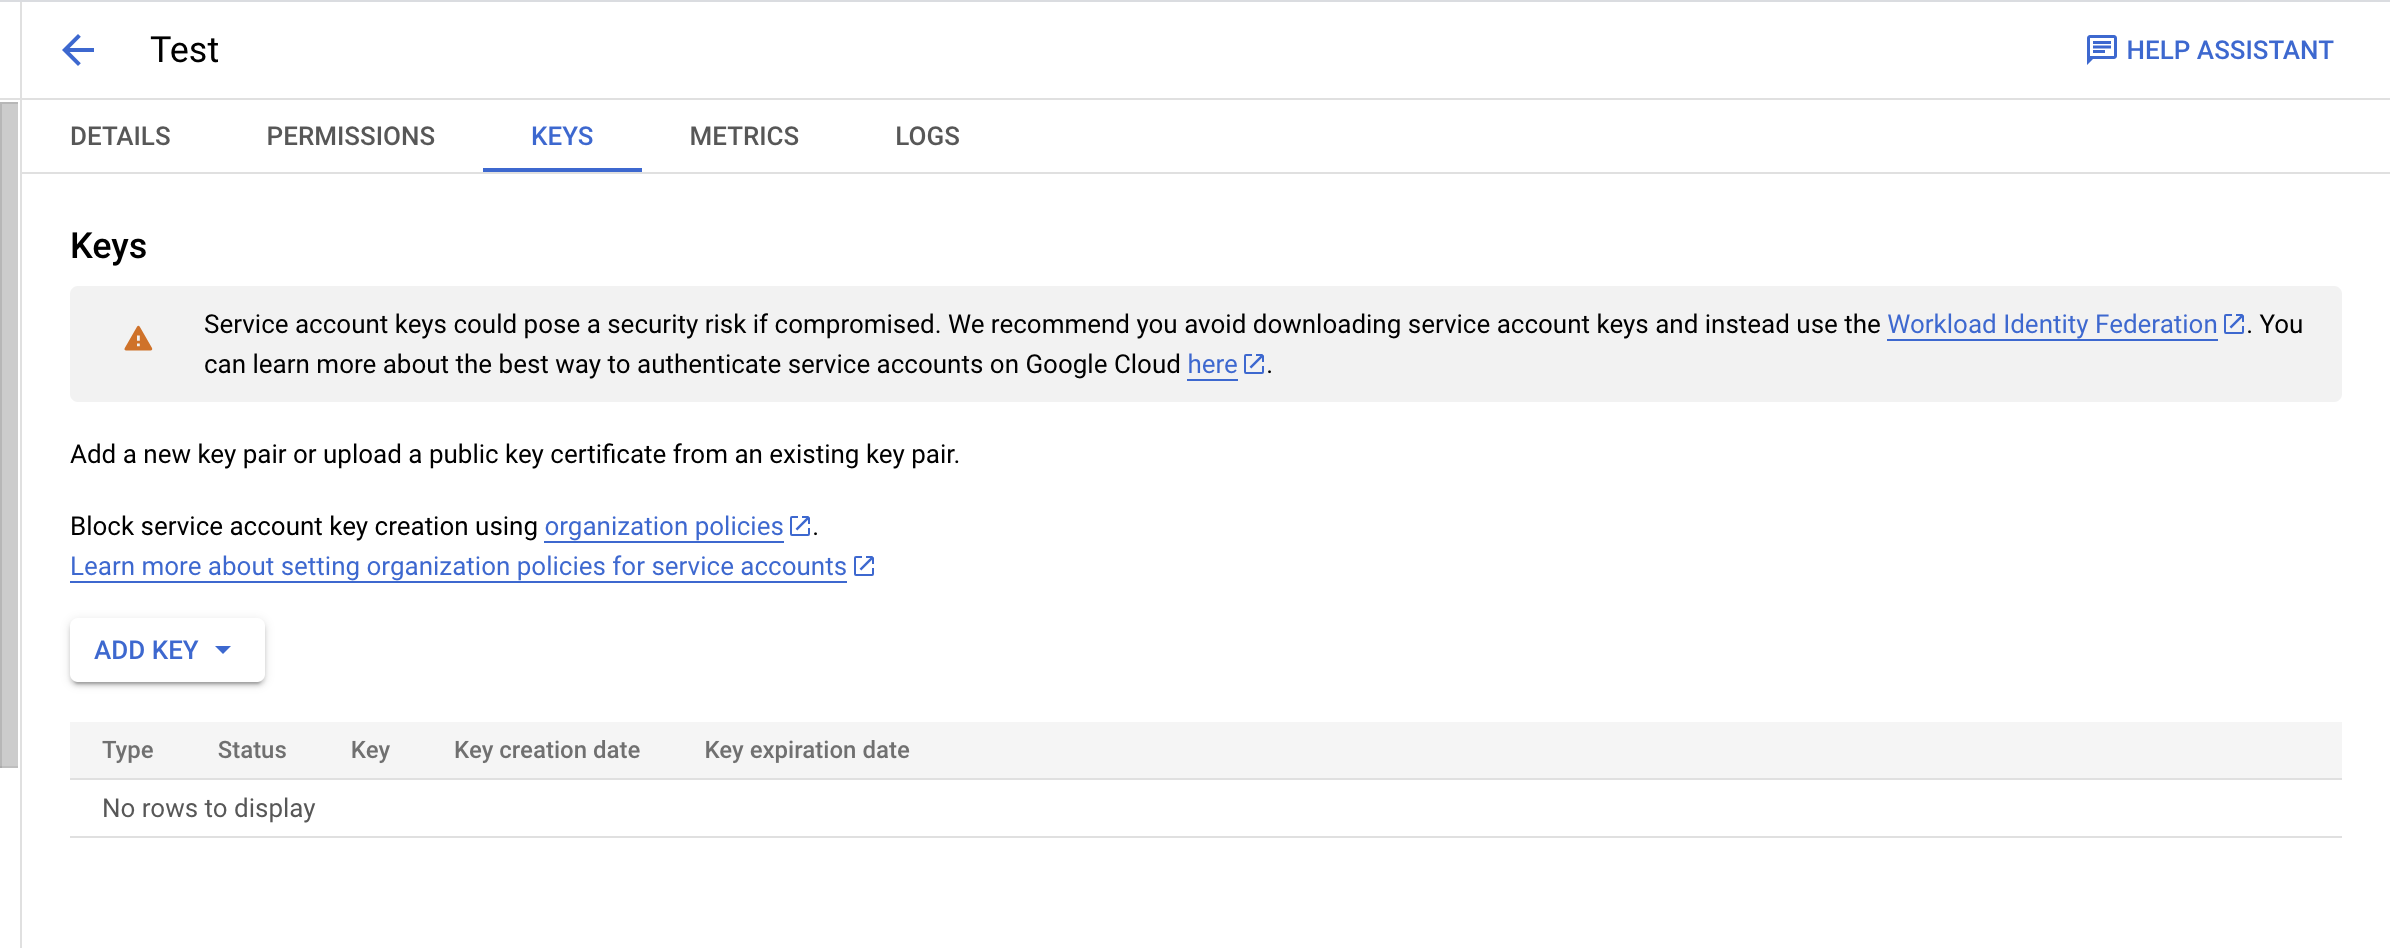
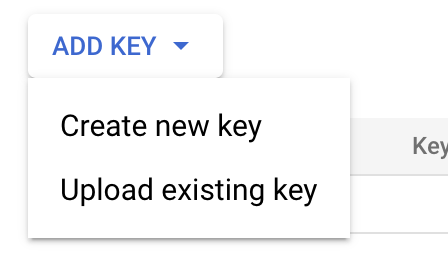
Click on the Add key dropdown menu below, and select the Create new key option.
On the next window, select the JSON and click the Create button.
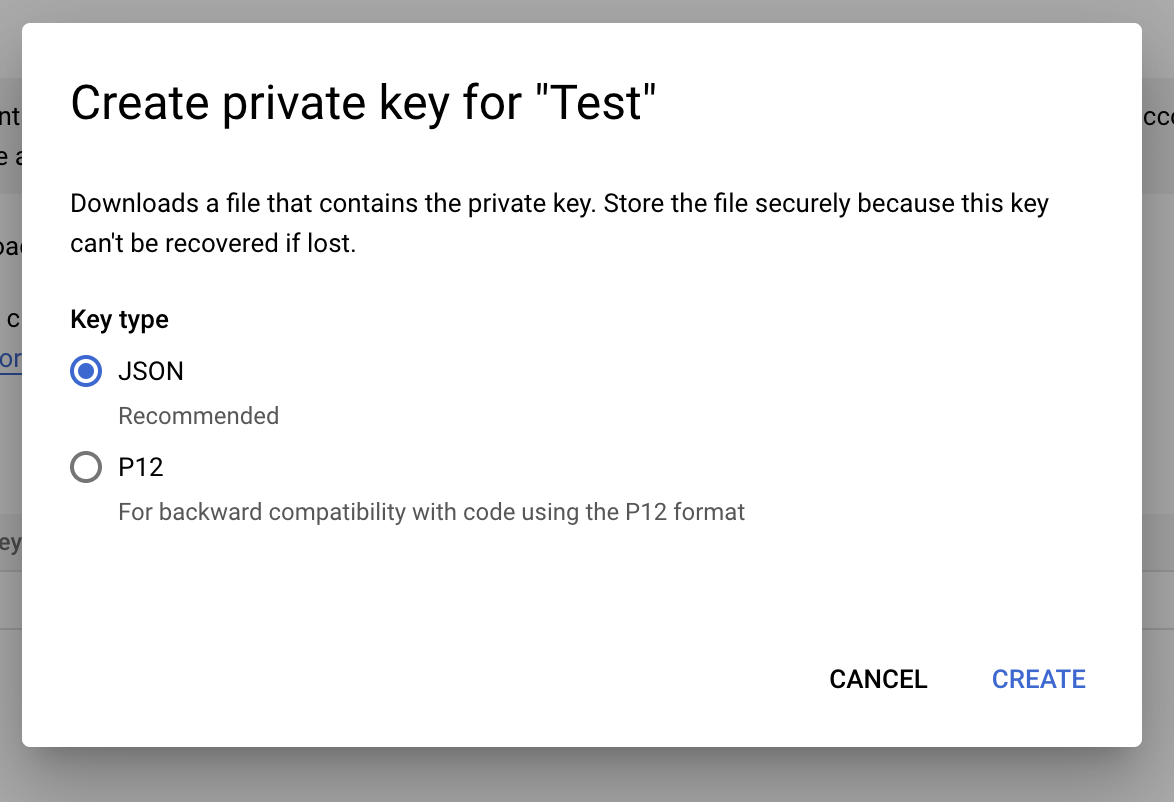
You will see a file downloaded automatically. Open this file with Notepad and copy the code there. Copy the code as a whole statement starting with "{" and ending with "}".

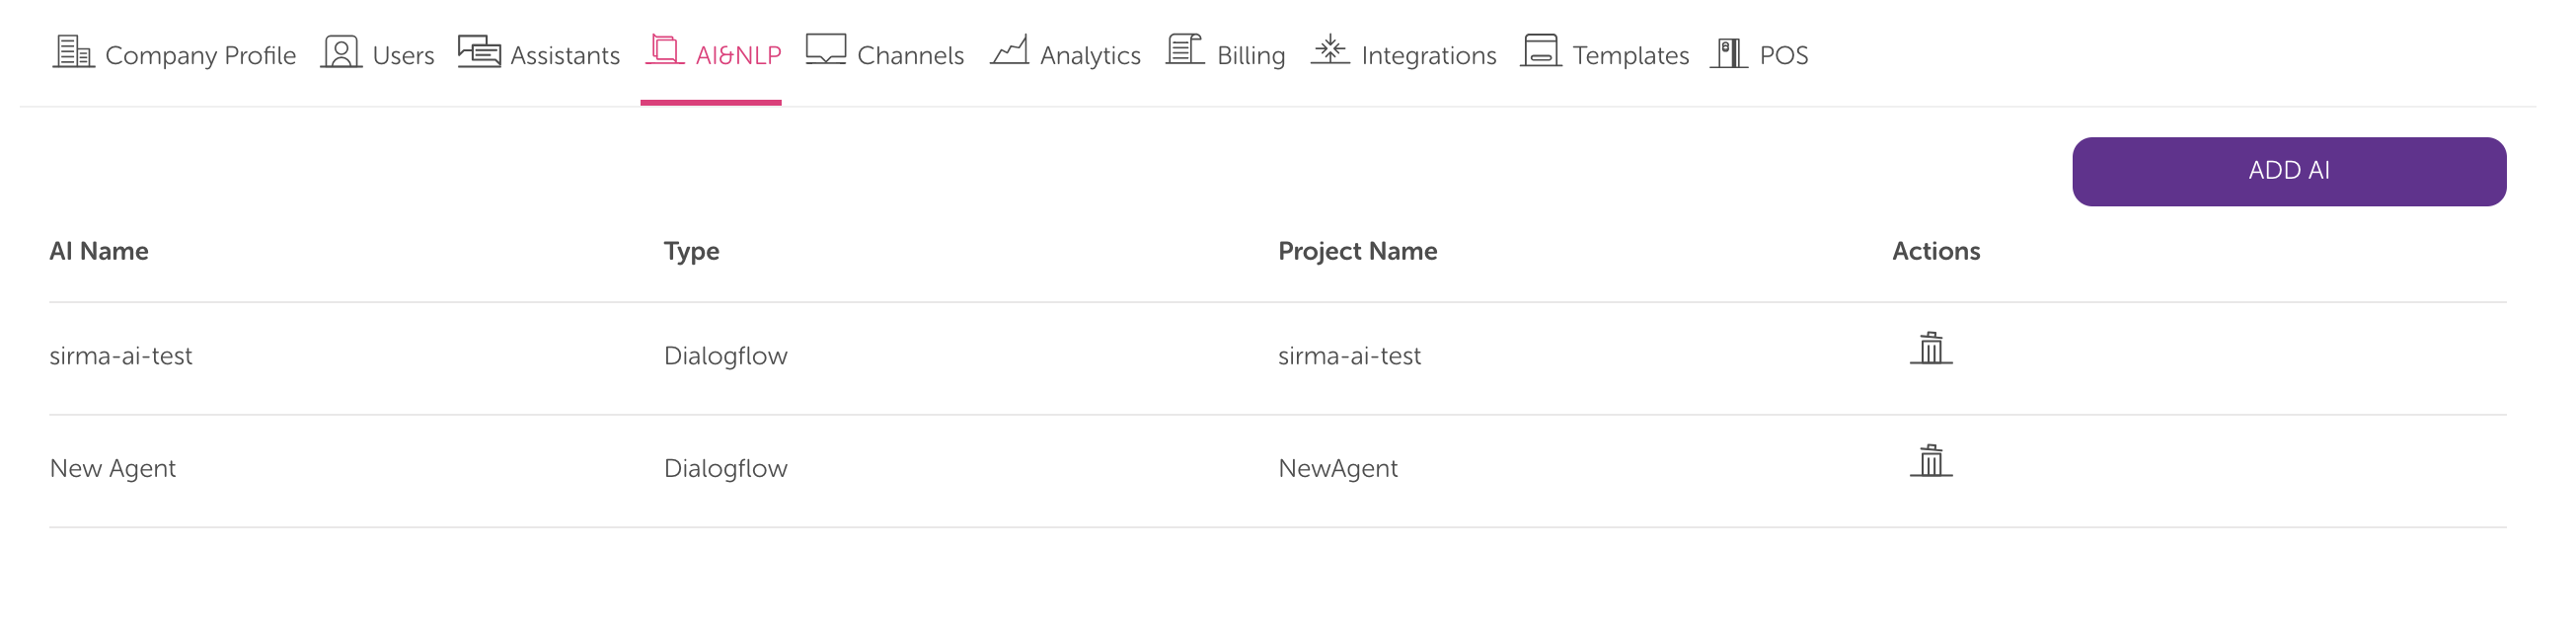
Go to MindBehind and click the Companies.
Select the company to which you want to add a Google Dialogflow connection. Under the AI&NLP tab, you will see the Dialogflow option for AI connection.
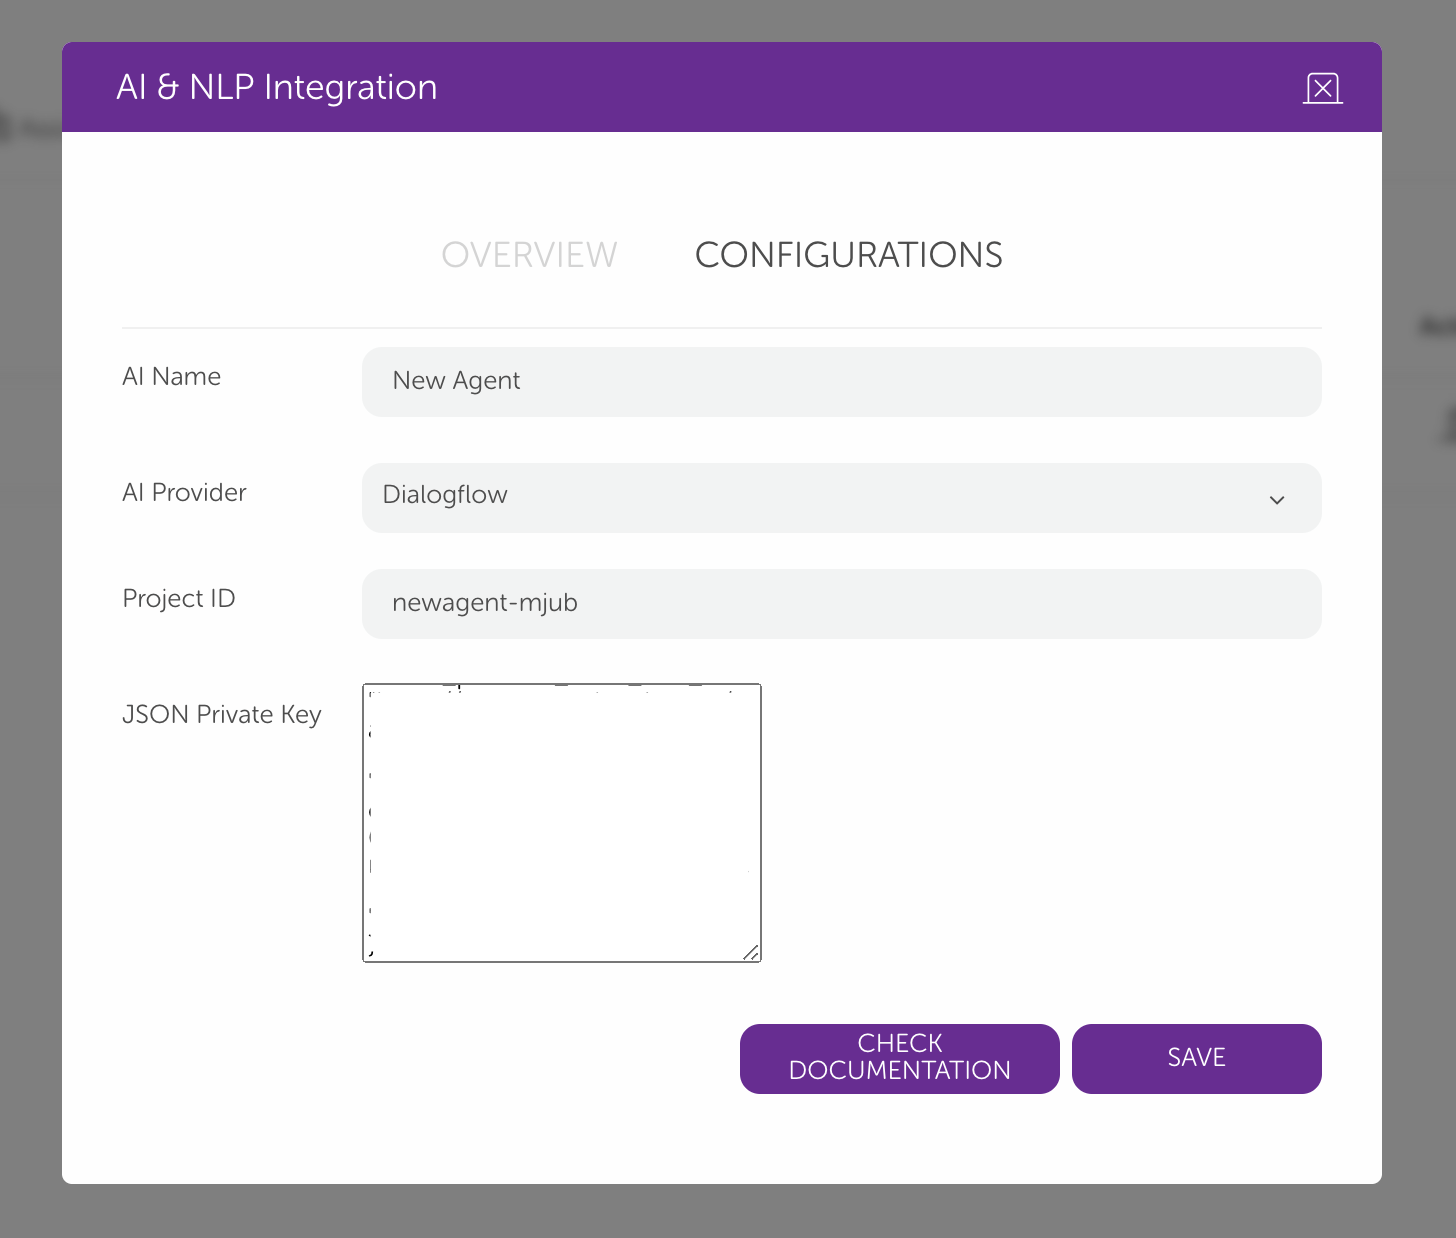
When you click on it, the following pop-up will open, and you should click the Configurations tab.

The first field, AI Name, is a free-text area. You can name it as you want.
For the Project ID, you should fill it with the information that you received from Dialogflow.
Paste the code you copied into the file you created in the previous step into the "JSON Private Key" field and click the Save button.
The image below is blurred on purpose. JSON Private Keys are unique, so we recommend that you not share them.
Success! You can now work on your intents and entities on Dialogflow.