This guide aims to explain the requirements and how to connect a chatbot to Facebook Messenger.
Requirements
Before connecting your chatbot to Facebook Messenger, you should complete the requirements below.
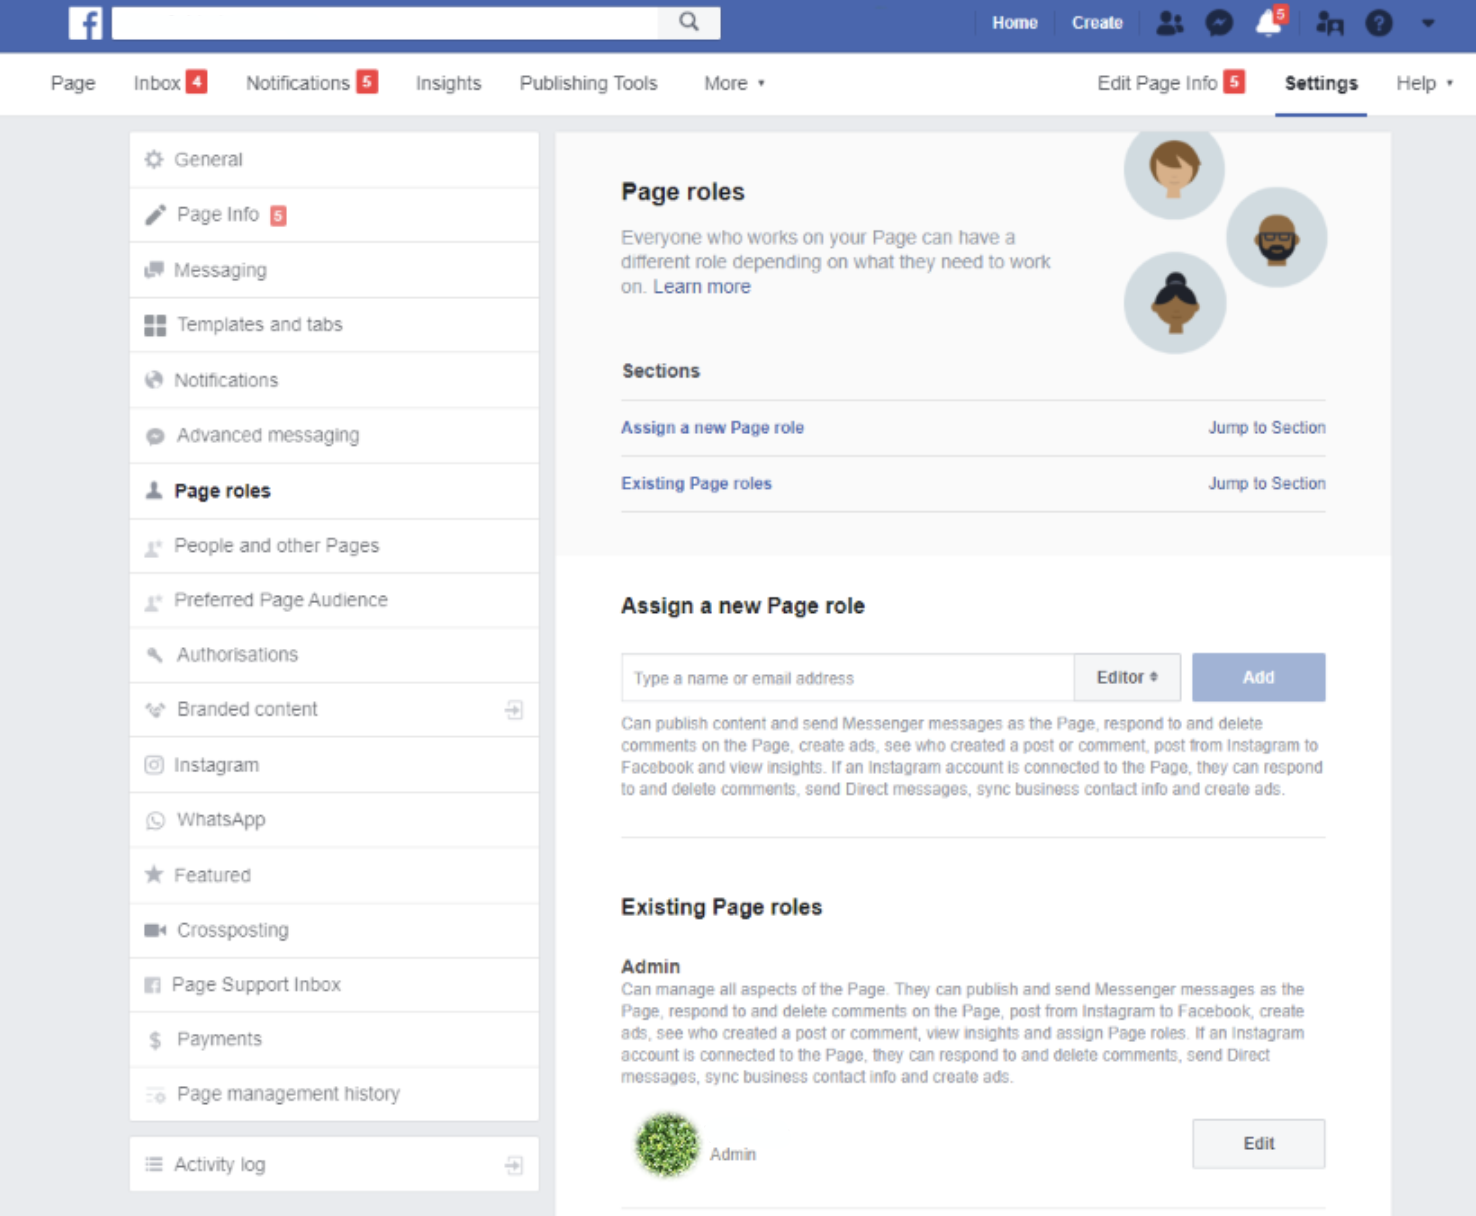
To publish your chatbot on your Facebook page, ensure you are the admin of this page. To check your role:
- Go to the Settings of the page.
- On the left, go to the Page Tasks or Page Roles tab.
- Check your role to see if it is admin or not. If not, ask the page admin to change your role.
Connect your chatbot to Facebook Messenger
After fulfilling the requirements above, follow the steps below to connect your chatbot to Facebook Messenger:
- Go to the MindBehind platform.
- Choose the company that your assistant belongs to.
.png)
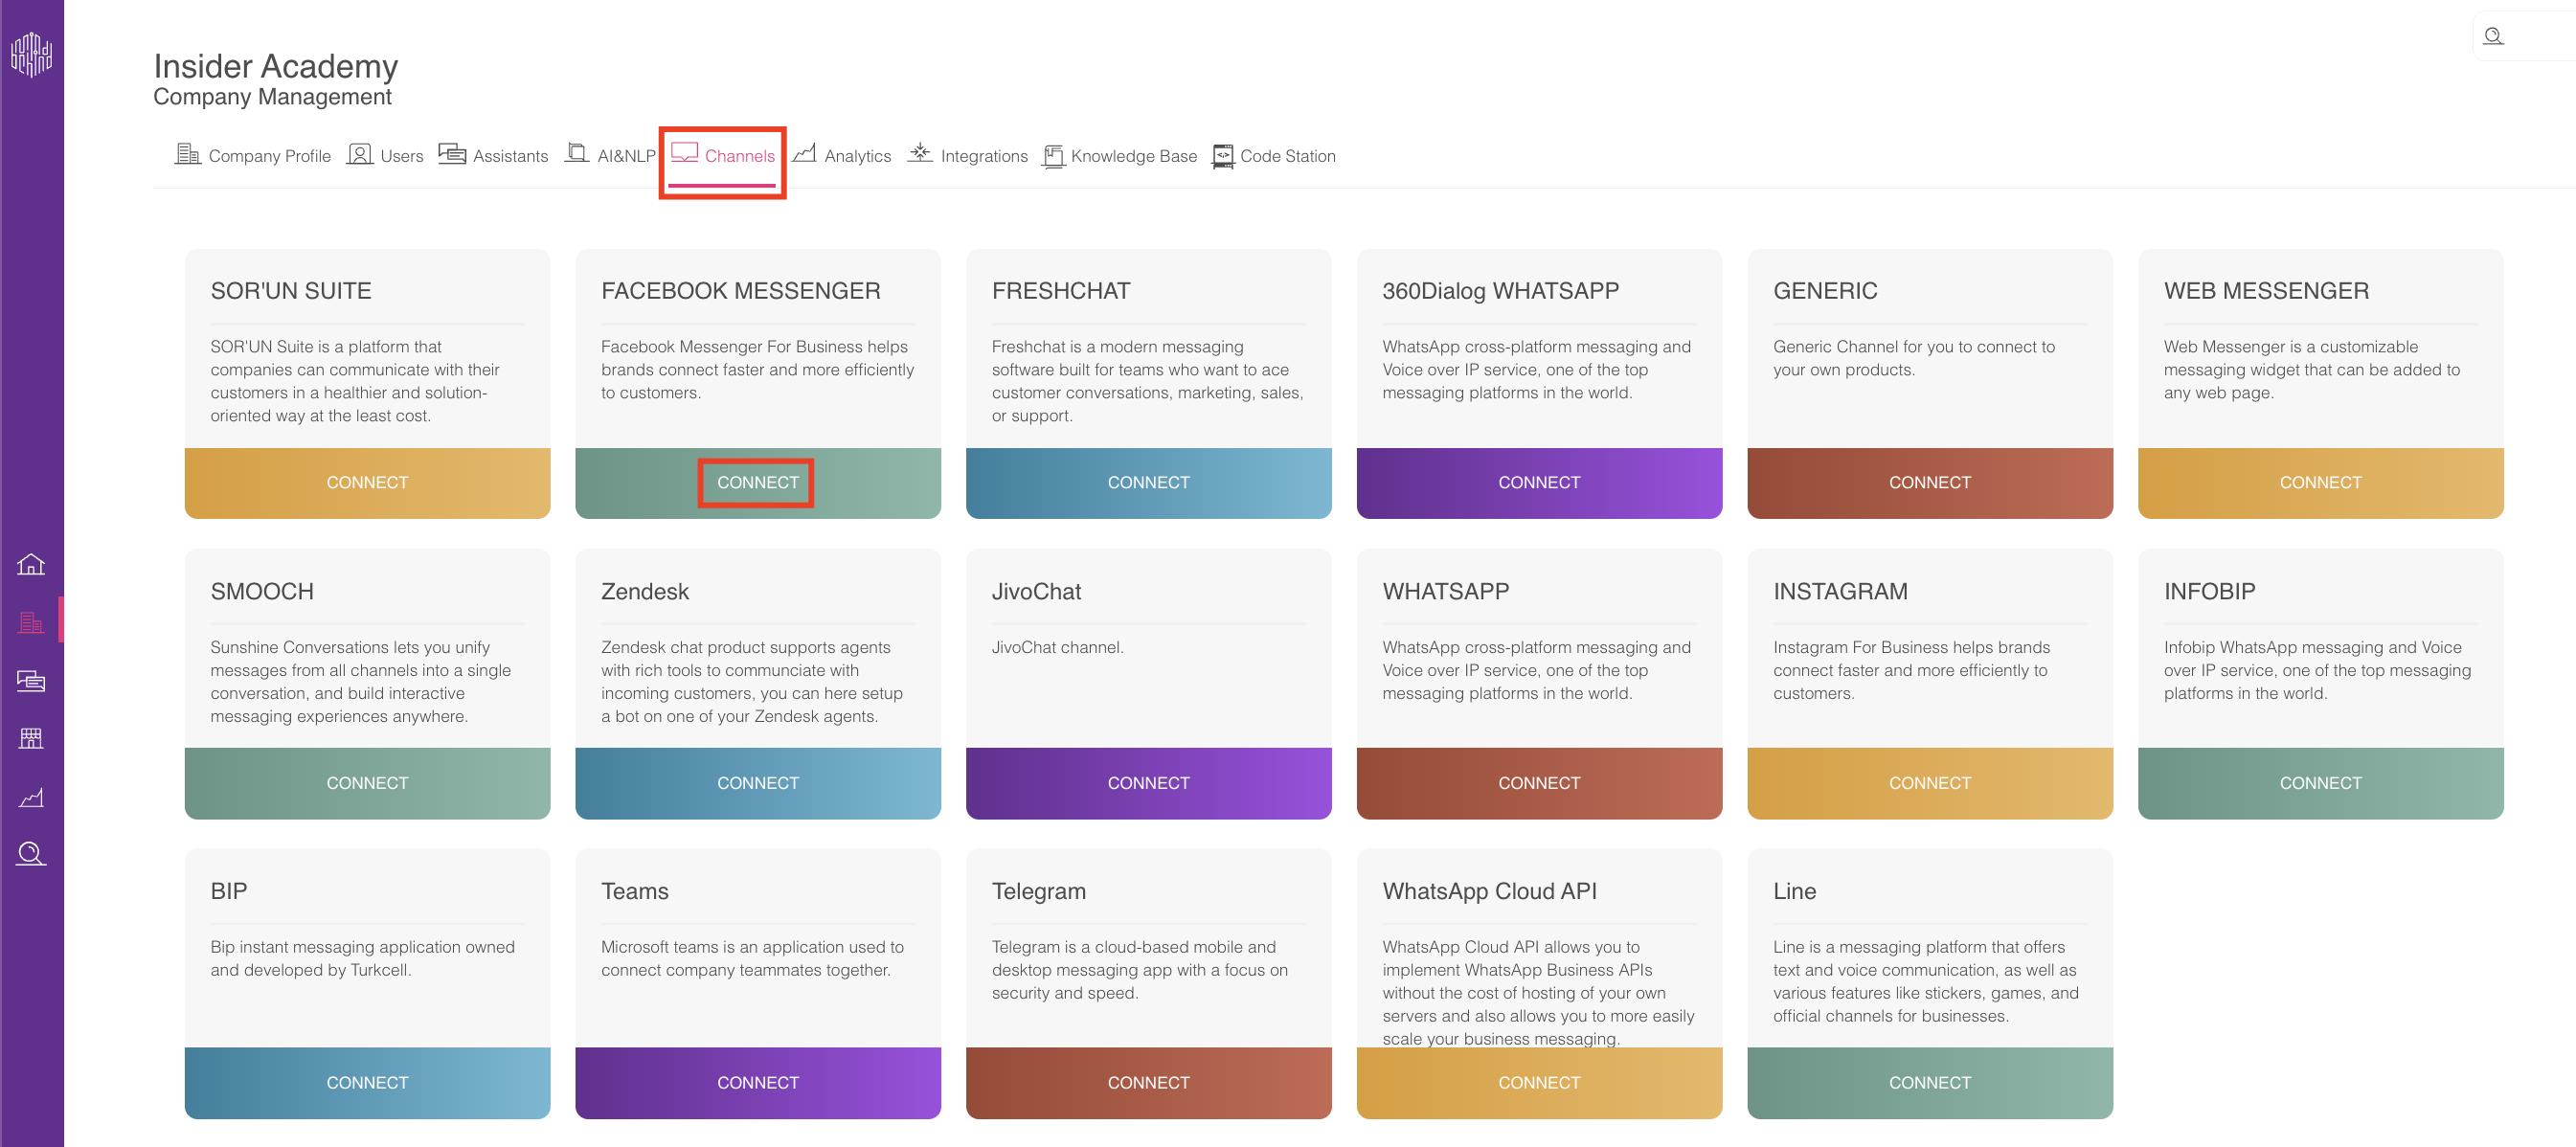
- Go to the Channels tab and click the Connect button for Facebook Messenger.
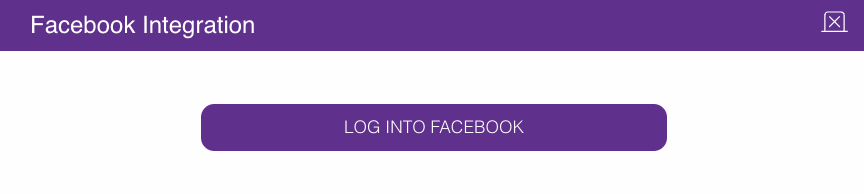
- Log in to your Facebook account.
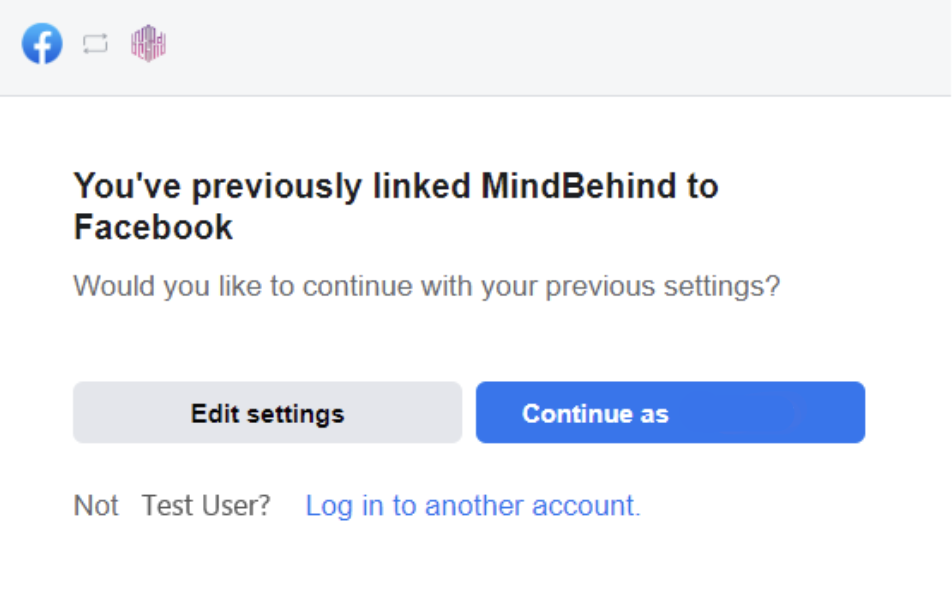
- Click the Edit settings button.
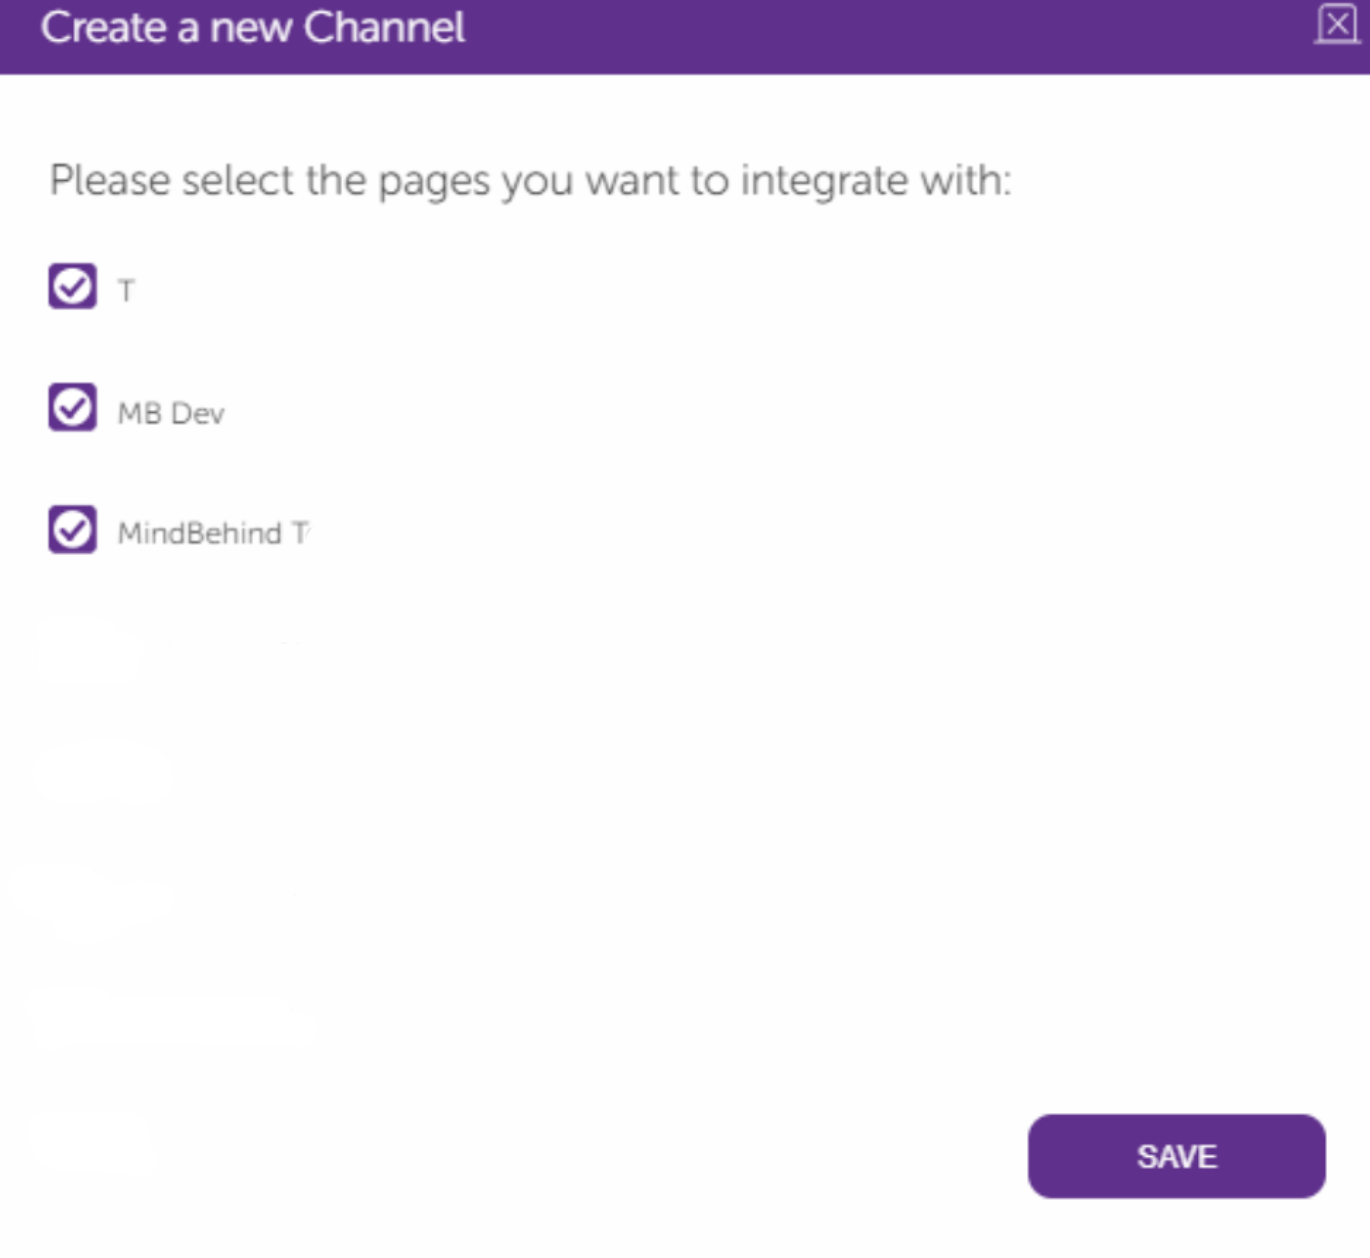
- Select the Facebook pages that you want to use in MindBehind.
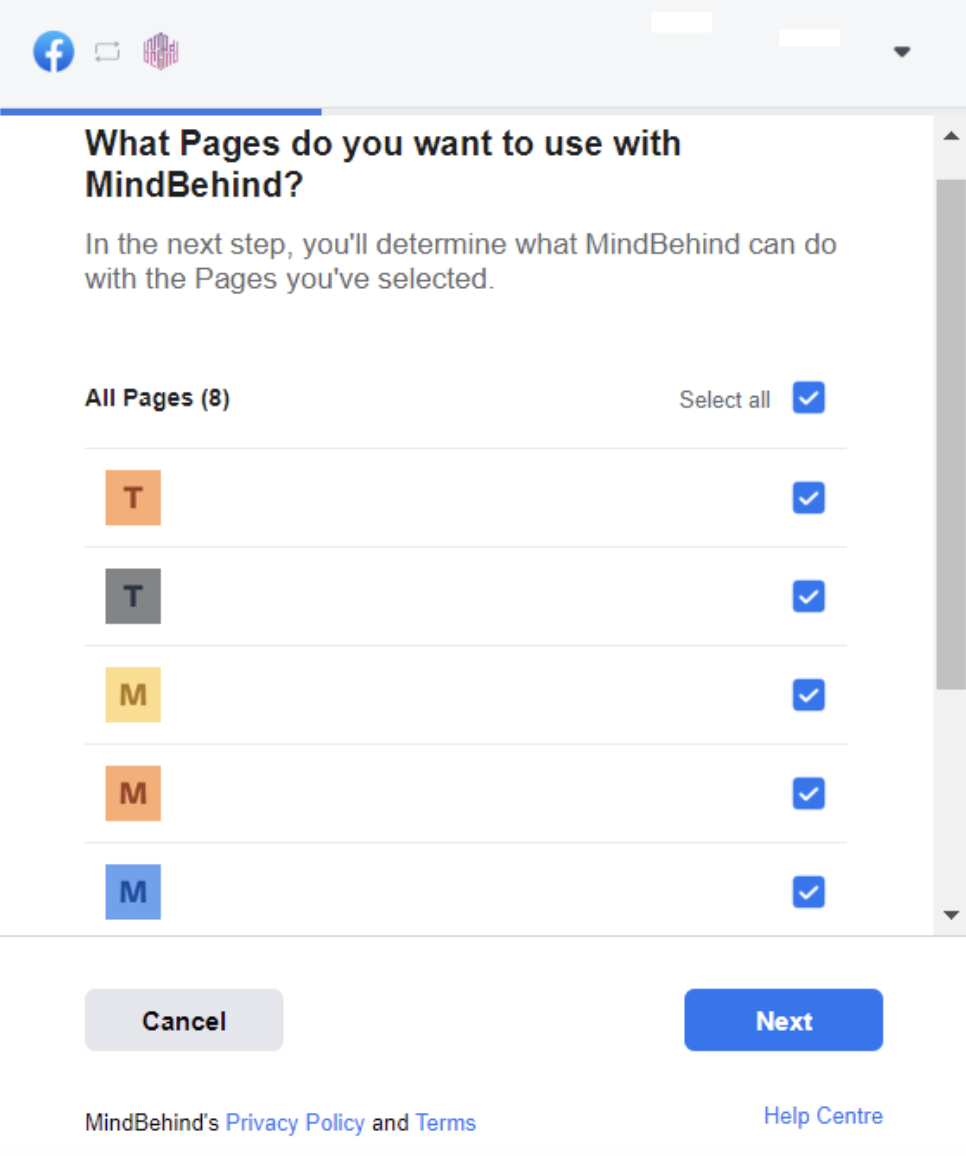
- Select the page where you want to publish your chatbot. You can select multiple pages and add them simultaneously.
- Go to your assistant.
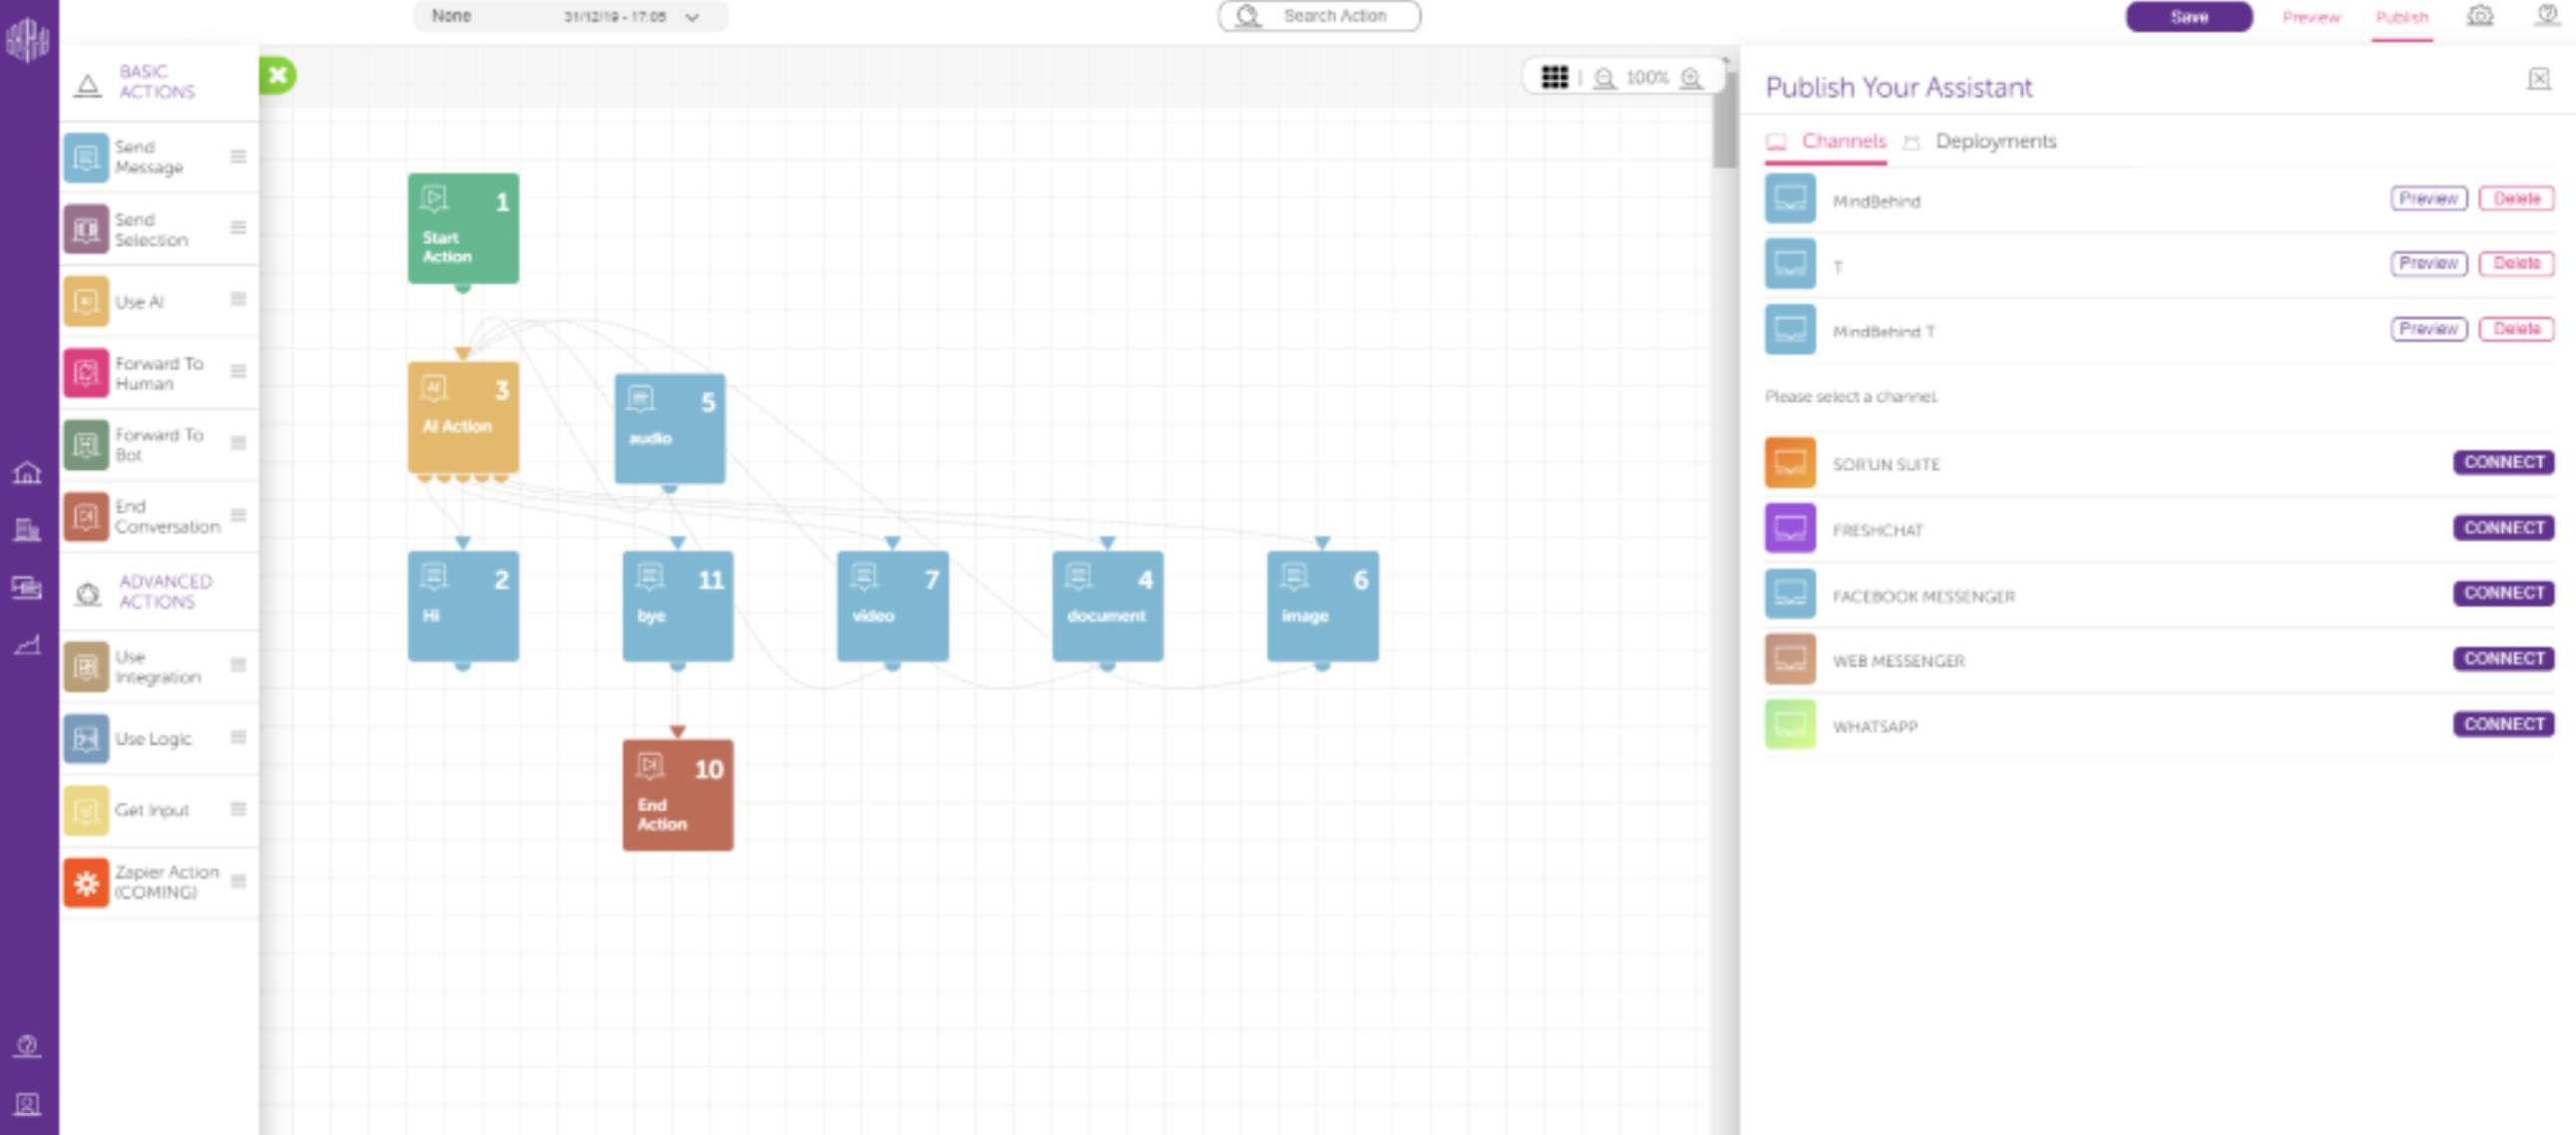
- Click the Publish button on the top right.
- In the Channels field, you can see the pages that you added. When you click the Preview button, it opens the page on Messenger in a new tab.
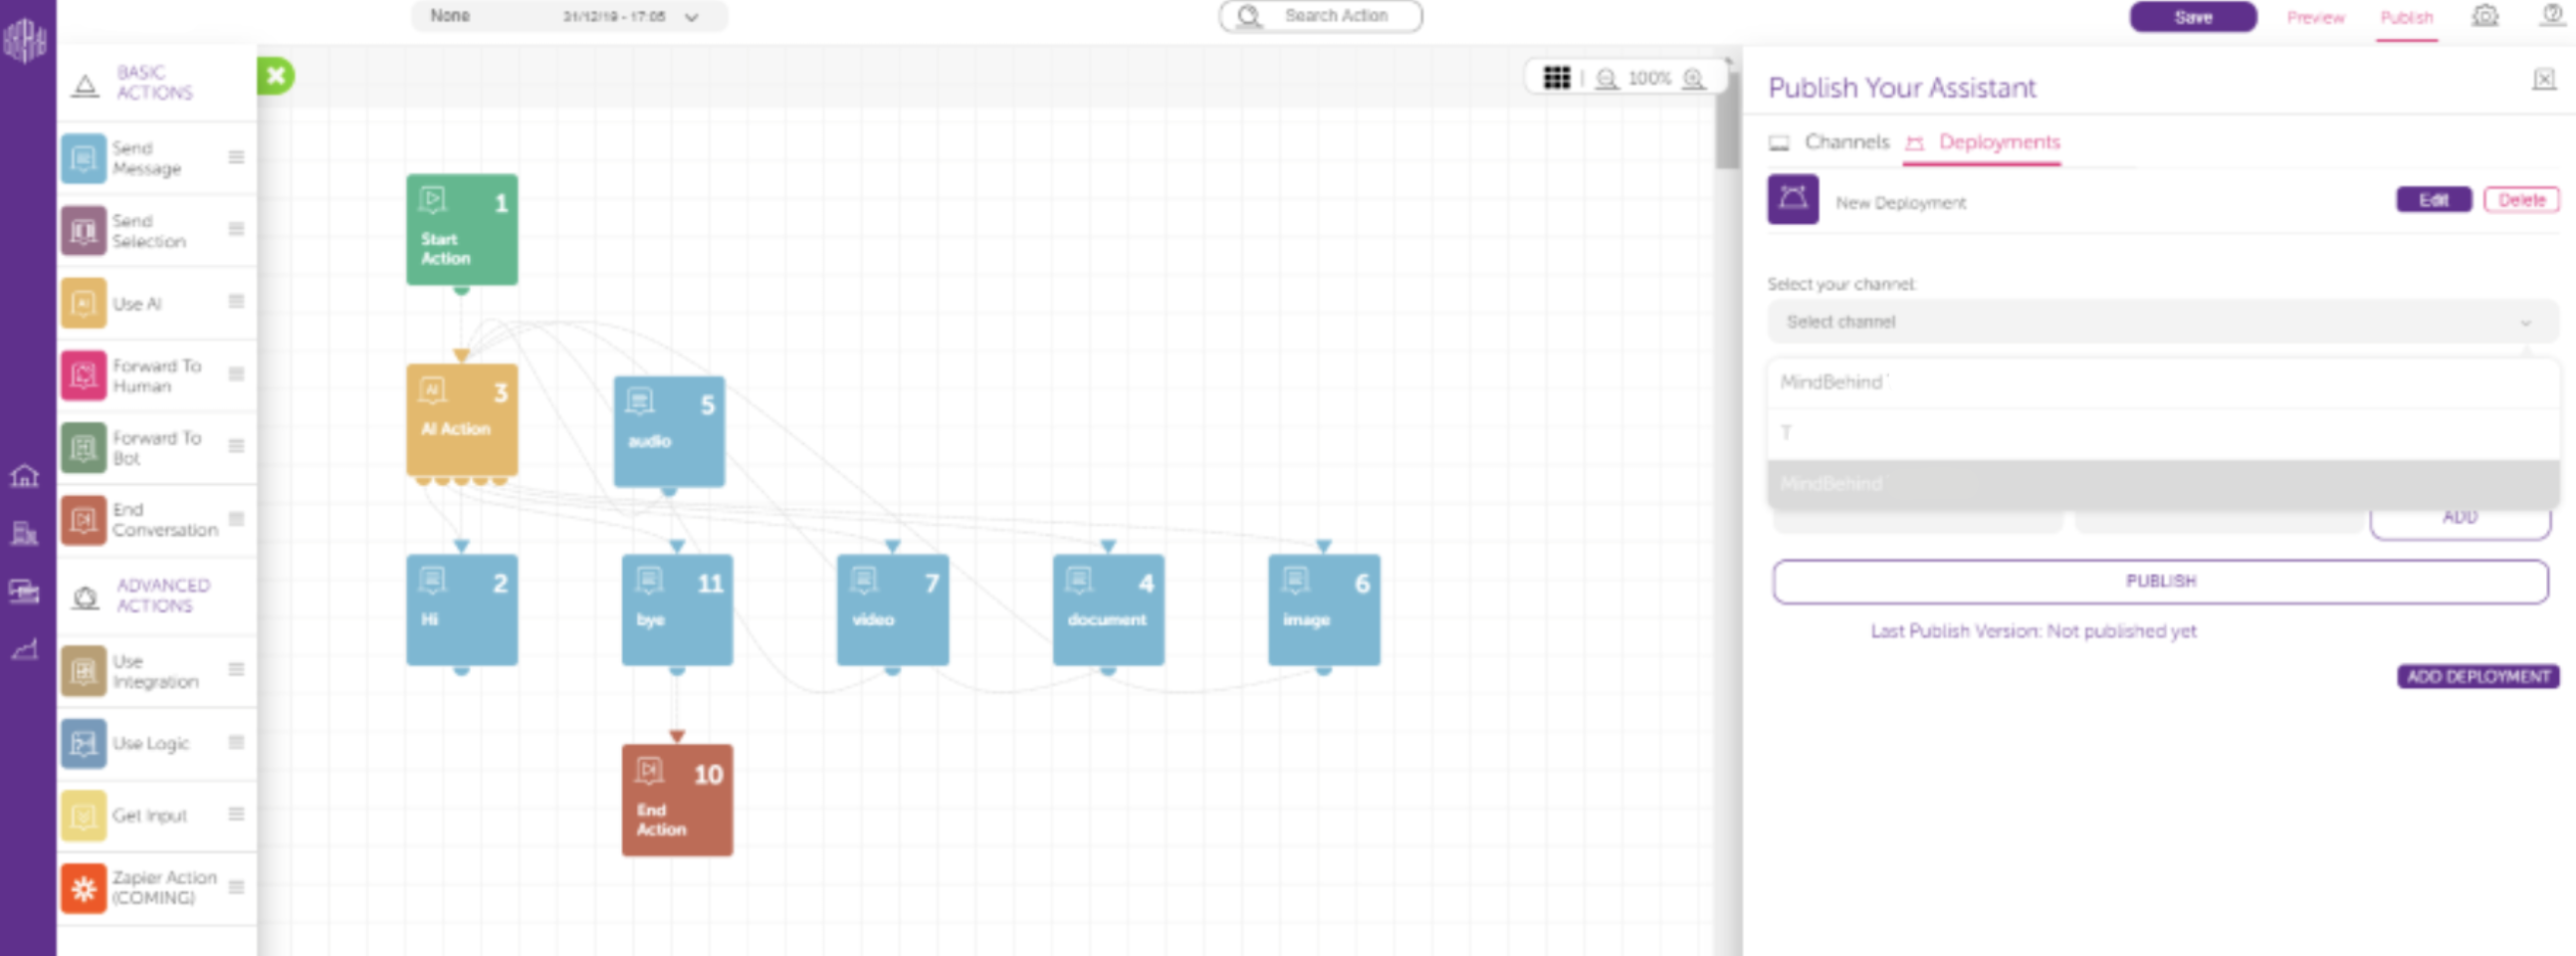
- Click the Deployments tab.

- Click the Add Deployment button.
- Select your channel and assistant version and click the Publish button. You can publish the same chatbot on different Facebook pages. However, you cannot publish more than one chatbot on the same Facebook page.
It is all done. You can see your bot running on your Facebook page.