Follow these steps to obtain your Apple Push Notification certificate and upload it to your mobile dashboard.
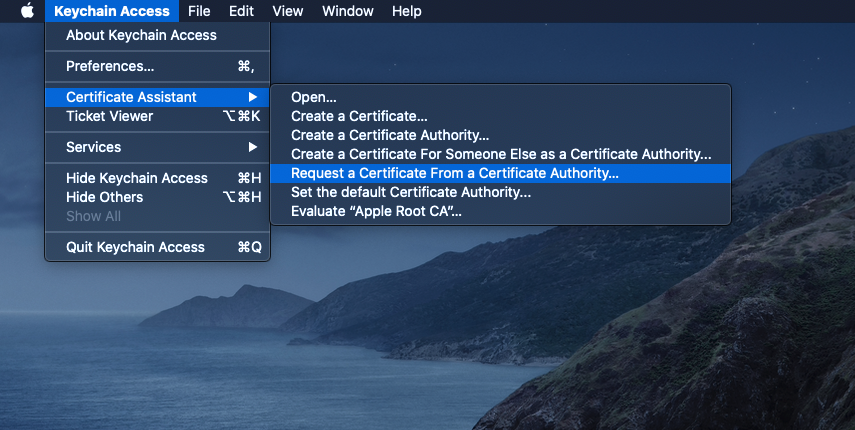
1. Open Keychain Access.
2. Navigate to Keychain Access > Certificate Assistant > Request a Certificate From a Certificate Authority…
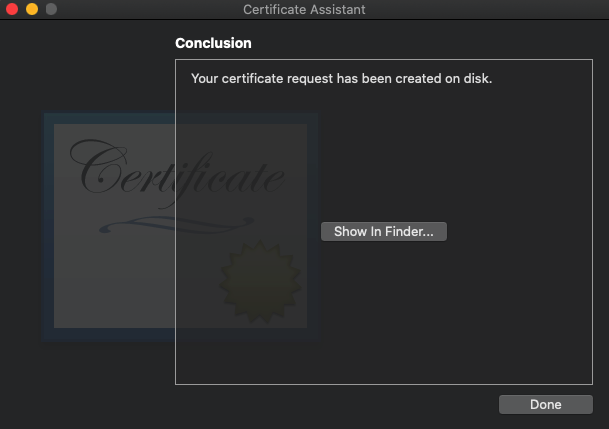
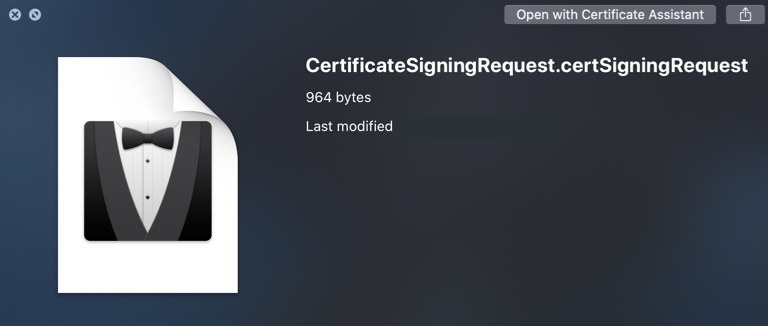
3. Fill in the Certificate Information and choose Saved to disk to continue.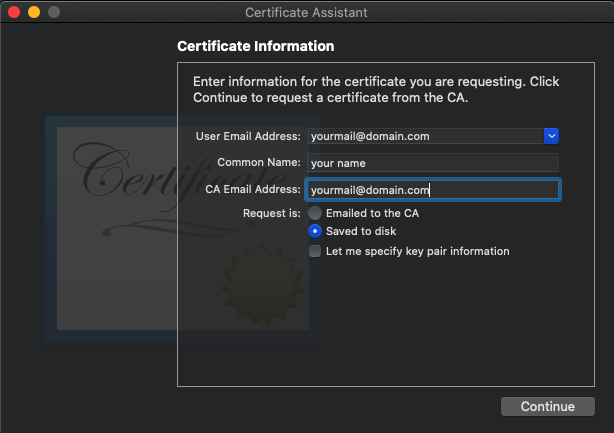
4. Click the Save button.

5. Sign in to your Apple Developer Account.
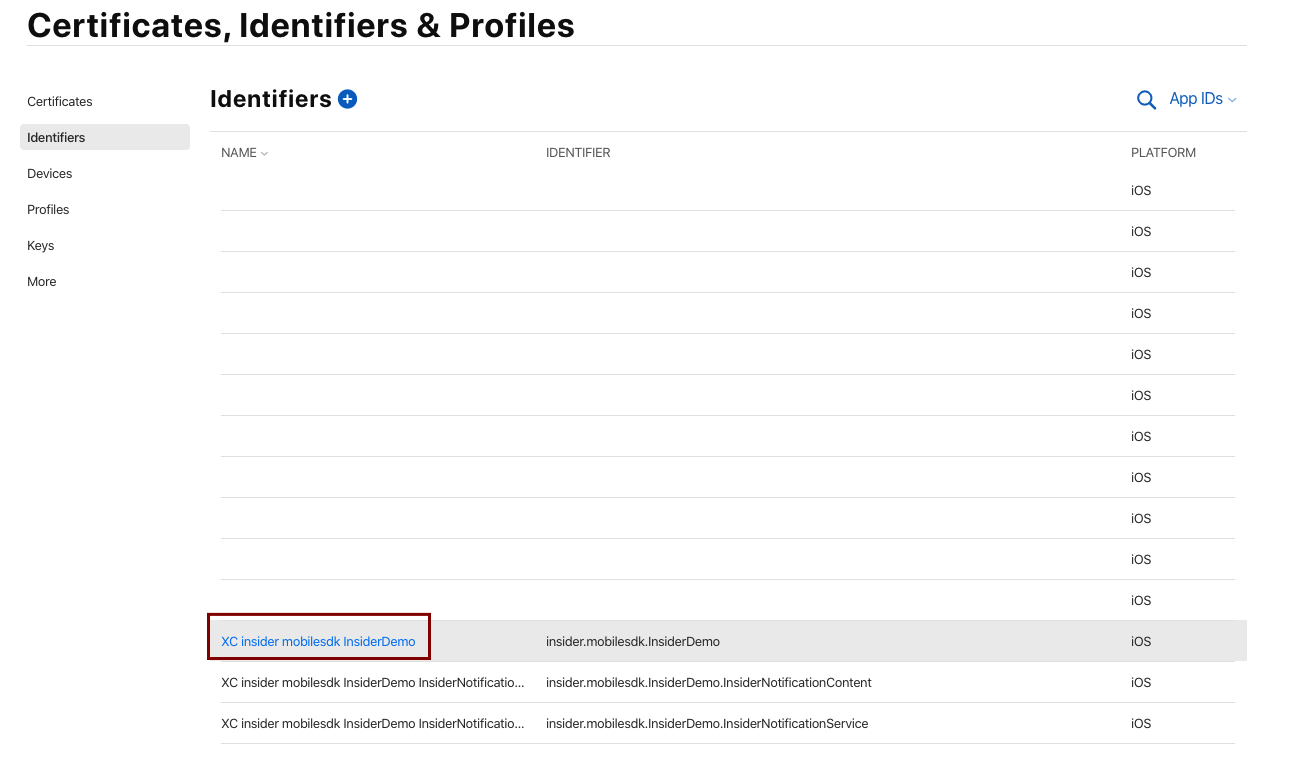
6. Navigate to Certificates, Identifiers & Profiles > Identifiers > Your Identifier.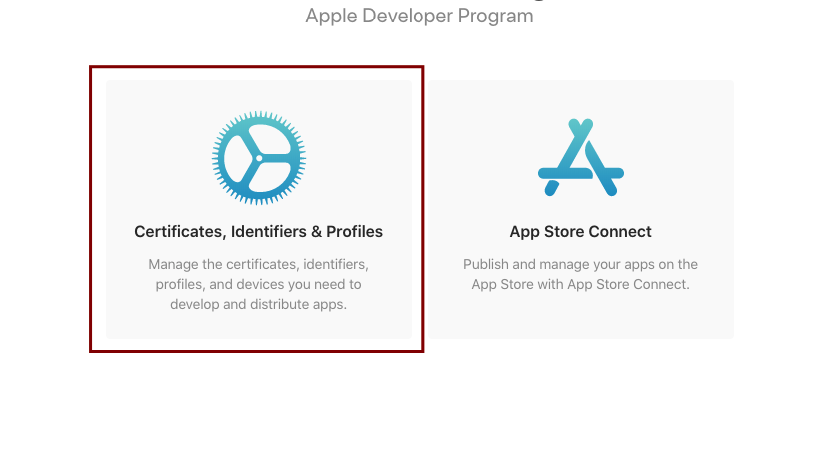
7. Make sure that the Push Notifications option is enabled.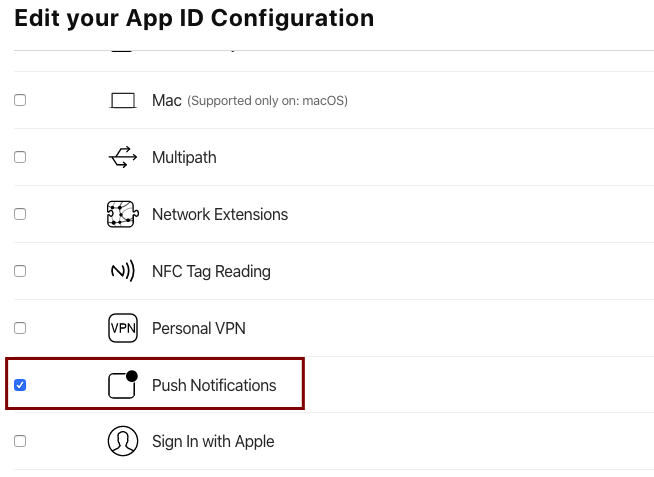
8. Navigate to Certificates, Identifiers & Profiles > Certificates.
9. Click the + (add) button. 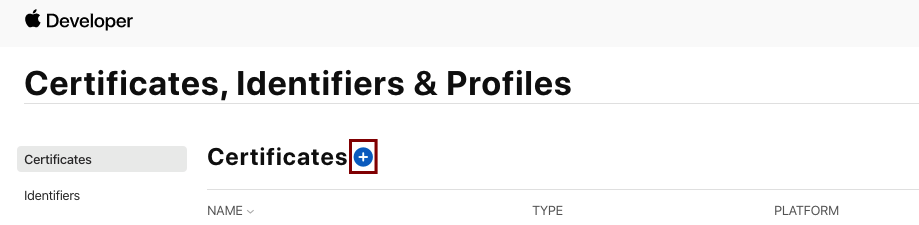
10. Create a New Certificate and select Apple Push Notification service SSL (Sandbox & Production). Click the Continue button.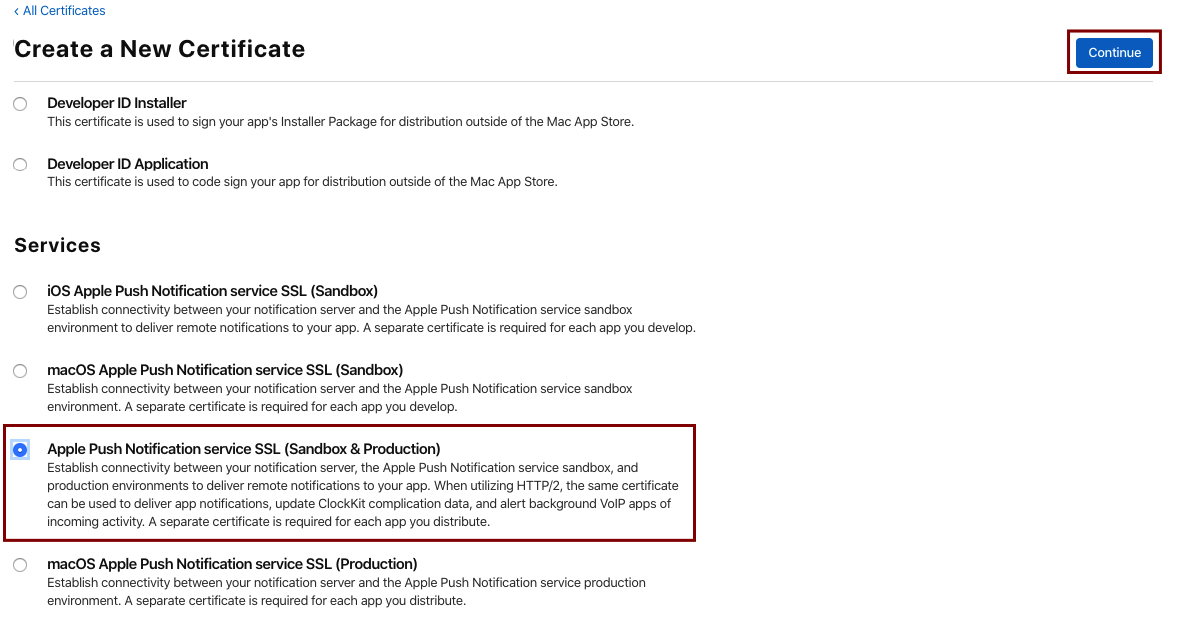
11. Choose your App ID and click the Continue button.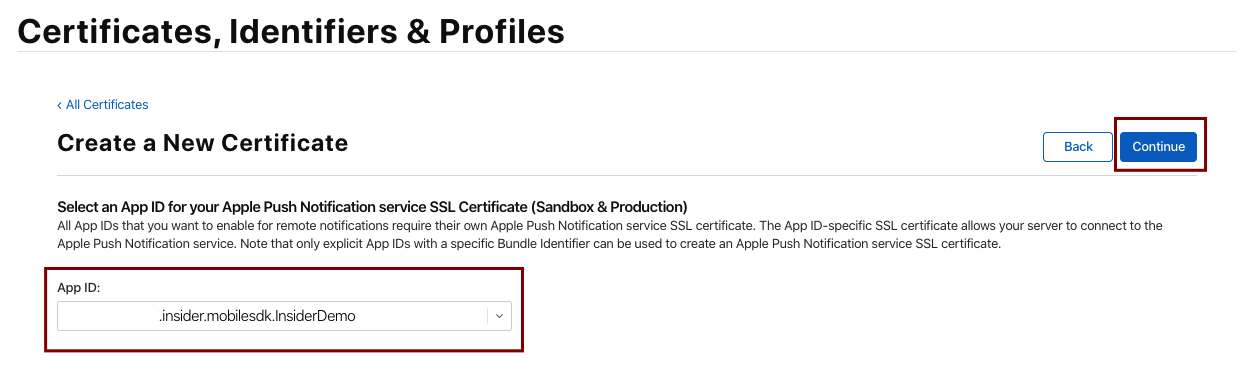
12. Choose File and upload your CertificateSigningRequest.certSigningRequest. Click the Continue button.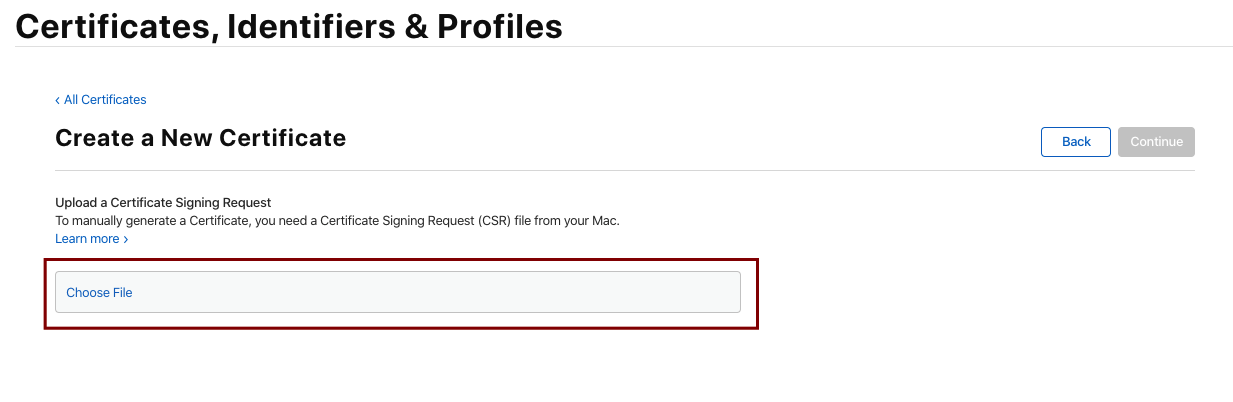
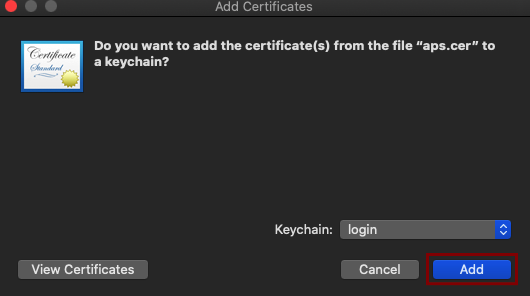
13. Download your certificate to your Mac. Double-click the aps.cer file to add in Keychain Access.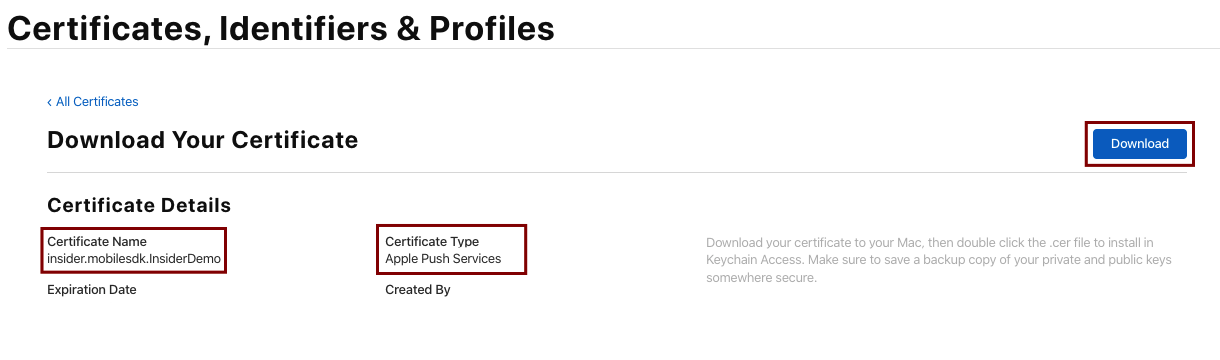
14. Your certificate should look as follows:
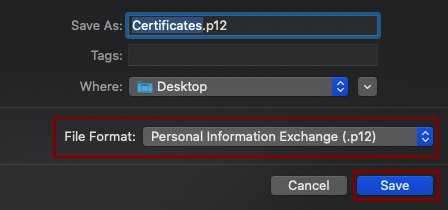
15. Right-click on your certificate and Export it.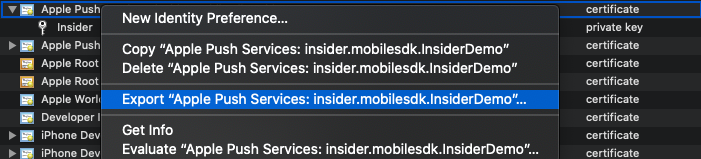
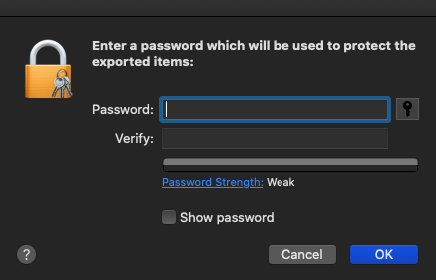
16. Click the Save button. You can set a password or leave it empty.
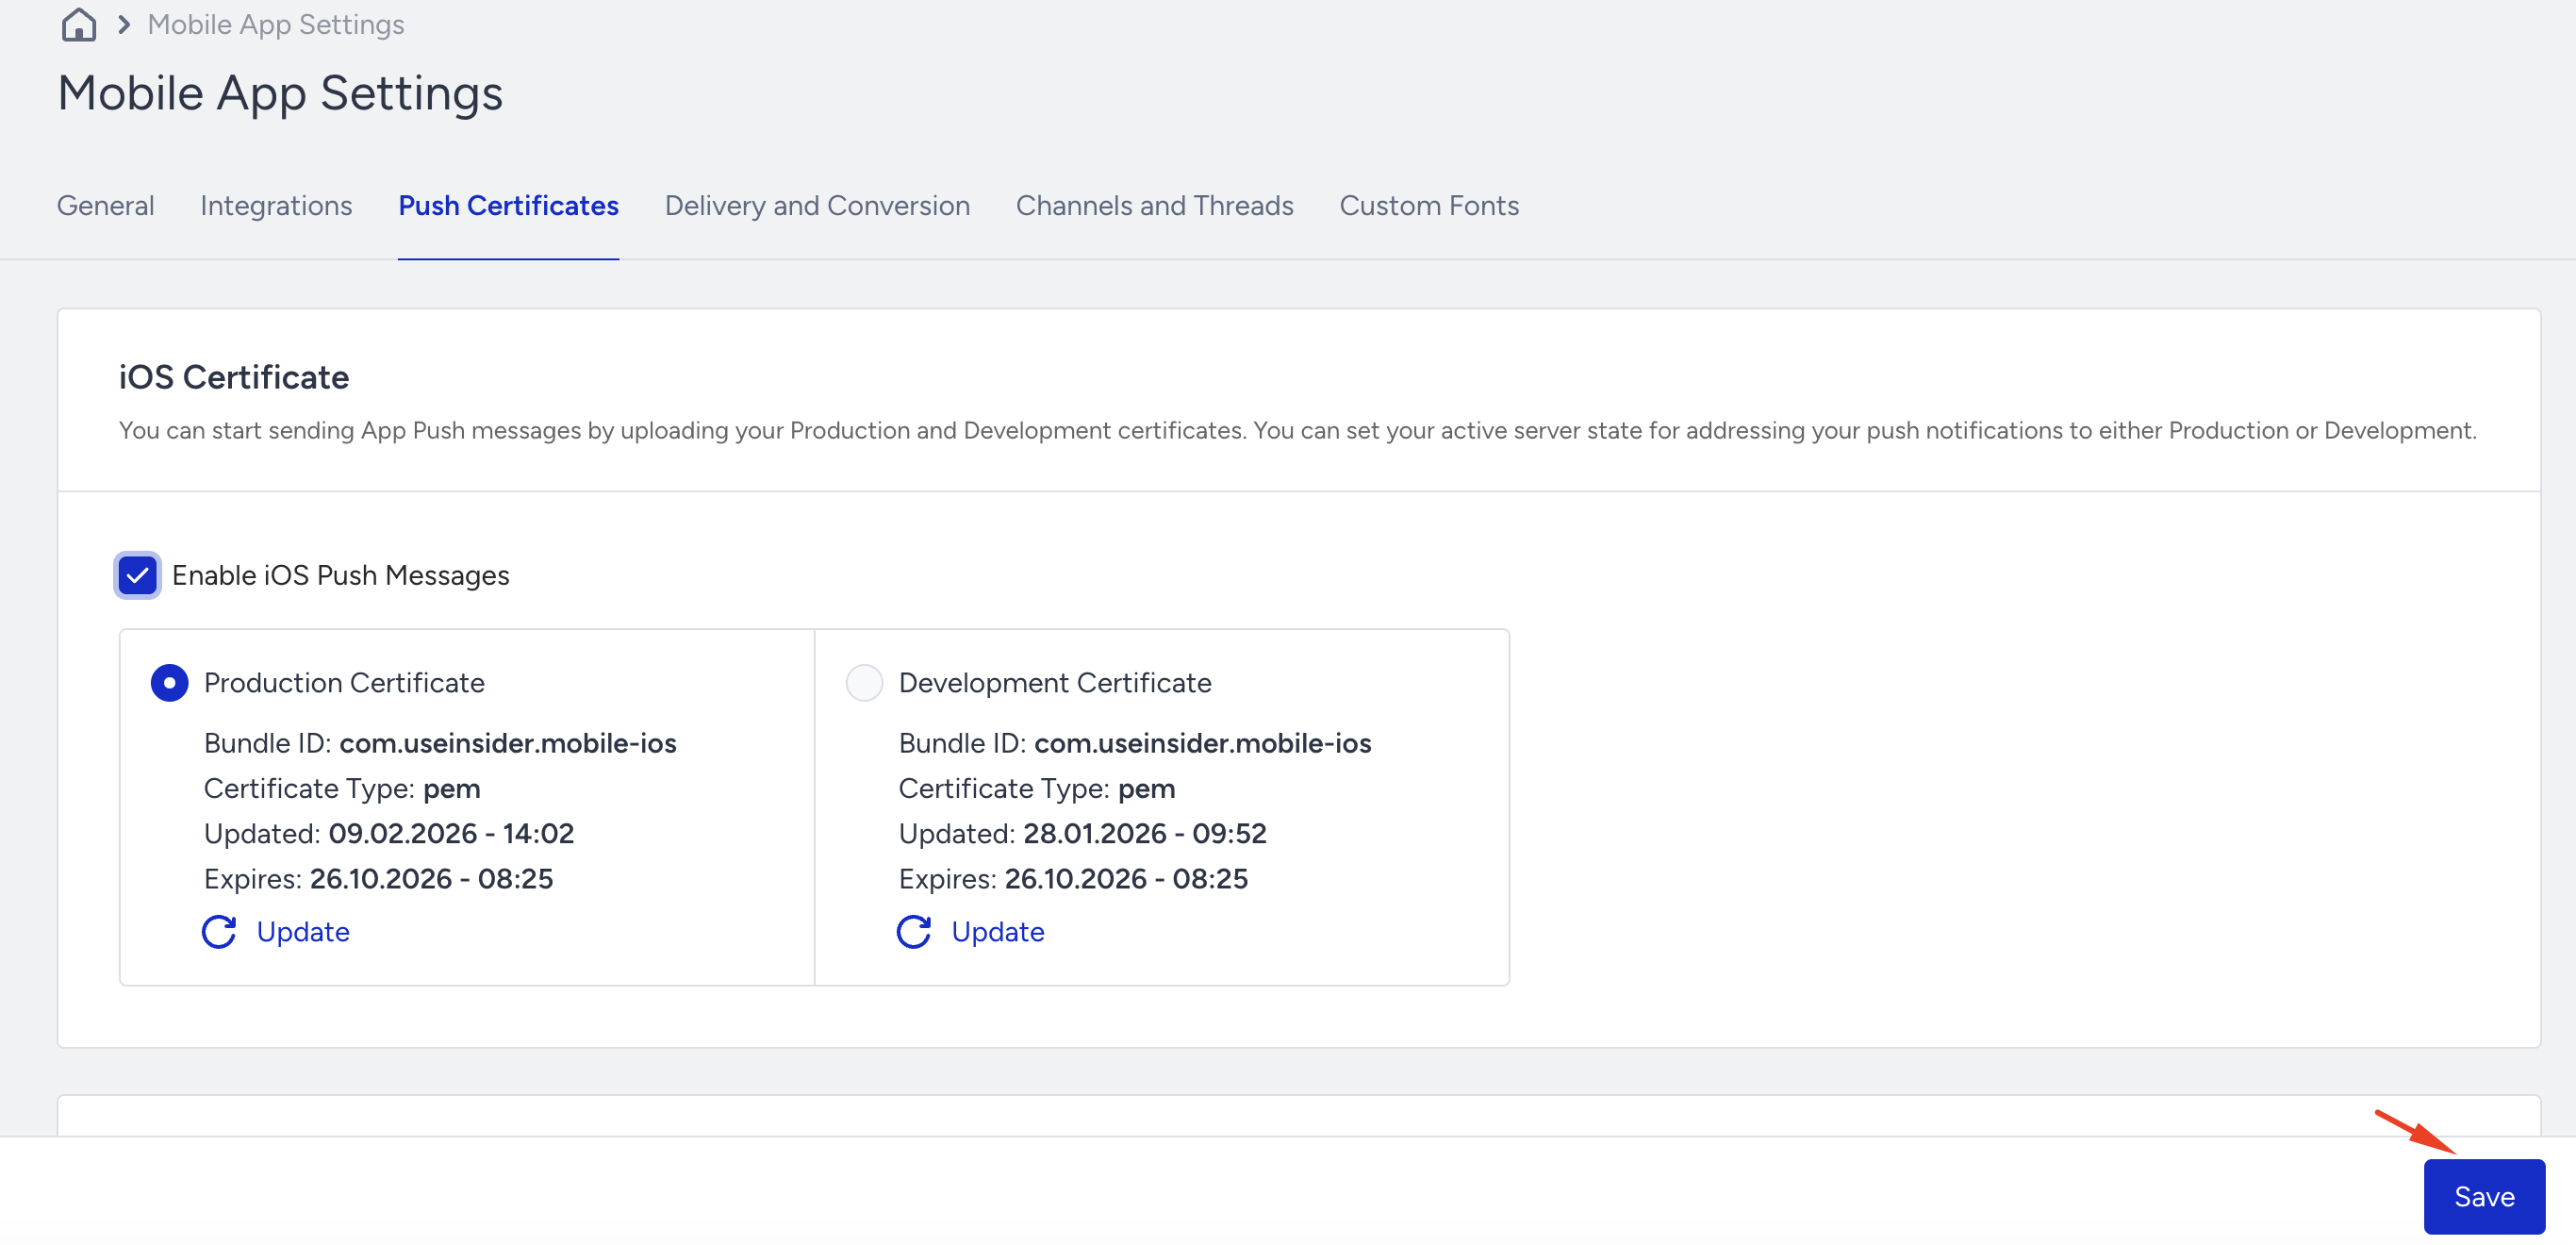
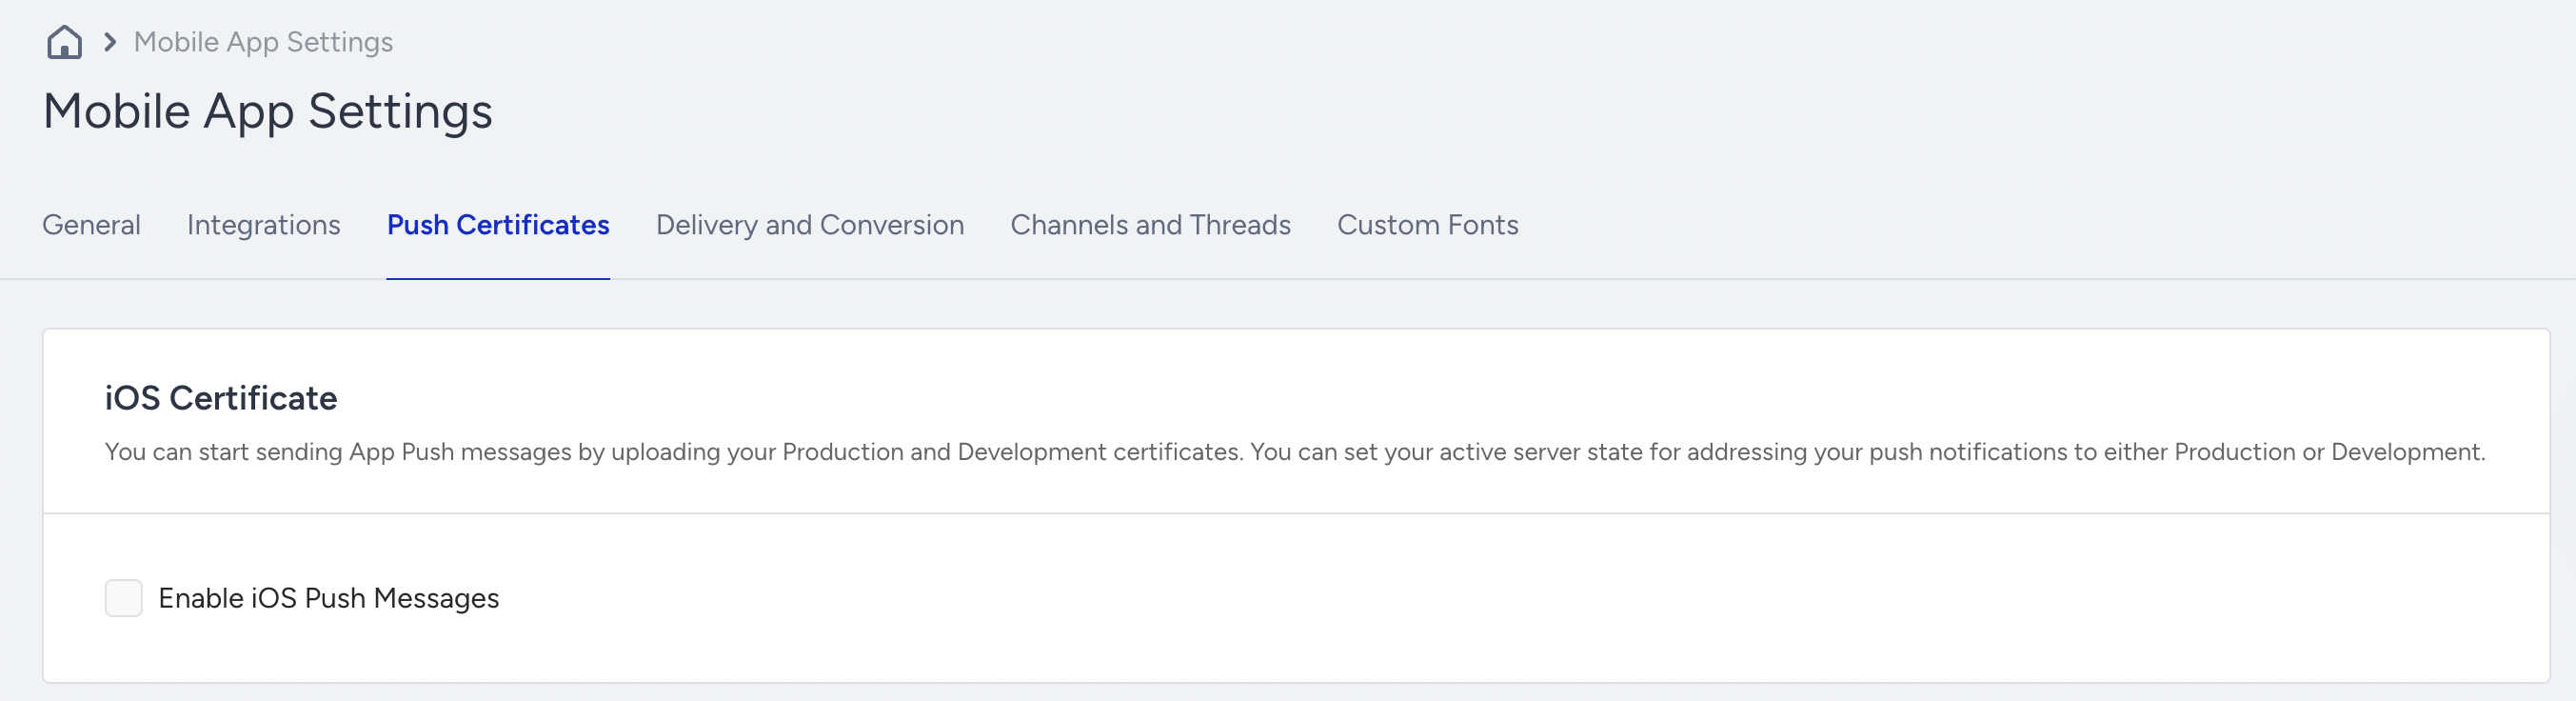
17. Go to Insider One's InOne panel and navigate to Settings > Mobile App Settings > Push Certificates.
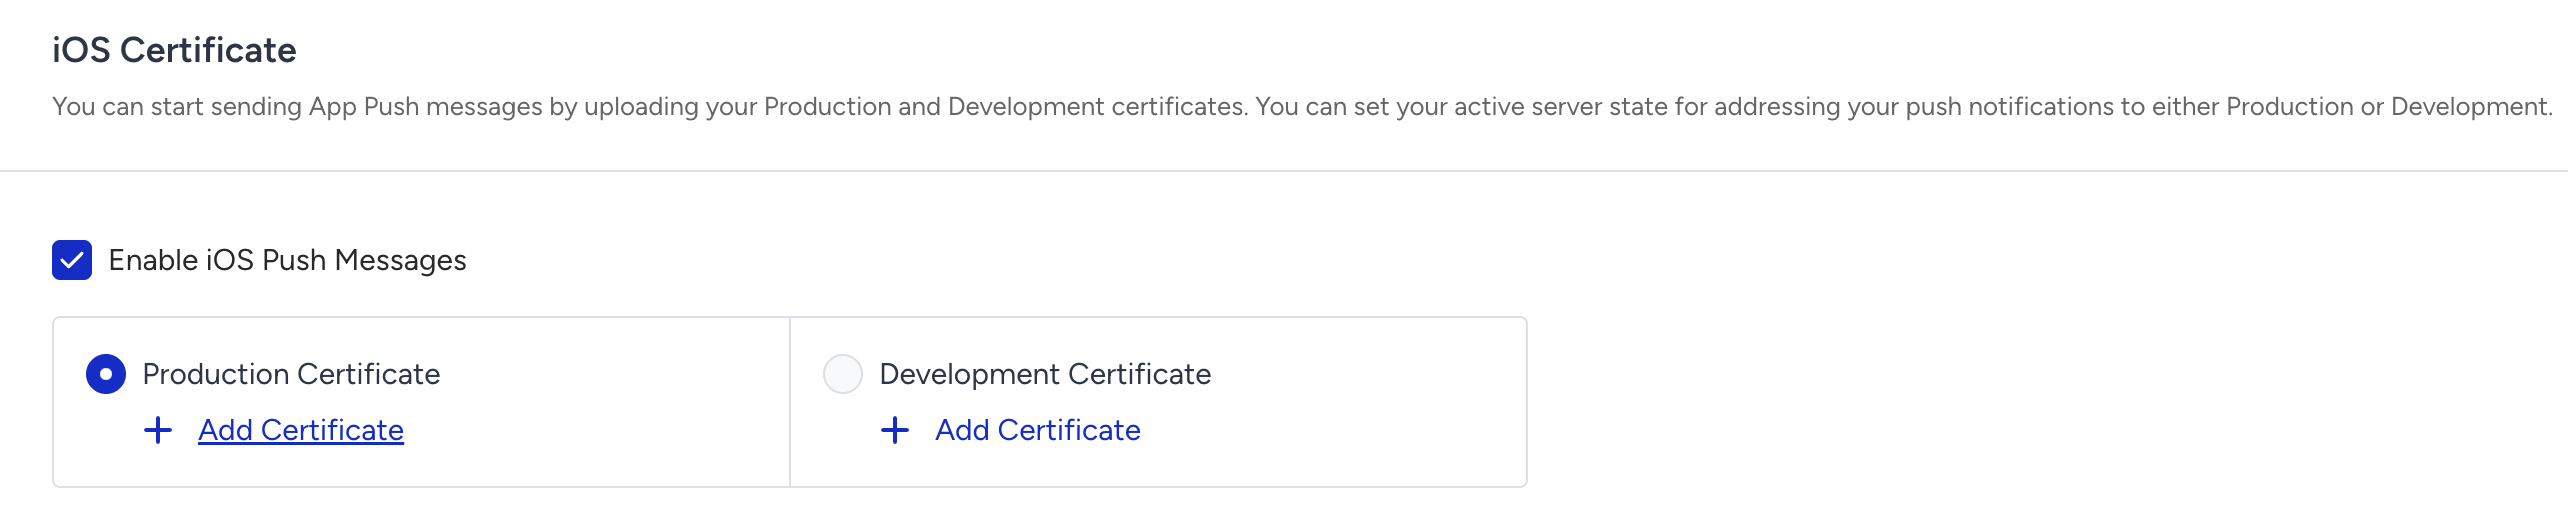
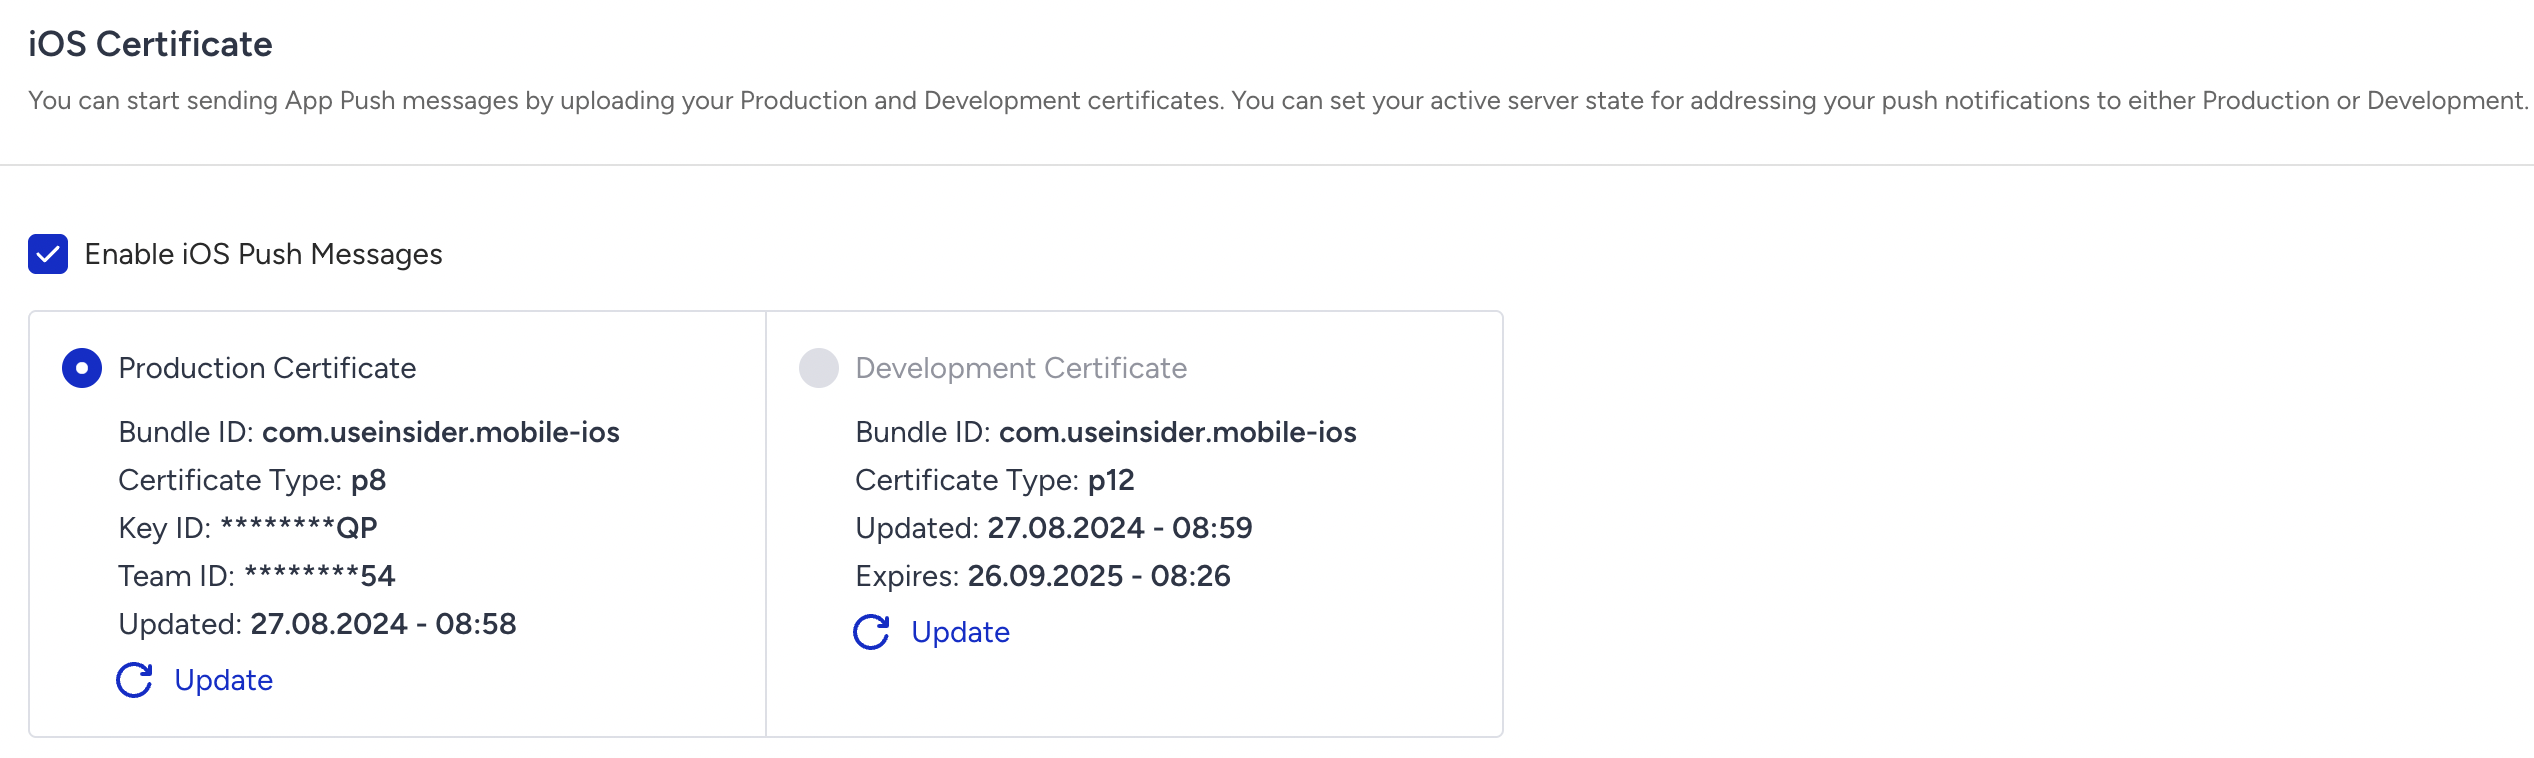
18. Check the Enable iOS Push Messages box.
19. Upload your certificate for production & development environments.
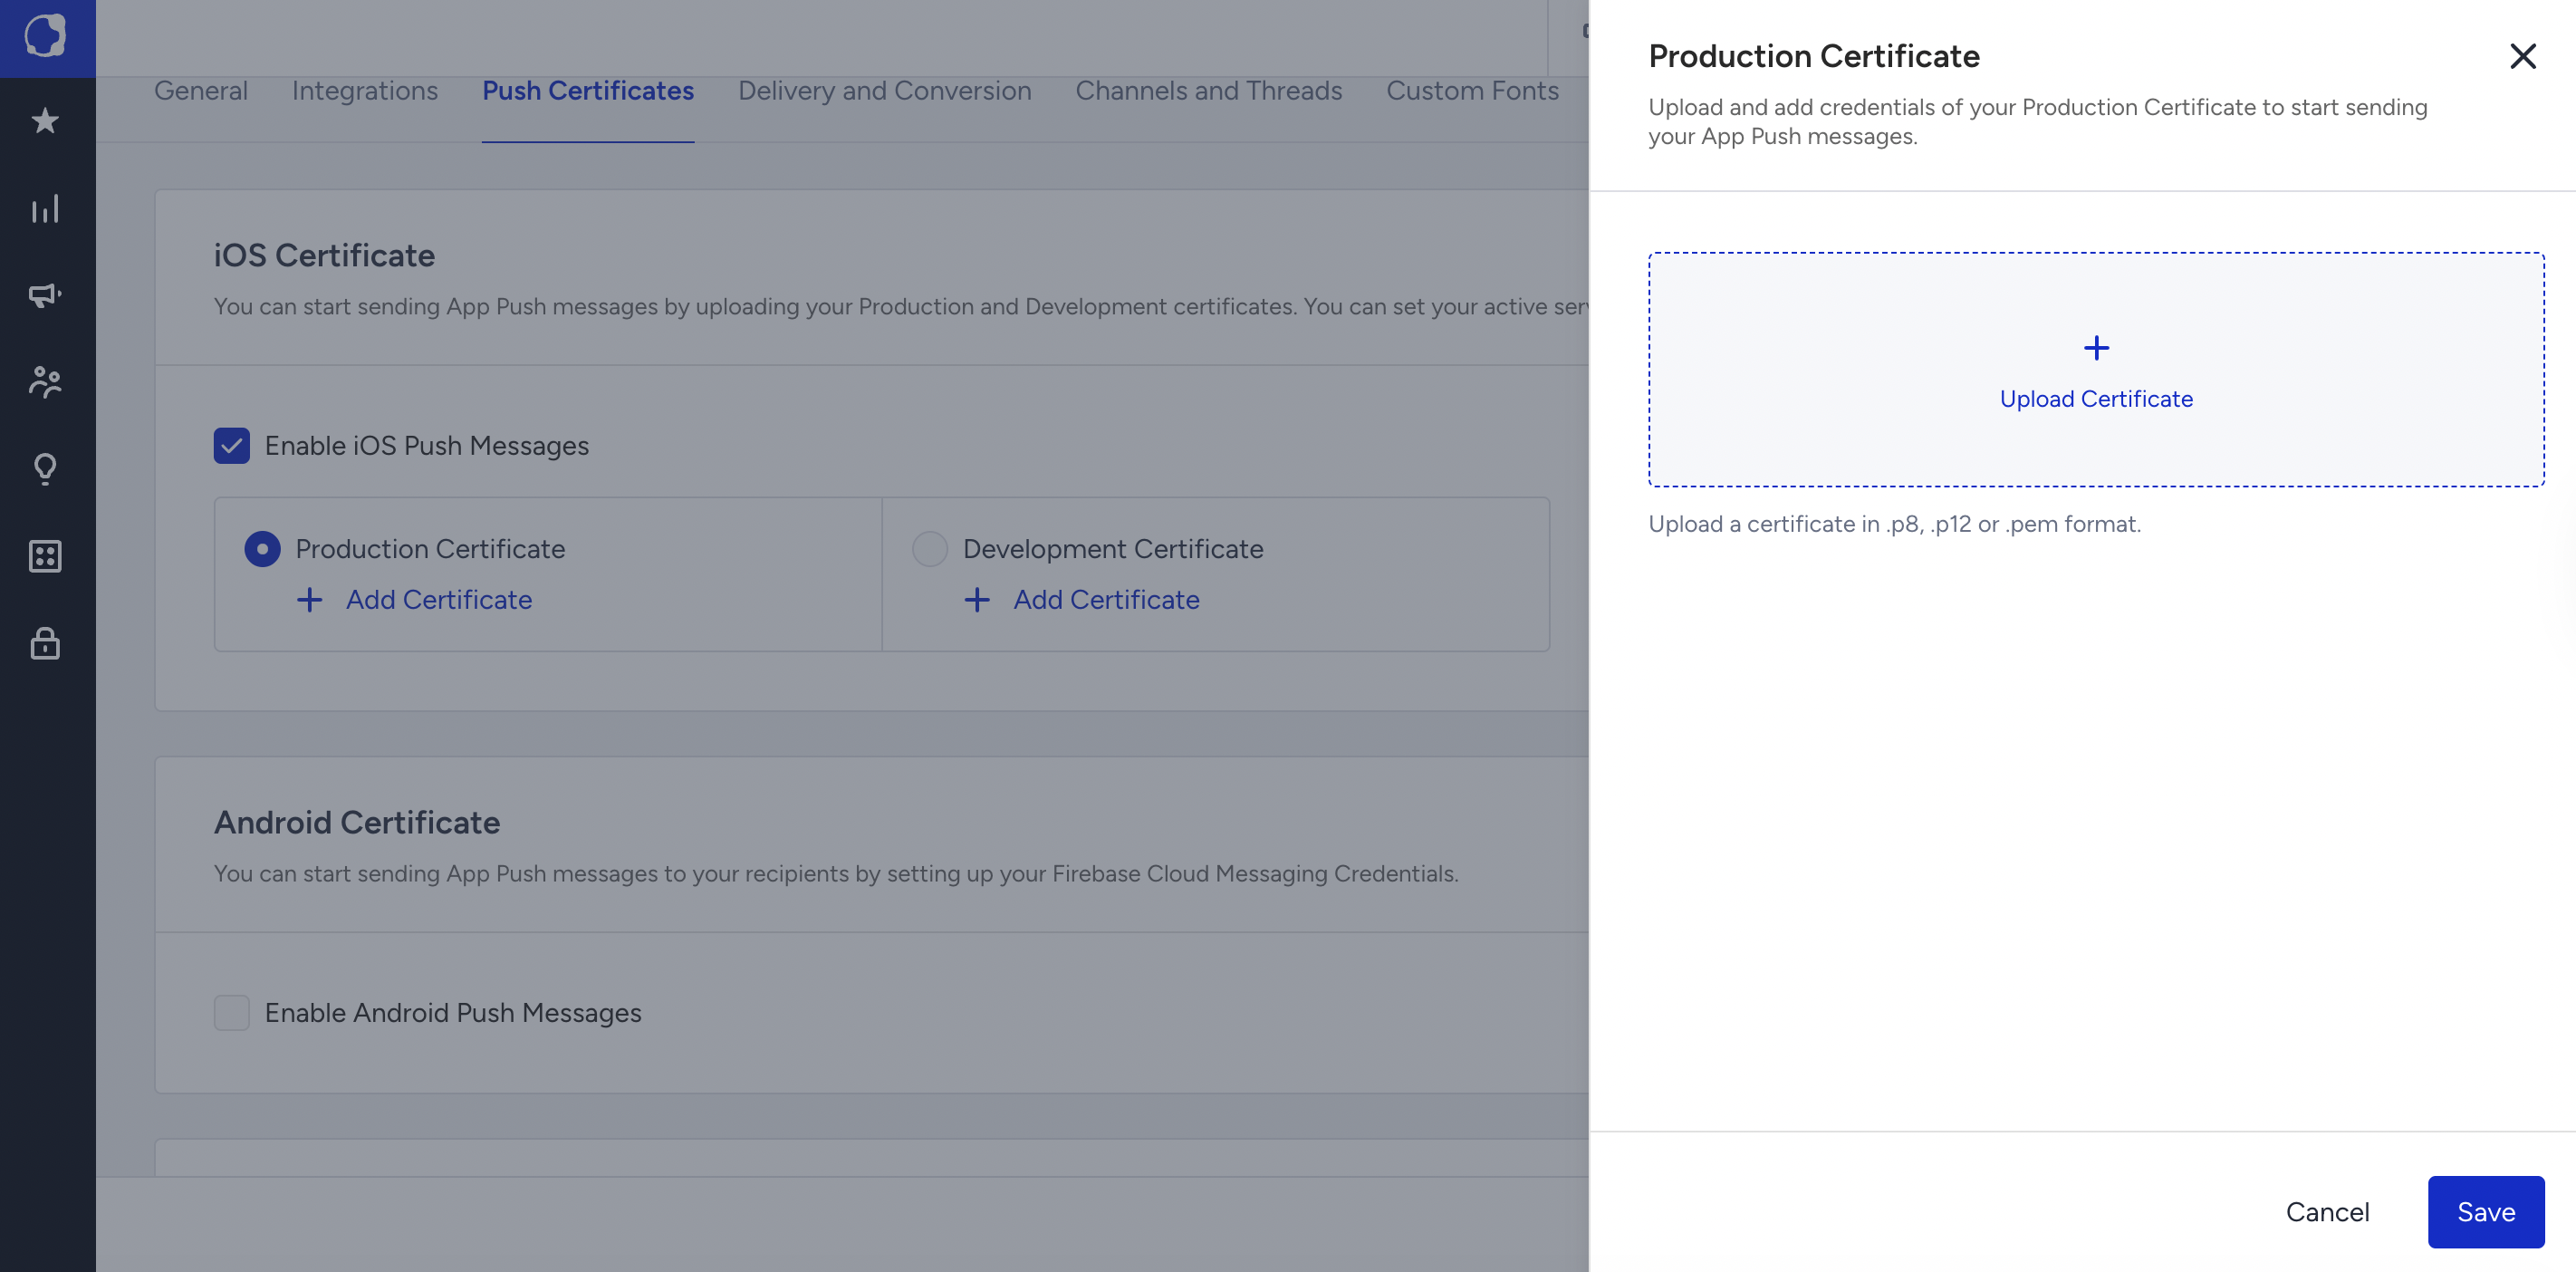
20. Enter the requested input(s).
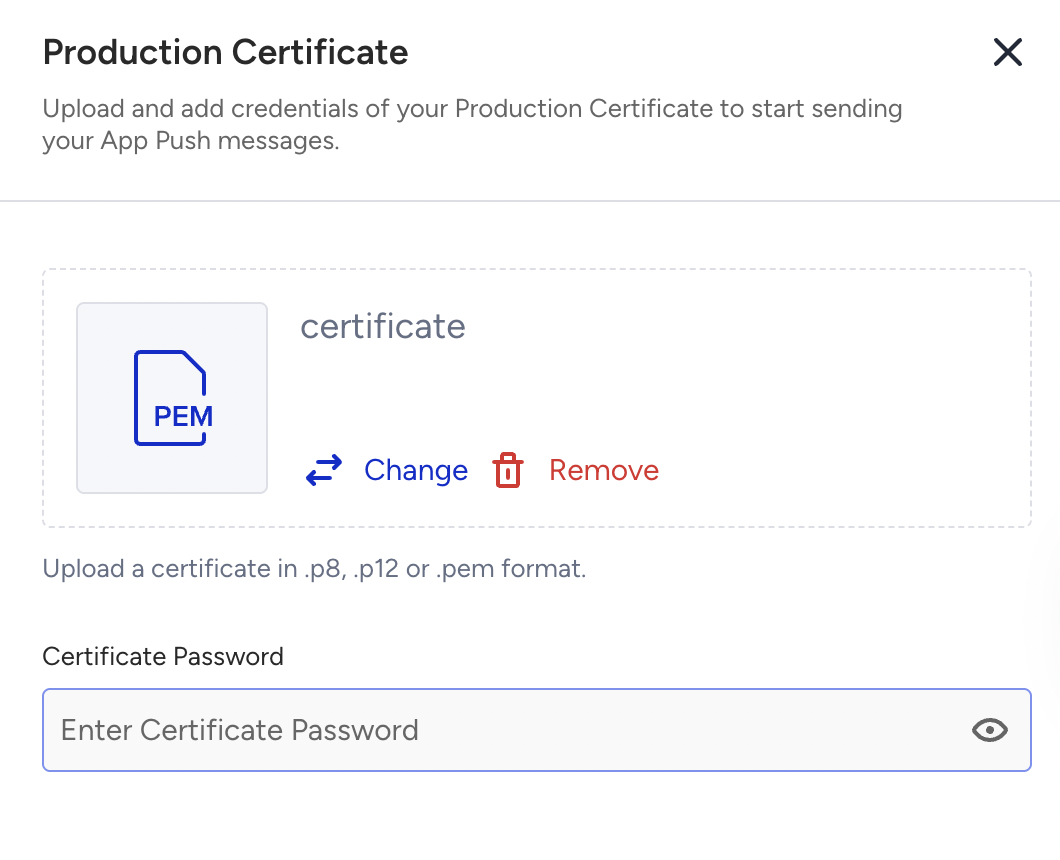
21. After you upload your certificate, it should look as follows:
22. Click the Save button at the bottom of the page to save your changes. Otherwise, the progress will be lost.