Just as you can customize the look and feel of your templates, you can also customize their position depending on the page(s) on which you want to display your campaign.
Select an element
When you choose an inline web template, you'll append it to an element in the Action Builder. Selecting the correct element is crucial for displaying your campaign effectively and reaching your users more efficiently. In the Preview step, click the OK button and select an element to append to your campaign.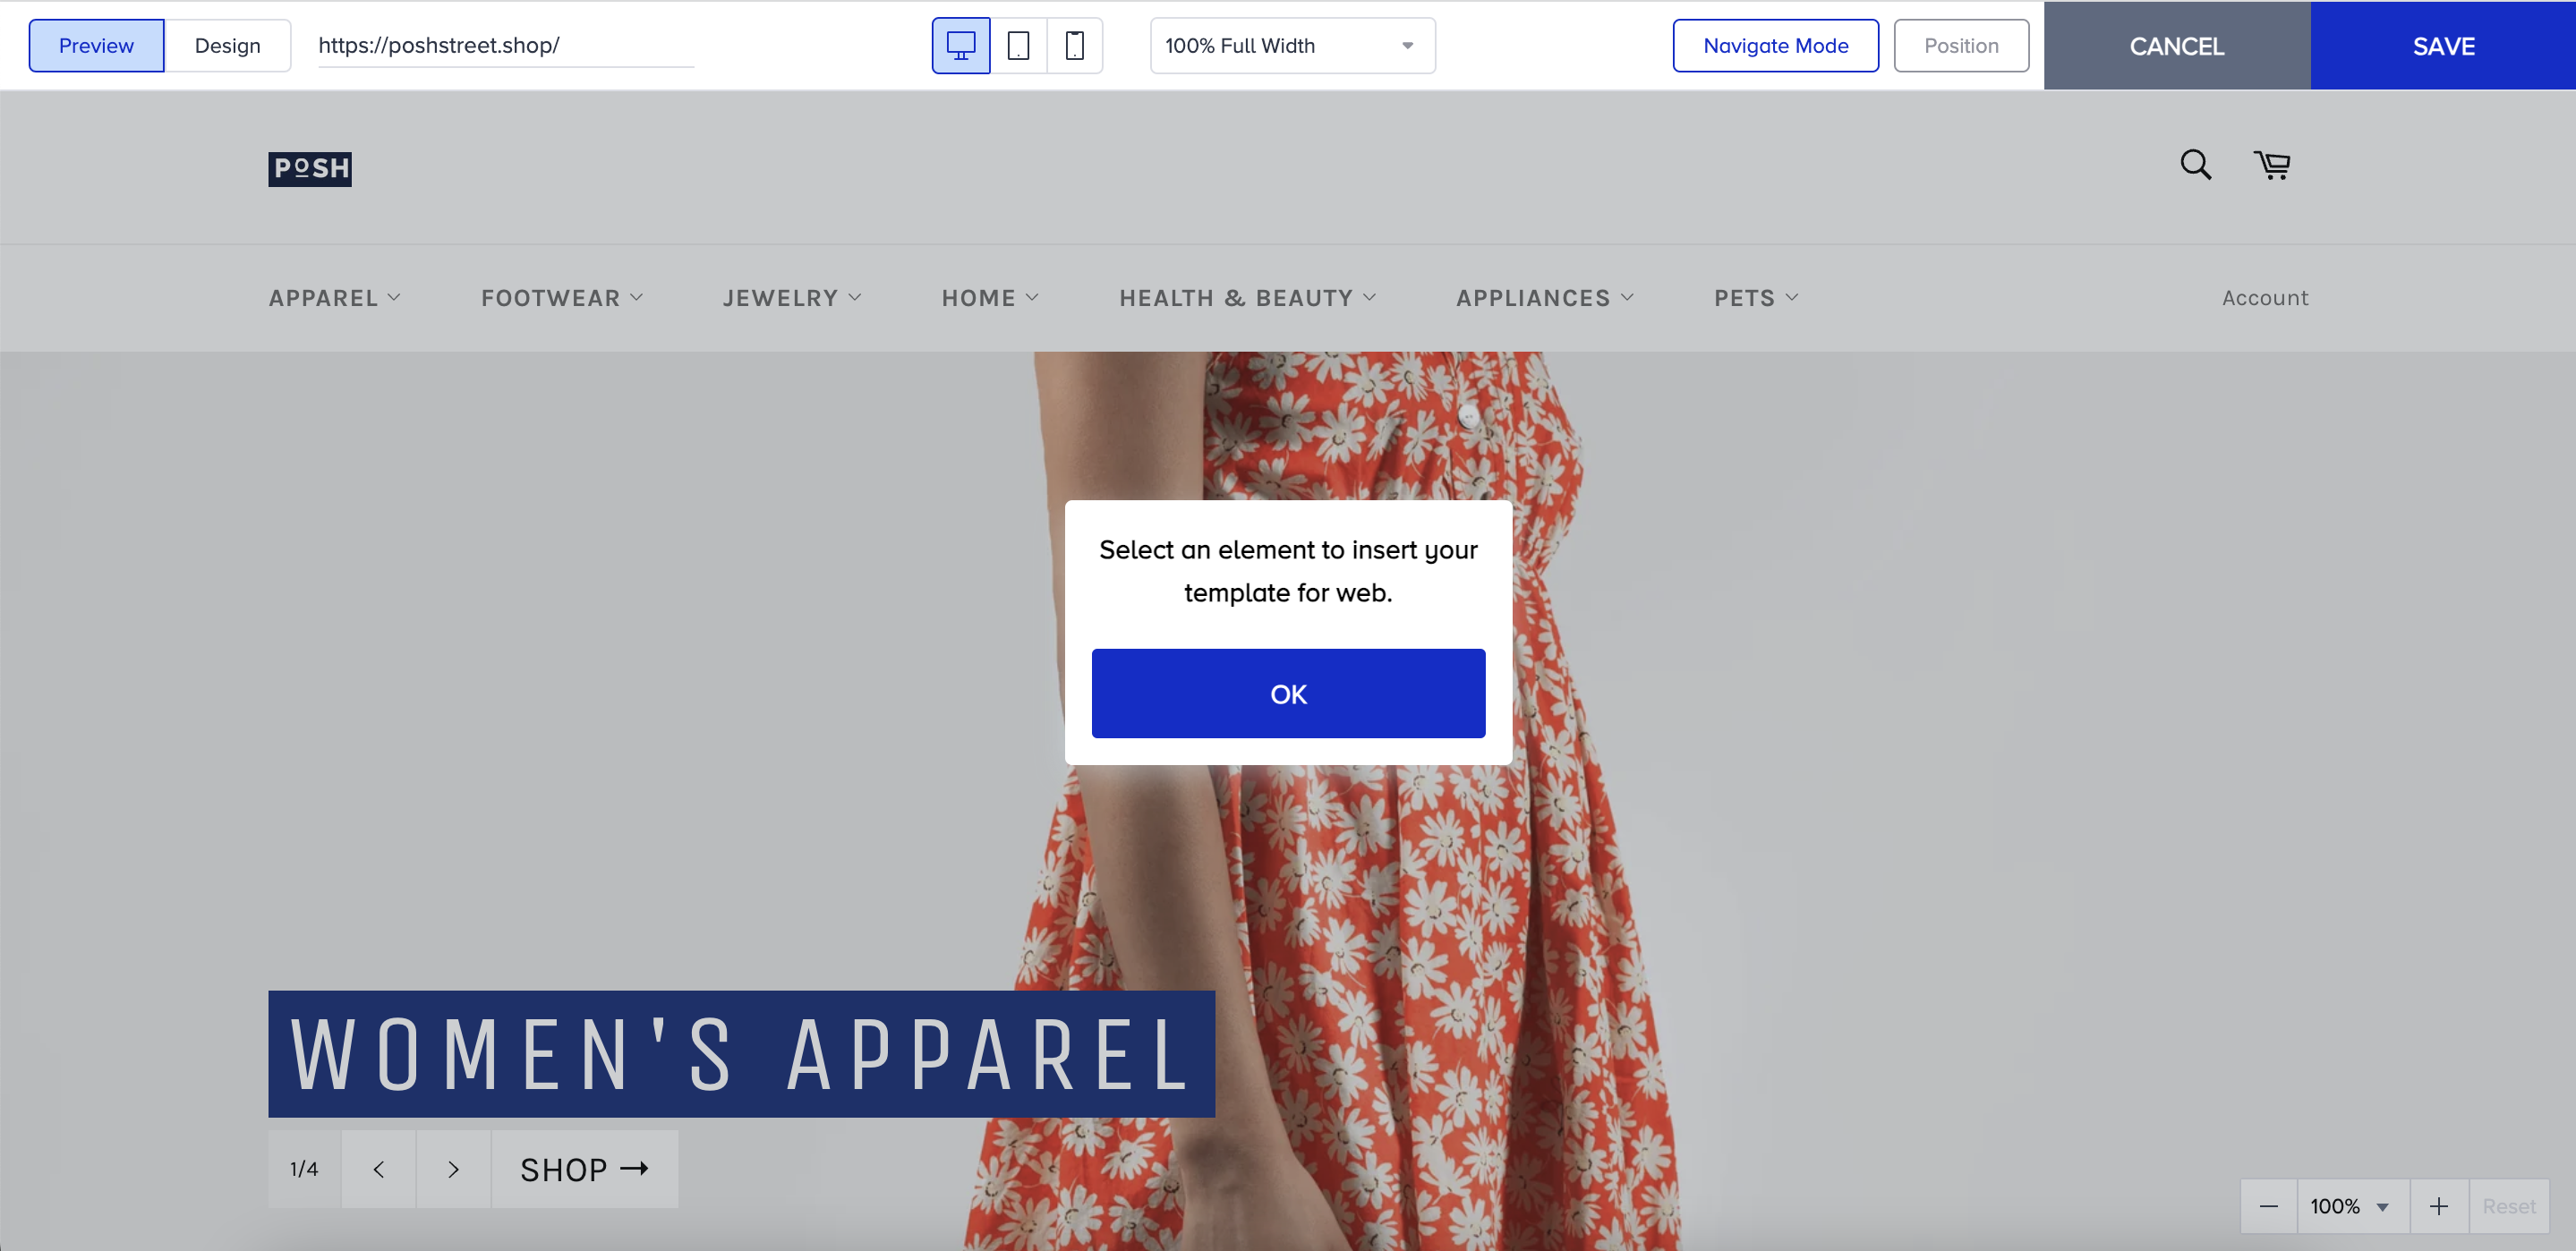
You can refer to the video below to follow the necessary steps while appending an inline template:
If this video does not load in your region, you can watch it on our YouTube Channel.
The Set Exact Location feature
The Set Exact Location feature lets you select the correct position to add templates or elements in Action Builder. You can easily target the correct position when appending your template. This reduces the tendency to add new custom rules when adding new elements or positioning templates.
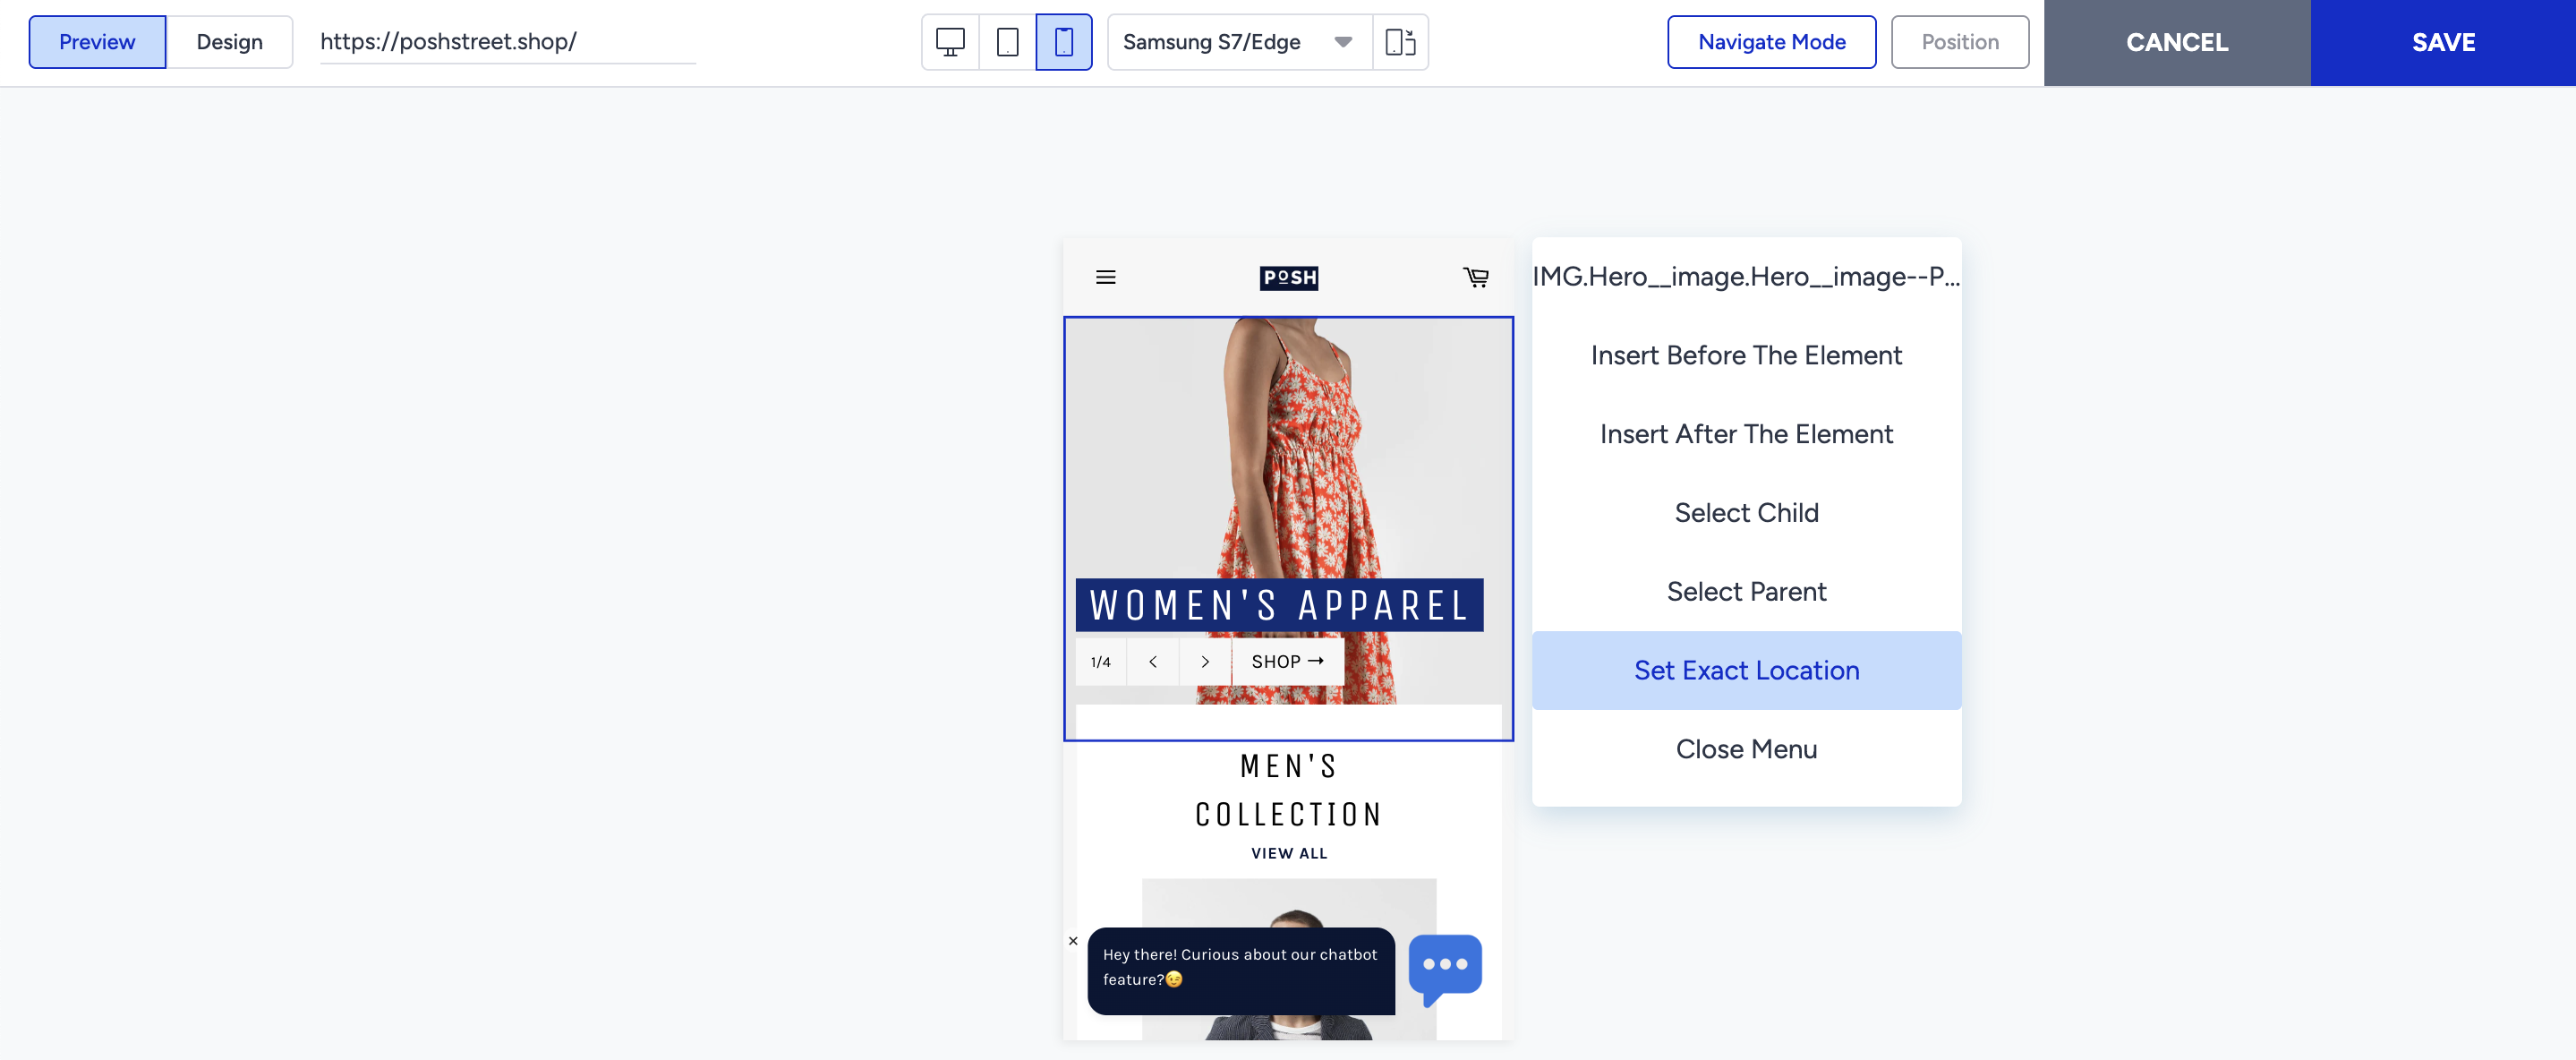
Click the right after creating a campaign and selecting an inline template in Action Builder. Then, select the Set Exact Location option.
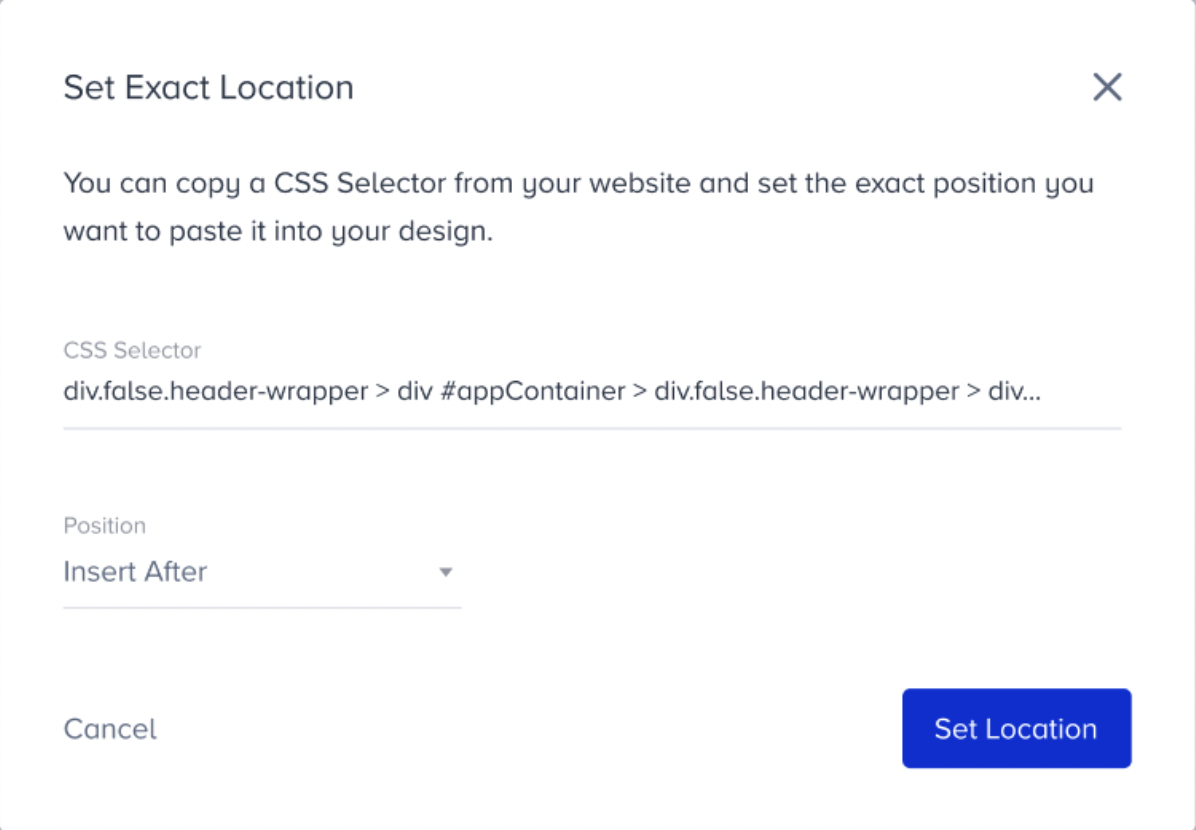
You will see the Settings menu open. The CSS Selector part is filled with the element you select automatically. You can write your selector here and choose where to add this element with four options: append, prepend, before, and after.
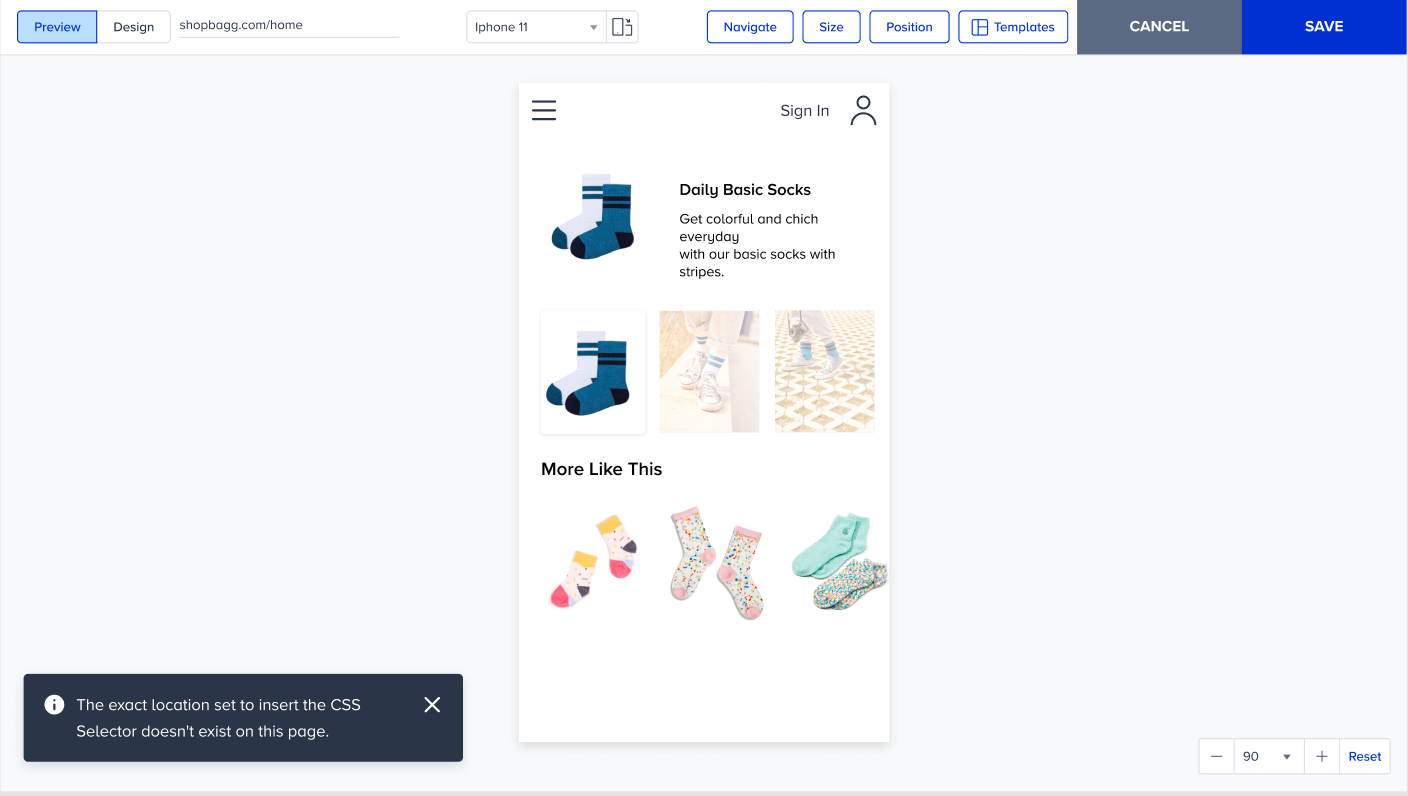
If you see the warning message below, it means the selector is not valid.
.png)
To save the selector, click the Set Location button. The element will be added to the selected position.