An email campaign consists of the following steps:
First, you should navigate to the Email product.
Navigating to Email
1. Go to Experience > Message > Email to go to the Email campaigns page.

2. To create an email campaign, click the Create button and follow these steps.
3. Once you create your campaign, you can configure the Recipients, Design, and Launch steps.
Recipients
This tab helps you configure the following details of your recipients:
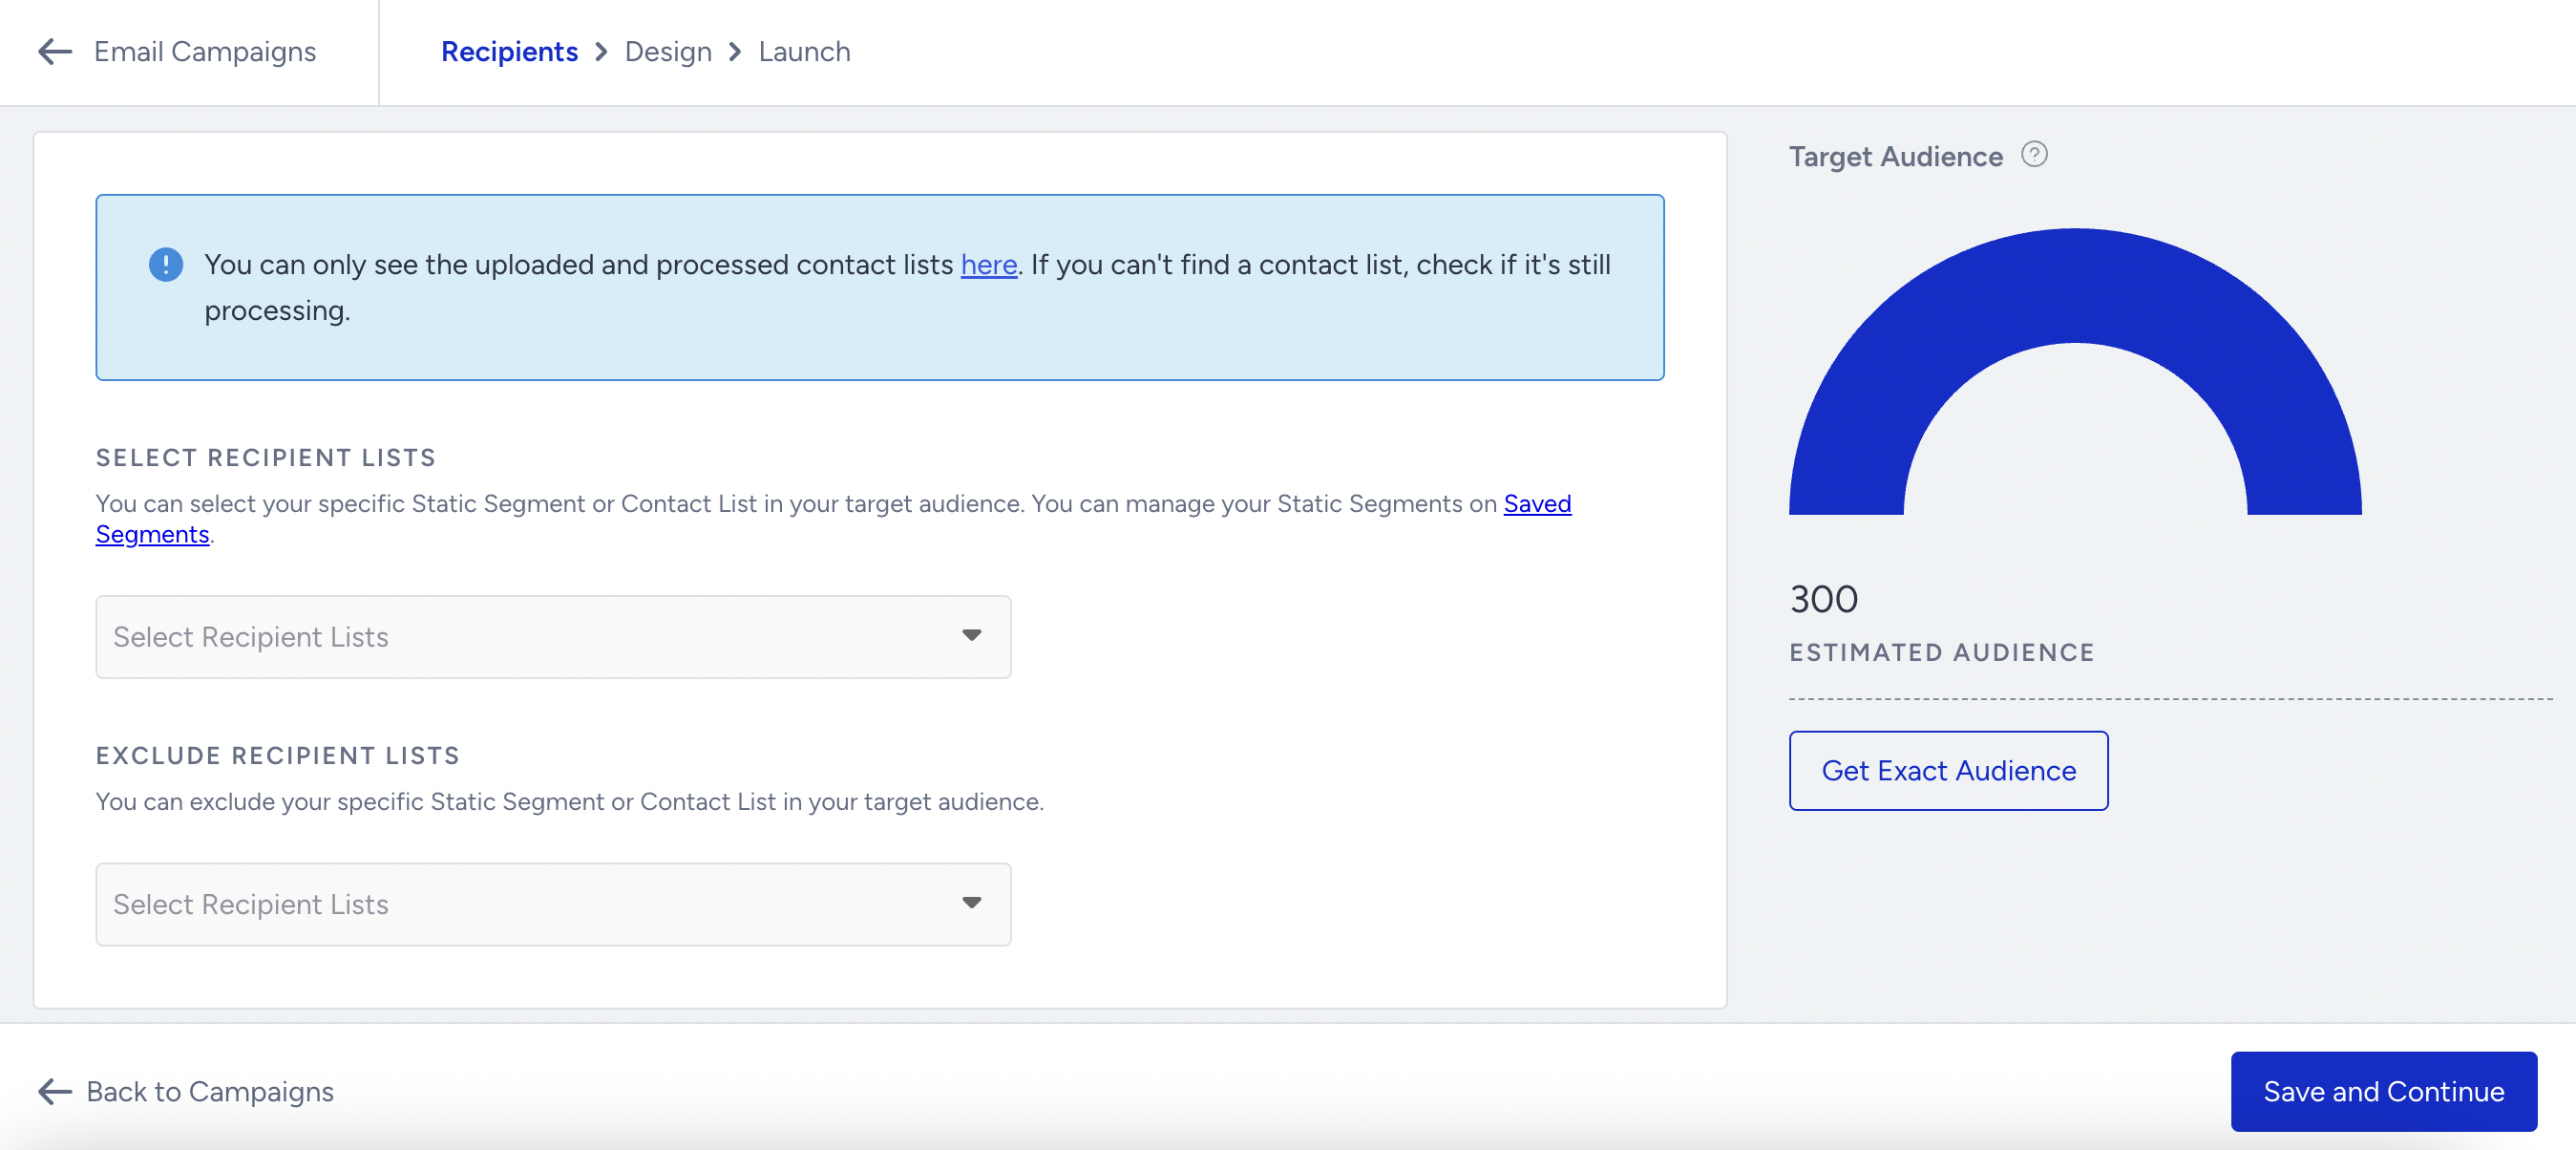
Include/Exclude Recipients
Include/exclude recipients with the contact list(s) and static segments to decide who will or will not receive the respective email campaign.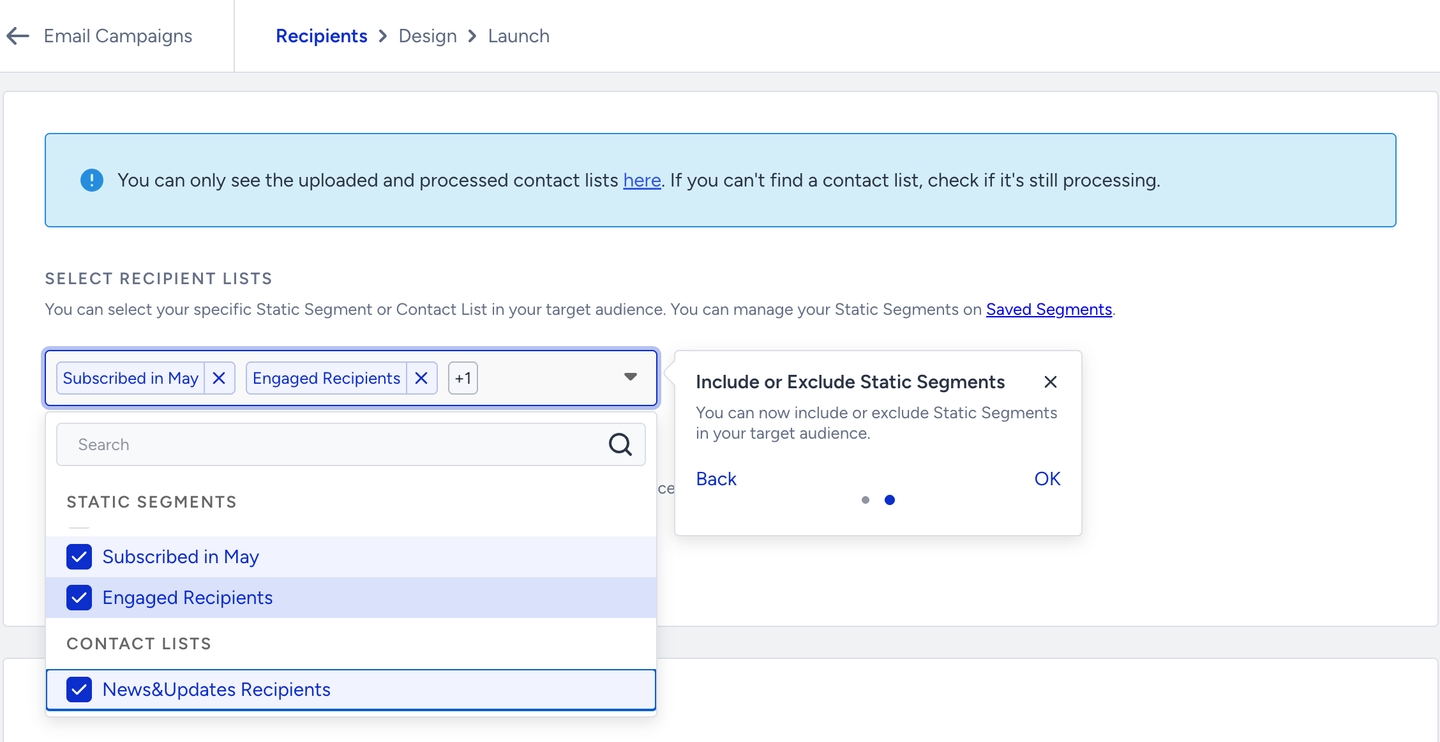
Target Audience
You can see the target, estimated, and exact audience in your contact list(s) or static segments based on your segmentation, if any. Click the Get Exact Audience button to see the exact count of your recipients. Depending on your segment size, it might take a while to load.
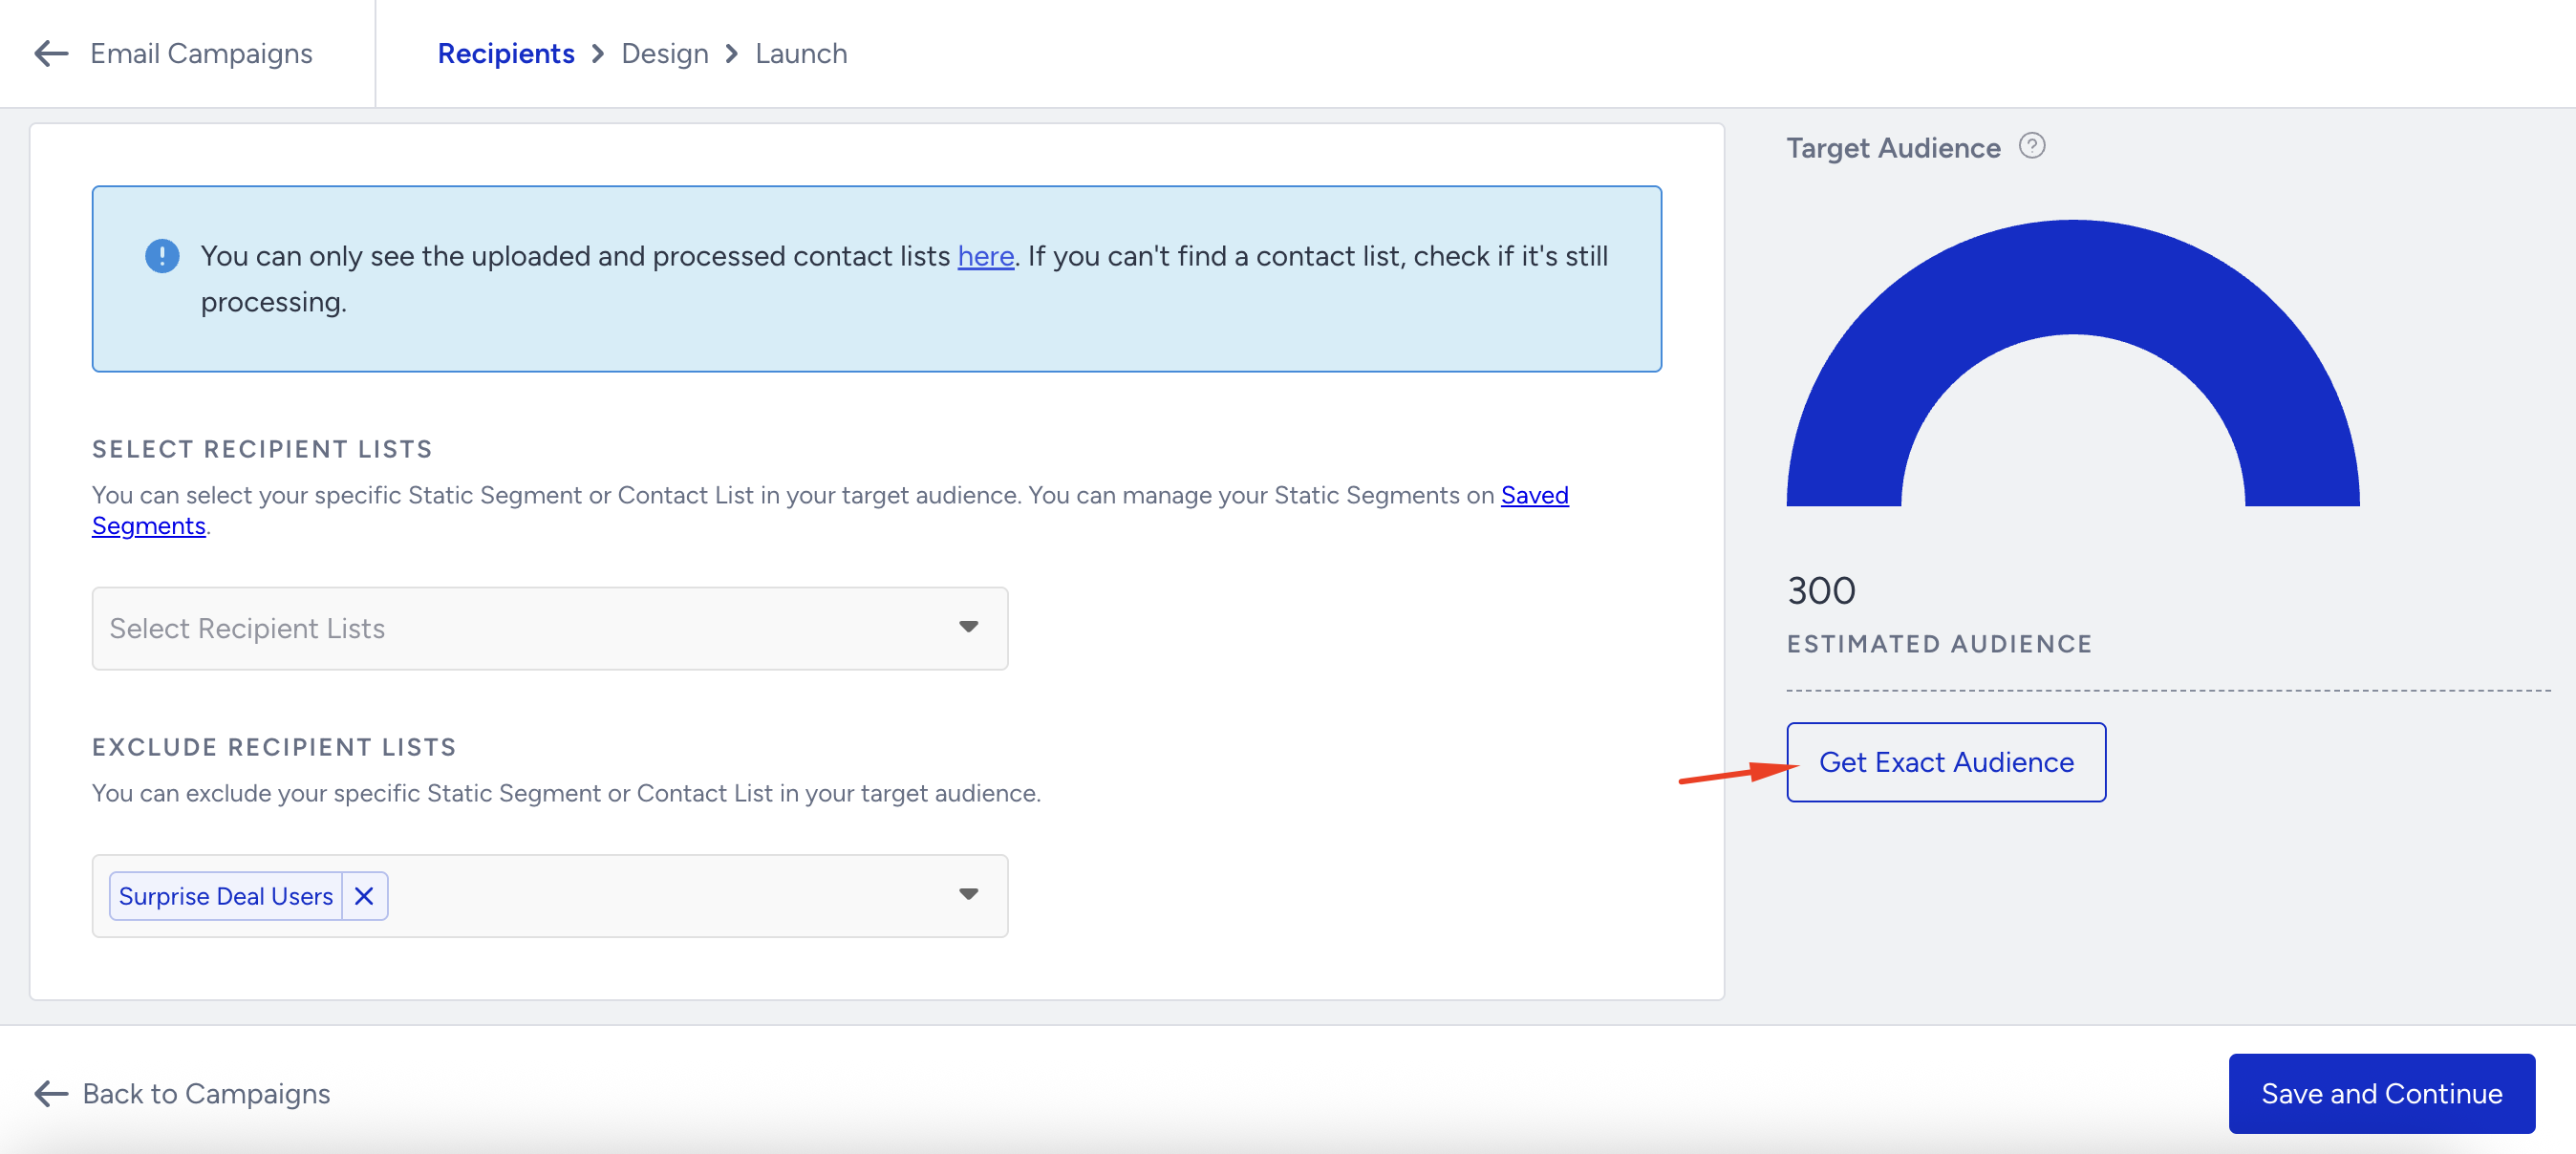
You can further segment your campaign by applying filters on top of this preselected audience.
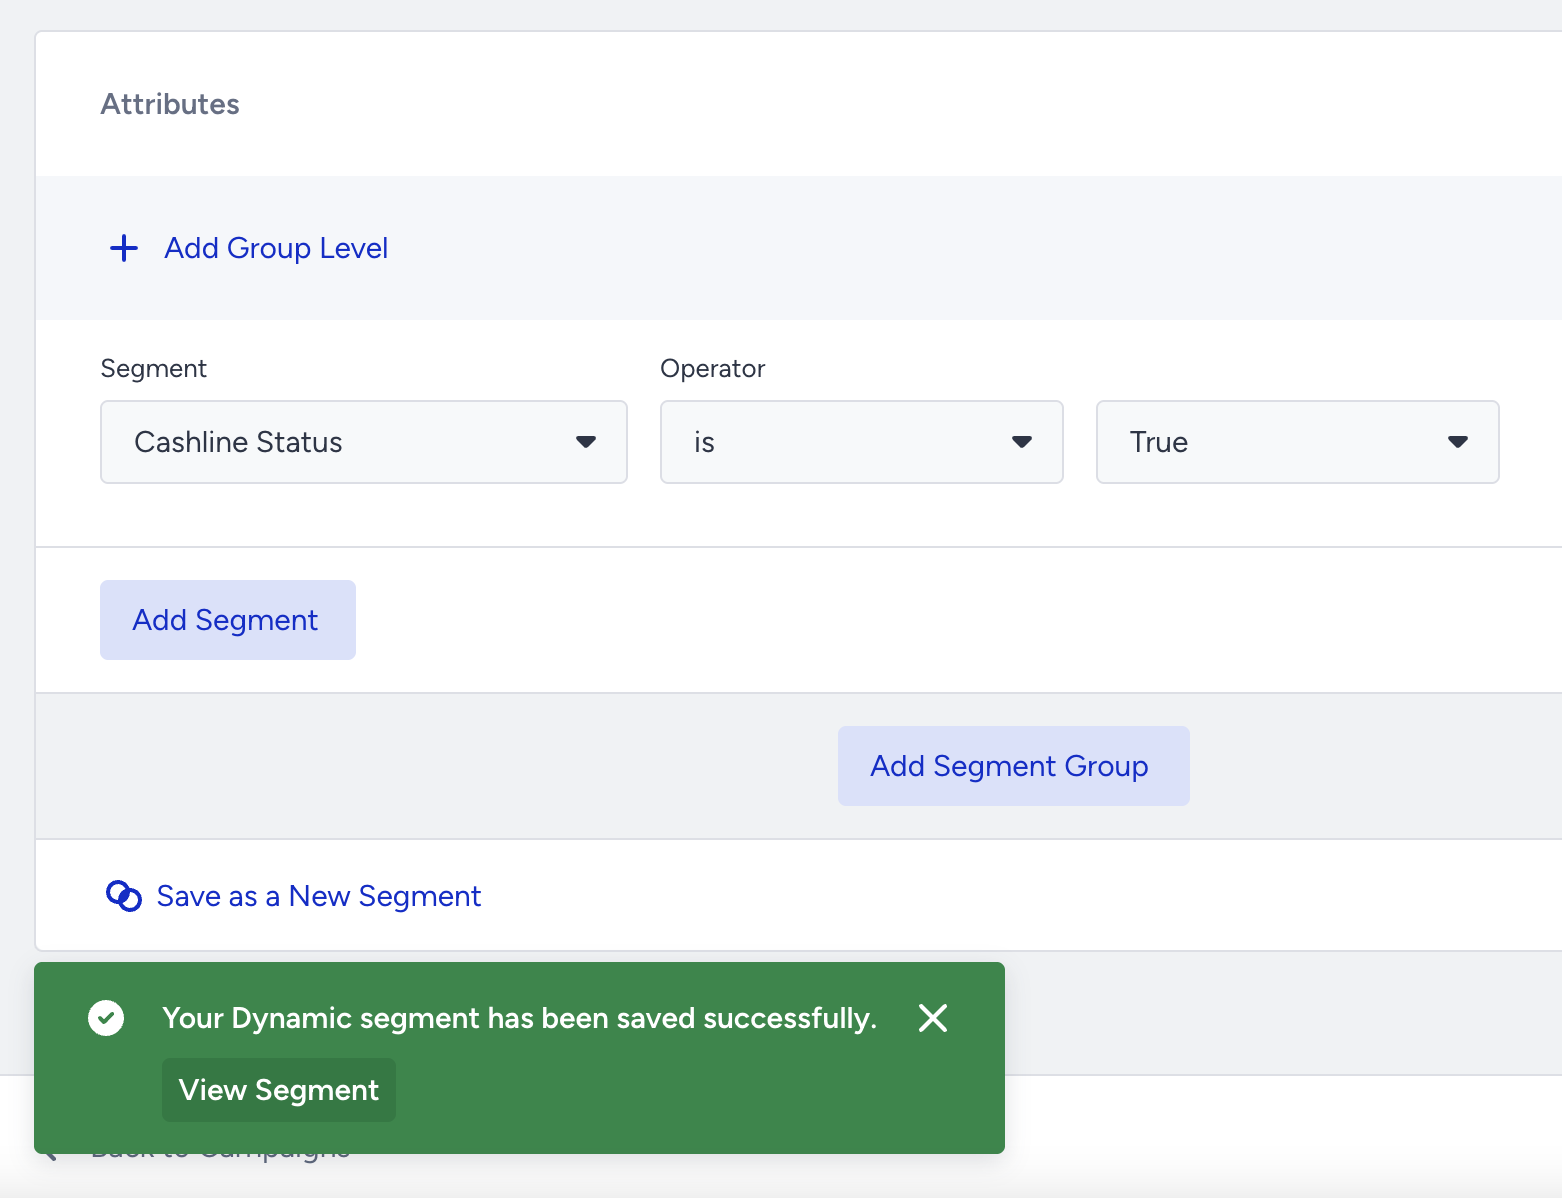
Add Segments
Add the segments based on which you want your email lists to be sent. For further details, refer to Email Segments. 
Once you create your segment, you can click the Save as New Segment button to save your current segmentation as a Dynamic Segment to apply and target users for your future campaigns.
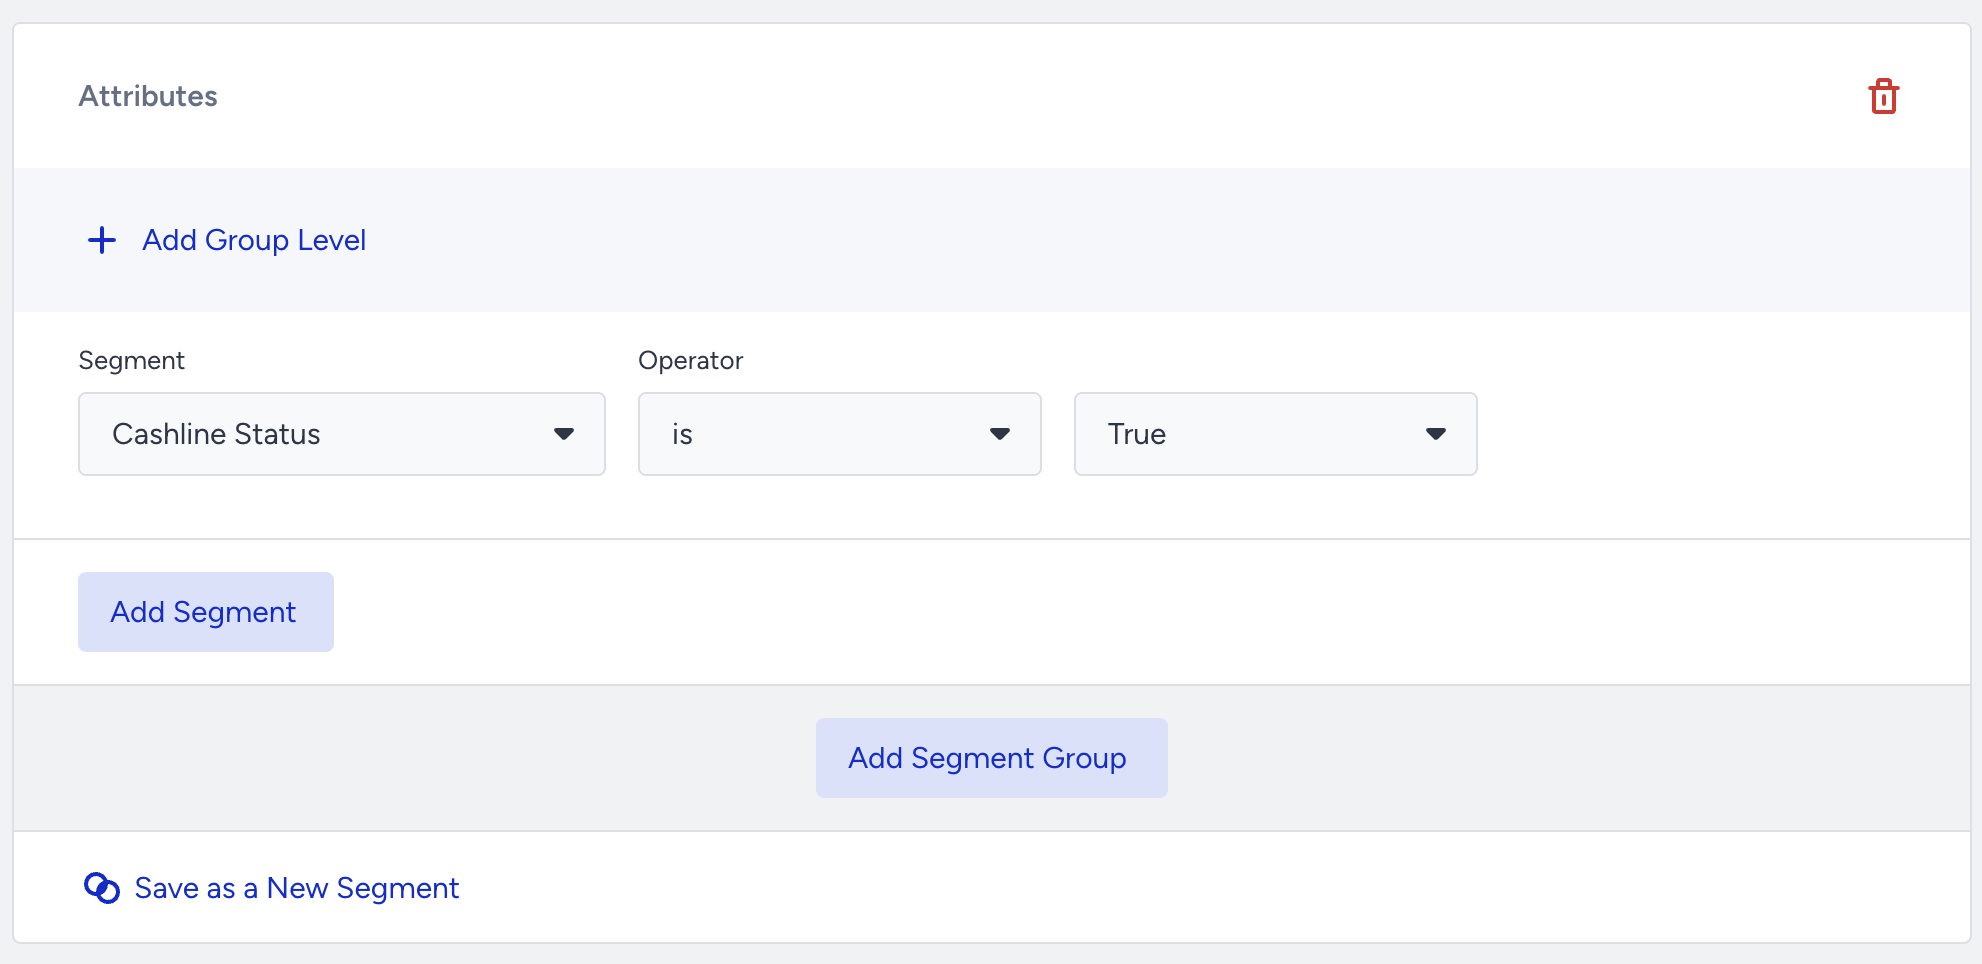
.png)
Click the Save and Continue button to proceed to the Design step.
Design

This step helps you configure the following details of your email campaign:
Add a New Variant
To add a new variant to your email campaign, refer to Experiment (A/B) Campaigns.
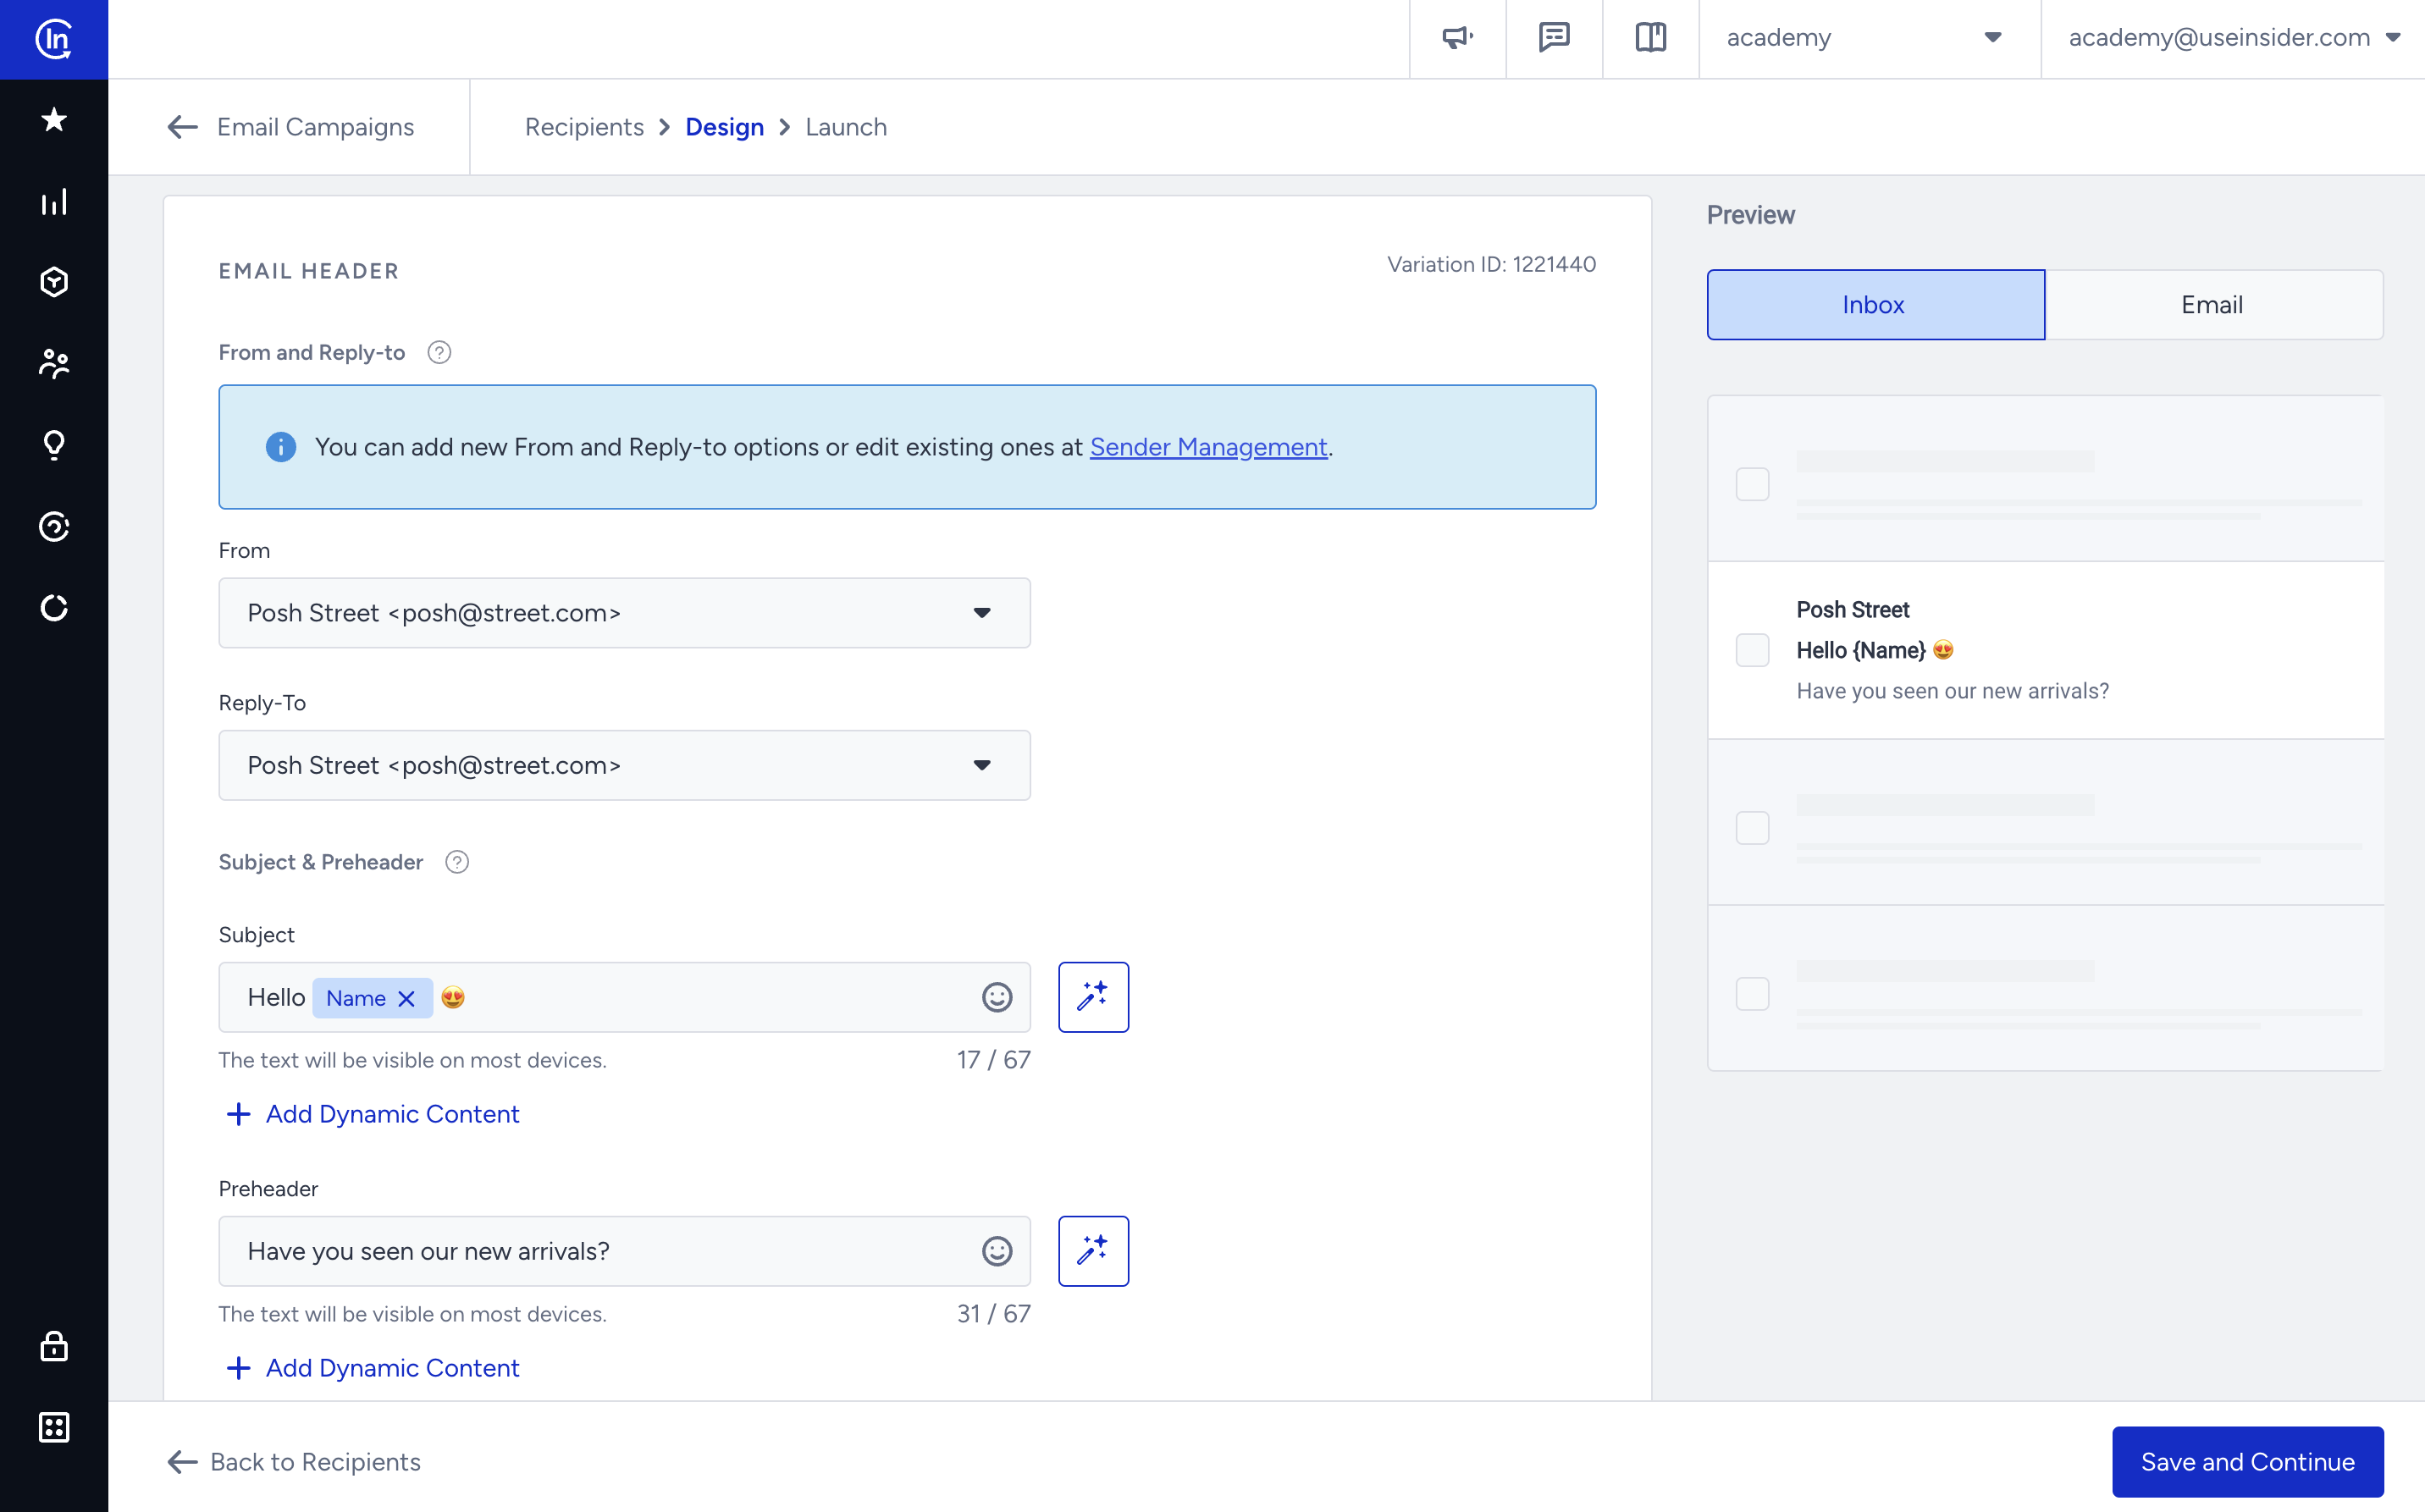
Set Email Header
Select your From and Reply-to email addresses. To add these options or edit the existing ones, refer to Sender Management.
Insider cannot receive the emails users send as replies to the reply-to email address. To receive the replies, you can register your customer service center email address and use it as the reply-to address.
Set Subject & Preheader
Enter your email subject and a summary message inside the preheader field.
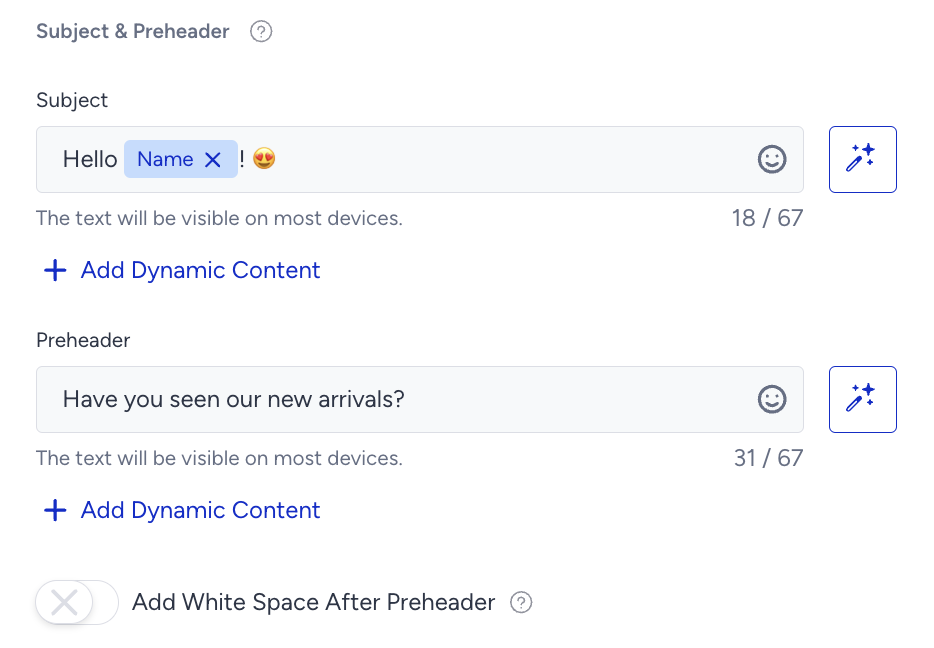
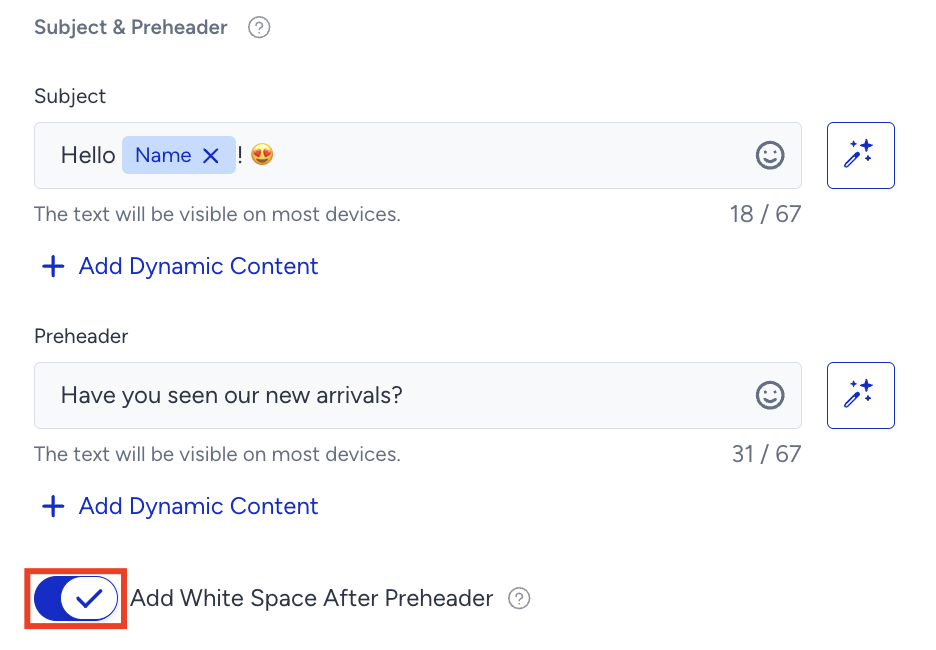
If you want to add white space after the preheader and prevent the email HTML text from appearing in the preheader, you can enable the Add White Space After Preheader toggle.
You can personalize the email subject and preheader with dynamic content (e.g., name, last name, gender, birthday, age, etc.). If a contact does not have any value for any attribute, you can enter a fallback text that will be displayed instead.
If you want to be inspired or need assistance when creating your subject and preheader, you can always use the Generate Text option.

To use an AI-generated text:
1. Click the Generate Text button to see the side modal.
2. Enter a prompt you want to generate text about.
3. The language option will be the default selected language of your panel.
4. Select your industry and use case to define the context for the text to be generated.
5. Click the Generate Copy button.

If you want to include emojis in your copy, you can check the "Include Emojis" box.
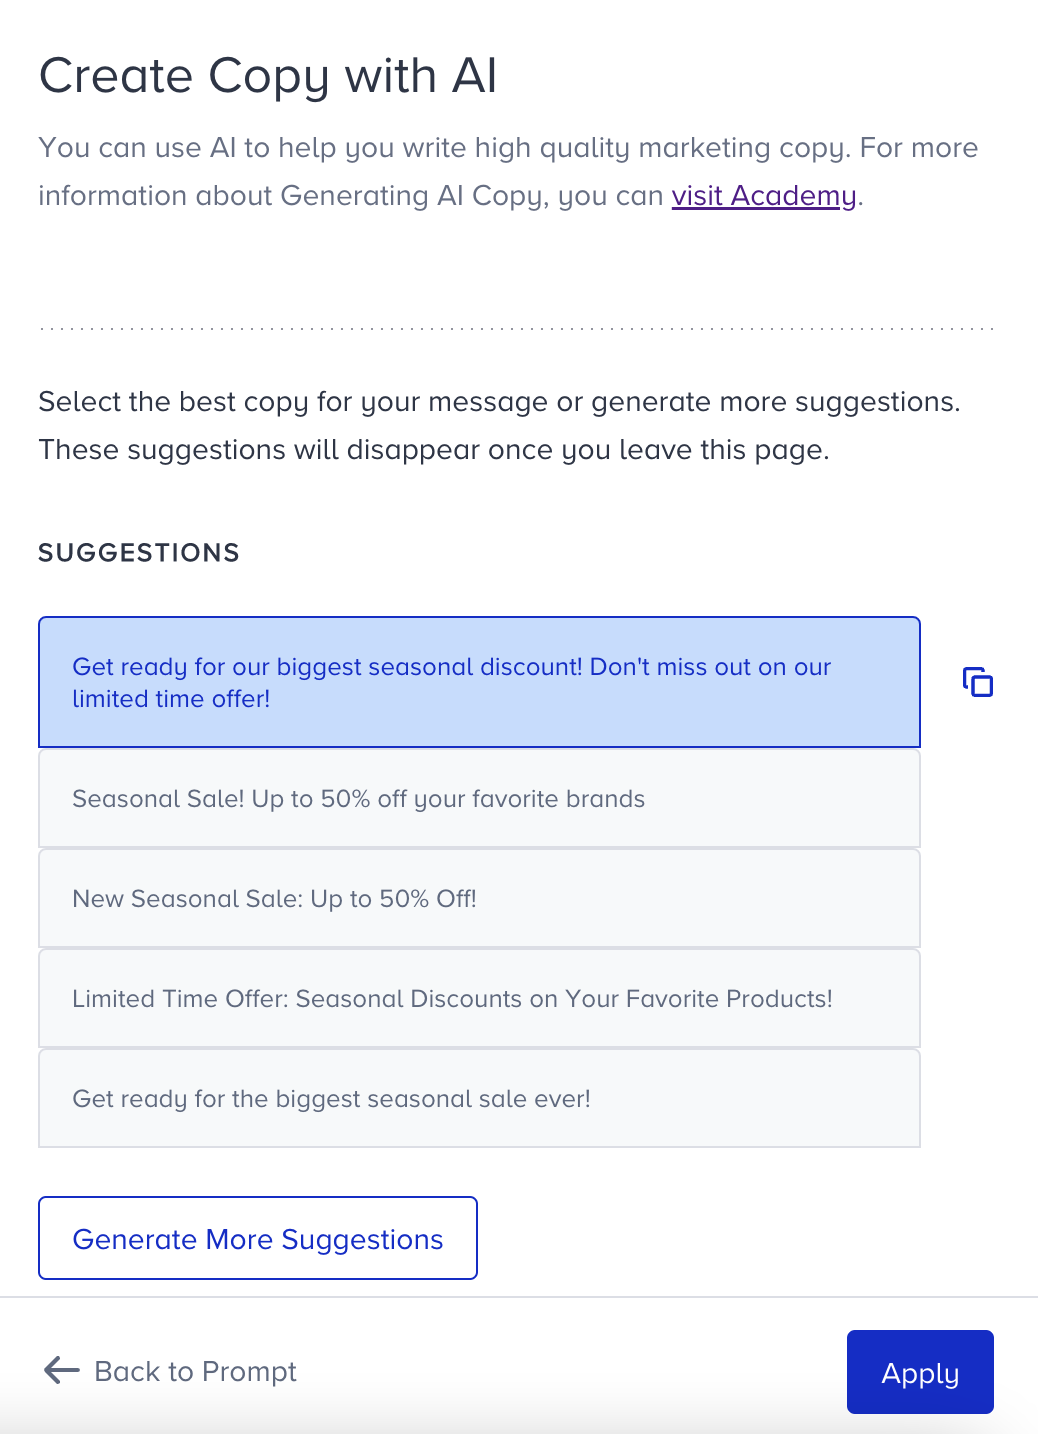
The modal displays five suggestions. To see more, you can click the Generate More Suggestions button.
To use any suggestion, you can select it and click the Apply button, or copy it via the Copy button against the suggestion you want to use.
Once you click the Apply button, the copy will be added to the respective field.
Design your Email
Design your email with one of the following options:
When deciding if you should use the Drag & Drop Editor or HTML editor, you can also consider their design capabilities listed below.
| Feature | Drag & Drop Editor | HTML Editor | Notes |
|---|---|---|---|
| Coupon | ✓ | ✓ | In the Drag & Drop Editor, use either the coupon module or write {@COUPON_CODE} manually. If you are using the HTML editor, manually insert the syntax to add a coupon code, or directly add it as dynamic content. |
| RSS Feed | ✓ | ✓ | - |
| A/B 50-50 Test | ✓ | ✓ | - |
| A/B Test with Autowinner Selection | ✓ | ✓ | - |
| Link Shortener | ✓ | ✓ | - |
| Custom UTM Parameters | ✓ | ✓ | - |
| Countdown Timer | ✓ | X | - |
| Conditional Blocks - Display Conditions | ✓ | ✓ | In the Drag & Drop Editor, turn on the display conditions toggle and add your if condition in the "before code" section, finishing the statement in the "after code" section. In the HTML editor, write the same syntax in the direct places. |
| ISP-Based Throttling | ✓ | ✓ | - |
| Dynamic Content | ✓ | ✓ | - |
| Transactional Emails | X | ✓ | As an alternative, you can create the campaign and template with the Drag & Drop Editor. Then you can copy the HTML from the Drag & Drop Editor, and paste it inside the transactional email payload. |
| Importing HTML | ✓ | X | - |
| Personalized Text & Button Style Settings | ✓ | X | - |
| Email Recommendations | ✓ | X | - |
| Global Unsubscribe & Preference Center | ✓ | X | You can create your email design with the HTML editor, then open the Drag & Drop Editor, use the HTML block, and add the design as HTML inside the editor. Lastly, you can insert the unsubscribe pages inside the drag & drop and start using the unsubscribe feature. |
| AMP | ✓ | X | - |
| Saving as template | ✓ | ✓ | - |
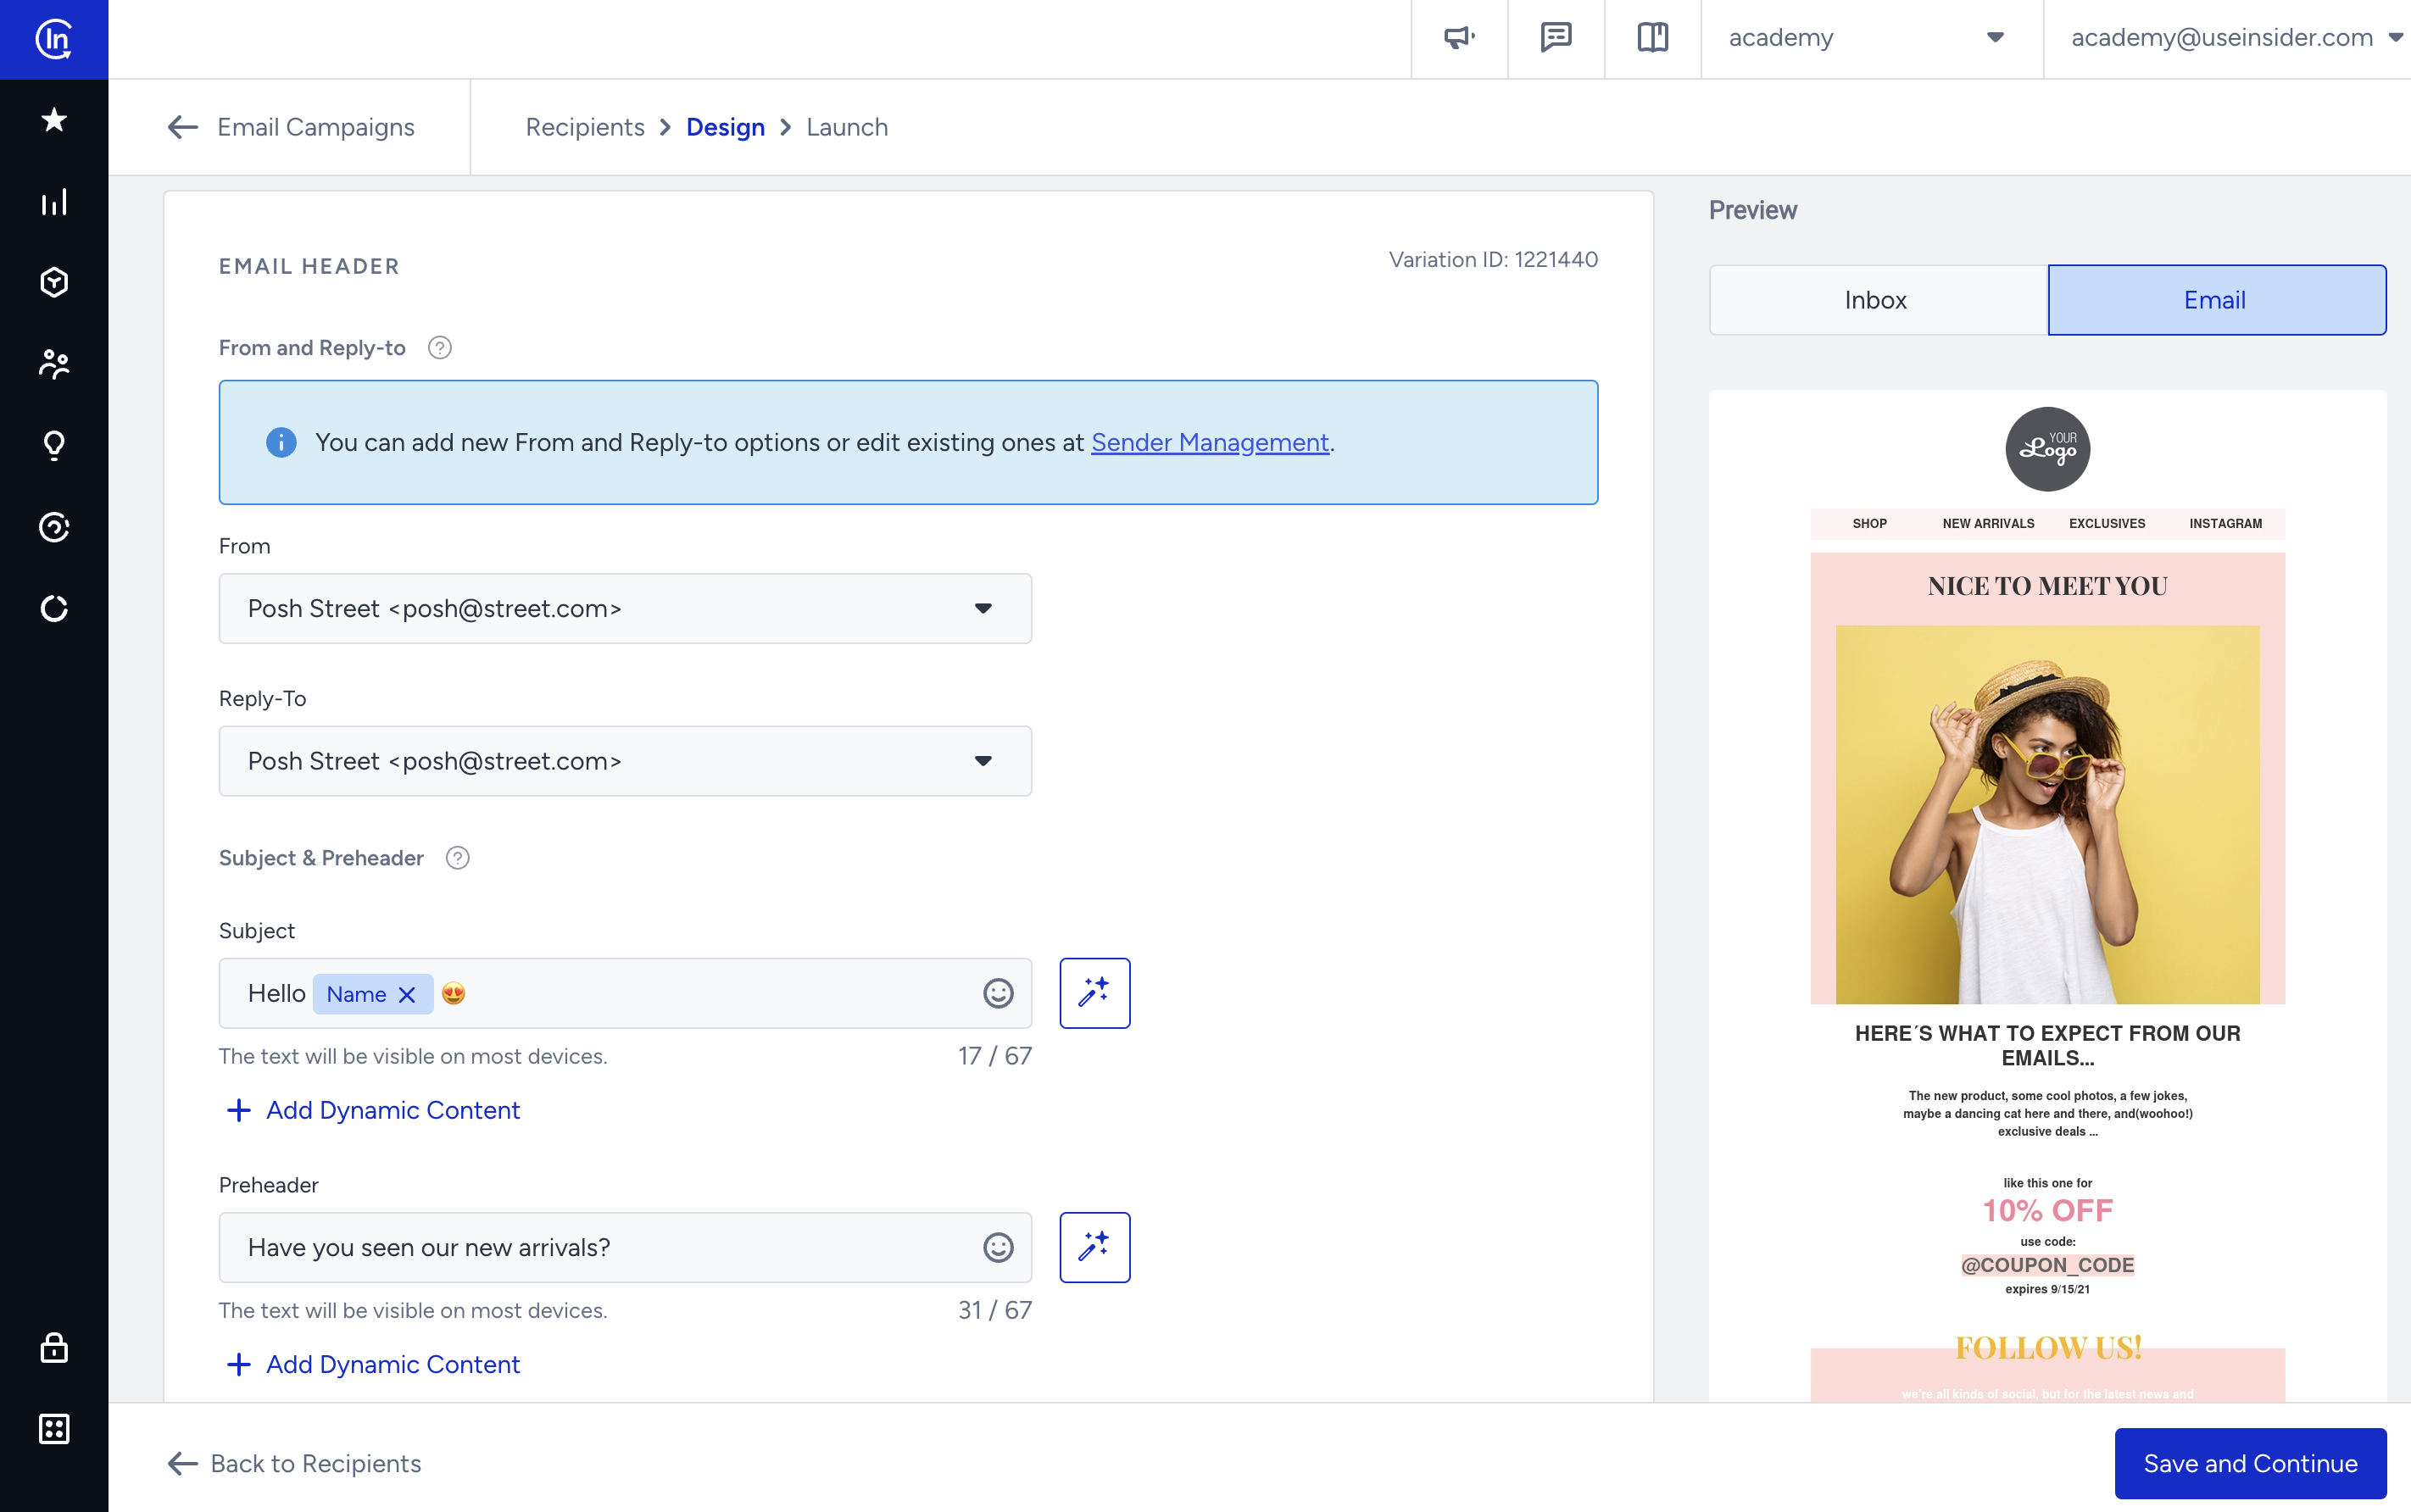
Inbox and Email Preview
Once you complete designing your email, you can see it inbox preview and email preview on the right side of your screen.
Configure UTM Settings
Specify the UTM Settings like UTM source, medium, campaign, term, and content. 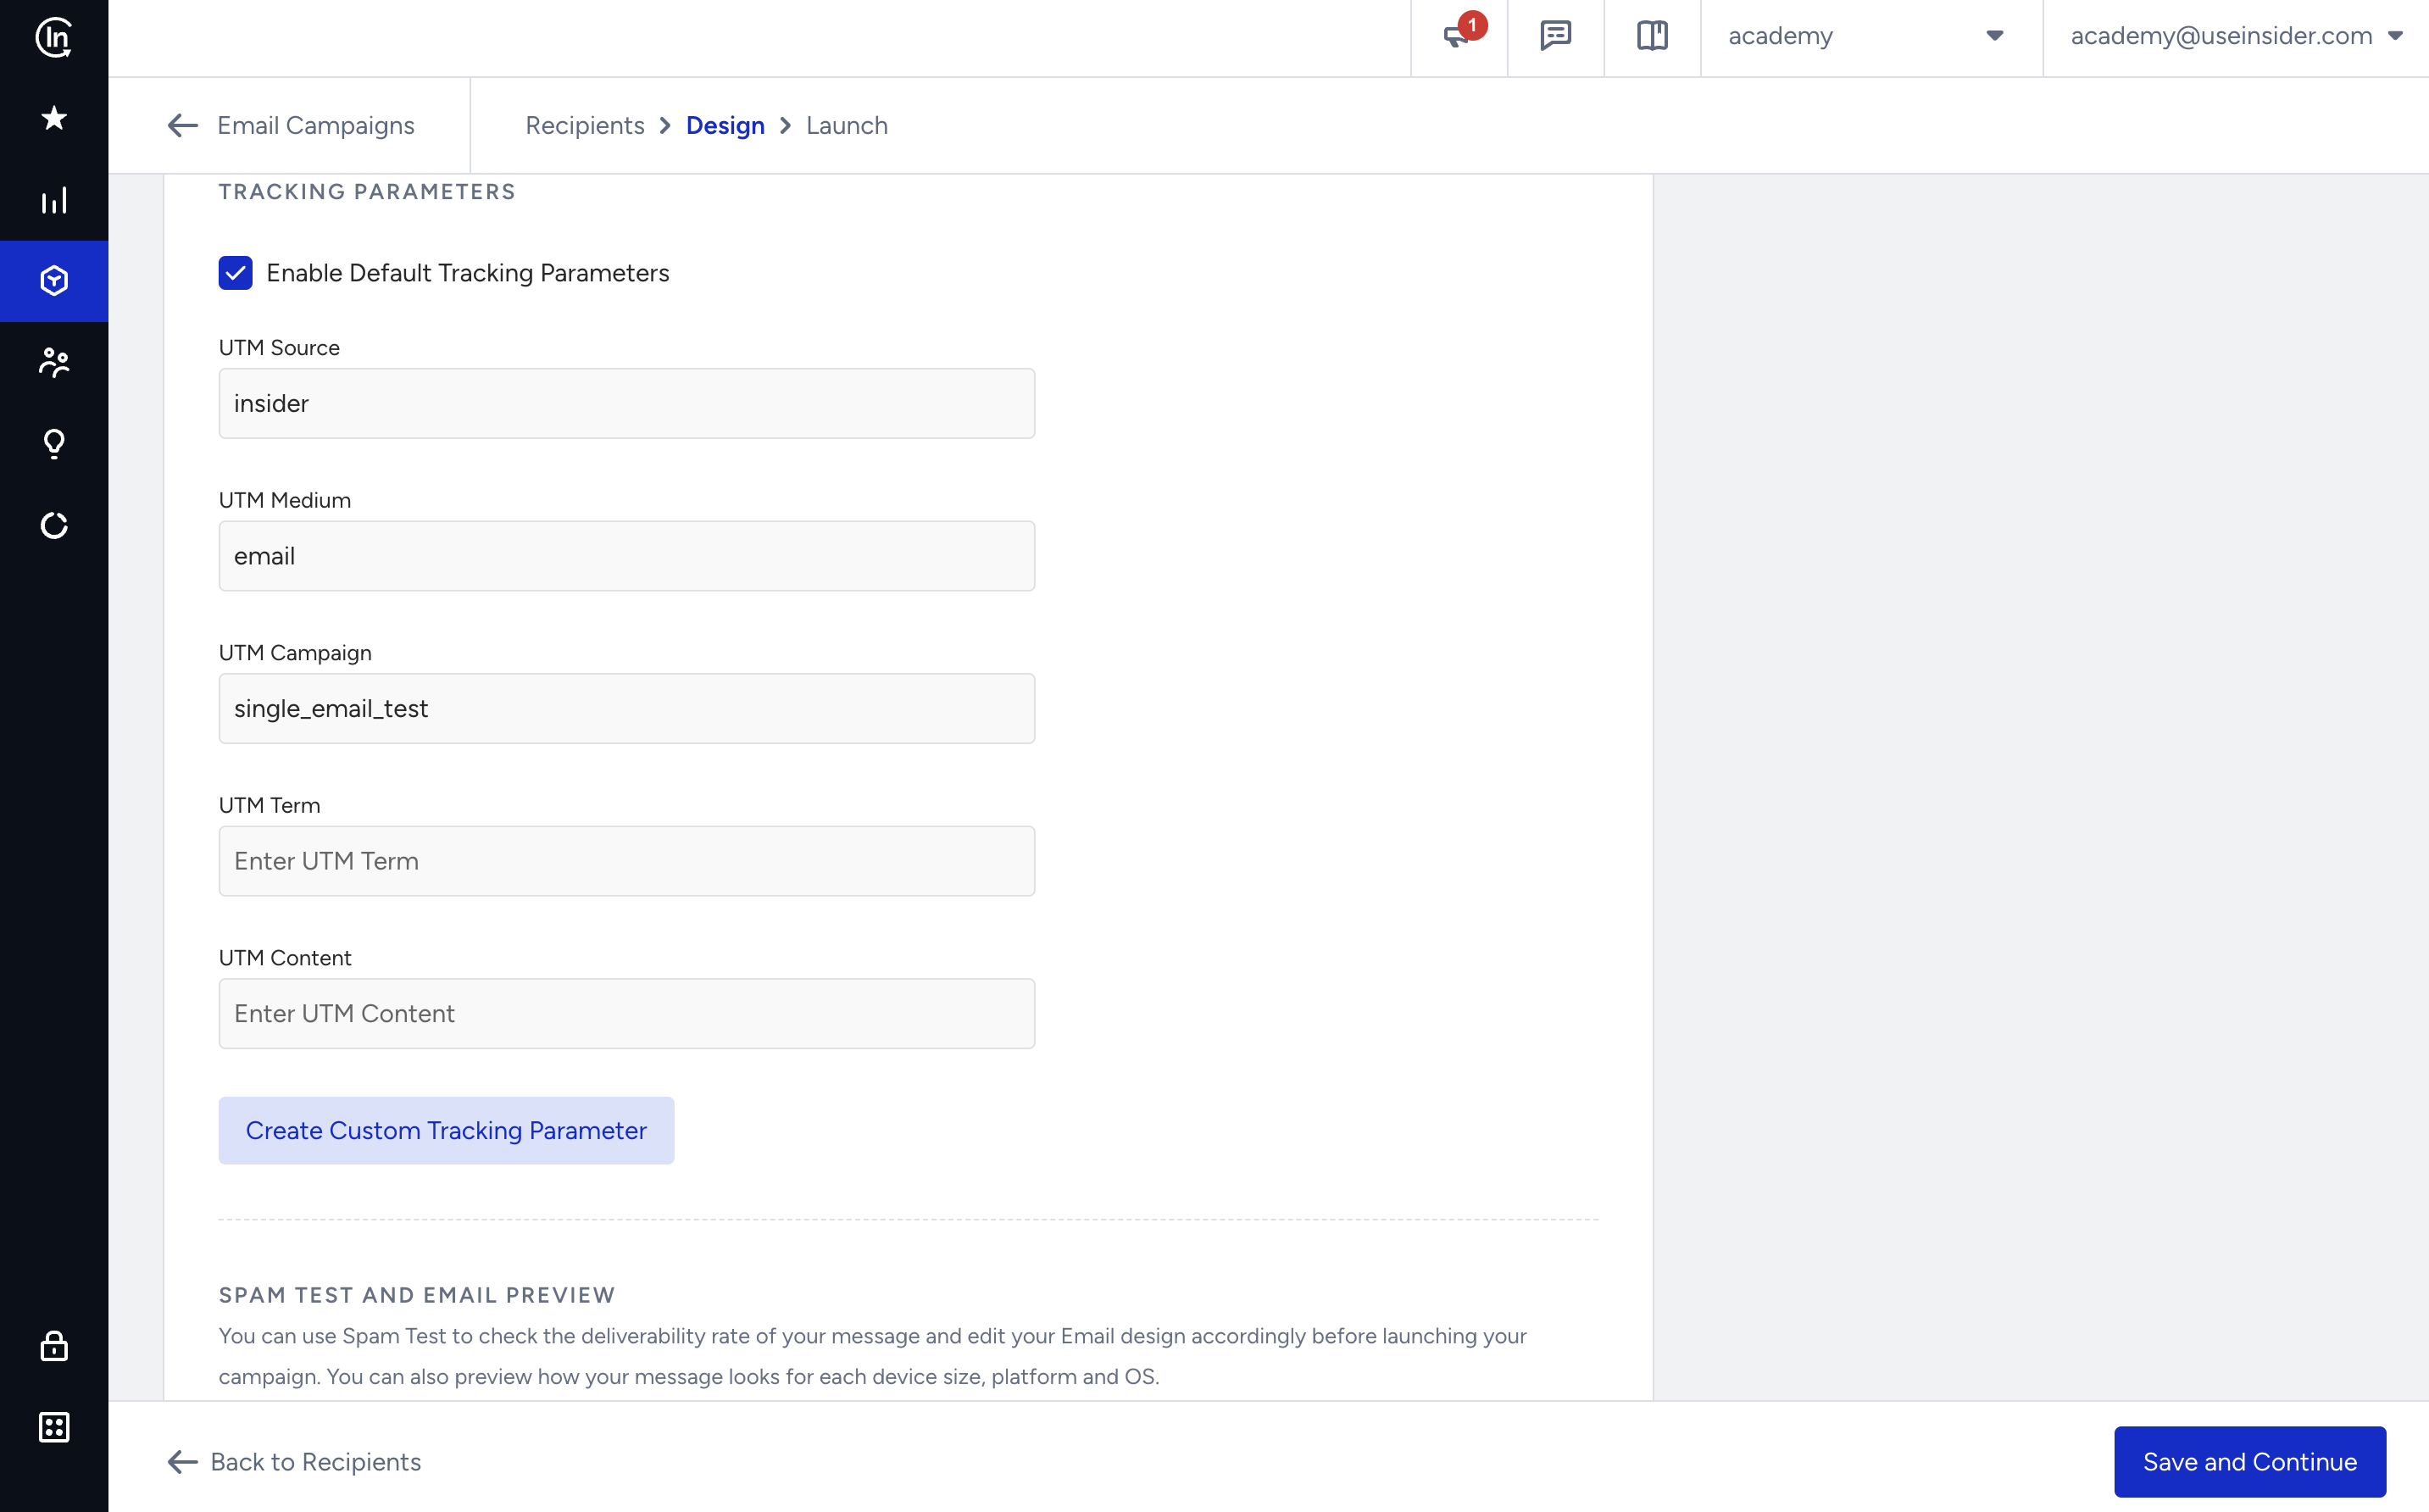
Spam Test & Email Preview
You can preview your email before sending it and update your design if necessary. For further information, refer to Conducting a Spam Test and Inbox Preview.
Launch
Finalize your email campaign setup. 
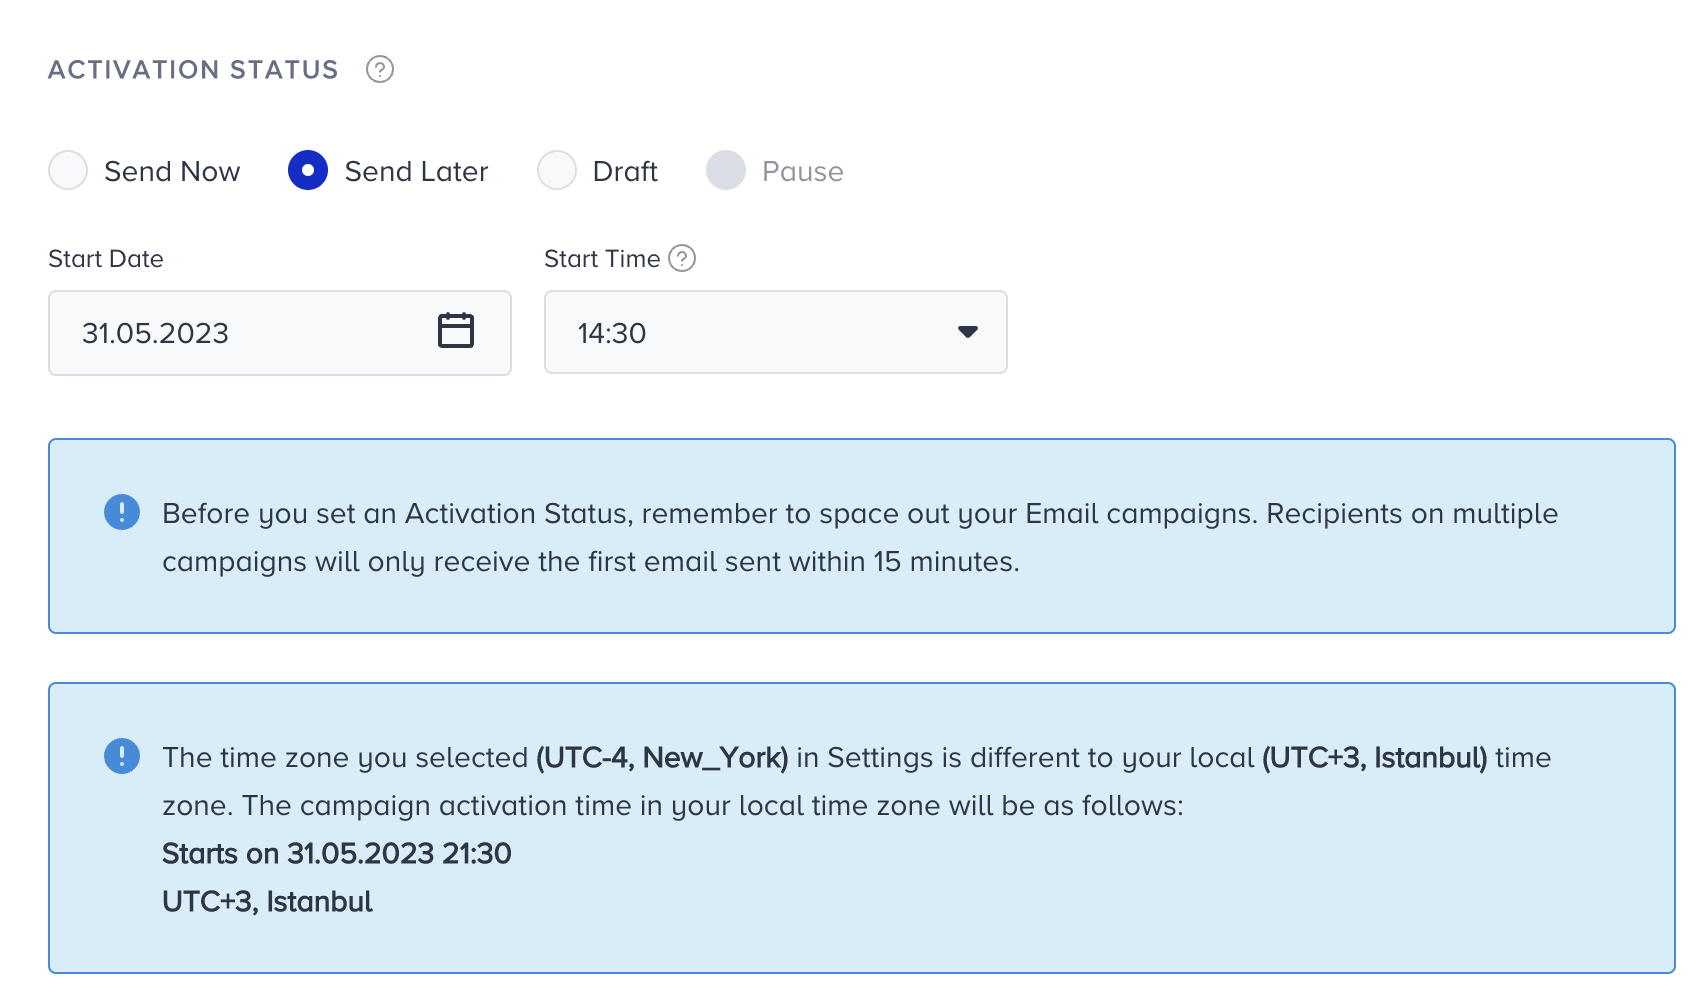 Panel time zone warning
Activation Status
Activation Status decides when you need to send your emails. The statuses are as follows:
| Campaign Type | Status | Description |
|---|---|---|
| Single | Send Now | Send the created email campaign immediately |
| Single | Send Later | Send the created email campaign at another point of time in the future. Assign the Start Date and Start Time |
| Single | Draft | This is the current version of your campaign. If you are unsure and need more changes keep it in this state to edit later. |
| Recurring | Recurring | Send the same email campaign after some time |
While setting up the recurring campaigns, specify the recurrence timeline as follows:
| Recurrence Timeline | Description |
|---|---|
| Recurrence | The frequency of the campaign as in daily, weekly, or monthly |
| Trigger Time | The time when the email is delivered to customers' inbox |
| Start Date & Time | The date and time when the campaign starts |
| Never Ends | Select this option if the campaign should run infinitely |
| End On | Select this option to specify a fixed date when the campaign ends |
| Ends After | Select this option to specify a fixed number of occurrences after which the campaign ends |
A/B Test Settings
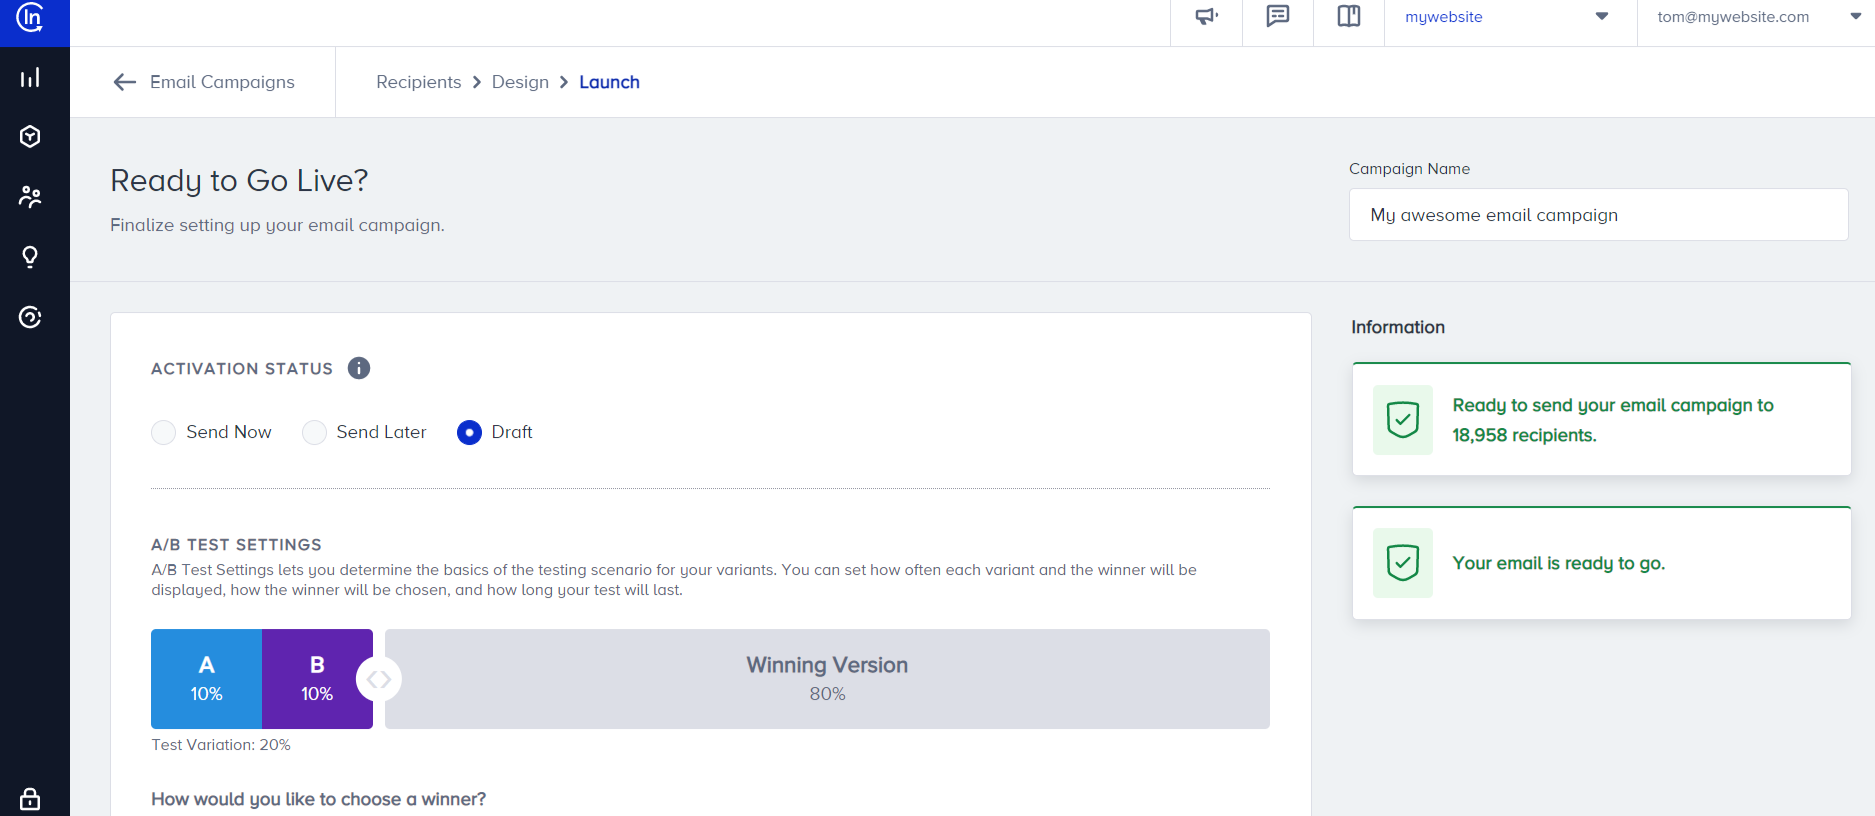
A/B Test Settings lets you determine the basics of the testing scenario for your variants. You can set how often each variant and the winner will be displayed, how the winner will be chosen, and how long your test will last. You can choose the winner based on two aspects: Highest unique open rates and highest unique click rates.
You can also specify the duration of running these tests.
Email Throttling
You can limit the frequency of emails and manage configurations under the Settings tab.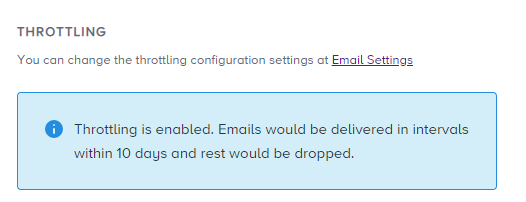
Send Time Optimized
Time-optimized emails are sent at the user's best time to contact in the 24-hour range. Users whose best time is not defined yet will receive the email immediately. To use this feature, select Enable.
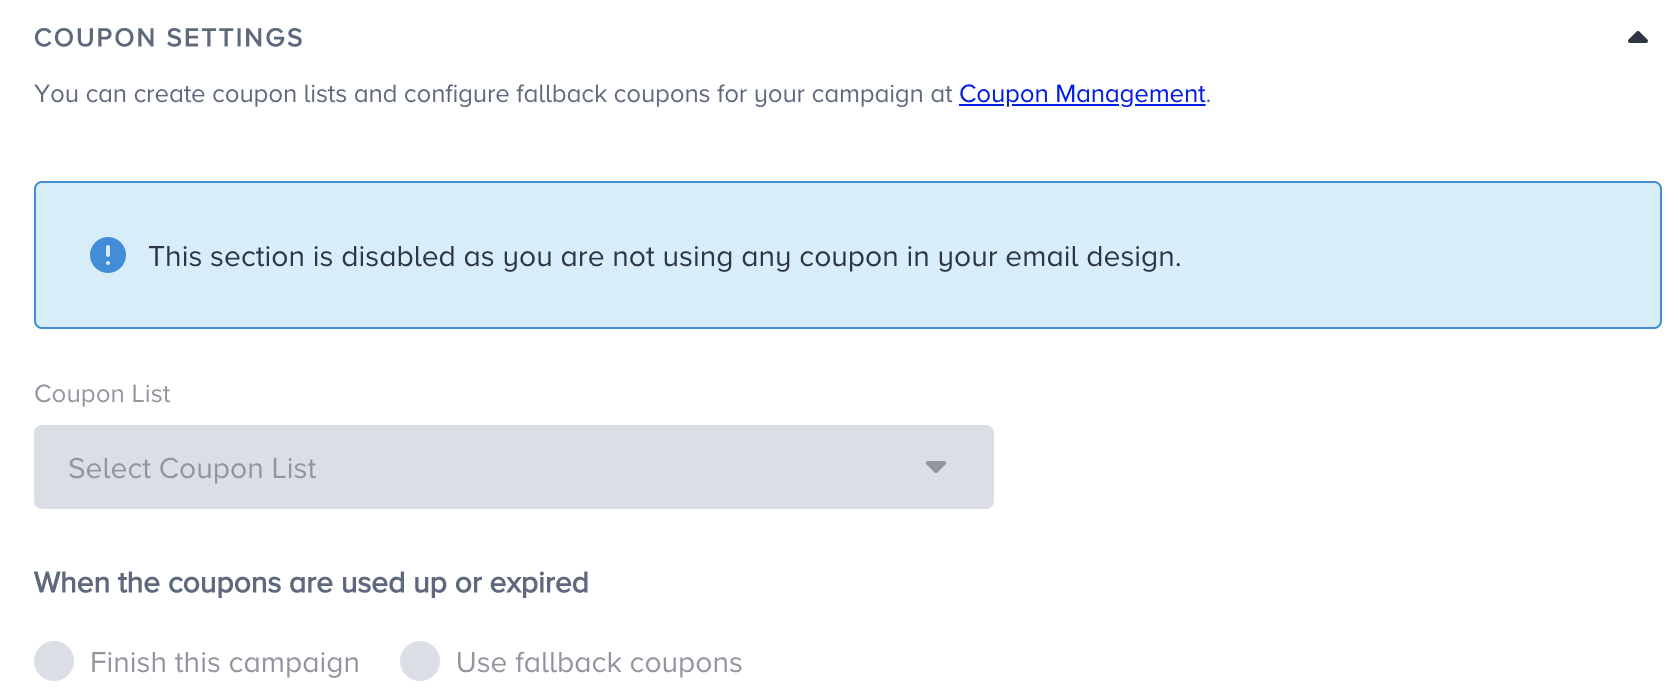
Coupon Settings
You can manage your coupons that you use in your campaigns.
Re-Eligibility Duration for Revenue
You can set a re-eligibility duration until when you want the revenue to be measured for this campaign.
Unsubscribe Groups
You can set an unsubscribe group to be mapped with the Unsubscribe link in your email design. Enable this to unsubscribe recipients from this particular group.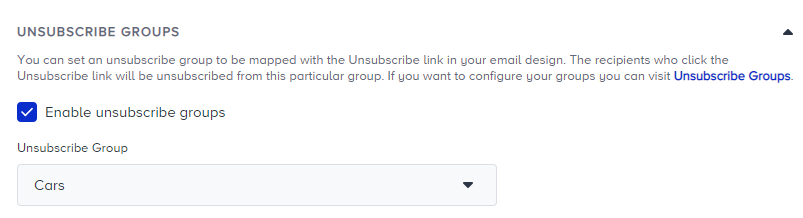
Frequency Capping
You can limit the number of emails a user receives using Channel Frequency Capping.
Campaign Tags
Campaign tags let you create and assign shorter names to your campaigns to organize and manage them conveniently. You can add up to 6 tags to your campaign.
Test Message
Once you complete configuring your settings, you are ready to see your emails in your users' inboxes.
Click the Test Message button in the bottom right corner to see your email campaign in the inbox.