Suggested readings: Transactional Journeys, Dynamic Content in Transactional Journeys, Transactional Email Channel Analytics
Email Channel allows you to send real-time transactional emails to users who enter a journey through an On API Call starter.
Transactional Email is designed for time-sensitive, informational messages such as order confirmations, password resets, account alerts, or appointment notifications. Messages are sent immediately when a user reaches the Email element in the journey.

When you must deliver the messages immediately, content is operational or informational, users expect a message as part of a system action, or delivery speed is critical, you can use Transactional Email. It is not designed for promotional or engagement-driven use cases.
In Transactional Journeys, Email messages are sent as a single, immediate operation.
When a user reaches the Email element:
The message is generated using the design and dynamic content.
The Email is sent immediately.
The journey continues without waiting for user interaction.
Each user receives an individual Email message. Messages are not batched or scheduled.
Transactional Email does not evaluate user consent, opt-in status, or silent hours before sending.
Step 1: Add an Email element on the canvas
To send an Email message in a transactional journey, add an Email element from the channel list on the canvas.
.png)
Step 2: Select sender address
Select the From Email Address to be shown to recipients as the sender and the Reply-To Email Address to receive responses from recipients.
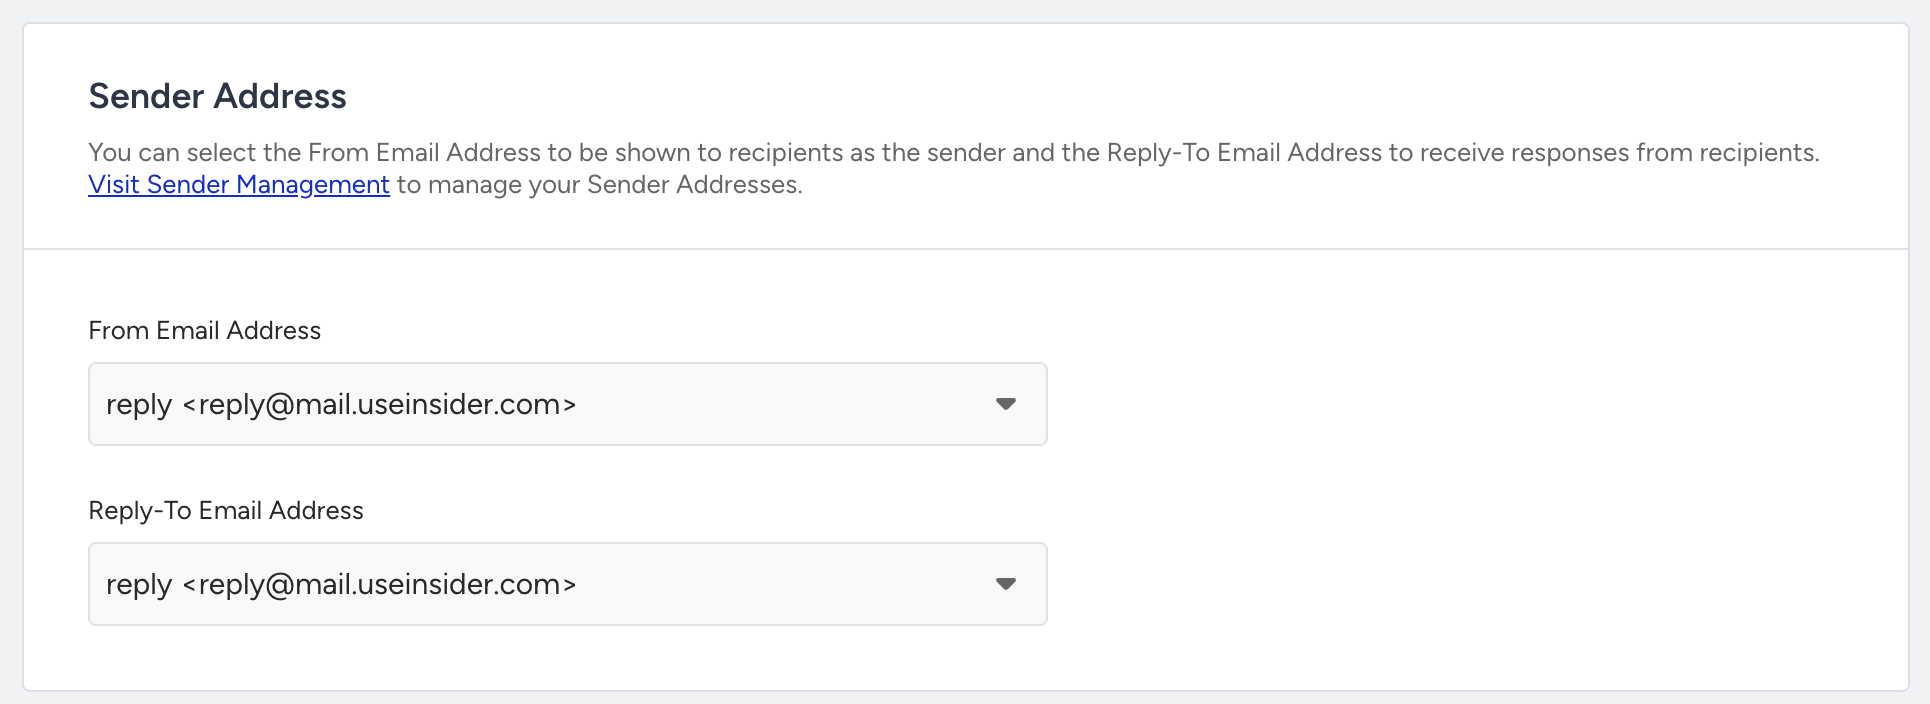
Only pre-configured sender addresses can be used. You can manage your sender addresses in Sender Management.
CC and BCC recipients
You can add CC (Carbon Copy) and BCC (Blind Carbon Copy) recipients to your transactional emails directly from the email element panel. Two modes are available for each field: Custom Email Addresses and Dynamic Email Addresses. You can use a different mode for CC and BCC independently.
Type | Description |
|---|---|
CC | Recipients added to the CC field receive the email and their addresses are visible to all other recipients. |
BCC | Recipients added to the BCC field receive the email without their addresses being visible to other recipients. |
Custom email addresses
Custom Email Addresses is the default mode. You type recipient addresses directly into the CC or BCC field in the email element panel. These addresses are static and the same recipients receive a copy for every send triggered by this journey.
You can add up to 5 email addresses per field. This limit applies to both CC and BCC independently.
CC and BCC recipients configured in Custom mode are also included when you send a test email, so your test sends reflect the same distribution as production sends.
Dynamic Email Addresses
Dynamic Email Addresses resolves CC and BCC recipients at send time from the API payload that triggered the journey. Instead of typing fixed addresses, you instruct the system to read the recipient list from the cc_email_addresses or bcc_email_addresses keys in the dynamic_attributes of the On API Call starter payload.
The Dynamic Email Addresses option is selectable only when the corresponding key exists in the sample API request defined on your On API Call starter. If the key is present for CC but not BCC, dynamic mode is enabled for CC only and remains disabled for BCC (and vice versa).
If the cc_email_addresses or bcc_email_addresses key is missing from the sample API request, the Dynamic Email Addresses option is greyed out for the corresponding field. Add the key to your sample payload on the starter to enable it.
When a user enters the journey and reaches the Email element, the system reads the address list from the API payload for that specific send. The following rules apply automatically:
Invalid email addresses are silently dropped.
If the payload contains more than 5 addresses, only the first 5 valid addresses are used.
If any address in the CC or BCC list matches the primary recipient's address, the duplicate is removed. The email is always sent to the primary recipient regardless.
If the payload key is present but empty, or if the key is absent entirely at runtime, the email is still sent to the primary recipient with no CC or BCC applied.
The 5-recipient limit is enforced both in the On API Call starter configuration and at send time. If the sample API request on the starter contains more than 5 entries for cc_email_addresses or bcc_email_addresses, you will see a validation error on the starter and the journey cannot be saved until the limit is met.
When you send a test email using the Preview and Test Message option, CC and BCC dynamic recipients are not applied. The test email is sent only to the explicitly defined test recipients.
Below is an example API payload with dynamic CC and BCC:
{
  "idempotency_key": "b7d5d464-4051-4e13-b126-036af2da386b",
  "targets": [
    {
      "type": "journey_id",
      "value": 27
    }
  ],
  "users": [
    {
      "identifier": {
        "type": "email",
        "value": "sameer@weatherpromise.com"
      },
      "cc_email_addresses": [
        "finance@example.com",
        "manager@example.com"
      ],
      "bcc_email_addresses": [
        "archive@example.com"
      ],
      "dynamic_attributes": {
        "first_name": "Sameer"
      }
    }
  ]
}
You can consider the following table to choose between custom and dynamic email addresses.
Custom email addresses | Dynamic email addresses | |
|---|---|---|
Recipients defined | At journey build time | At send time, from the API payload |
Same recipients every send | Yes | No, varies per API call |
Requires sample API request key | No | Yes (cc_email_addresses / bcc_email_addresses) |
Maximum recipients | 5 per field | 5 per field (enforced at send time) |
Included in test sends | Yes | No |
Step 3: Add subject and preheader
Define the email subject and optional preheader text. You can use dynamic content in both fields.
Fallback values are applied if dynamic values are missing. Dynamic placeholders do not count toward character limits

Enable the Add White Space After Preheader toggle to add white space after the preheader and prevent the email HTML text from appearing in the preheader field.
Step 4: Select dynamic content
Dynamic content allows you to personalize Email messages using data sent with the API request that triggers the journey.
Dynamic content in Email:
Uses only dynamic attributes whitelisted on the On API Call starter.
Does not support CDP attributes, event parameters, coupons, recommendations, or product catalog items.
Can be used in the Subject, Preheader, and Email message.

If a dynamic attribute is not whitelisted on the starter, it cannot be used in the Email content.
Step 5: Design the email
To create your email content, use the Drag and Drop editor or HTML editor, or select a predesigned template.

In the Transactional Email Drag and Drop Editor, the following modules are not supported due to transactional use case requirements:
Unsubscribe modules
Coupon dynamic content
Recommendation Module
In Transactional Email HTML Editor, the following modules are not supported:
Unsubscribe logic or unsubscribe links
Coupon dynamic content
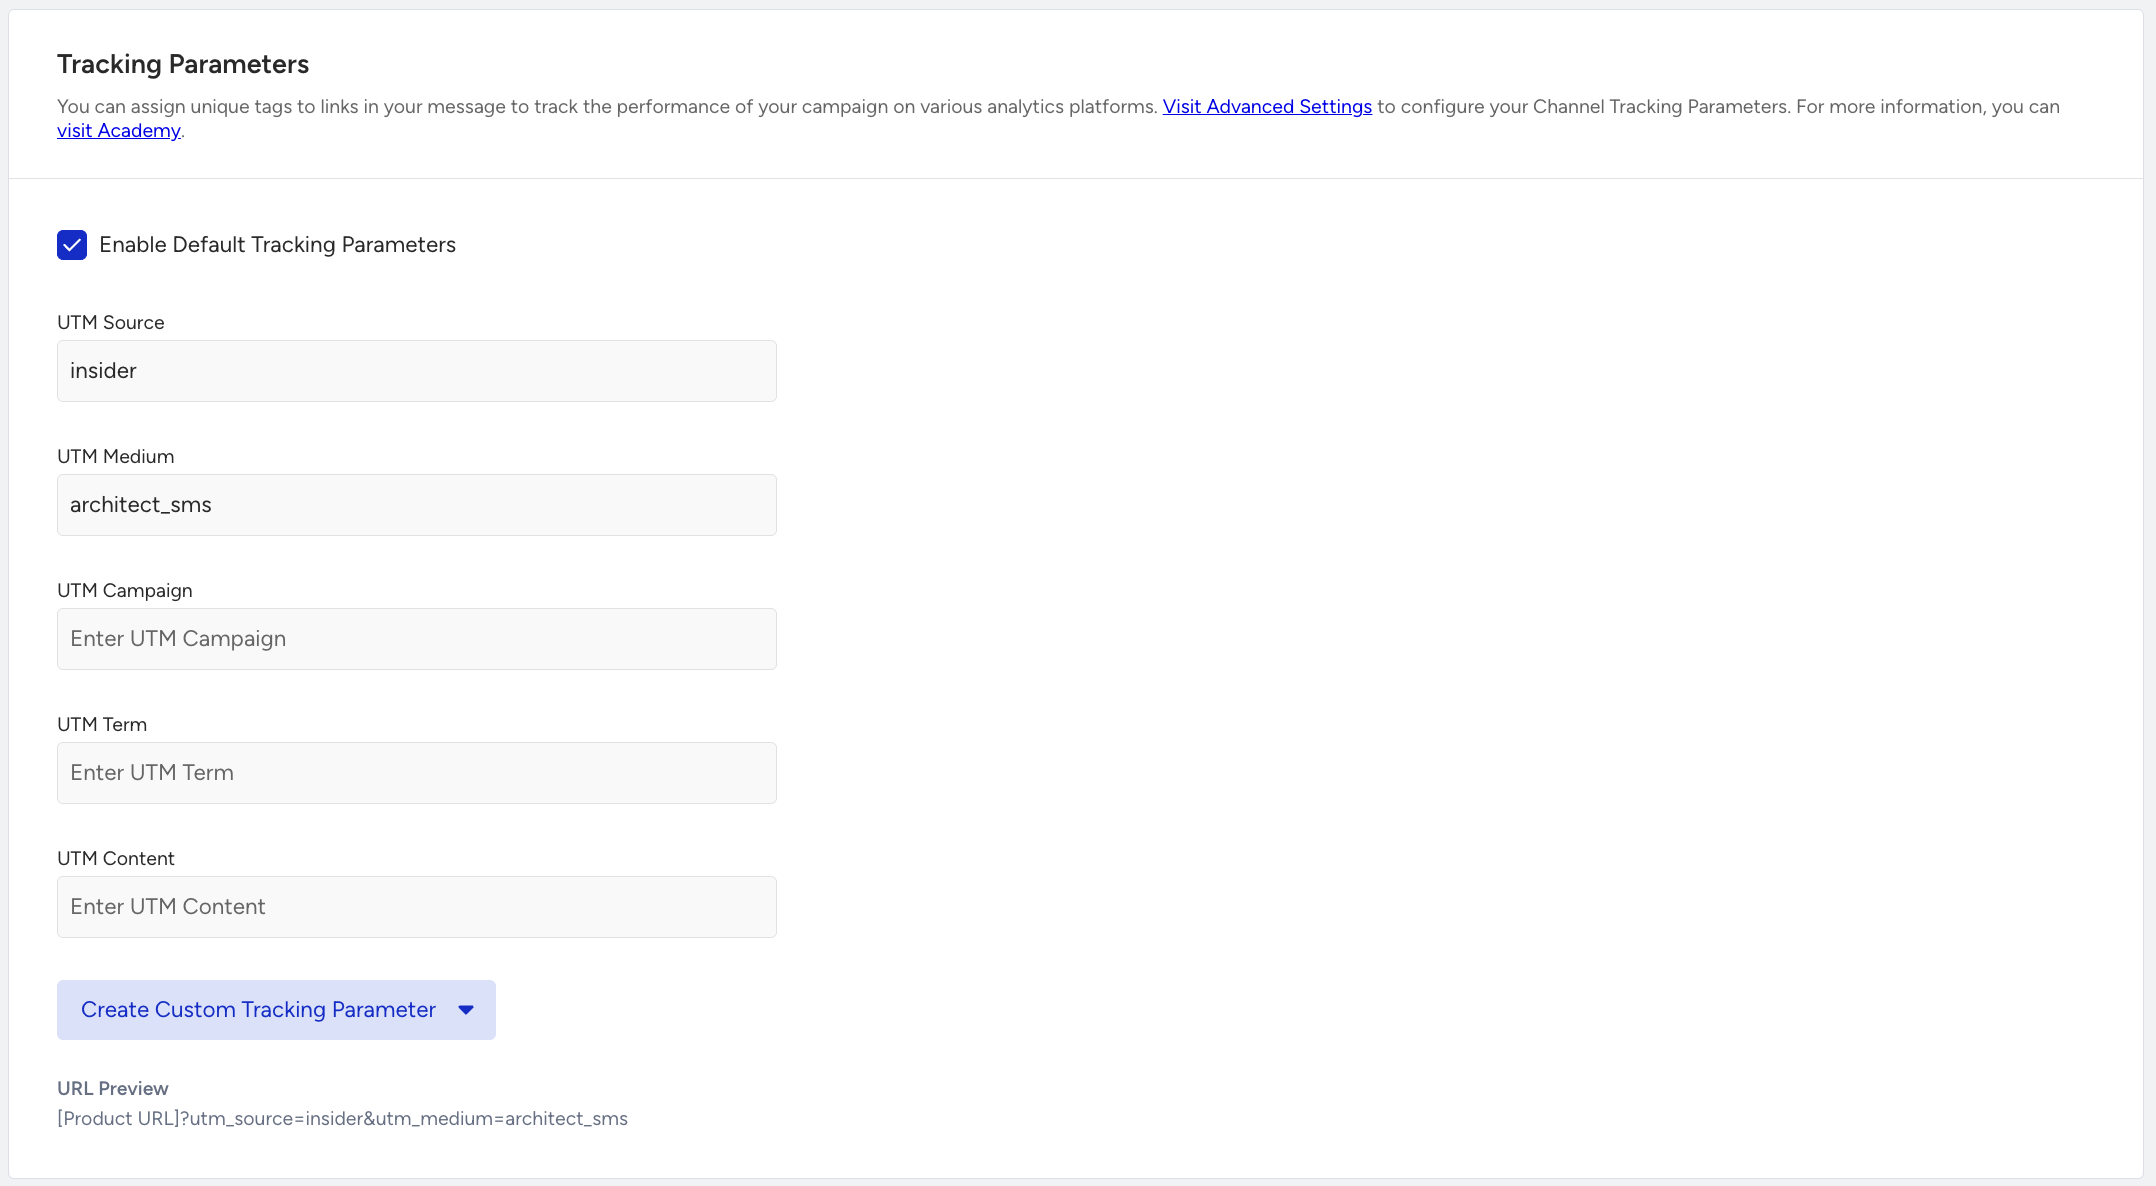
Step 6: Configure tracking parameters
You can enable Tracking Parameters for links in your Email message.
When enabled, UTM parameters are automatically appended to URLs, allowing clicks to be tracked in external analytics tools.
The utm_source, utm_medium, and utm_campaign default parameters are populated automatically. You can optionally define the utm_term and utm_content additional parameters, as well as custom tracking parameters.
UTM parameters are applied only to URLs inside the Email content.
You can add the custom tracking parameters with static values or API-provided dynamic attributes. They support both UTM-prefixed and non-UTM-prefixed labels and are applied to all links in the email, similar to default UTM parameters.
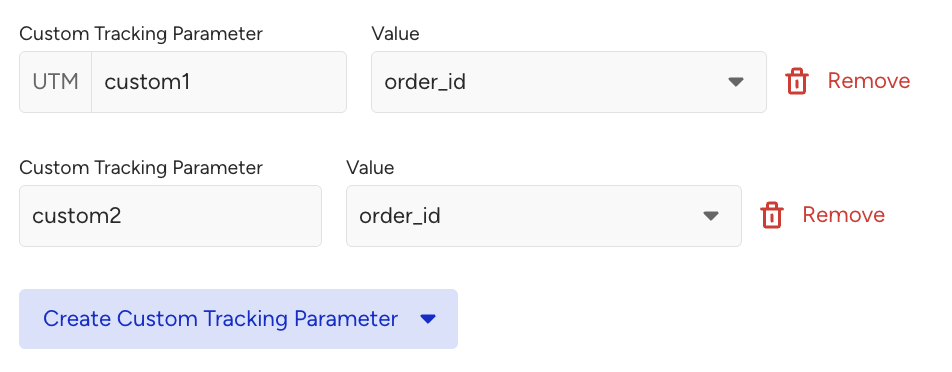
For custom tracking parameters, the label and value cannot exceed 150 characters each.
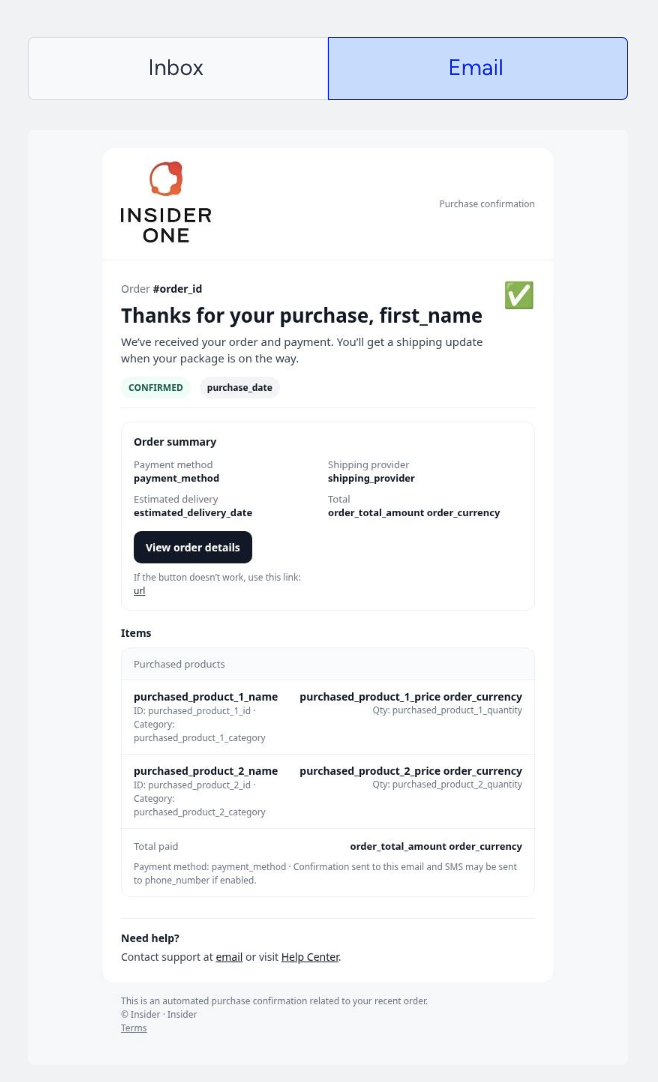
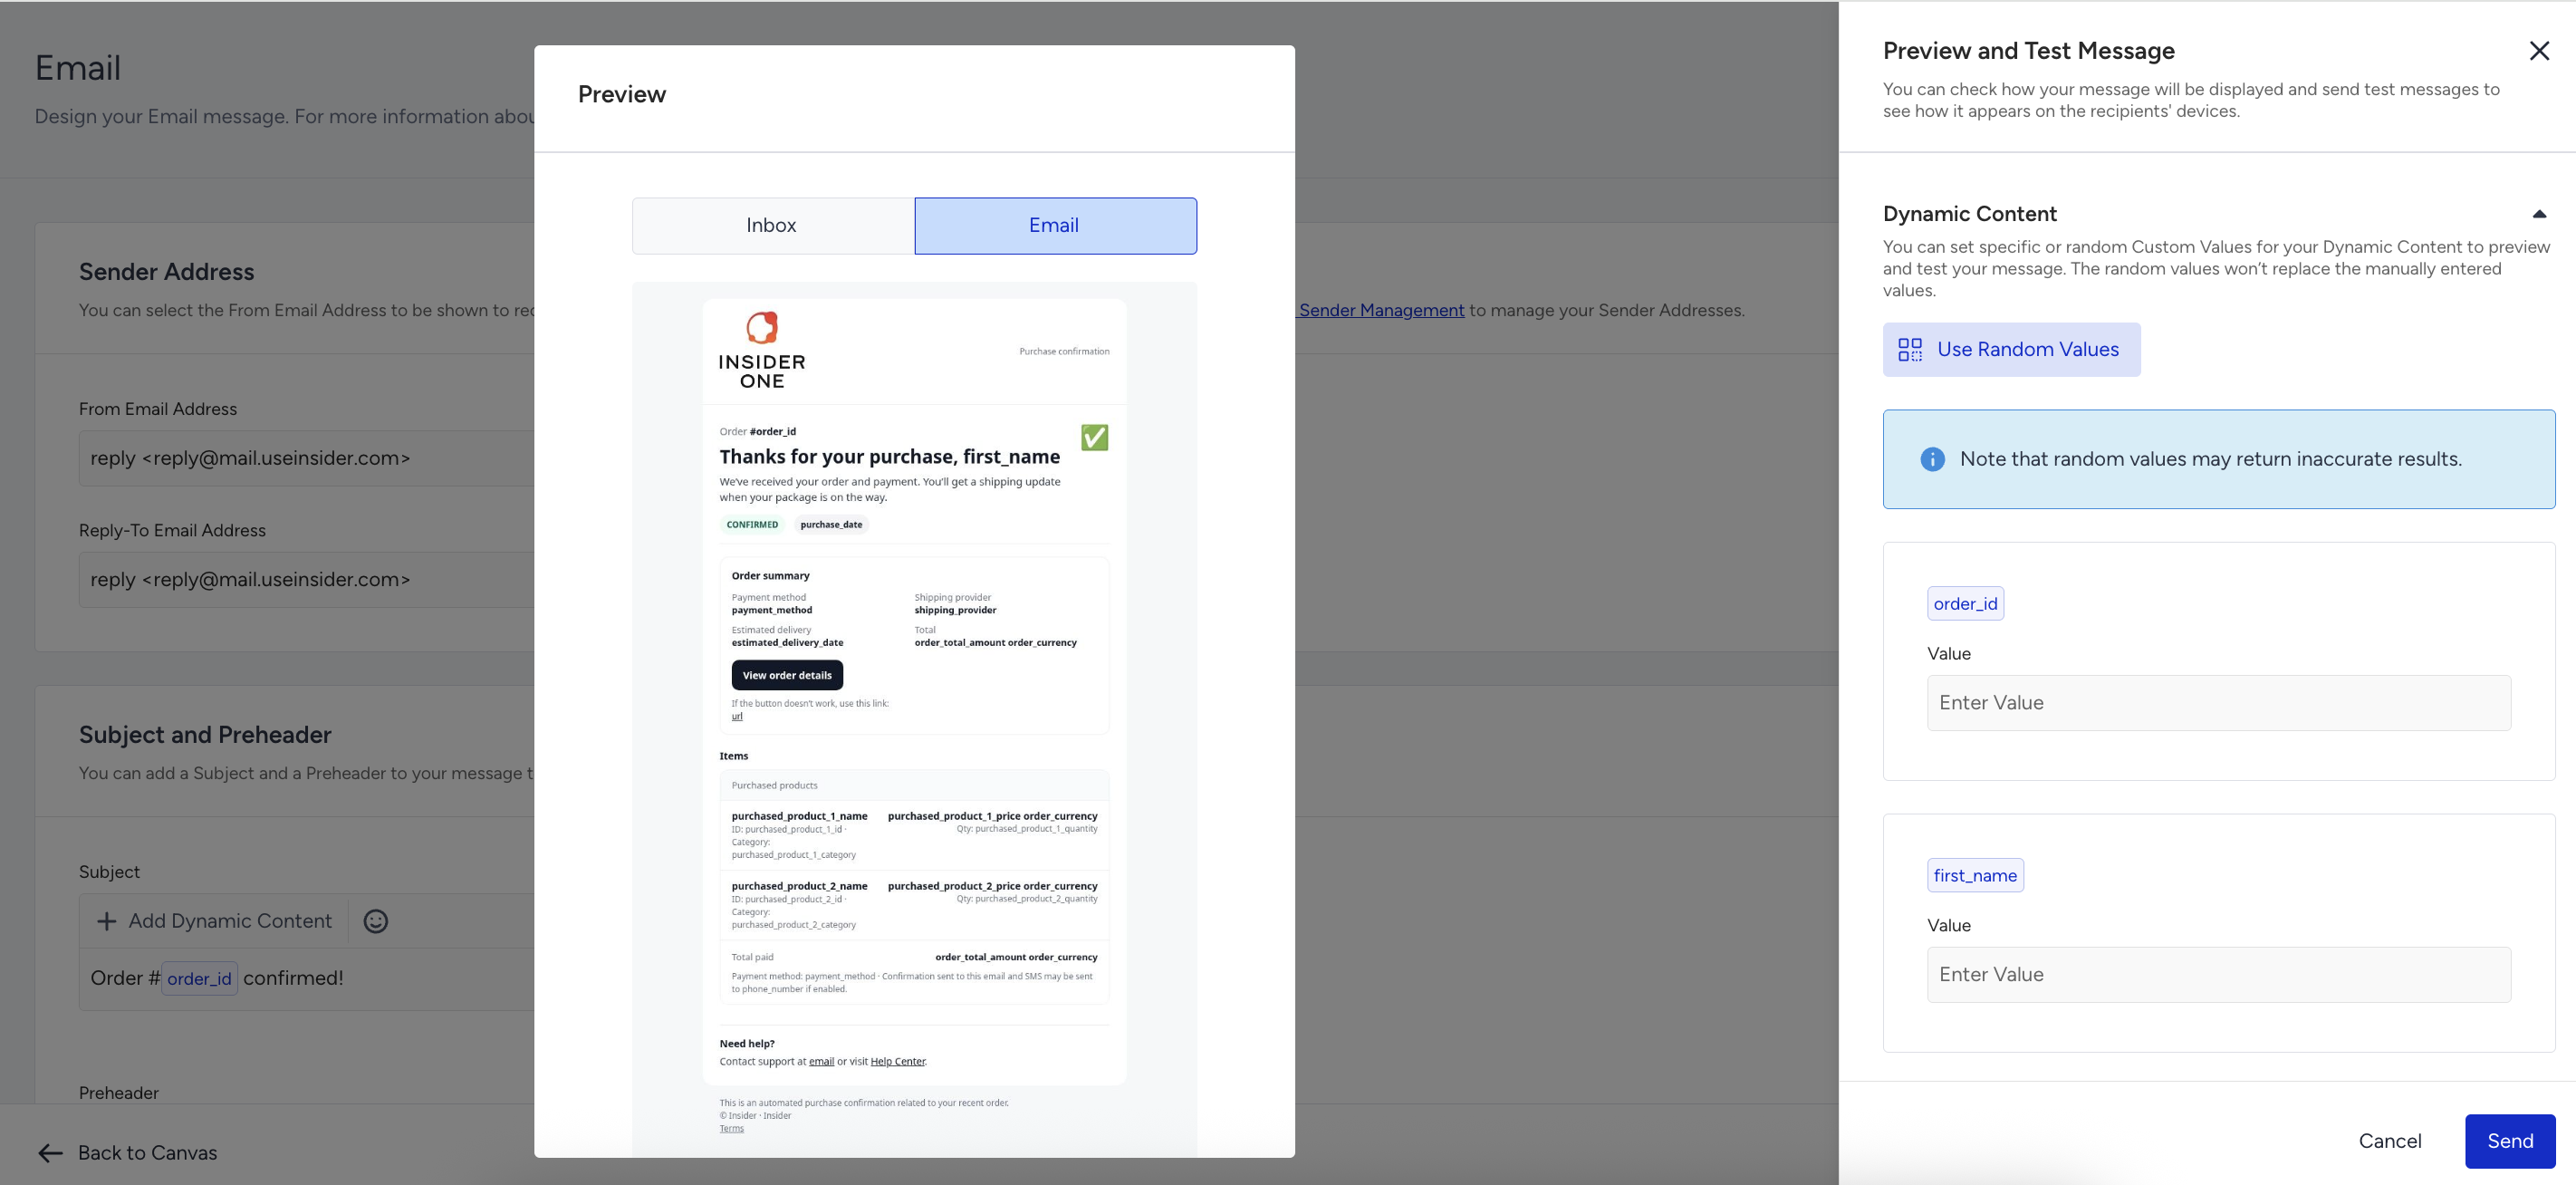
Step 7: Preview
The Preview section allows you to review how your Email message will appear in the inbox or as a message on a device.
Preview shows the email message and design, dynamic content placeholders, and inbox preview.
Step 8: Preview and test message
Preview and Test Message allows you to render and send test emails without triggering a real journey entry.
You can preview dynamic content values entered manually or click the Use Random Values button for randomly generated values. Dynamic content values used in preview and test messages are for testing purposes only and do not reflect real user data.
This process does not require a real user journey entry, but uses dynamic content values for testing purposes to validate personalization before activating the journey.
You can:
Preview with empty dynamic content.
Preview with randomly generated values.
Preview with manually entered values.
Send test messages immediately.
Send test emails to up to 15 email addresses.
Step 9: Save the Email element
After configuring the Email content and settings, click the Save button to apply the changes. Email elements do not auto-save. Unsaved changes are lost if you leave the page.
Limitations of Transactional Email
The following capabilities are not supported:
Unsubscription modules and links, because transactional use cases bypass opt-in checks and do not include opt-out mechanisms within message content.
Silent hours, as transactional messages are time-critical and must be delivered immediately when triggered.
Send Time Optimization, since delaying delivery conflicts with the real-time nature of transactional communication.
Frequency capping, because transactional messages are informational or operational and are expected to be sent whenever the triggering action occurs.
Coupons, recommendations, or promotional content, due to strict content restrictions that limit transactional messages to purely informational communication.
These constraints ensure fast, deterministic, and reliable message delivery for transactional use cases.
Make sure that the total email size, including attachments, does not exceed 30 MB. Emails larger than 30 MB will be dropped by Sendgrid.
The rate limit is 5000 requests per minute for the Transactional Emails API, while it is 250 requests per minute for the Transactional Journey Email channel. The Transactional Emails API is recommended for bulk use cases that exceed 250 requests per minute.