Suggested reading: Email Drag and Drop Editor
The email header is the first element of emails that recipients see. It usually contains the brand logo and menu.
First, you need to decide what your header will look like. A header can have various designs. Yet, the most popular one with eCommerce is when the logo is on top and the menu is below it.
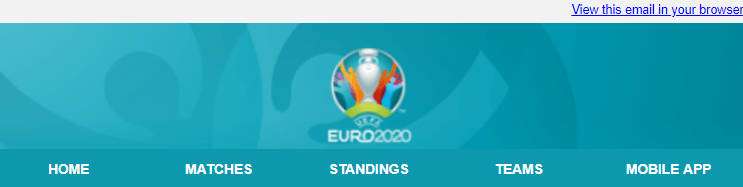
The header type requires two rows: one for the logo and another for the menu.
Add a logo to your emails
To add a logo to your design, follow these steps:
1. Drag a one-column structure in your empty template.
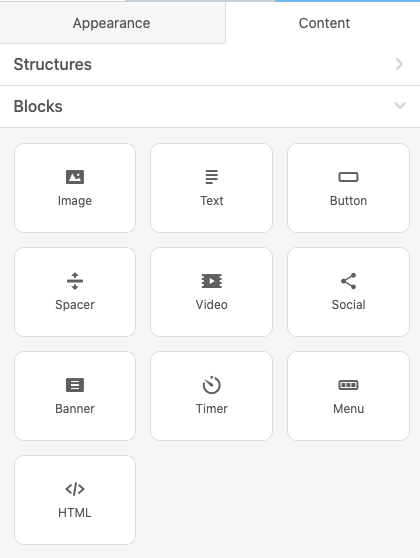
2. Click the image button or drag and drop the image block.

3. On the settings panel, the system will ask you to drop your image in JPG, PNG, or GIF format. You can also paste an external URL link to your logo.
4. Insert a hyperlink that takes readers to your website.
5. Add alt text to the logo.
6. Set the logo size.
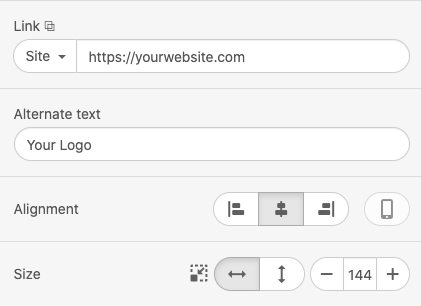
7. Center alignment is set by default. If you need to change it, click left or right alignment.
You should apply links to your logo as your recipients are likely to click it to go to your website faster.
You should add an alt text to the logo to pass the anti-spam filters, to provide your users with information on what the respective image is about, and to comply with email accessibility best practices.
Add a menu to your emails
To add a menu to your design, follow these steps:
1. Click the Content tab in the settings panel.
2. Drag the one-column structure and put it below the logo.
3. Open the Blocks tab.
4. Pull a menu block and drag it into your template.
5. Add extra menu items if you like. By default, there are three of them.
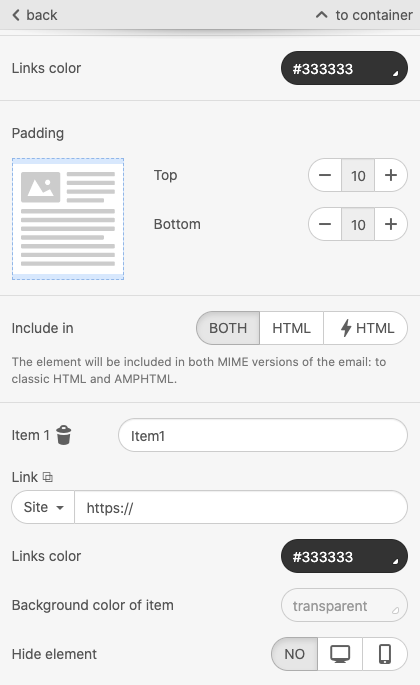
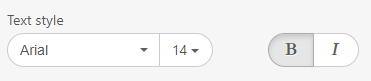
6. On the settings panel, you need to choose whether to use icons, links, or both. Icons represent the images in the menu, while links represent the names of the menu tabs.
7. Once you select the link type, you will see that the color and font of the links you previously set in the General Settings section are already applied to the menu links.
8. Now, you need to name each menu item and insert the necessary URL links.
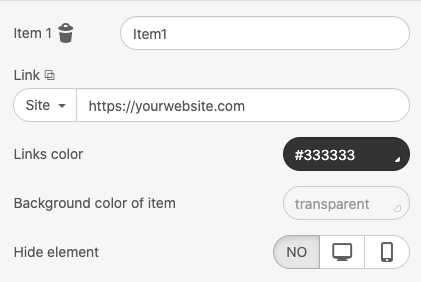
9. If you want to hide some elements for mobiles, click the Hide on the mobile icon.