The "Generate Image with AI" feature is only available in the Web Push channel in Architect journeys.
Capturing your audience’s attention requires visually engaging content. The AI Image Generation feature streamlines this process by automatically generating and enhancing images that align with your brand’s unique style and messaging. Whether you need creative inspiration or campaign visuals on demand, this feature offers personalized image suggestions based on your website, empowering you to produce high-quality, on-brand visuals efficiently. This allows you to maintain brand consistency while focusing on strategic priorities.
To learn how to use the Web Push Image Generation with AI in your campaigns, follow the steps below:
1. In the Design step of your Web Push campaign, select the Custom Icon option and click the Generate Image with AI option below. 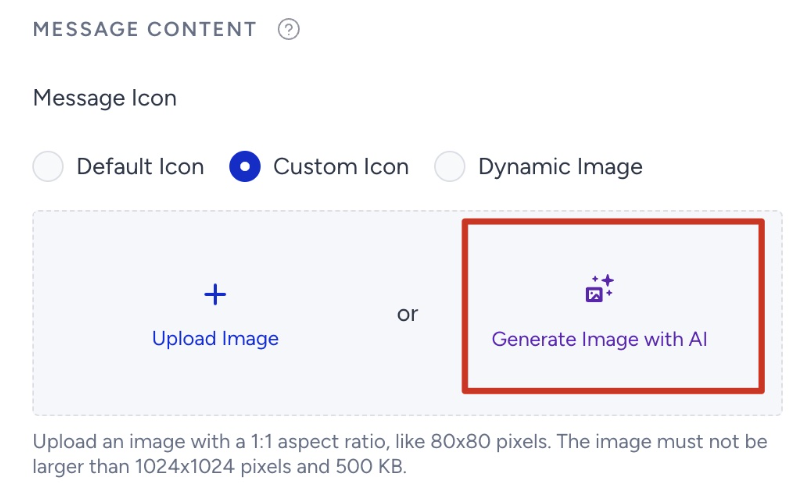
2. To use the AI-generated image for Rich Push, enable the Enable Rich Message option and click the Generate Image with AI option. 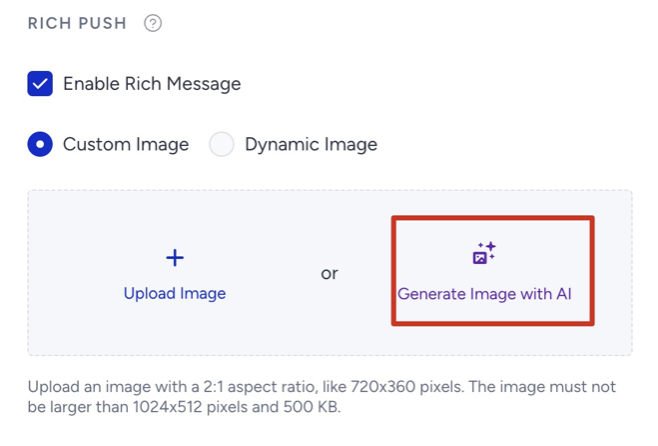
3. Select the Product Image or Campaign Image based on your needs. 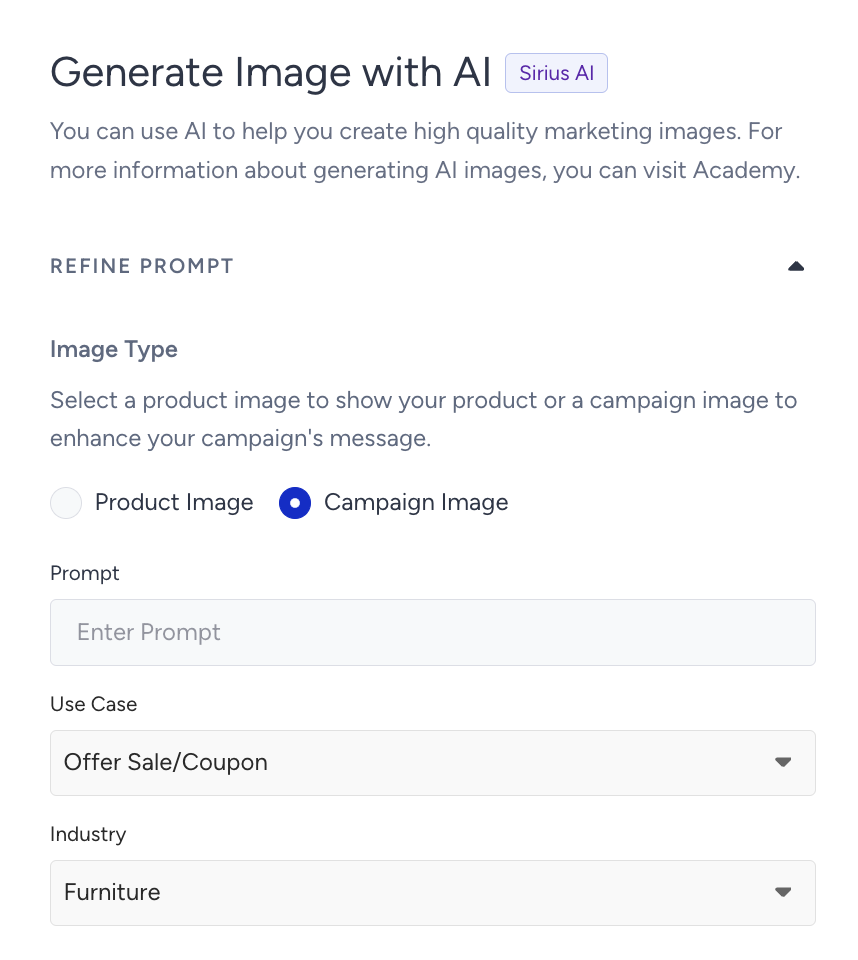
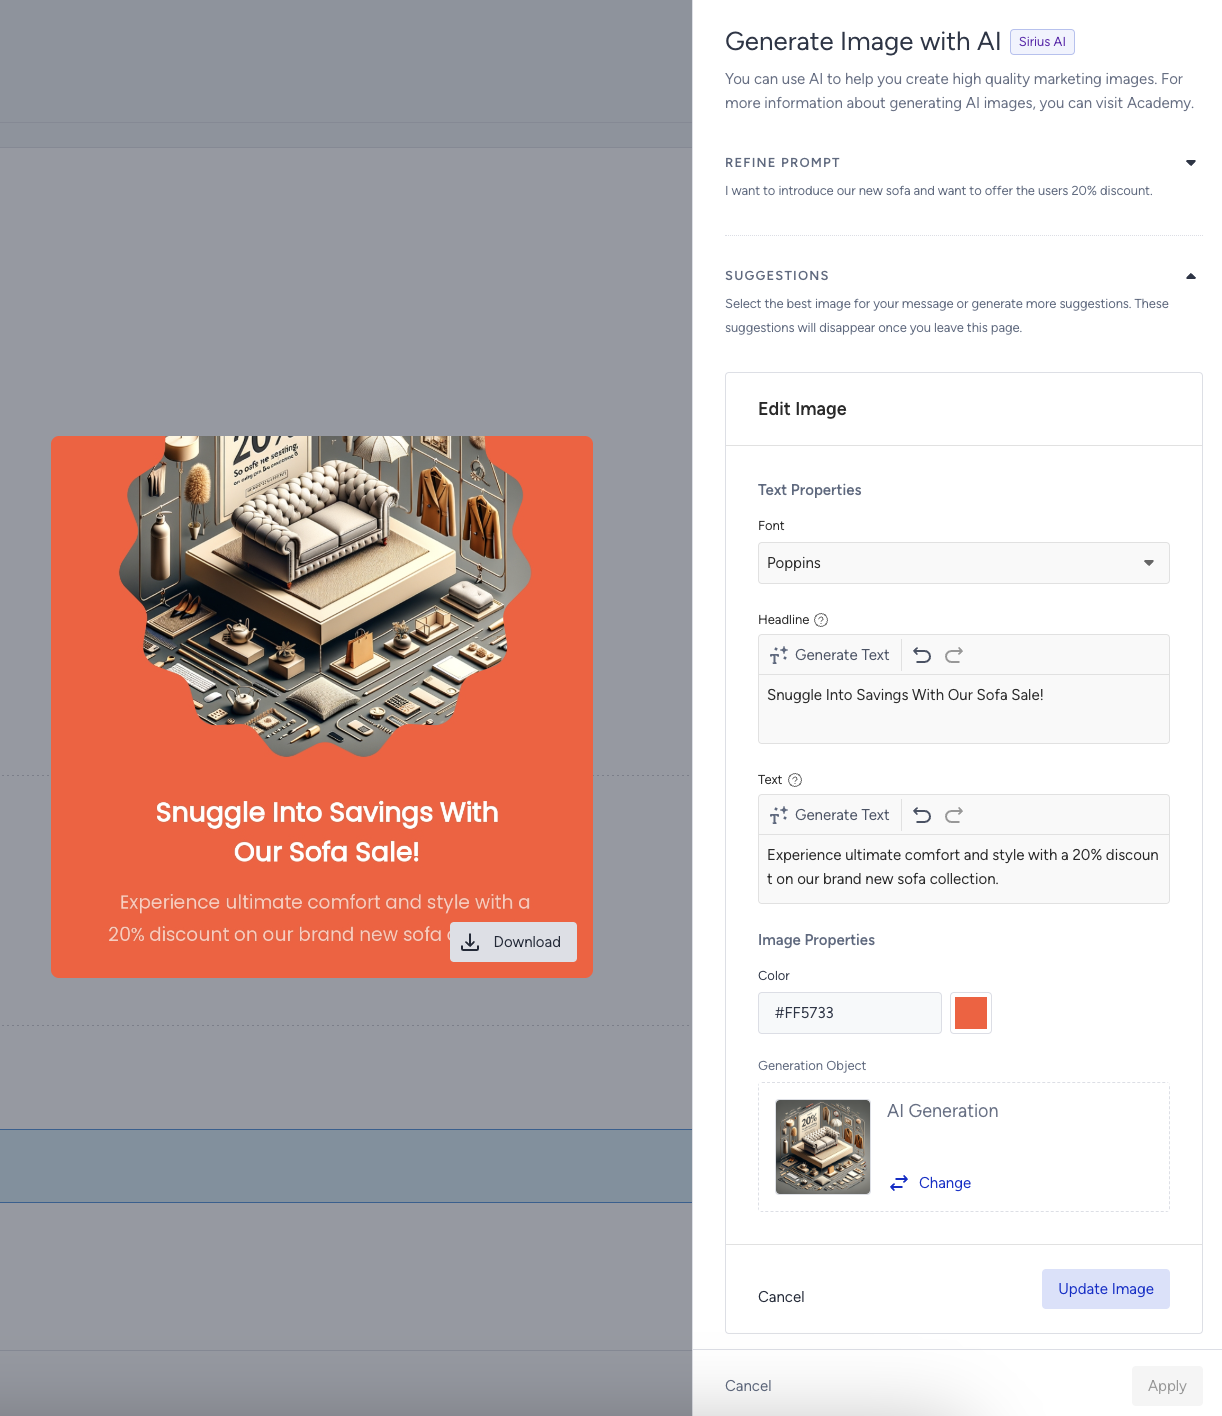
4. Enter a prompt to describe the image you want to generate. Provide as many details as possible in your prompt to achieve more accurate results.
5. Select your use case and industry.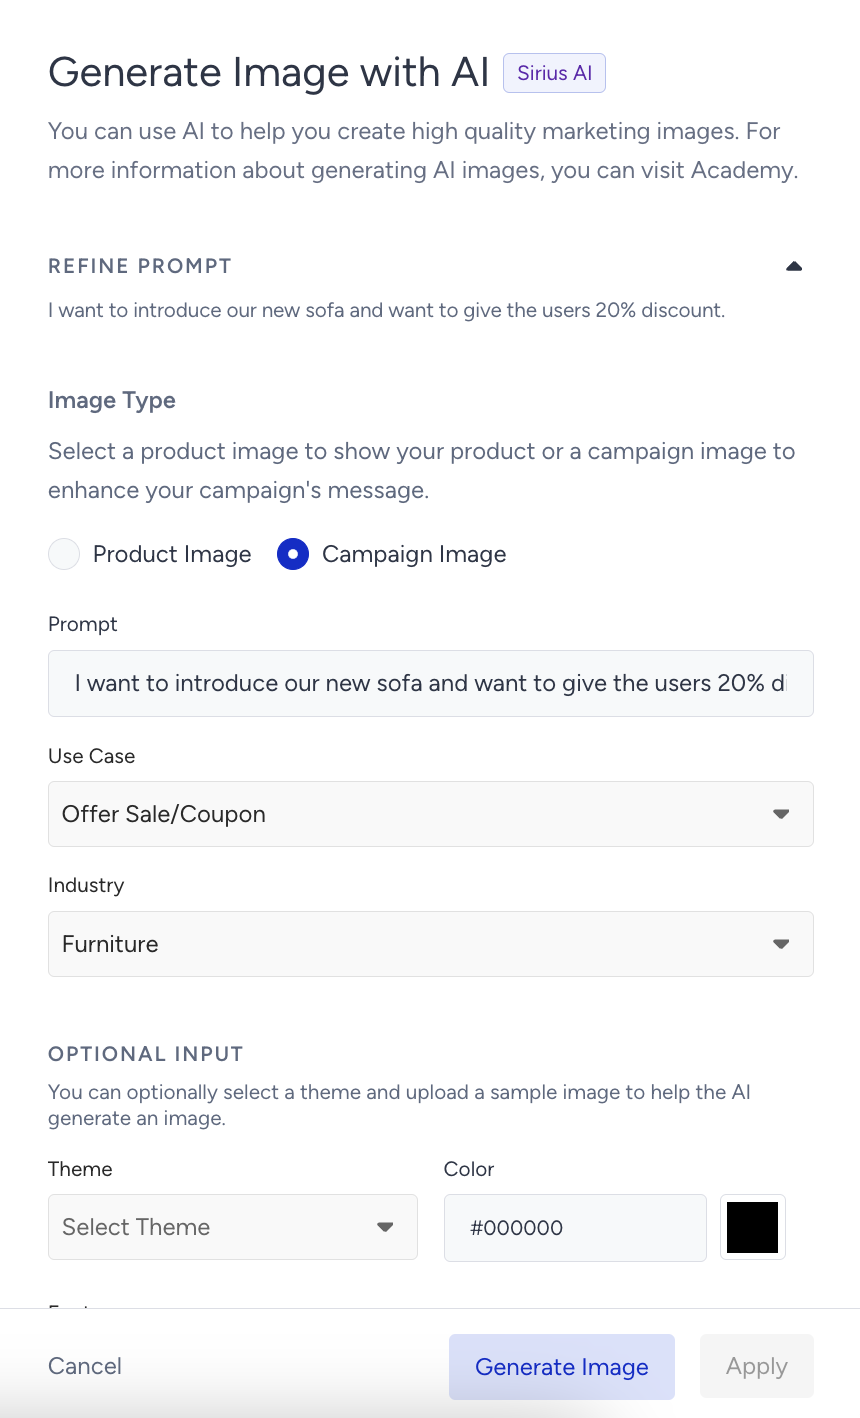 You can optionally select a theme to suit the context of your campaign, such as special occasions or seasonal events, and choose background colors and fonts to align with the campaign's style.
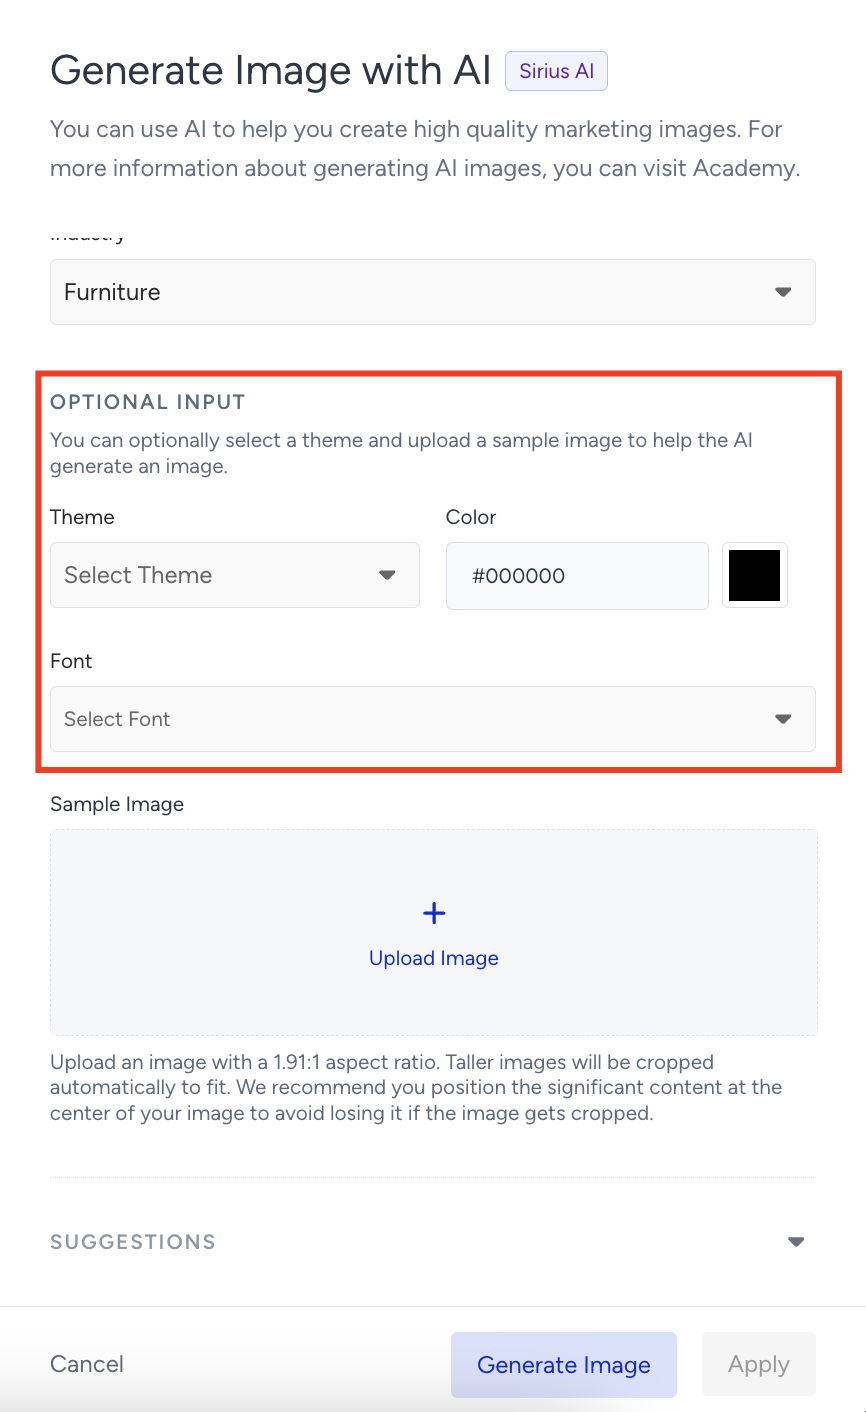
6. Upload a sample image. When you upload a sample image, you should consider that:
- For product images: A sample image is required. The AI will modify the background while keeping the product intact.
- For campaign images: Uploading a sample image is optional. The AI will generate the campaign image based on the provided context, but not directly use the product.
7. Click the Generate Image button. 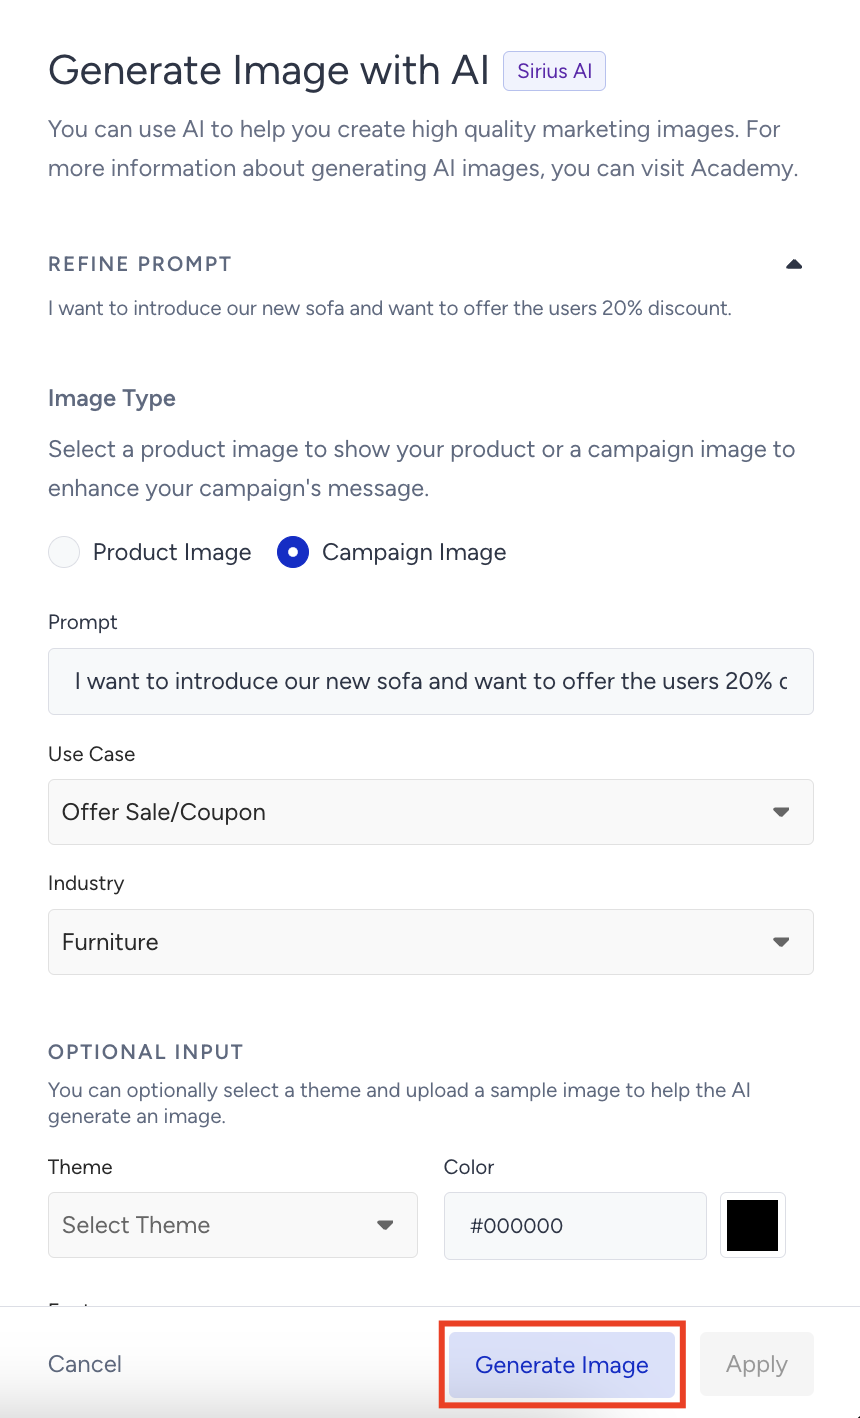
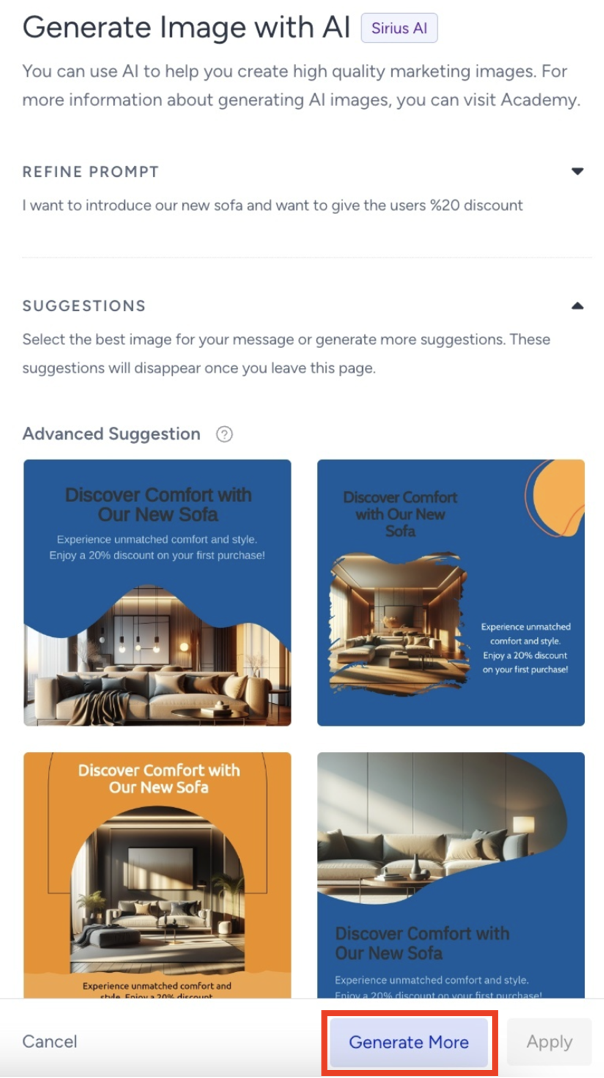
8. The AI will suggest four images. .png)
- If the initial suggestions don’t meet your needs, click the Generate More button to see the additional options.
- To edit an image, hover over the image and click the Edit icon.
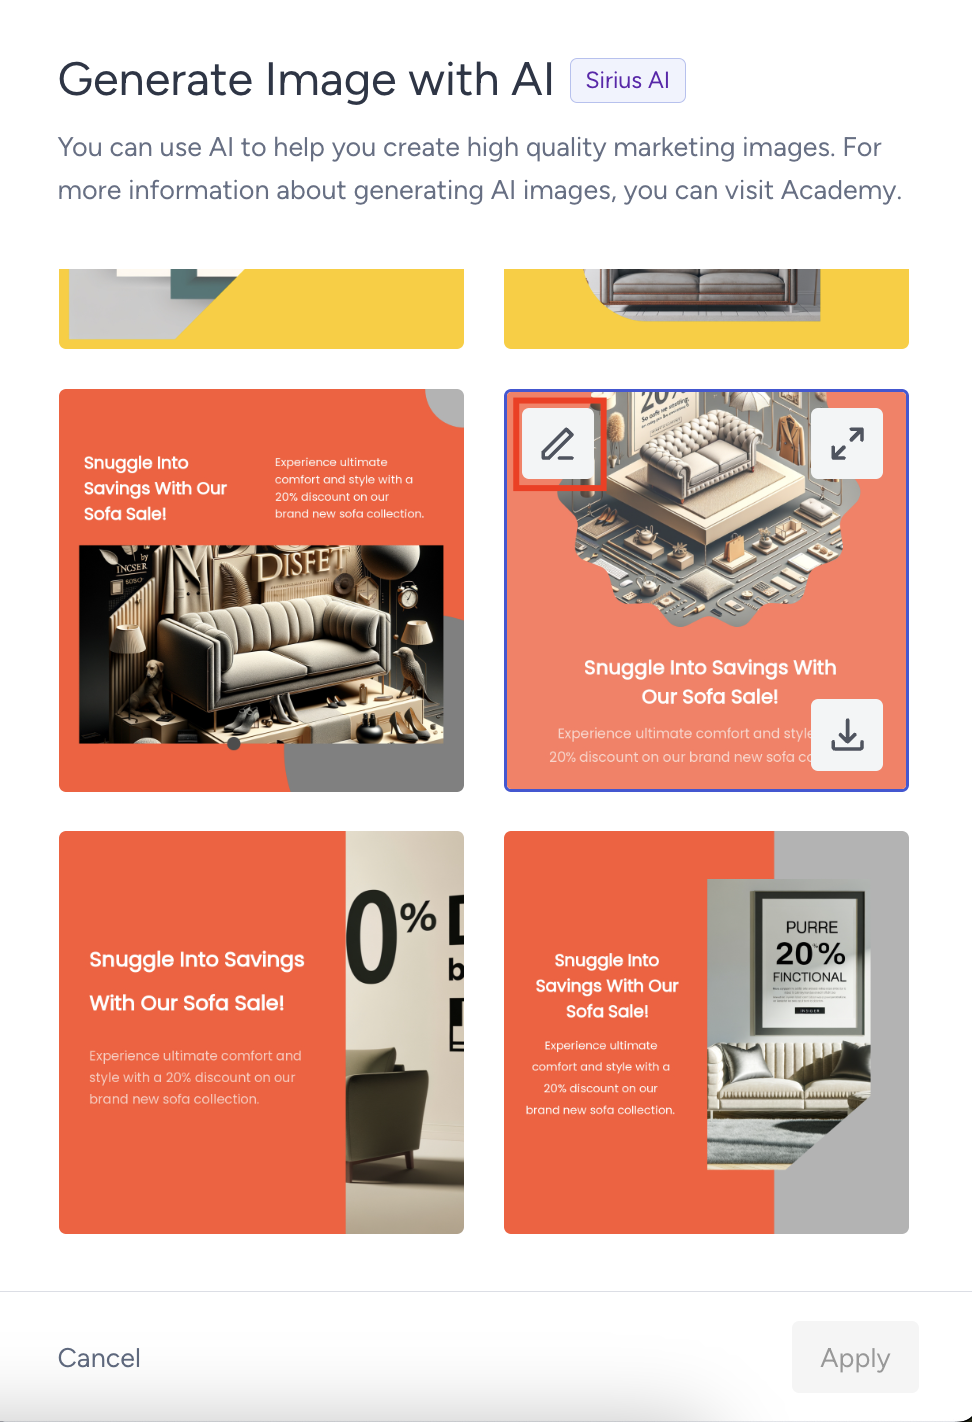
- You can change the text, colors, or fonts in the image. For campaign visuals, you can also replace or download the product-related object. After editing your image, click the Update Image button.
9. When you find an image you like, click the Apply button to use it in your campaign. 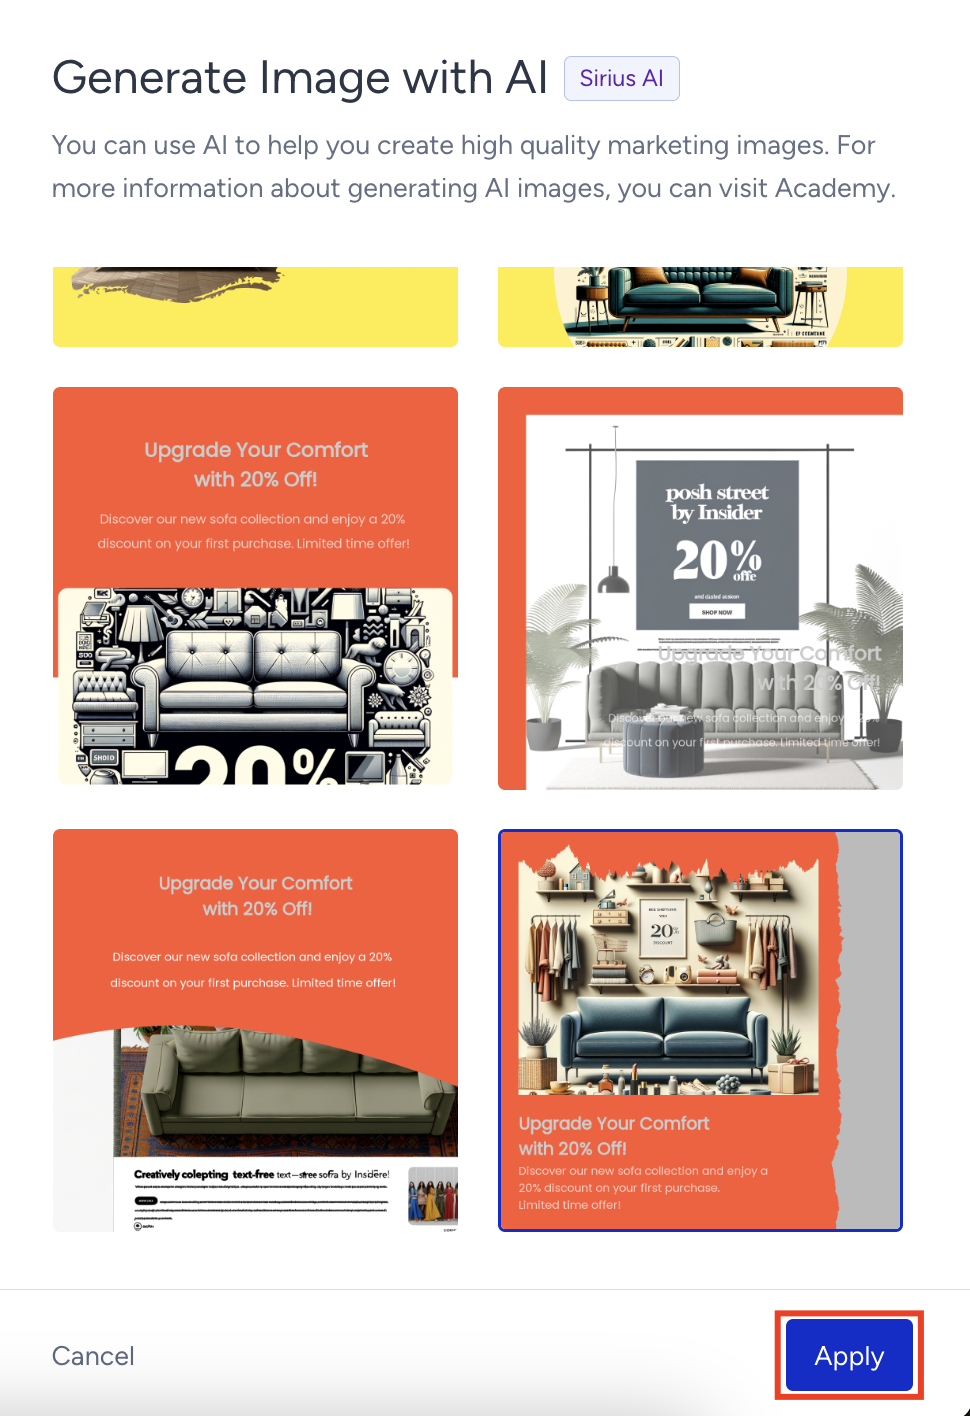
After you click the Apply button, you can change the image, regenerate the image with AI, or delete it if you want to.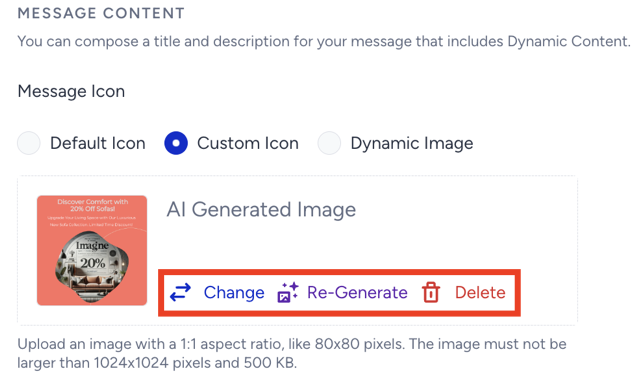
10. After filling in the required information in the Design step, click the Save button. 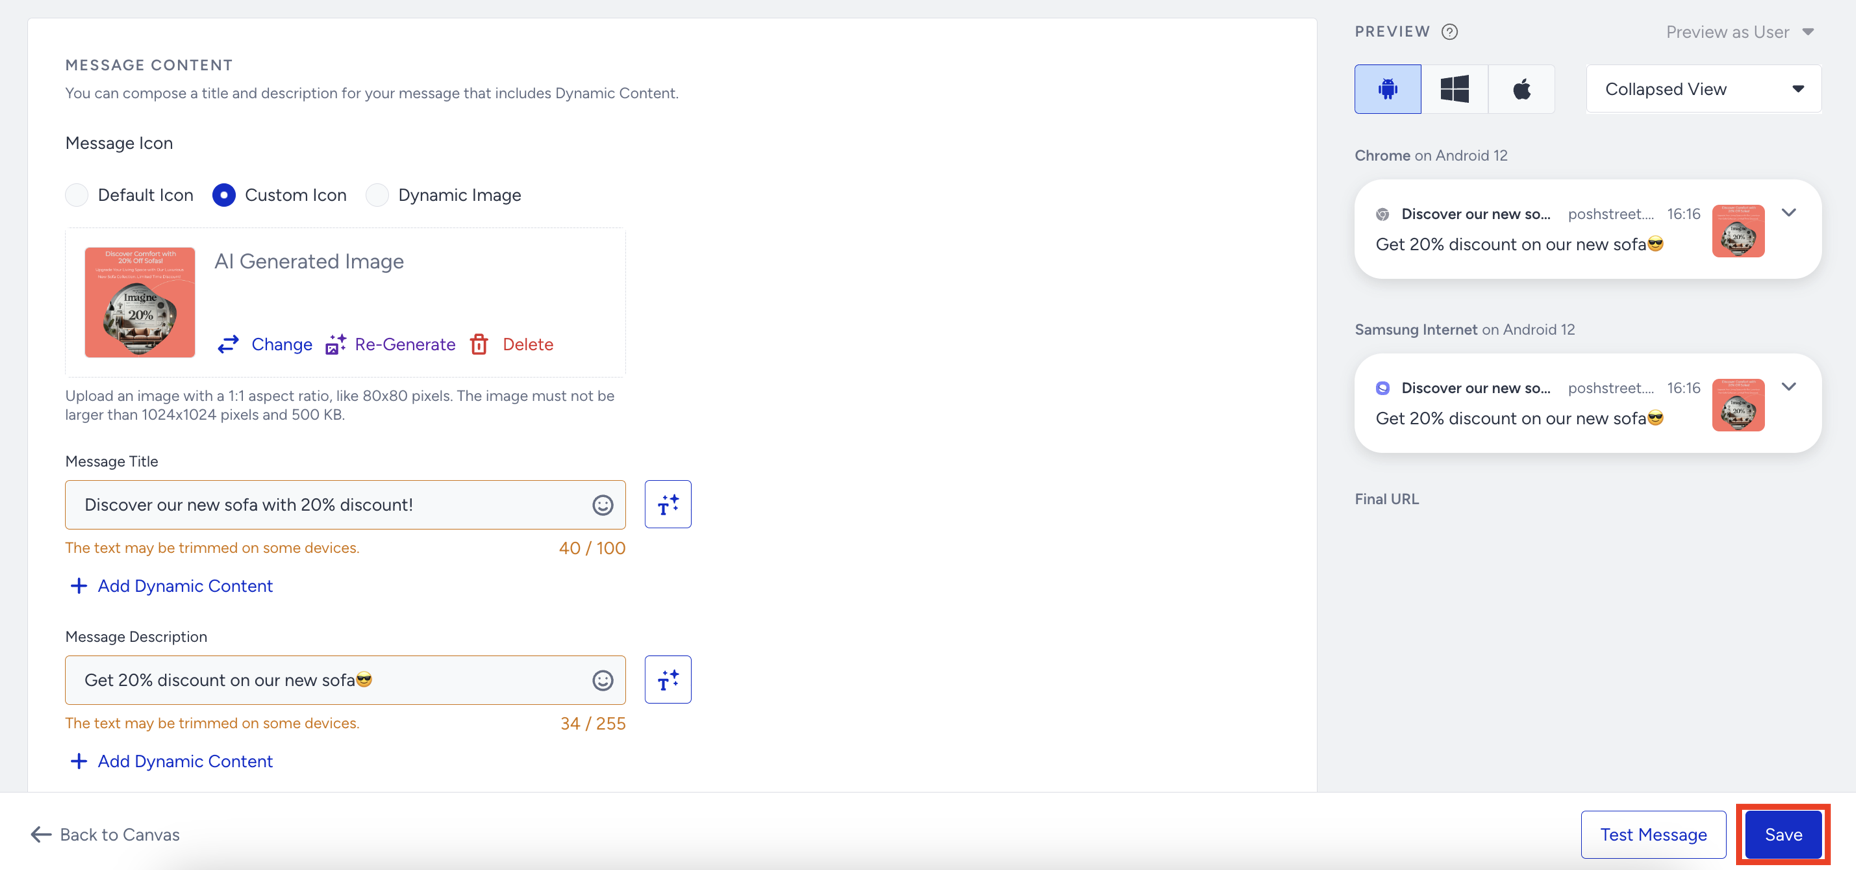
After saving your design, you can return to it on your canvas and click the Enhance with AI button to change the image you selected with AI or create a new one. 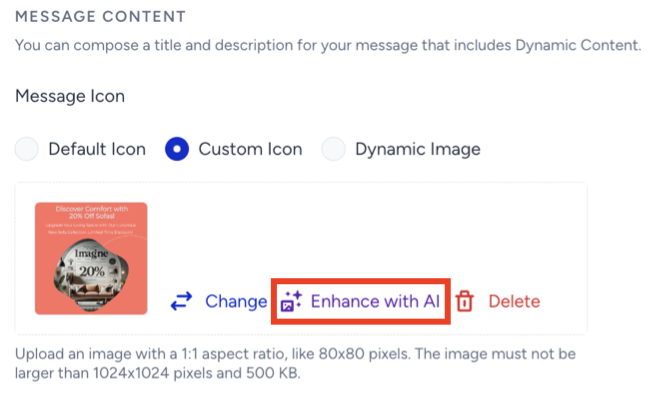
You can follow the tips below when you are using the Web Push Image Generation with AI:
- Use sample images: Upload past campaign images to help the AI understand your desired style.
- Enter detailed prompts: Provide clear and specific details in the prompt field for enhanced customization. The more guidance you give, the closer the result will align with your vision.