Before starting to work with the HTML editor, make sure to have your images ready, complying with the following criteria:
- Outlook and some internet service providers do not support images in .svg format. That's why we have built a mechanism that does not allow you to add any .svg formatted images in the editor.
- You can use image formats other than .svg or .pst.
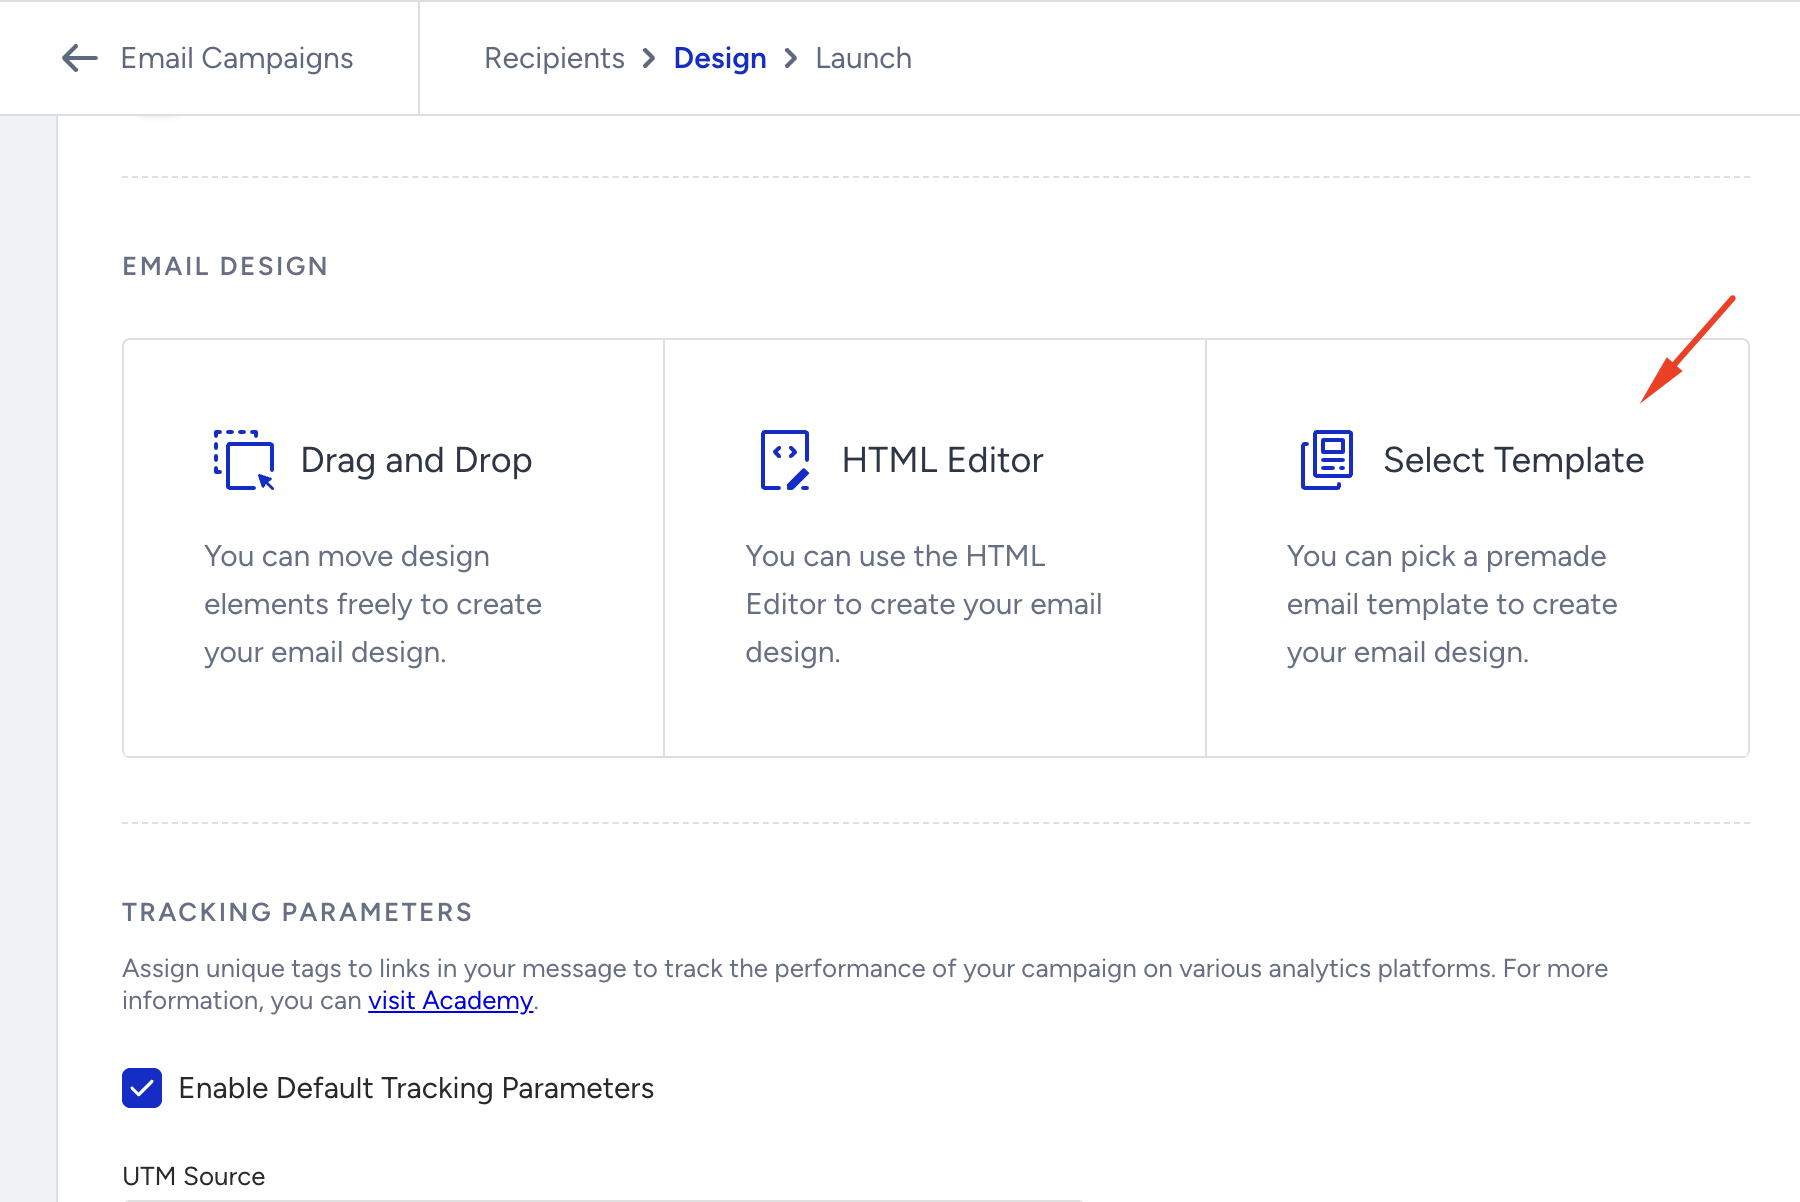
With the HTML editor, you can perform the following actions:
If this video does not load in your region, you can watch it on our YouTube Channel.
Add your HTML code
Add your previously prepared HTML code or create it with the editor.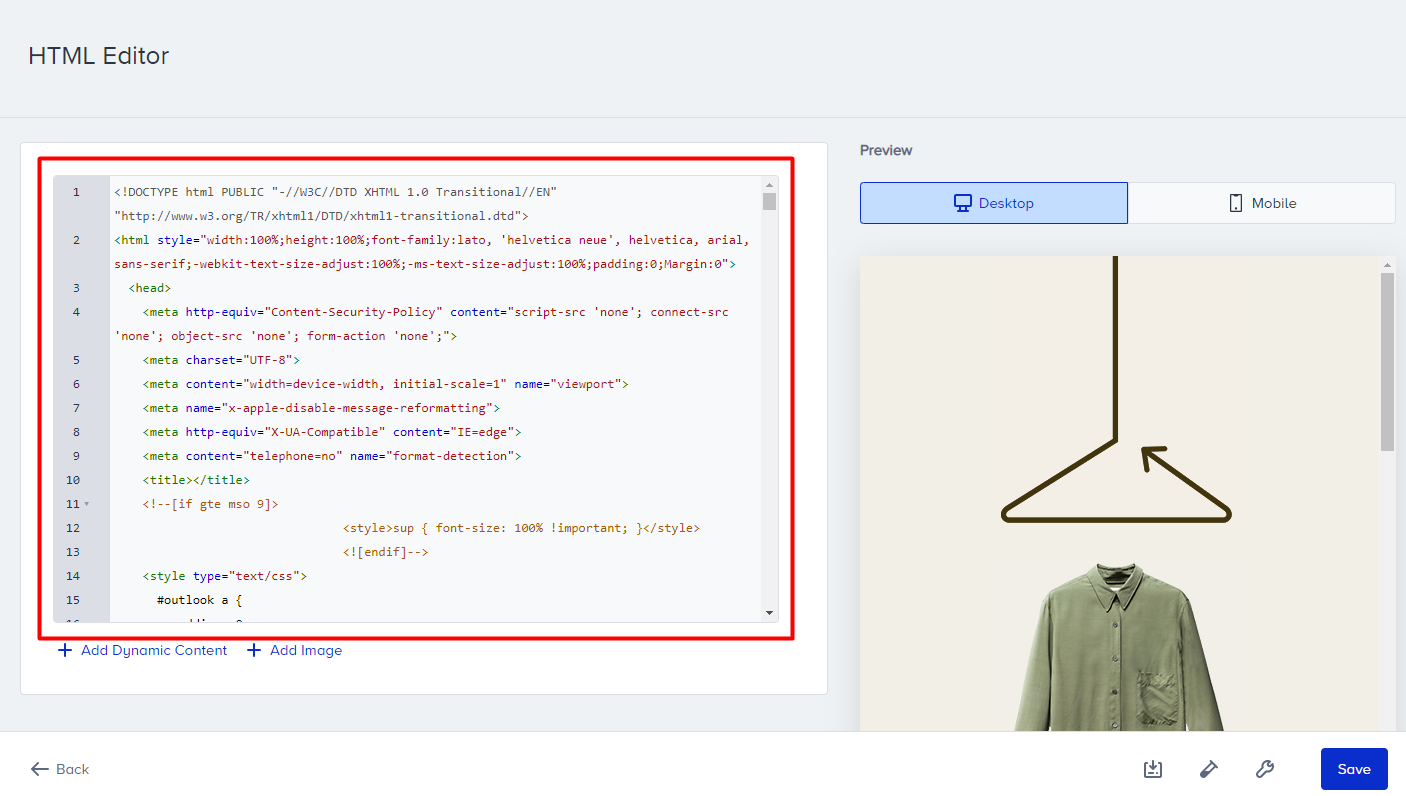
The size of your email design should not exceed 100 KB. Otherwise, it might be clipped in certain inbox providers.
The <script> and <iframe> tags are removed from the email as most email service providers (ESP) do not allow to embed scripts and iframe in the email body.
Preview your email design
Previewing helps you ensure that your design is responsive and determine whether you need to make any changes.
After creating your HTML, preview your email design on desktop and mobile resolutions.
Tag shortcuts
You can add dynamic content, images, and unsubscribe link using the buttons.

Add dynamic content
You can personalize your email design with attributes. You can add the dynamic content in your email in two methods:
1. Add manually
Type the attribute name in the {{attribute}} format with its correct naming convention.
2. Add predefined dynamic content
Click the Add Dynamic Content button to see the list of attributes that you previously created.
After choosing the attribute you want to use in your design, you can see it in the HTML in the {{attribute}} format.
Each subscriber that has a value for this attribute will receive the email content with that value. For those who do not have any value assigned for this attribute, you can add a fallback value that will replace the attribute.
You can assign a fallback after selecting the dynamic content or add it directly inside the attribute as in attribute|fallbackValue and replace “fallbackValue” with your value.
Add images
You can add images with the following methods:
Upload image
Select one from the image library
Add from a link
Add as a dynamic content

Add unsubscribe link
See how you can create unsubscribe pages.
Add conditional blocks
You can use display conditions to show different content for each subscriber based on certain conditions.
You can add the default and custom attributes in your statements as in the example below:
{% if age > 30 %} CONTENT {% endif %}
{% if age < 20 %} CONTENT {% endif %}
{%if membership = “gold” %} CONTENT {% endif %}

This example will display the second content to subscribers with a gold membership.
Save as template
You can save your HTML as a template in the template library and use it later in your campaigns.
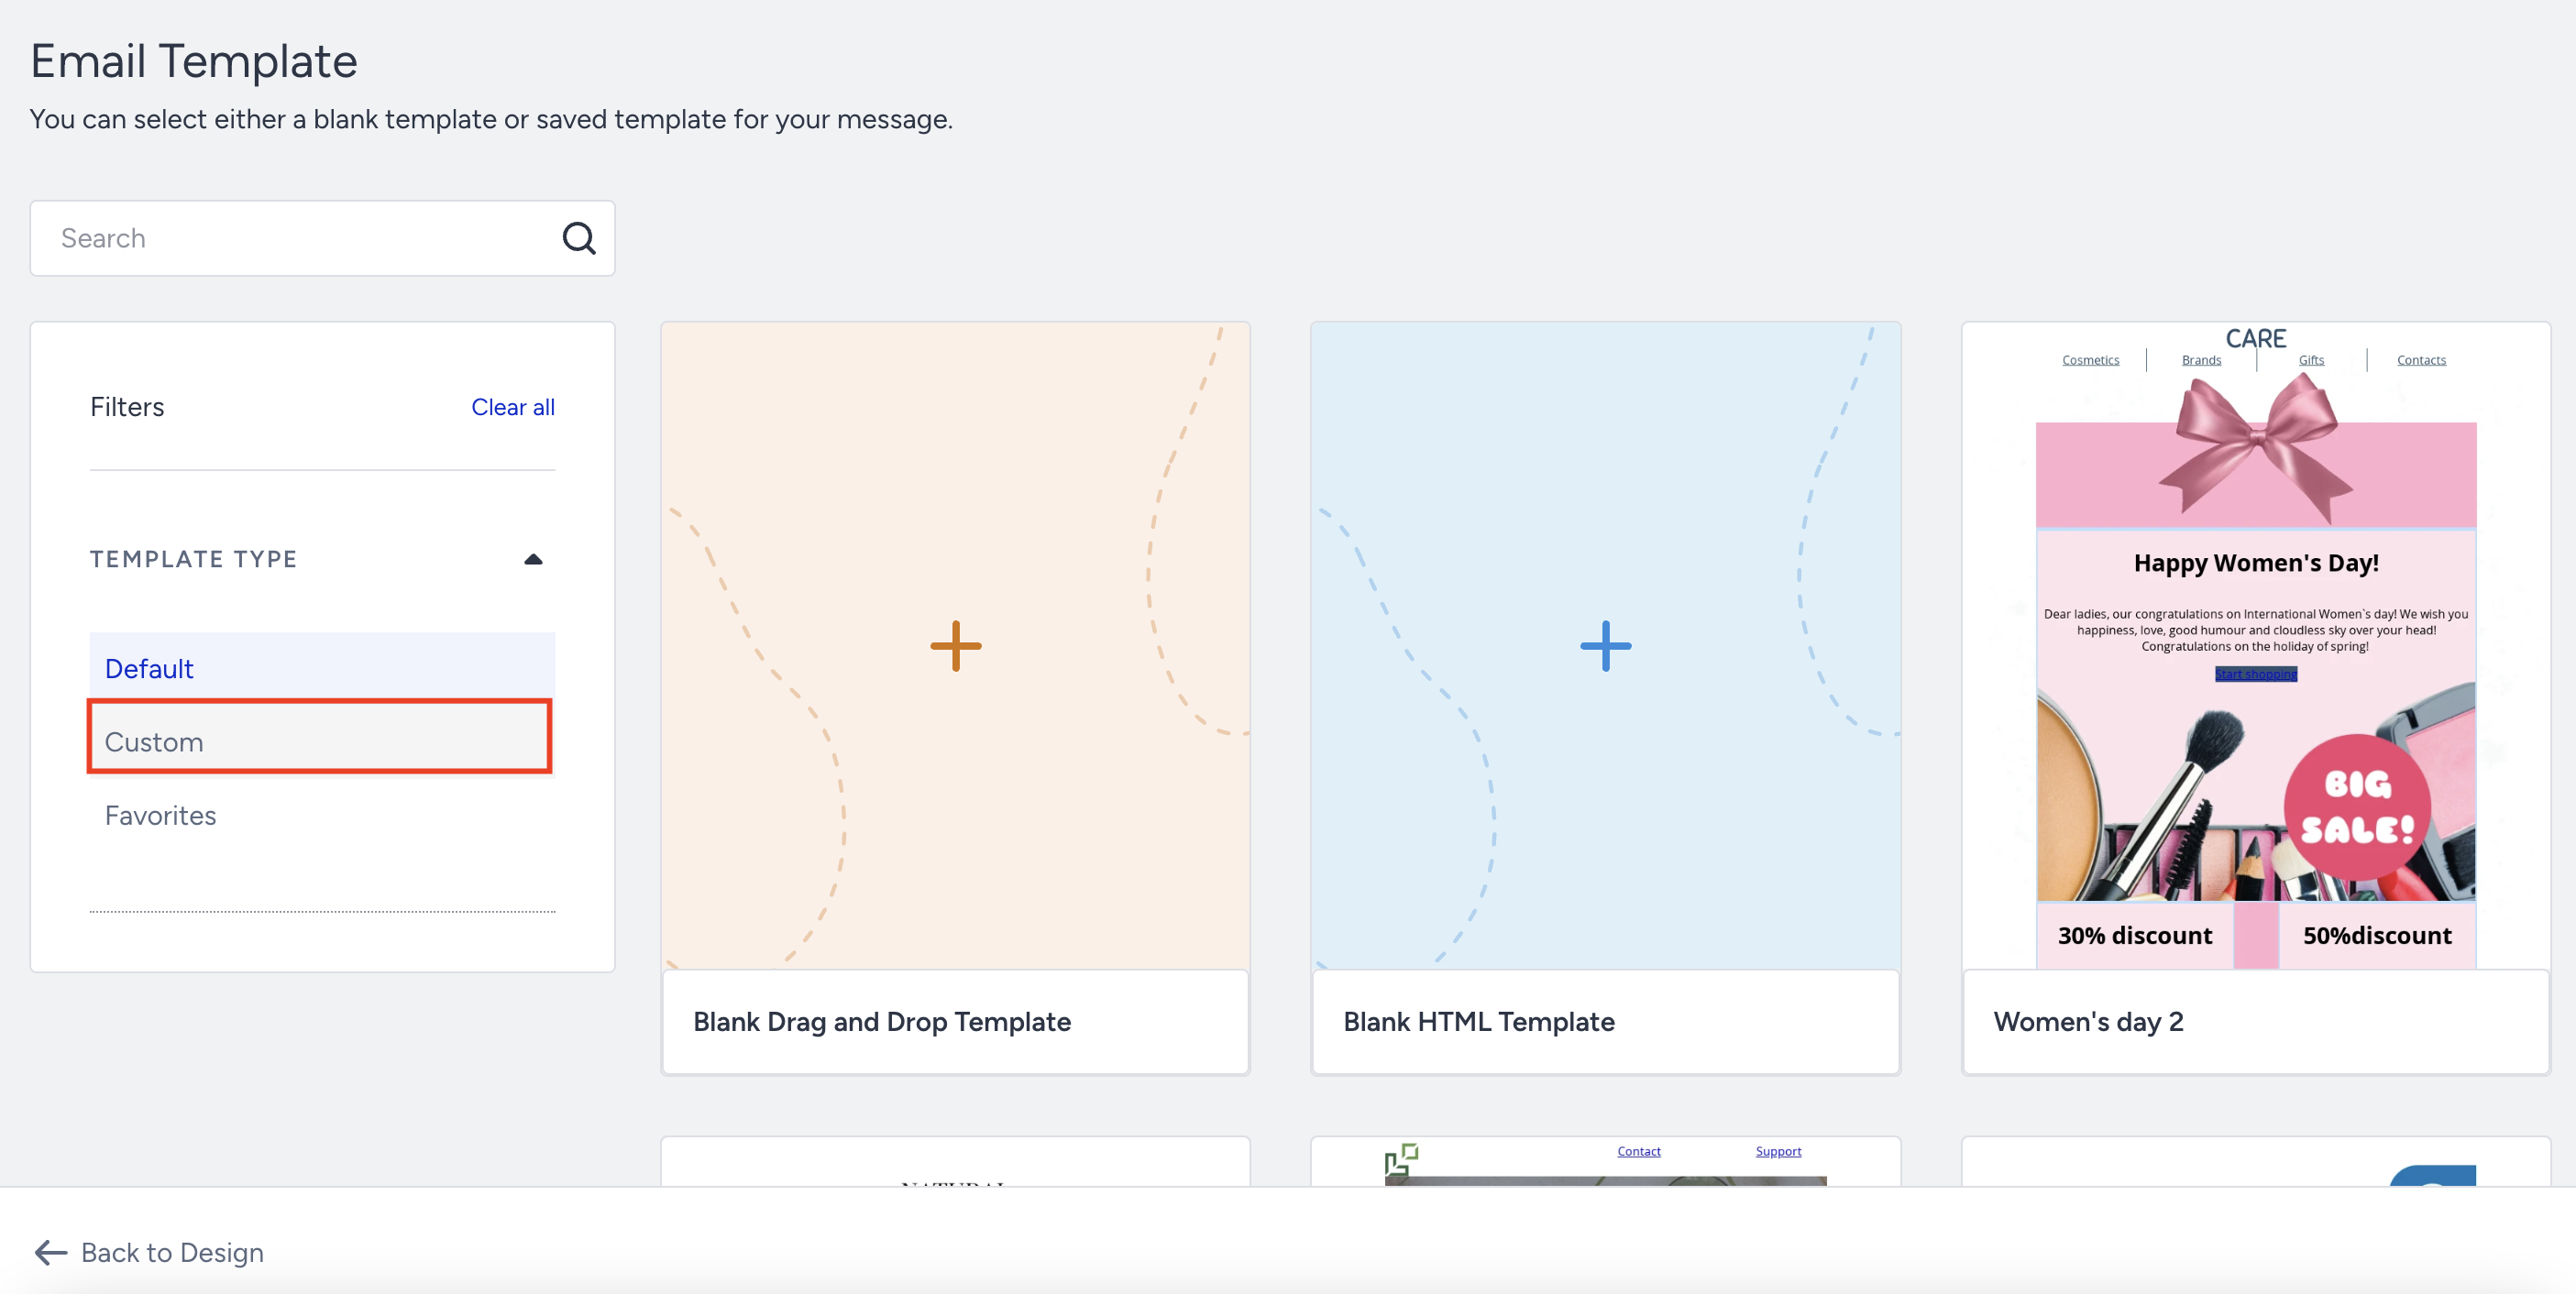
Click the Save as a Template button, name your template, and save it. Once you save your design as a template, you can view it under Custom Templates and select it to use in a campaign.
Once you save your template, you can view it under Custom Templates.
Fix HTML
Fix HTML helps you fix minor issues (e.g., incorrect usage of HTML tags, styling issues, broken images and blocks, etc.) in your email design. With this feature, you can avoid small mistakes and save time.
Click the Fix HTML button on the left bottom corner.
Click the Fix HTML button to make the necessary changes. Note that these changes cannot be undone.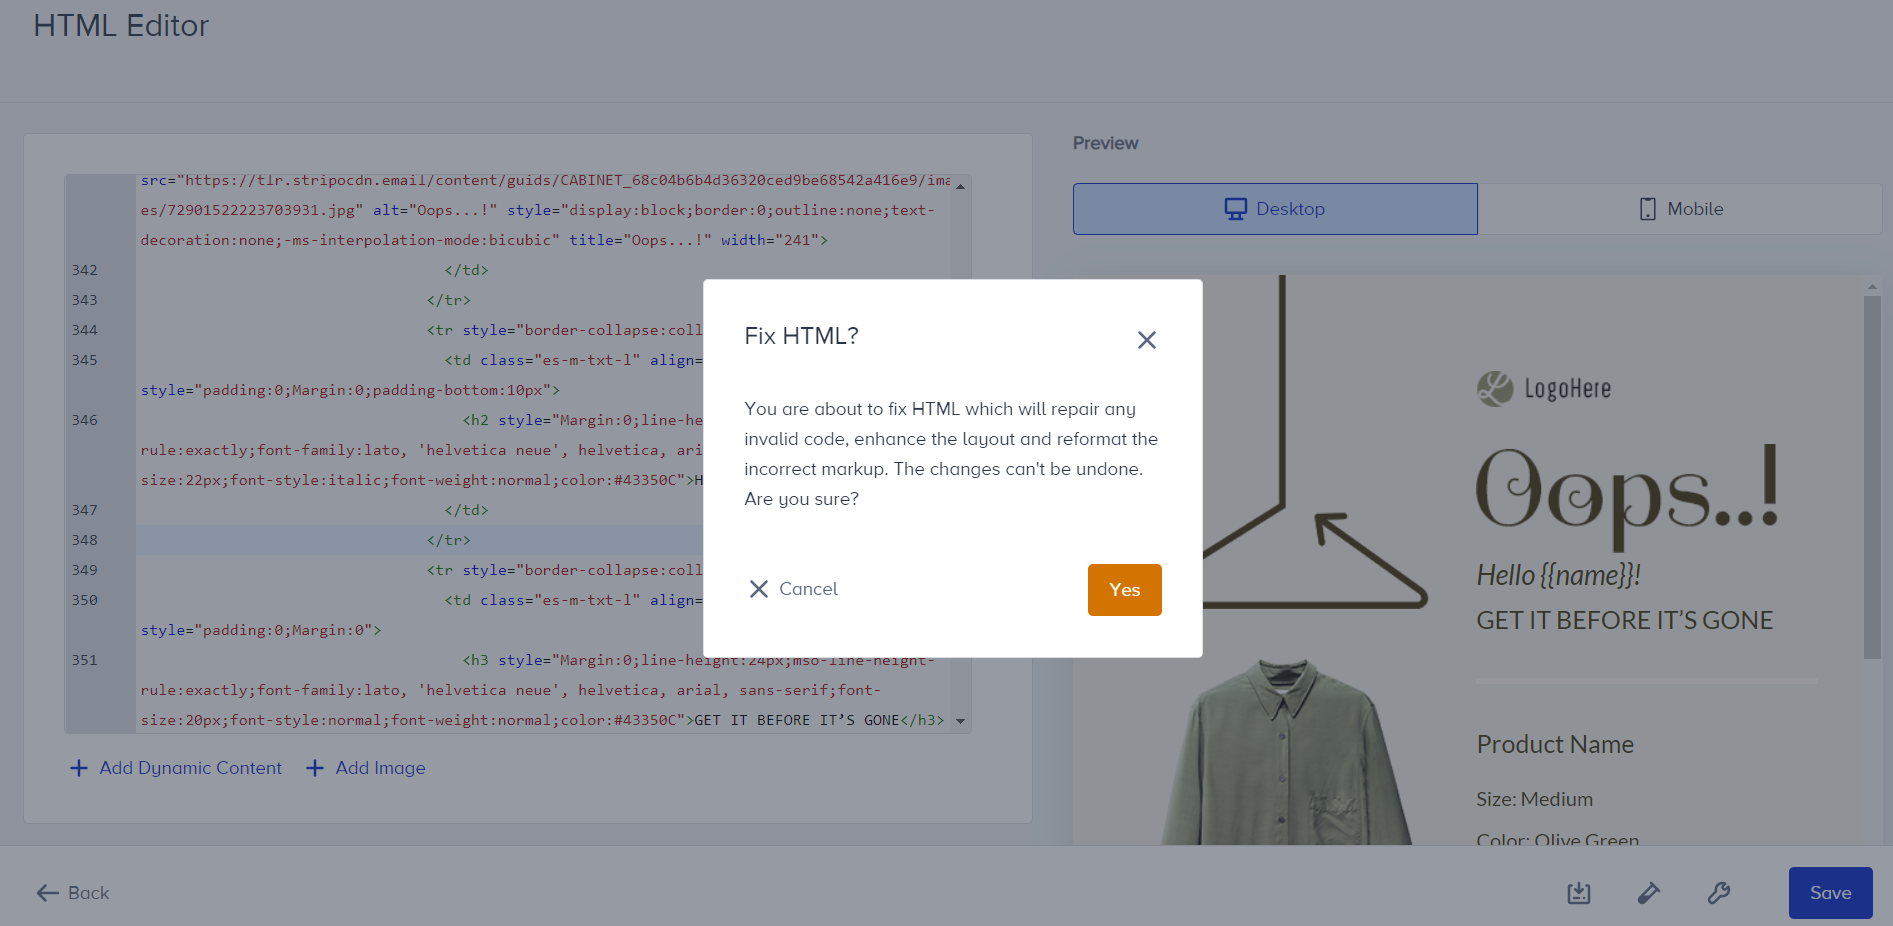
Test your email
You can send test emails to the contacts that you add.
Click the Test Message button.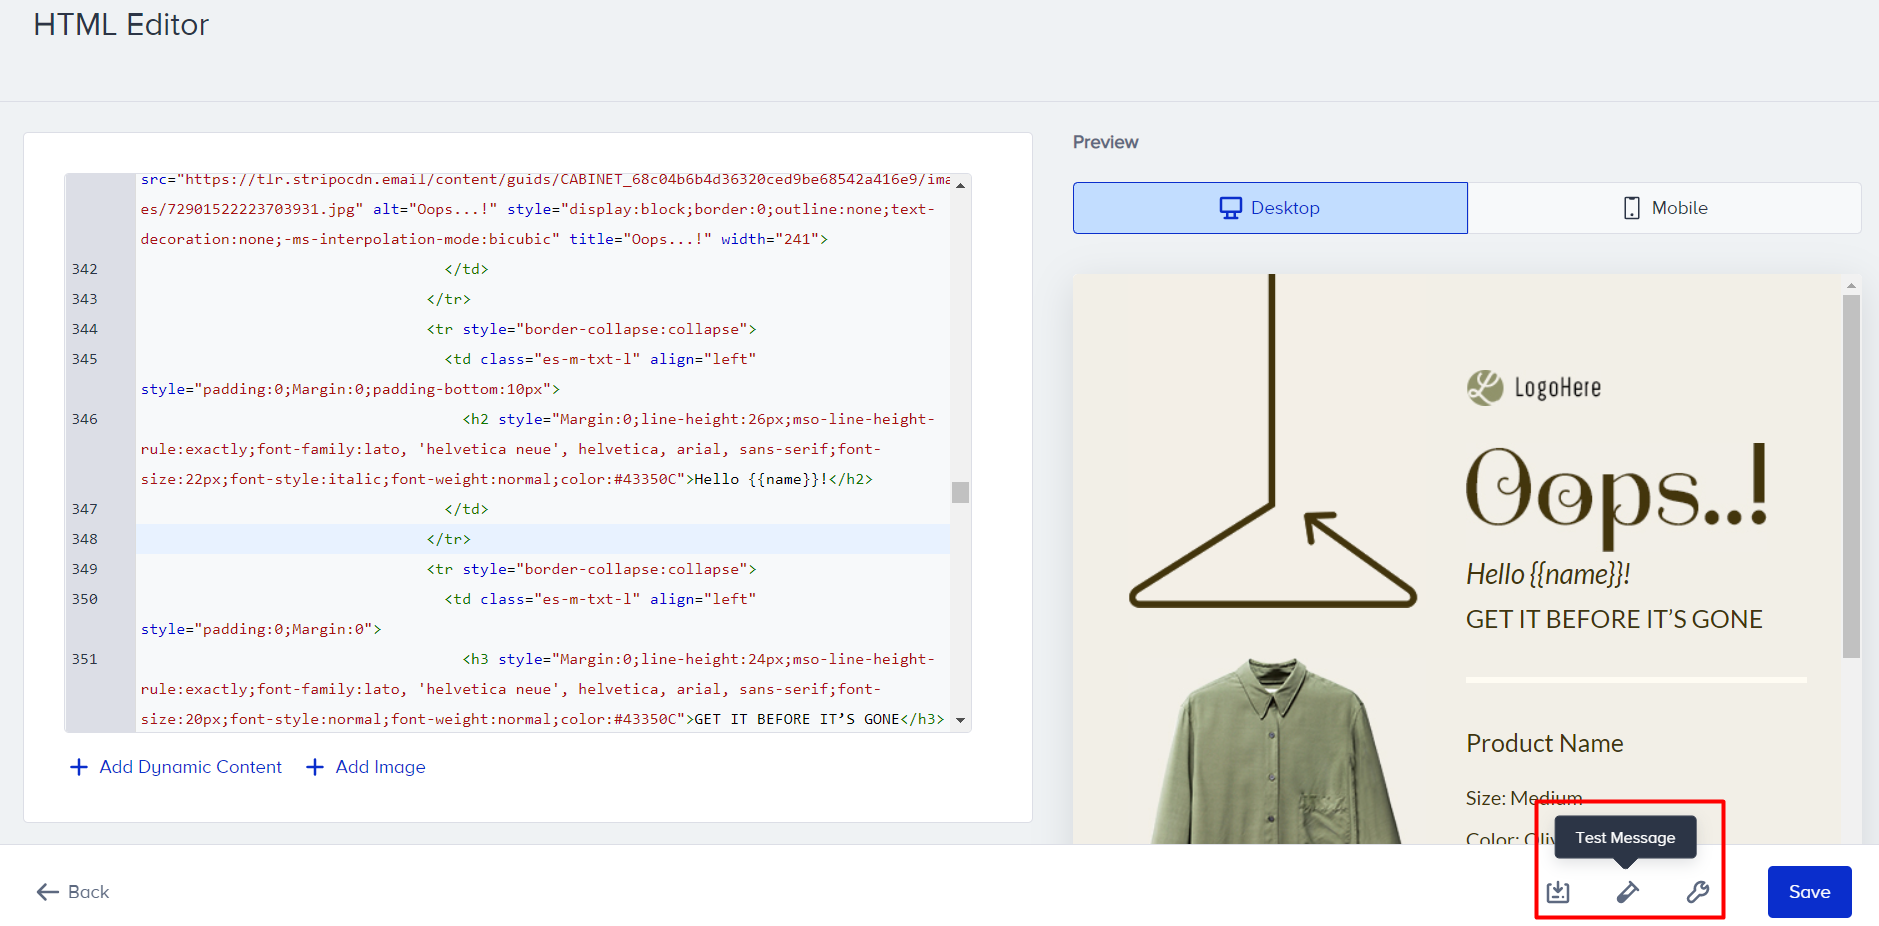
Add the email addresses to which you want to send your test message. You can enter up to 15 email addresses. Then, check the consent box to confirm that you have permission to send messages to these email addresses.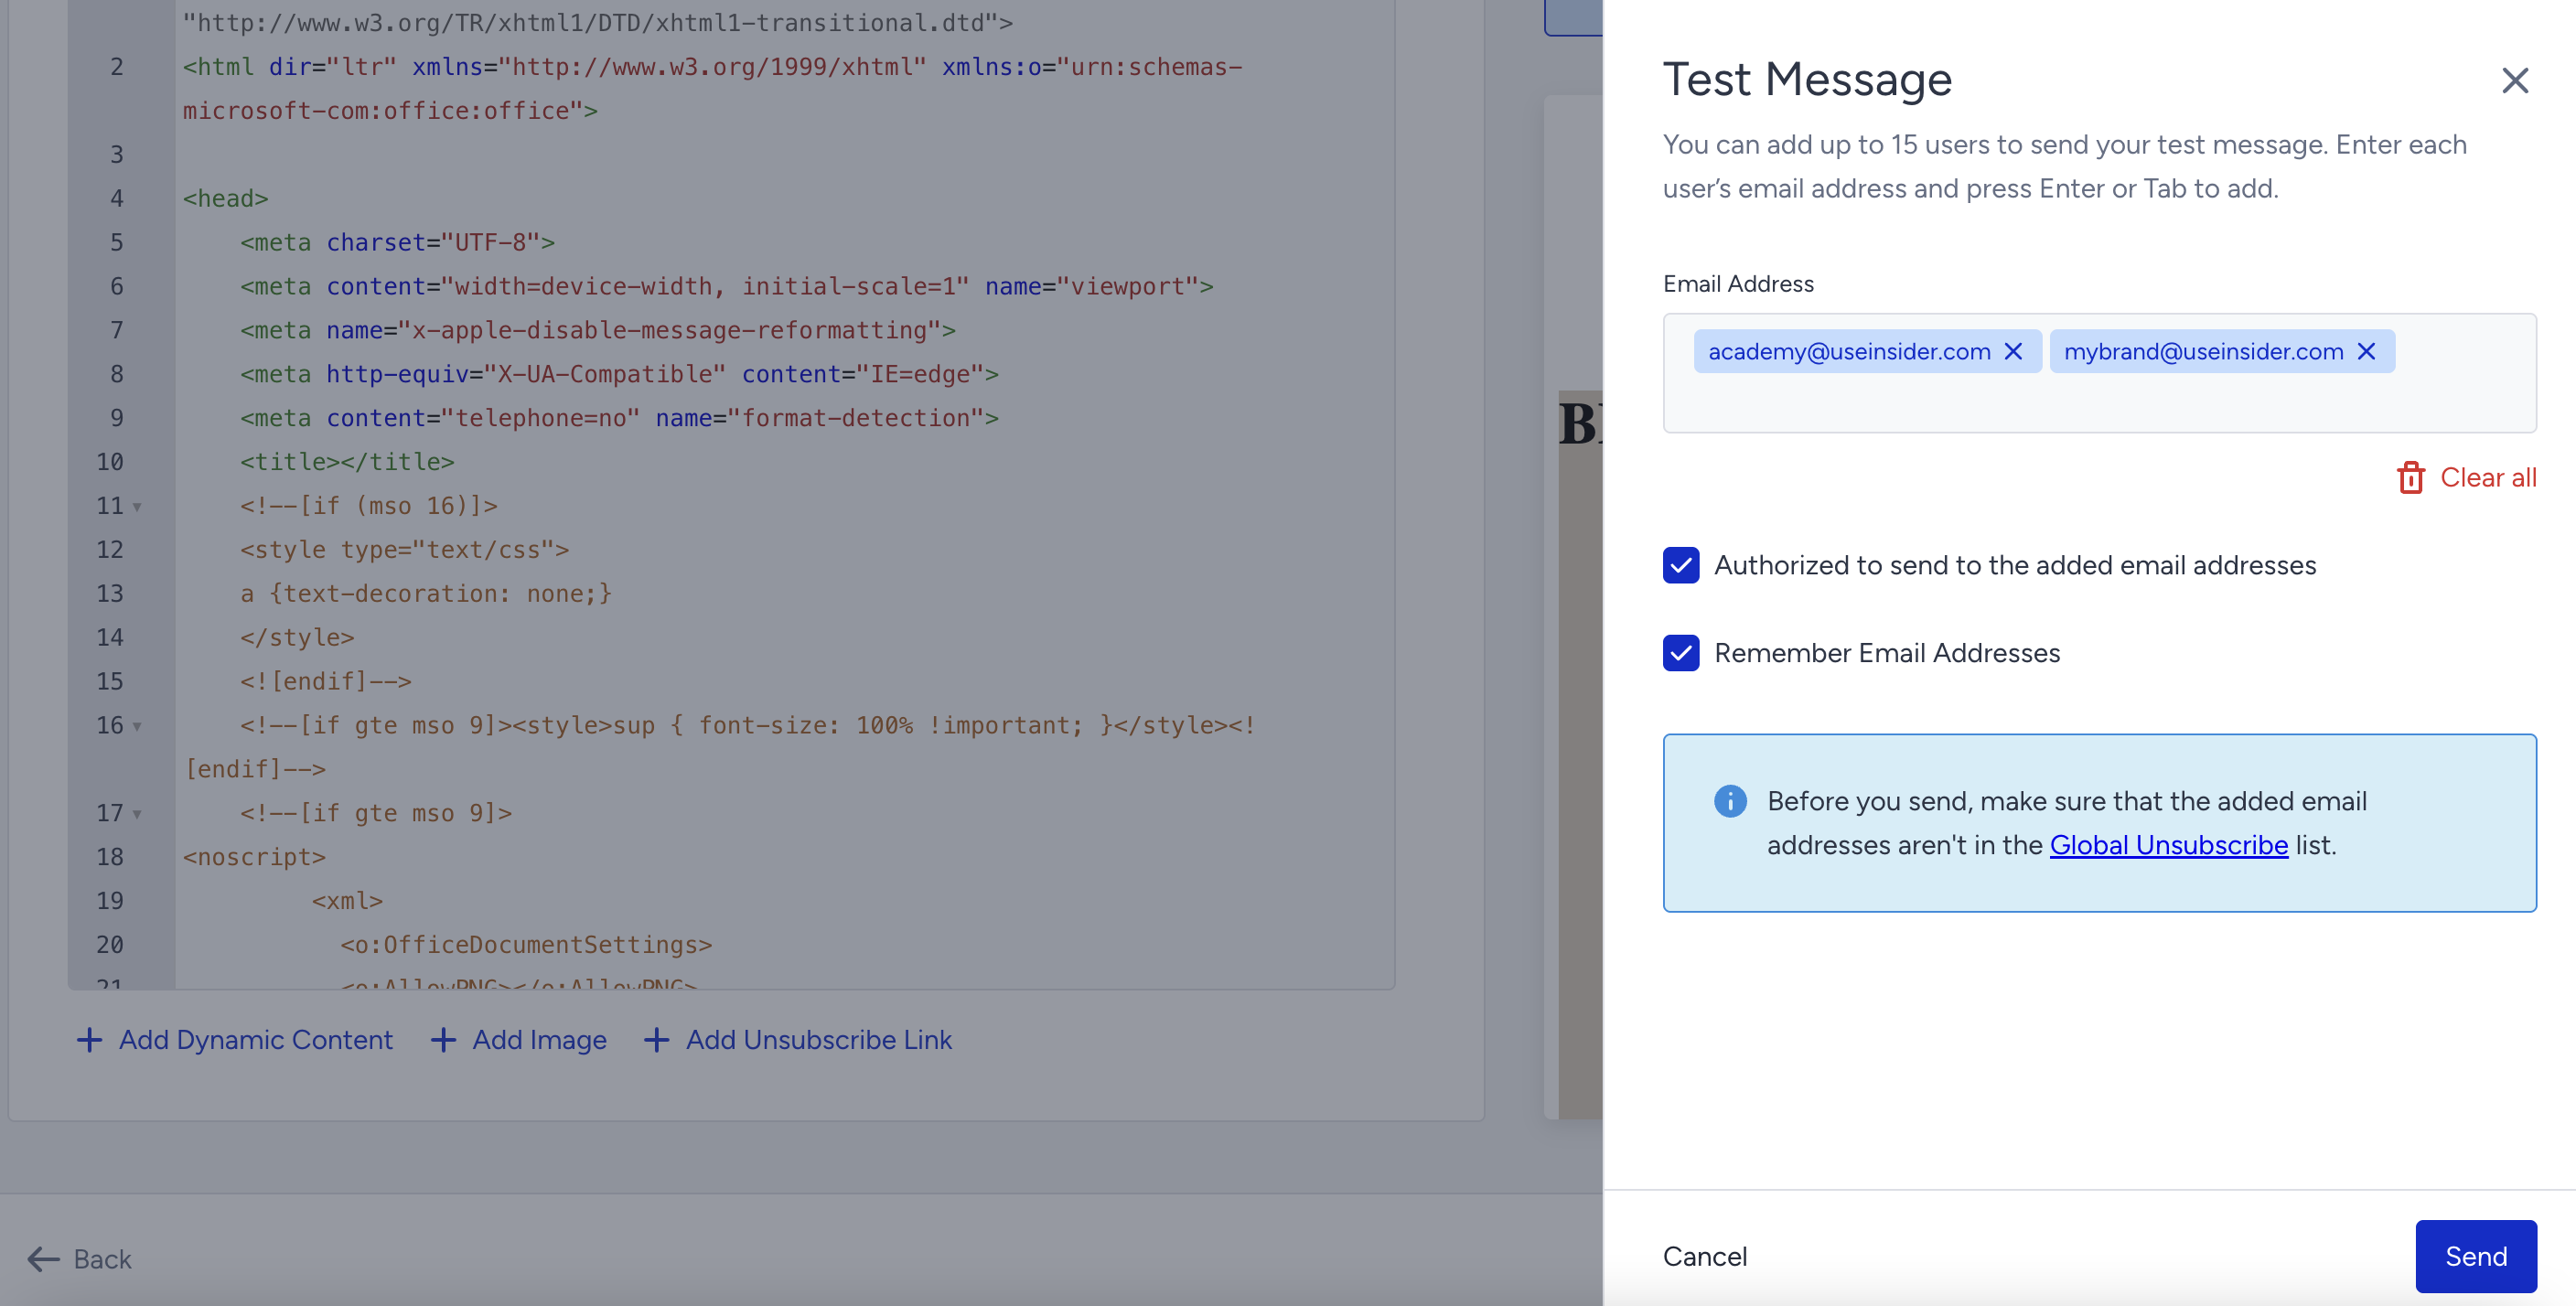
Personalize email content for Architect
In addition to the dynamic content items (e.g., default and custom attributes) in the Email product, Architect enables you to use the following items to personalize your email design:
Event parameters
Cart items
Browsed items
Purchased items
Coupon codes
Also, you can use event parameters in the display conditions.
You can add dynamic content to your Architect emails in two ways:
1. Add manually
Add the attribute name in the following format in the correct naming convention:
{{name}}
{{surname}}
2. Add predefined dynamic content
Click the Add Dynamic Content button and select one of the following dynamic content types:
Default and custom attributes
Event parameters
Cart items
Browsed items
Purchased items
Coupon codes

Your dynamic item will be placed where your cursor is in the HTML body at that time.