Suggested readings: Add images to an email, Image rollover effect
In this section, you will learn how to edit images used for any general purpose in an email, including product cards, signatures, thumbnail images, etc.
To edit images in your email design:
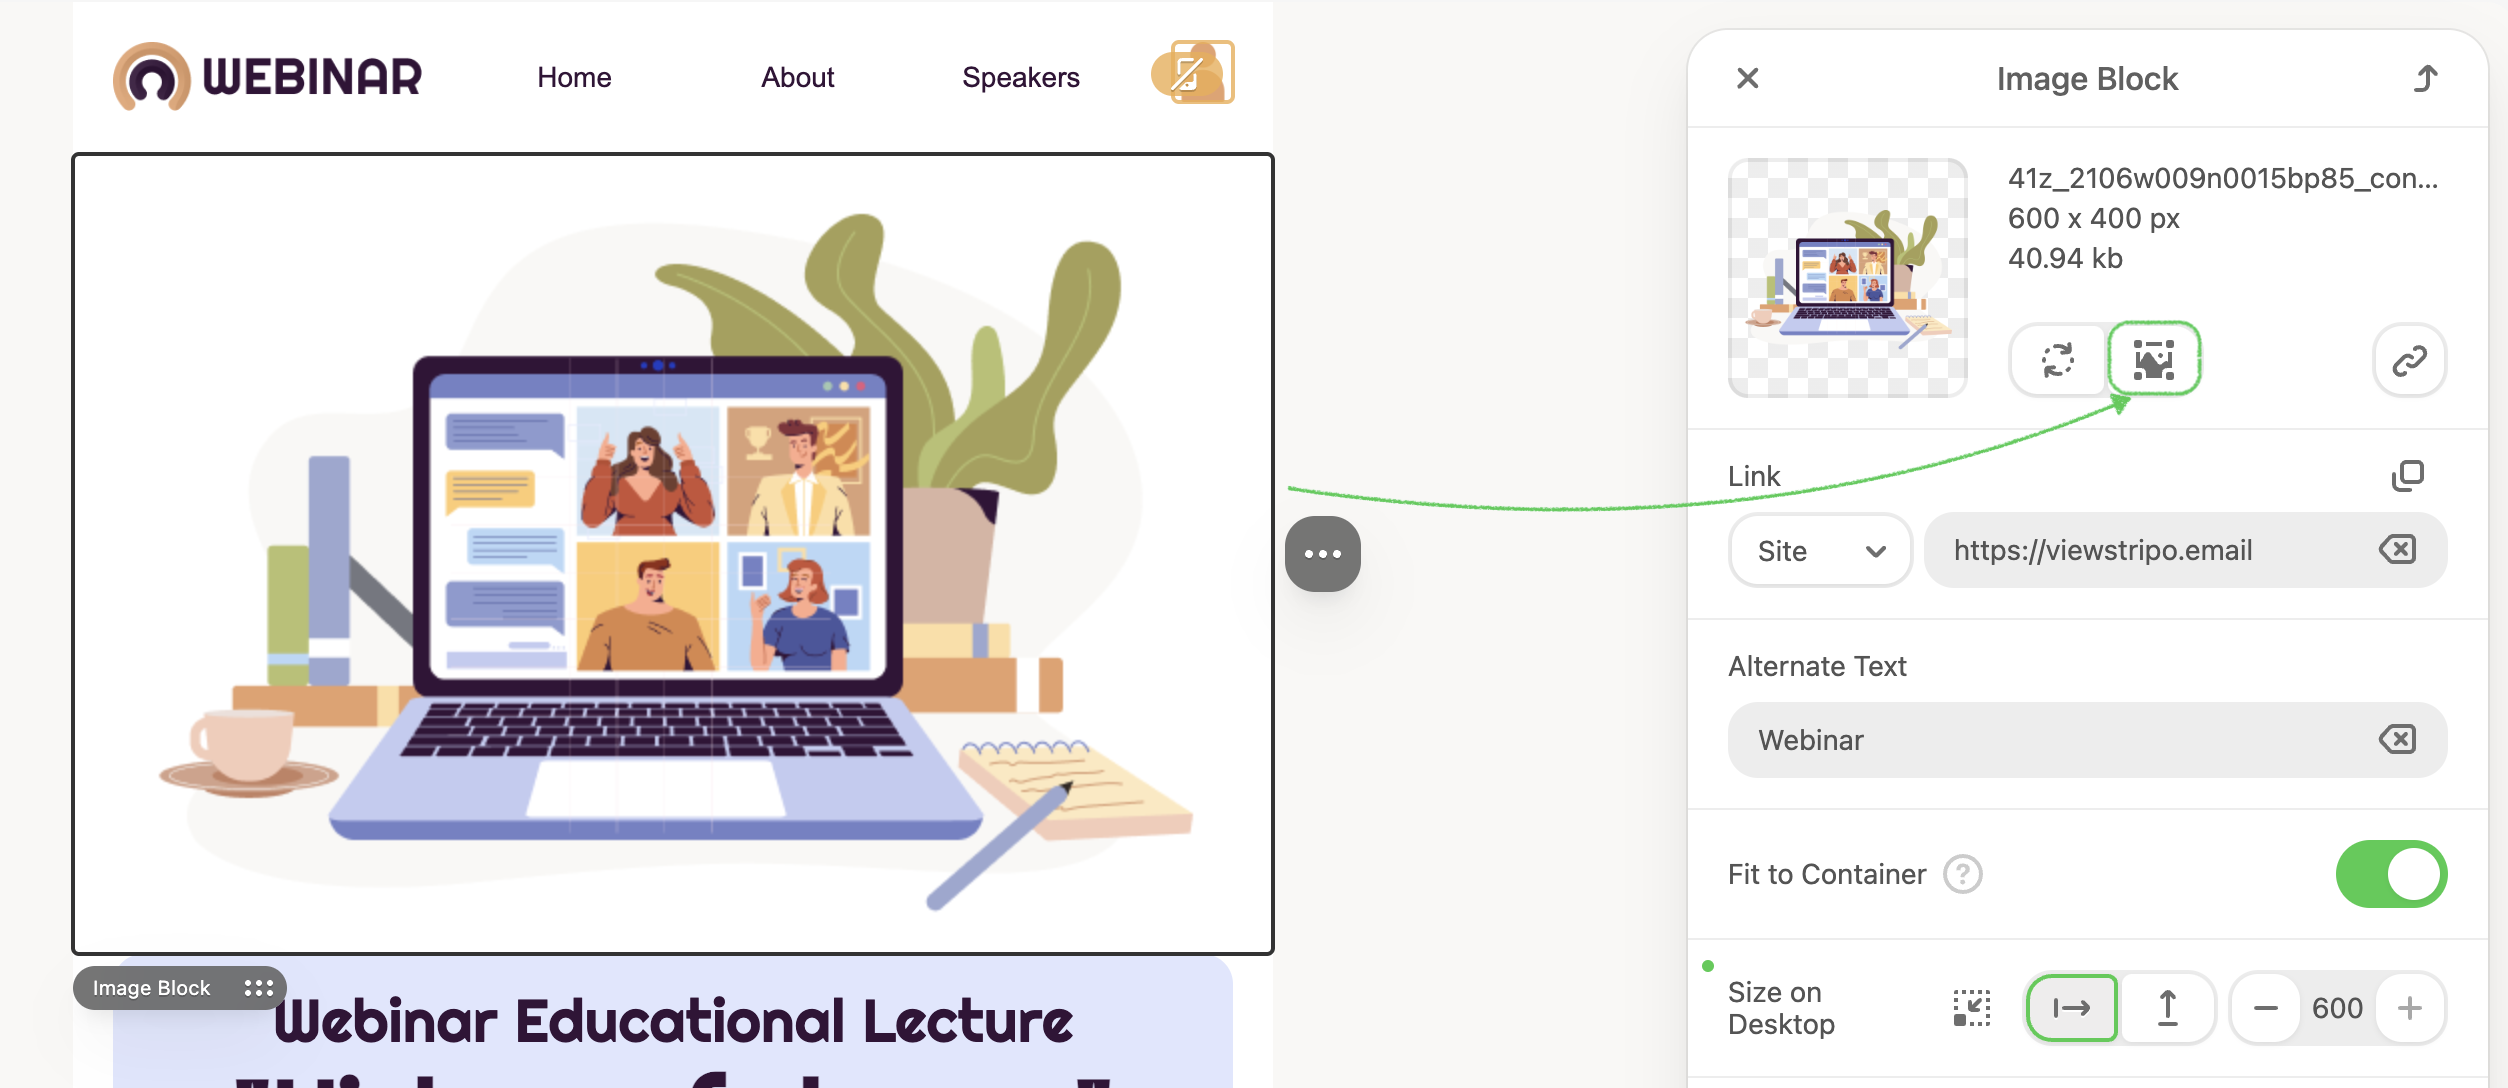
1. Once you’ve uploaded the image, in the settings panel, to the right of the image snippet, click the Edit image button.
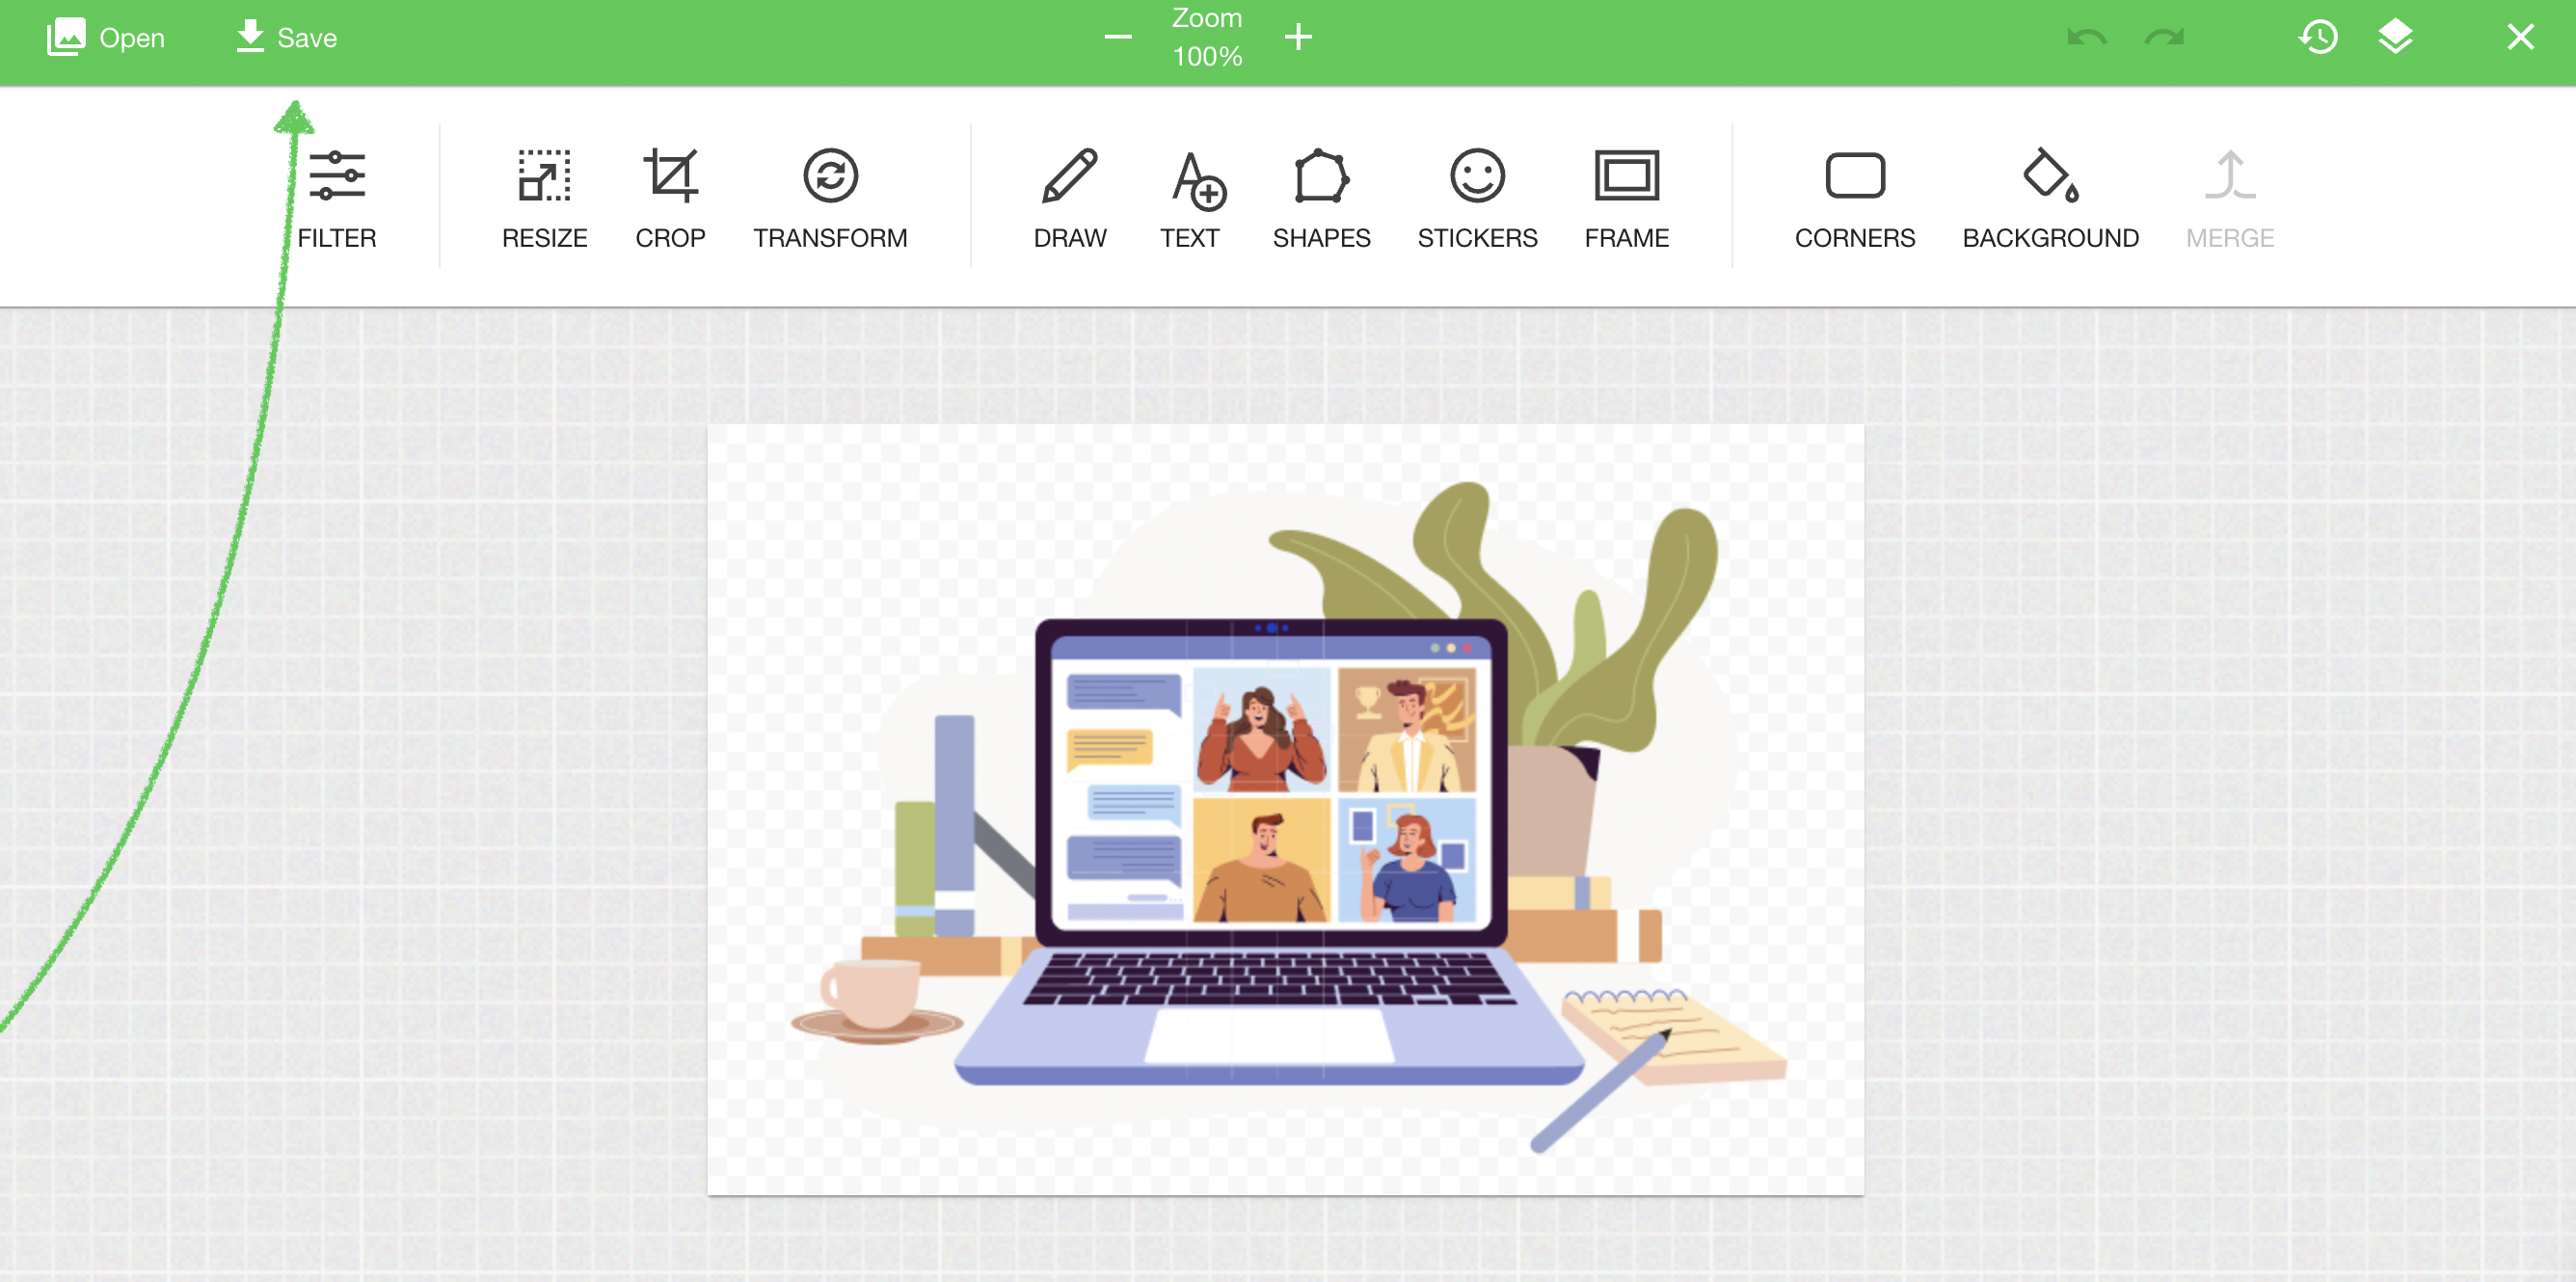
In a new pop-up window, your image will open in the Pixie editor.
Here, you can apply filters, resize and crop images, draw over them, put any text over them, add stickers and frames, and apply backgrounds.
2. When you’ve done editing, click Save in the Pixie editor. Only then will the changes you’ve made to the image be applied.
3. Additionally, working with the Image block, you can:
- Check or change an image's path. Additionally, you can copy its URL address.
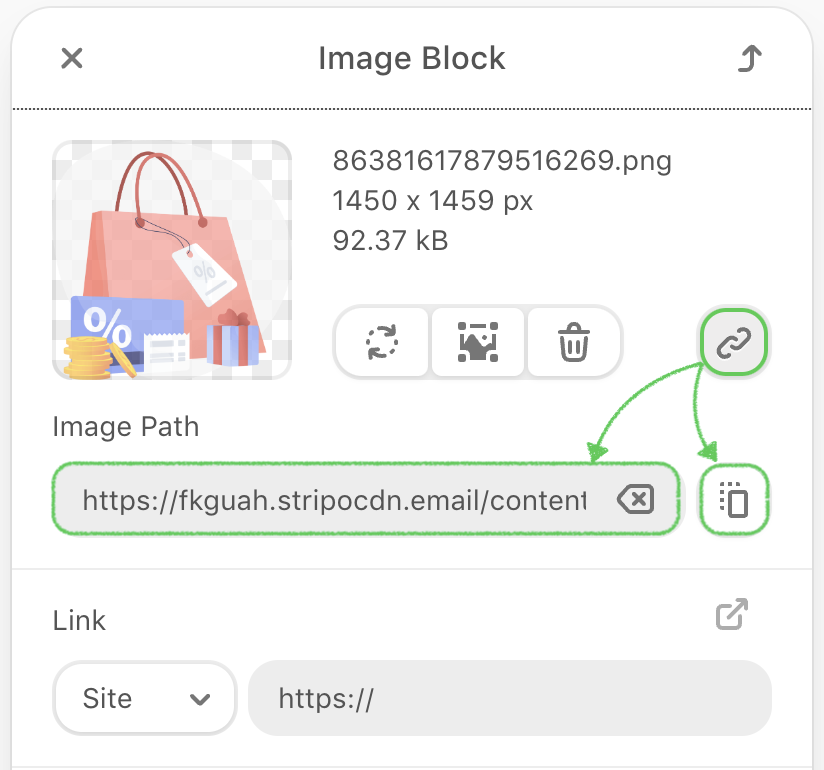
- Insert a hyperlink to your website.
- Fit to container, which makes the image fit to the size of the container.
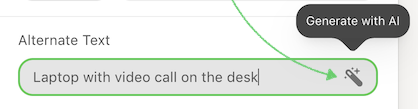
- Add Alternate Text to an image to specify what will be displayed when it cannot be rendered.
- Set the image size.
- Center alignment is set by default. If you need to change it, click Left or Right alignment.
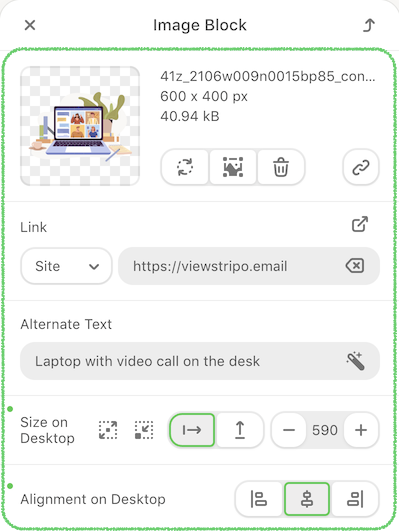
Besides, AI can automatically generate alt text, improving accessibility and search engine visibility. Simply click the Generate with AI button to create Alt Text for your image.
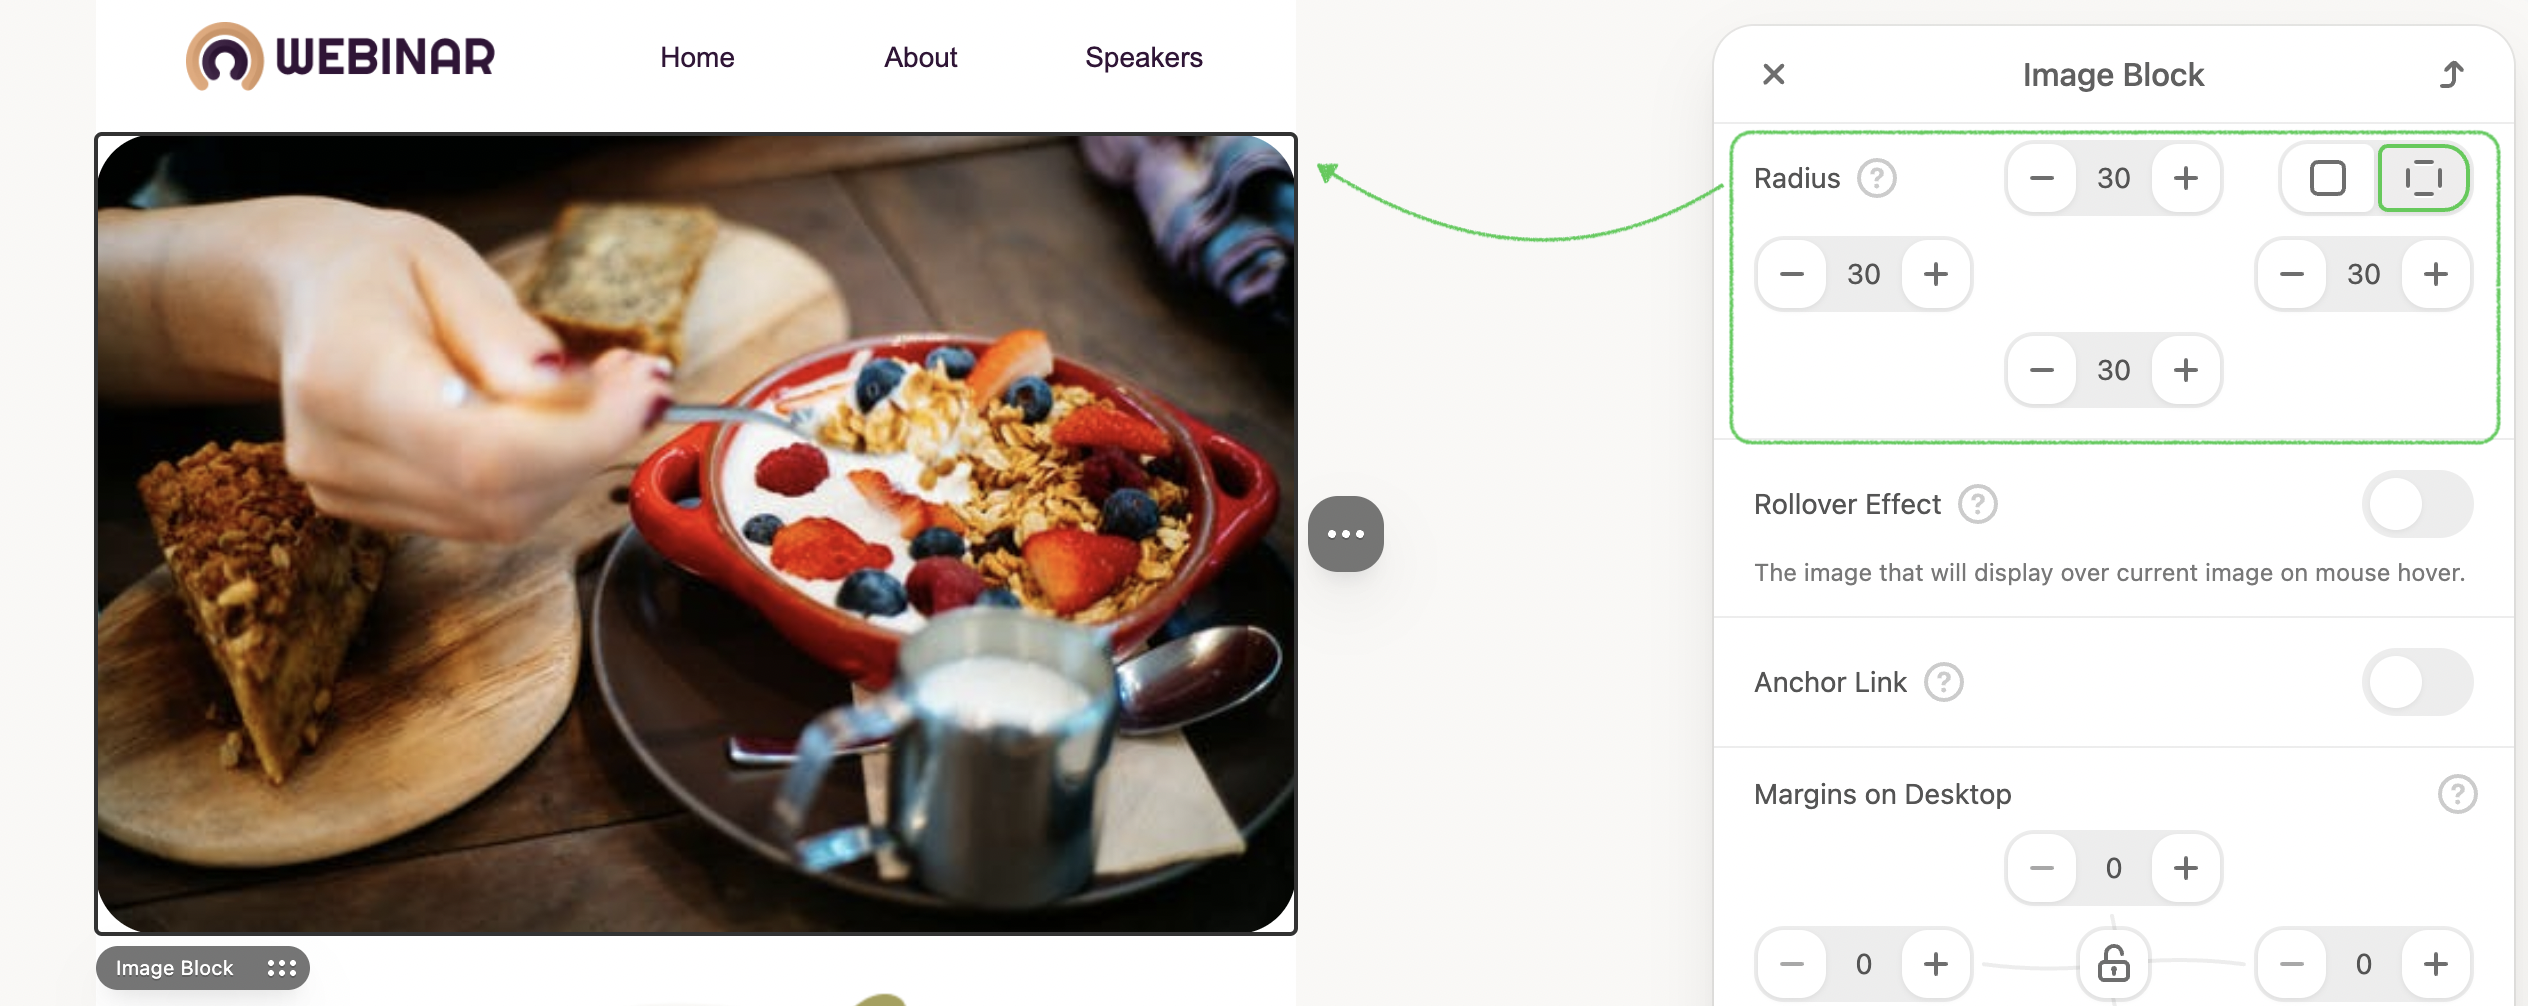
- Configure the full image Radius, or do it separately for each side.
- And finally, add Margins to your image block if necessary.
.png)