Customer Satisfaction (CSAT) surveys help you gather quick, actionable feedback from users after they interact with your assistant. This guide walks you through how to access and configure CSAT settings in the Assistant Deployment section.
CSAT Settings Overview
CSAT settings are context-aware. The options you see will automatically update based on the channel you select for your assistant.
To access these settings,
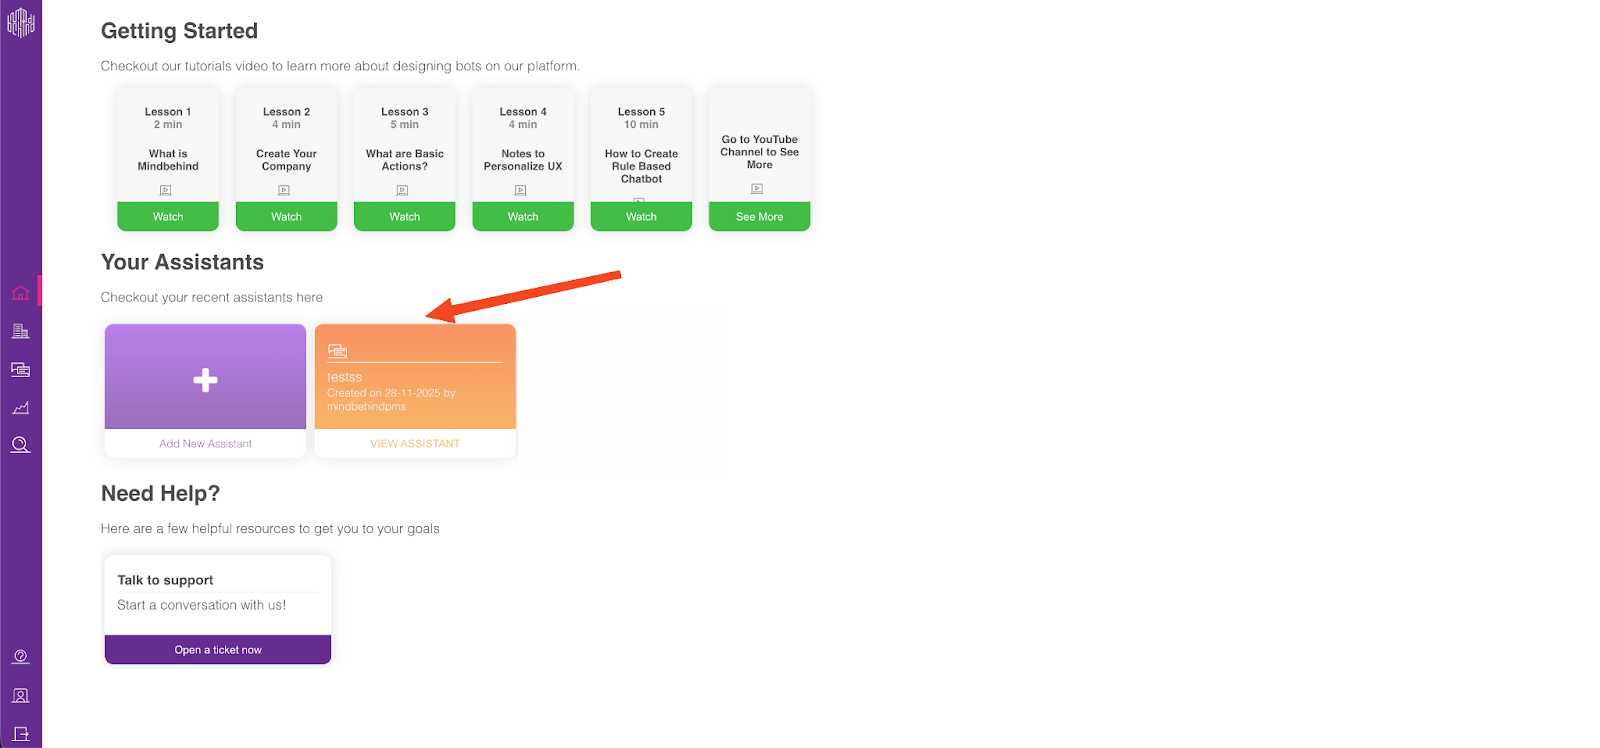
Log in to your MindBehind Flow account and select one of your assistants on the Home page.
Navigate to the Assistant Deployment stage.
Select your Channel.
Configure the Assistant Version and Parameters.
Scroll down to the Rating Mode section.
The Rating Mode section appears only for channels that support CSAT (currently Webchat and WhatsApp). For all other channels, this section will not be visible.
Configure CSAT for Webchat
When Webchat is selected as the channel, you can display the CSAT survey using either icons or a numeric score.
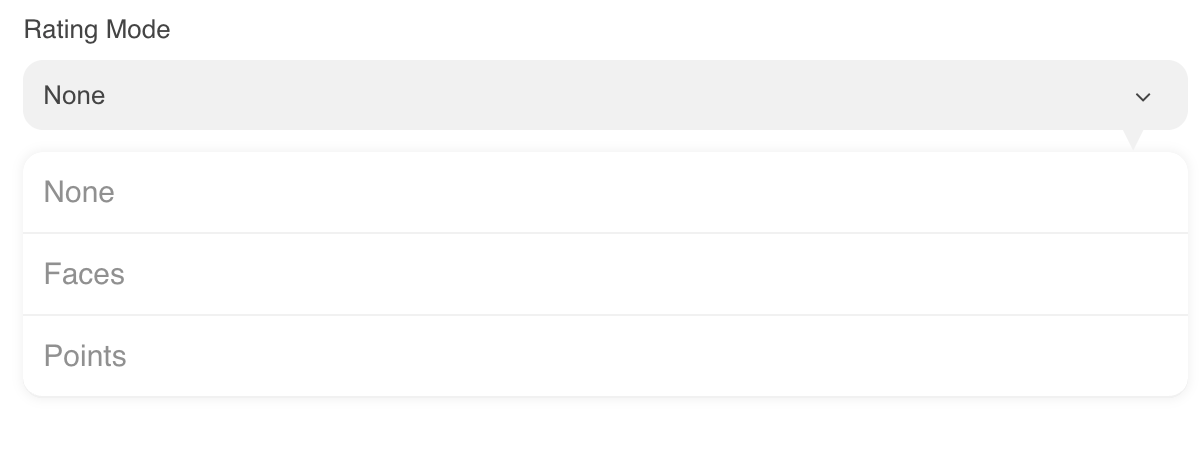
1.Select the Rating Mode
Select the Rating Mode from the dropdown. You can choose one of the following options:
Faces: Users rate their experience by selecting an emoji that reflects their mood.
Points: Users rate their experience by selecting a numerical score (for example, 1–5).
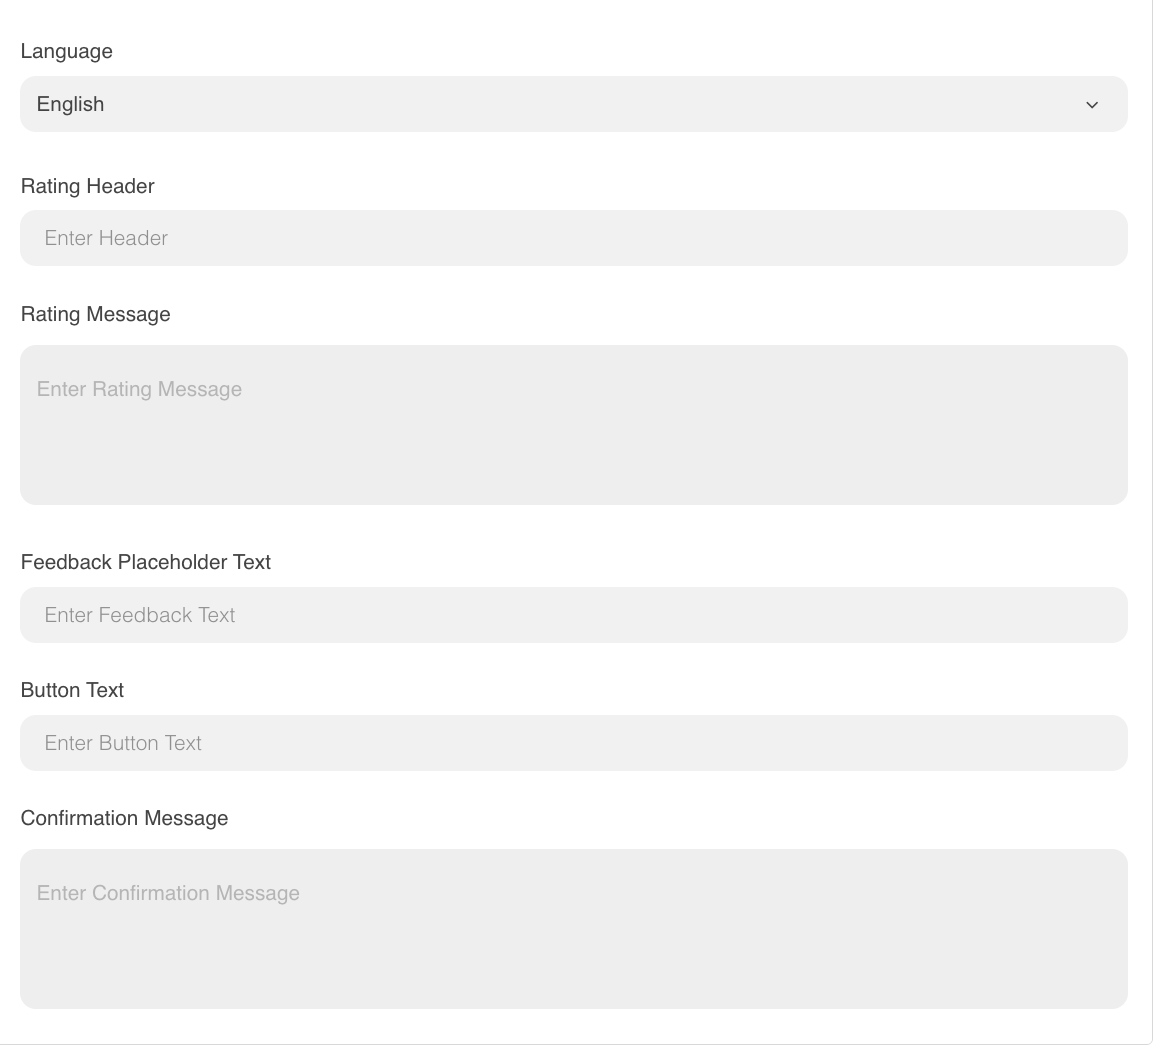
2.Customize Display Fields
After selecting a rating mode, complete the following fields to tailor how the survey appears to users:
Rating Header: The main title displayed at the top of the survey.
Rating Message: The question prompting users to provide feedback (for example: “How was your experience?”).
Feedback Placeholder: The hint text shown inside the optional comment box.
Button Text: The label on the submission button (for example: “Send”).
Confirmation Message: The message shown after the user successfully submits their rating.
Configure CSAT for WhatsApp
When WhatsApp is selected as the channel, you will see additional configuration options designed to support messaging workflows, link expirations, and different visual styles.
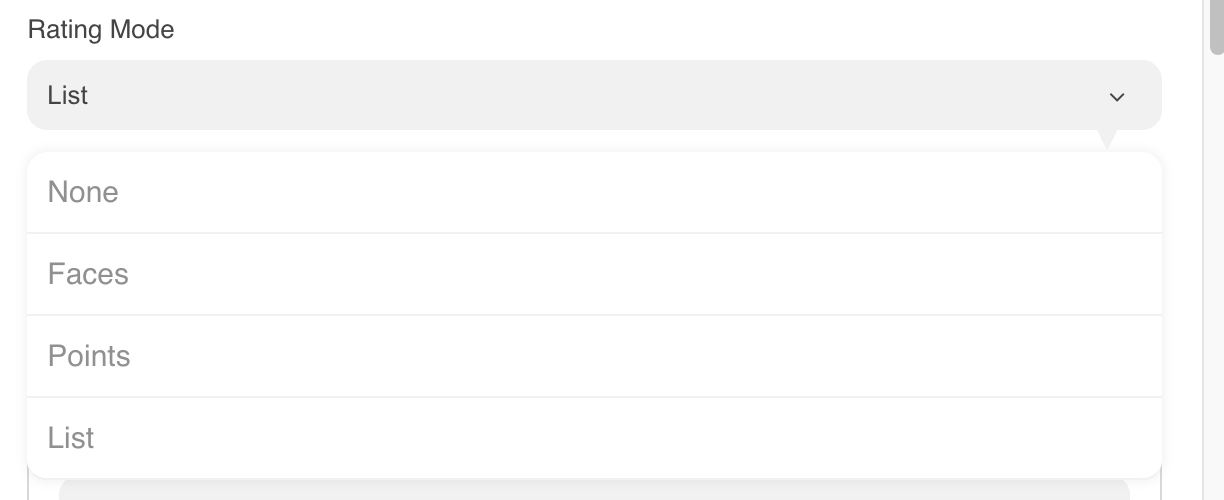
1. Select Rating Mode
Choose one of the following modes:
Faces
Points
List
2. Configure for "Faces" or "Points"
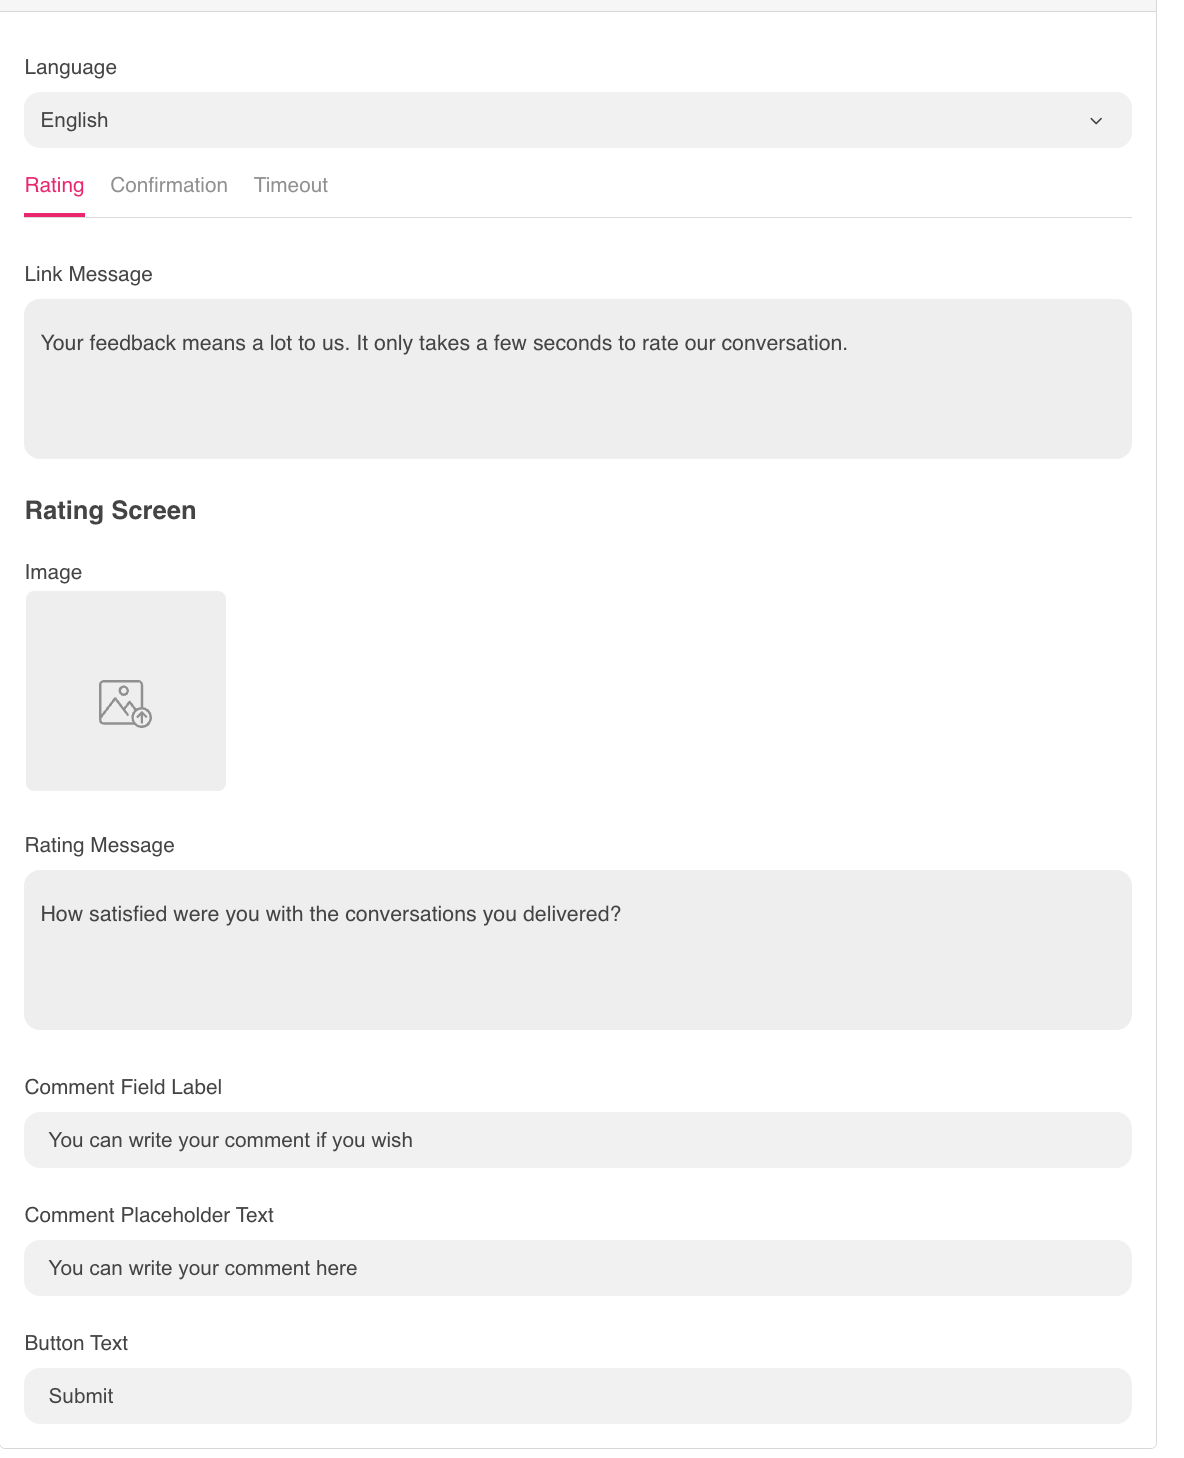
If you choose Faces or Points, the settings are organized into three tabs.
Tab 1: Rating
Link Message: The message sent to the user that contains the survey link.
Image: An optional banner or image displayed on the survey page.
Rating Message: The main question prompting the user for feedback.
Comment Field Label: The label shown above the comment input area.
Comment Placeholder: The hint text inside the comment box.
Button Text: The label for the submit button.
Tab 2: Confirmation
Gratitude Message: A short thank-you message.
Confirmation Message: The final success message shown after submission.
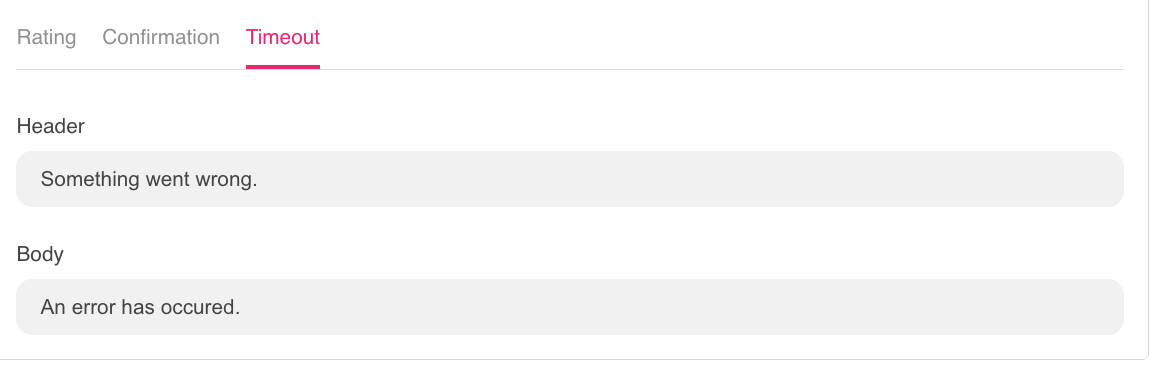
Tab 3: Timeout
Header & Body: The text displayed if the user attempts to open the survey link after it has expired.
3. Configure for "List"
If you select List, the configuration is optimized for a WhatsApp list-style interaction. These settings are also organized into three tabs.
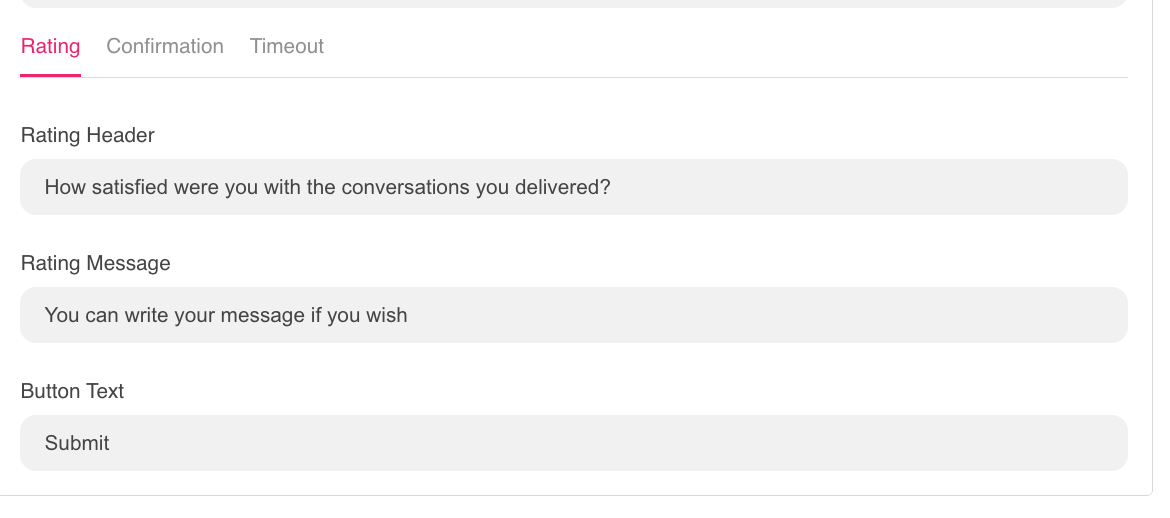
Tab 1: Rating
Rating Header: The title of the list message.
Rating Message: The text prompting the user to choose an option.
Button Text: The label for the action button.
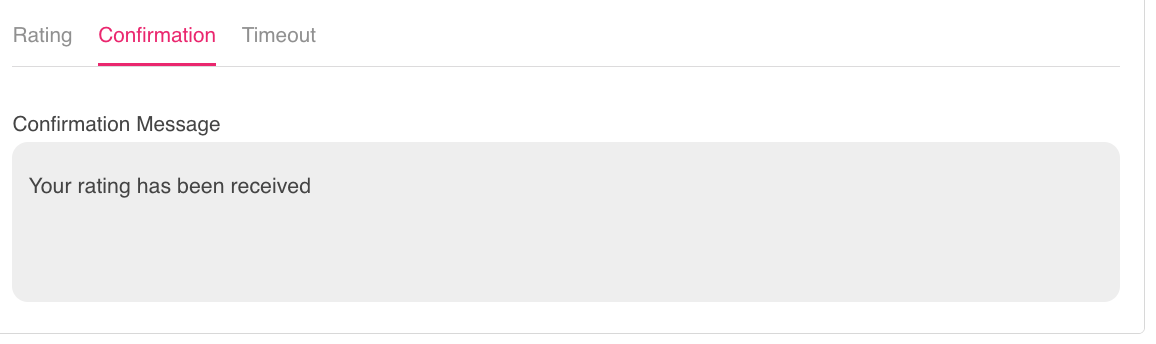
Tab 2: Confirmation
Confirmation Message: The message displayed after the user selects an option successfully.
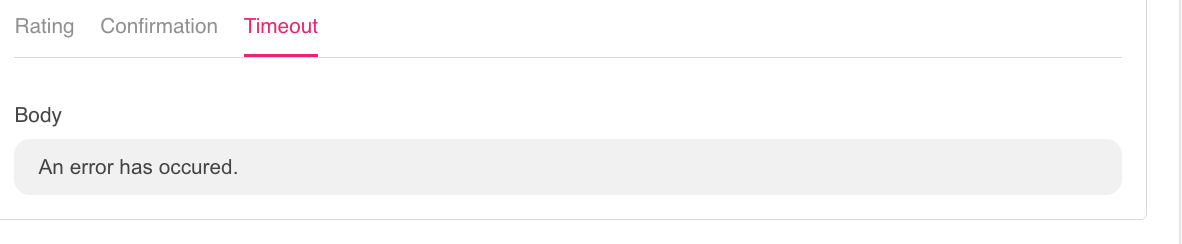
Tab 3: Timeout
Body: The text shown when the list option has expired.
Tip:
When switching between Rating Modes (for example, moving from Faces/Points to List or vice versa), the system automatically resets the related fields to ensure the correct data format is used.
Always review your text inputs after changing the mode to confirm that all fields are filled in correctly.