Imagery is the basis of all emails. No matter how compelling your copy is, there should definitely be images, as they appeal to emotions by showing the products at their best.
To add an image in emails with the Drag and Drop Editor:
1. Pull a new structure with the necessary columns into your HTML email template.
2. Find the basic Banner/Image block in the Settings panel and drop it into the template.
3. Once you drop the content block in, click on it right in the email.
4. You will be asked to insert an image in the Settings panel.
You can build a banner in three ways:
Drop/upload an image
You can drag and drop the image you are about to use for your campaign or upload it from your computer.
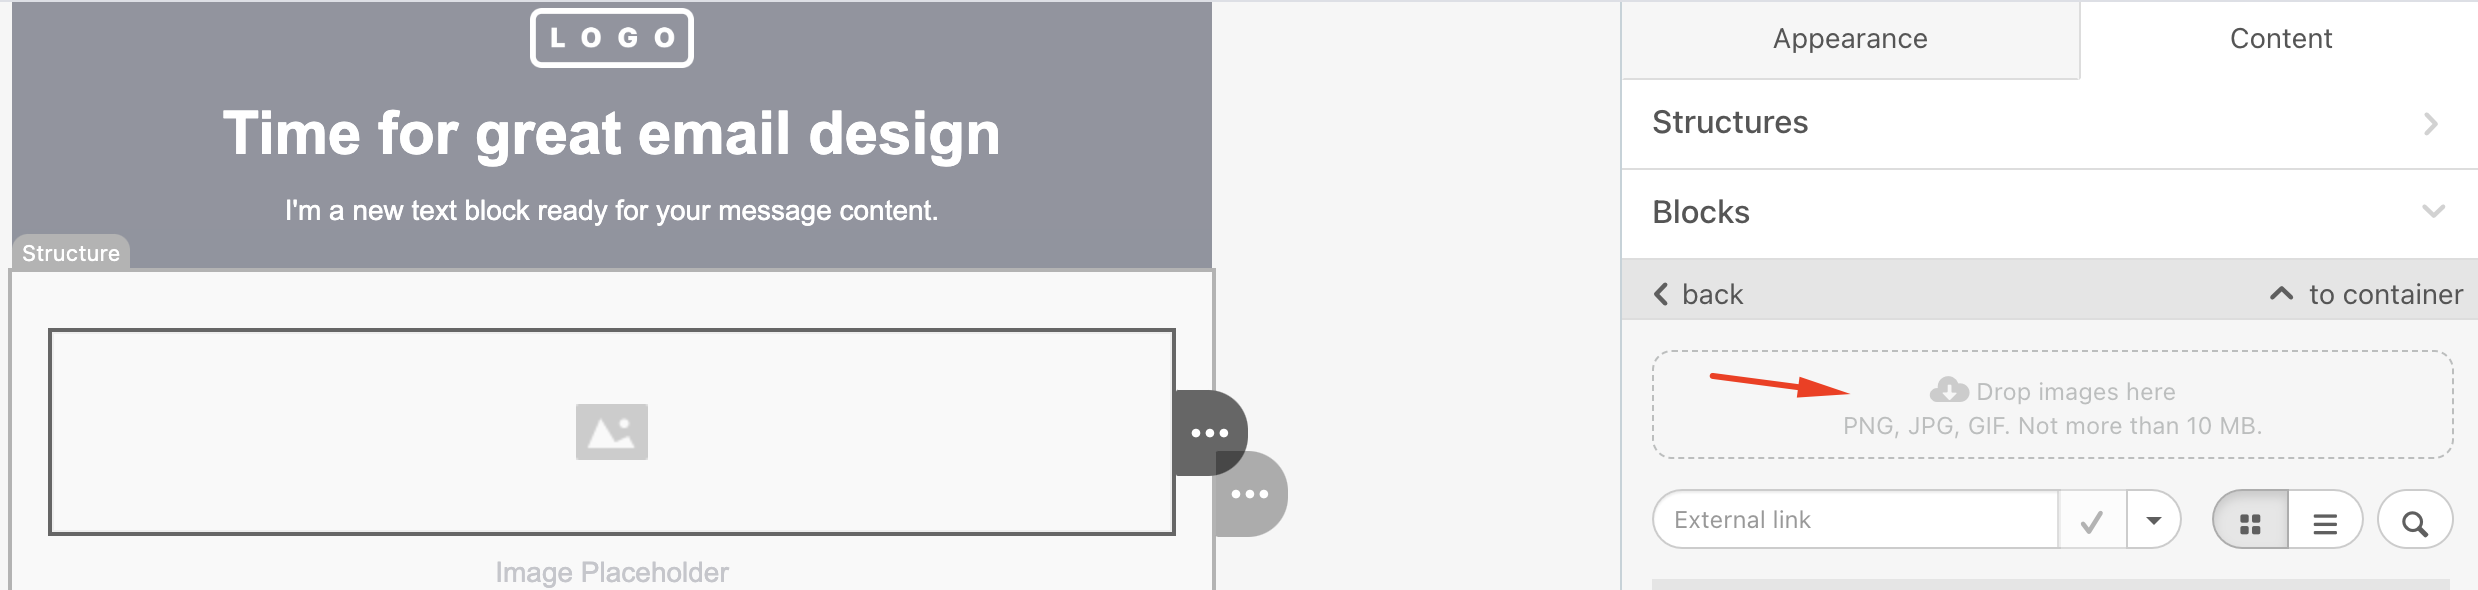
Paste an external URL
If you do not have the banner image saved to your computer, you can insert a link to the image on the web.
In the External link field, paste the link to your image.
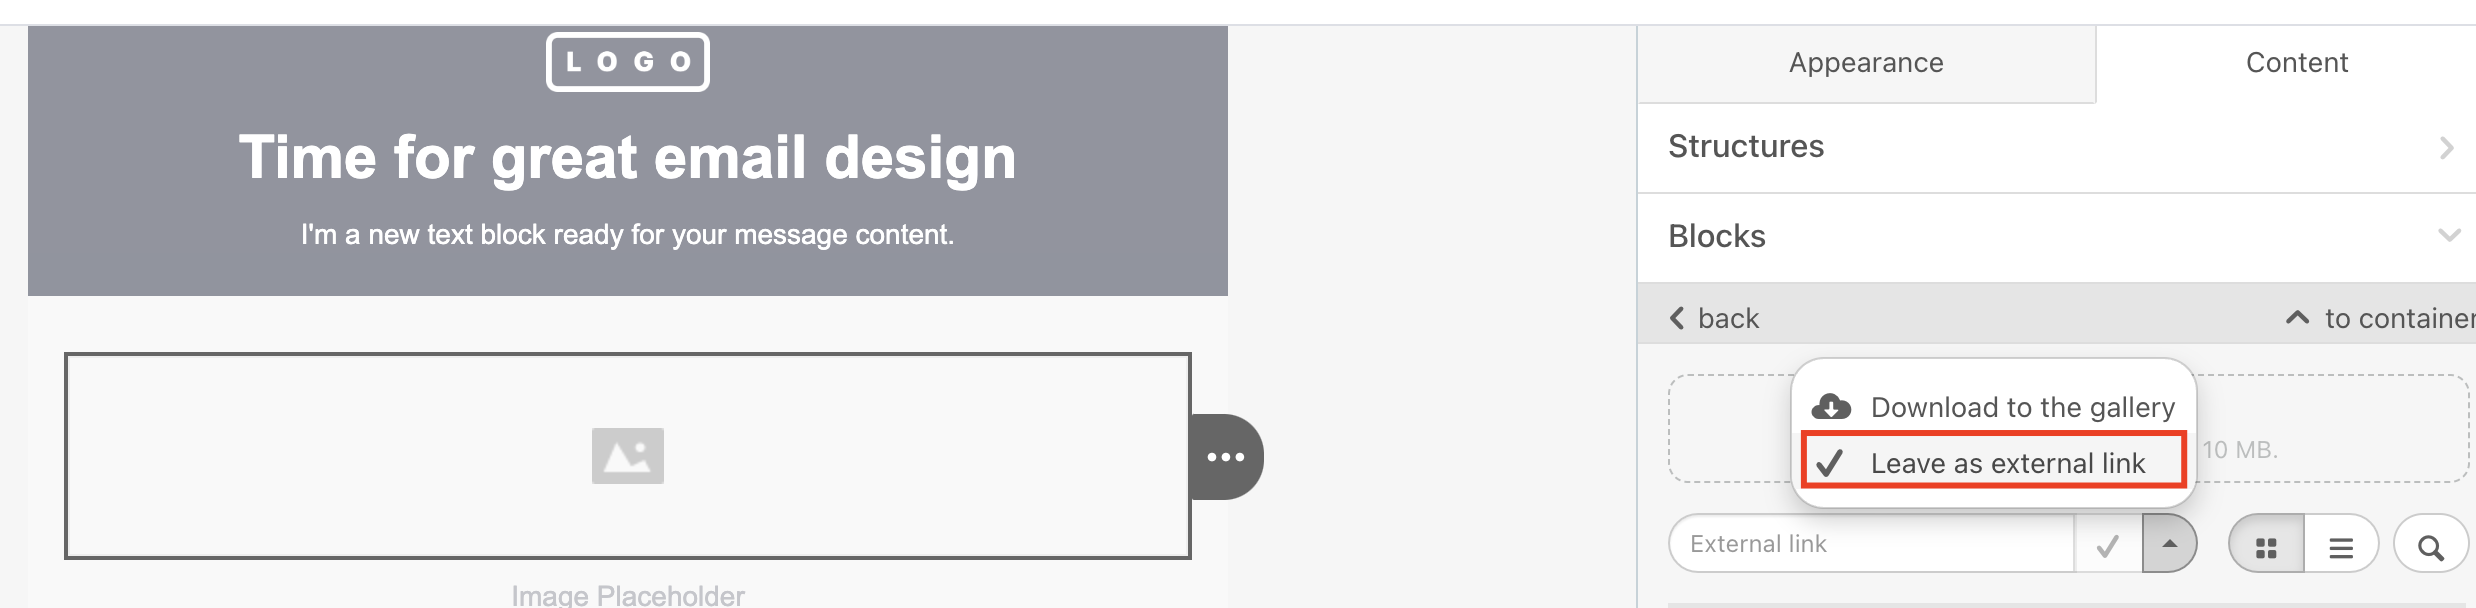
If you use this image just once, in the dropdown menu, choose the Leave as external link option (as shown in the example above) and click the Tick.
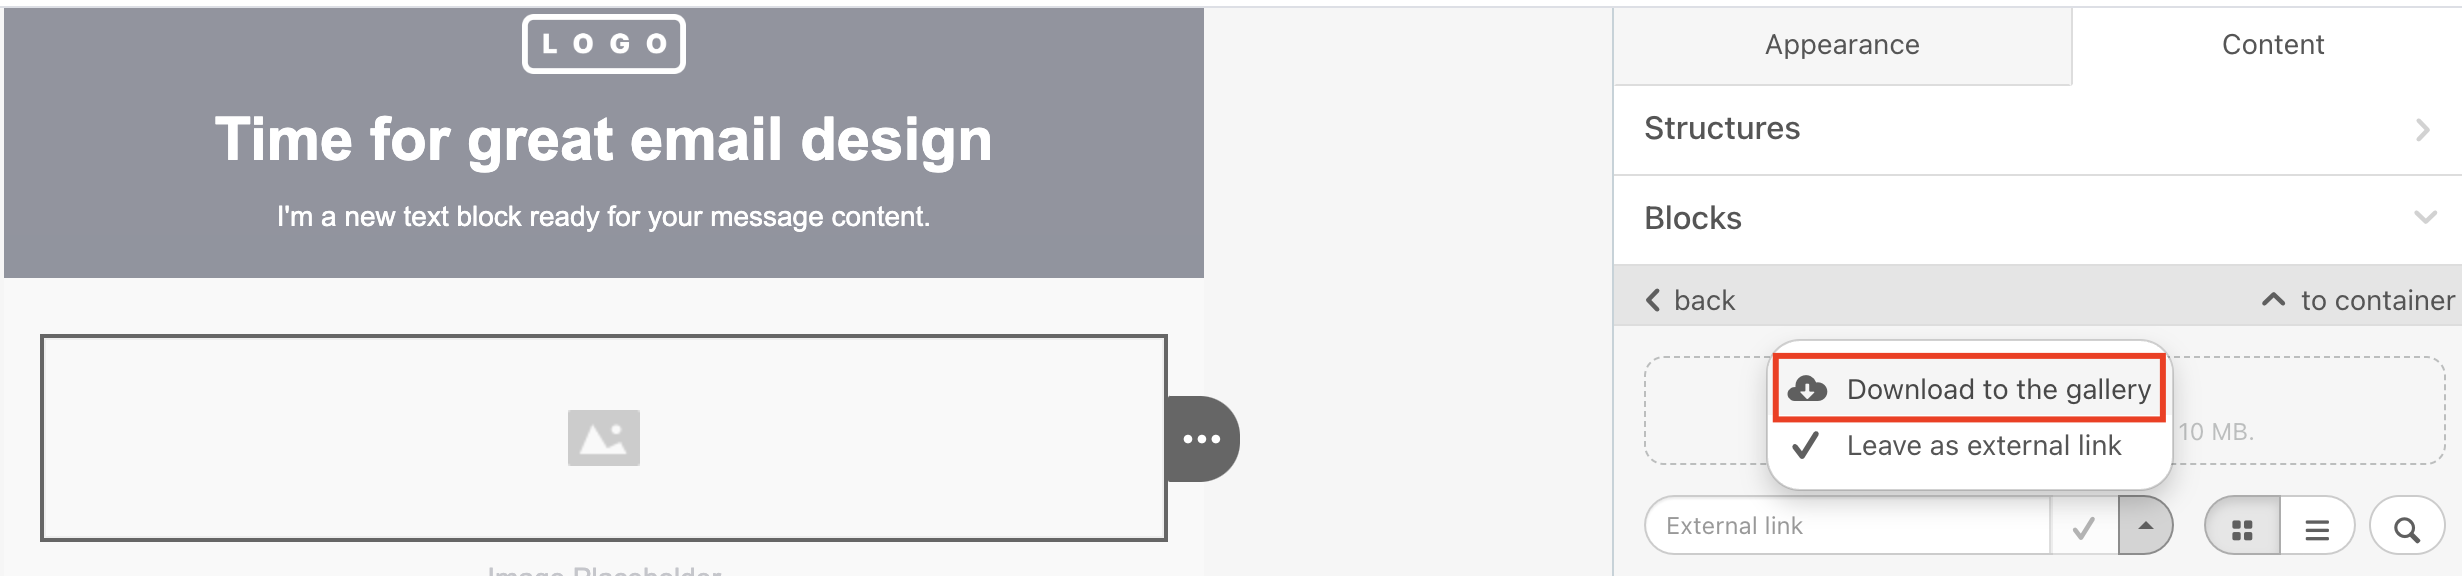
If you use this image for other email campaigns, click the Project tab above, insert the link, choose the Download to the gallery option, and click the Tick.
Use images from the personal gallery
When you upload or download images to the gallery, as shown in the example above, they are stored in your personal gallery. To access them, switch to the Email tab.
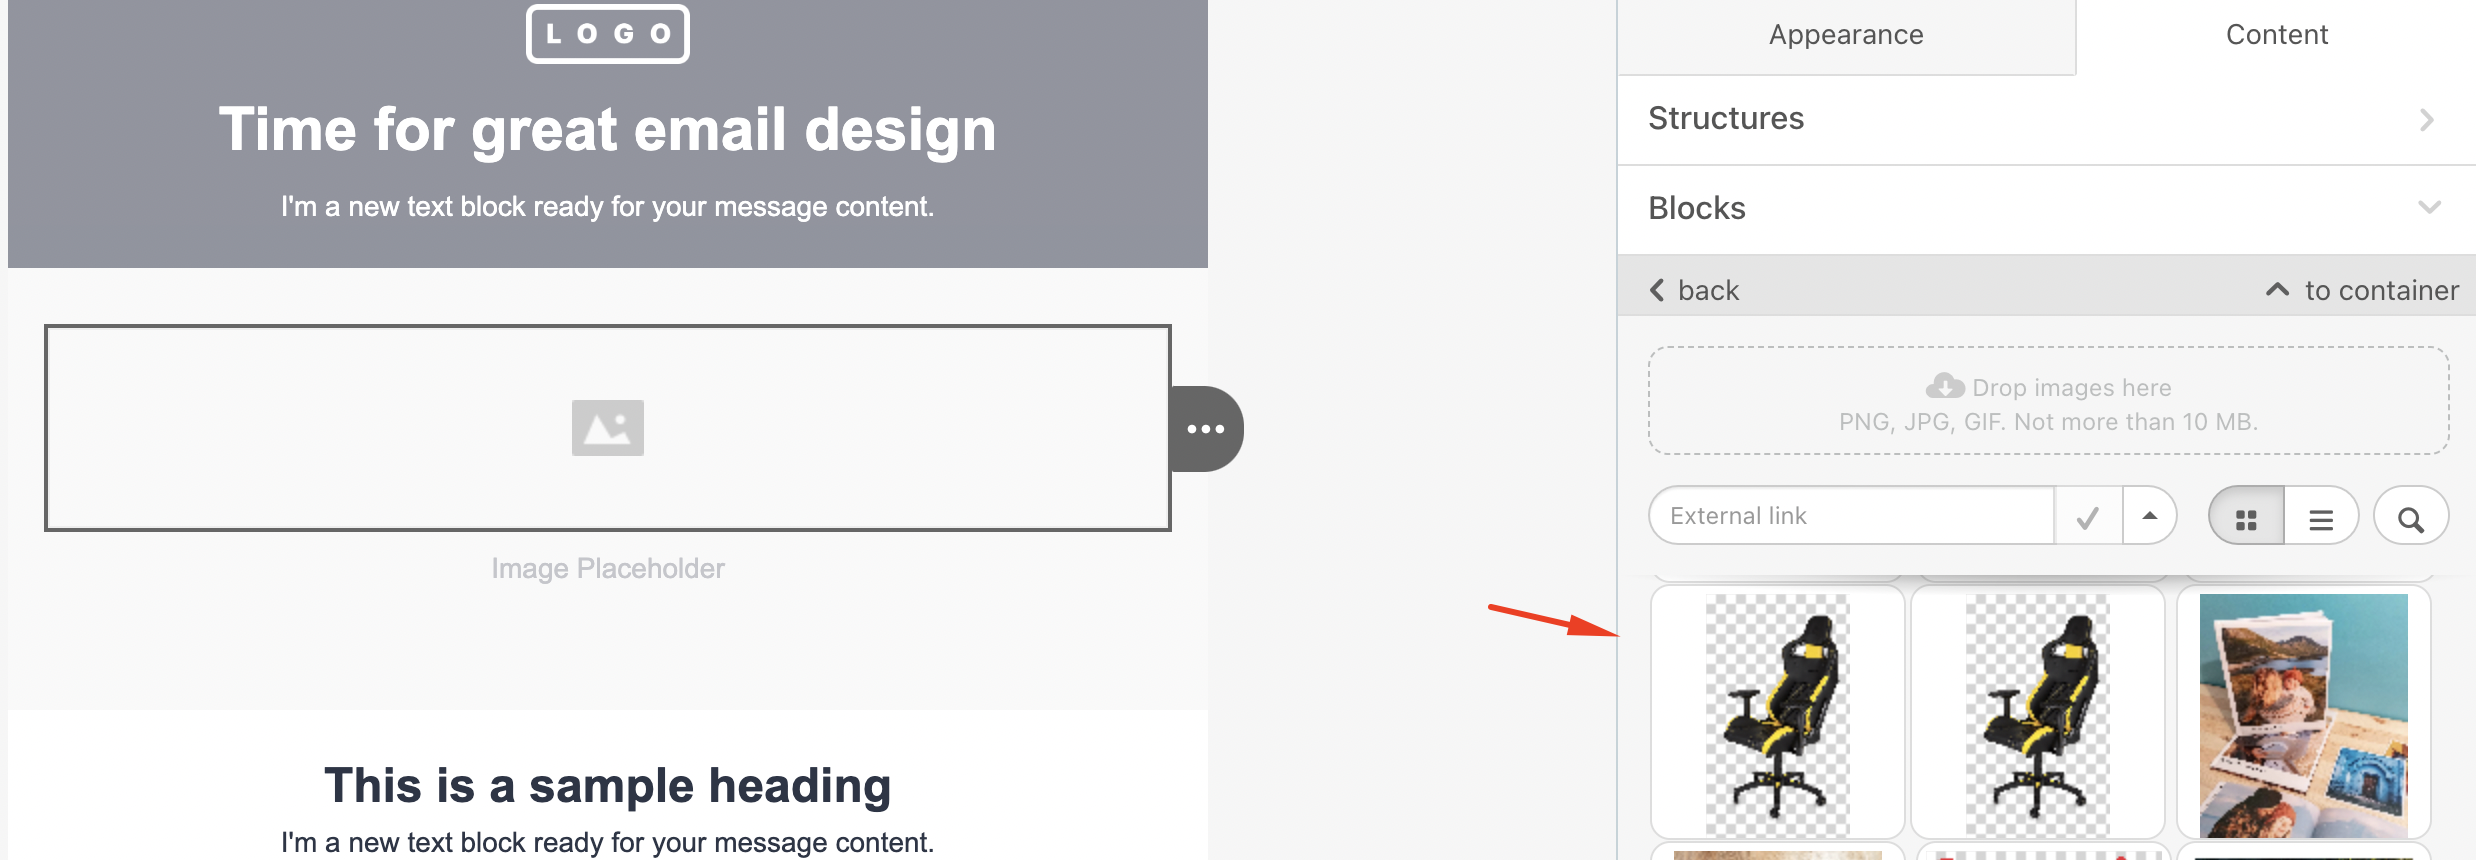
Images here are sorted by date, from most recent to oldest. If the list of images is too long, you may search by its name.
To use one in your current HTML email template, click on the selected image, and it will automatically appear in your email.
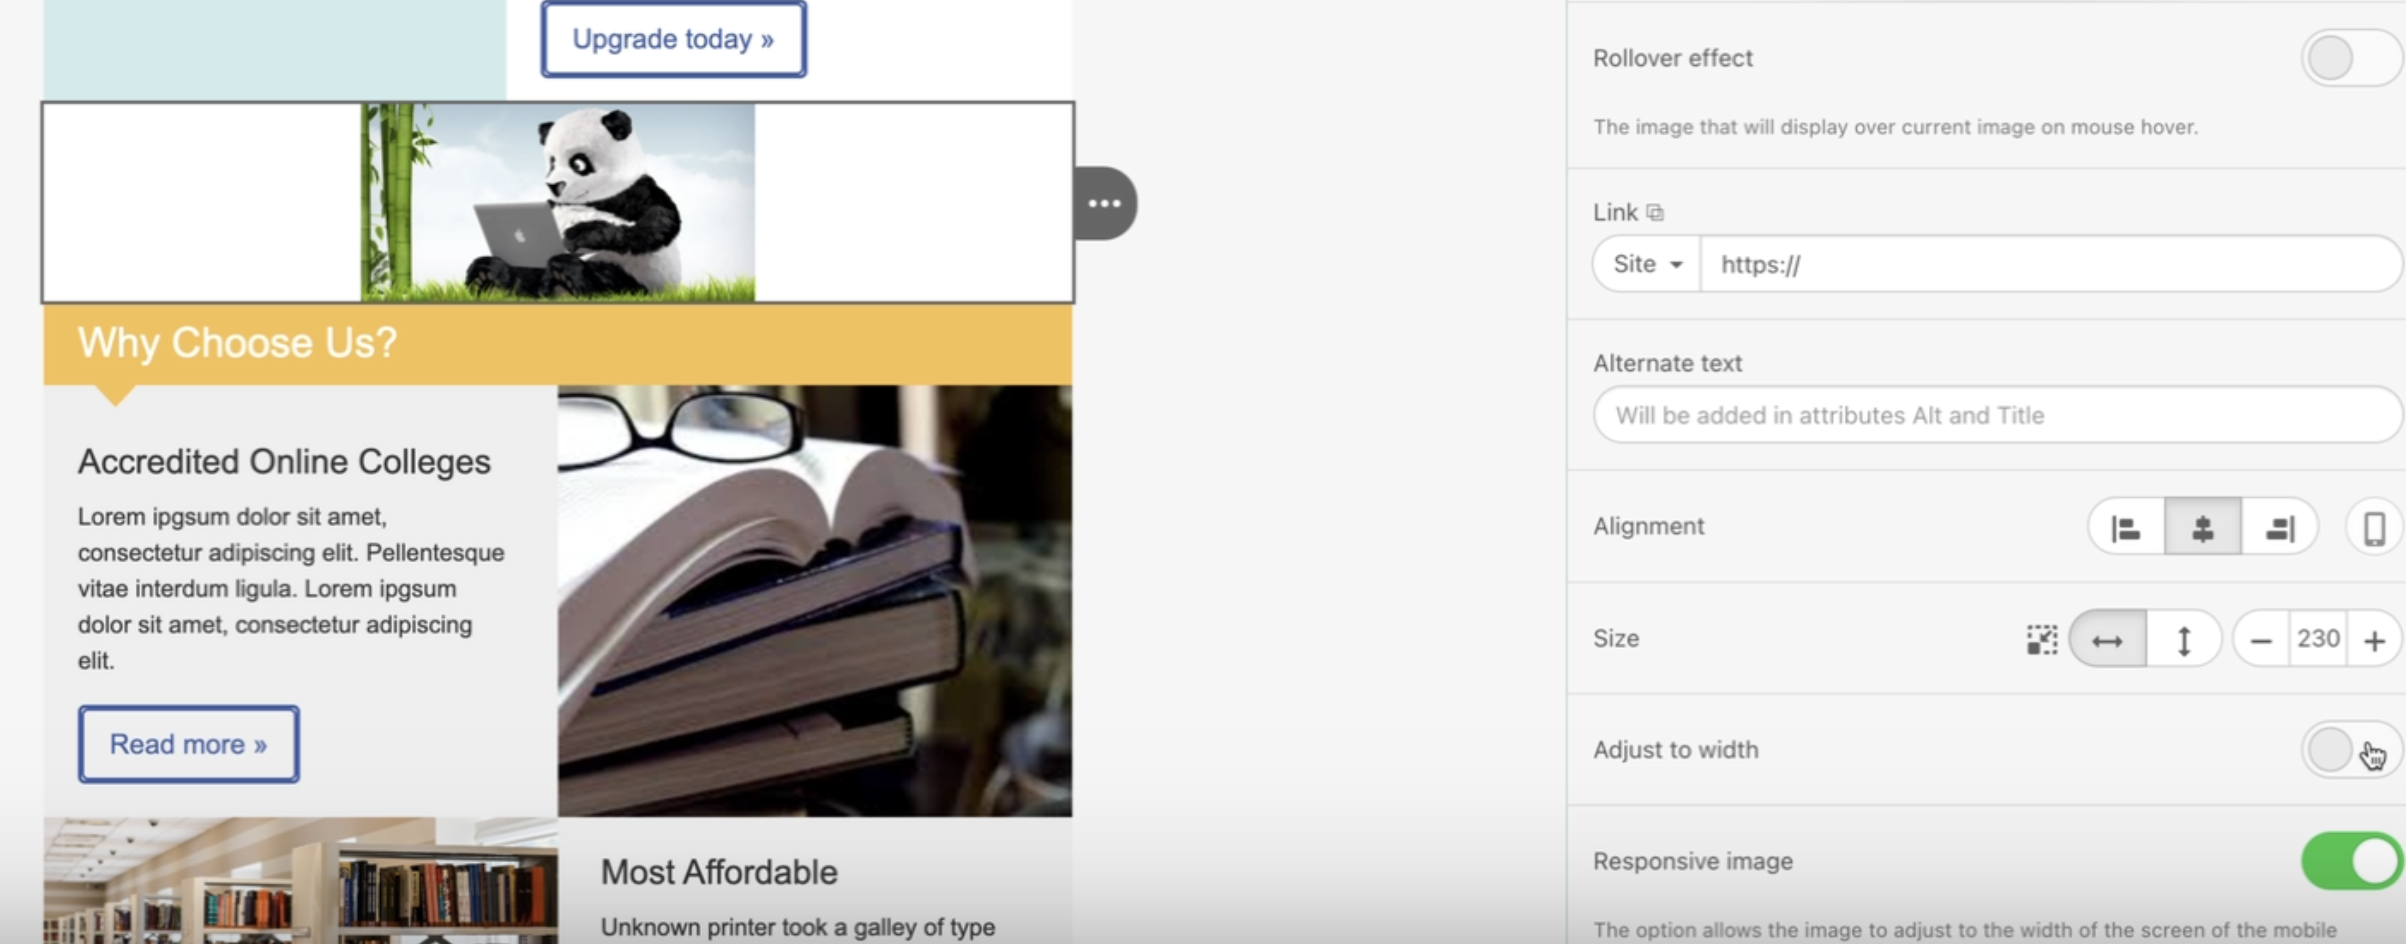
Adjust to width
This option stretches the image to the template's maximum width.
.png)
Below is an example.
 Before
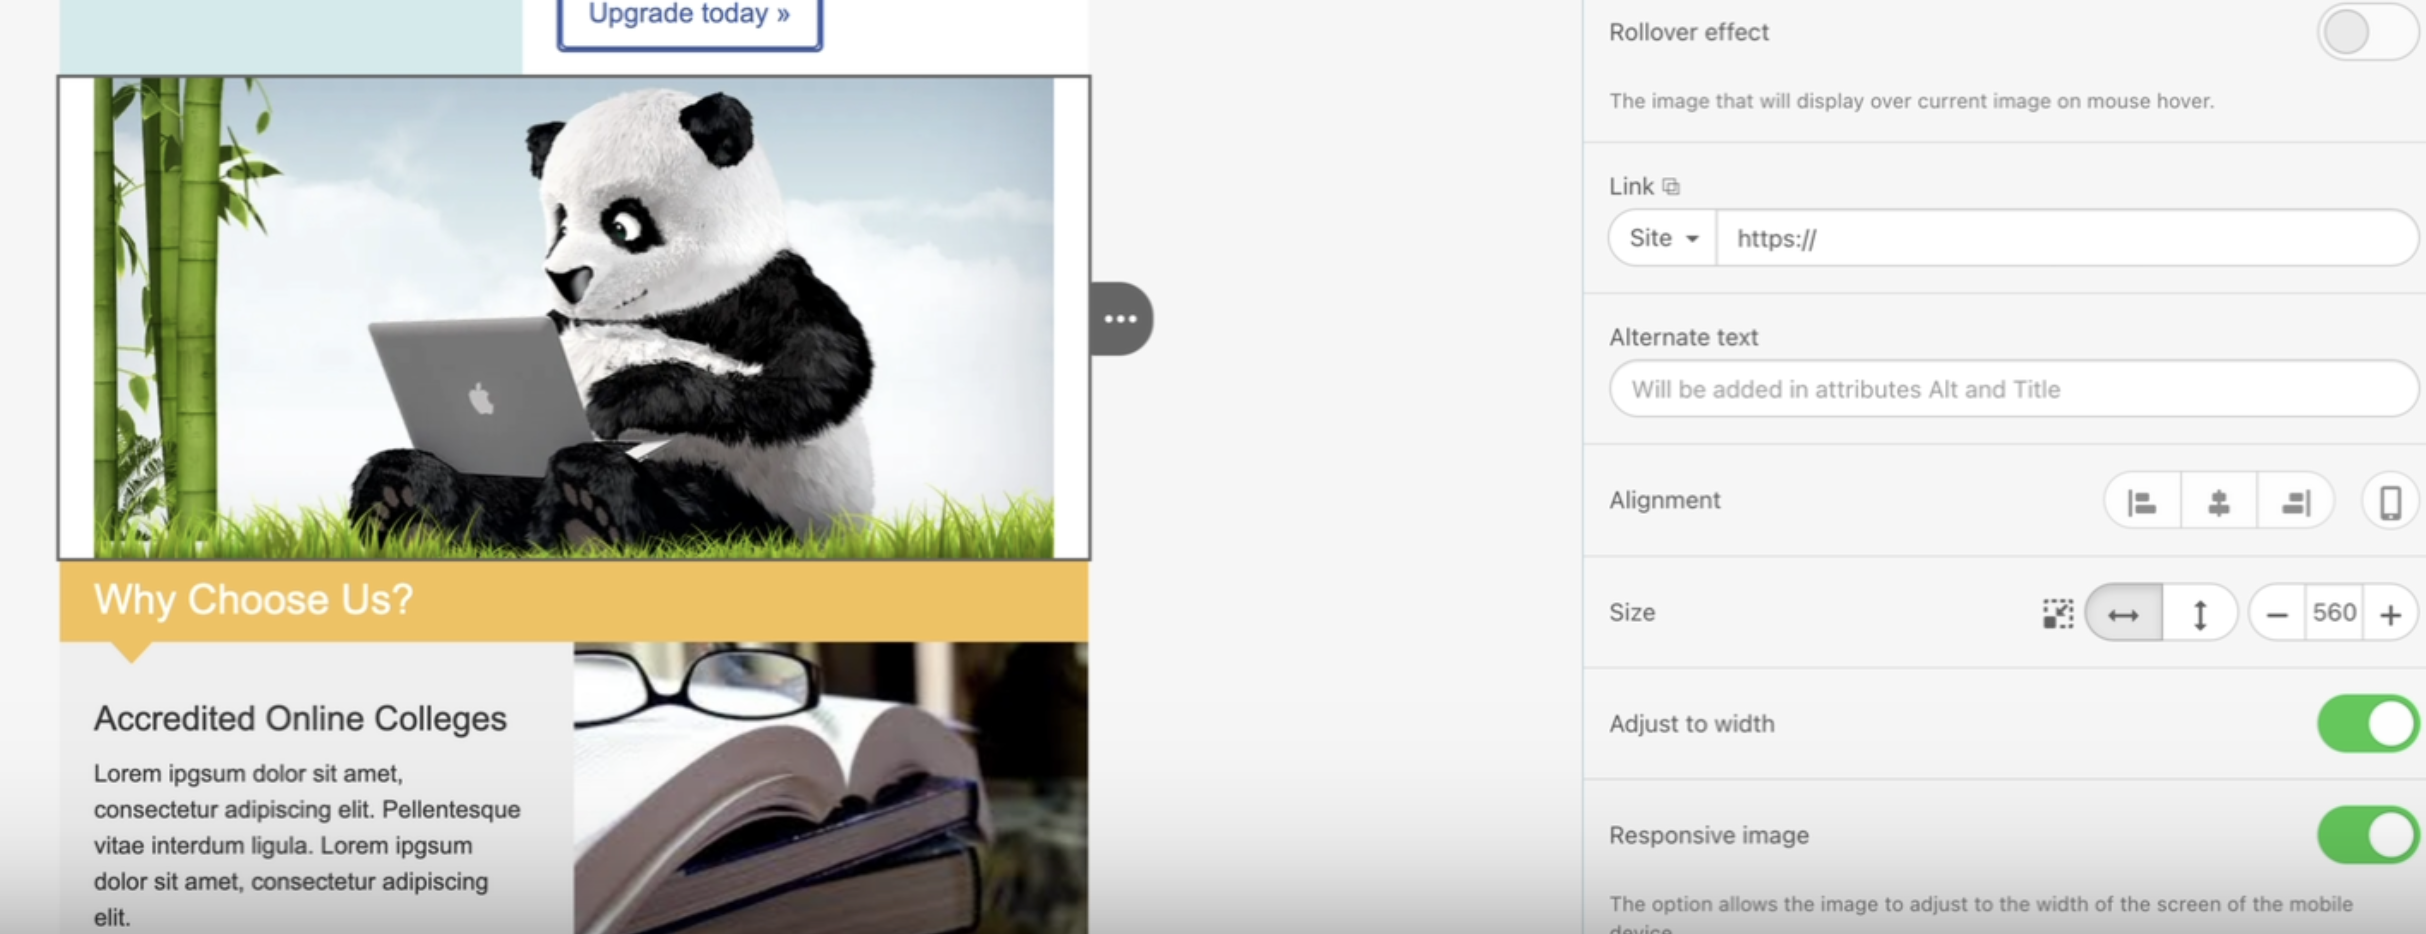 After
After