Campaign Options allow you to configure when to display your campaign to the eligible users.
You can reach the campaign options on the Edit campaign options step in the campaign creation flow.
Delivery Time
You can either send your push campaign to the targeted segment immediately or schedule it to be sent at a specific date and time in the future.
Send Time Optimization
Send Time Optimization collects historical information about push notifications or campaign opens and saves it per user. Then it calculates the best time in the day of the week and hour of the day for sending push notifications. That time has the highest probability of the push notifications being opened by the end user. It functions based on a predictive/machine learning algorithm that calculates the time of the highest probability per device/user to open a push notification.
You can send app pushes to your users at the most appropriate time of day, based on their engagement data.
If the user is not available during the selected time, the push is delivered to the user at the scheduled time.
Template Integration
You can connect your app pushes to app templates to display them when your users interact with them. You need to select the campaign you have created before and assign its variants to the variants of your push campaign. In any case where there is only one variation in either, you will only select the campaign itself.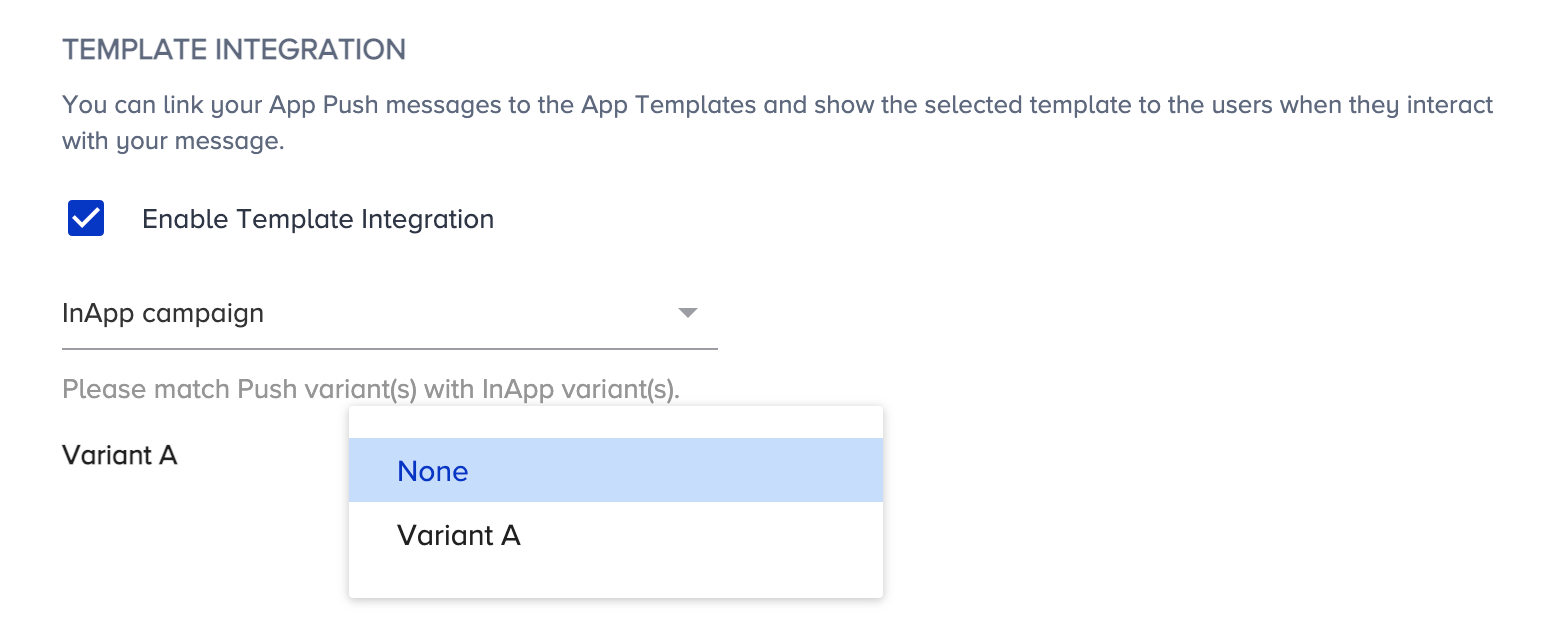
View-Through Duration
This option shows the data for users who achieved the conversion goal within 6 hours or more of receiving the campaign. You can set the duration between 1-24 hours and/or 1-7 days.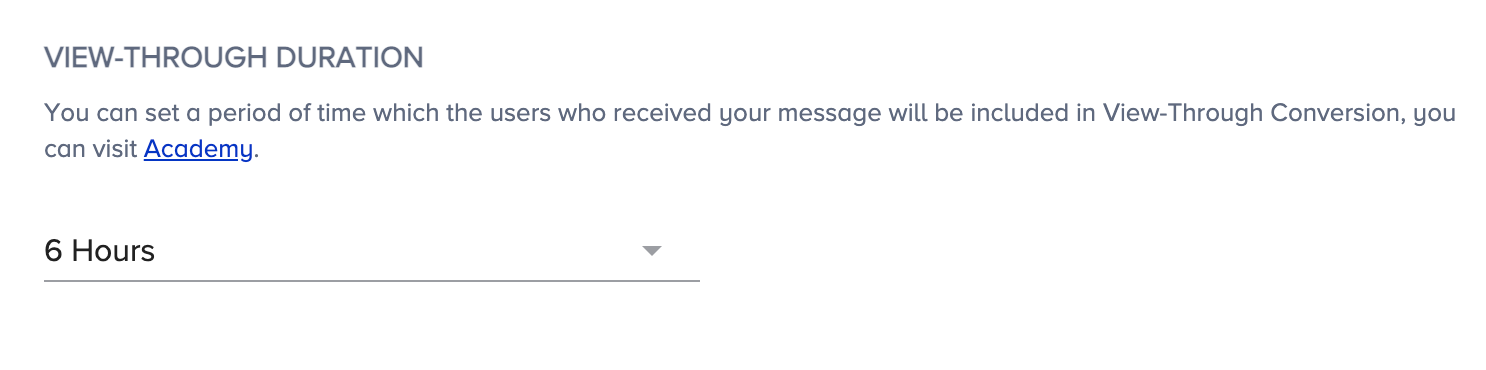
For example, if the view-through duration is set to 6 hours and a push is delivered to a user at 1 pm, the conversion is tracked until 7 pm.
Click-Through Duration
This option shows data for users who received the campaign, opened it, and completed the conversion action. You can set the duration between 1-24 hours and/or 1-7 days.
For example, if the click-through duration is set to 6 hours and a user clicks a push at 1 pm, the conversion is tracked until 7 pm. If the duration is session-based, the conversion is attributed to the session, meaning it continues until the user is active on the app.
Frequency Capping
You can bypass channel frequency capping to ignore the number of times your recipients can receive your messages.
Campaign Goals
Campaign Goals are based on events tagged during the integration. Selected goals can help you measure the success of your campaign. There are two types of goal tracking for push notifications:
- Click-through: This shows the data of the users who received the campaign, opened it, and completed the conversion action.
- View-through Shows the data of users who made the conversion goal in the 6 hours after they received the campaign.
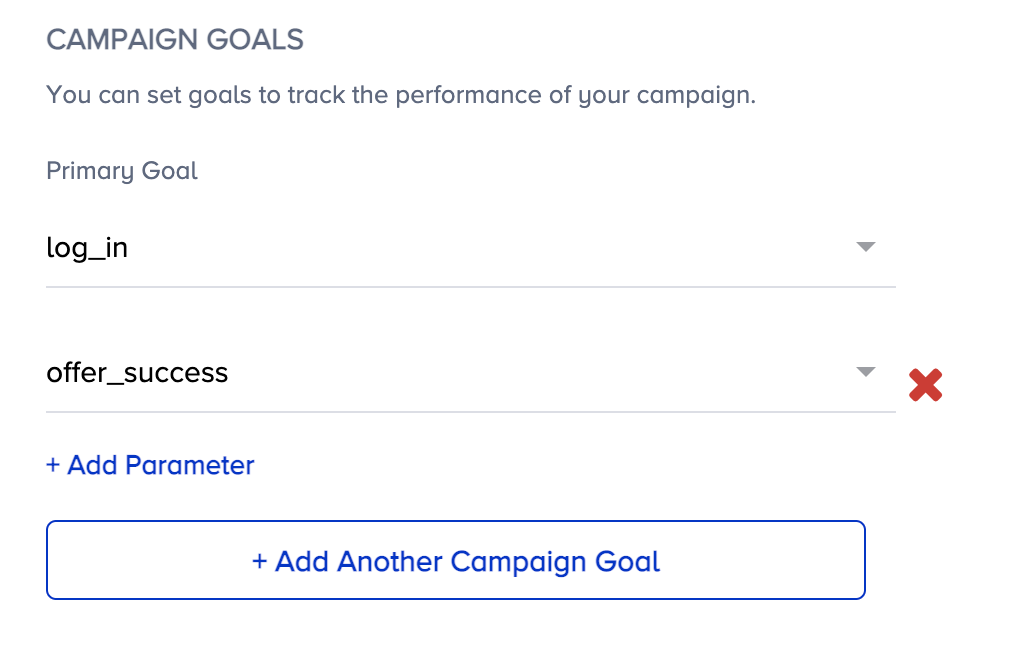
You can still select a different primary and secondary goal to track for this specific campaign.
You can also add event parameters to the event selected as the campaign goal to divide it into more focused goals. For example, you can choose the Confirmation Page View as the campaign goal, and add the Brand event parameter to keep track of the purchase count from the selected brand.

Time-to-Live
Time to Live sets the duration during which the message should be kept. In any case, if the device is offline or temporarily unreachable, users will not receive the push notification once the given time period is over.
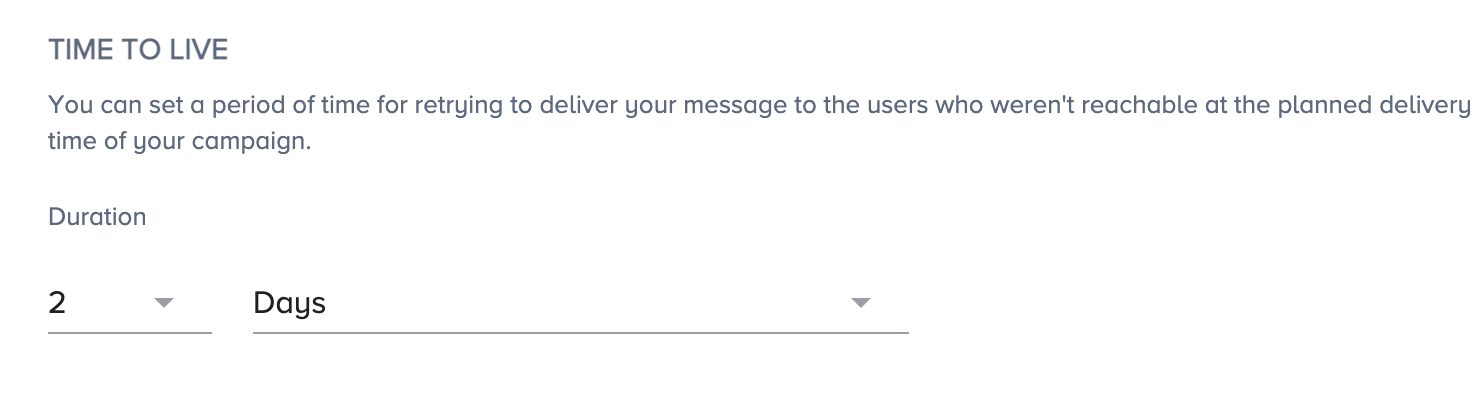
You can set Time to Live in days, hours, or minutes.
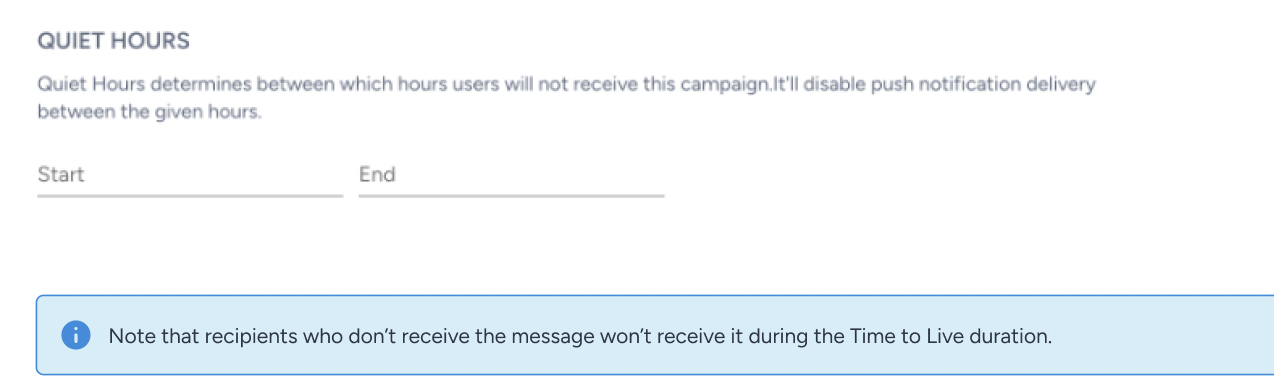
Silent Hours
This feature determines between which hours users will not receive this campaign. It will disable push notification delivery between the given hours.
Notification Sounds
You can enter sound names for iOS and Android and play a custom sound on any notification delivery.
Refer to Customize Notification Sound for iOS and Customize Notifications for Android for further information on configurations.
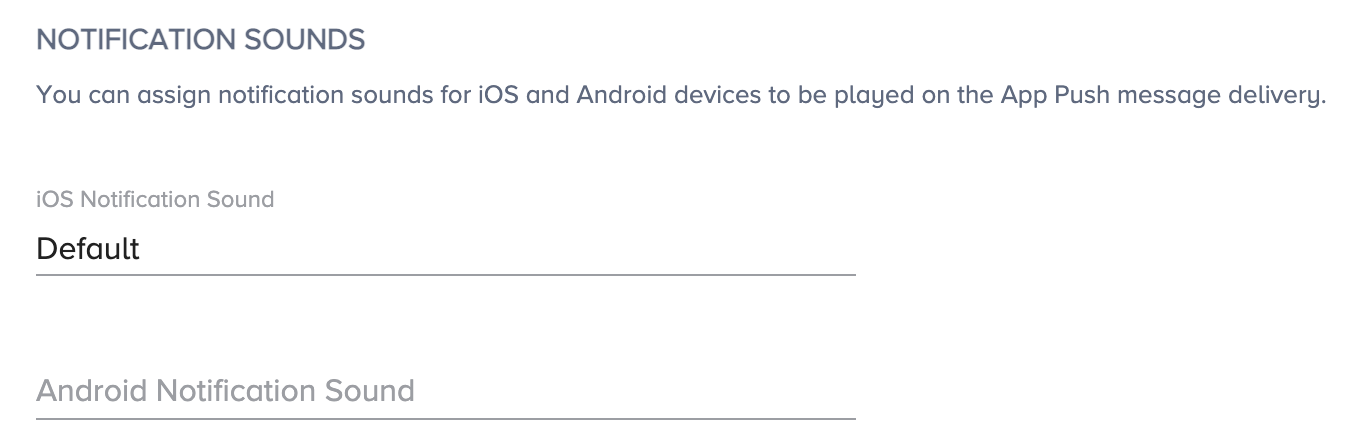
Please enter the sound file name for the respective OS. Also, note that the sound file needs to be in the application.
The file name in your project and the respective app push should be the same.
iOS 12+ Threads
Threads enable you to send your notifications in different groups.
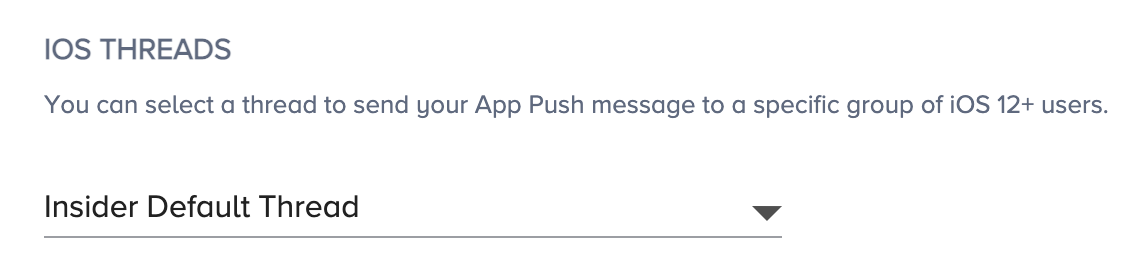
You can easily select the respective thread for your push notification from the previously created threads.
This iOS 12 feature allows apps to determine how push notifications should be grouped. What this means is that you can choose to group notifications with the help of a "thread-id" (the numeric-identifier used by iOS12). This way, you can send multiple notifications to a user, and group them with the same identifier when displaying them to them based on their potential impact on conversion rate and user engagement.
For example, you may want to send cart abandonment pushes and want them to stand out separately at the top as they are high value generating push notifications. Refer to What iOS 12 Notifications Change for App Marketers for further examples on grouping app notifications.

Android Channels
Android channels can be created under Application Settings > Android Channels. An Android channel is required to send notifications to Android version 8 and higher (Oreo).

Please select the respective channel for your push notification.