The Data Match rule enables you to upload bulk data as a CSV file to the campaign creation flow and trigger the campaign if the data in the file matches the source you select in the Rules step.
The Data Match rule is available on Web Templates, OnSite Experiment, and Smart Recommender products.
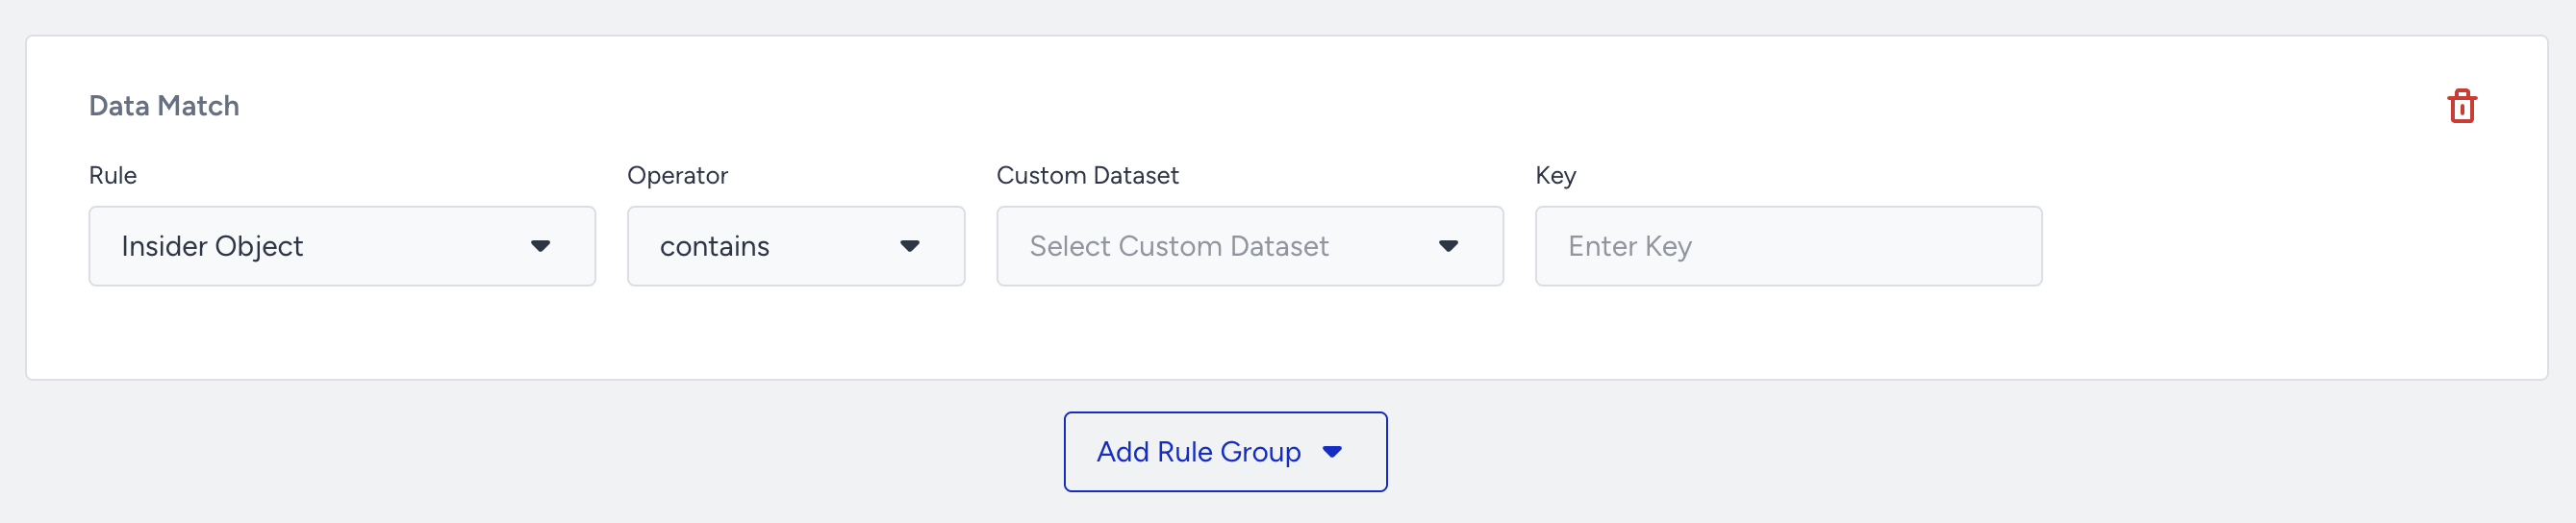
Data Match rules definitions
Insider Object: Check whether the data is available on Insider Object. If it is selected, you need to enter a key.
System Rule: Check whether the data is available on the System Rule. If it is selected, you need to choose a System Rule.
Product Information (getCurrentProduct) rules are available.
There are “productName, productID, productSku” subfields for system rules.
You must decide which subfield you want to check with the system rule, such as getCurrentProduct.productName.
Custom Rule: Check whether the data is available on the Custom Rule. If it is selected, you must choose a previously created Custom Rule or create a new one.
Custom Dataset is the bulk data file that is referenced to match the Rule.
You can either use the previously uploaded file or upload a new file.
You can upload the data as a CSV file, with a total file size limit of 20 MB.
Use Cases
You want to show a Lead Collection campaign to 10K specific users based on their UUID. You can list UUIDs in the CSV file:
Create a Lead Collection campaign and complete the Design and Segments step.
Select the “Data Match” in the Rules step.
Decide on the source from which you want to check the UUID of the user visiting the website. Let’s say you will check it through Insider Object > User object.
Select the Insider Object from the Rule dropdown.
Select “contains” in the Operator dropdown to show the campaign if the user’s UUID matches one of the IDs in the file.
Upload the CSV file you created in the first step.
Enter the key of the Insider Object, such as “user.name”
Add the other rules or rules group if you want.
Save the step.
You want to add a discount badge to the top-right part of the product image on product pages, and there are different 50K products. You can list product IDs in the CSV file:
Create an OnSite Experiment campaign and complete the Segments step.
Select the “Data Match” in the Rules step.
Decide which source you want to use to check product IDs. Let’s say you will check it in the System Rule.
Select the System Rule from the Rule dropdown.
Select “contains” in the Operator dropdown to show the campaign if the product IDs in the file match.
Upload the CSV file you created in the first step.
Enter the related system rule that returns the product ID, such as getCurrentProduct.productId.
Limitations
Rule order
The Data Match rule must be added as the last rule in the Rules step due to its logic.
If you add a new rule group after the Data Match, the information message reminds you to move the Data Match to the end.
If you try to save the page without changing the order, you see an error message because the step cannot be saved unless the Data Match is positioned as the last rule.
Connect another rule with Data Match within the same rule group
Data Match cannot be linked to different rules within the same rule group, so the Add Rule option is disabled. Instead, you can create new rule groups for other trigger conditions.
Add multiple Data Match rules
You can add up to 1 Data Match rule to a single campaign. Therefore, the Data Match will not appear in the next rule/rule group dropdowns if the campaign already includes this rule.
Campaign Priority
On-page campaigns that include the Data Match rule are prioritized within their own category and displayed to users last. For example,
The priority of Campaign X without the Data Match rule = 3
The priority of Campaign Y without the Data Match rule = 6
The priority of the Campaign Z with the Data Match rule = 1
The priority of the Campaign T with the Data Match rule = 5
In this case, the campaigns will be displayed in the following order: Campaign X > Campaign Y > Campaign Z > Campaign T.
In other words, on-page campaigns without the Data Match rule will appear first, based on their priority hierarchy, followed by on-page campaigns with the Data Match rule.