Previous Step: Insider Tag Integration
The initial integration consists of two main steps: the Insider Tag integration and the Confirmation Page integration.
After completing the Initial Website Integration on your website, the Insider One panel can begin collecting event and clickstream data, enabling user segmentation, revenue monitoring, conversion tracking, and more.
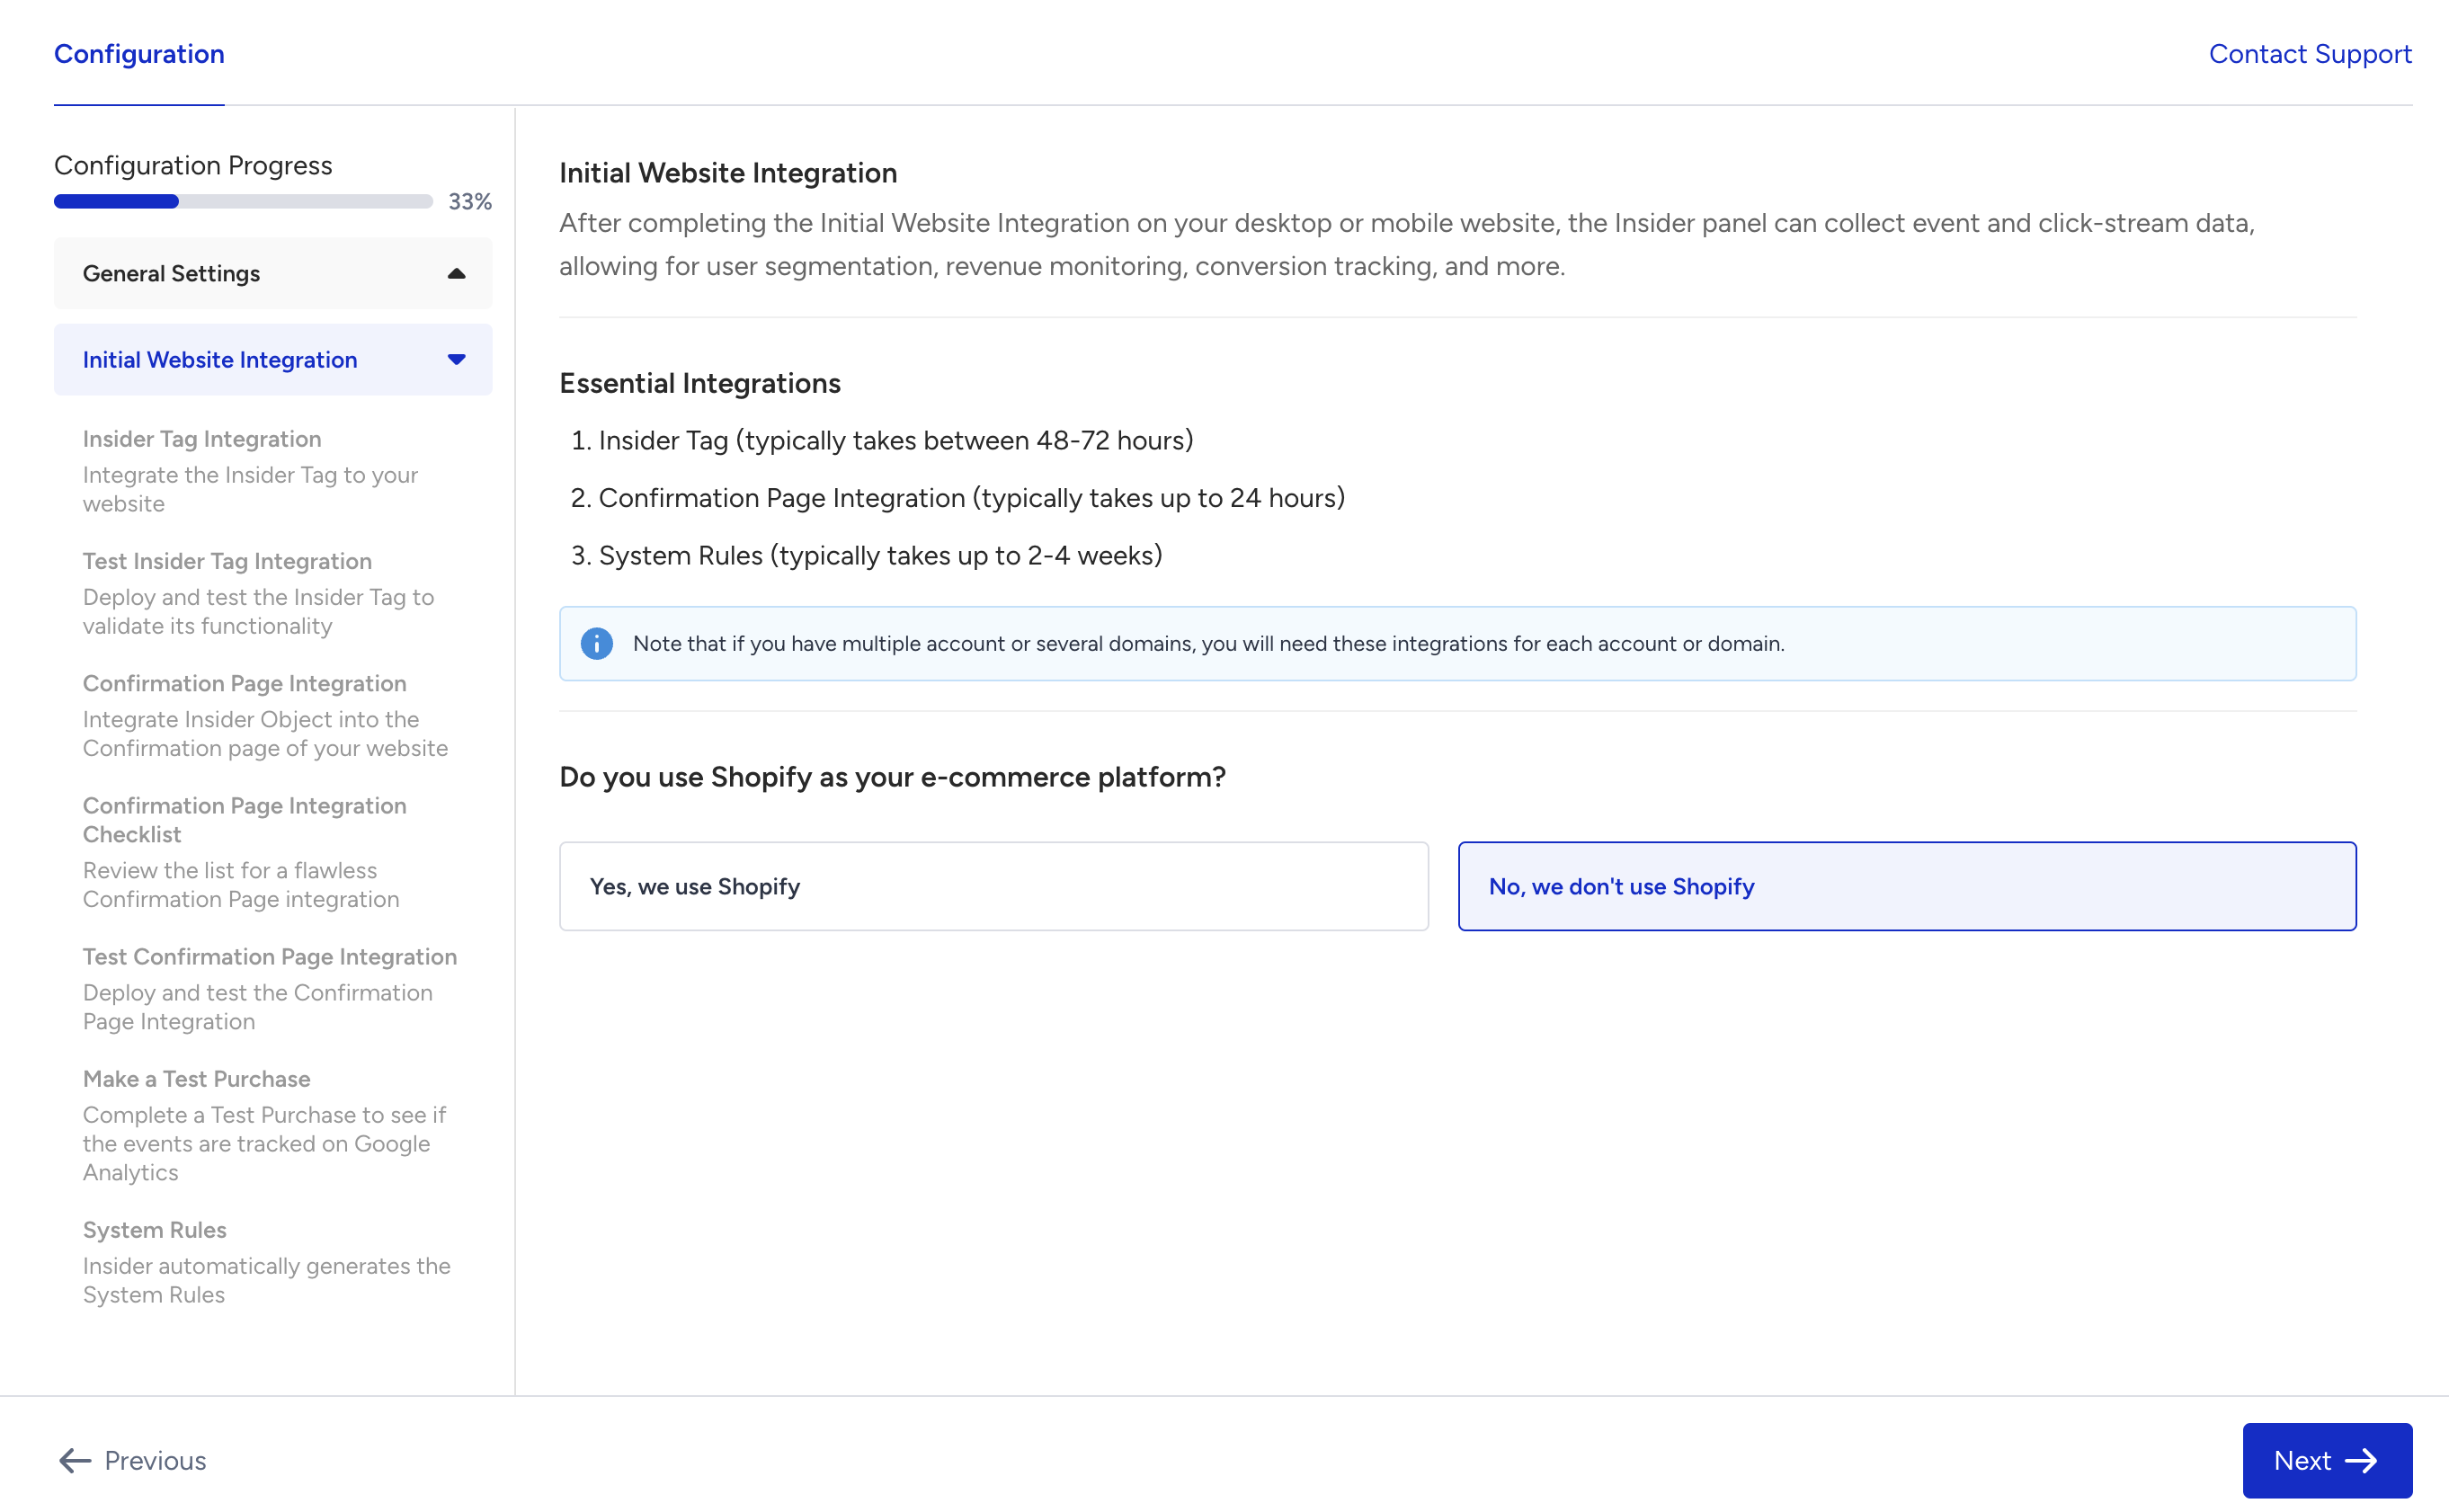
You can start the integration process by confirming whether your website has a Shopify infrastructure. Accordingly, you will be redirected to the respective integration instructions.
Insider Tag Integration
You can use one of the following methods to integrate the Insider Tag: Source Code and Google Tag Manager.
Source Code Integration
You can click the Copy Code button to copy your integration code, including a unique partner name and partner ID, and add it to your website's source code.
If your website is an SPA (single-page application), you can select that option to receive guidance for this integration.
Google Tag Manager
You can follow the step-by-step instructions with visuals to integrate Insider One into your platform via your Google Tag Manager.
Testing the Insider Tag Integration
When you proceed to the next step, you can see an automatic scan that verifies the Insider Tag on your website.
For Insider Tag to be verified, you need to accept cookies on your website. If you have a multi-domain website, Insider Tag is verified only on the main website URL in your account preferences.
Confirmation Page Integration
Confirmation Page Integration is required to track transactions on your website. To integrate Insider One into your confirmation page, you can use either Source Code or Google Tag Manager.
Source Code Integration
You can click the Copy Code button to copy your confirmation page integration code, then add it to the source code of your website's confirmation page.
This object must load before the Insider Tag (ins.js) for all payment types. Otherwise, the page type information will not be reachable, and the transaction will not be counted as a conversion
Google Tag Manager
You can follow the step-by-step instructions with visuals to integrate Insider One into your confirmation page via your Google Tag Manager.
Confirmation Page Integration Checklist
This step serves as a checklist and outlines the criteria to consider before testing the confirmation page integration.
Testing the Confirmation Page Integration
You can click the Test Confirmation Page button to run an automatic test on your confirmation page. You will be redirected to your website, where a test inspector will be available along with instructions to complete the test. You can also see the test results on the page.
Making a Test Purchase
Once you verify the integration, you can enable the corresponding Google Analytics event in InOne and make a test purchase on your website to see the logs sent from InOne to Google Analytics.
Once you complete and verify your integrations, you will reach the System Rules step. This step informs you of the next step to be completed by Insider One.
Now that you have completed your integrations, you can view the recommended use cases and start designing your recommended campaigns as a draft. Once Insider One completes defining the necessary system rules to map out your website, you can launch your campaigns.
Next Steps: