Configuring Notification Icons
Android lets you customize the way your notifications look.
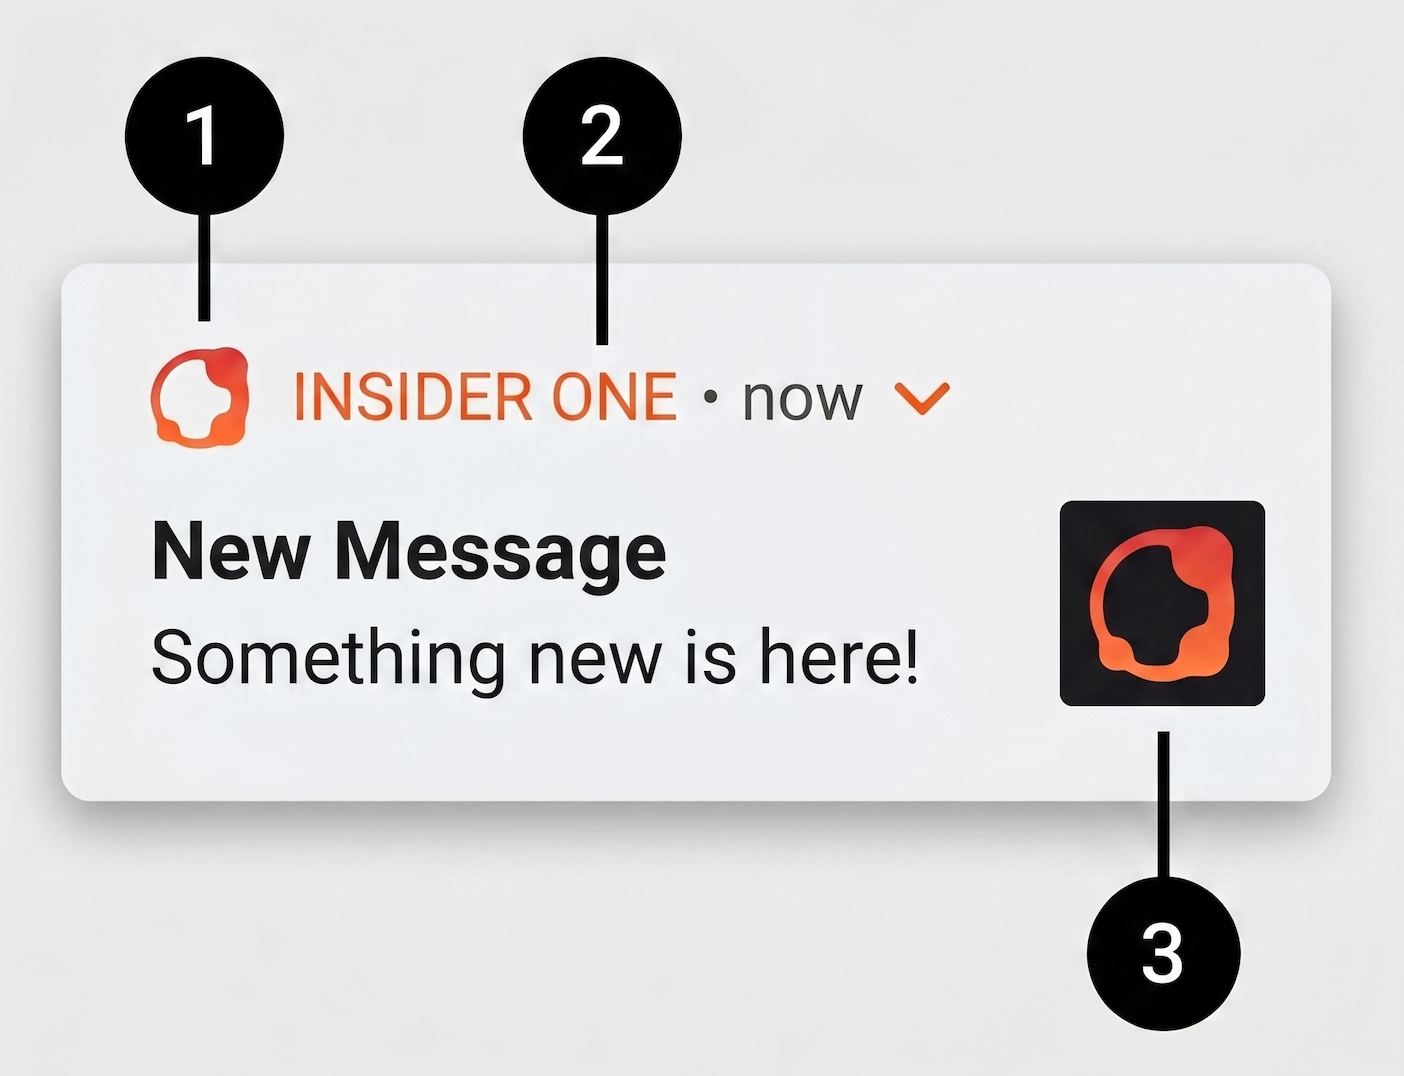 1: Small icon, 2: Accent color, 3: Large icon
Configuring Small Push Notification Icon
By default, the system uses your launcher icon as the logo in your push notifications. Since Android 4.4, Google guidelines require a white and transparent flat icon. If you do not follow the guidelines, your notification icon may look broken as in the images below.
To fix this you need to add a notification icon compliant with Google guidelines in your drawable resources and specify it in your strings.xml file:
<resources>
    <string name="insider_notification_icon">your_icon_name</string>
</resources>Please note that "your_icon_name" is the name of the icon should be without extension and/or path.
Do not forget to create exceptions for your icons on Dexguard.
Configuring Large Push Notification Icon
The large notification icon will show up to the left of the notification text on Android 4.0.3 - 6.0 devices, and shows on the right for Android 7.0+ devices. If you do not set a large icon, the small icon will be used instead.
You can use a large notification icon by specifying drawable resources within your app. Your icon needs to be in a drawable or mipmap folder. To use it, add its name to your strings.xml file:
<resources>
    <string name="insider_notification_large_icon">your_icon_name</string>
</resources>Configuring Advanced Notification Icon
If you want to control the large icon display in advanced notifications (Carousel and Discovery App Push), add the following line into your values file:
<resources>
    <bool name="insider_advanced_notification_icon_flag">false</bool>
</resources>
If this key is not added, the default value will be true, meaning the large icon will be displayed in advanced notifications.
| MDPI | HDPI | XHDPI | XXHDPI | XXXHDPI | |
|---|---|---|---|---|---|
| Scale | 1x | 1.5x | 2x | 3x | 4x |
| DPI | 160dpi | 240dpi | 320dpi | 480dpi | 640dpi |
| Launcher | 48px | 72px | 96px | 144px | 192px |
| Action Bar | 32px | 48px | 64px | 96px | 128px |
| Small/Contextual | 16px | 24px | 32px | 48px | 64px |
| Notification | 24px | 36px | 48px | 72px | 96px |
Configuring Accent Color
If you want your push notification to display in a particular color, first add the following line into your colors.xml file:
<resources>
    <color name="my_push_notification_color">#222222</color>
</resources>
Then add the following line into your strings.xml file:
<resources>
    <string name="insider_notification_circle_color">my_push_notification_color</string>
</resources>Customizing Notification Sound
If you want to use your own custom sound for notifications, you need to add an audio file to your app’s raw folder.
The audio file must be in mp3 format. The filename must be in lowercase and should not contain any special characters or spaces. The recommended sound duration is 30 seconds.
In order to play the custom sound when a push notification is delivered, you need to enter the filename on the Insider Dashboard when you create the notification campaign.
Do not forget that, if you want to create custom notification sound, you have to create at least one android channel and select it within campaign. Otherwise, you cannot trigger the sound on users which are Android Versions 8.0+
The SDK looks up the resources below by name at runtime (Resources#getIdentifier), so build-time shrinkers can strip them. If your project enables shrinkResources = true (especially with shrinkMode = "strict"), add a res/raw/keep.xml file with the names you reference.
<?xml version="1.0" encoding="utf-8"?>
<resources xmlns:tools="http://schemas.android.com/tools"
    tools:keep="
        @string/insider_notification_*,
        @bool/insider_advanced_notification_icon_flag,
        @integer/insider_notification_push_priority,
        @drawable/ic_notification_insider,
        @drawable/your_large_icon_name,
        @color/my_push_notification_color,
        @raw/*
    " />
<!-- Swap the your_* placeholders for your actual resource names. -->