Suggested reading: Global Unsubscribe and Preference Center
Managing suppressions is key to maximizing email delivery. If recipients have an easy way to indicate they want to stop receiving emails rather than using the spam button, this will provide more valuable insights without affecting IP reputation.
Global Unsubscribe
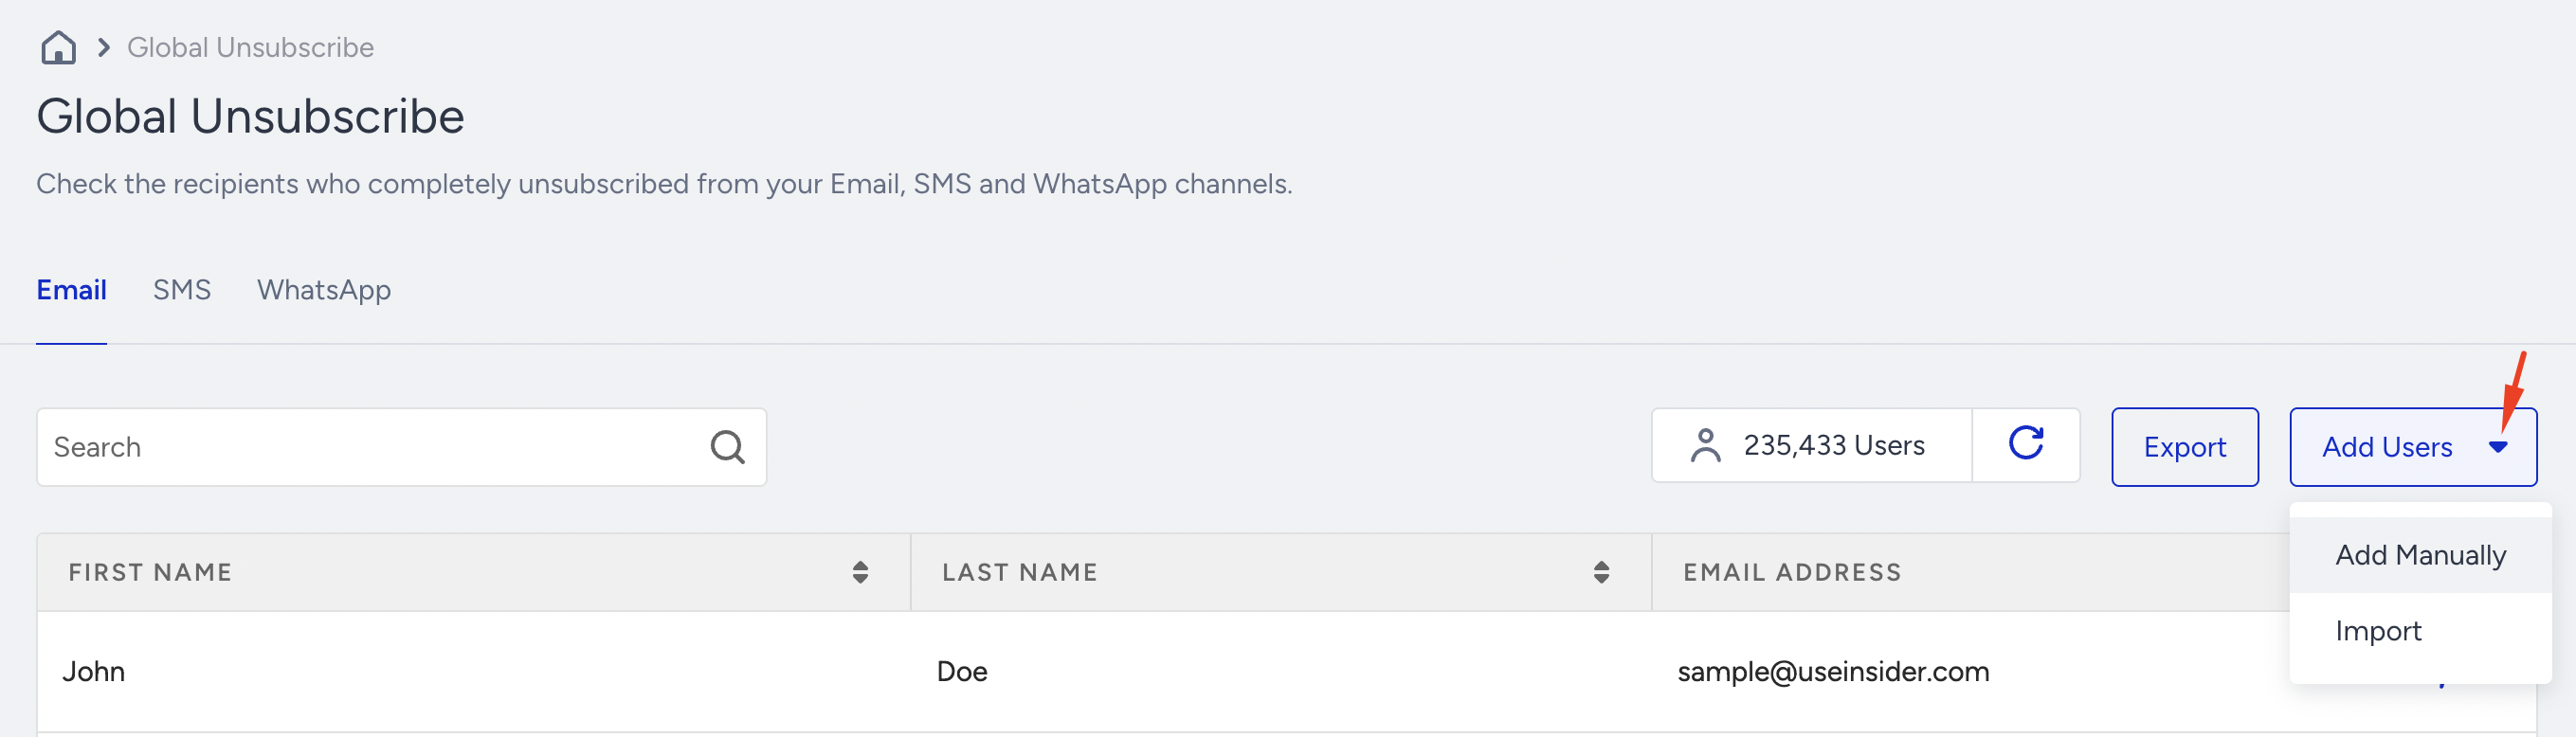
Global unsubscribe allows your recipients to unsubscribe from all emails you send them. You can reach Global Unsubscribe through Audience > Suppression > Global Unsubscribe.
If you have restricted access to the panel, the email addresses will be displayed as muted values. Please contact your Administrator to view the user fields.
You will see Email, SMS, and WhatsApp products depending on your package. You can switch between tabs to manage recipients who are no longer subscribers in these channels.

Import global unsubscribes
You can import your unsubscribers using two different methods: Manually or by uploading a file.
Add Manually
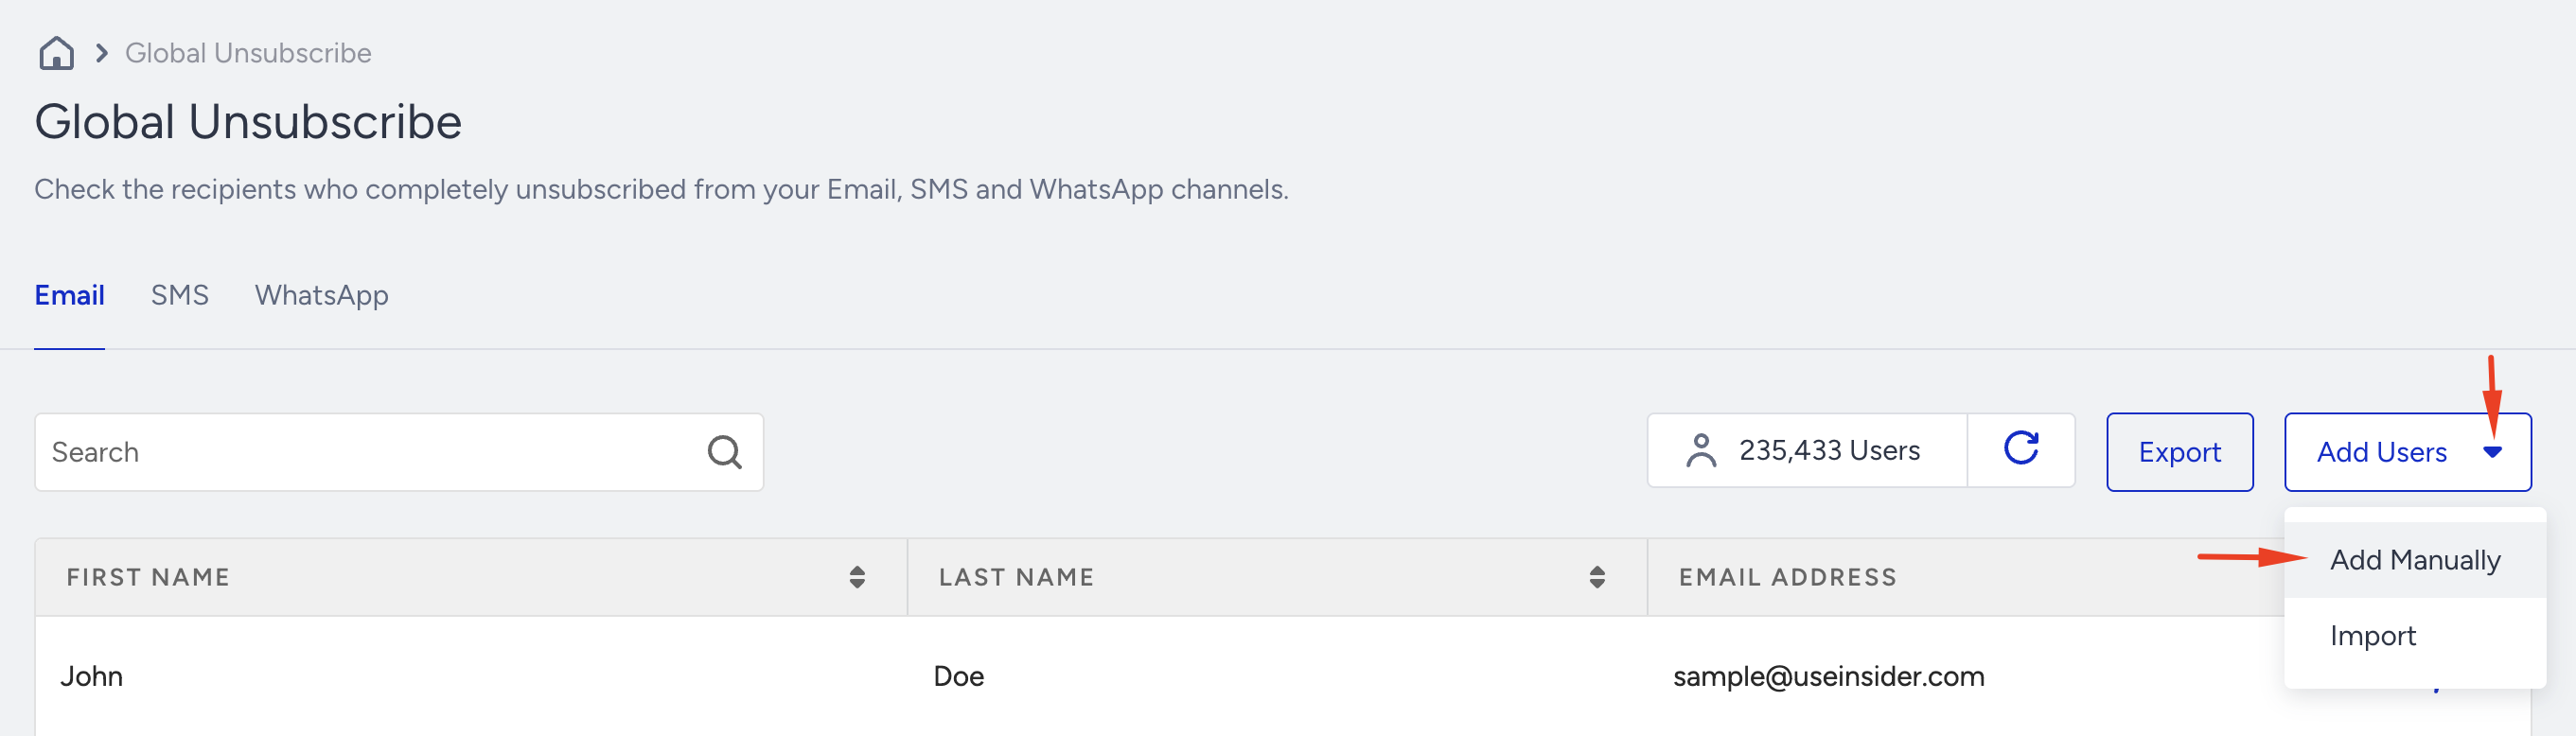
Click Add Users and select Add Manually.
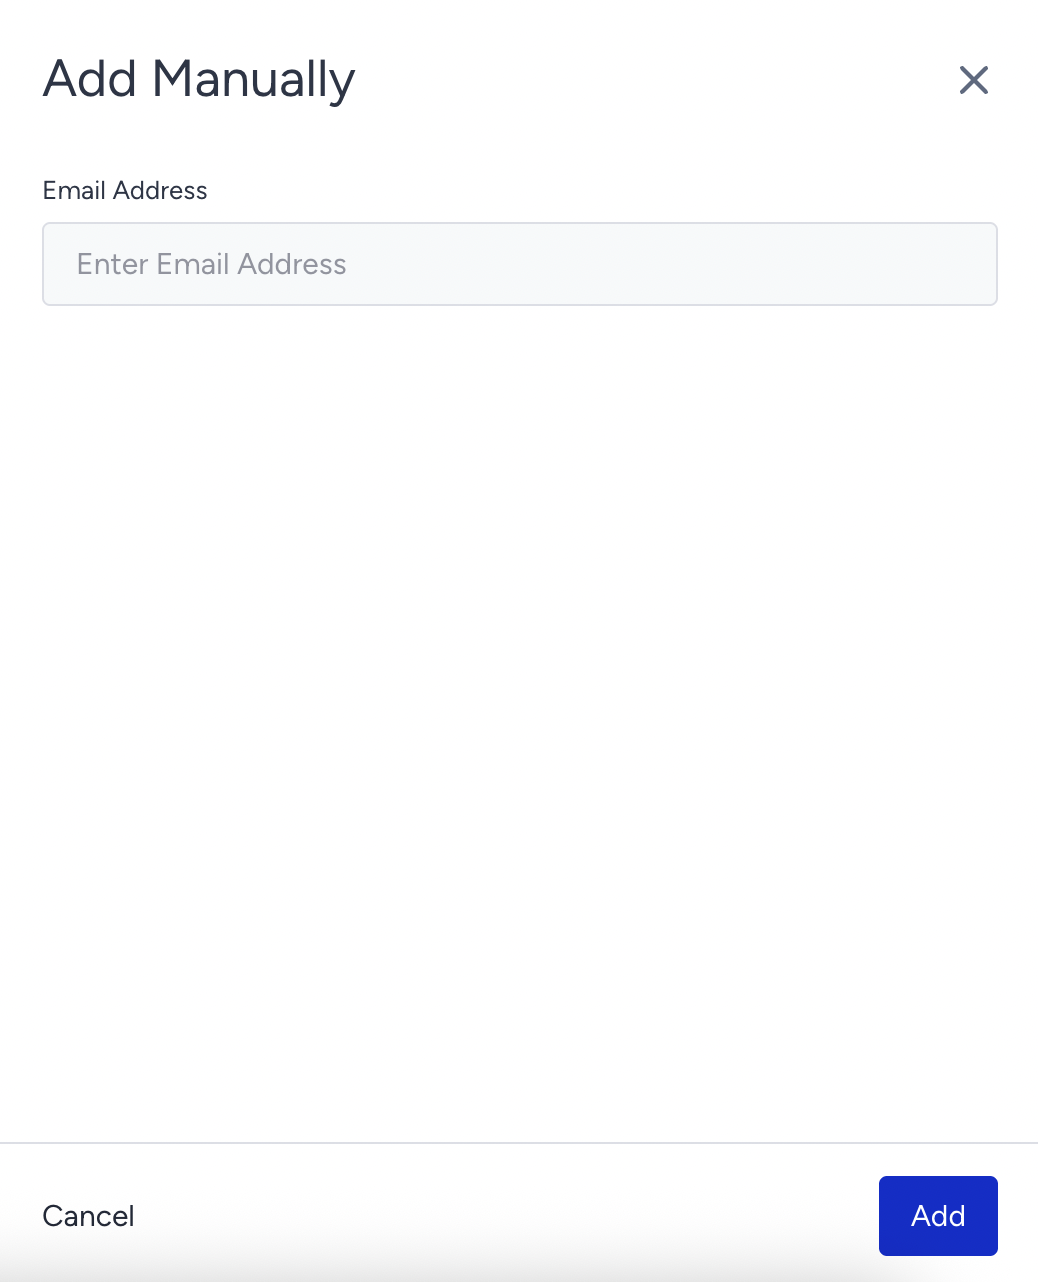
Add your unsubscribers manually, one by one. Enter the email address and click the Add button.
Import
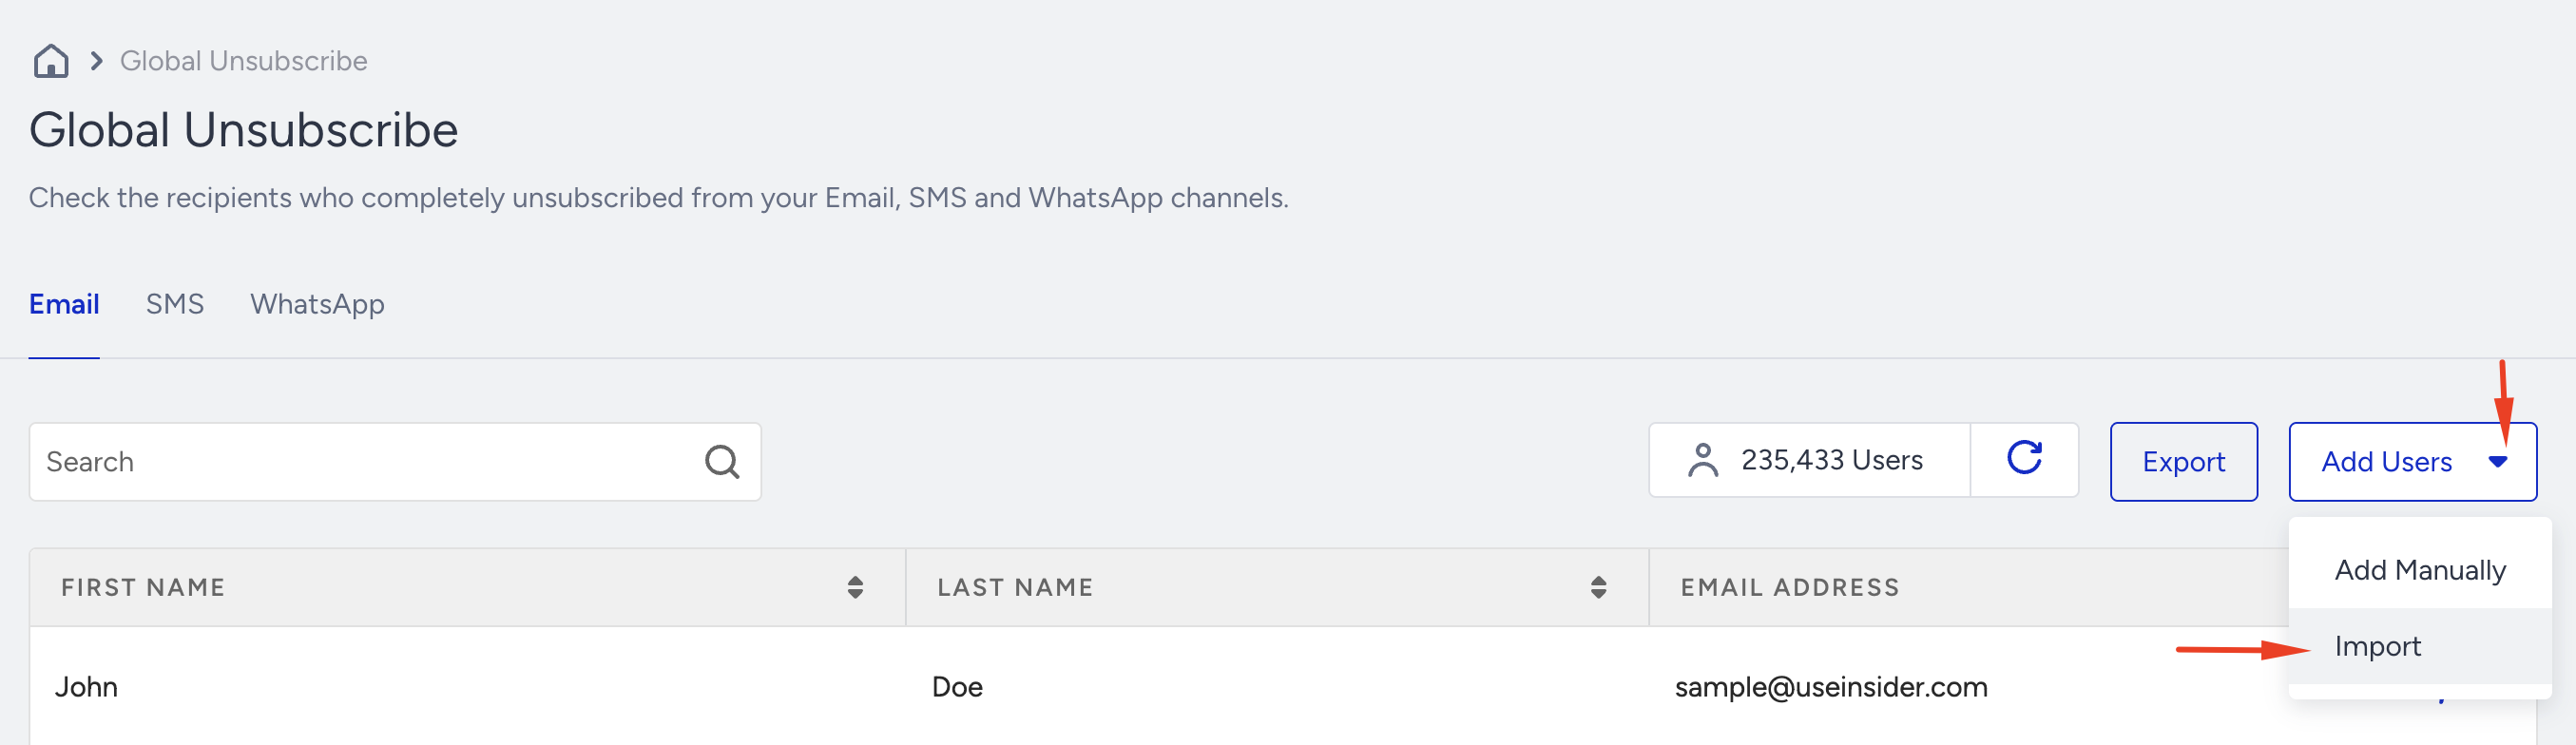
Click Add Users and select Import.
Upload your CSV file, which contains only a single email address column and no header.
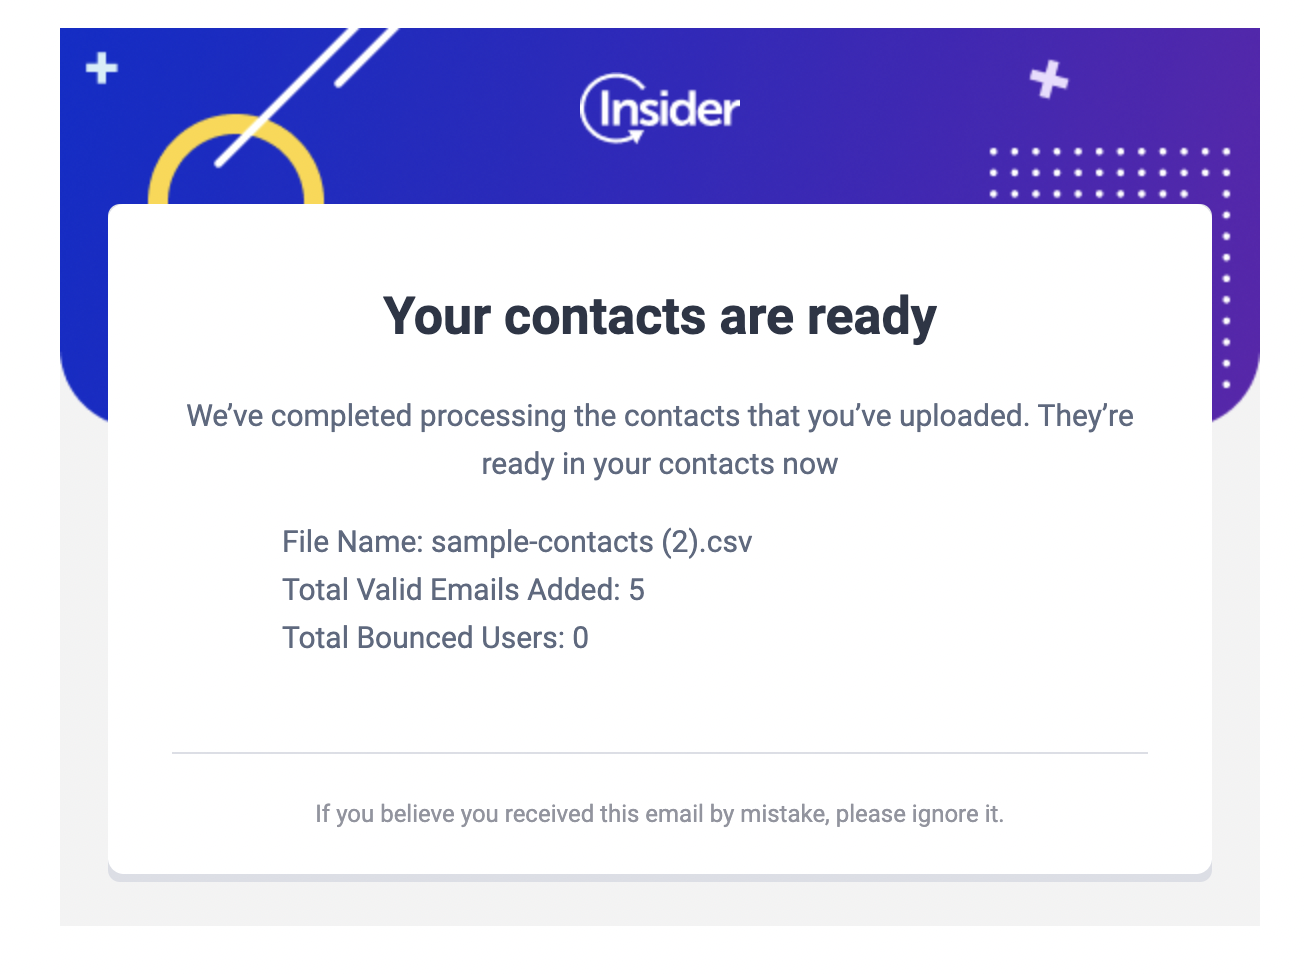
The import process may take a while. Once it is completed, your processed unsubscribes will be displayed.
After completing the uploading process, you will receive an email regarding the completion.
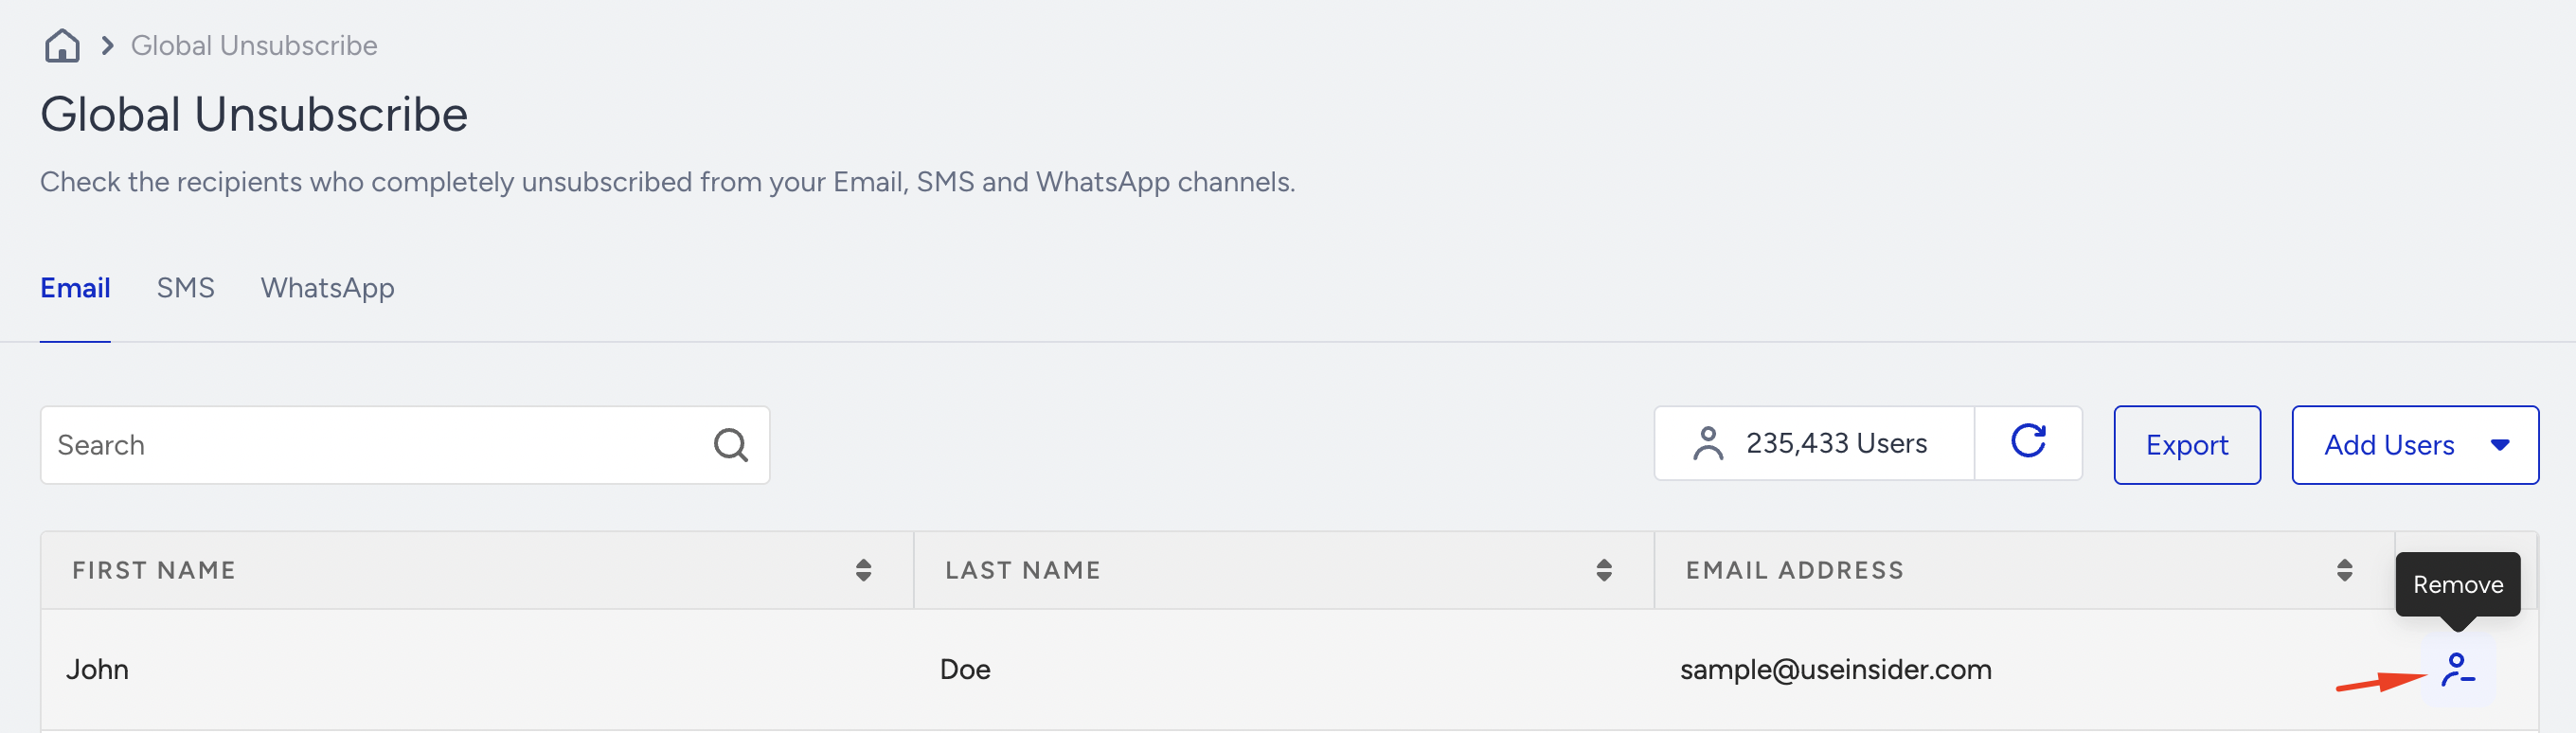
Remove from Unsubscribe
This option lets you delete a user from Global Unsubscribe in Insider's database and on the email service provider's end. Click the Remove button next to the contact you want to delete.
Only the Administrator and users with access to PII data can view personal information on this page. You can provide your members with user access to view the PII, customer personal data, or user profiles from the User Management page.
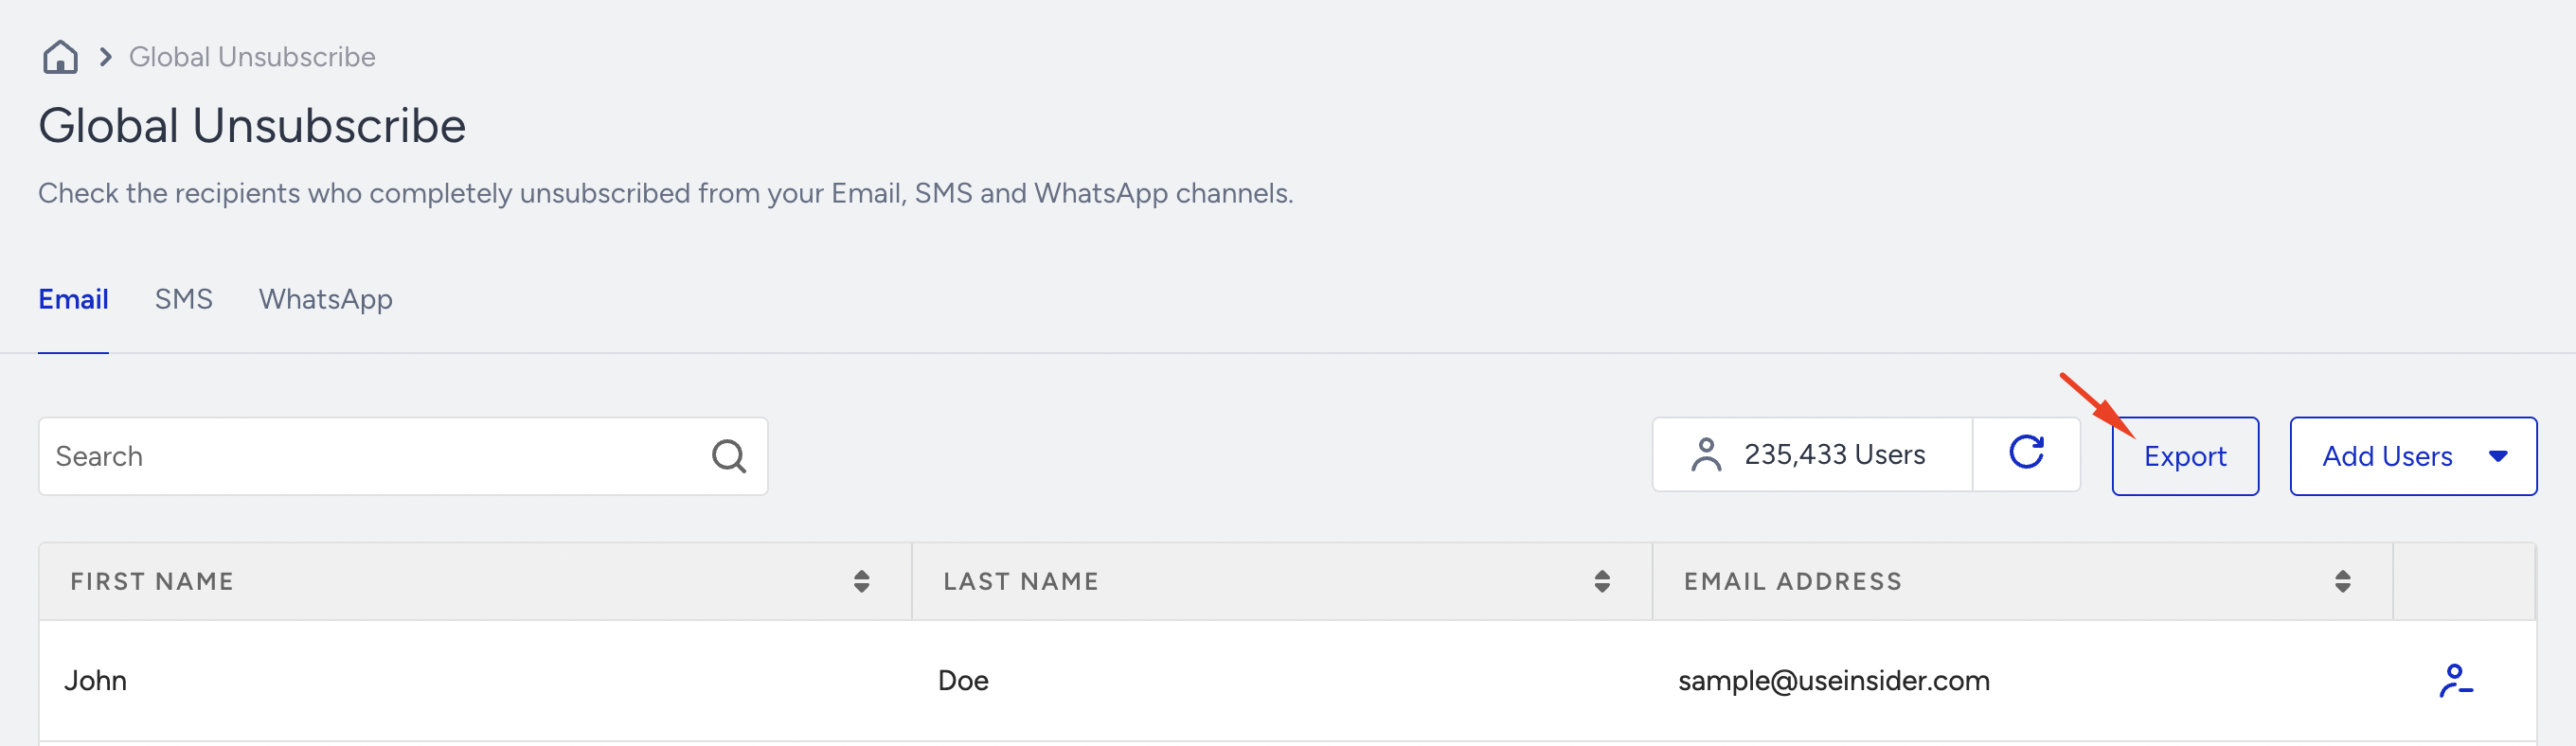
Export data
To export the data, click the Export button. You will receive an email containing the email addresses in your inbox shortly.
Using the Unsubscribe API, you can add global unsubscribes to the Global Unsubscribe suppression list and add these users to specific unsubscribe groups.
Using the Resubscribe API, you can also resubscribe users to specific unsubscribe groups.
Unsubscribe Groups
If you don’t want your users to unsubscribe from all emails you’re sending, you can create “Unsubscribe Groups.” This option will unsubscribe users only from that particular email type, but they will remain as contacts, and their information will not be removed. For example, if you’re sending Marketing Campaigns, recipients can unsubscribe from specific email types they no longer want to receive, but they will continue to receive transactional emails.
You can reach Unsubscribe Groups through Audience > Suppression > Unsubscribe Groups.
Only the Administrator and users with access to PII data can view personal information on this page. You can provide your members with user access to view the PII, customer personal data, or user profiles from the User Management page.
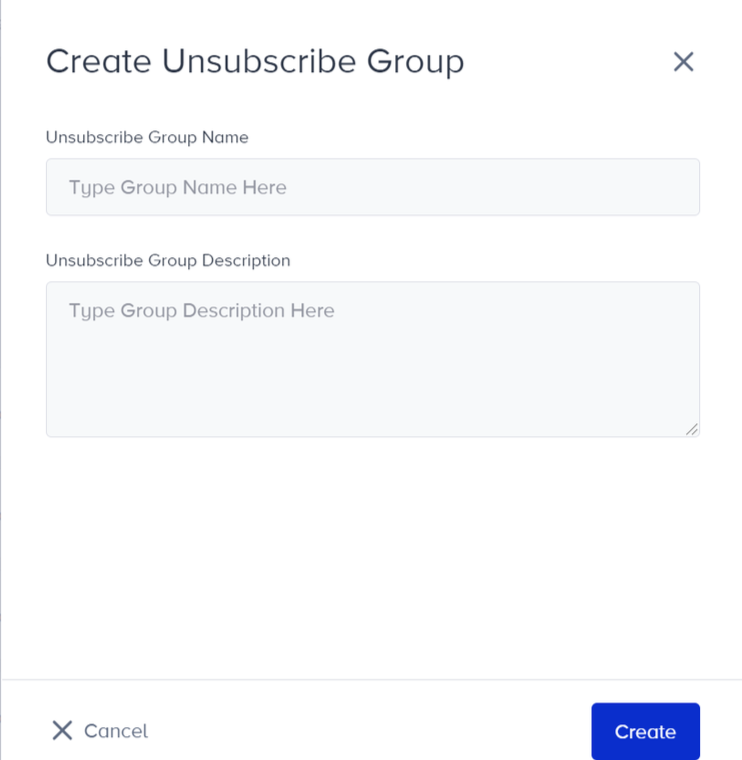
Create unsubscribe groups
To create an unsubscribe group, click the Create button.
Name your unsubscribe group and add a description.
Click the Create button.
You can have 200 unsubscribe groups at most.
After creating your group, click the group’s name to go to the corresponding contacts page.
Import group unsubscribes
You can import your group's unsubscribers using two different methods: Manually or by uploading a file..png)
Add Manually
Click Add Contacts and select Add Manually.
Add your group unsubscribers manually, one by one.
Import
Click Add Contacts and select Import.
Upload your CSV file, which contains only a single email address column and no header.
The import process may take a while. Once it is completed, your processed unsubscribes will be displayed.
Export data
To export the data, click the Export button. You will receive an email containing the email addresses in your inbox shortly.

The Export button will work only if the user is an Administrator or allowed to see PII information on the panel.
Managing email delivery failures: Bounces and blocks
Email bounces and blocks are two critical concepts that directly impact your campaign deliverability and sender reputation. A clear distinction between these terms is essential, especially during onboarding and migration periods. Aligning with industry standards, Insider One classifies delivery failures into Hard Bounces (Permanent Failures) and Soft Bounces (Temporary Failures), and explains how these relate to the Bounce and Block sections in your Insider One panel.
Hard Bounce
A Hard Bounce (Permanent Failure) occurs when the recipient's mailbox provider definitively rejects an email due to a permanent reason. This means the address is invalid, nonexistent, or has been permanently deactivated, and all future delivery attempts will also fail.
Hard Bounces are indicated by 5XX error codes in the email delivery protocol (RFC).
When an address hard bounces, all future email attempts to that address are automatically suppressed to protect your sender reputation and prevent sending to consistently invalid addresses.
These addresses are added to the Bounces list in your Insider One panel.
They are also included in the Central Bounce list, which flags permanently rejected addresses across the entire Insider One platform.
An address that Hard Bounces is no longer considered a sendable contact.
Common reasons for hard bounces
The recipient email address does not exist (Invalid Address).
The domain name is invalid or nonexistent.
The email account has been closed or deactivated.
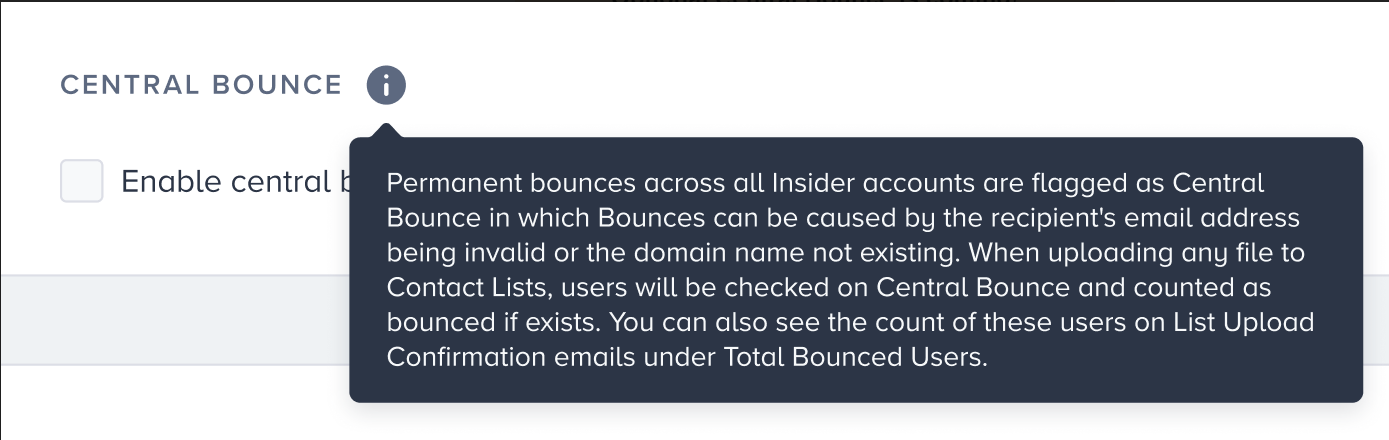
Central Bounce
All the permanent bounces caused by an invalid recipient's email address or a nonexistent domain name across Insider accounts are flagged as Central Bounce. You can check if the users are on Central Bounce while uploading a file to the Contact Lists. If the contact exists in the central bounce, add them to the bounced list. You can also view the count of these users on List Upload Confirmation emails under 'Total Bounced Users'.
 You can enable this feature from your Email settings on the InOne panel.
Block (Soft Bounce)
A Block, in other words, Soft Bounce (temporary failure), occurs when an email is rejected or deferred by the recipient server due to a temporary issue. The address is valid, but delivery could not be completed at that specific moment due to transient conditions.
Soft Bounces are typically indicated by 4XX error codes.
Common reasons for soft bounces
The recipient's mailbox is full (Mailbox Full).
The recipient server is temporarily down or unreachable.
The sender is sending too much volume to the provider (Frequency/Volume Issues).
The server has temporarily blocked the message due to content or reputation checks.
Insider's block and deferral mechanism
Soft Bounce cases are tracked and managed within the Insider One system using the concepts of Deferral and Block:
Deferral: This is when a server temporarily limits access (like a busy signal) due to high load or instantaneous suspicion. Insider One will retry sending this email for up to 72 hours.
Block: If the delivery attempt is still unsuccessful after the 72-hour deferral period, it is registered as a Block event. This signifies that the message was temporarily rejected by the recipient server.
A block is a record of a soft bounce that exceeded the retry window, but is not a permanent bounce.
The Blocks list is not treated as a suppression list by Insider One. Unlike a Hard Bounce, subsequent send attempts to emails on this list will continue as usual, assuming the temporary issue (e.g., full mailbox, server load) may have been resolved.
Soft Bounces are temporary rejections (4XX errors) related to mailbox or server conditions. In the Insider One panel, these are categorized and tracked under Blocks.
Comparative Summary: Bounce vs. Block
Feature | Hard Bounce | Block (Soft Bounce) |
|---|---|---|
Delivery outcome | Permanent failure | Temporary failure |
RFC error code | 5XX | 4XX |
Primary cause | Invalid Address/Domain, Nonexistent User | Mailbox Full, Server Down, Volume Limit |
Insider panel name | Bounces | Blocks |
Automatic suppression | YES (Sends are automatically stopped) | NO (Send attempts continue) |
Persistence | Permanent | Temporary (Retried for 72 hours before being logged as a Block) |
Only the Administrator and users who have access to PII data can view personal information on this page. You can provide your members with user access to view the PII, customer personal data, or user profiles from the User Management page.
Invalids
Invalids are email recipients whose email addresses do not exist on the mail server.
Only the Administrator and users who have access to PII data can view personal information on this page. You can provide your members with user access to view the PII, customer personal data, or user profiles from the User Management page.
To reach those contacts, navigate to Audience > Suppression > Invalids.
Export data
To export the data, click Export. You will soon receive an email containing the list of email addresses.
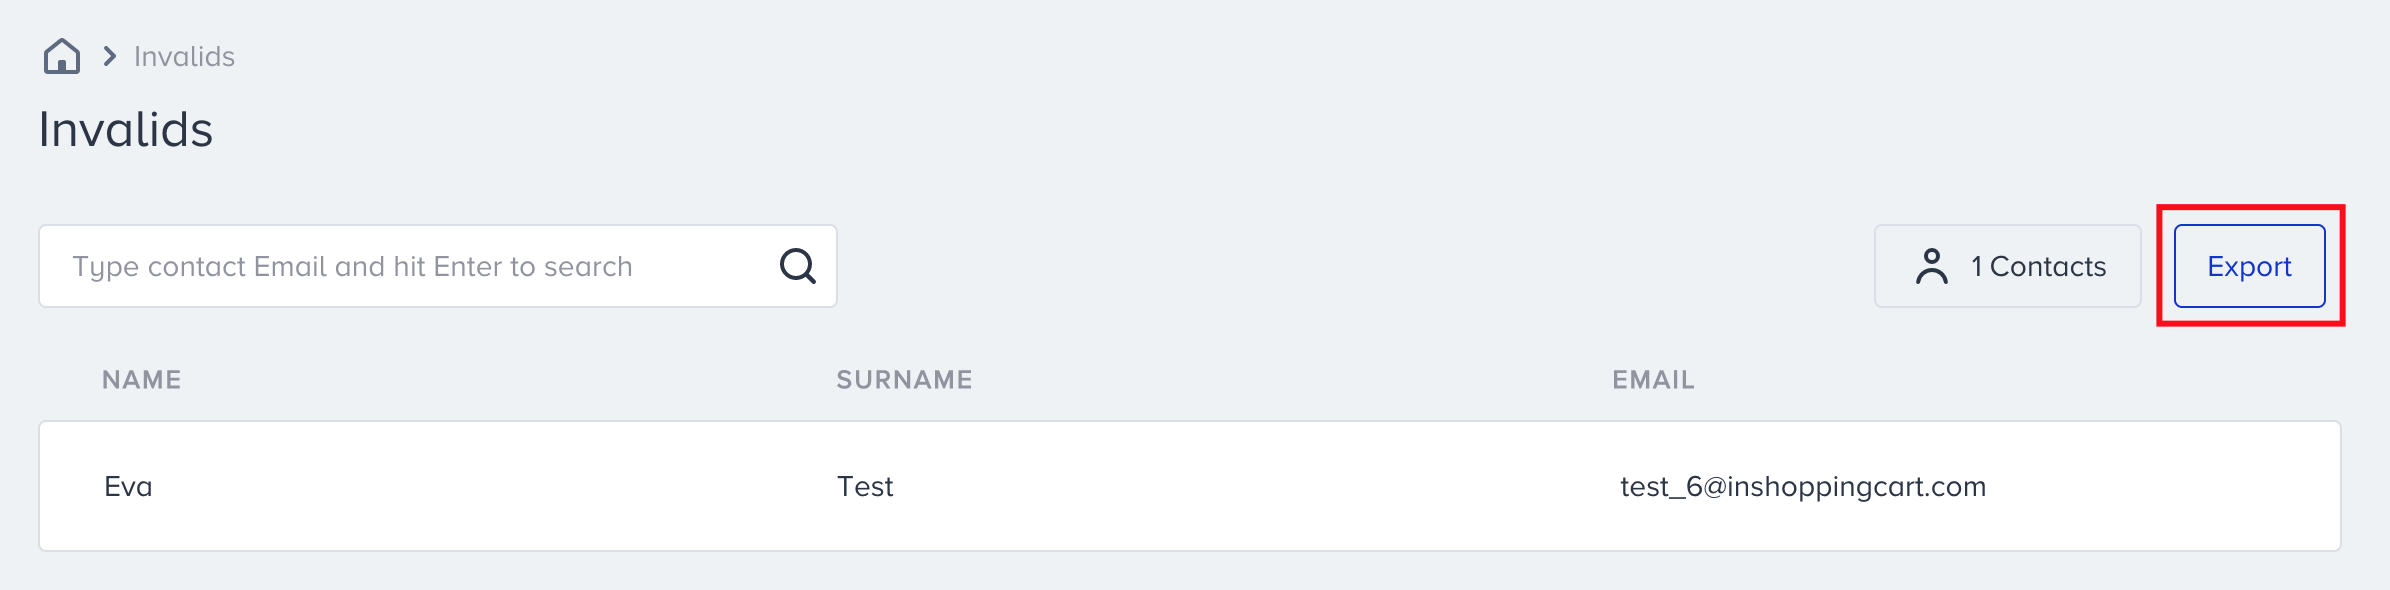
The Export button will only work if the user is an Administrator or allowed to see PII information on the InOne panel.