Upload history lets you track the status of your recently uploaded lists, such as contact lists, static segments, or suppression pages.
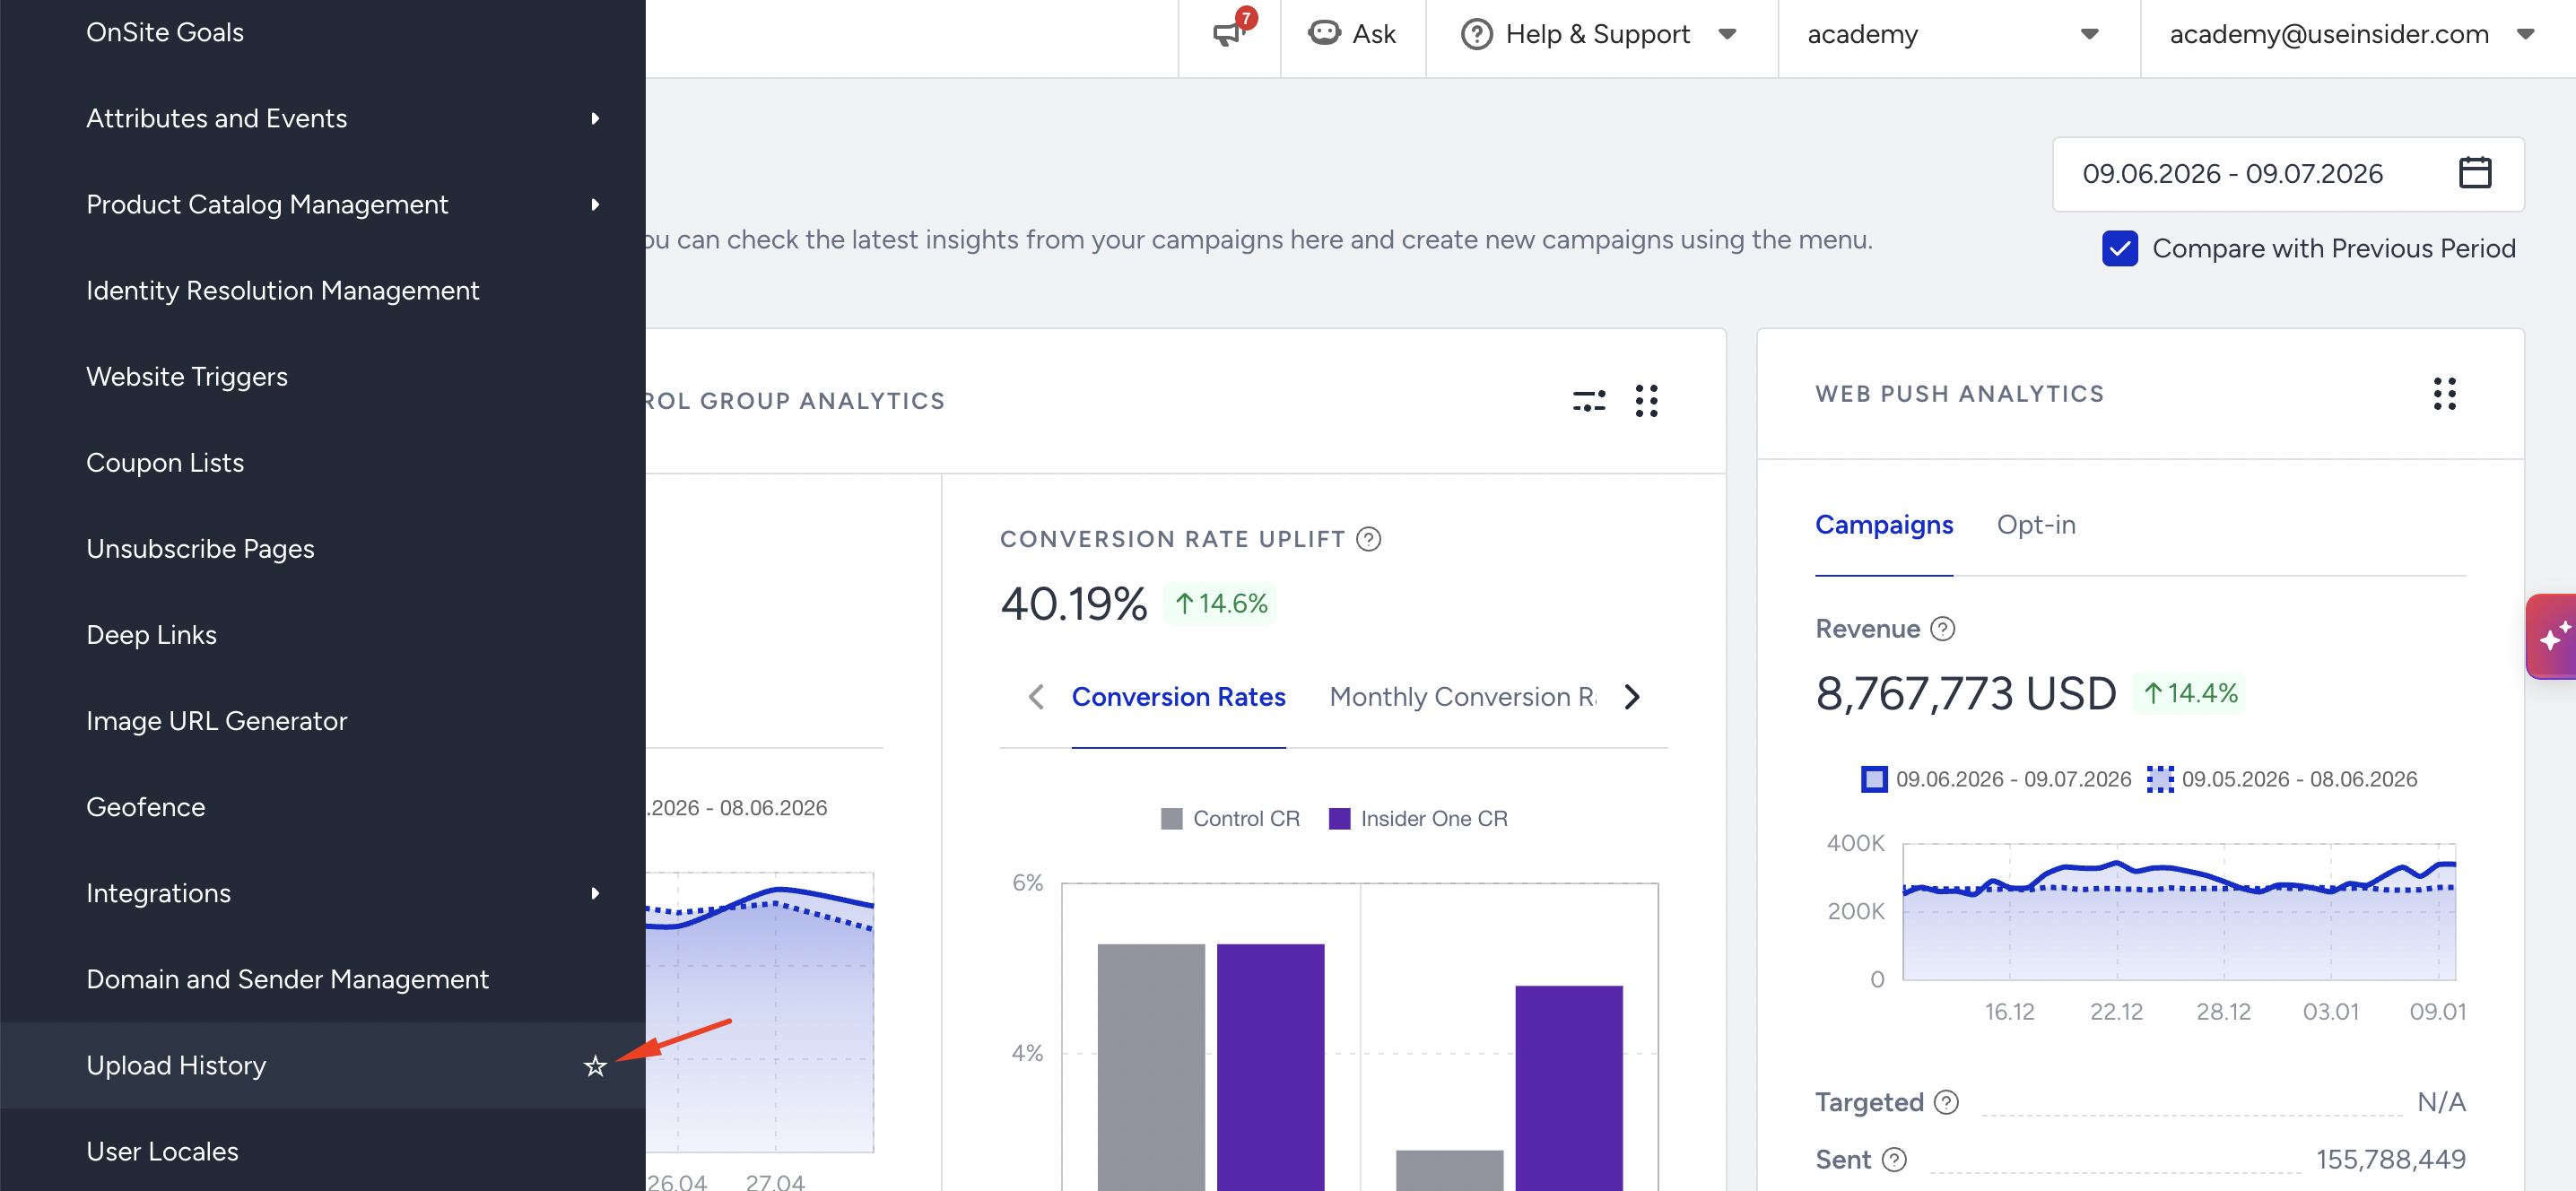
To find the uploaded lists, navigate to Components > Upload History.
How does the Upload History work?
The Upload History option allows you to track down the latest uploads from the listing page. The Upload History page is populated with lists from the contact list page or static segment pages. 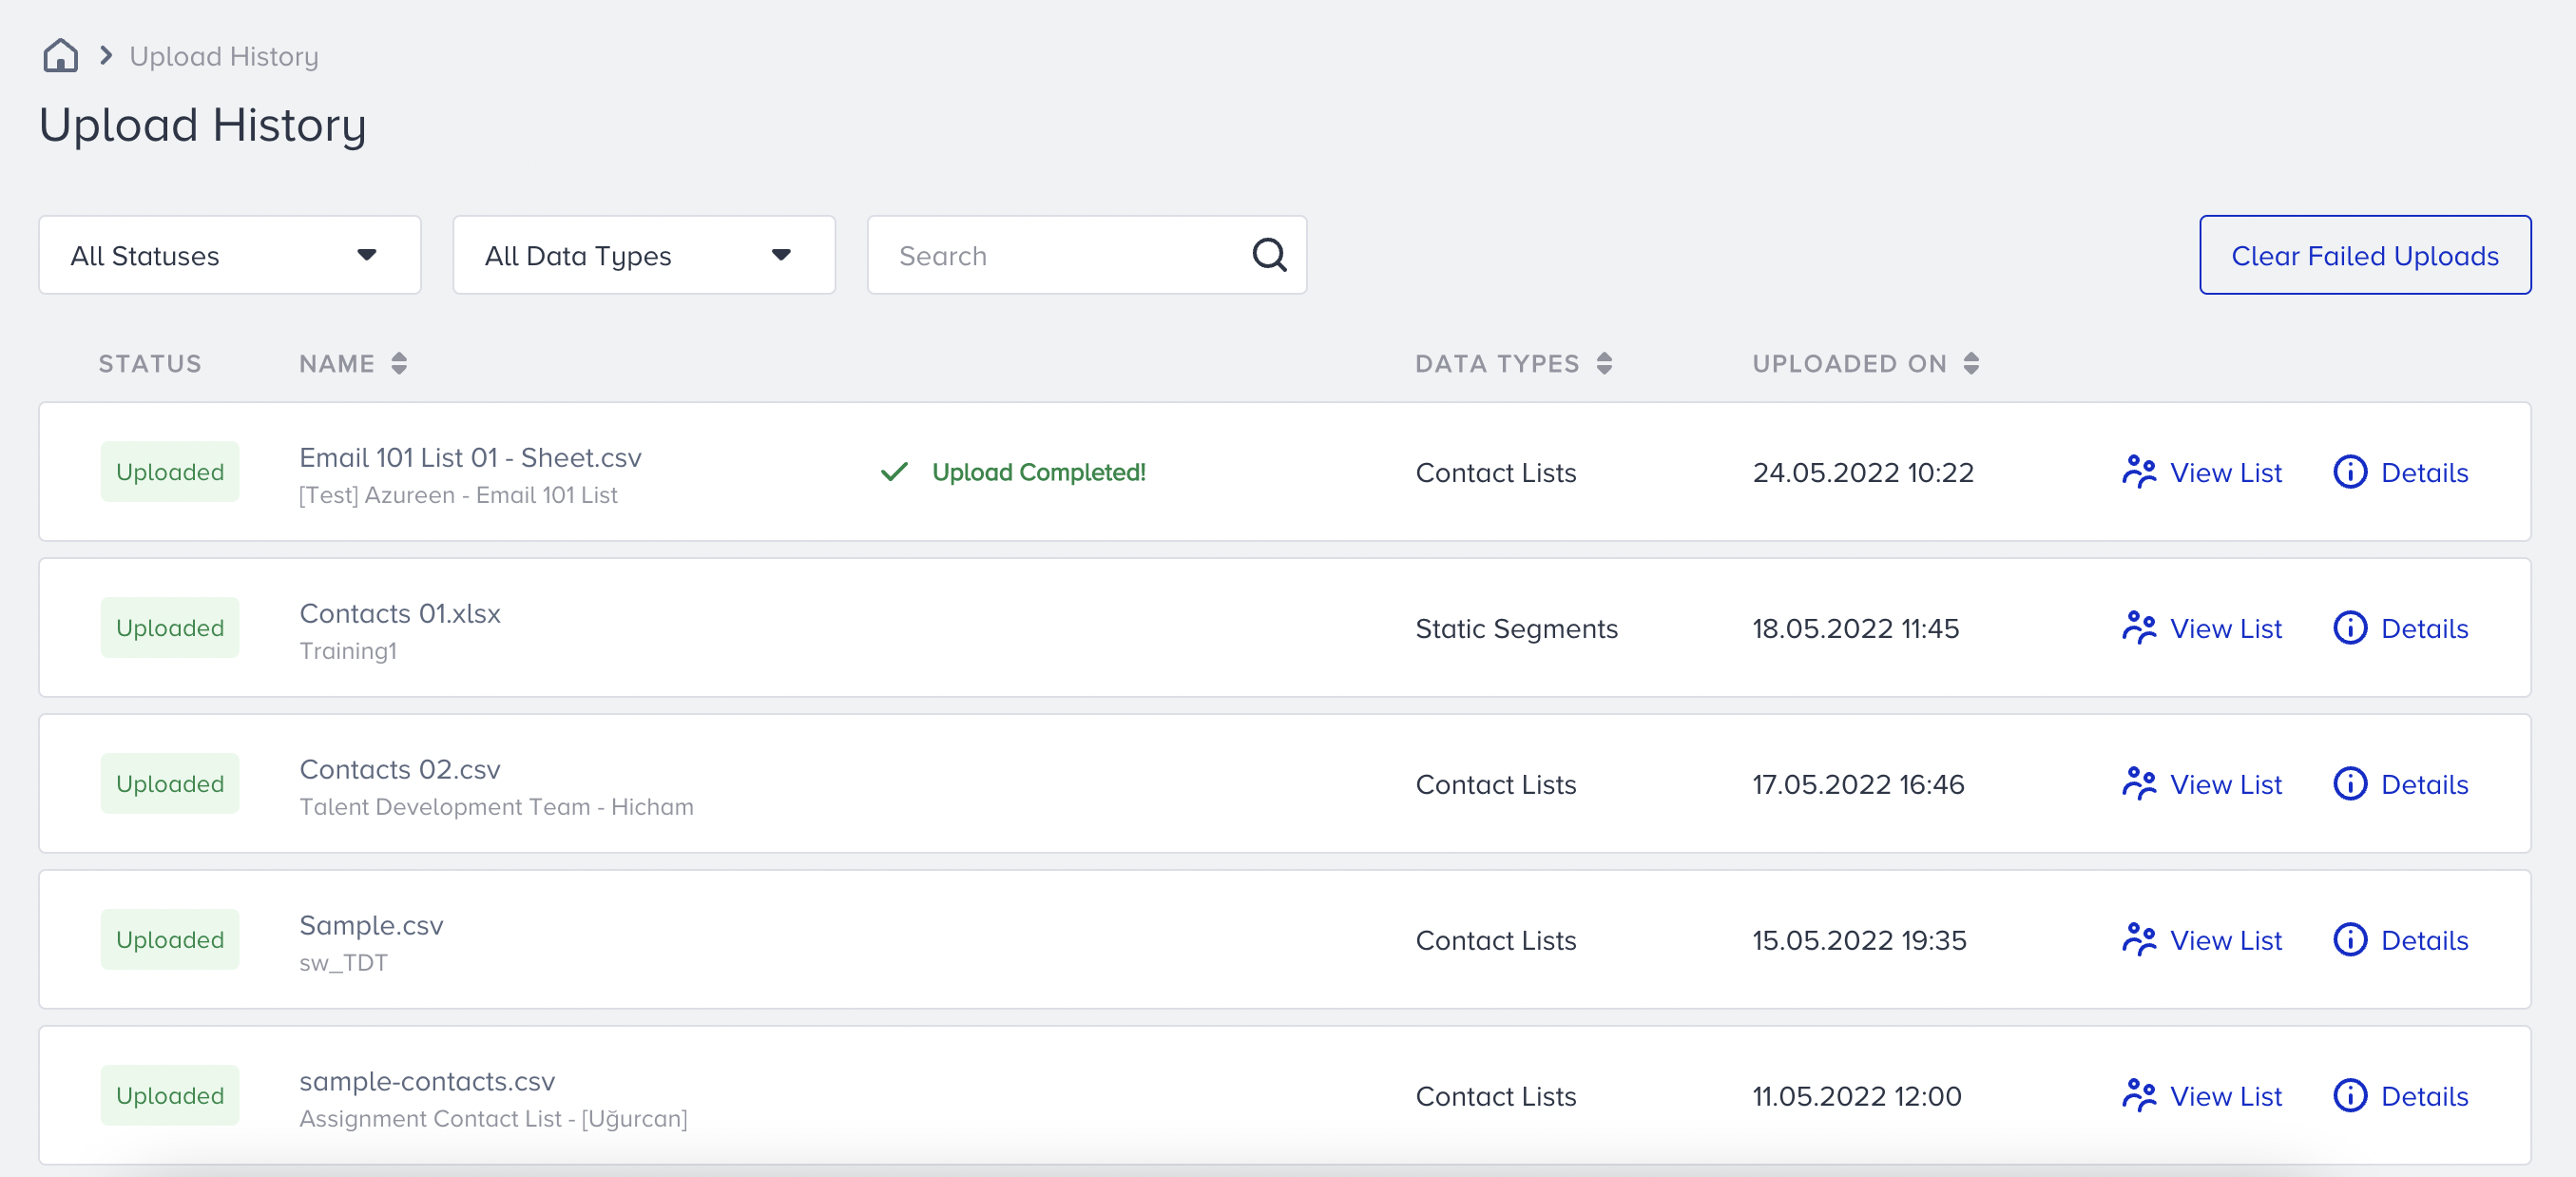
On the listing page, you can find the following information:
- Status: Status indicates the current state of the uploaded list. It can be any one of the following:
- Uploaded: Your list has been successfully uploaded.
- Uploading: Your list upload is in progress
- Failed: Your list upload didn't happen. Retry the upload in that case, or review the error report to identify the possible cause.
- Name: Displays the name of the uploaded CSV or XLS file, along with the list name.
- Data Types: This defines the page type uploaded as a list. Possible values are Contacts for contact lists, Suppressions for global unsubscribe, unsubscribe group, and bounce pages, and Segments for static segment pages.
- Uploaded On: This displays the time of the upload. The data shown here is in the UTC time zone.
- View List: When clicked, the view list option redirects you to the list that you have uploaded.
Uploads related to the APIs (e.g., Upsert User Data API, First-Party Segments API) are not displayed here.
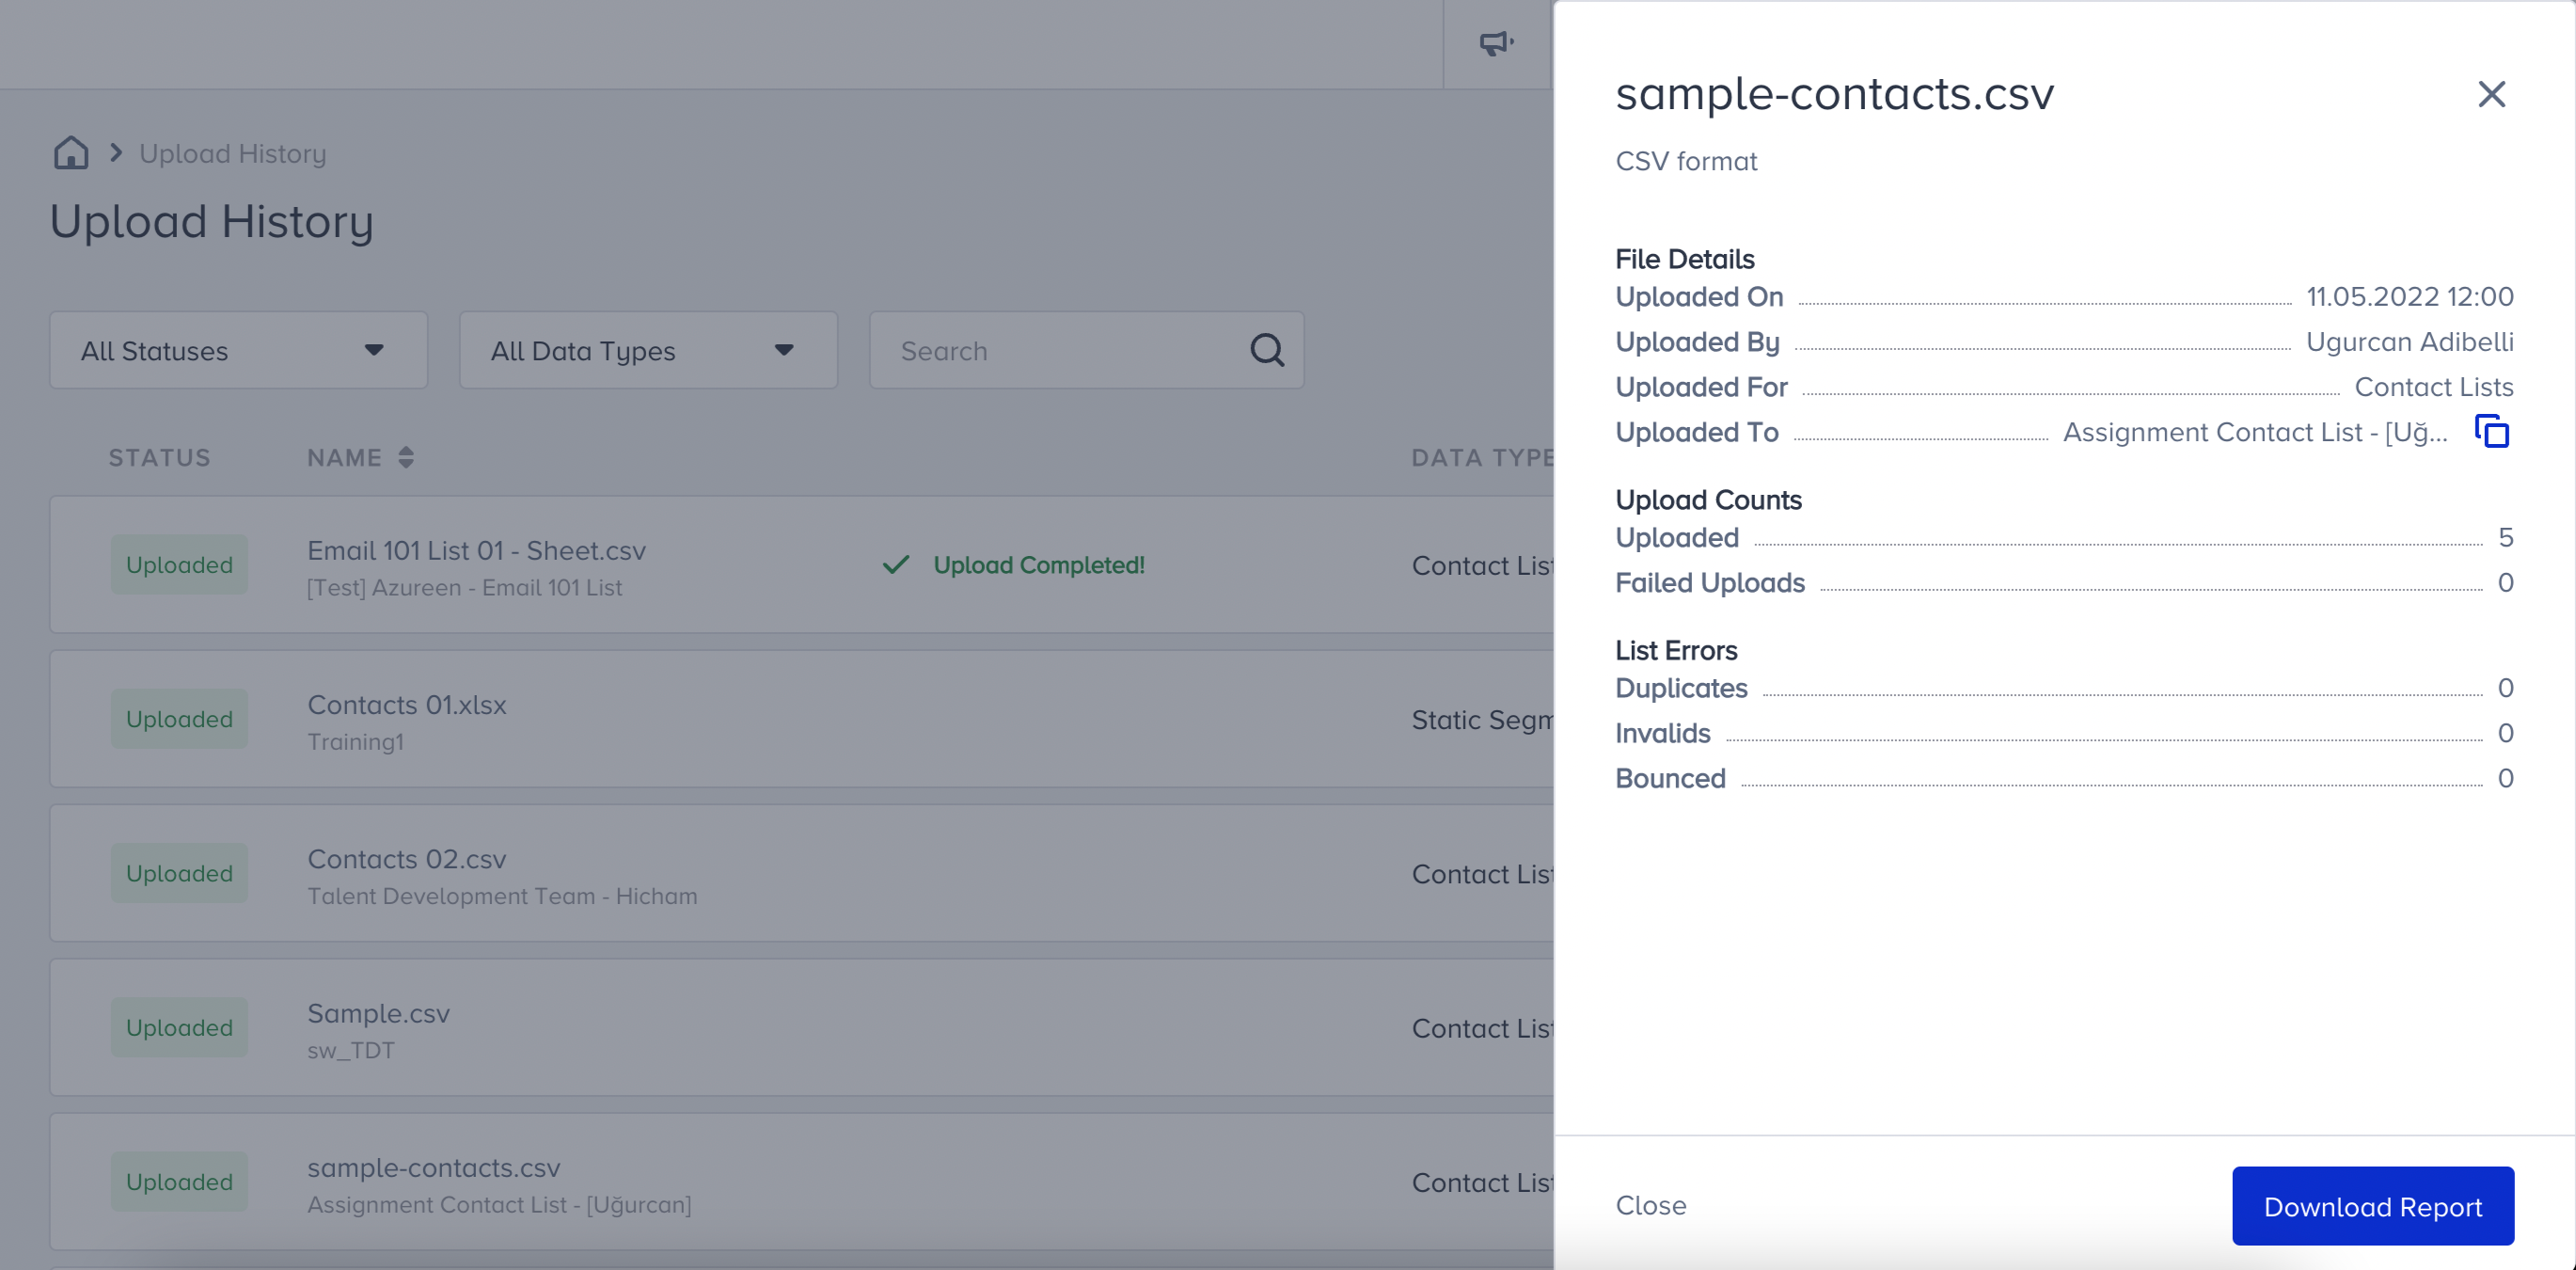
- Details: You can see the details of the file upload:
- Uploaded on
- Uploaded by
- Uploaded for
- Uploaded to
- Upload Count: This displays the number of successful list uploads as Uploaded, and the number of unsuccessful list uploads as Failed Uploads.
- List Errors: This enlists the type of error that occurred during upload based on the uploaded list type:
- Contacts
- Duplicates: Number of duplicate (repeated) users in the uploaded file
- Invalids: Number of invalid email addresses in the uploaded file
- Bounced: Number of users who were previously bounced users in the uploaded file
- Segments
- Duplicates: Number of duplicate users in the uploaded file
- Invalid Email Address Identifier: Number of rows that have invalid email addresses in the uploaded file
- Invalid Phone Number Identifier: Number of rows that have invalid phone numbers in the uploaded file
- Suppression
- Duplicates: Number of duplicate users in the uploaded file
- Invalids: Number of invalid email addresses in the uploaded file
- Contacts
- Download Report: This option lets you download the entire list of errors, including every detail, as a CSV file.
- Clear All Failed Reports: Click this option to remove information about your failed uploads, leaving a tidy upload history page.
Use cases
You can use the Upload History option to:
- See previously uploaded lists to keep track of each upload.
- Download a list of problematic users to ensure they have been flagged in your database.
- Download the problematic users in a list to avoid uploading them again.