Smart Recommender is quick to set up and easy to launch. Follow these steps to go live:
Before starting
For recommendations to work correctly, two data sources must be healthy:
1. Product Catalog Data
Complete Product Data Planning & Integration in the Onboarding Center.
Navigate to Catalog Manager under the Components.
Confirm your catalog has at least:
100 in-stock products
Accurate, complete product attributes
2. User Actions Data
Complete Website Integration in the Onboarding Center.
Go to Recommendation Algorithms under the Components.
Check the icons next to each algorithm to confirm:
Event tracking is working.
Algorithm health is stable.
Once both Catalog Data and User Actions Data are in place, you’re ready to configure your first Recommendation Strategy and launch campaigns.
Step-by-step setup
1. Create a Recommendation Strategy
To launch a Smart Recommender campaign, you first need to create a Recommendation Strategy to be used in your campaign.
Go to Recommendation Strategies and click Create in the top right corner.
Give your Recommendation Strategy a descriptive name that reflects its goal.
Select the page type where you want your campaign to appear. In this example, let’s create a recommendation campaign for category pages.

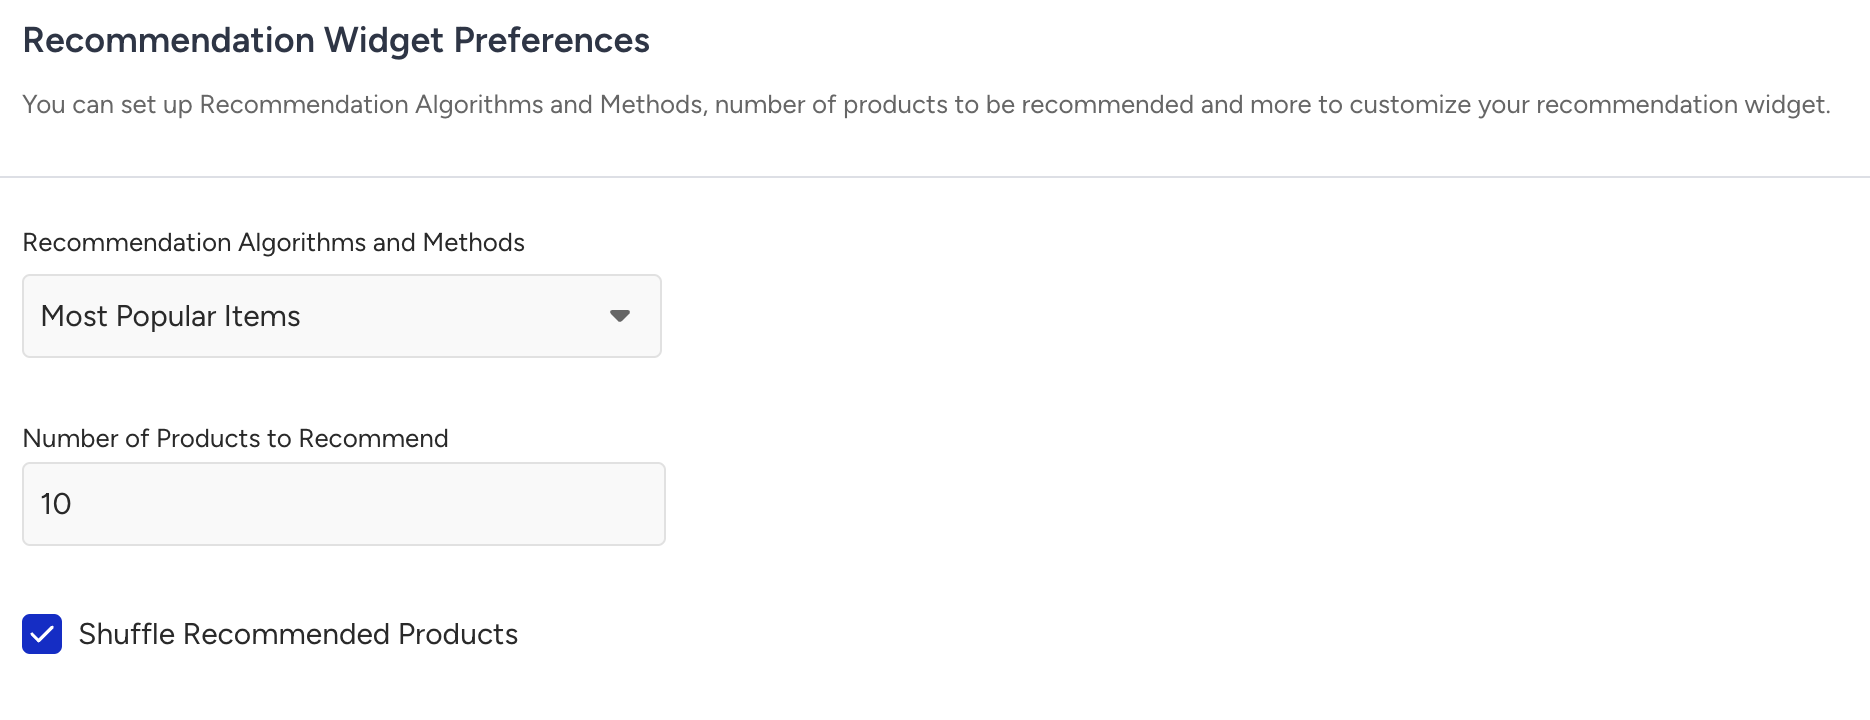
In the Recommendation Widget Preferences section,
Choose the algorithm you want to use in your strategy.
Decide how many products you want to display in your widget.
Toggle the Shuffle Recommended Products checkbox to randomize product positions for each view.
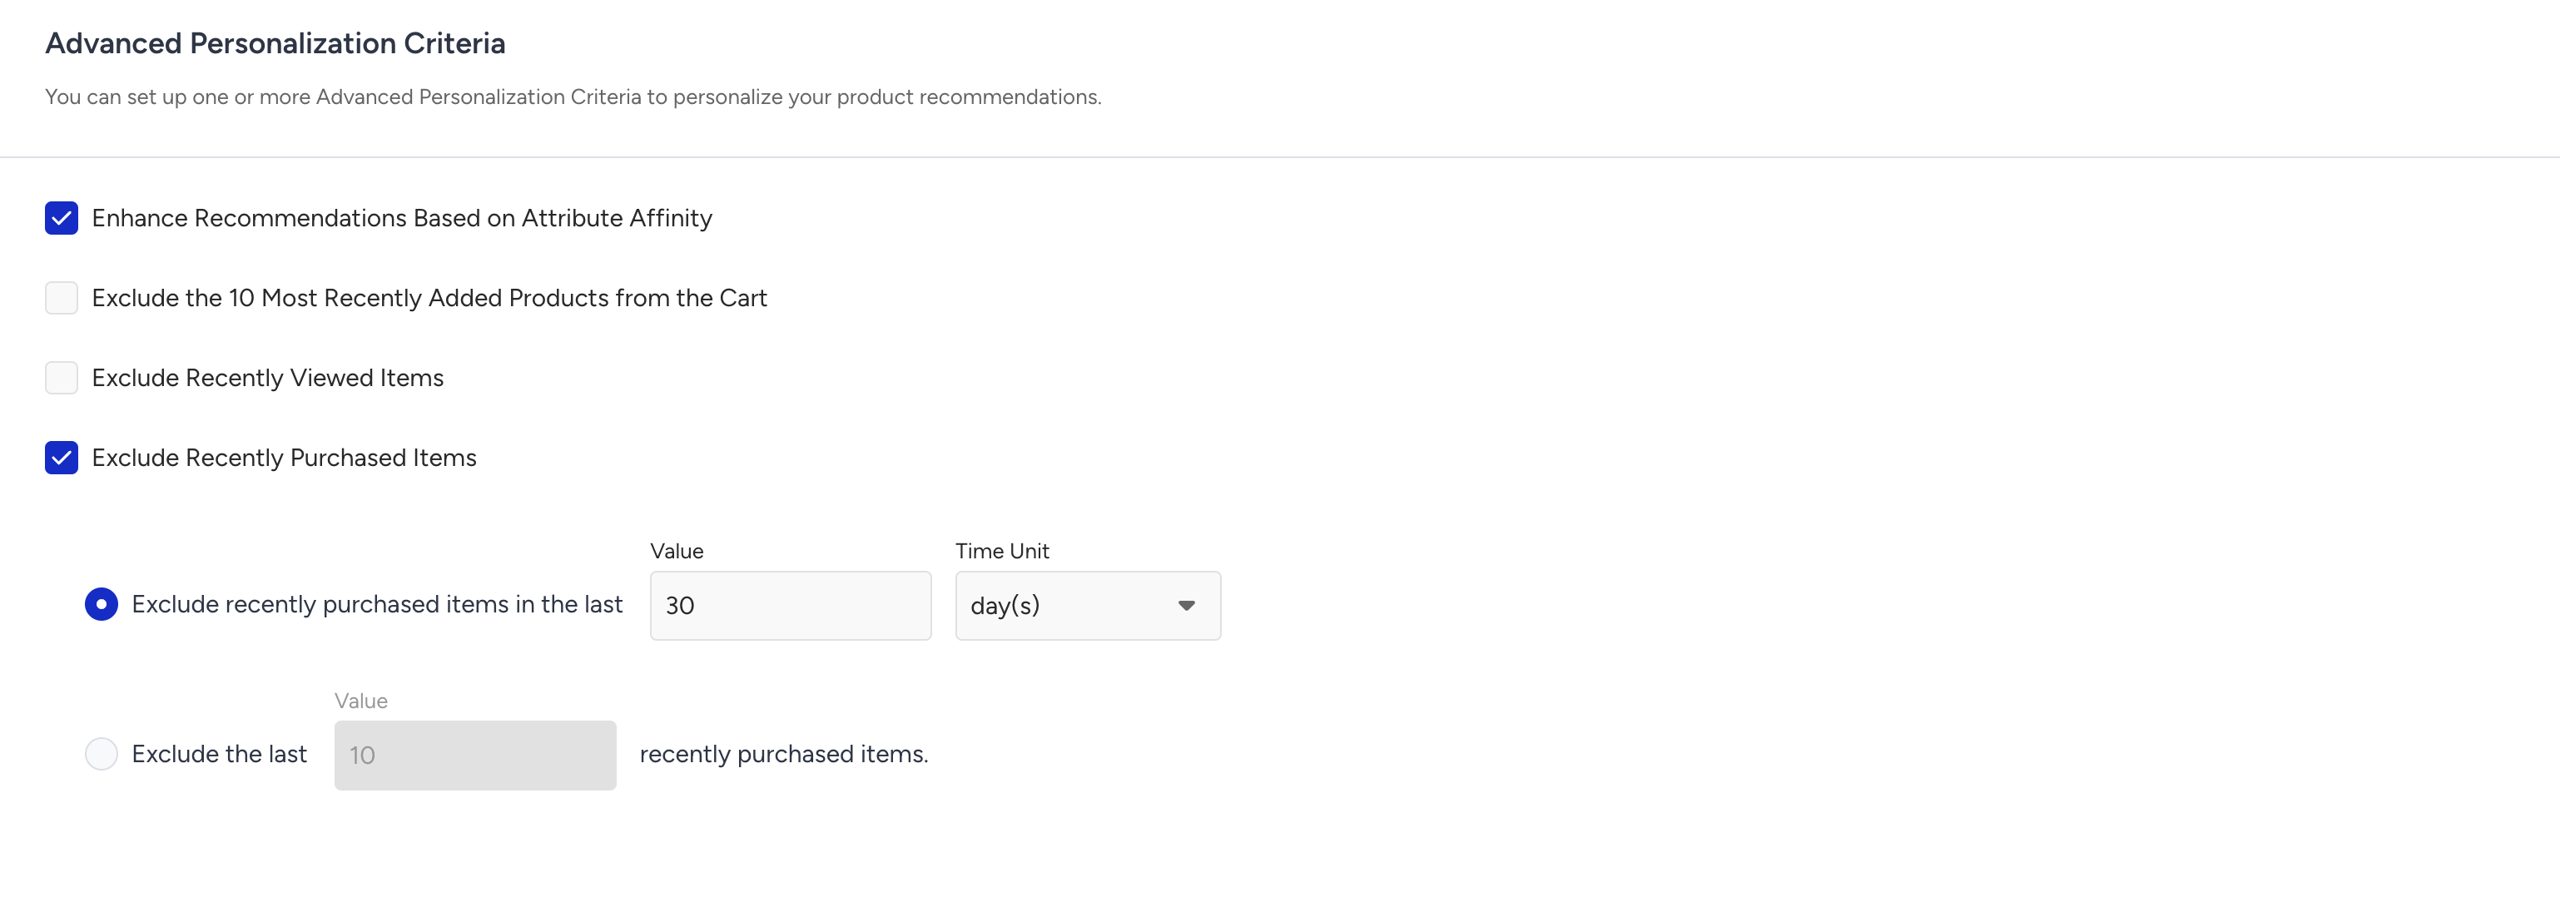
In the Advanced Personalization Criteria section, decide personalization settings for your strategy.
Enable Attribute Affinity to personalize recommendations based on each user’s preferences.
Enable exclusions for items that have been added to cart, viewed, or purchased, so customers don’t see products they’ve already interacted with.
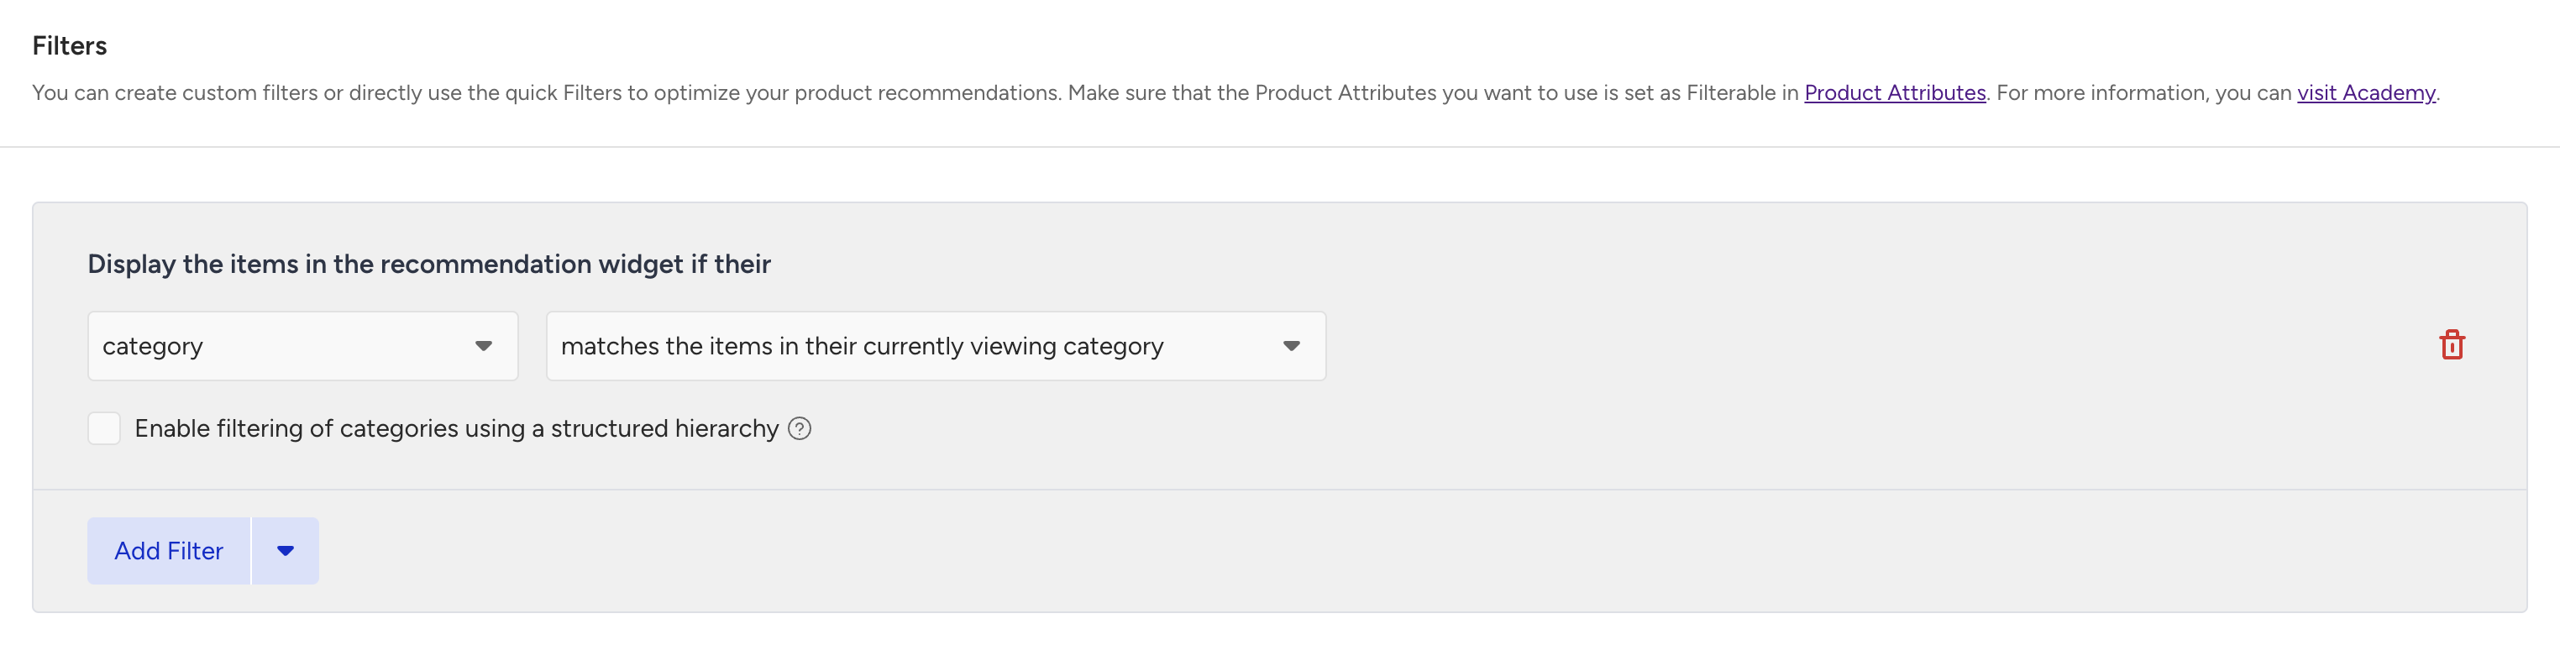
On the Filters section, add filters to refine your recommendation results based on your campaign’s goal.
Let’s add a category filter to show products from the same category as the user is currently viewing, keeping the recommendations in context.
Click Create when you have finalized the configurations. Your recommendation strategy is now ready to use and will be listed on your Recommendation Strategies page, allowing you to update it at any time.
2. Create a Web Smart Recommender campaign
Now, it’s time to create a Smart Recommender campaign.
Go to Web Smart Recommender and click the Create button.
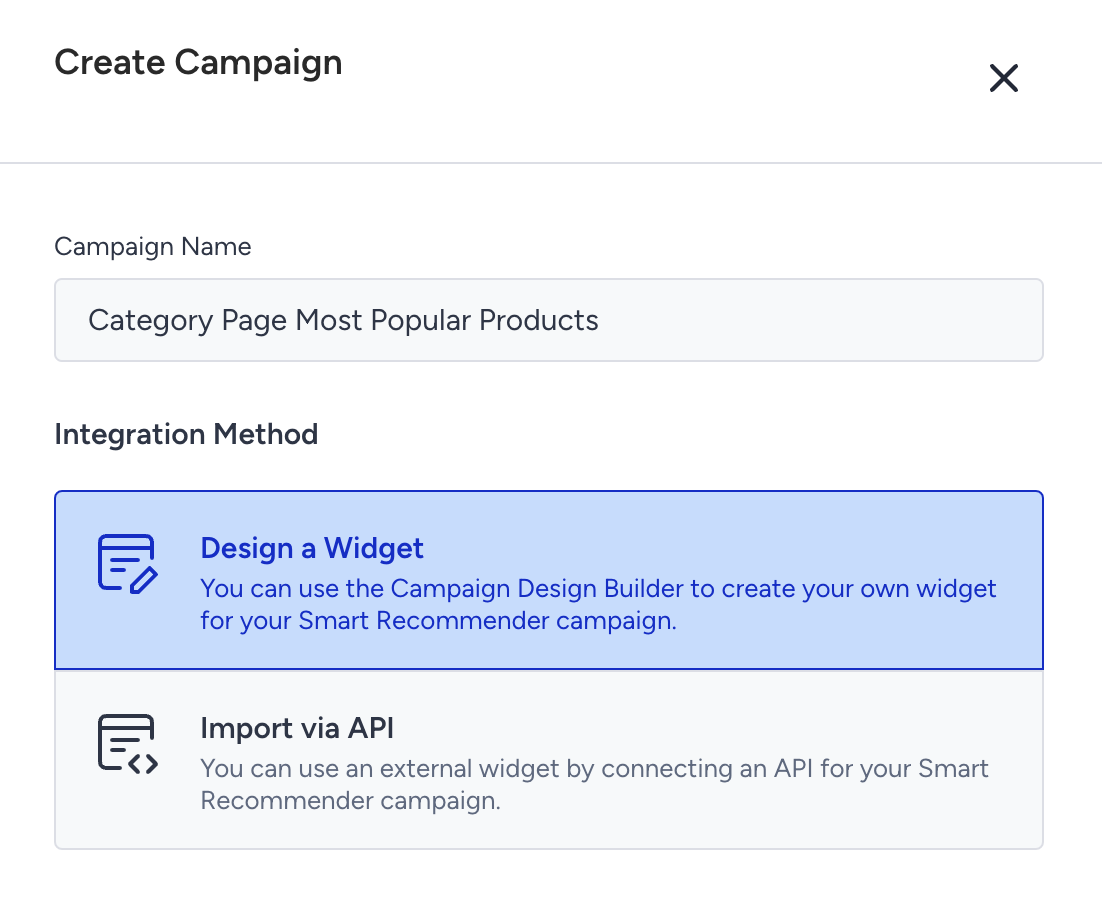
Give your campaign a name and choose the integration type.
Select the Design a Widget option to design your recommendation widget with the design editor, or select the JS SDK (Import via API) option to connect your campaign to your website via an API. Let’s use the design editor in this example.
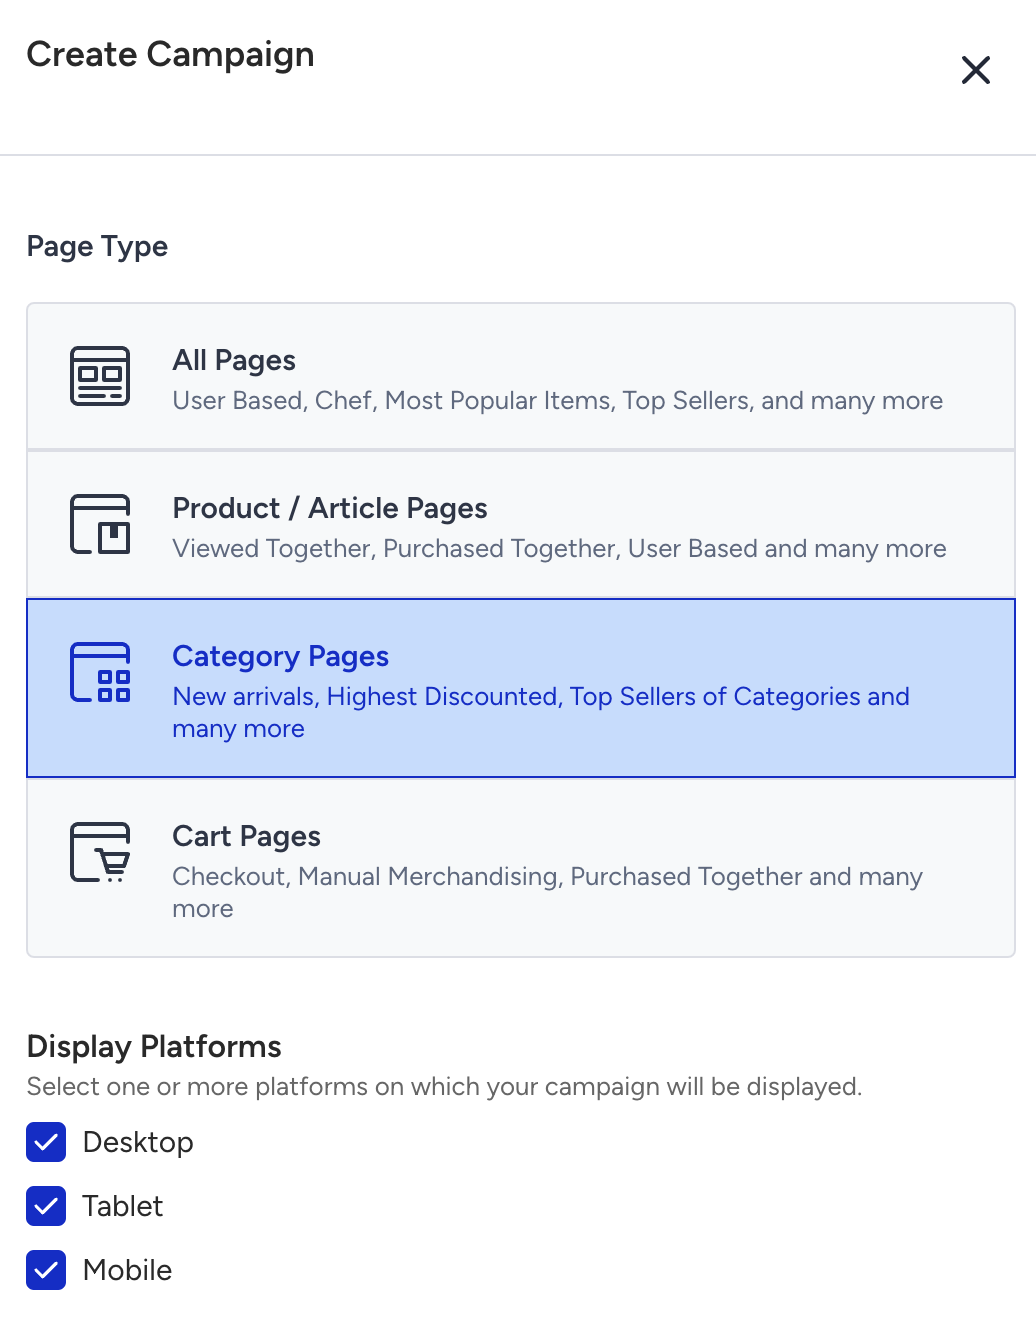
Select the page type and platforms where your campaign will appear.
Click the Add a New Variant button. Select the strategy you’ve created previously from the Recommendation Strategy dropdown.
Assign traffic allocations between your strategy and a control group (where no recommendations are shown) to measure impact in recommendation analytics.

Click the Create Design button to start designing your widget with the design editor.
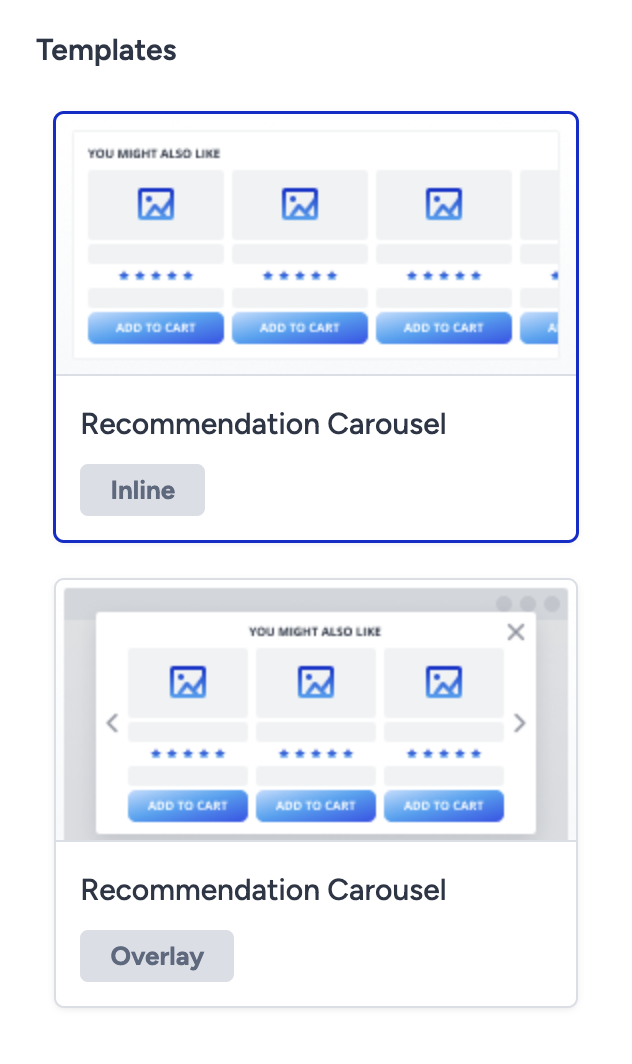
Select the widget template: inline (within the page layout) or overlay (floating).
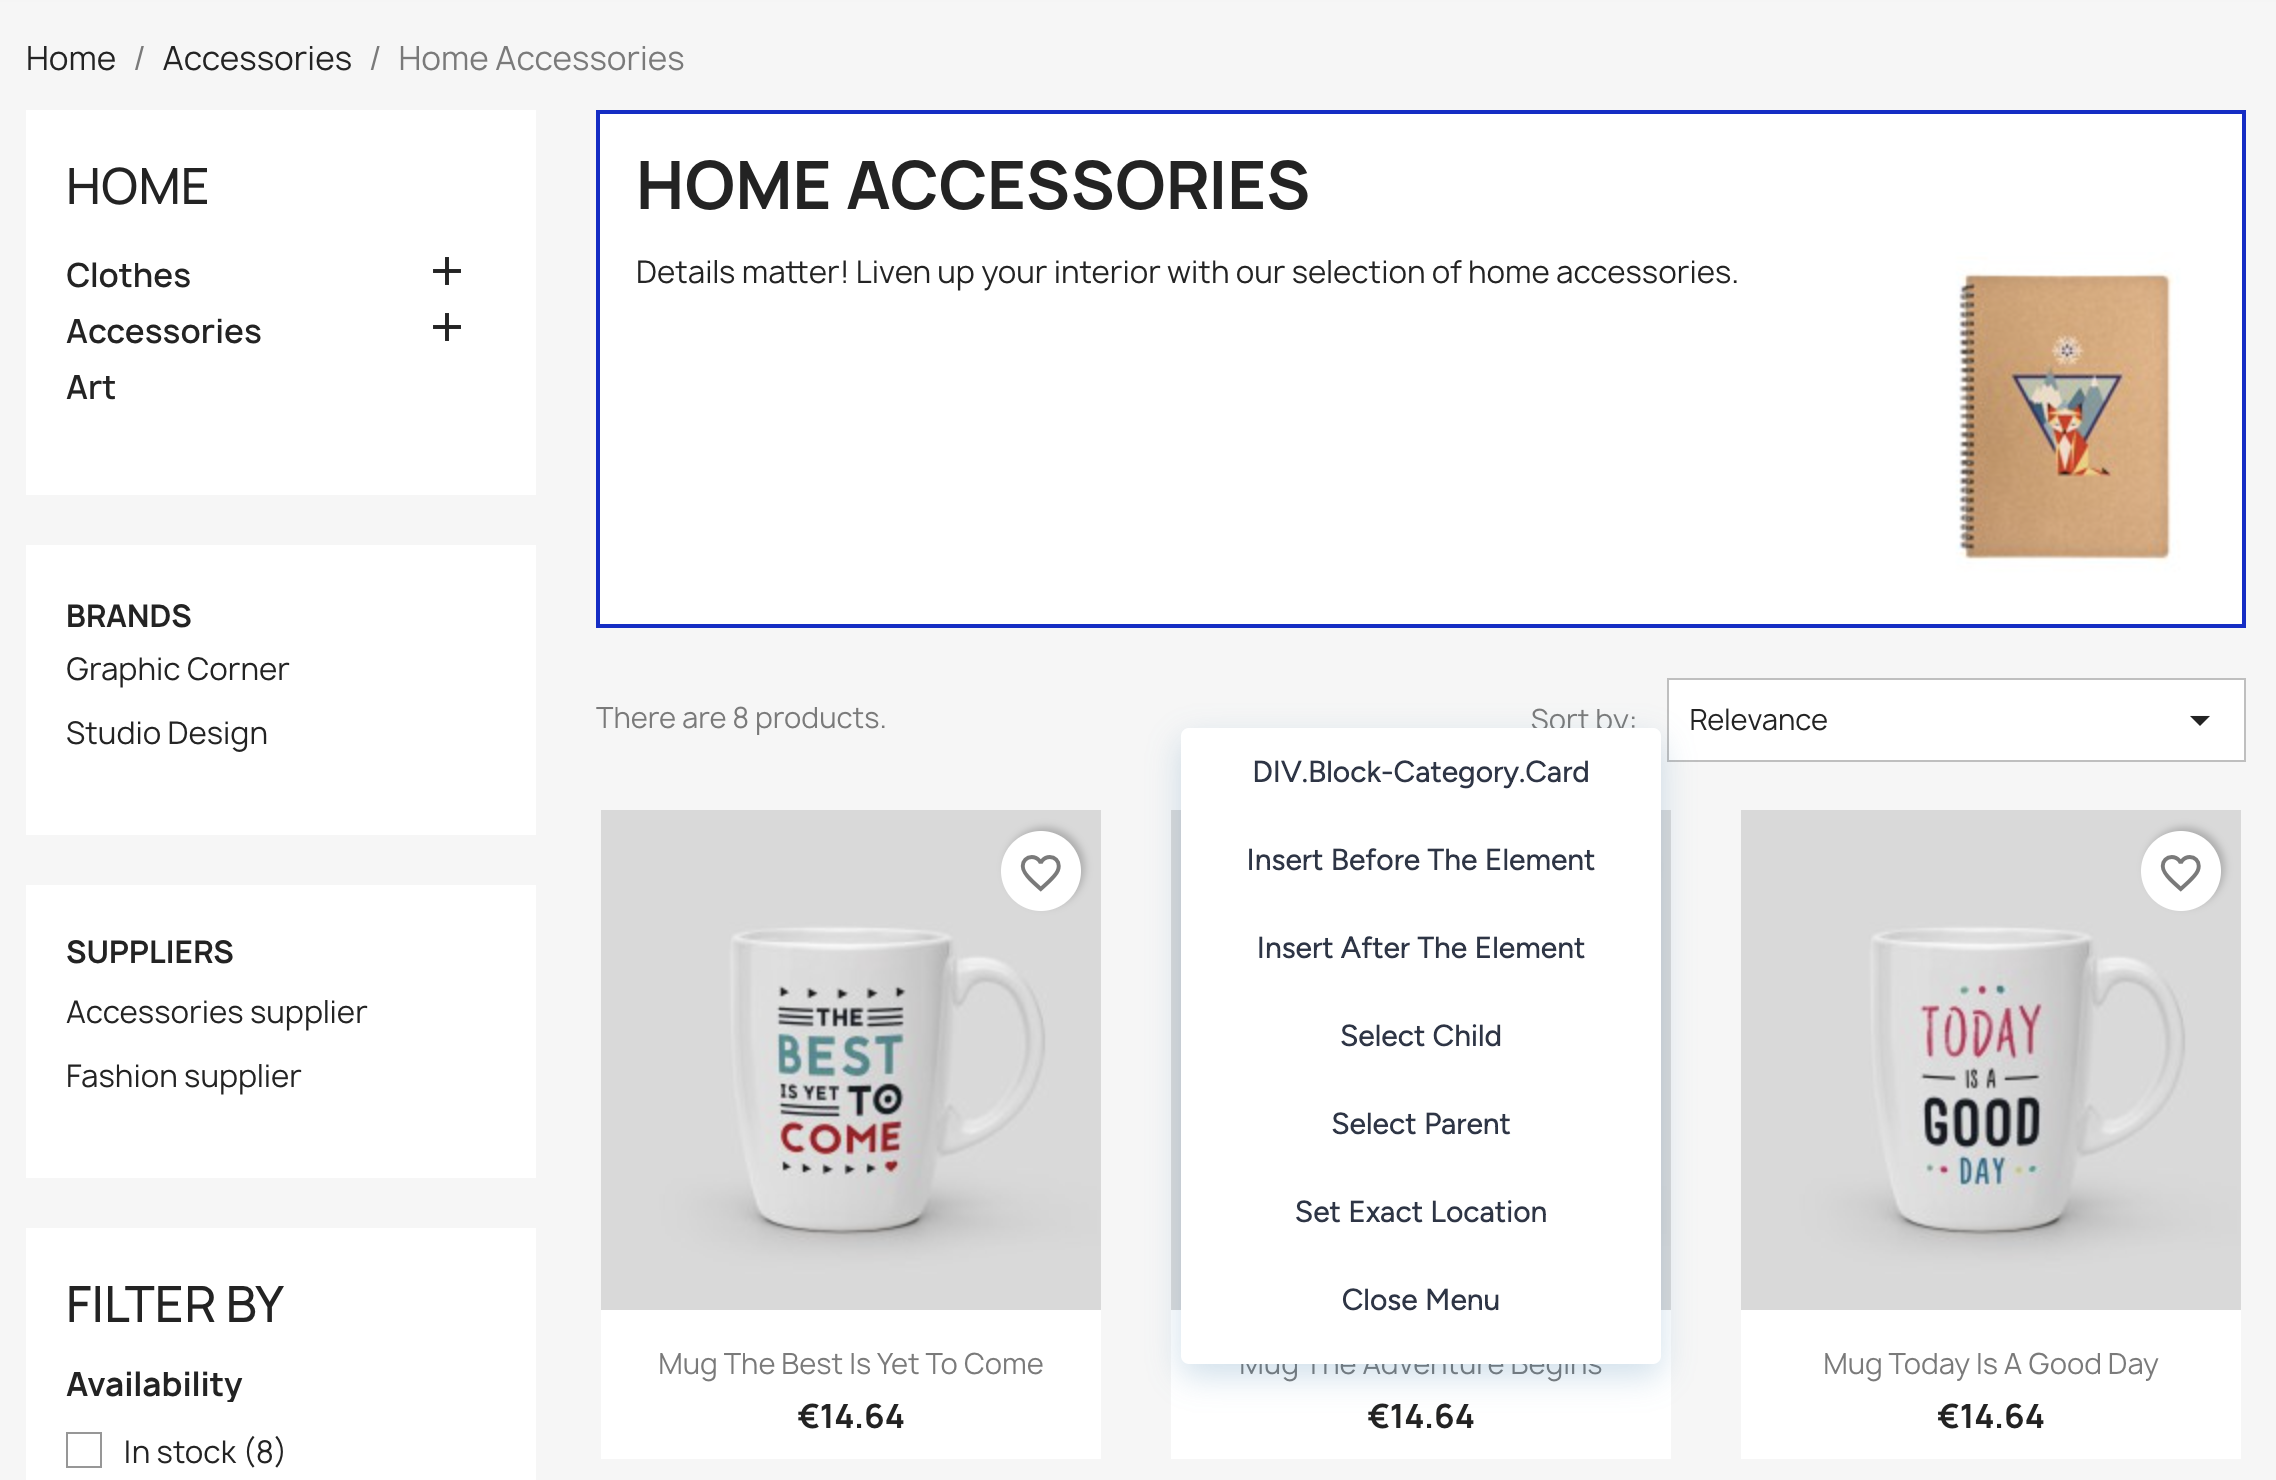
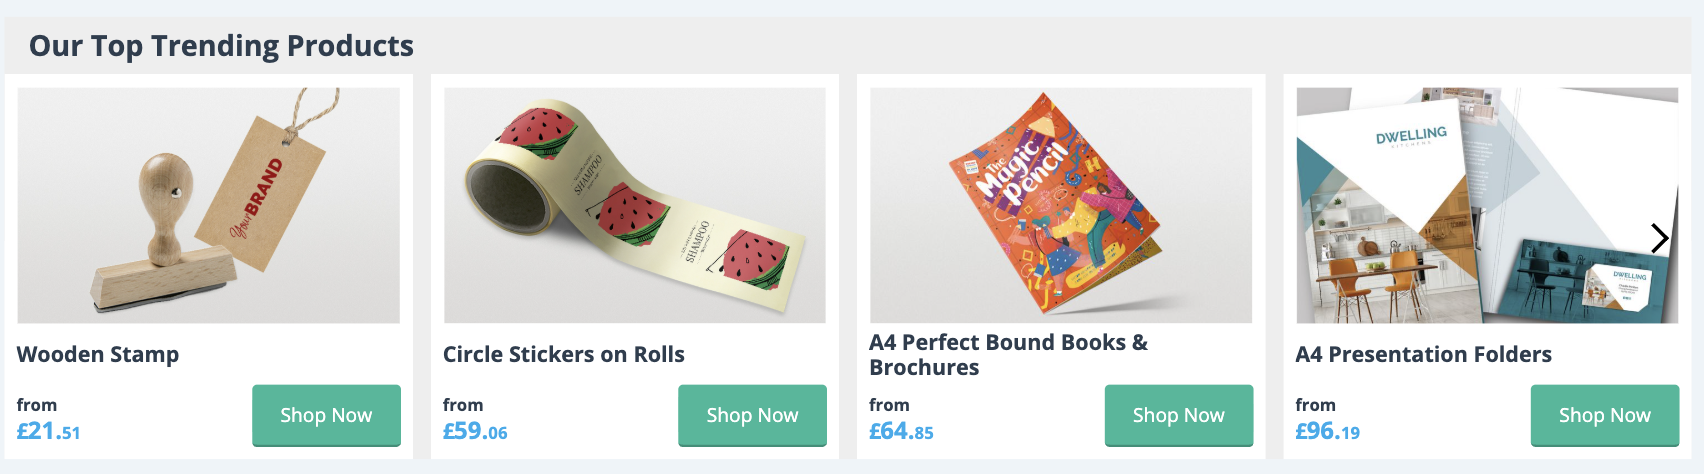
After selecting a template, you will see your website’s category page, since we have selected the page type as category pages in our example. Hover over the elements and click on an element to place your widget. Select the position you want to insert your widget.
Edit your widget and product card designs with the design editor.
After designing your widget, proceed to the next step: Segments.
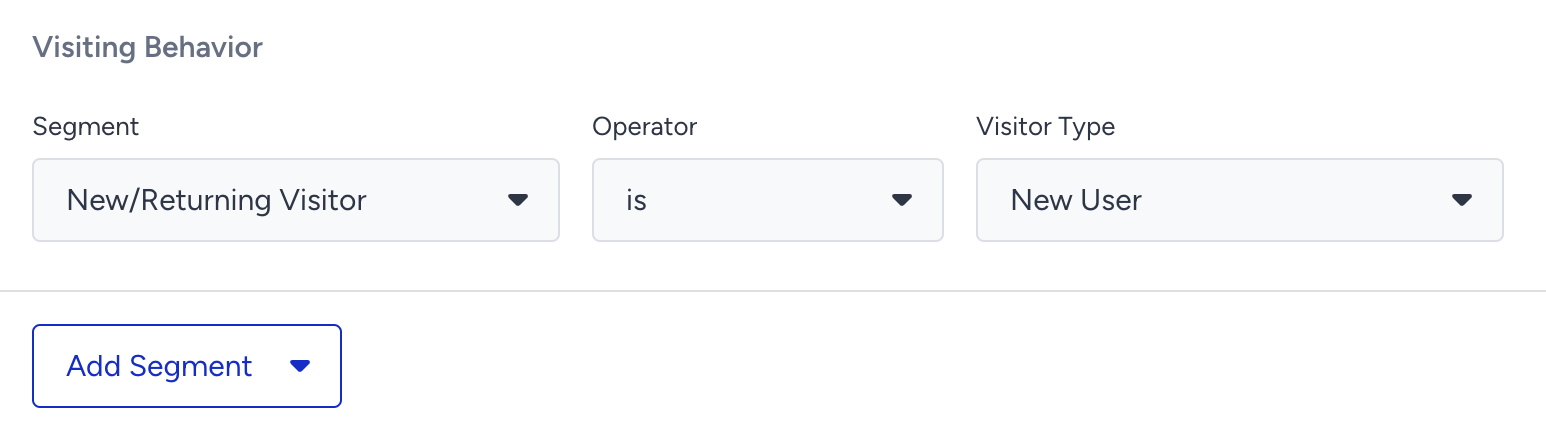
Decide which users will see the recommendation widgets on this step. Let’s show this campaign to new users only by using Visiting Behavior.
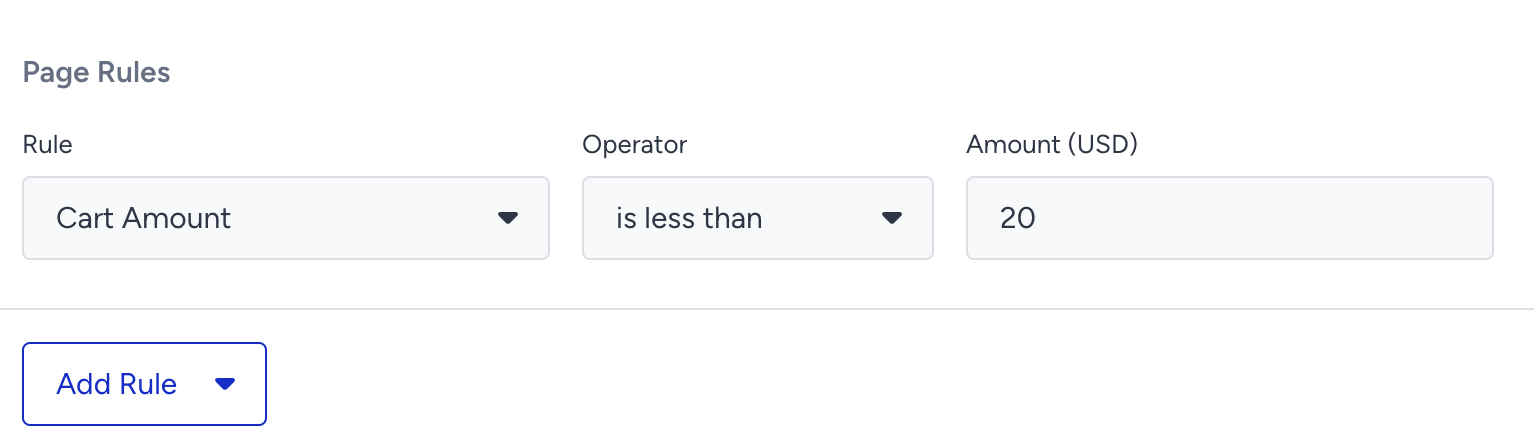
On the Rules step, decide the display time of the campaign and when the campaign will be triggered.
Let’s add a page rule to show this campaign only when the user’s cart amount is less than $20.
On the Goals step, define the goal of your campaign by selecting the metrics to track.
Let’s select Purchases to see the improvement in conversions made by the recommendation widget.

On the Launch step, make the final touch-ups to launch your campaign.
Determine the language and locale for your campaign.
Set the activation time by selecting the start and end times for your campaign.
Set the time range for your campaign to be displayed from the Display Settings.
Set the priority from Advanced Settings. The priority of a campaign determines which campaign to display if there are multiple possible campaigns to show on a page.
Set the Activation Status to Active, then click Launch to run your campaign.
3. Track Campaign Analytics
You’ve launched your campaign. Now let’s track how it’s doing.
Once your campaigns are live and running, it’s time to dive into the results and make data-driven improvements. Navigate to the Smart Recommender Analytics page to evaluate performance.
Product Engagement Funnel
See how users interact with recommendations at each stage: impressions, clickthrough rate, add-to-cart rate, and conversion rate. This helps identify where you’re driving engagement and where improvements can be made.
If impressions are low, consider adjusting your widget placements or adding them to higher-traffic pages to increase visibility. If the CTR is high but conversions are low, try refining product relevance by adjusting the filters and exclusions, or by highlighting complementary products instead of similar ones.

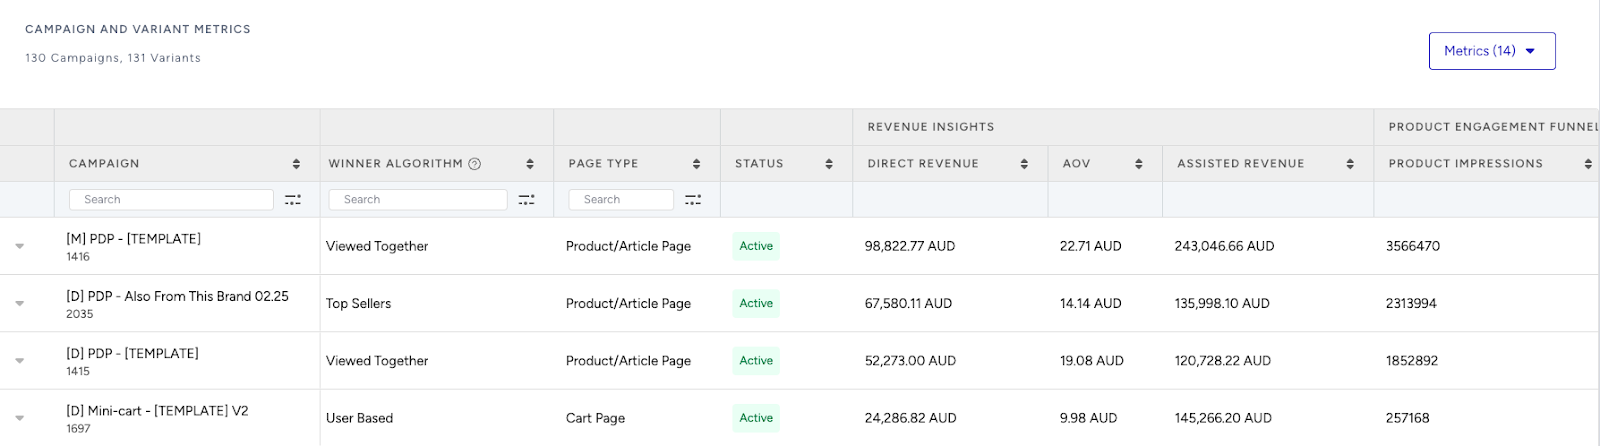
Campaign and Variant Metrics
Use the Campaign and Variant Metrics table to review KPIs like AOV, conversion rate, and direct revenue. Identify your top-performing strategies and refine or scale them.
Scale successful variants to more channels, or pause underperforming ones and test different layouts, product sets, or personalization rules.
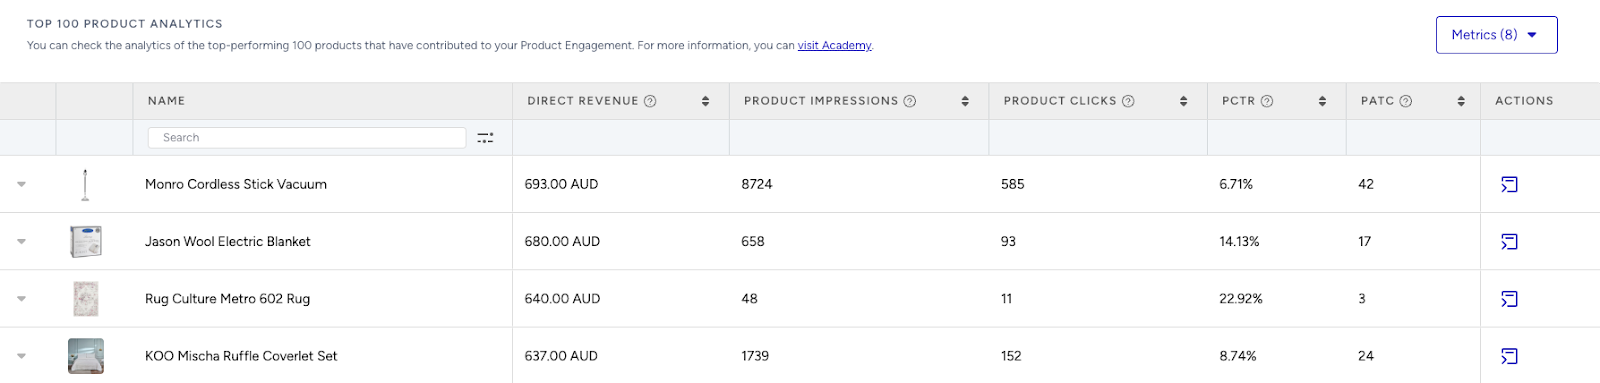
Top 100 Product Analytics
Visit Top 100 Product Analytics to see which products perform best. Consider giving more visibility to low-performing but strategic products in future widgets.
Boost underperforming but important products with dedicated placements, or create strategies with high performers to increase exposure.
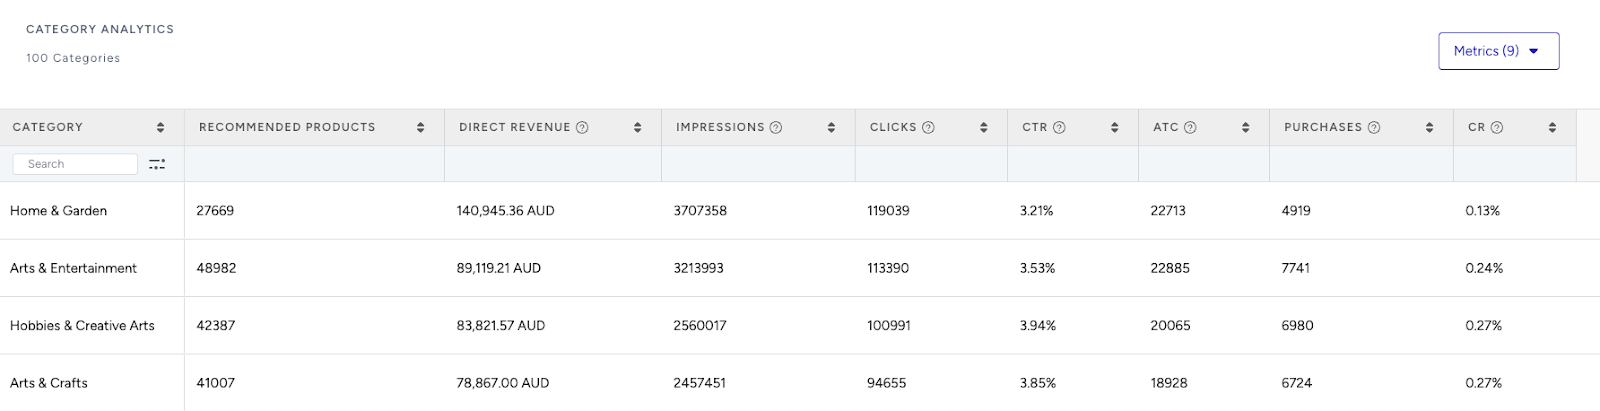
Category Analytics
Use Category Analytics to see which product categories drive the most conversions. Focus on high-performing categories or promote underperformers to boost sales.
If one category consistently outperforms, create category-specific campaigns to capitalize on this advantage. For weaker categories, consider testing personalized recommendations or highlighting seasonal relevance to boost engagement.