Smart Recommender offers two options for launching a campaign, depending on your level of involvement in the design process or the flexibility of your development setup.
Let’s break down the options and help you decide which one best fits your goals.
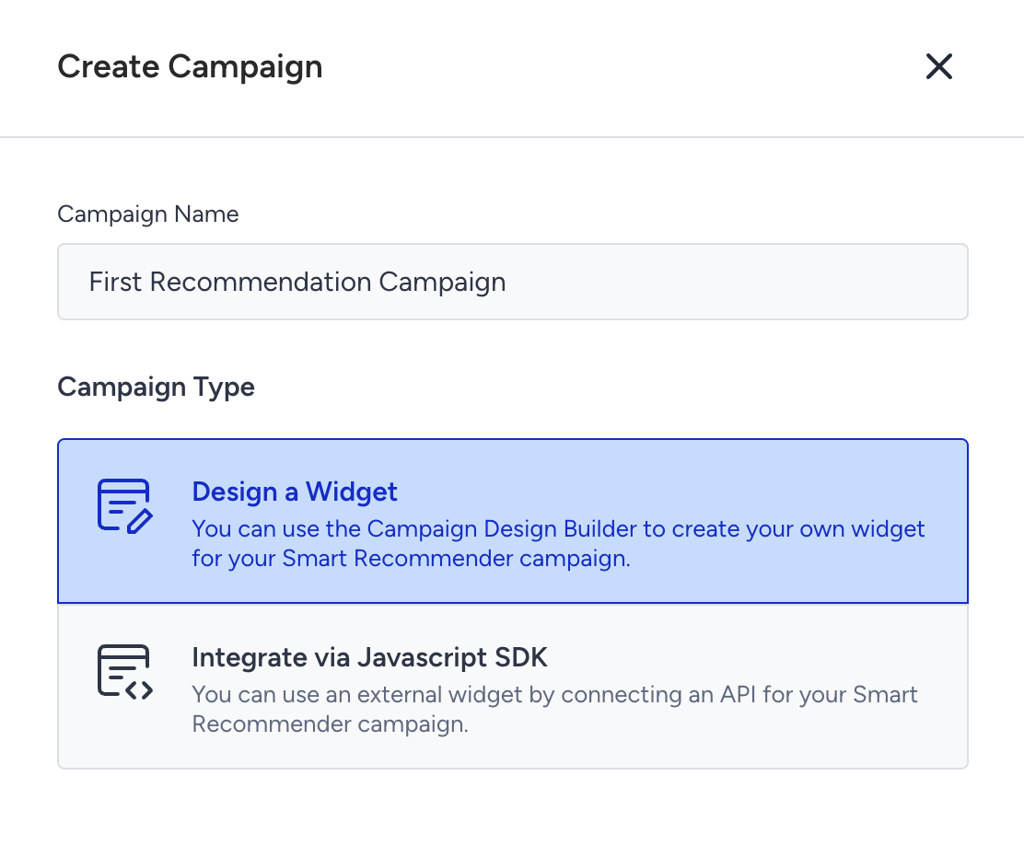
Option 1: Design a Widget
The Design a Widget option is best for marketers, merchandisers, and teams that want visual control.
Widget-based campaigns let you design the actual recommendation blocks that shoppers see on your website — without needing help from developers. You’ll use a visual design editor to style everything, from how many products appear to how they’re laid out.
You can consider it like “What you see is what you get” design, but for product recommendations.
You should choose this option if:
You’re running seasonal or promotional campaigns and need to adjust layouts quickly.
You don’t have custom frontend development resources available.
You want a fast launch with minimal tech dependency.
Example: You’re launching a Mother’s Day Gifts section on the homepage. With a widget-based campaign, you can:
Choose a 4-product grid layout
Add a title like “Top Picks for Mom”
Style the cards with soft colors or badges
Launch it without developer help — all inside Smart Recommender
Option 2: Integrate via Javascript SDK
The Integrate via Javascript SDK option is best for teams with development resources and full design control.
The Import via API option skips the design step. Instead of using the built-in editor, your development team pulls recommendation data from Smart Recommender and displays it directly on your site or app.
You can think of it as “You get the engine, but you build the car.”
You should choose this option if:
You have a custom website design and want recommendations to match it perfectly.
You want to place recommendations in unique formats (e.g., embedded within non-traditional UI elements).
Your frontend team prefers managing layout and styling on their side.
You’re building a fully customized shopper experience.
Example: You want to show “You May Also Like” items inside a collapsible tab next to the product image. With the API option:
Your developer team embeds the recommendation widget
You control exactly how it appears using your own CSS/HTML
You decide how and when to load the widget (e.g., on scroll or click)
Final Tip
If you’re launching your first Smart Recommender campaign, we recommend starting with the Design a Widget option. It’s faster to test, easier to learn, and gives you direct control.
As you grow, you can always move to the Integrate via Javascript SDK option for more advanced and customized placements.